We’re in for a dry hot summer

‘Oak before Ash we’ll have a splash, Ash before Oak we’ll have a soak’

I noticed today our oak trees are coming into leaf, this sent me striding up the garden to see what the Ash tree was up to. It was not quite in leaf. I take note of what the saying says each year, usually the Ash and Oak manage to accuratly predict the summer to come. This year we’re in for splash, a lovely long hot summer. Does mean lots of watering in the kitchen garden, but it’s well worth it.

Ash not quite in leaf

Ash not quite in leaf

Oak in leaf

Oak in leaf

Blackbird, Broad Beans and the Cuckoo

Just in case anyone needs to find me. I made this sign this morning from a slate our builder left behind:

Kitchen garden sign

During the week I’ve been busy moving all the plants from the nursery bed situated below the greenhouse to new herbaceous borders. I hope to start building the last three raised veg beds in their place next week. Whilst tidying up after the replanting this morning, I made several discoveries. A black bird has nested in the trunk of our Crabapple tree. This is a source of worry to me, it’s only 3 feet off the ground and quite exposed. How it’s going to survive, hatch and bring up a family of fledglings with my three noisy children and the dog who loves anything in feathers is a concern. To its credit it has chosen the prettiest spot in the garden to perch at the moment!

Black Bird NestingBlack bird nesting

Crabapple tree trunkThe crabapple tree trunk the black bird has chosen

Crabapple tree in bloomThe Crabapple tree in full bloom

The broad beans are in flower, I think they are the vegetable I most look forward to every year, a very special treat. Sadly, they are one of the few truly seasonal vegetables; you only ever get them from the garden, a farm shop or supermarket when in season. For some reason they’re not imported from Kenya all year round.

Broad Bean FlowerBroad bean flowers

My final discovery of the day was hearing the cuckoo for the first time, always a special day in the year.


Watering systems

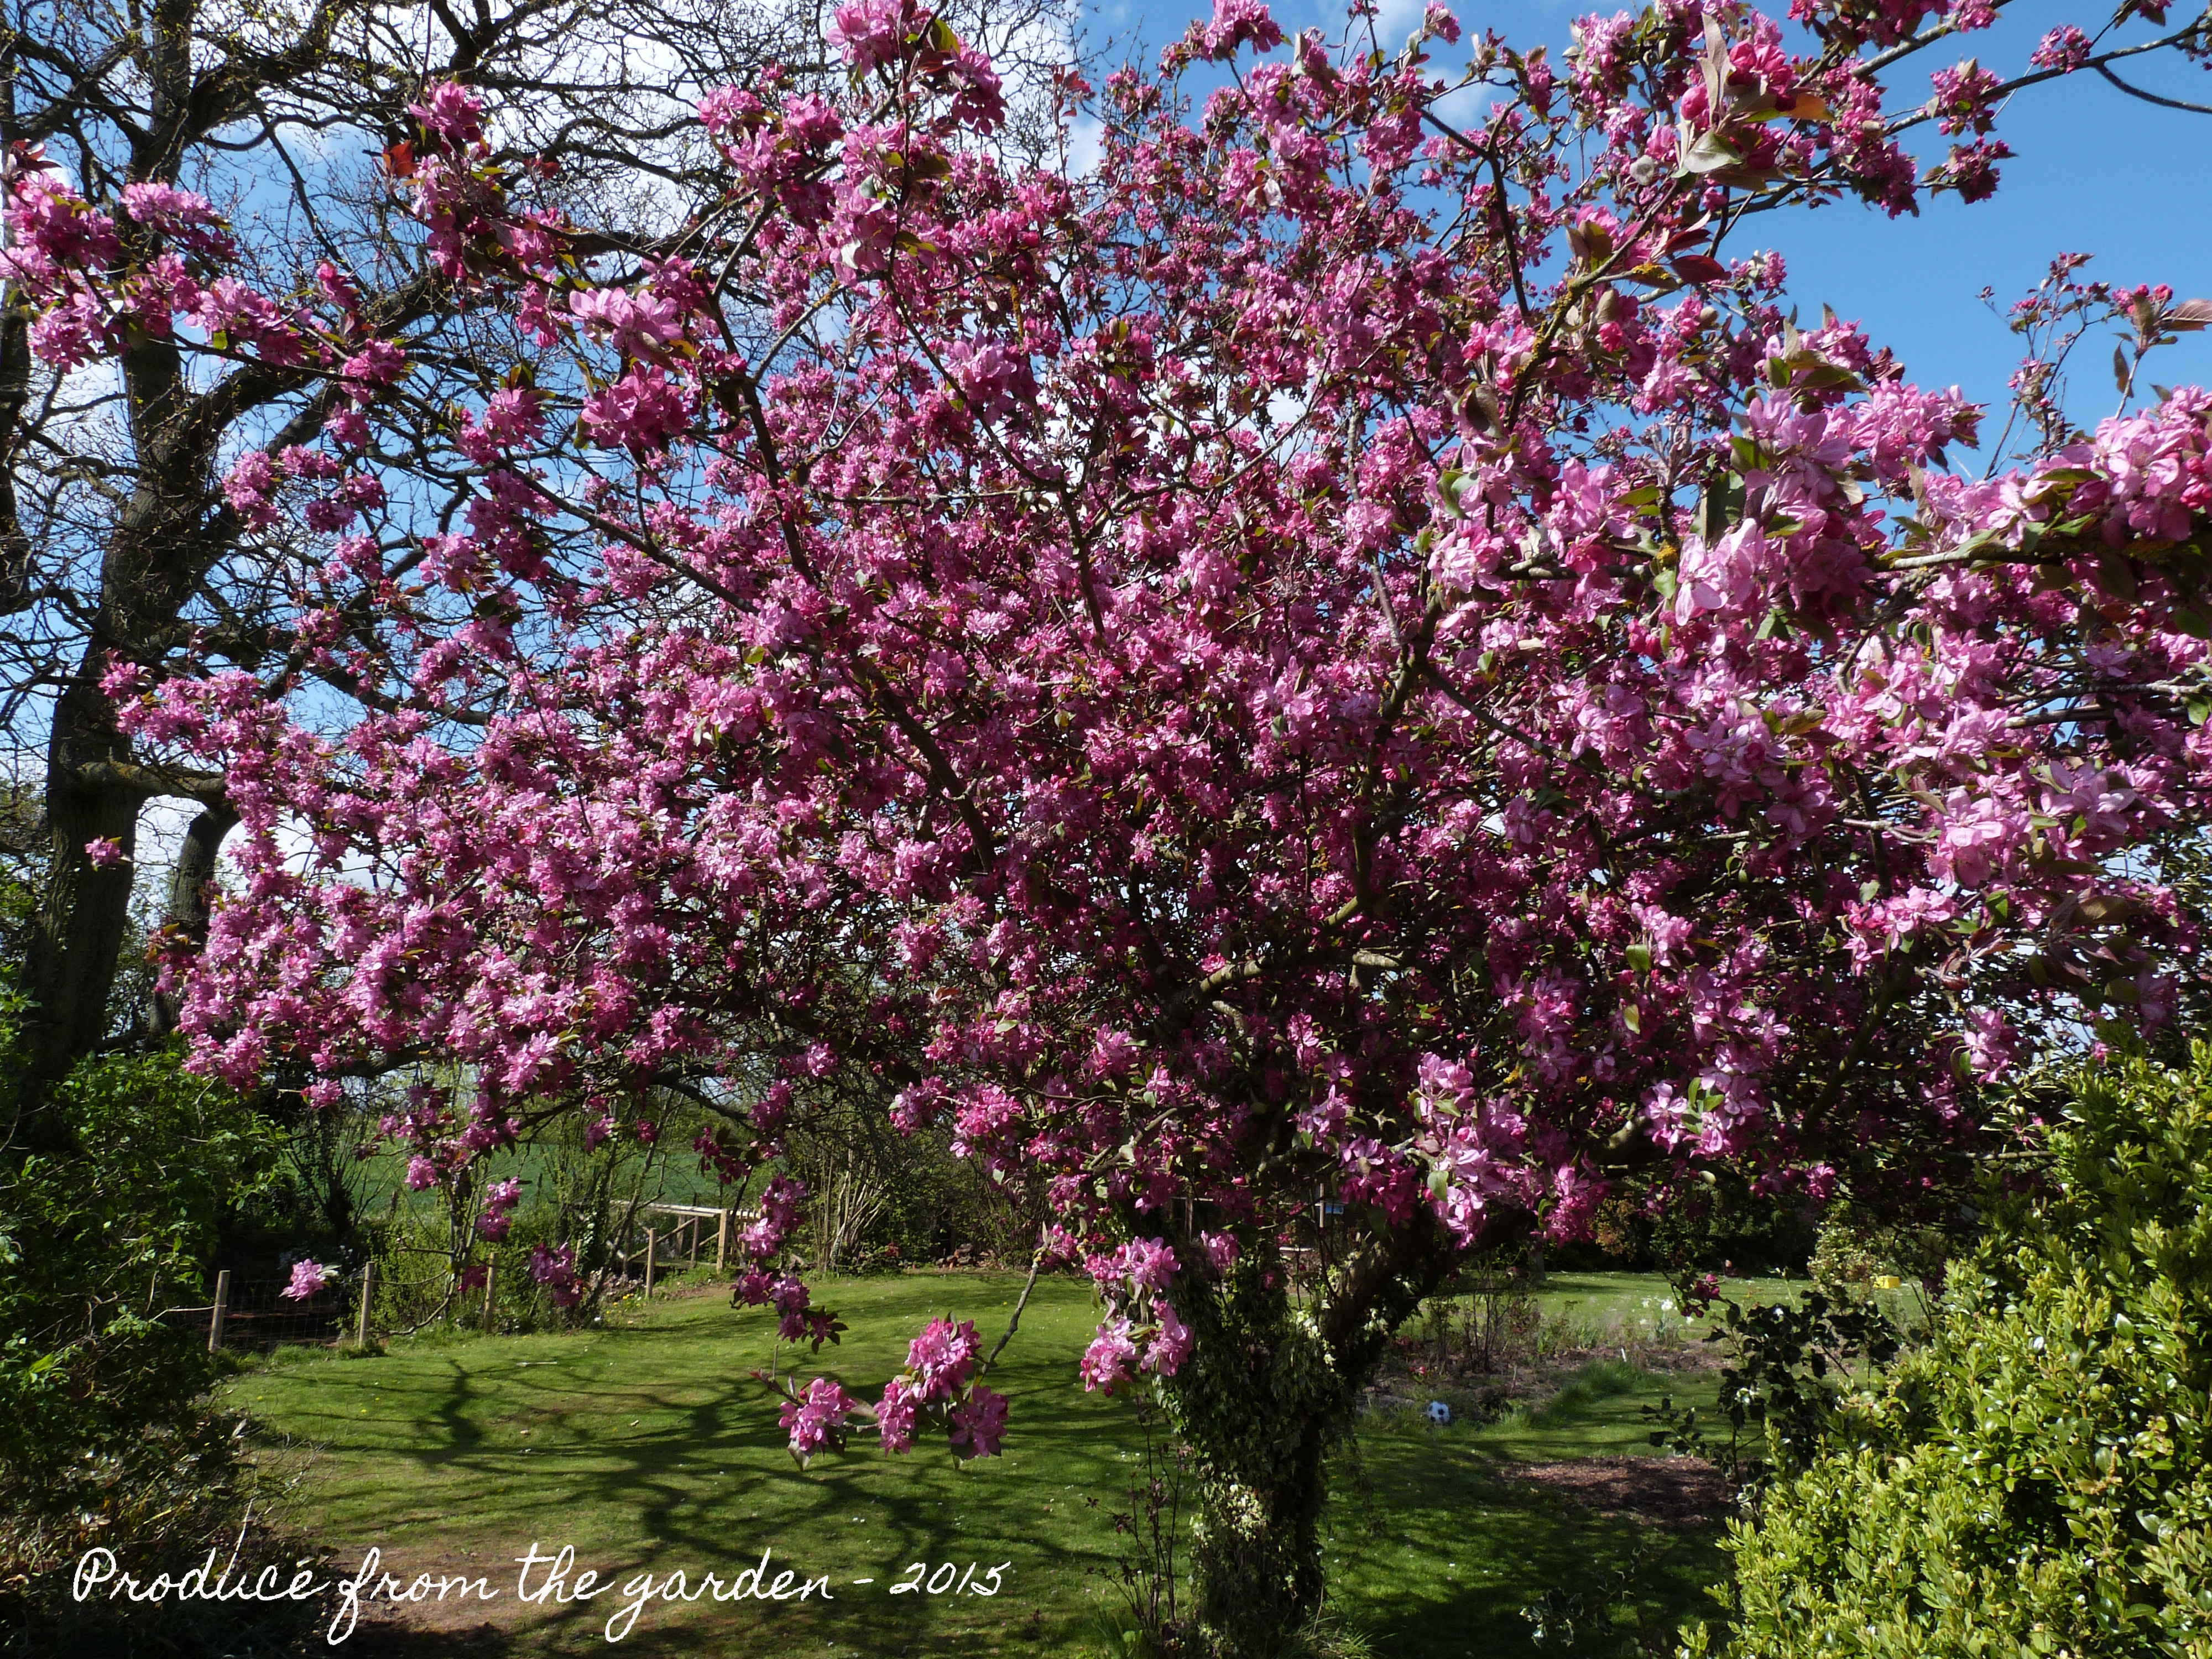
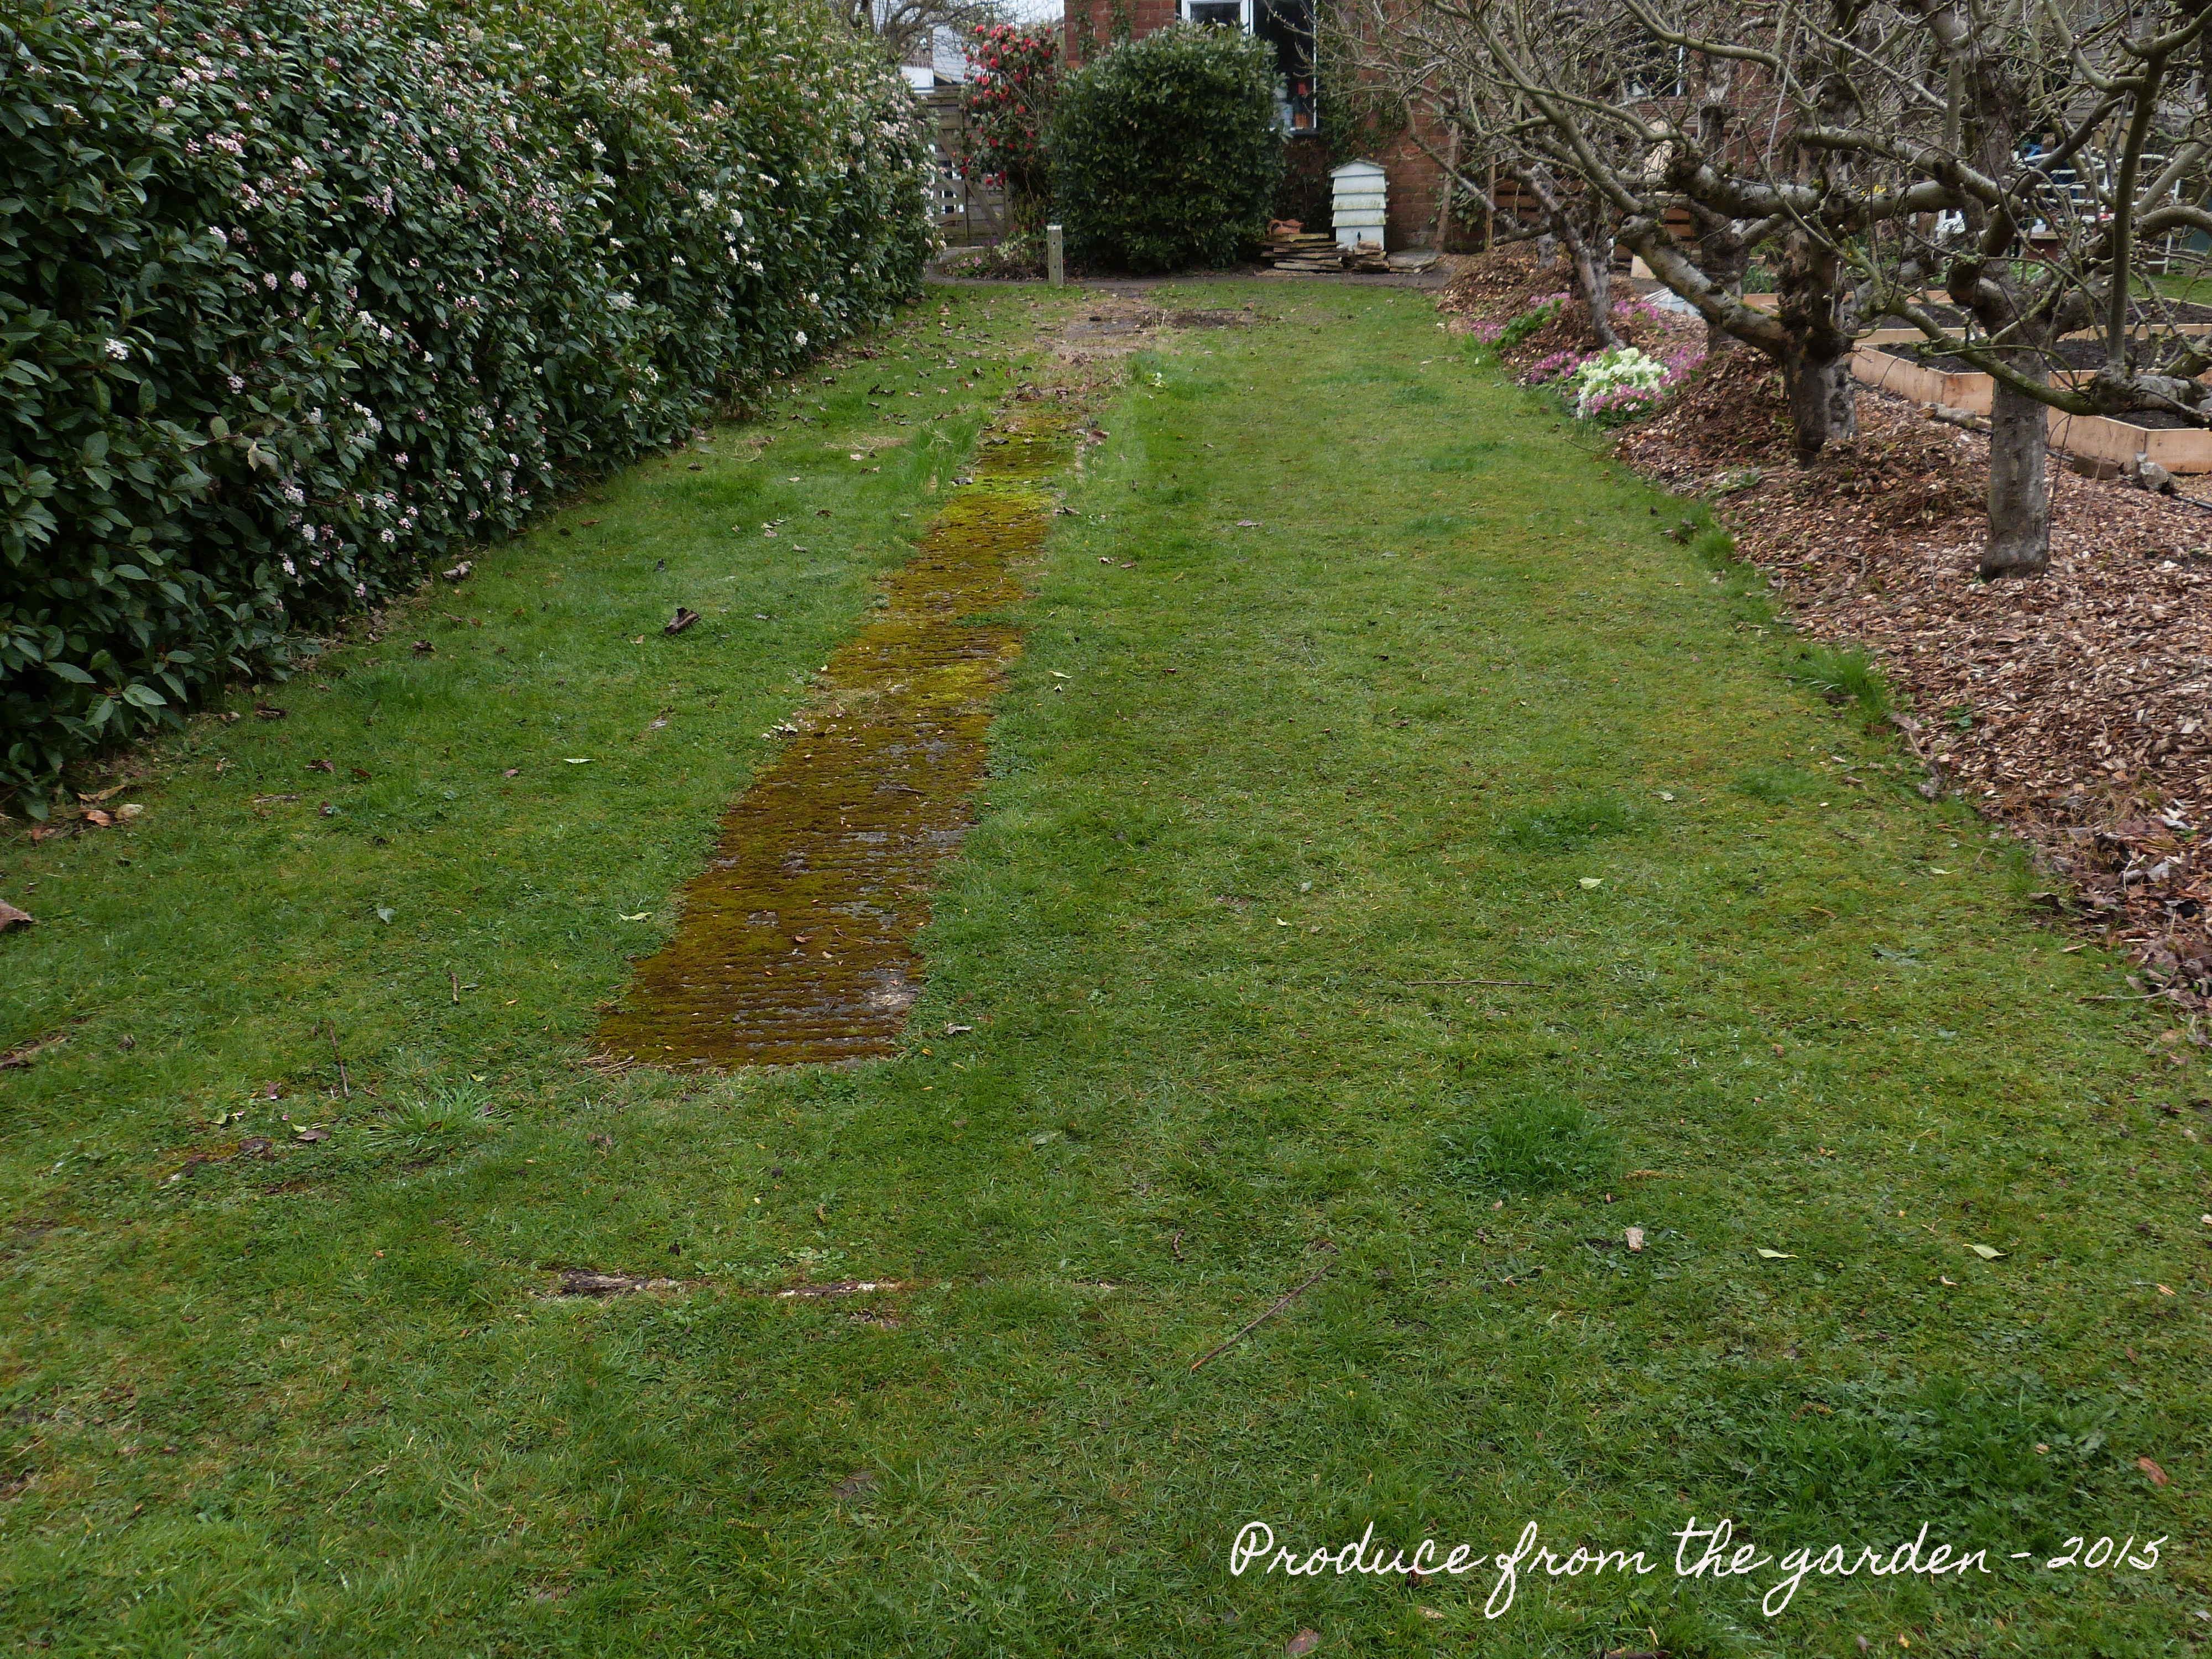
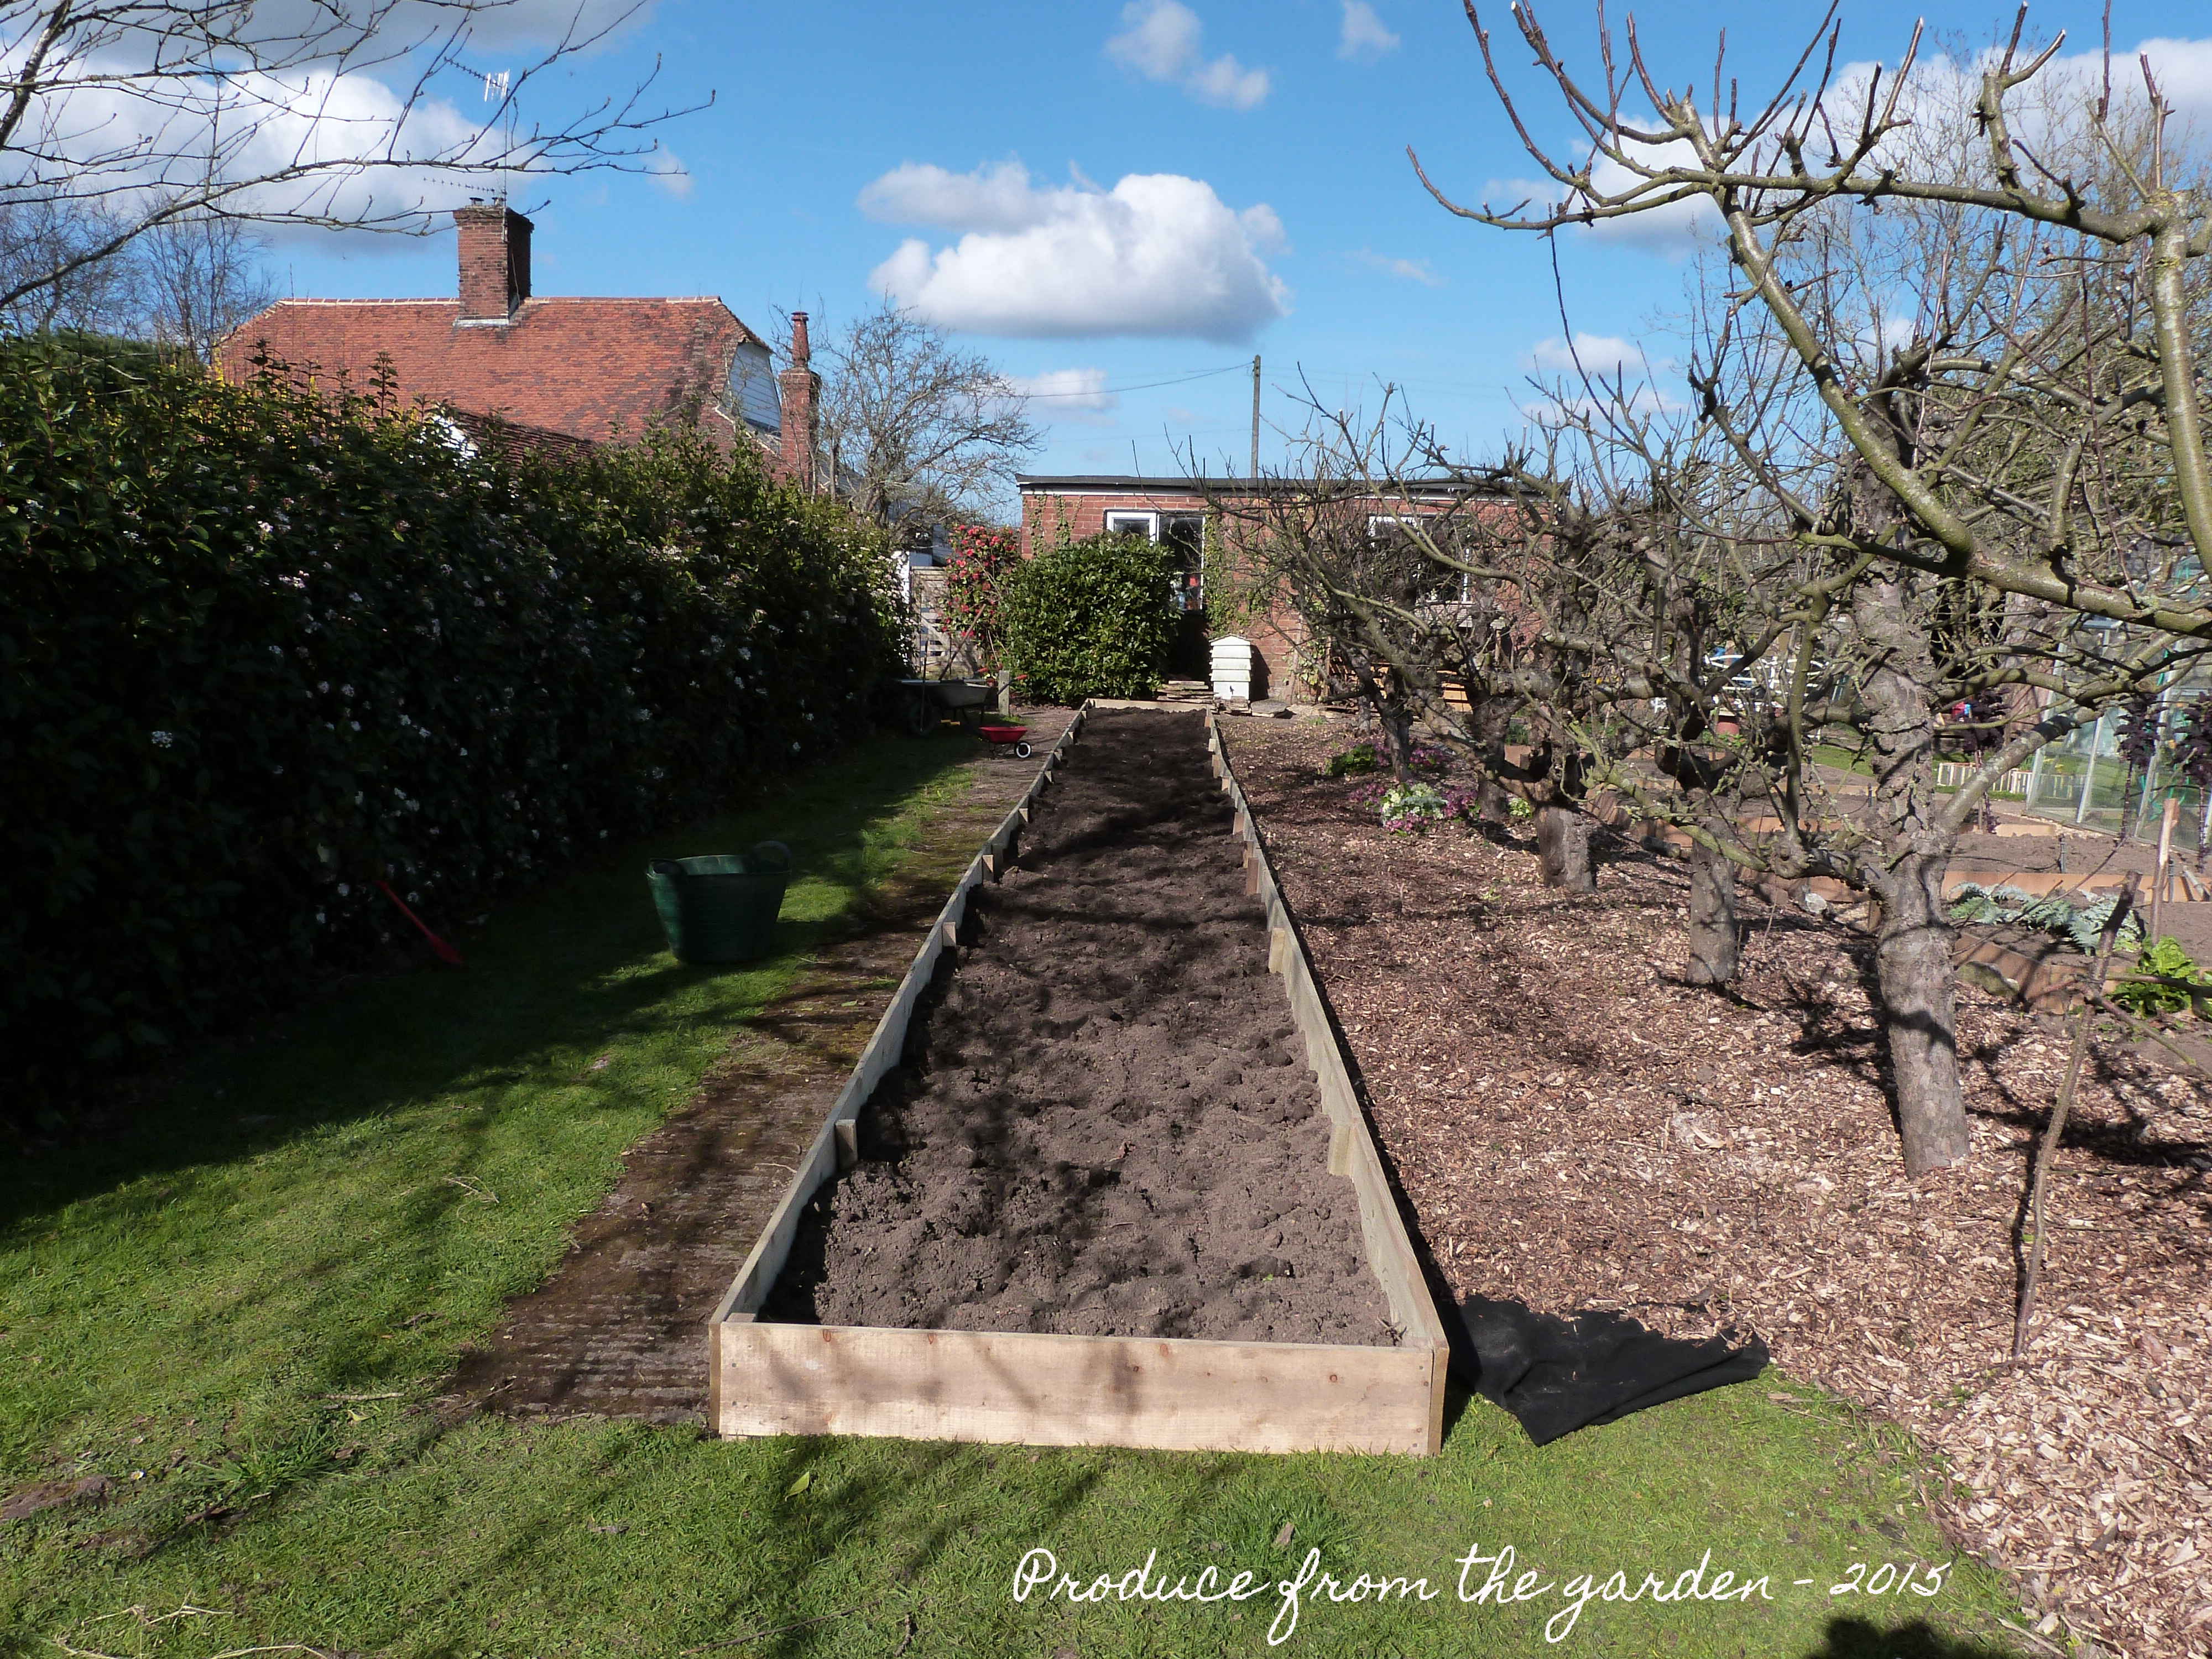
Kent is a desert. I’ve heard several gardeners describe the ‘Garden of England’ that way. Maybe a little excessive, but we do suffer in summer from lack of rainfall. Last year whilst renovating our home I did grow a few essential veg, they were a dehydrated disaster. I had no time to water on a regular basis, and to be honest still don’t. Raised beds are going to dry out quicker than those at ground level, which also adds to this watering issue. I garden on heavy clay soil; during dry spells the soil becomes solid and as hard as a brick. Adding garden compost, leaf mould and mulching all helps but water is the key to successful vegetables and cut flowers.

Now, my lovely friends who live round the corner had beans, courgettes and cucumbers. coming out of their ears last summer. They had a watering system. Whilst they were on holiday I was given permission to be in charge of this horticultural miracle. I have decided that it’s the most sensible way forward to ensure bountiful produce from our kitchen garden this year.

  Watering system kit
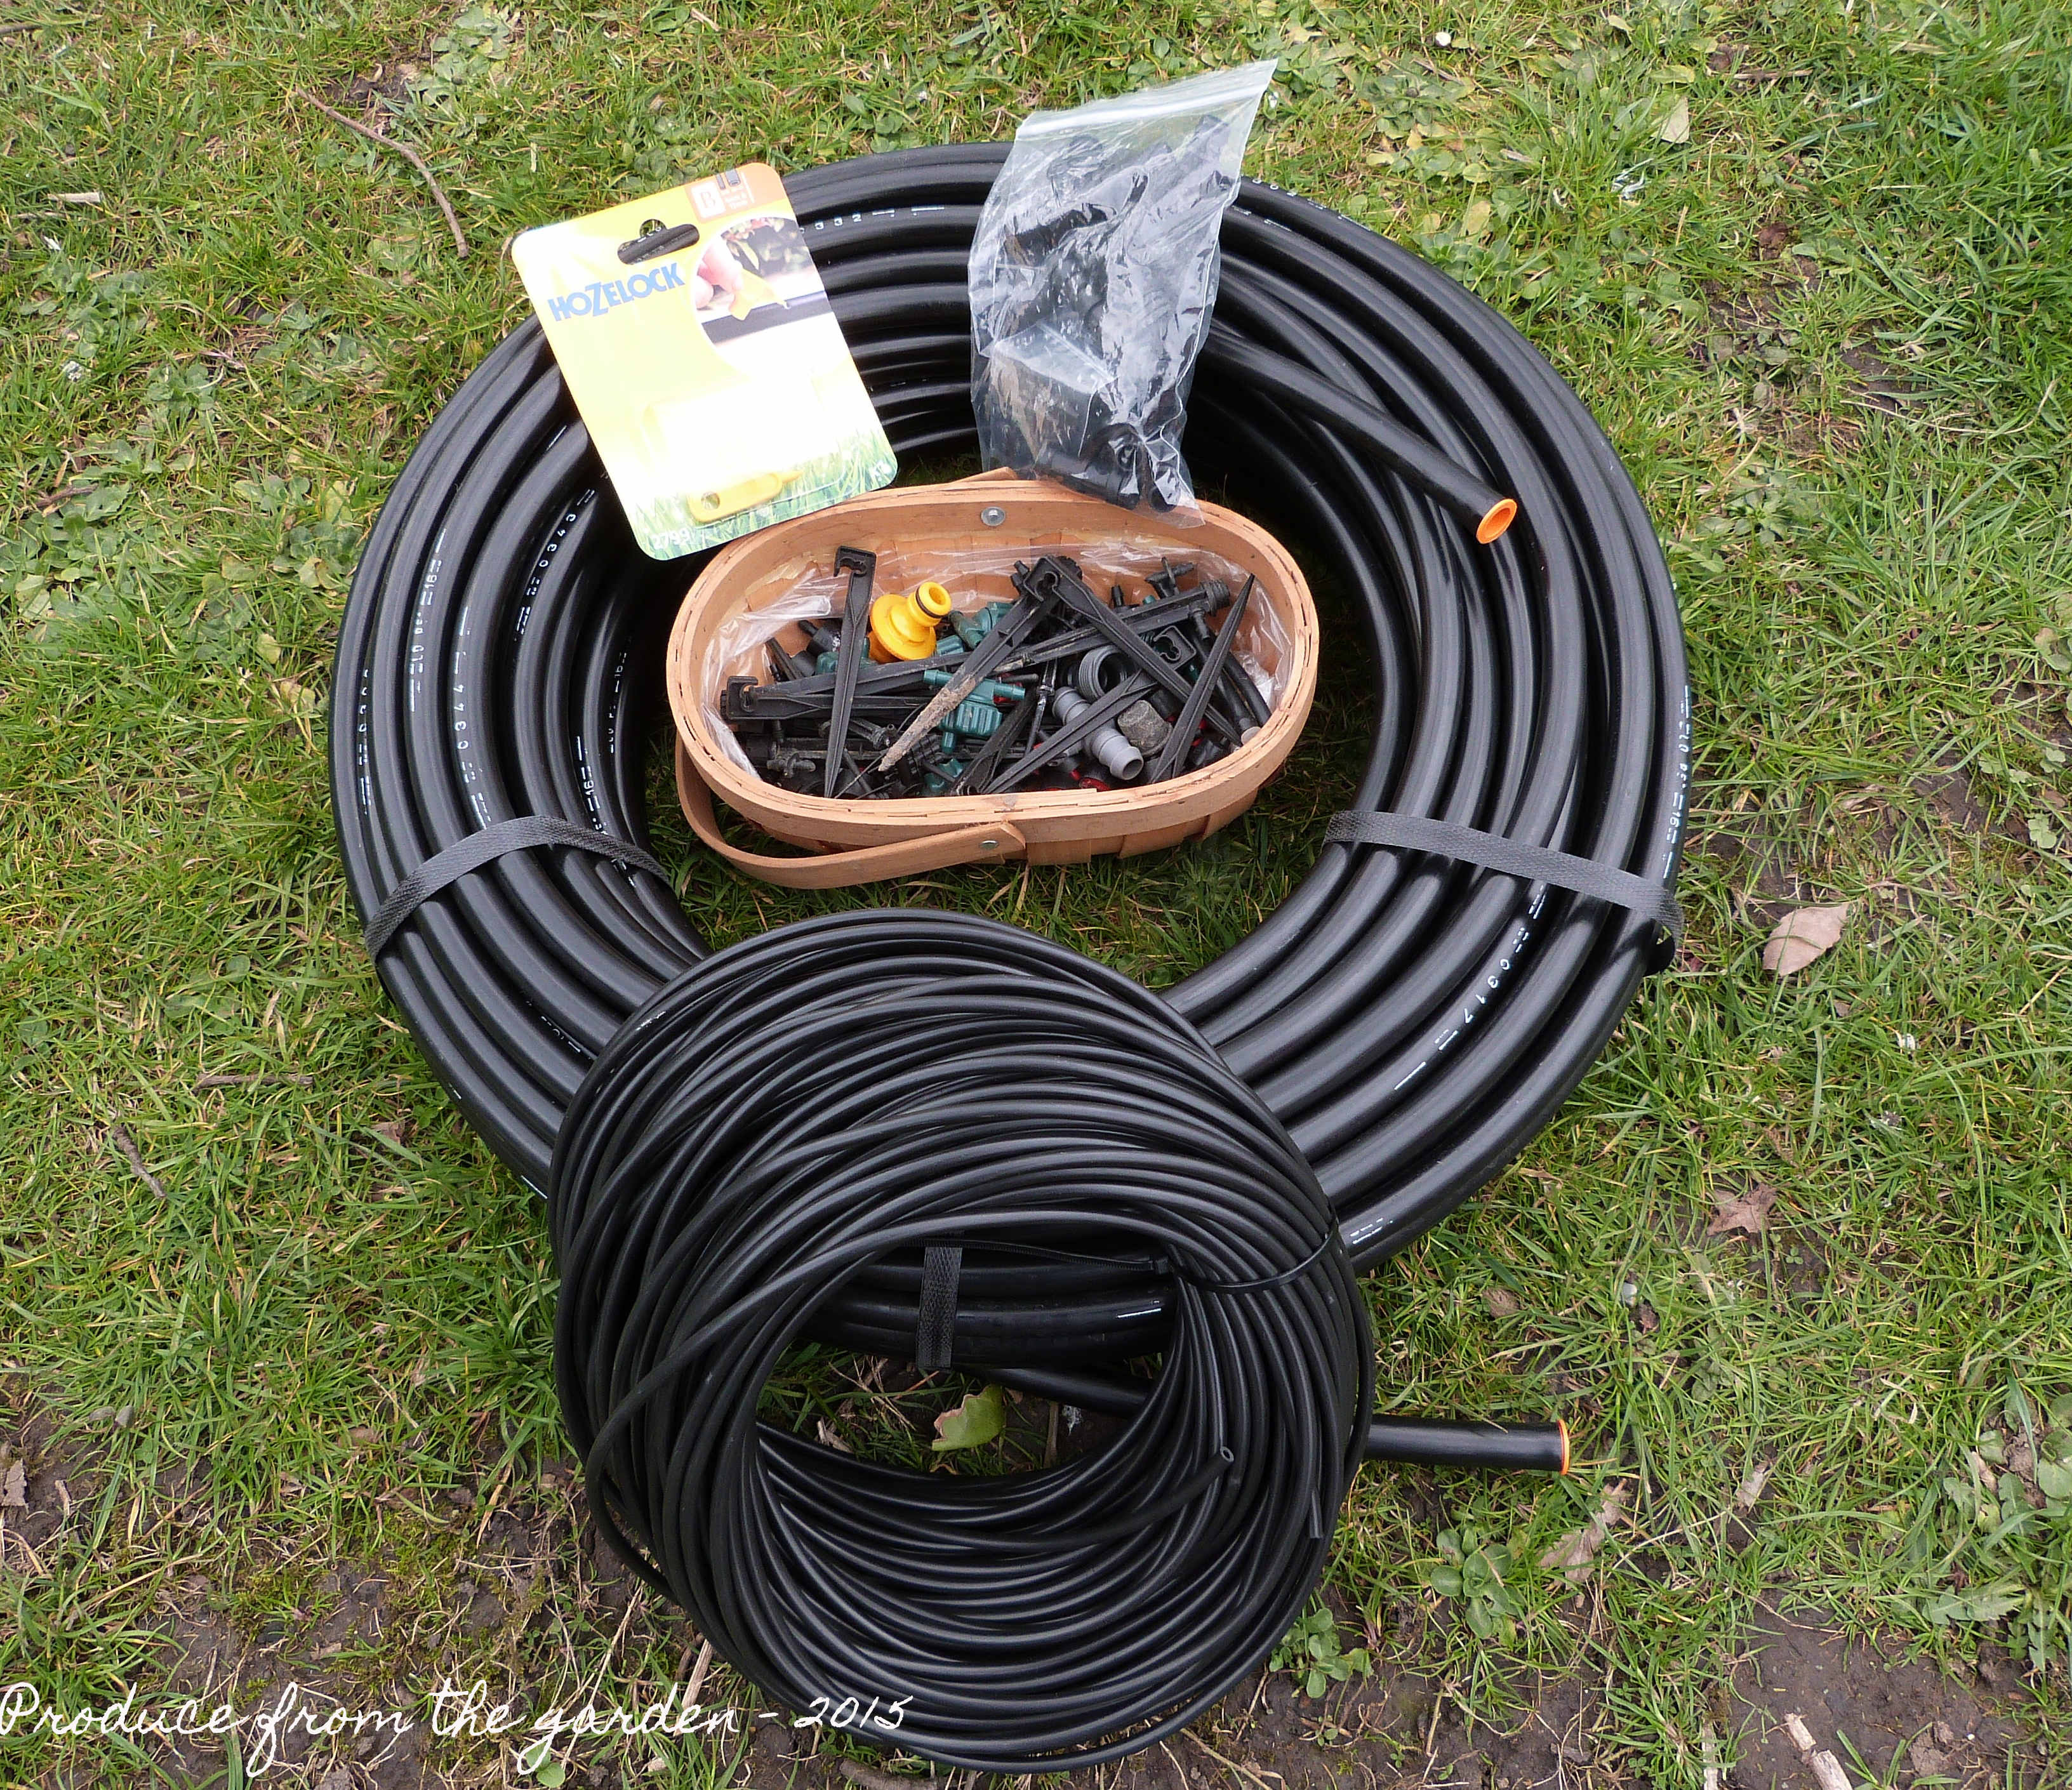
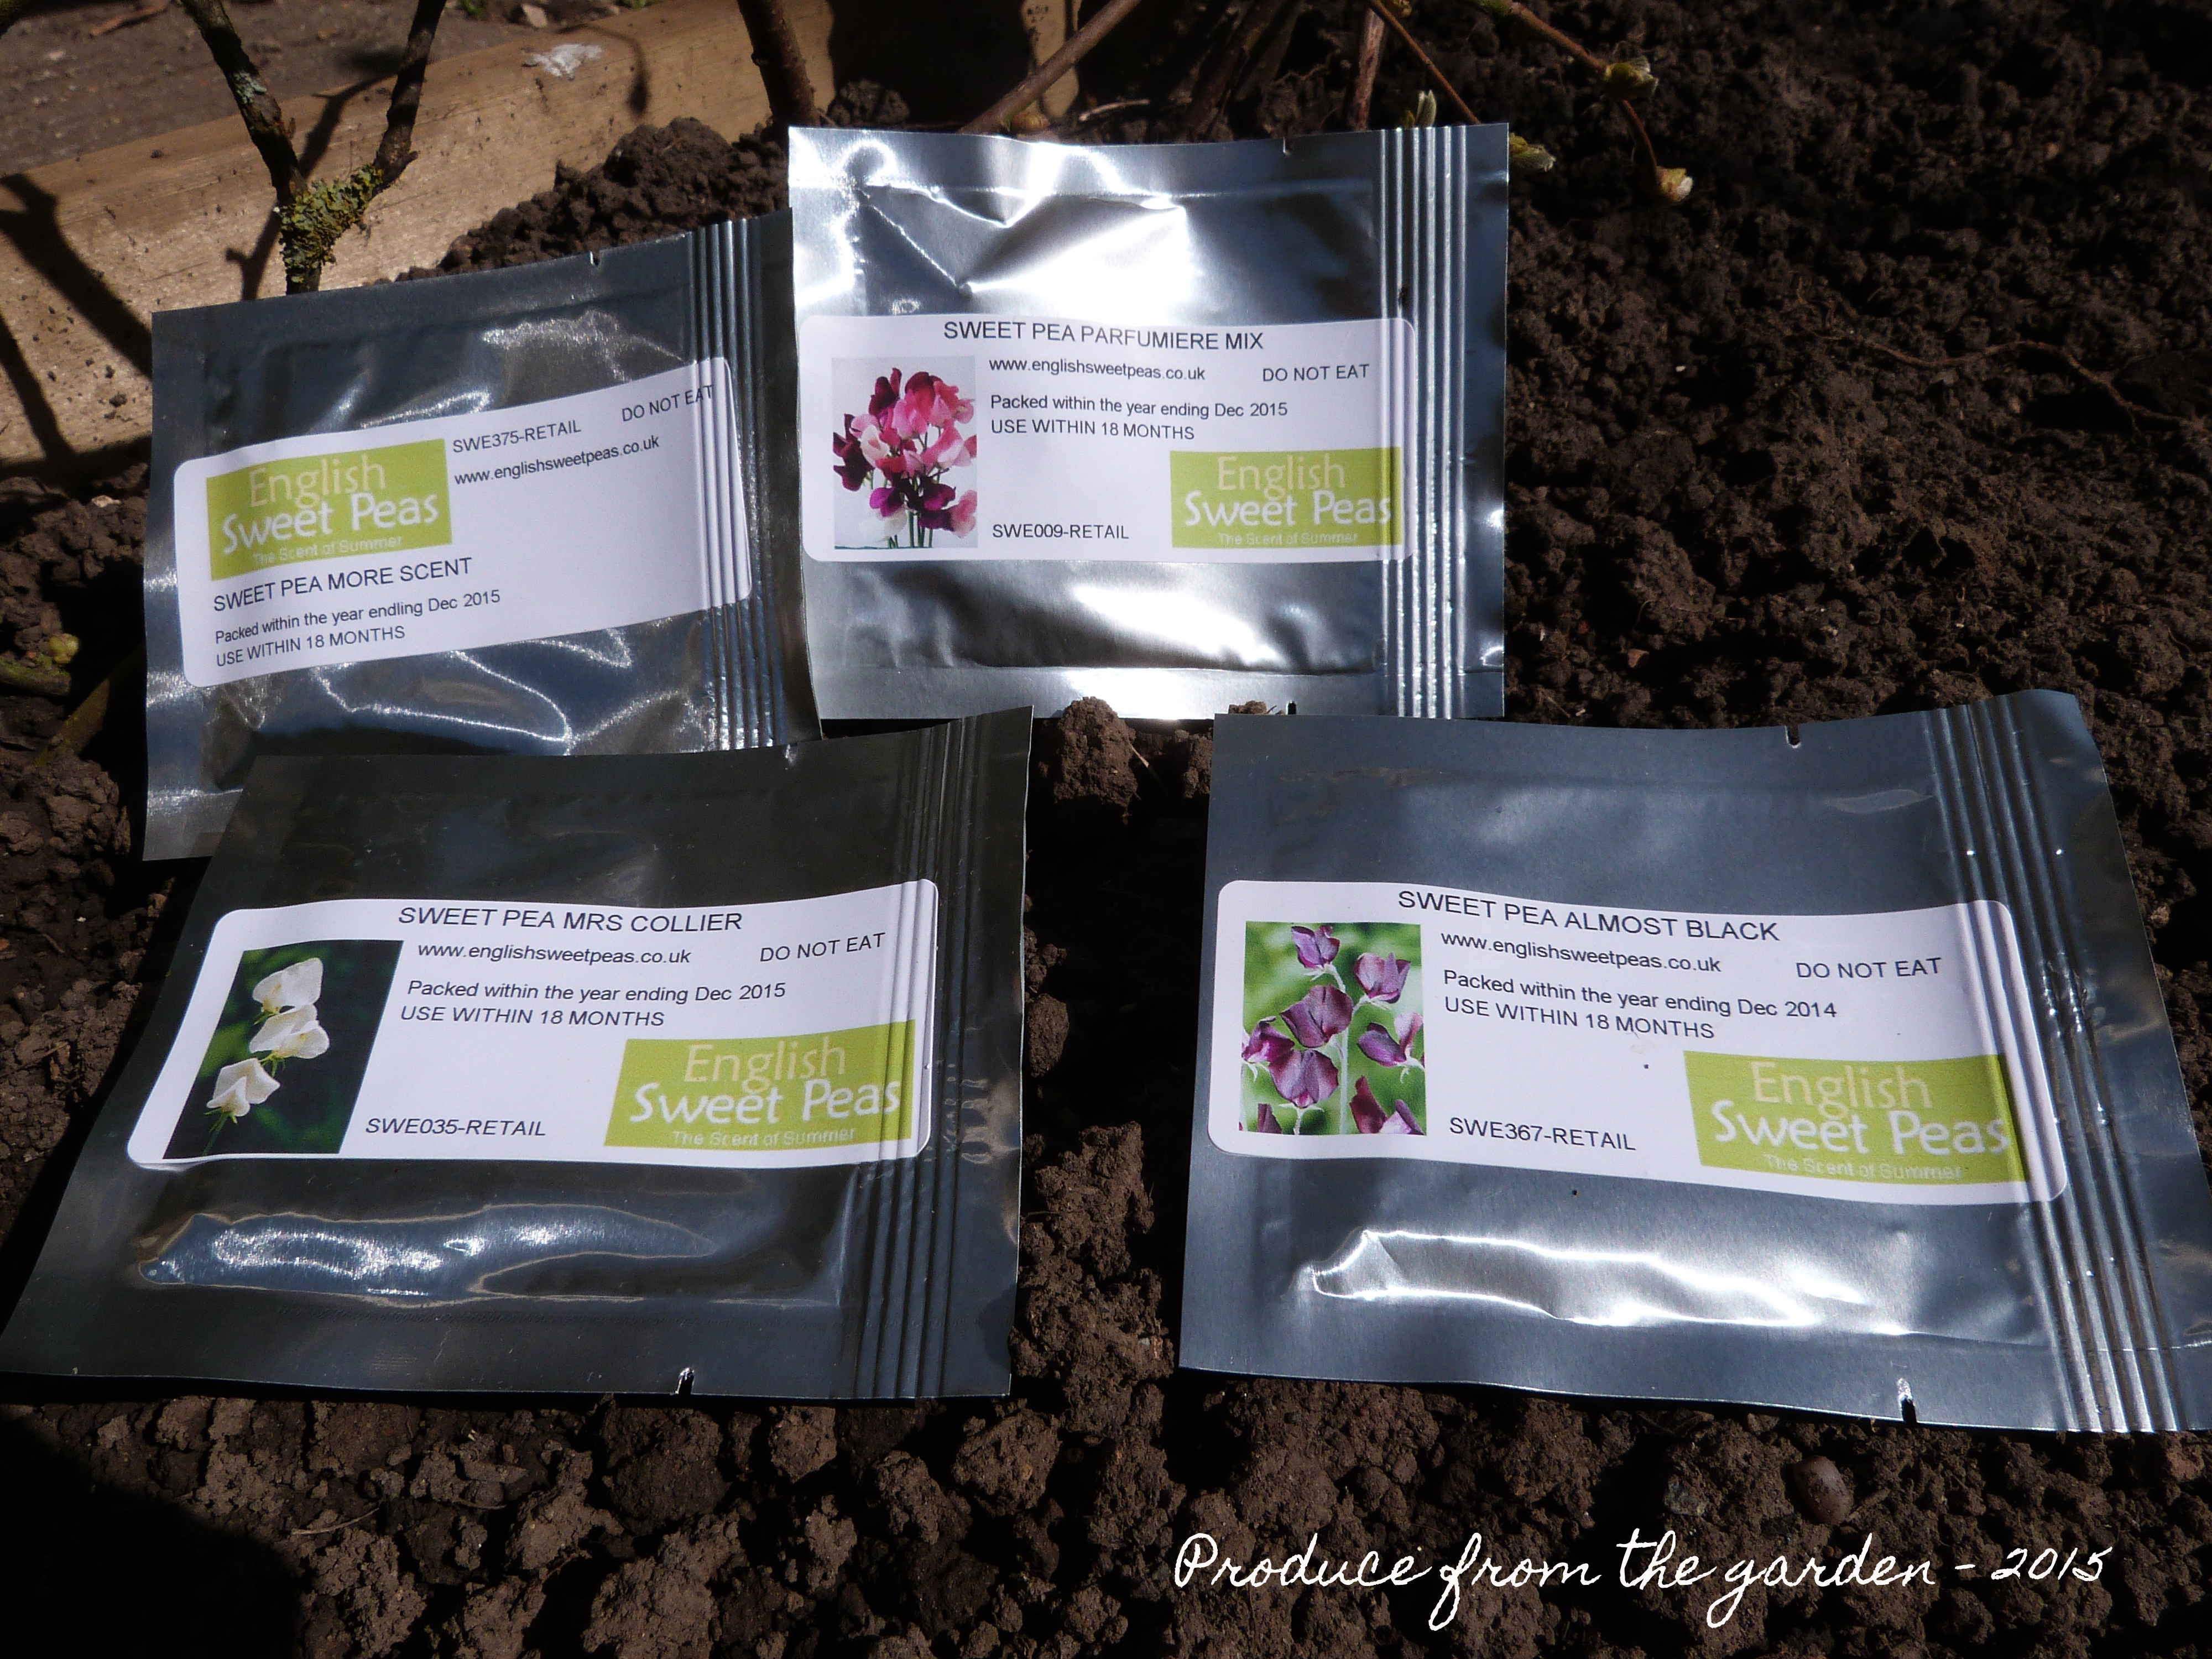
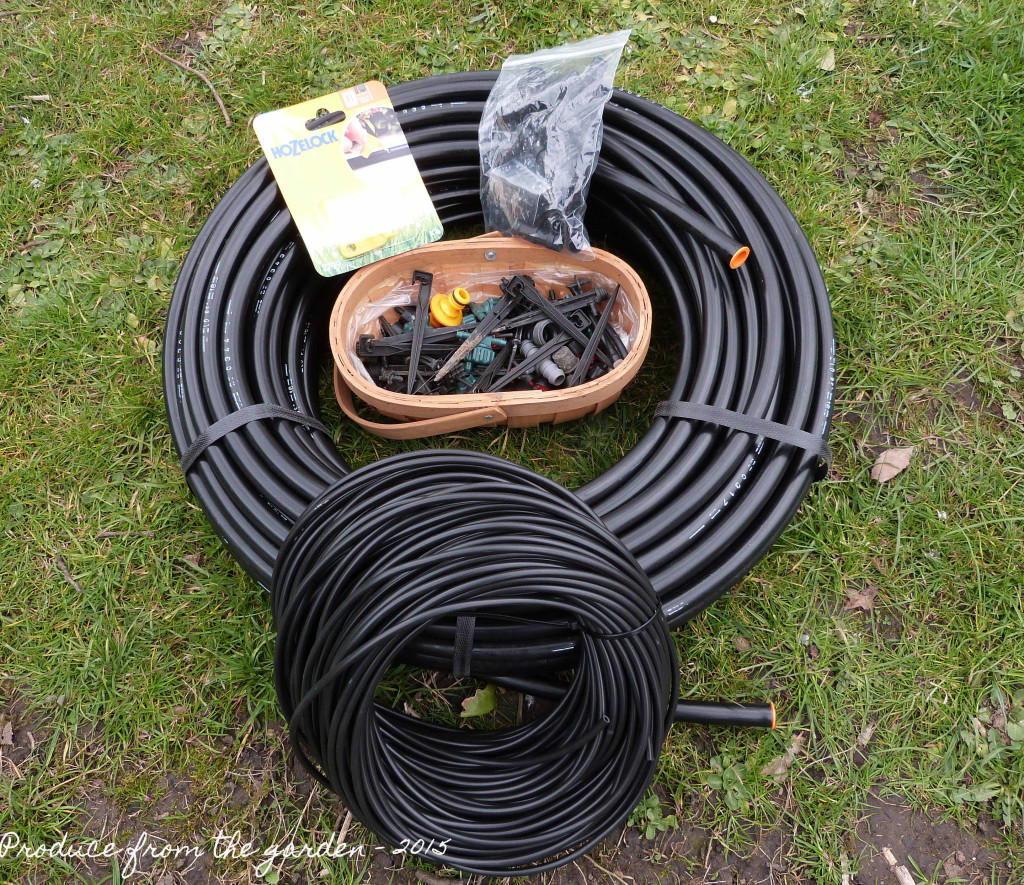
The watering system kit

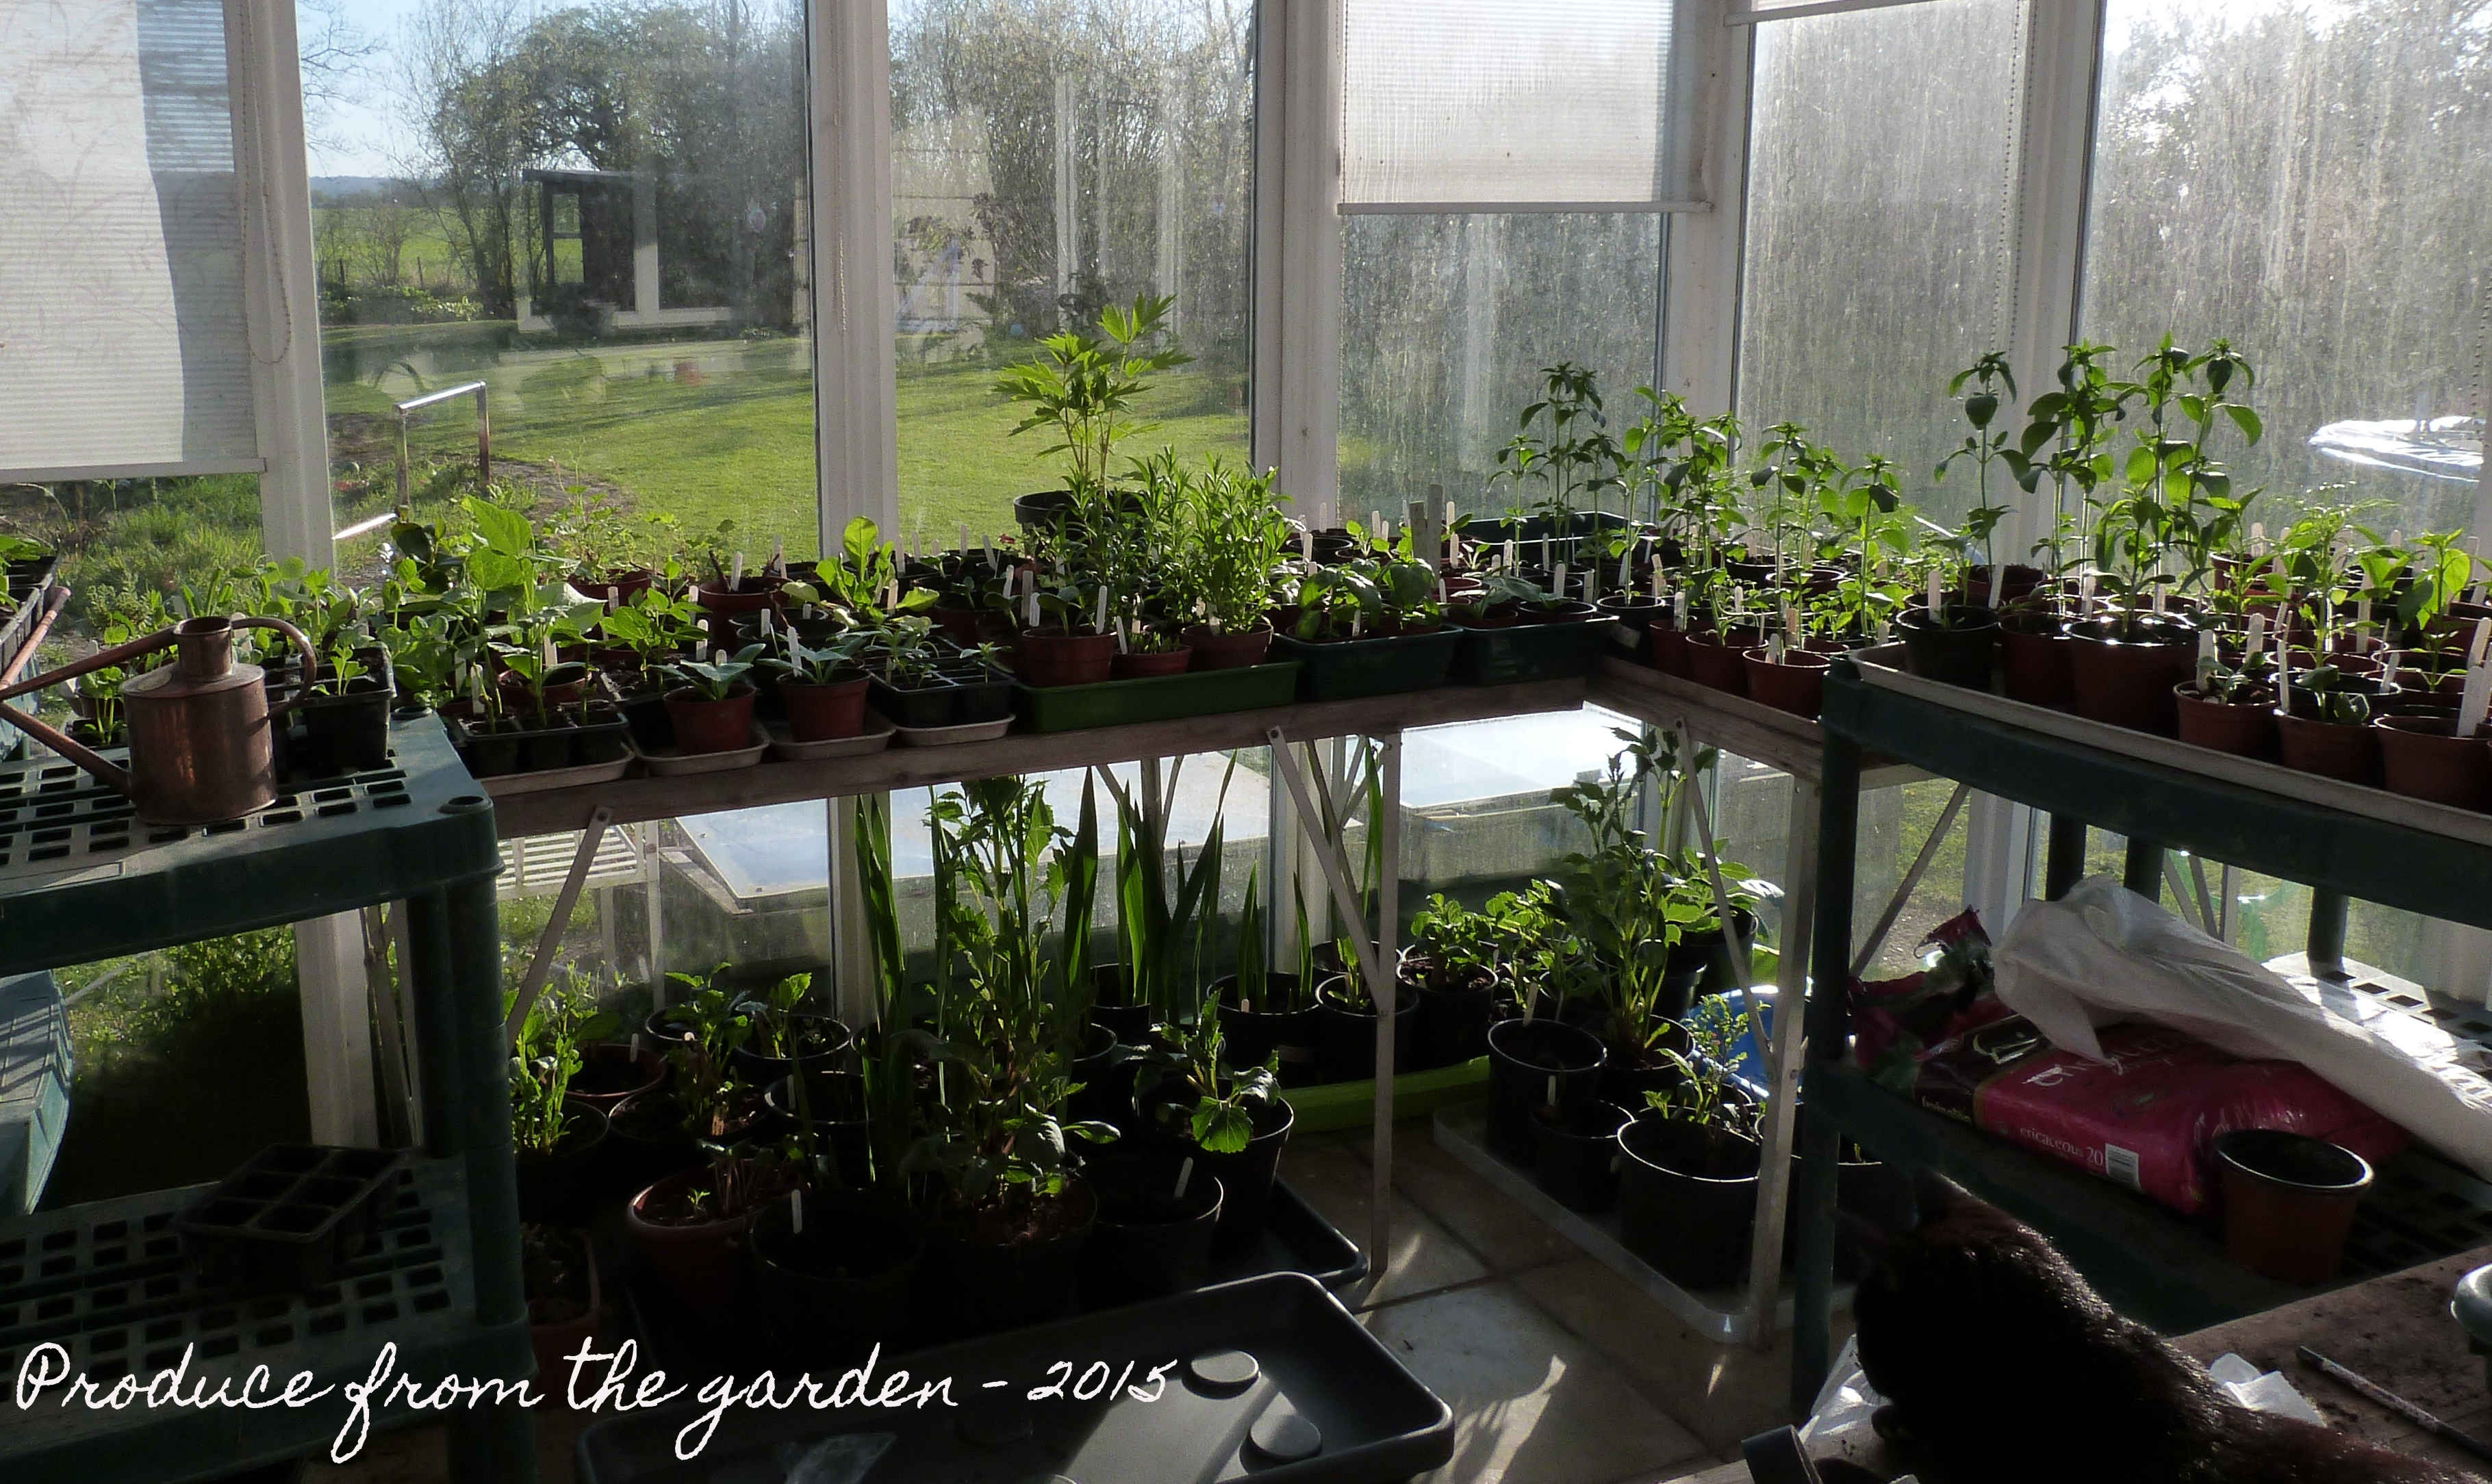
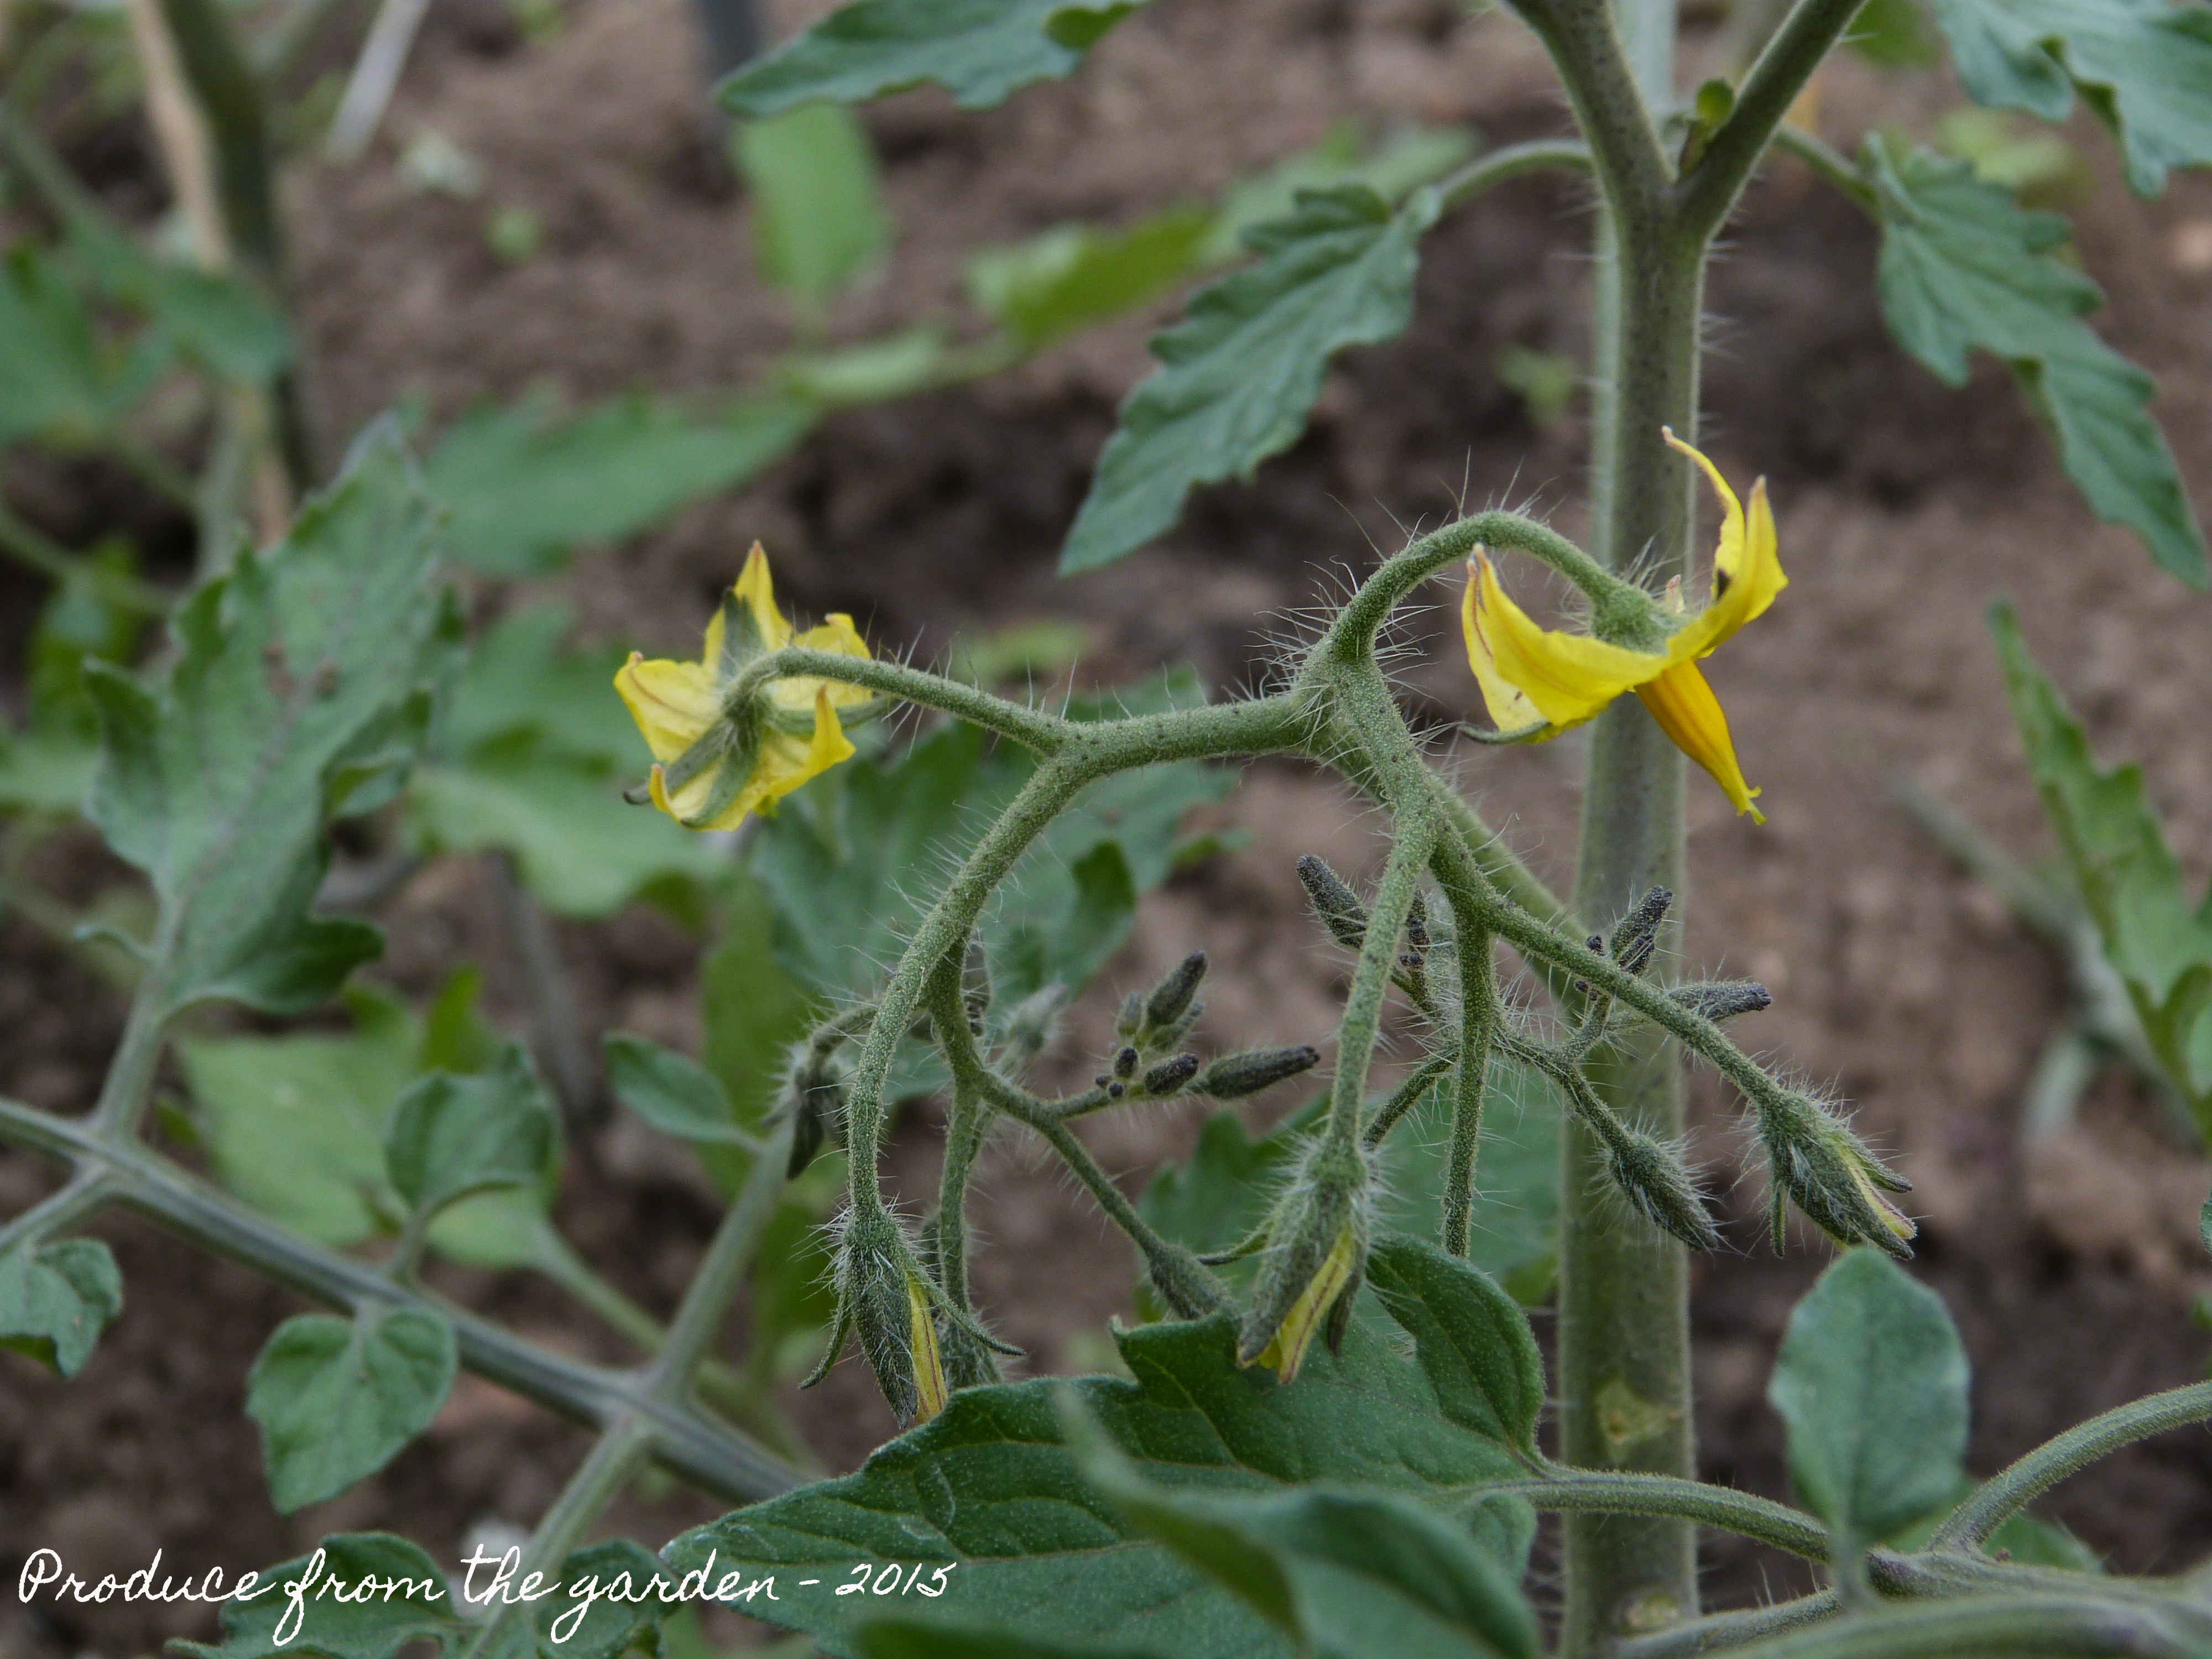
I have set up micro flow dripper heads in the greenhouse; this is basically a mini fountain with 6 trickles of water from each head. So far so good, they’re keeping the tomatoes, tomatillos, cucumbers and basil well watered. They’re growing at the rate of knots. So are the weeds! The hoe has to come out once a week to keep them down.

Micro flow dripper head
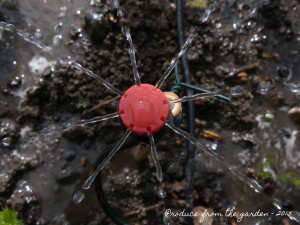
Micro flow dripper Heads

Mini 360 degree spinkler
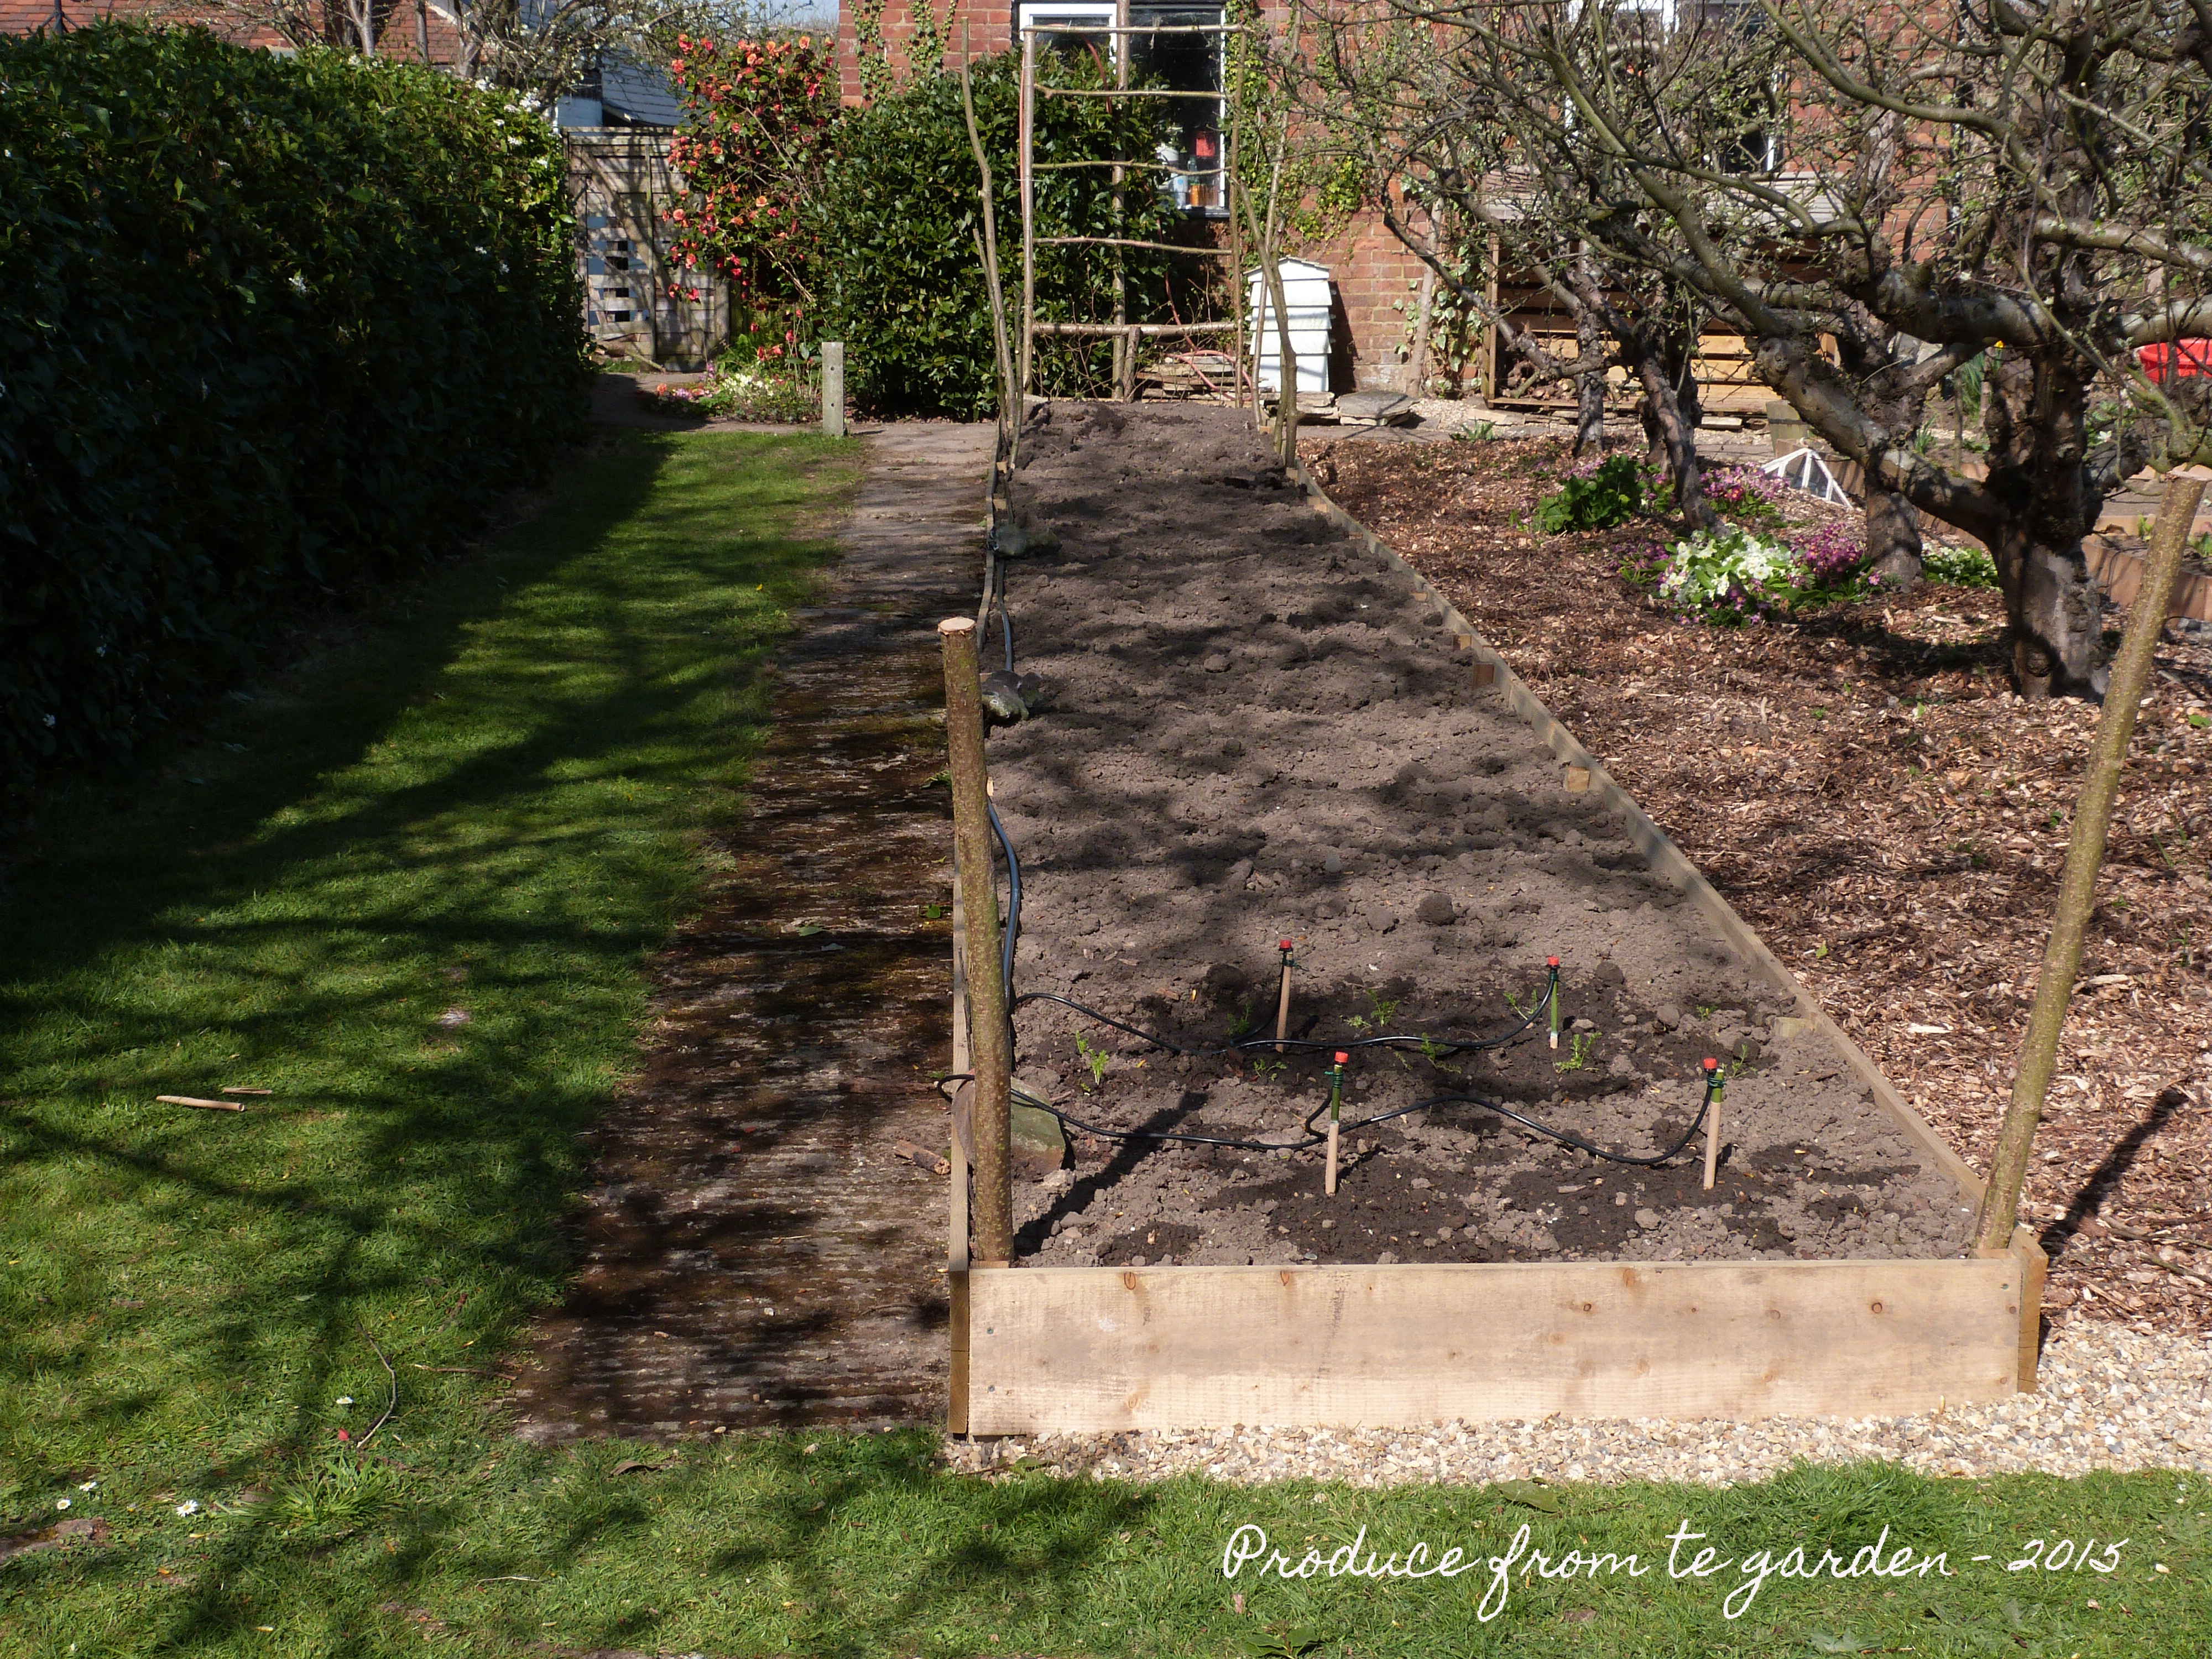
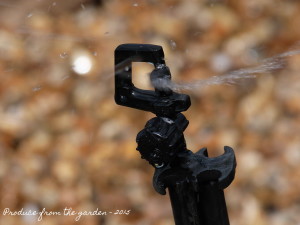
Mini 360 degree sprinkler


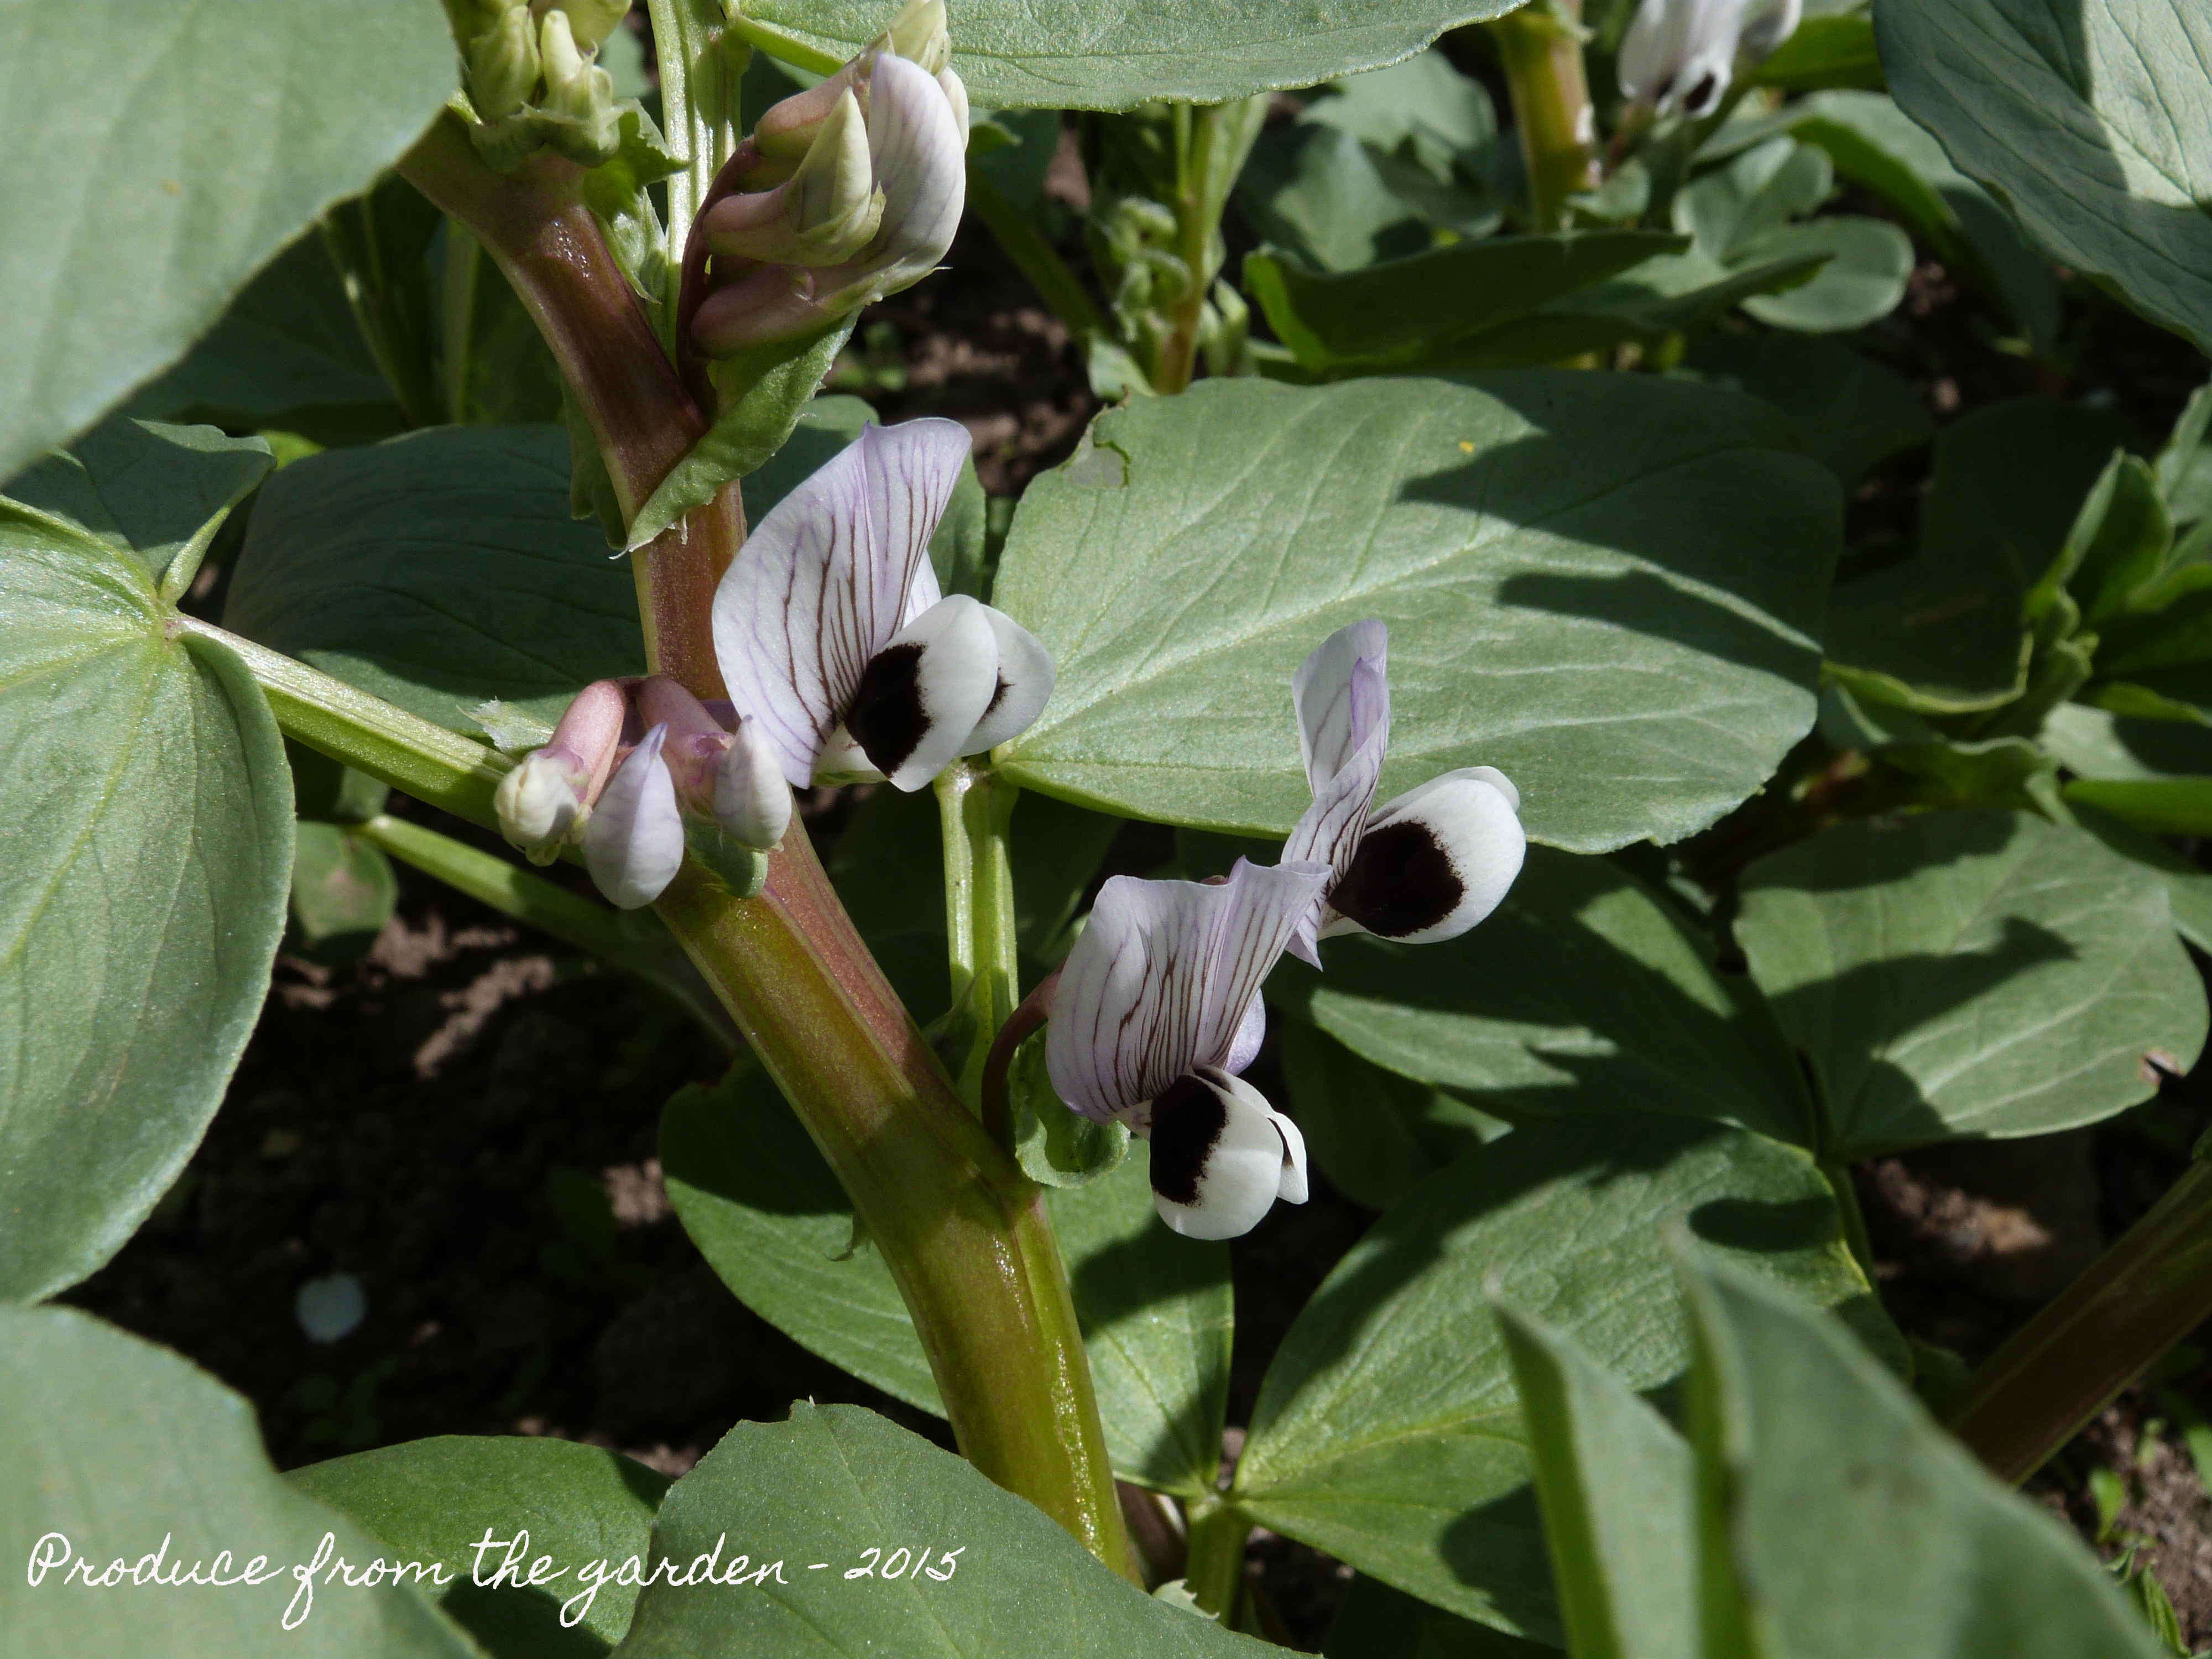
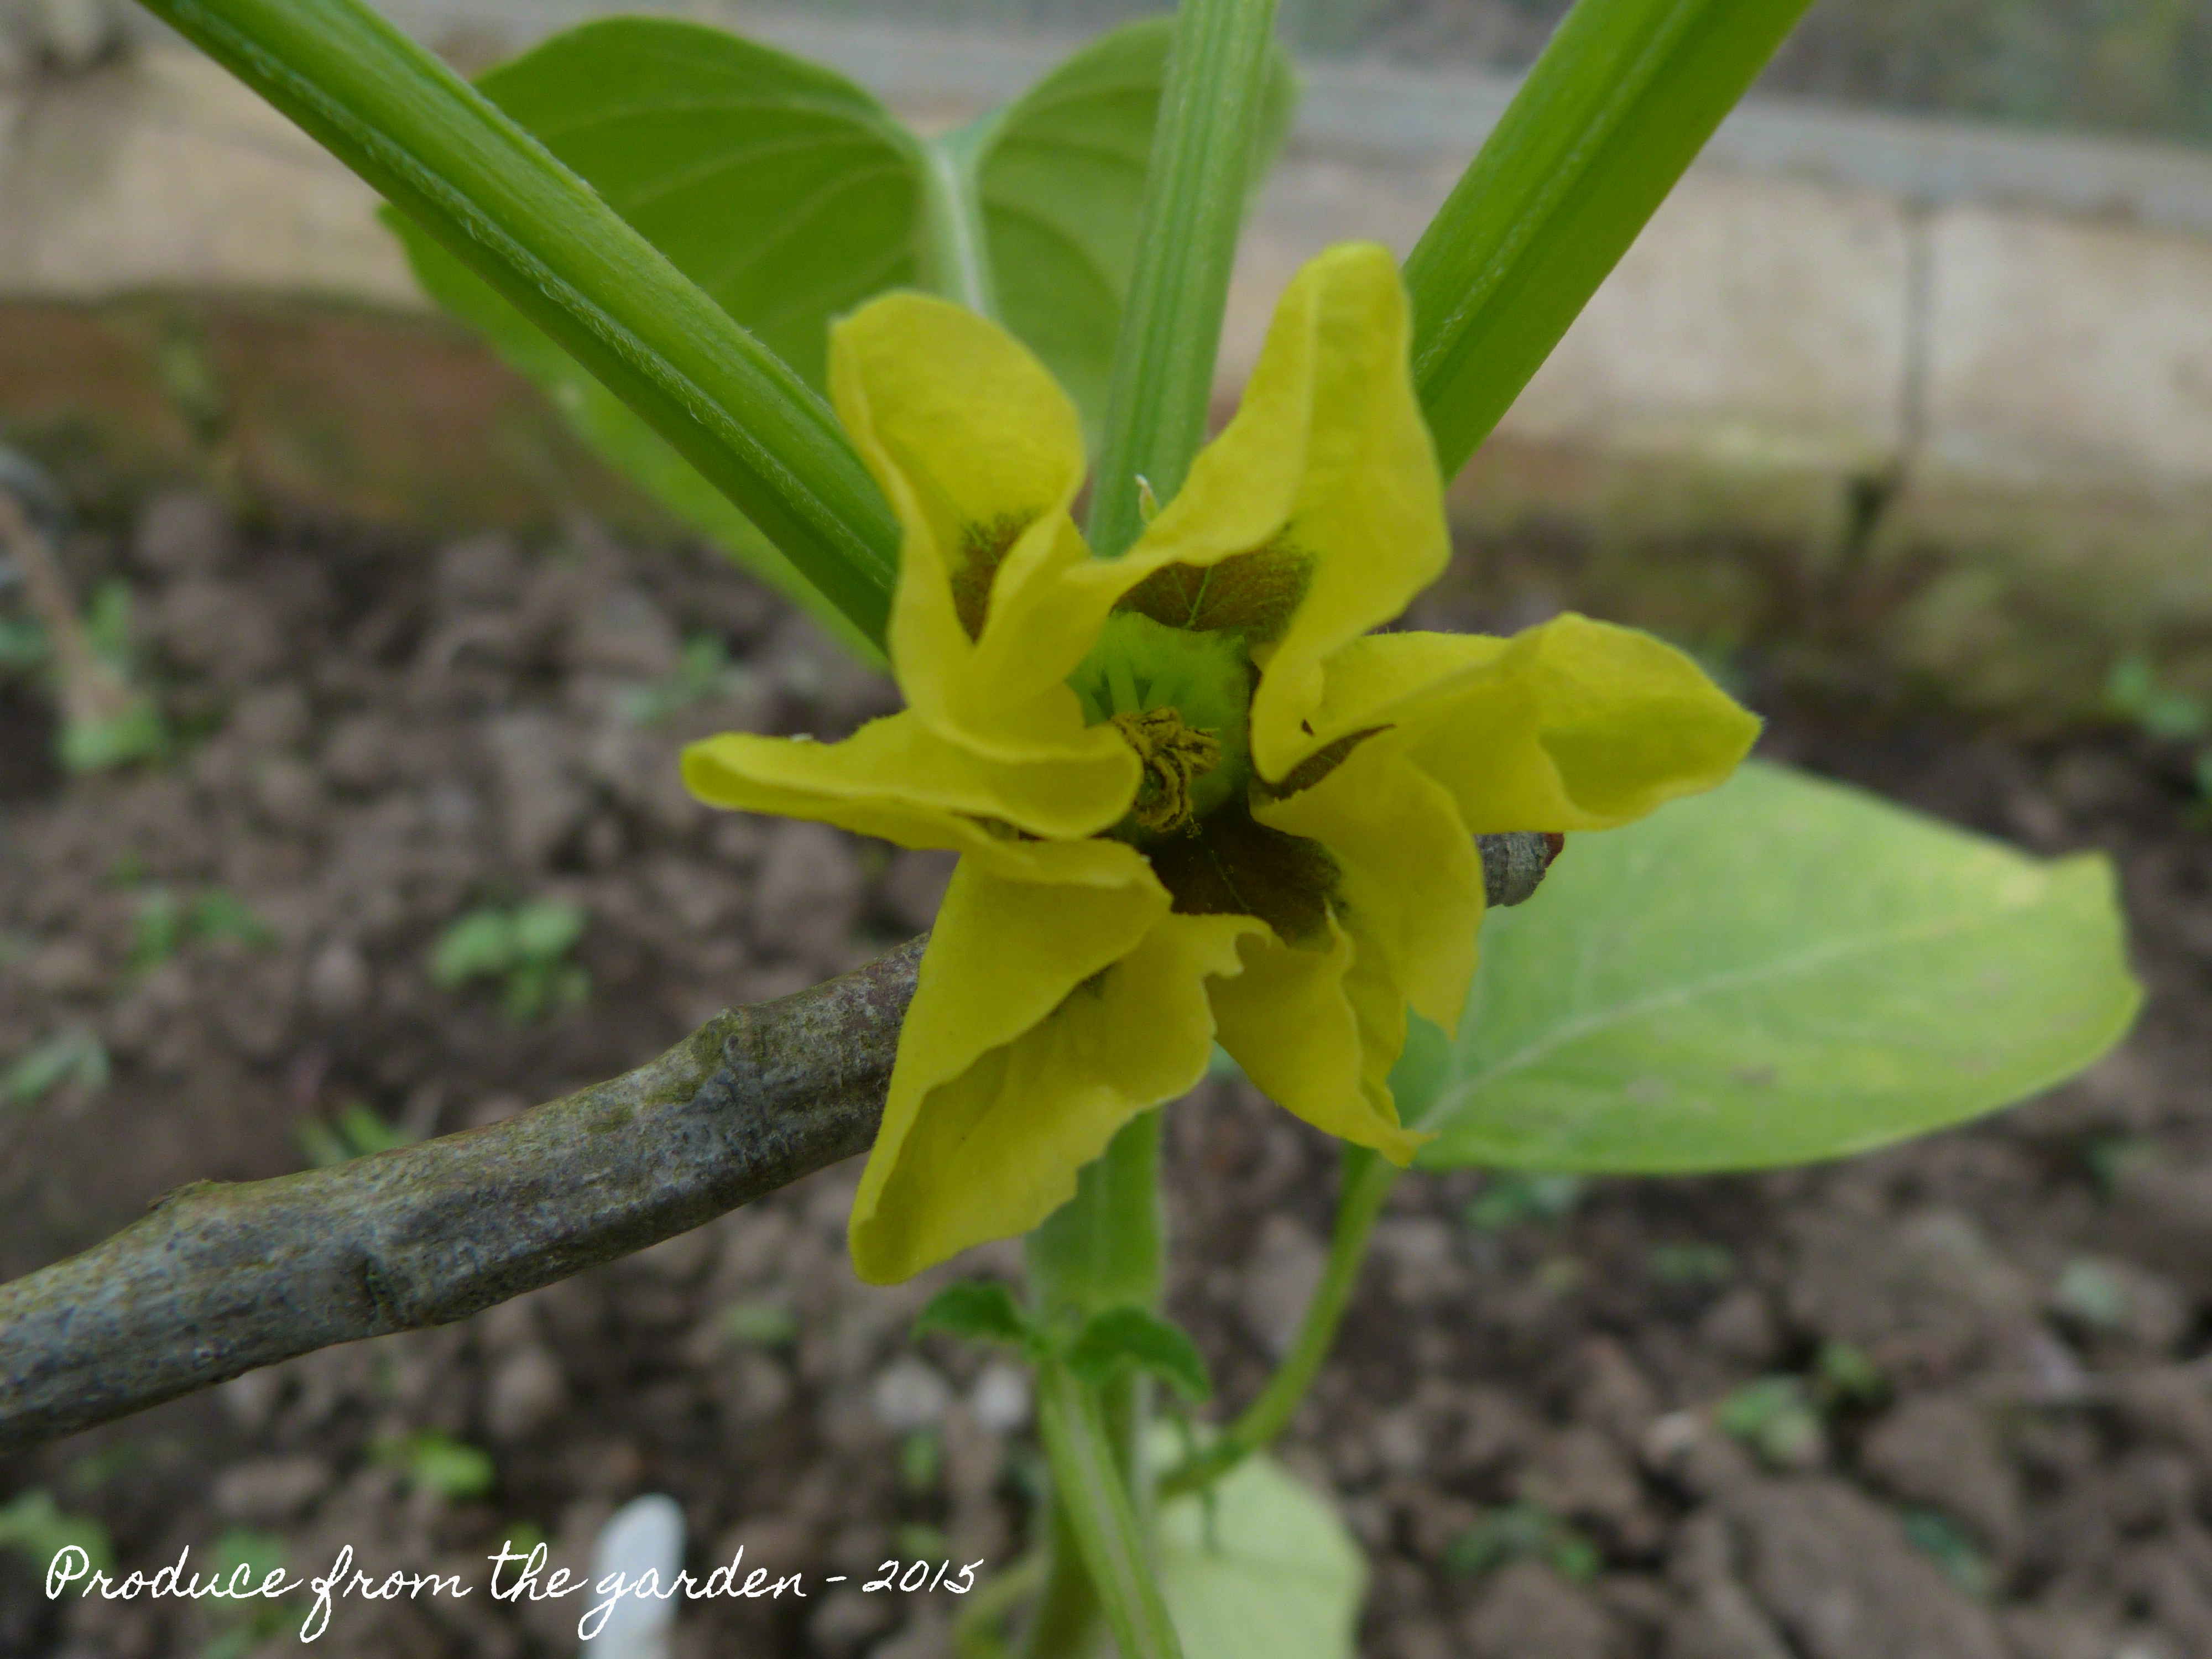
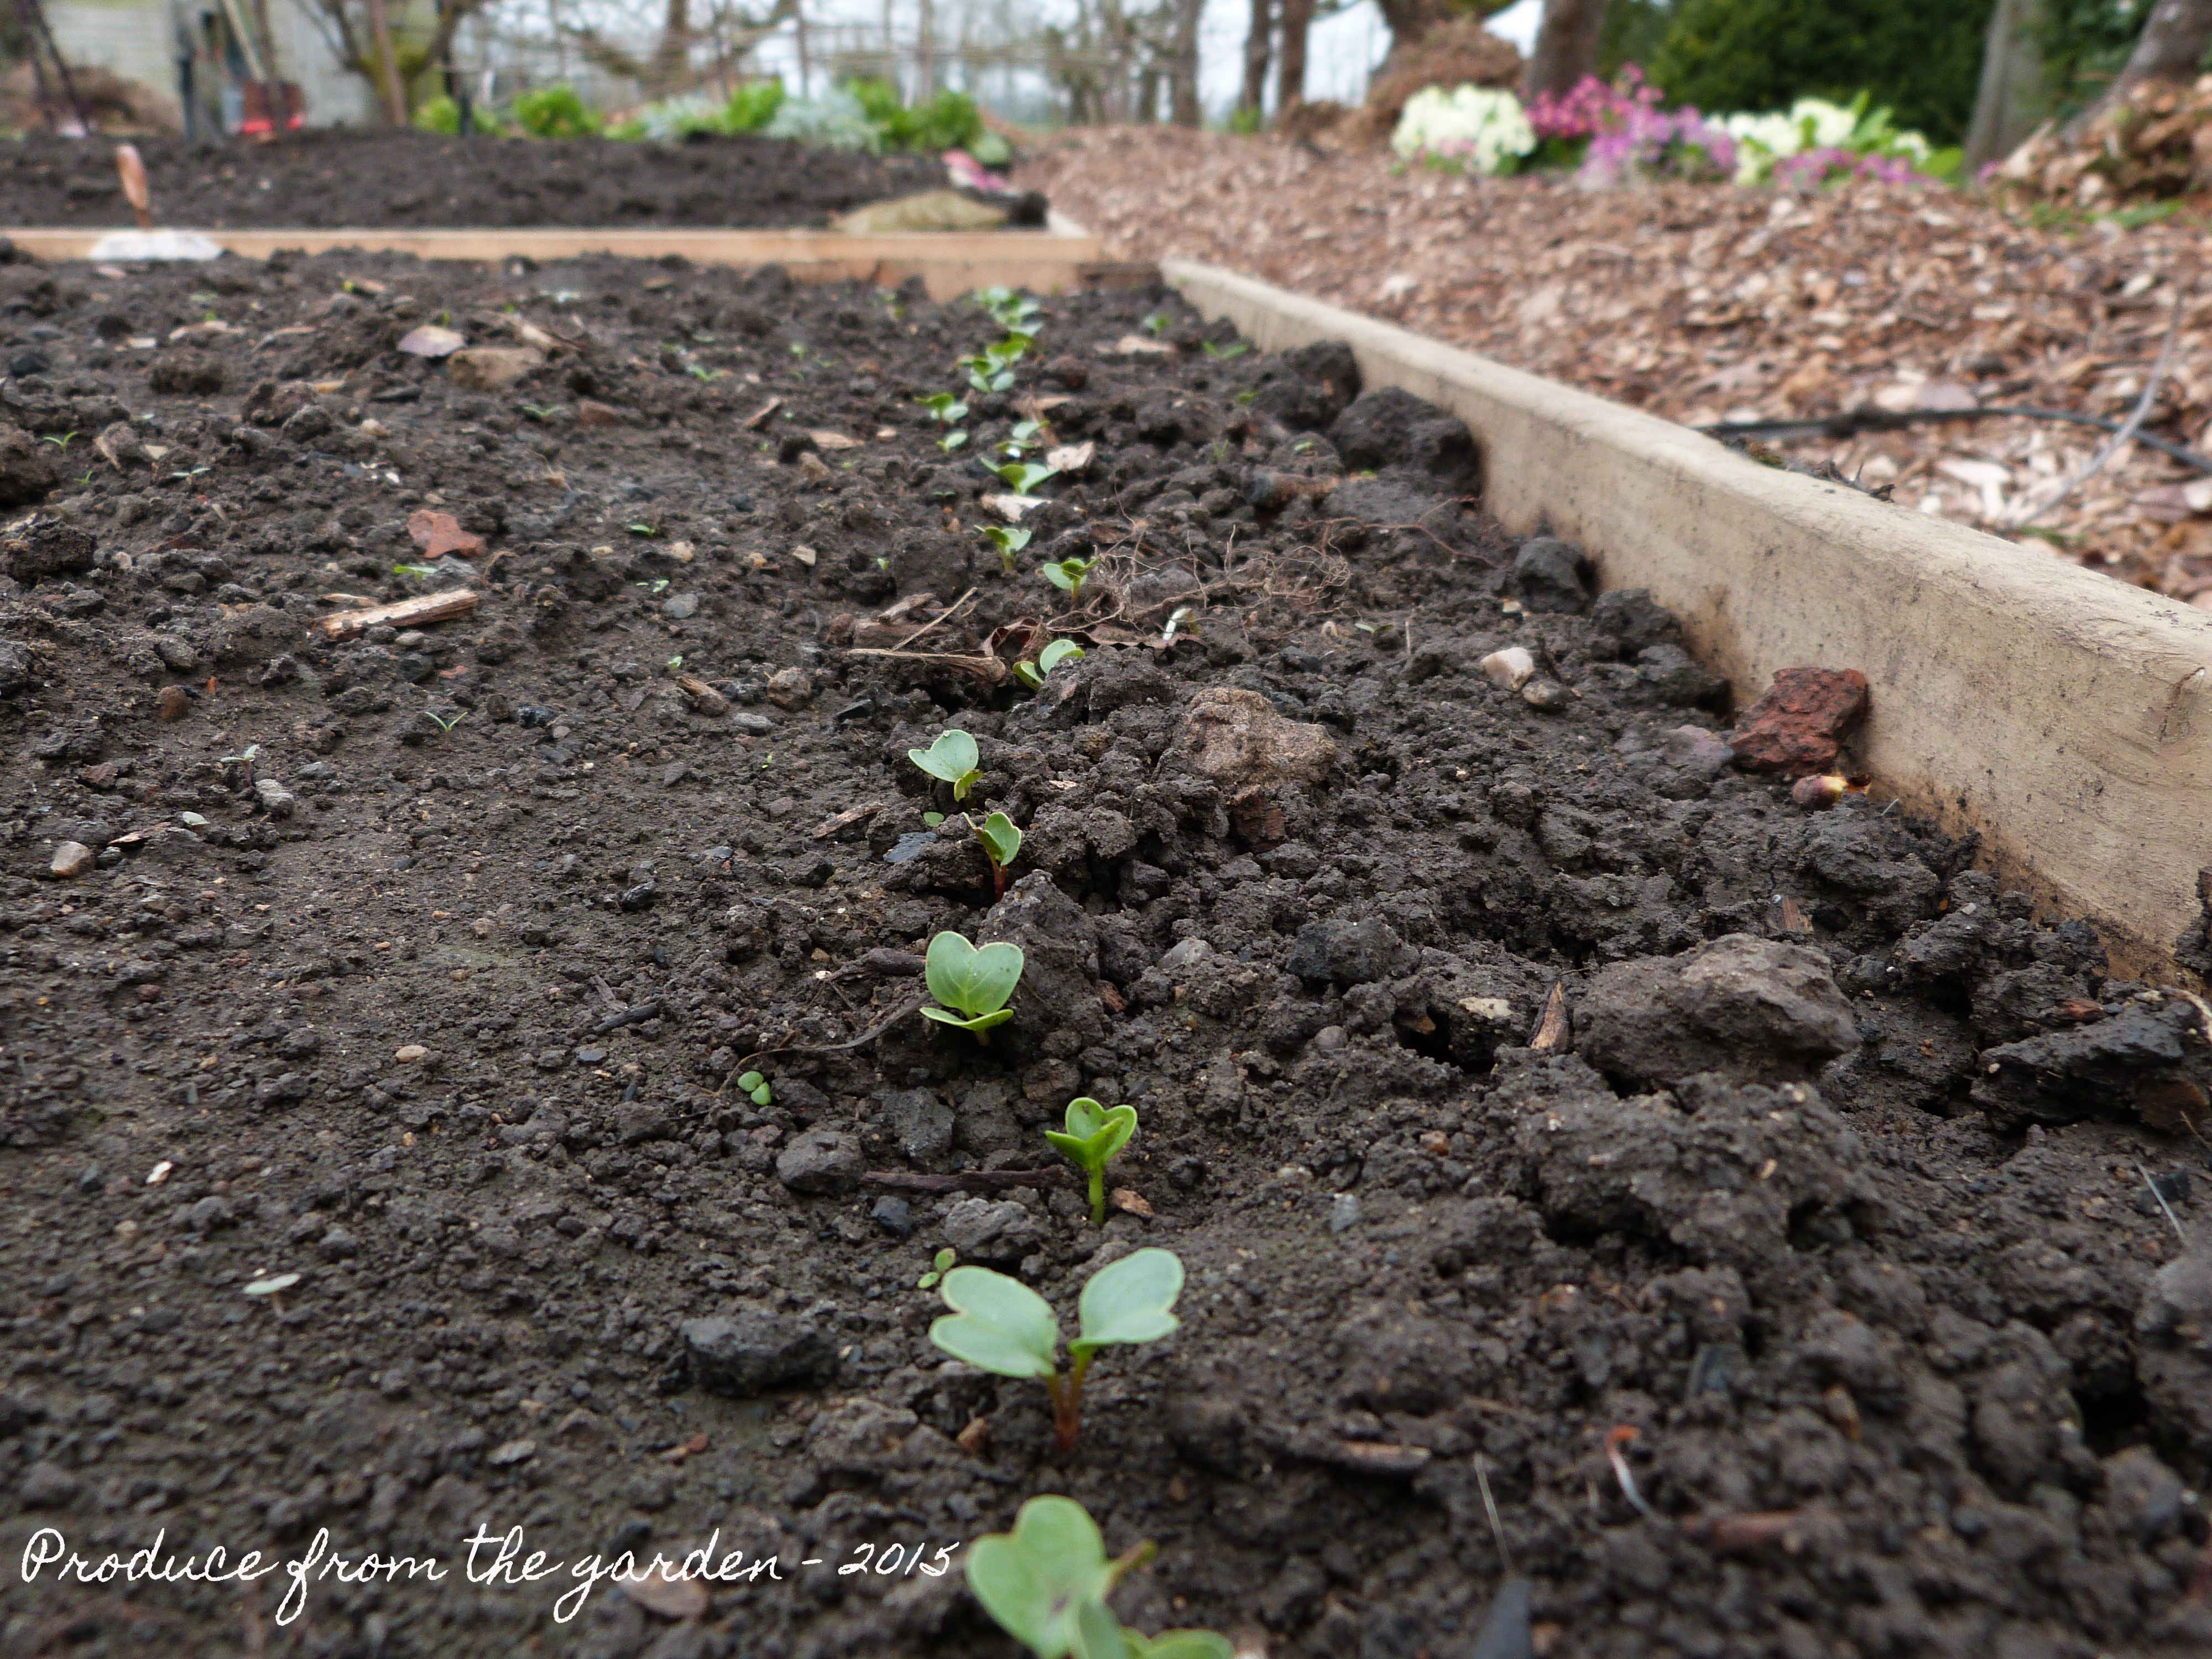
On the veg beds I’ve gone for mini 360 degree sprinklers. These work well soaking all the soil, which helps the sown seeds to emerge. They are also good for watering the ‘multi plant’ crops such as broad beans, dwarf beans, onions and salad crops. I will use the same drippers as the green house for the larger plants such as courgettes, squashes and climbing beans. With these drippers you have more control over where the water goes, in theory saving water by just targeting the base of the plants. I am also going to use these dripper heads in the cutting border, directing the water to the bases of the cut flower plants.

In the last few weeks we’ve had minimal rain and the watering system has worked a treat. As the year progresses I’ll report back on how it’s really worked and what tweaks will be required for next year.

Problems germinating seeds

Seed sowing this year has been a challenge. I never usually have issues growing the majority of my plants for the kitchen and ornamental gardens from seed. It is much cheaper than buying plants and you have a far greater choice of variety. I am also a sucker for seed catalogues, I can fill hours studying them, formulating plans for the coming years produce and then being completely distracted by some gem I just have to have. Over the years I have accumulated three tins worth of seeds, a few from each packet used each year. With moving house and renovating our new home I hadn’t used the majority of the seed since 2012. I was full of eager enthusiasm to start sowing this year. As you can imagine I was incredibly frustrated when my normally fail safe seed would not germinate. Cosmos Purity, Calendula Indian Prince and my shallots did nothing, I sowed them again thinking maybe it was too early, but nothing emerged. All my new seeds germinated fine. It was when I started to look at the dates on the back of the old packets that my error clicked. My seed collection was old and worthless. I have cleared out and binned all the failed packets. Fortunately I do have a range of plants that did germinate, but, a trip to our local garden centre today was essential. A cutting garden without Cosmos Purity and a Calendula was unthinkable. Seed sown and fingers crossed for quick germination. Another valuable gardening lesson learnt the hard way!

seedlingsSeedlings that I did manage to germinate.

Plum and Crab Apple Blossom, Tomato and Tomatillo flowers

The unusually warm weather earlier in the week has really brought the garden along. Leaves are beginning to pop open on the trees and hedges showing glimpses of vibrant fresh green. Sadly the heat was too much for many of our daffodils, but to compensate our blossom is starting to flower. The plum trees are a haze of white flowers in full bloom. My favourite crab apple tree, with stunning burgundy leaves and dark pink blossom is nearly out. In the next week or so the apple trees will present their own spectacular display.

The tomatoes and tomatillos are growing fast and flowering. I have high hopes for our first crops in June.

Crab Apple blossom nearly outCrab Apple blossom nearly out.

Plum blossomPlum Blossom

Tomato FlowersTomato flowers

Tomatillo FlowerMy first Tomatillo flower

Sweet Peas

Through the post today arrived my Sweet Pea seeds, beautifully packaged in their silver vacuum sachets.

Sweet Pea SeedsSweet Pea seeds ready for sowing

The sweet peas I chose are Mrs Collier, a lovely creamy white; Almost Black, as it suggests a very dark purple; Parfumiere Mix and More Scent another creamy white. I have selected varieties good for cutting, hopefully they’ll have long stems, a good vase life and a scent that will drift throughout the house come summer. I usually sow sweet peas a little earlier in the year, in the conservatory. This year I was a bit late ordering the seed and have decided to sow directly into the cutting garden border. I have built a frame with our home grown hazel stakes at the end of the border for the sweet peas to clamber up. At the bottom I’ve popped in pea sticks (the ends of the coppiced hazel) to help them on their way up.

Cutting Garden BorderThe finished cutting garden border, at the far end is the sweet pea climbing frame

Pea Sticks for Sweet PeasPea Sticks at the bottom of the sweet pea frame, to help them on their way

I used a dibber to make holes about 3 cm deep and 10 cm apart and popped in two seeds to each hole. If both seeds germinate I will discard the weaker plant to give the stronger one the best possible chance. Sowing directly may mean the sweet peas take a few extra weeks to bloom over those sown indoors, but, the plants should be healthy and vigorous as they hate their roots being disturbed when planting on.

Fuji Cherry Tree

Fuji Cherry Tree

I am constantly distracted by the amazing thick and tiny blossom on our Fuji Cherry Tree (Prunus Incisa Kojo-no-mai), it is a smasher! Although not in the kitchen garden I had to sneak it into the blog. It really is the star performance in the garden at the moment. I can highly recommend this dwarf ornamental cherry, idea for small gardens and will reach at most 2m in about 20 years.

Constructing the cutting garden raised bed

On a cold, windy and damp Easter Saturday morning (not even my hardy youngest child lasted long outside), I constructed the raised cutting border frame. It was a quick and trouble free process, I think I’ve got the hang of making raised beds now, about time, it is my sixth this year! Whilst hammering stakes into the ground and fixing the planks of wood, I felt quite festive as the bleats of the new lambs carried on the wind from a few fields away. Filling the bed would have to wait a day, my children and I had a Simnel cake to make.

Cutting garden border before shotThe Before shot

After our Easter lunch and Egg hunt, where I distressingly found mole hills, I settled into an afternoon of filling the new raised bed frame. 14 metres is a very long way. 14m x 1.2m is the size of my new cutting garden border. Sitting in my study surrounded by seed packets and planting plans, 14 metres was a fabulous idea. When it came to transporting soil and garden compost , 14 metres became a very long way. However, it was a beautiful sunny afternoon and all three of the kids turned up to help with their various garden accoutrements. I filled the bottom of the border with top soil left over from digging out the original veg patch, I then dusted this layer with fish blood and bone and quickly covered it with a layer of garden compost. Rolo my faithful hound loves fish blood and bone and if left alone will attempt to hoover it all up, resulting in a muddy mouth and in turn a muddy carpet indoors! In the coming days I will then sprinkle further fish, blood and bone (the more fertiliser my flowers get the better) over the compost and finish off with a layer of top soil.

The cutting garden border in progessThe border with the first layer of soil

cutting garden border, layers of top soil and compostTop soil dusted with fish, blood and bone and the middle layer of garden compost

I have a theory behind this garden compost sandwich, in time the layers will mix together giving further enriched consistency to the soil, without the need to dig. I was keen to not mix in the garden compost on the top layer as it is quite course, I’m lucky to have well conditioned top soil which is the perfect structure for direct sowing hardy annual seeds. I’ll post completed pictures in the coming week.

Radish, Beetroot and Fences

Whenever I directly sow seed in March there is always doubt in my head whether they will appear. I was thrilled today to see the radish seedlings up in a clear row and some tiny purple shoots of the beetroot beginning to emerge. Baby seedlings are a reminder to sow further seeds to ensure a succesional crop.

Radish seedlingsRadish seedlings

I’ve been busy the last couple of days in another part of the garden planting a laurel hedge. We have a fence that has become very wobbly and is at the end of its days. I am not a great fan of fences unless made out of an interesting material like woven willow or hazel. To me they are dull and ugly, have a limited life span and can easily be flattened with a strong Winter wind. A hedge lasts a lifetime, looks fabulous, is a great backdrop for garden plants, clearly defines an area and the wildlife loves it. The only maintenance required is a quick clip once sometimes twice a year. The husband has shored up the fence, fingers crossed it will last long enough for the hedge to grow and securely replace it.