How to make easy peasy bunting

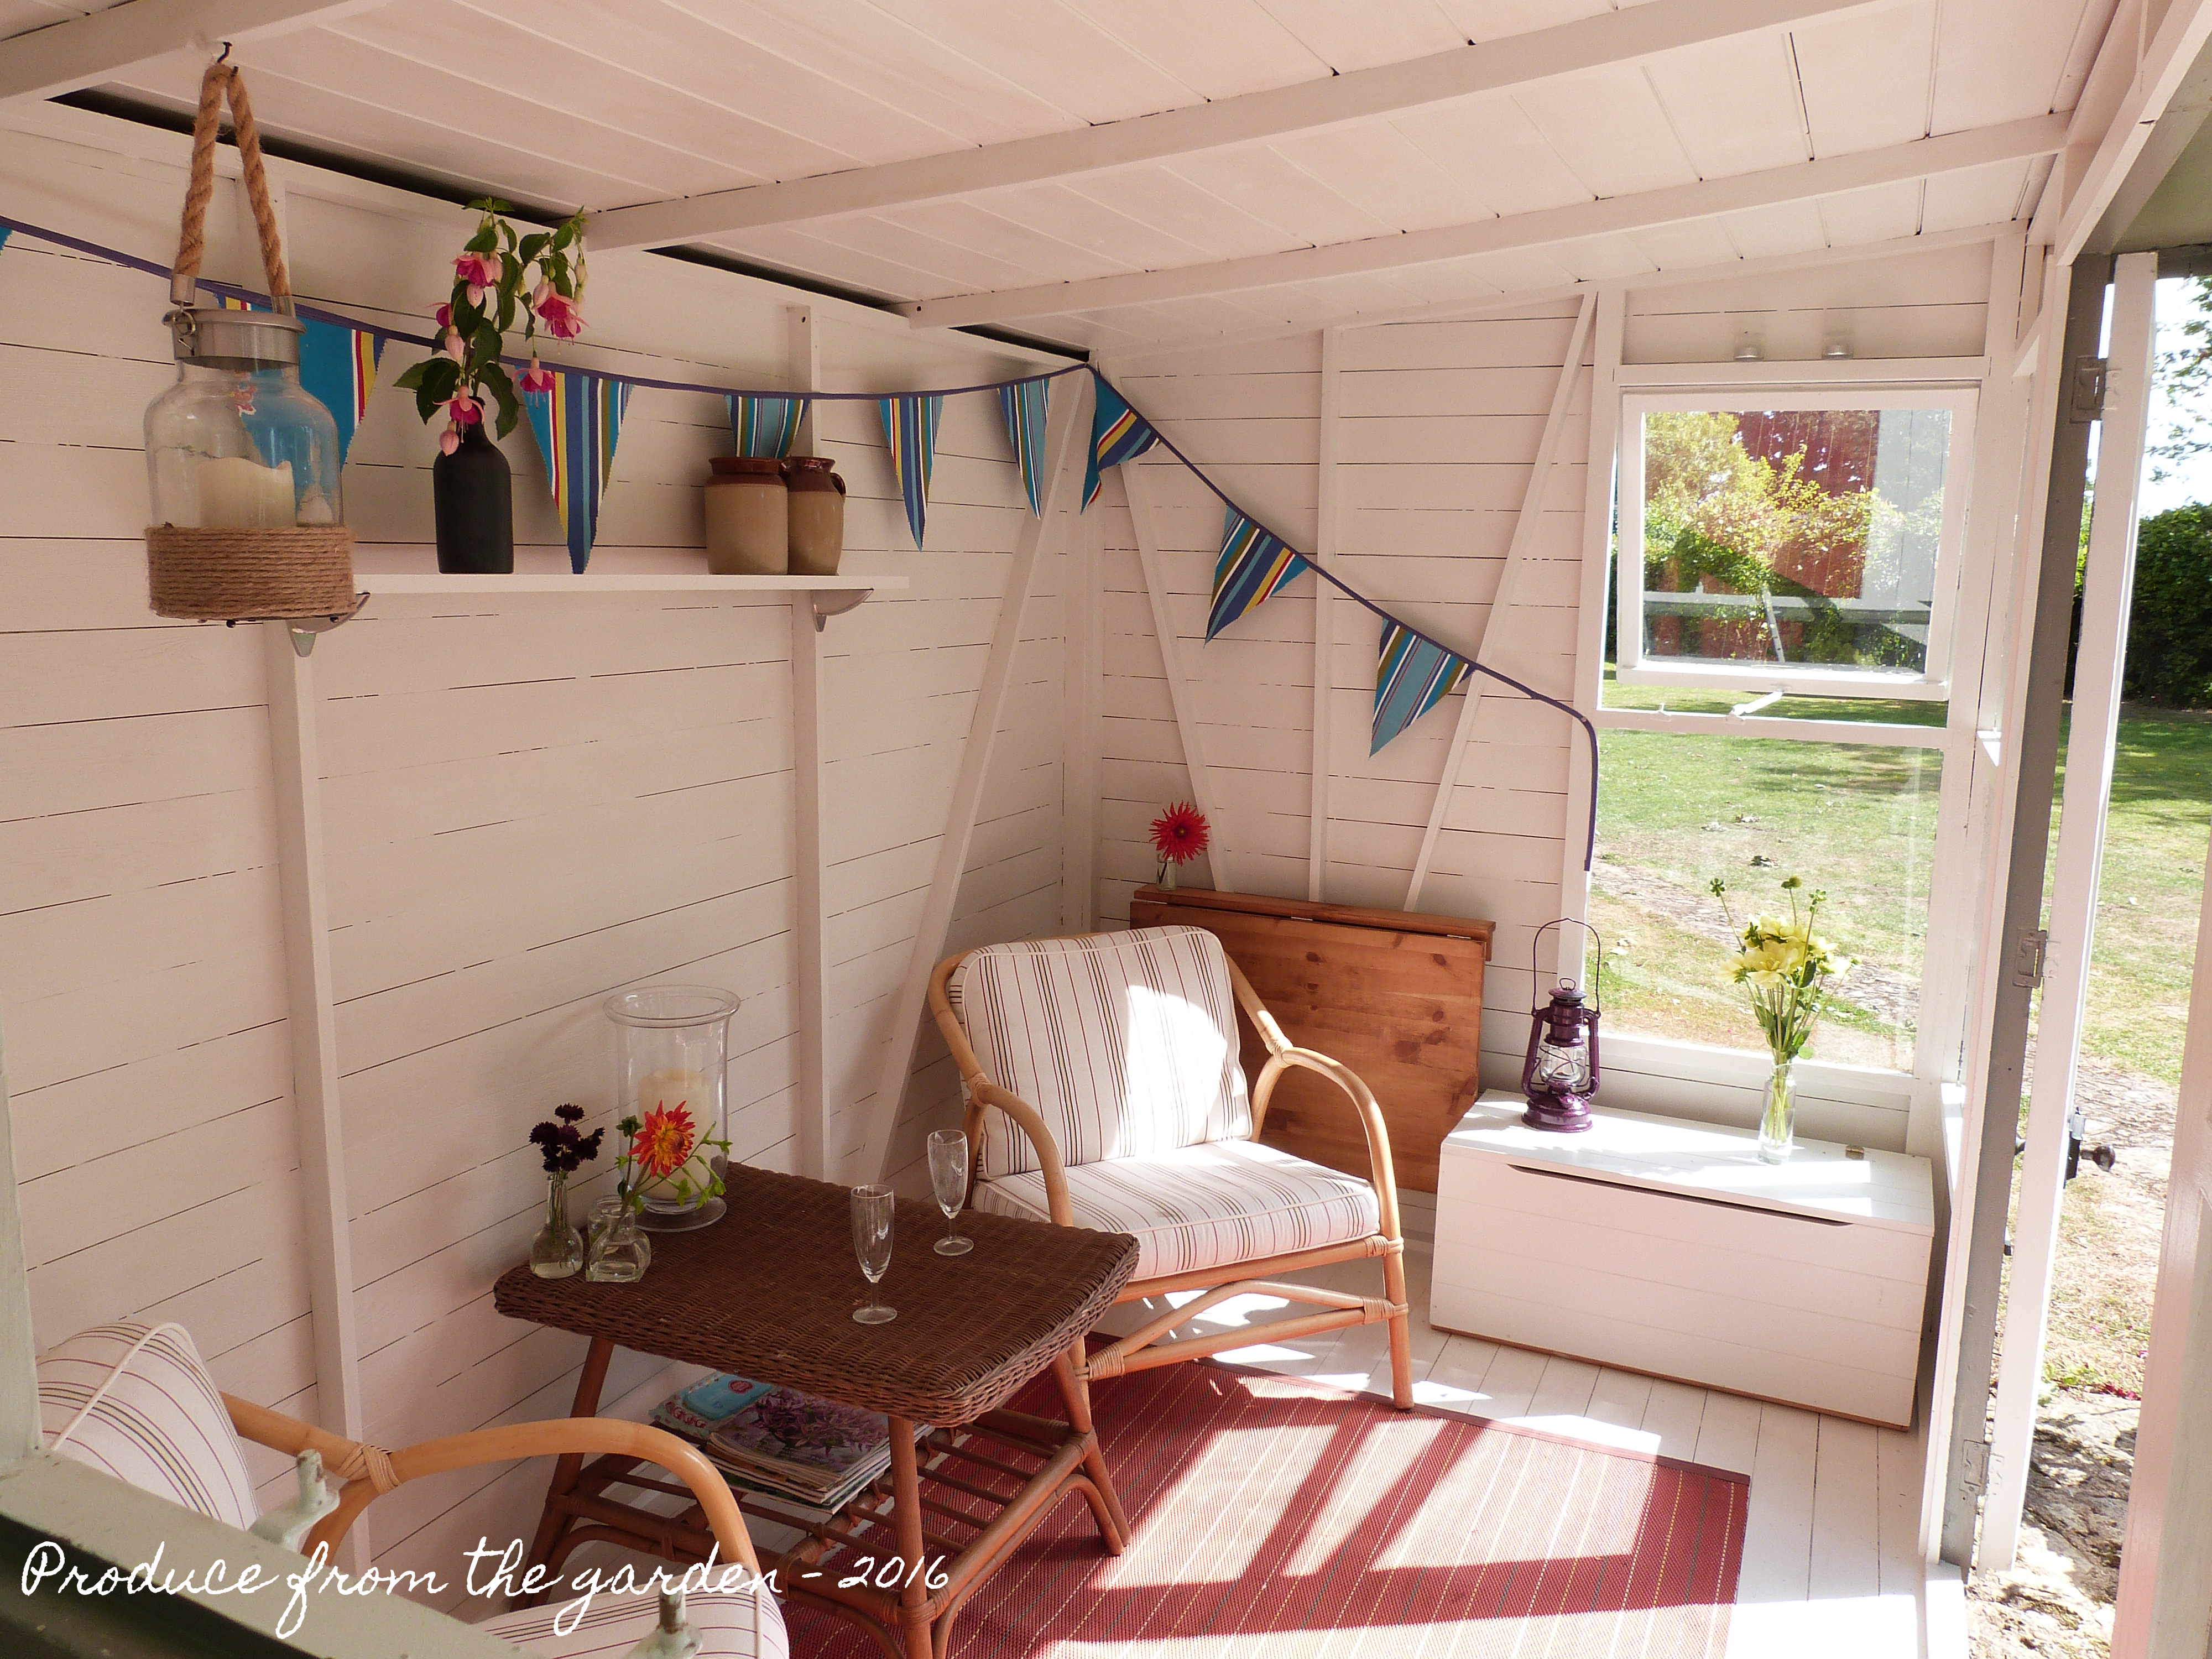
I love bunting; it’s the perfect summer garden accessory. It makes me think that every day’s a party, adding fun, colour and movement to the garden as it flaps in the wind. It also makes an atmospheric interior decoration. I made some bunting from deck chair material to hang in our newly renovated summer house, as mentioned in my last posting here’s an easy peasy guide to making bunting:

Deck Chair Bunting
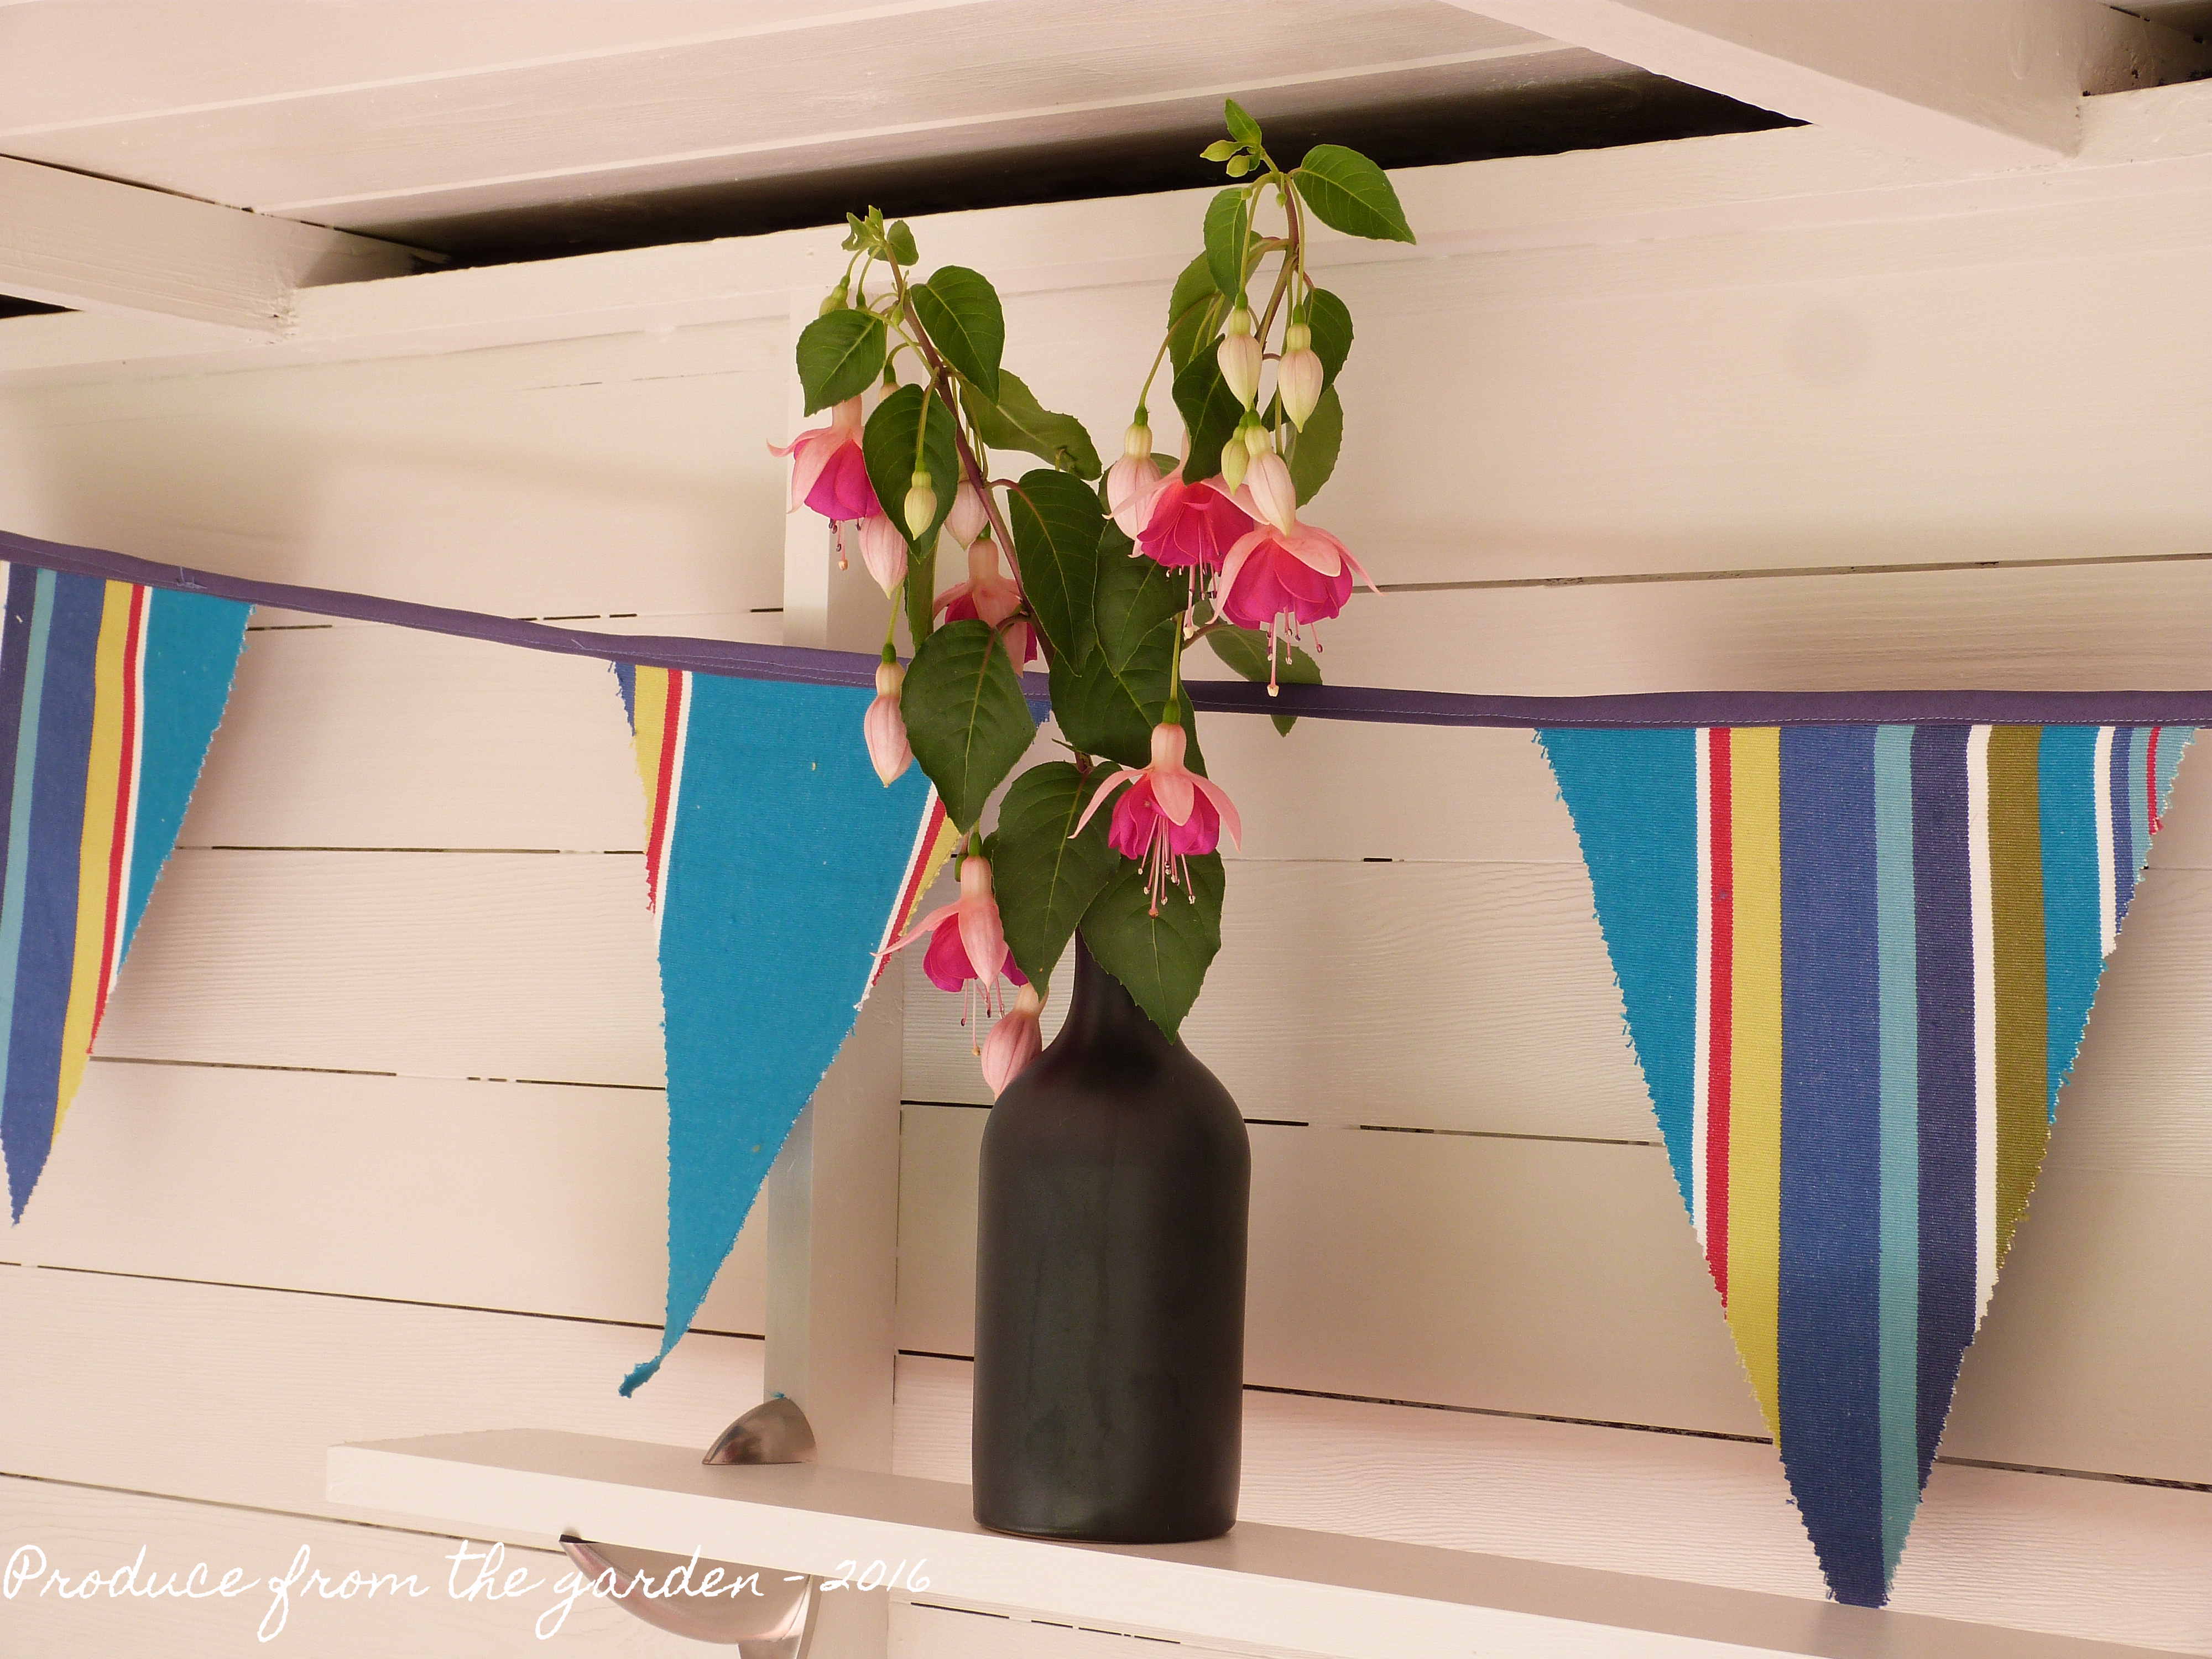
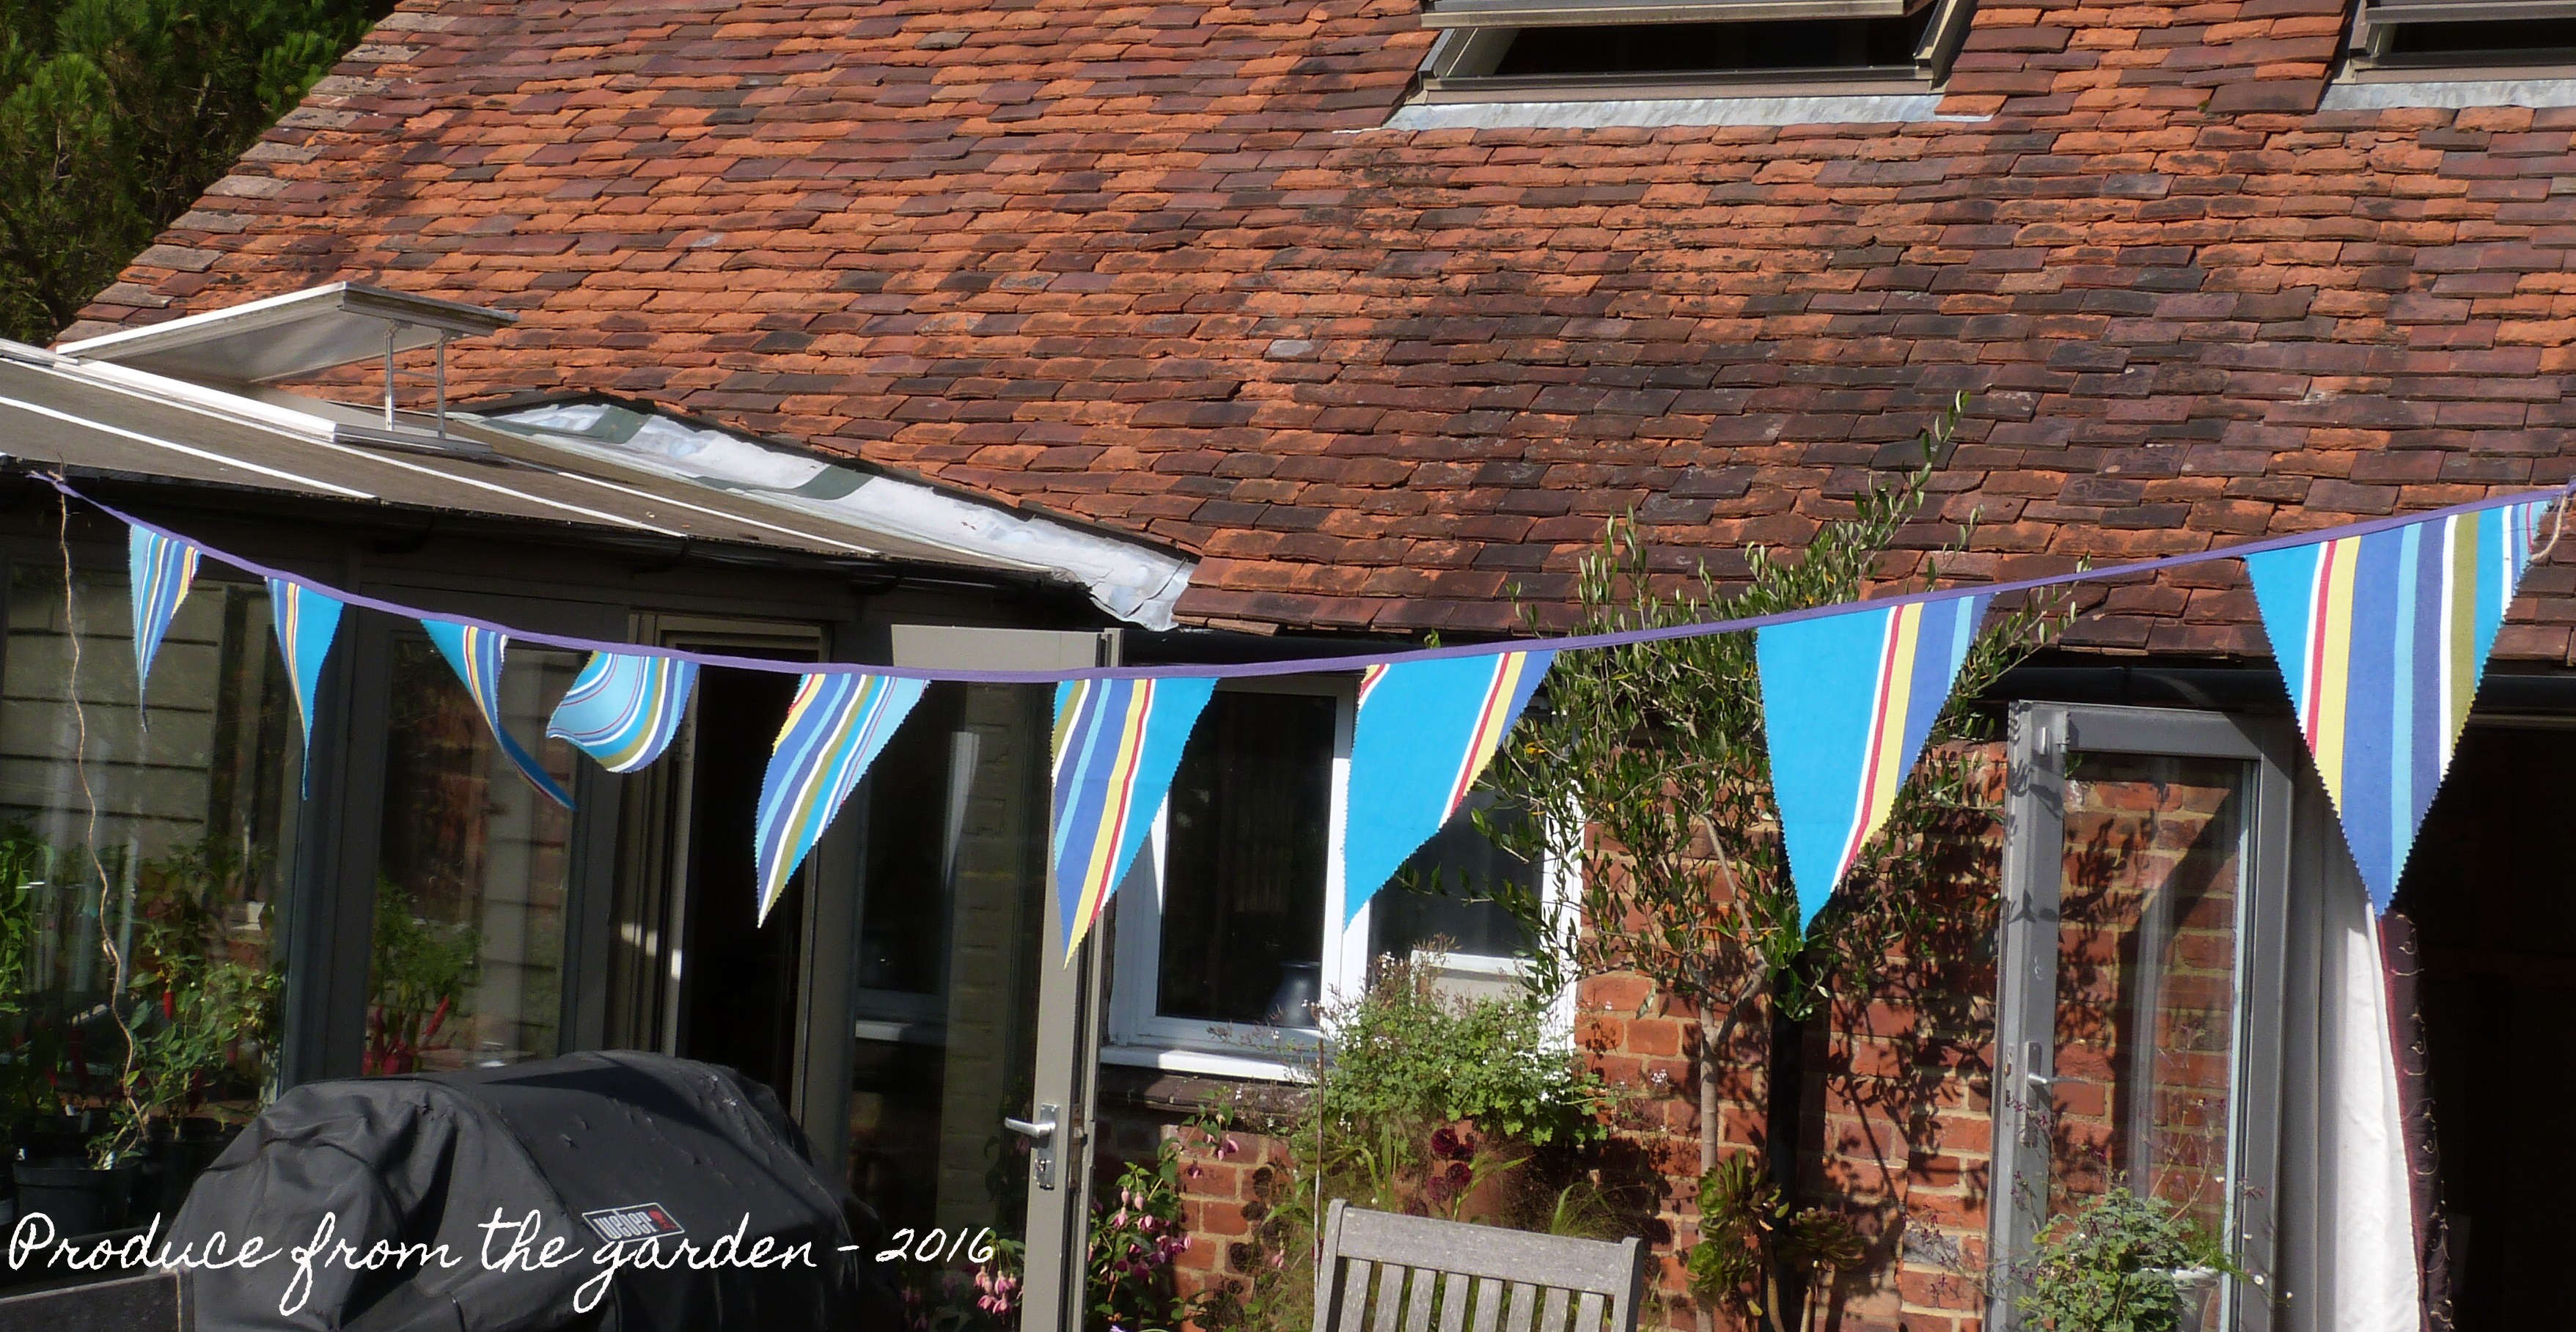
Bunting hanging over our patio

First of all choose your bunting fabric. Select a heavier weight curtain or upholstery fabric, this will hang well outside. Another tip is to select a reversible fabric. If your bunting is hanging outside it will need to look good from both sides. I chose deck chair material for its thick heavy weight, and it has no ‘wrong’ side.

To make the bunting you will need:

  • Sewing machine
  • Measuring tape
  • 5 meters of cotton bias binding tape – I bought mine very cheaply off Amazon
  • Cotton – In a colour to complement the bias binding tape
  • Pins
  • Sharp Scissors
  • Sharp Pinking Shears – I learnt the hard way, blunt pinking shears that have been used to cut up Christmas cards don’t work!
  • Ruler
  • Pen

Equipment for making bunting
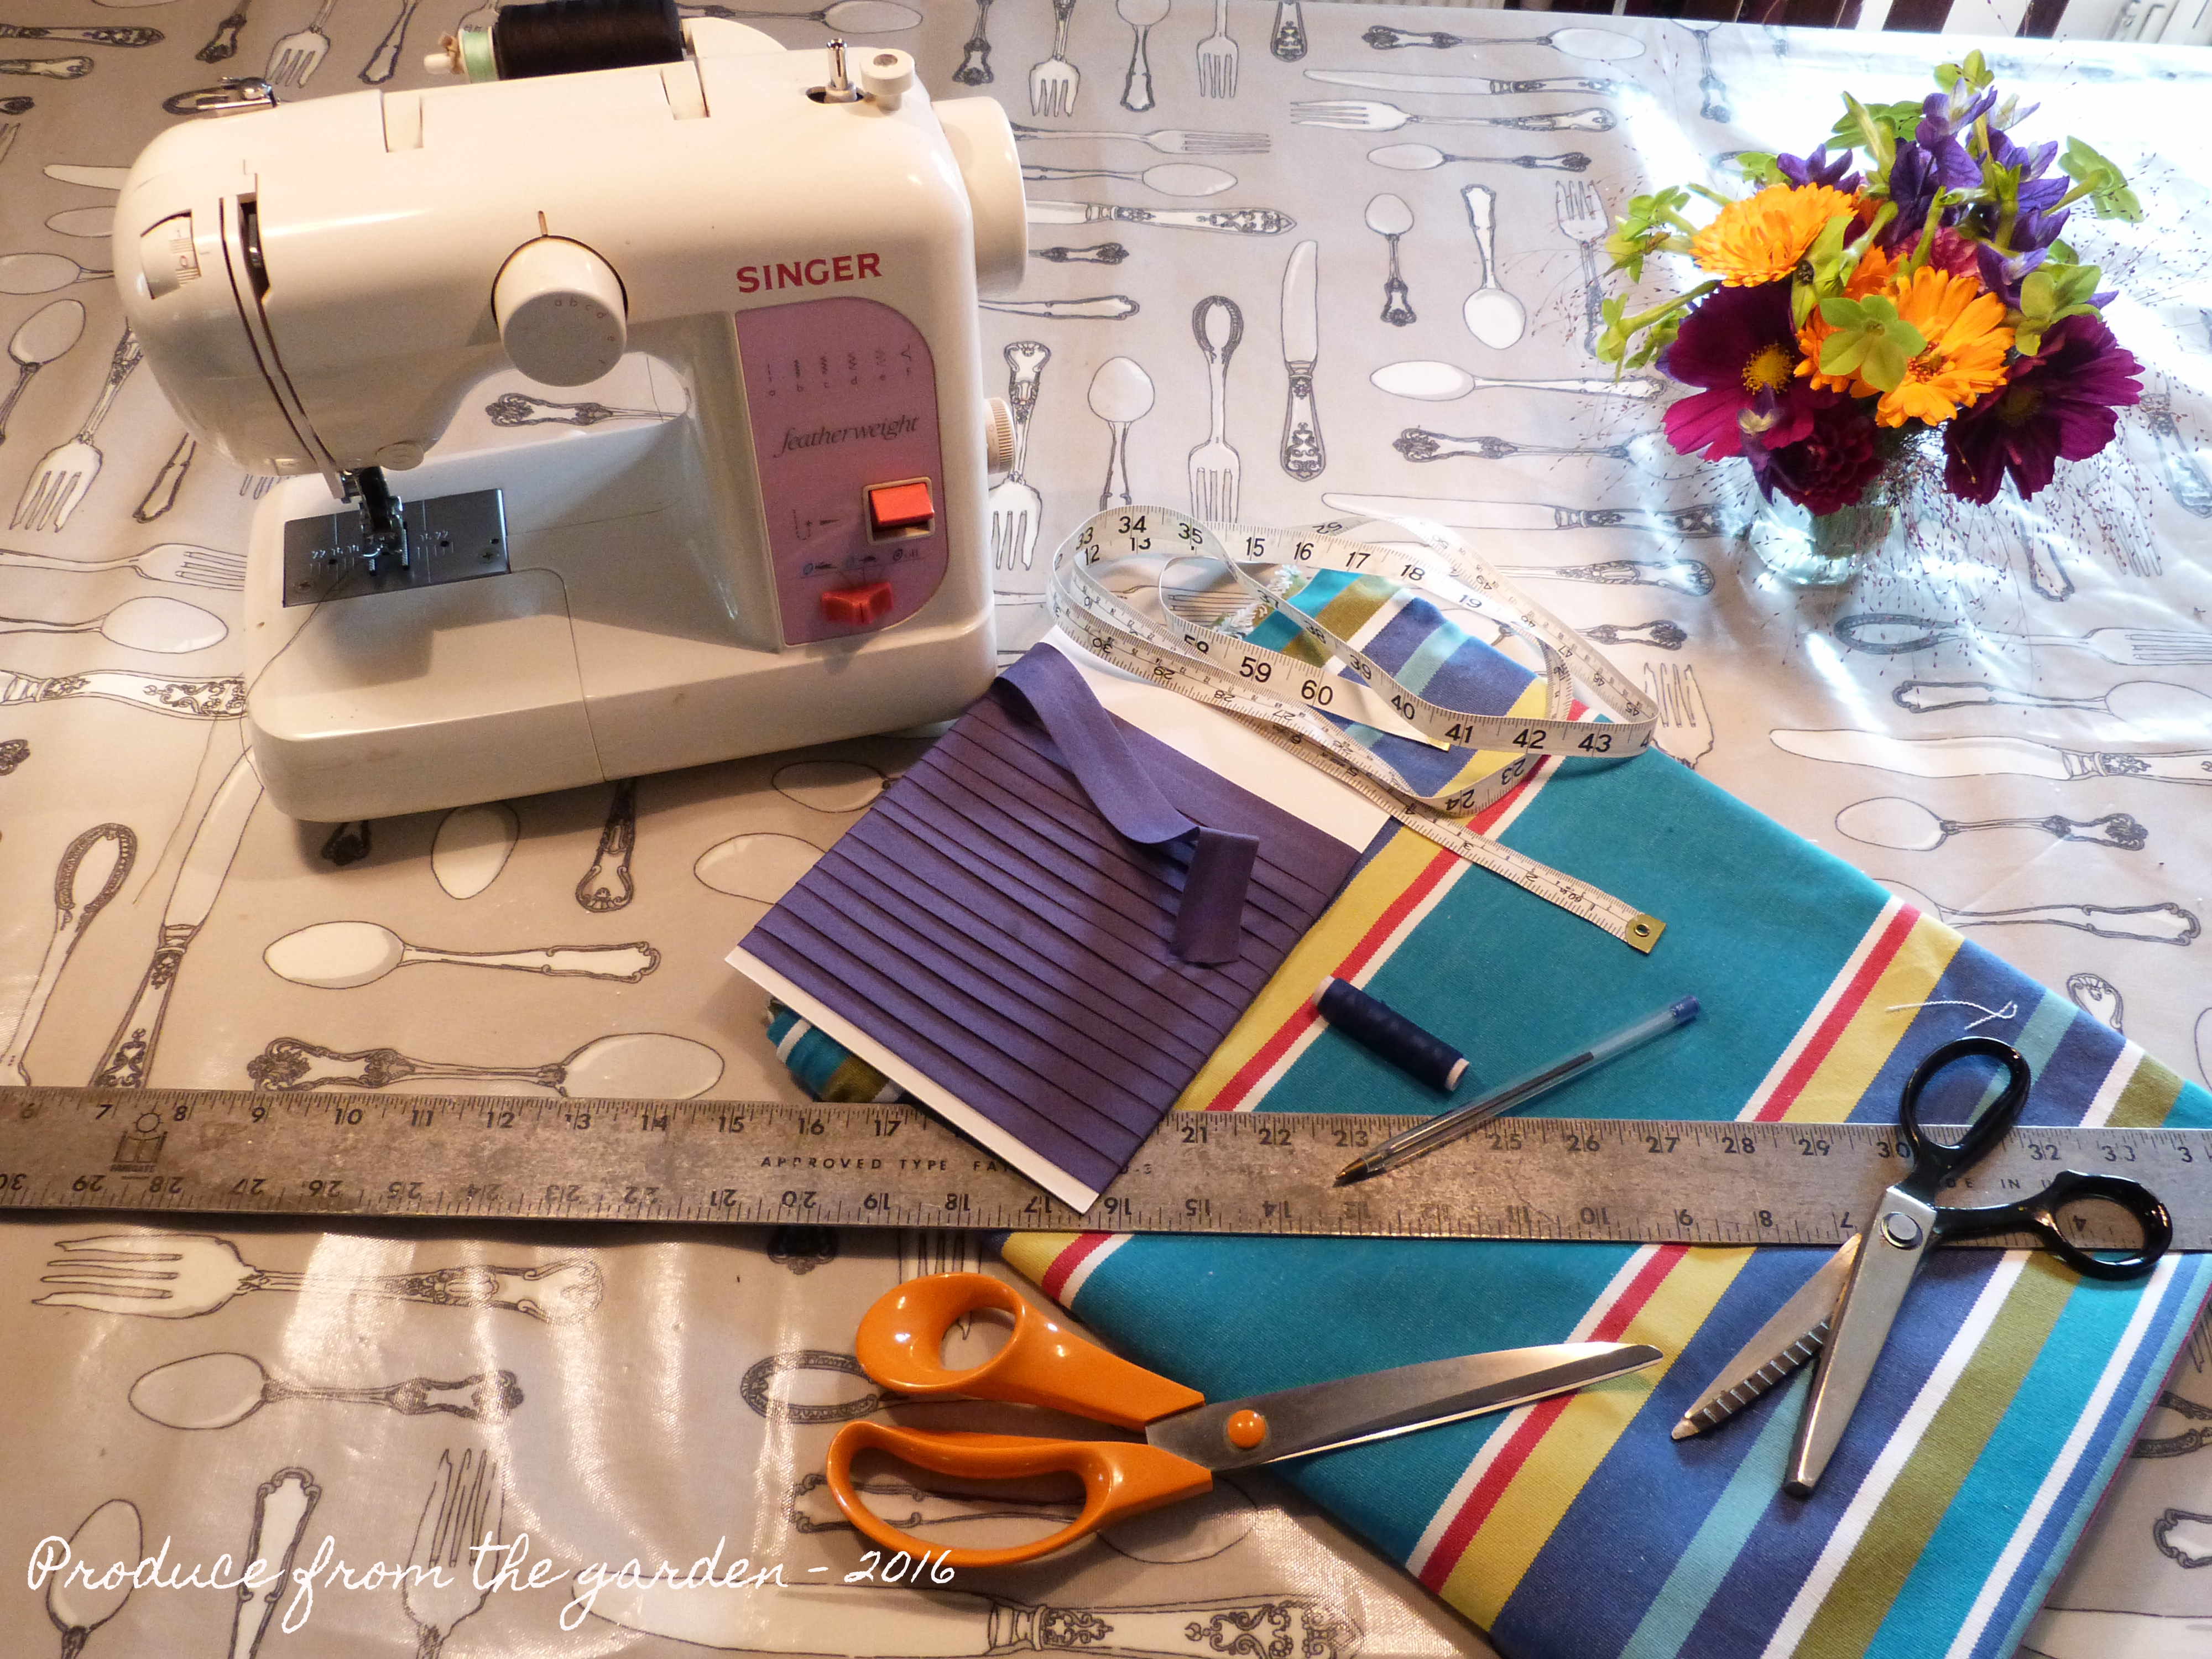
All you need to make bunting.

Measure a 28cm width of Fabric, mark with a pen, this will become the length of each bunting flag:

Bunting - Measure width of material

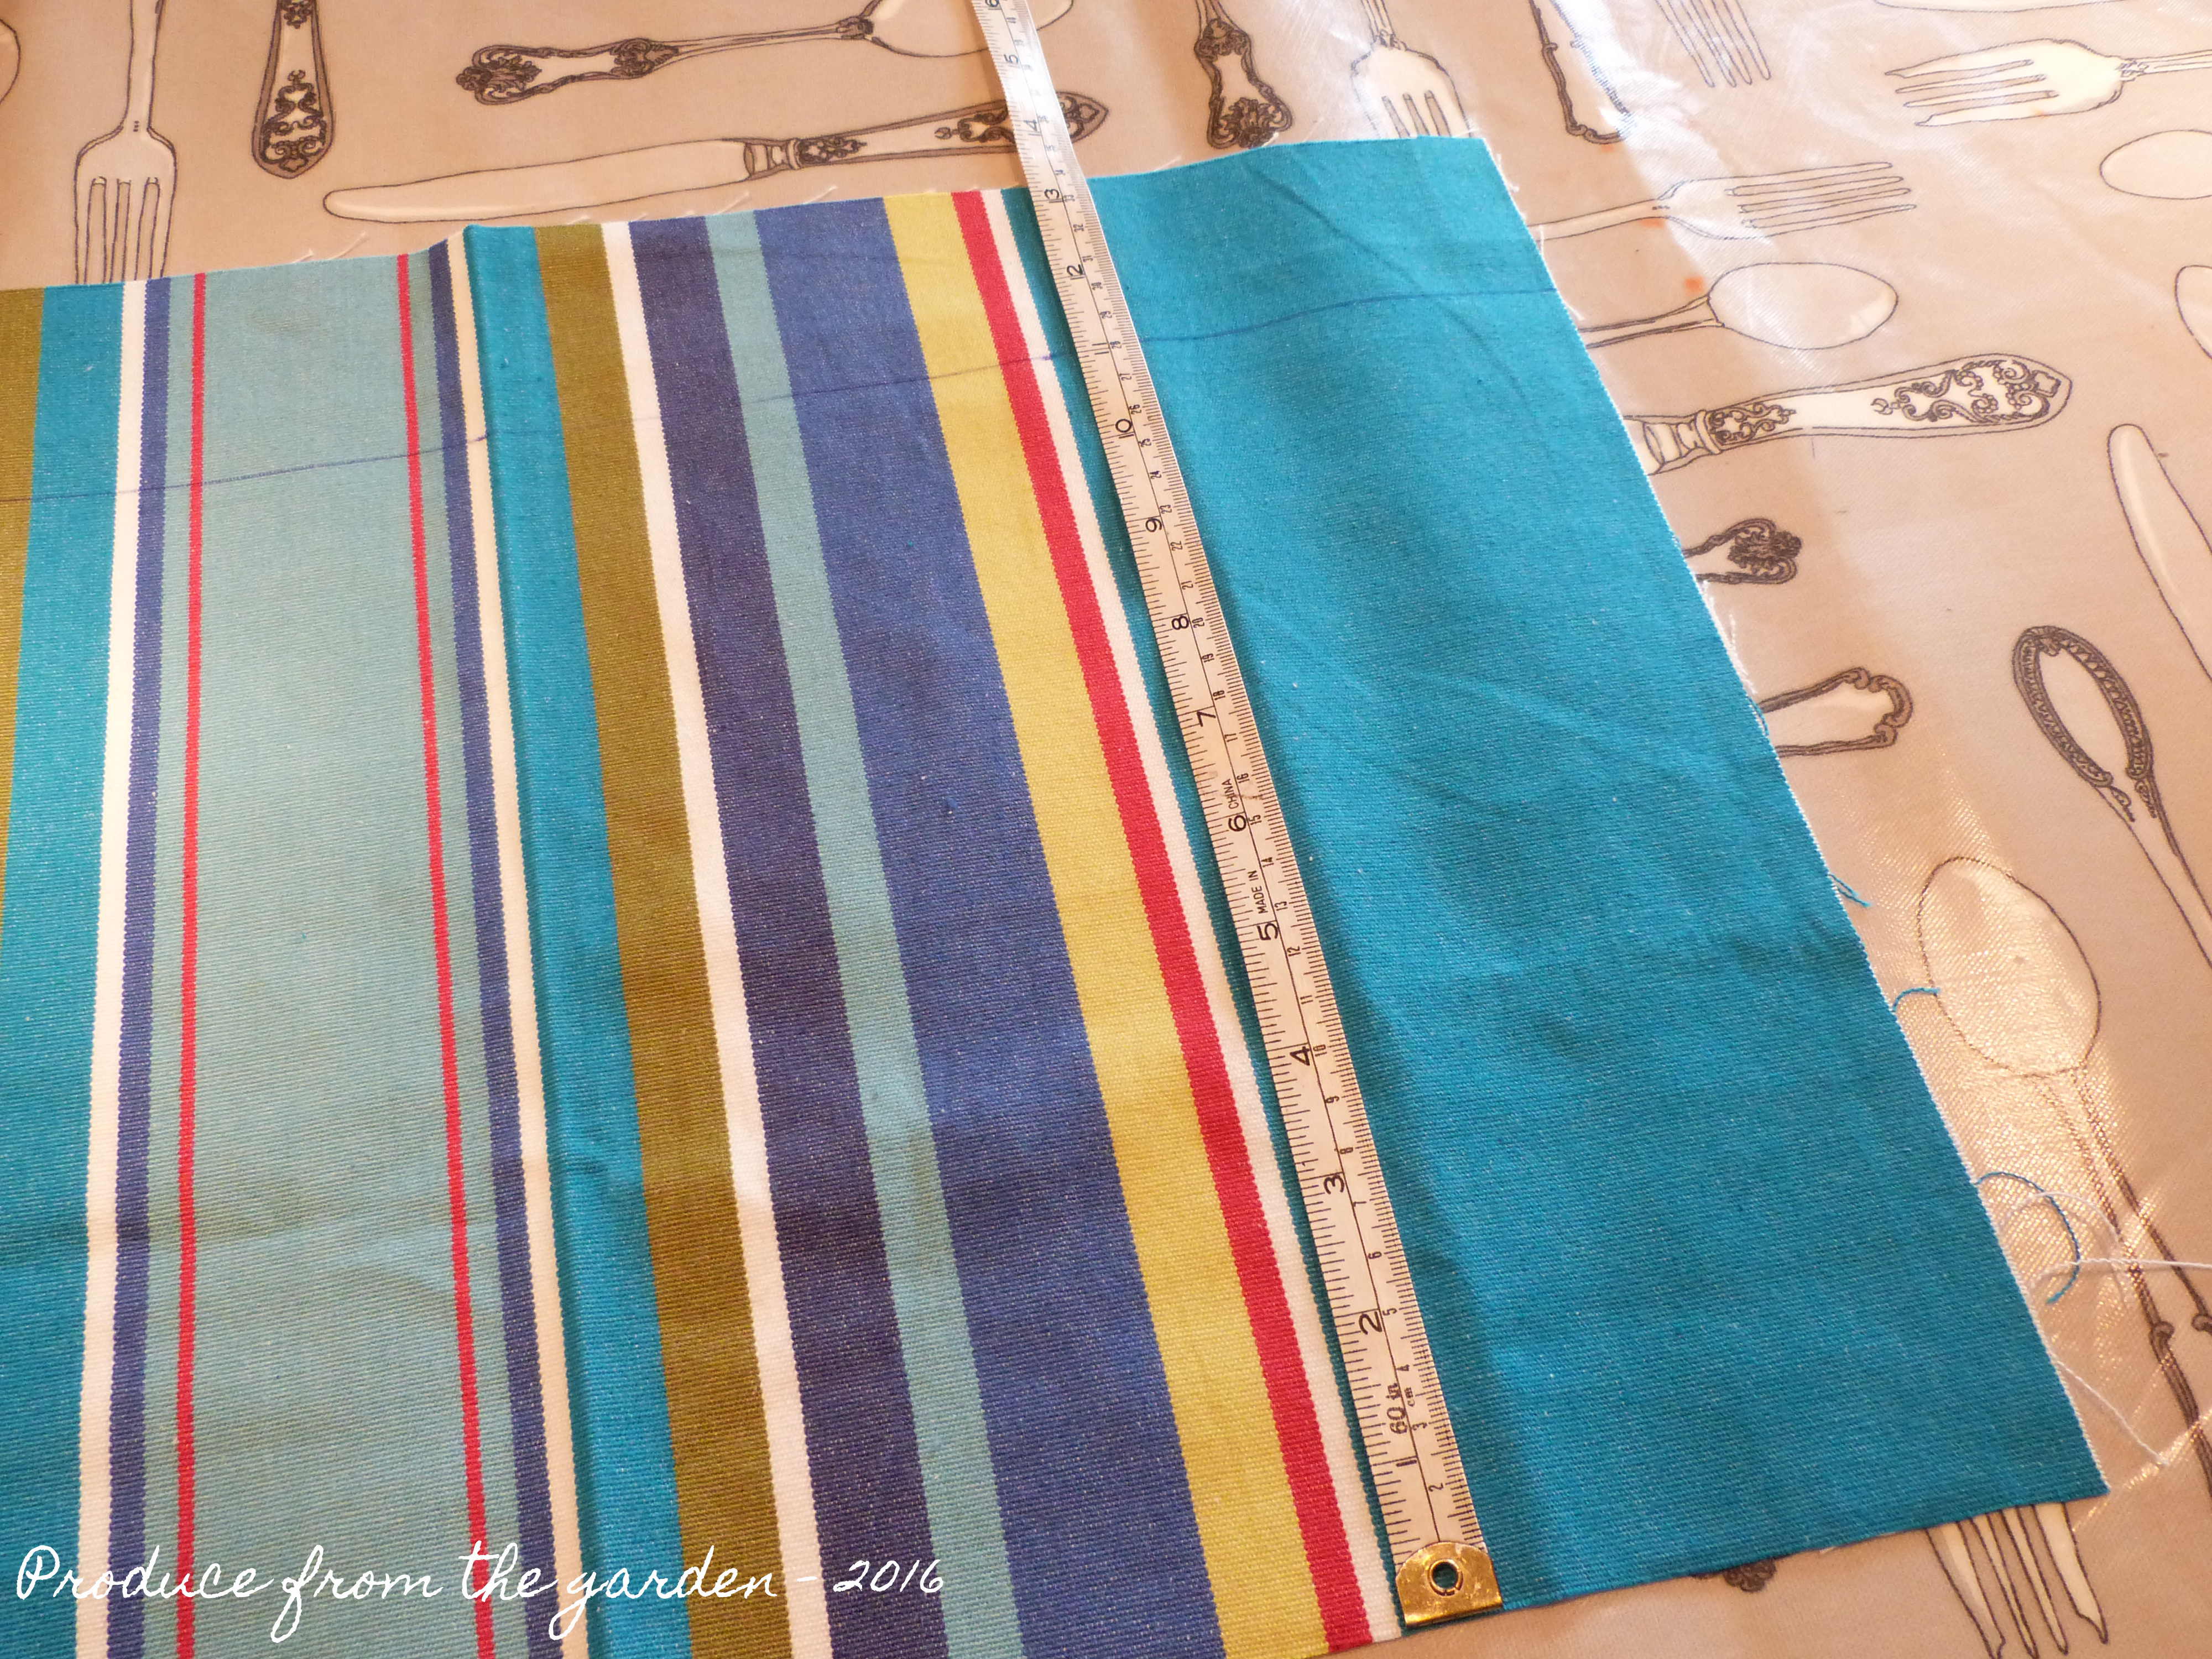
Along the 28cm pen line you’ve just drawn, mark out 22cm, this will become the top width of the flag. Repeat the 22cm marks all along the width of the fabric:

Bunting - Measure the top of the bunting flag

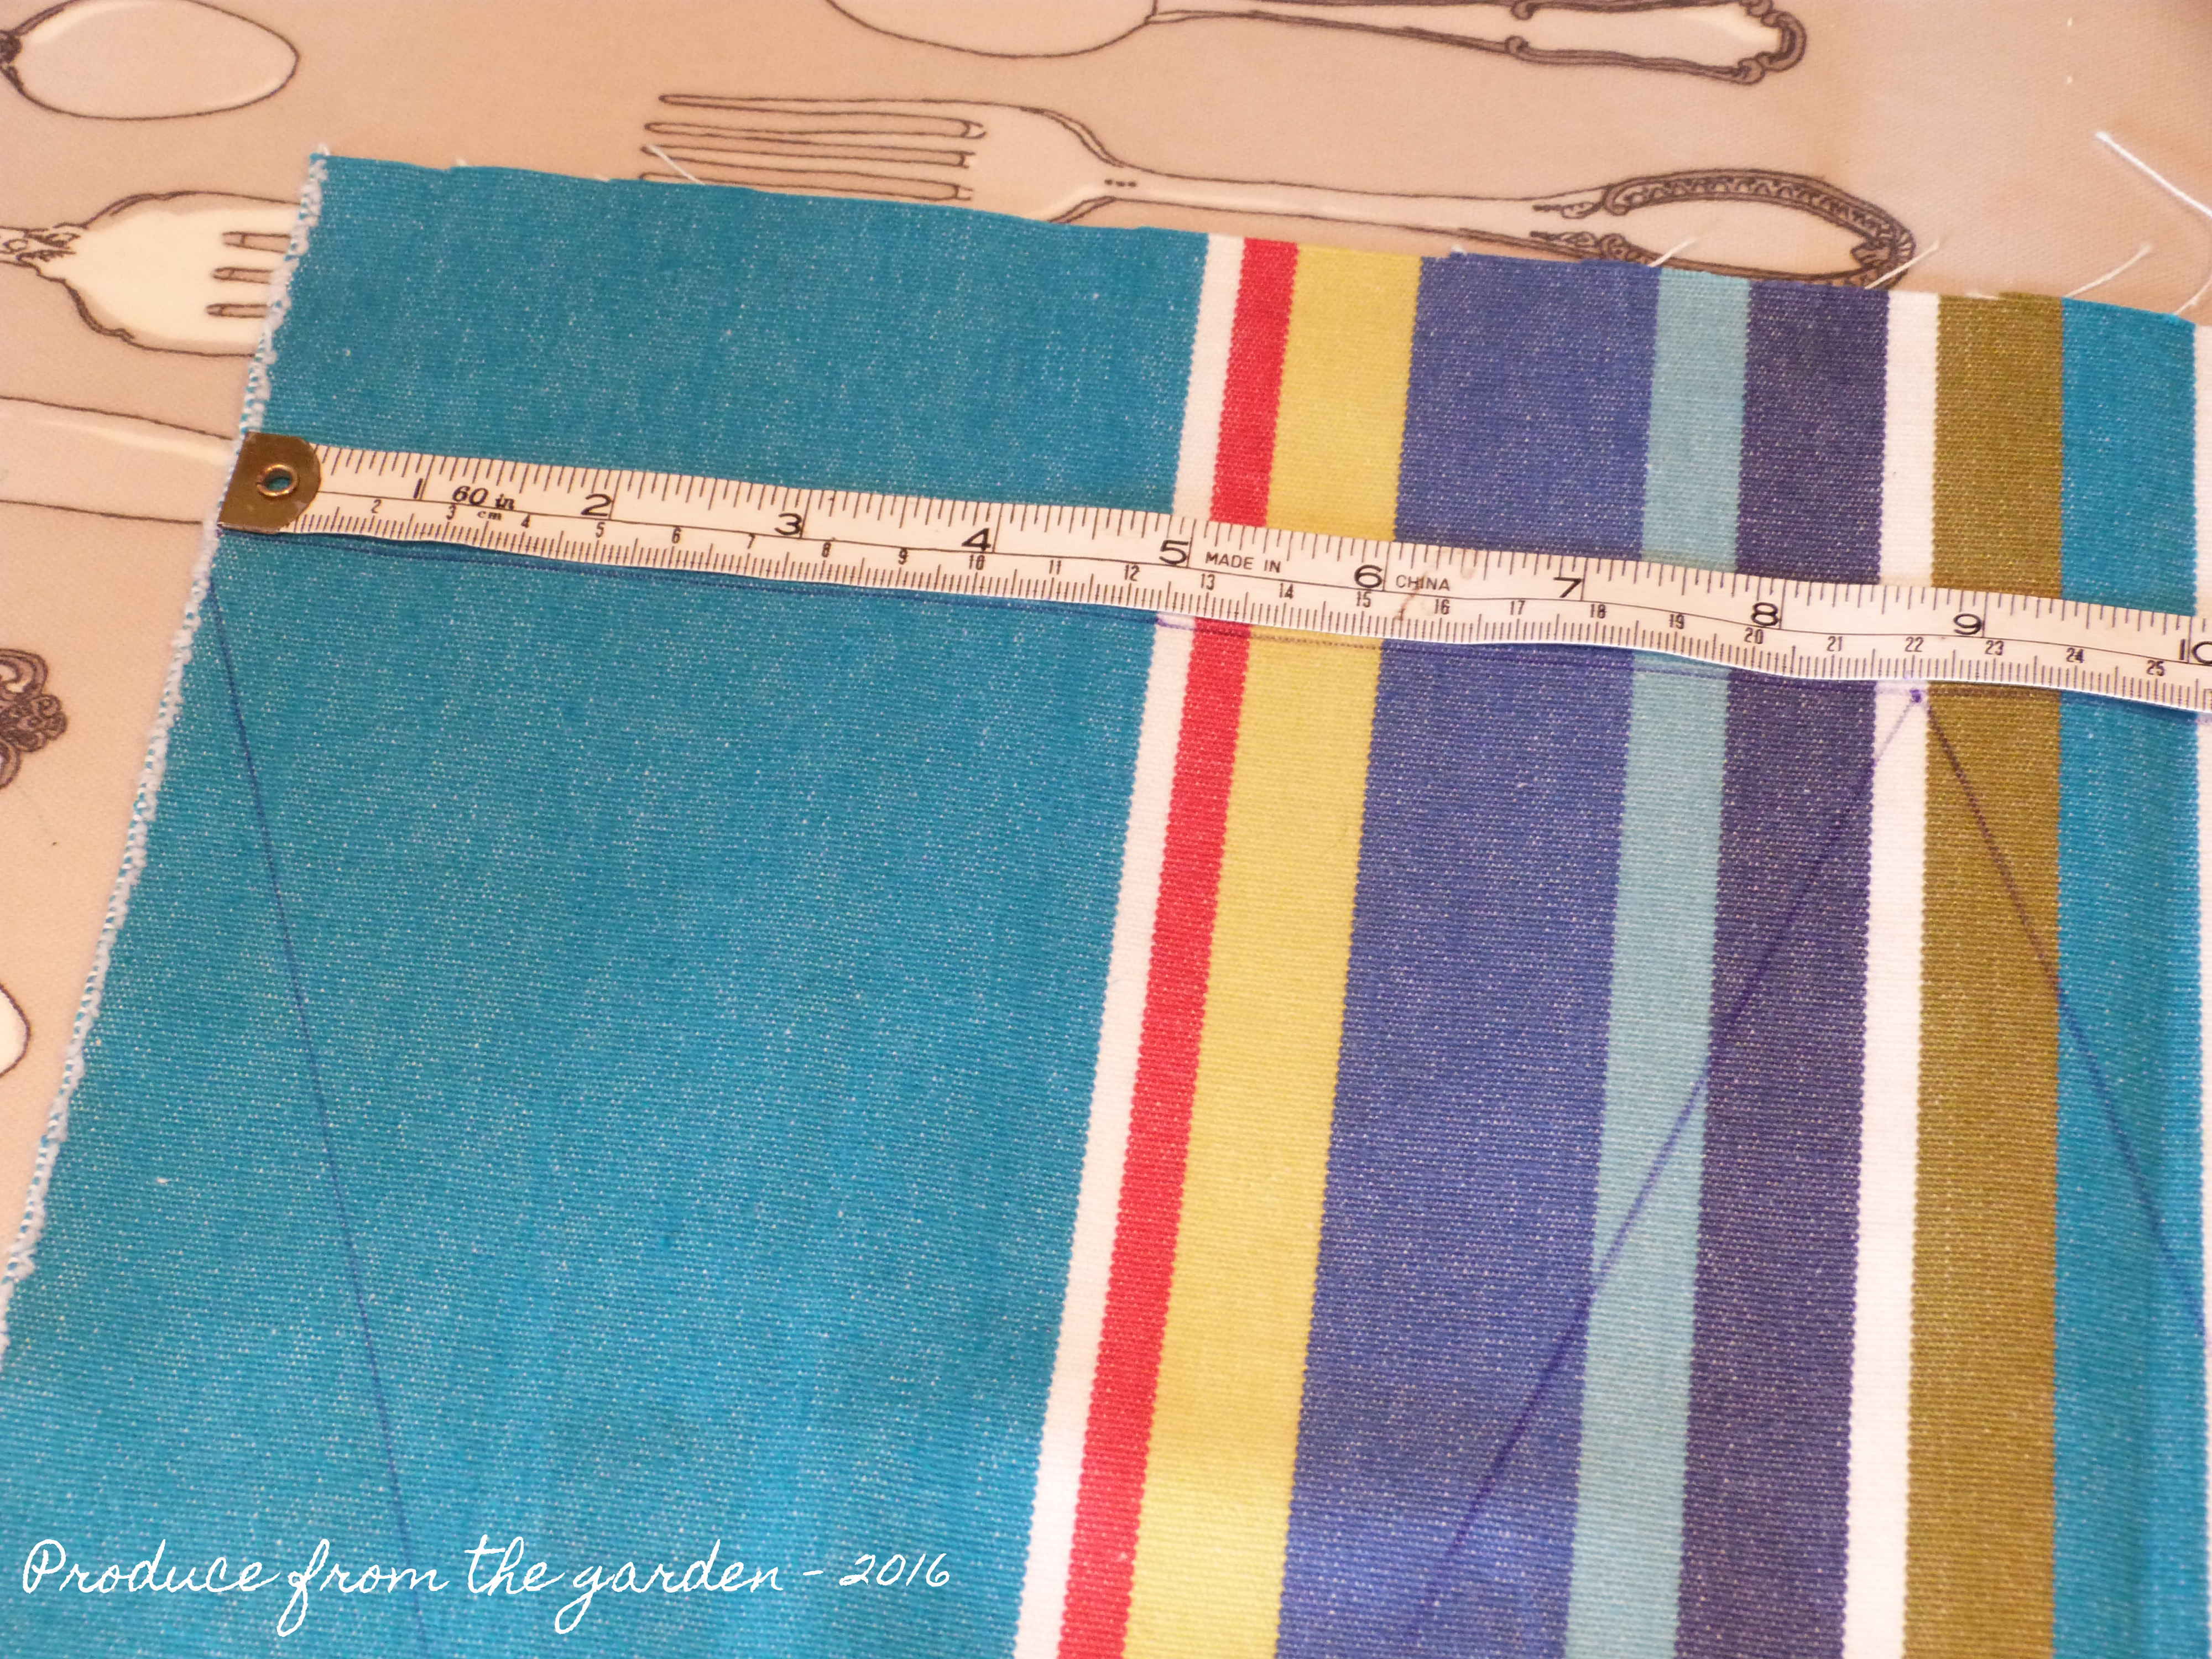
At the bottom of the fabric width measure 11cm and mark, and then measure 22cm, mark and continue repeating the mark every 22cm:

asure the flags bottom point

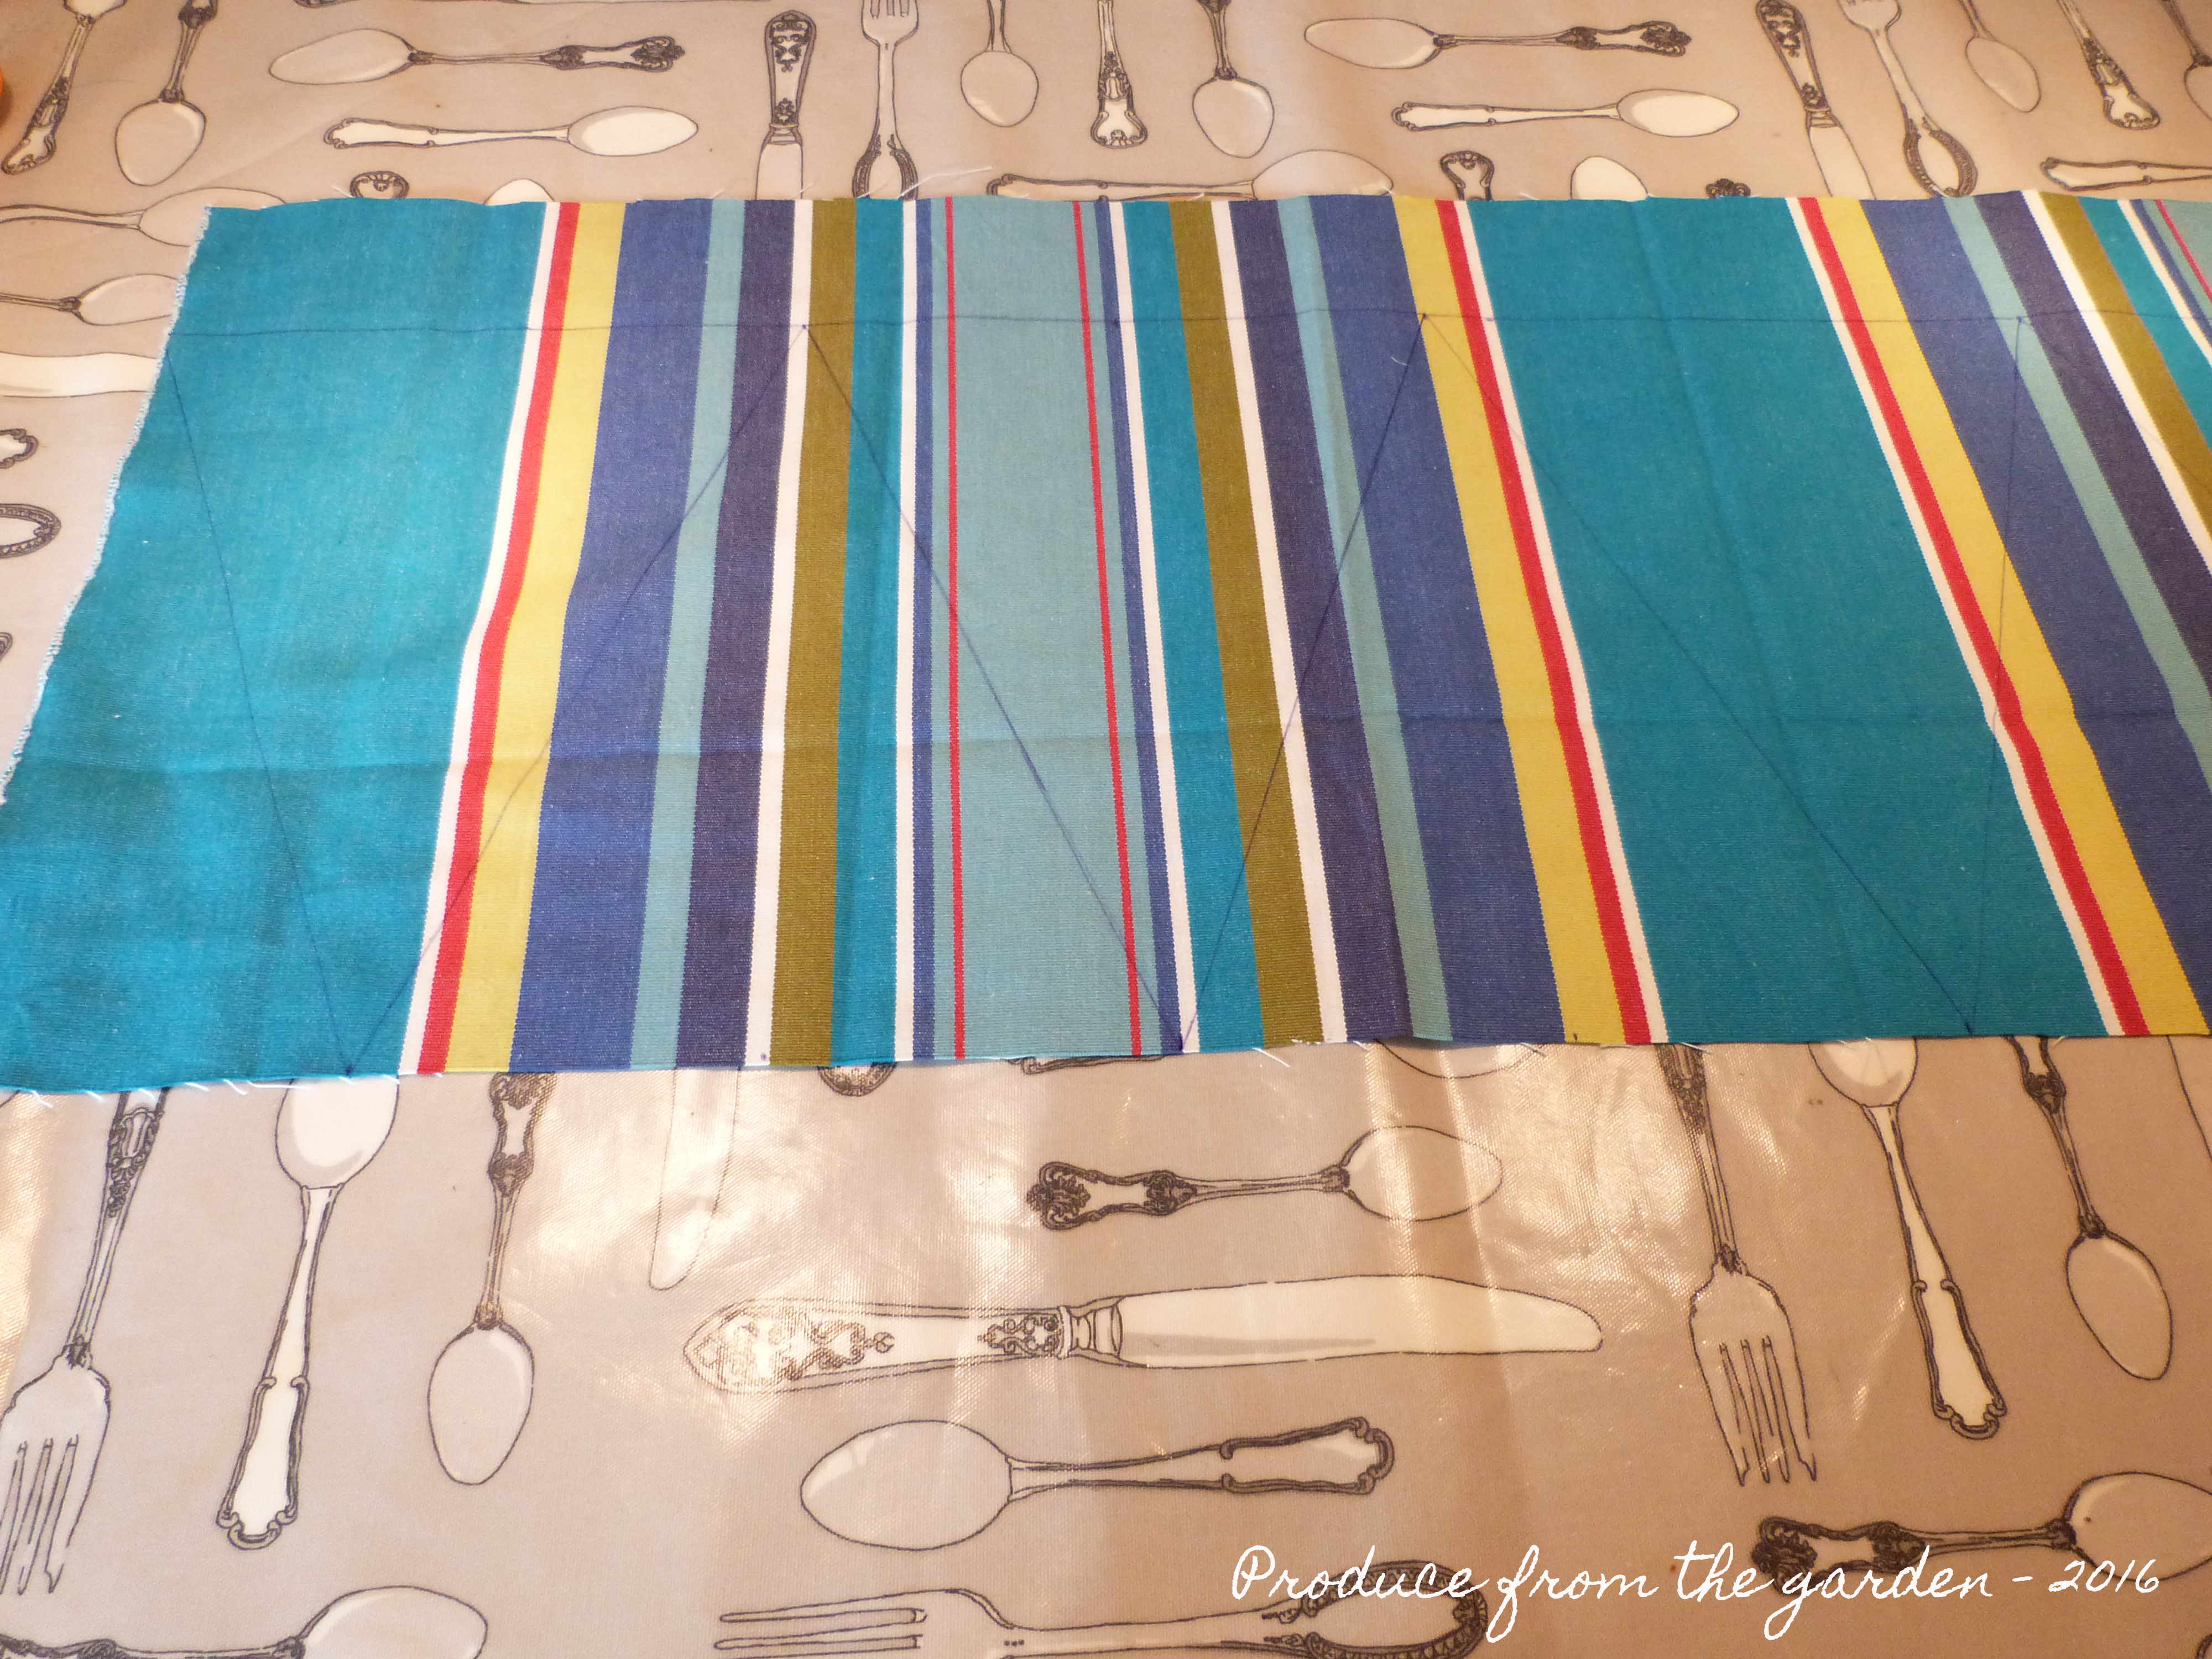
With a ruler and pen, mark out the flags using the guide marks you’ve just made:

Bunting - Draw the bunting sides

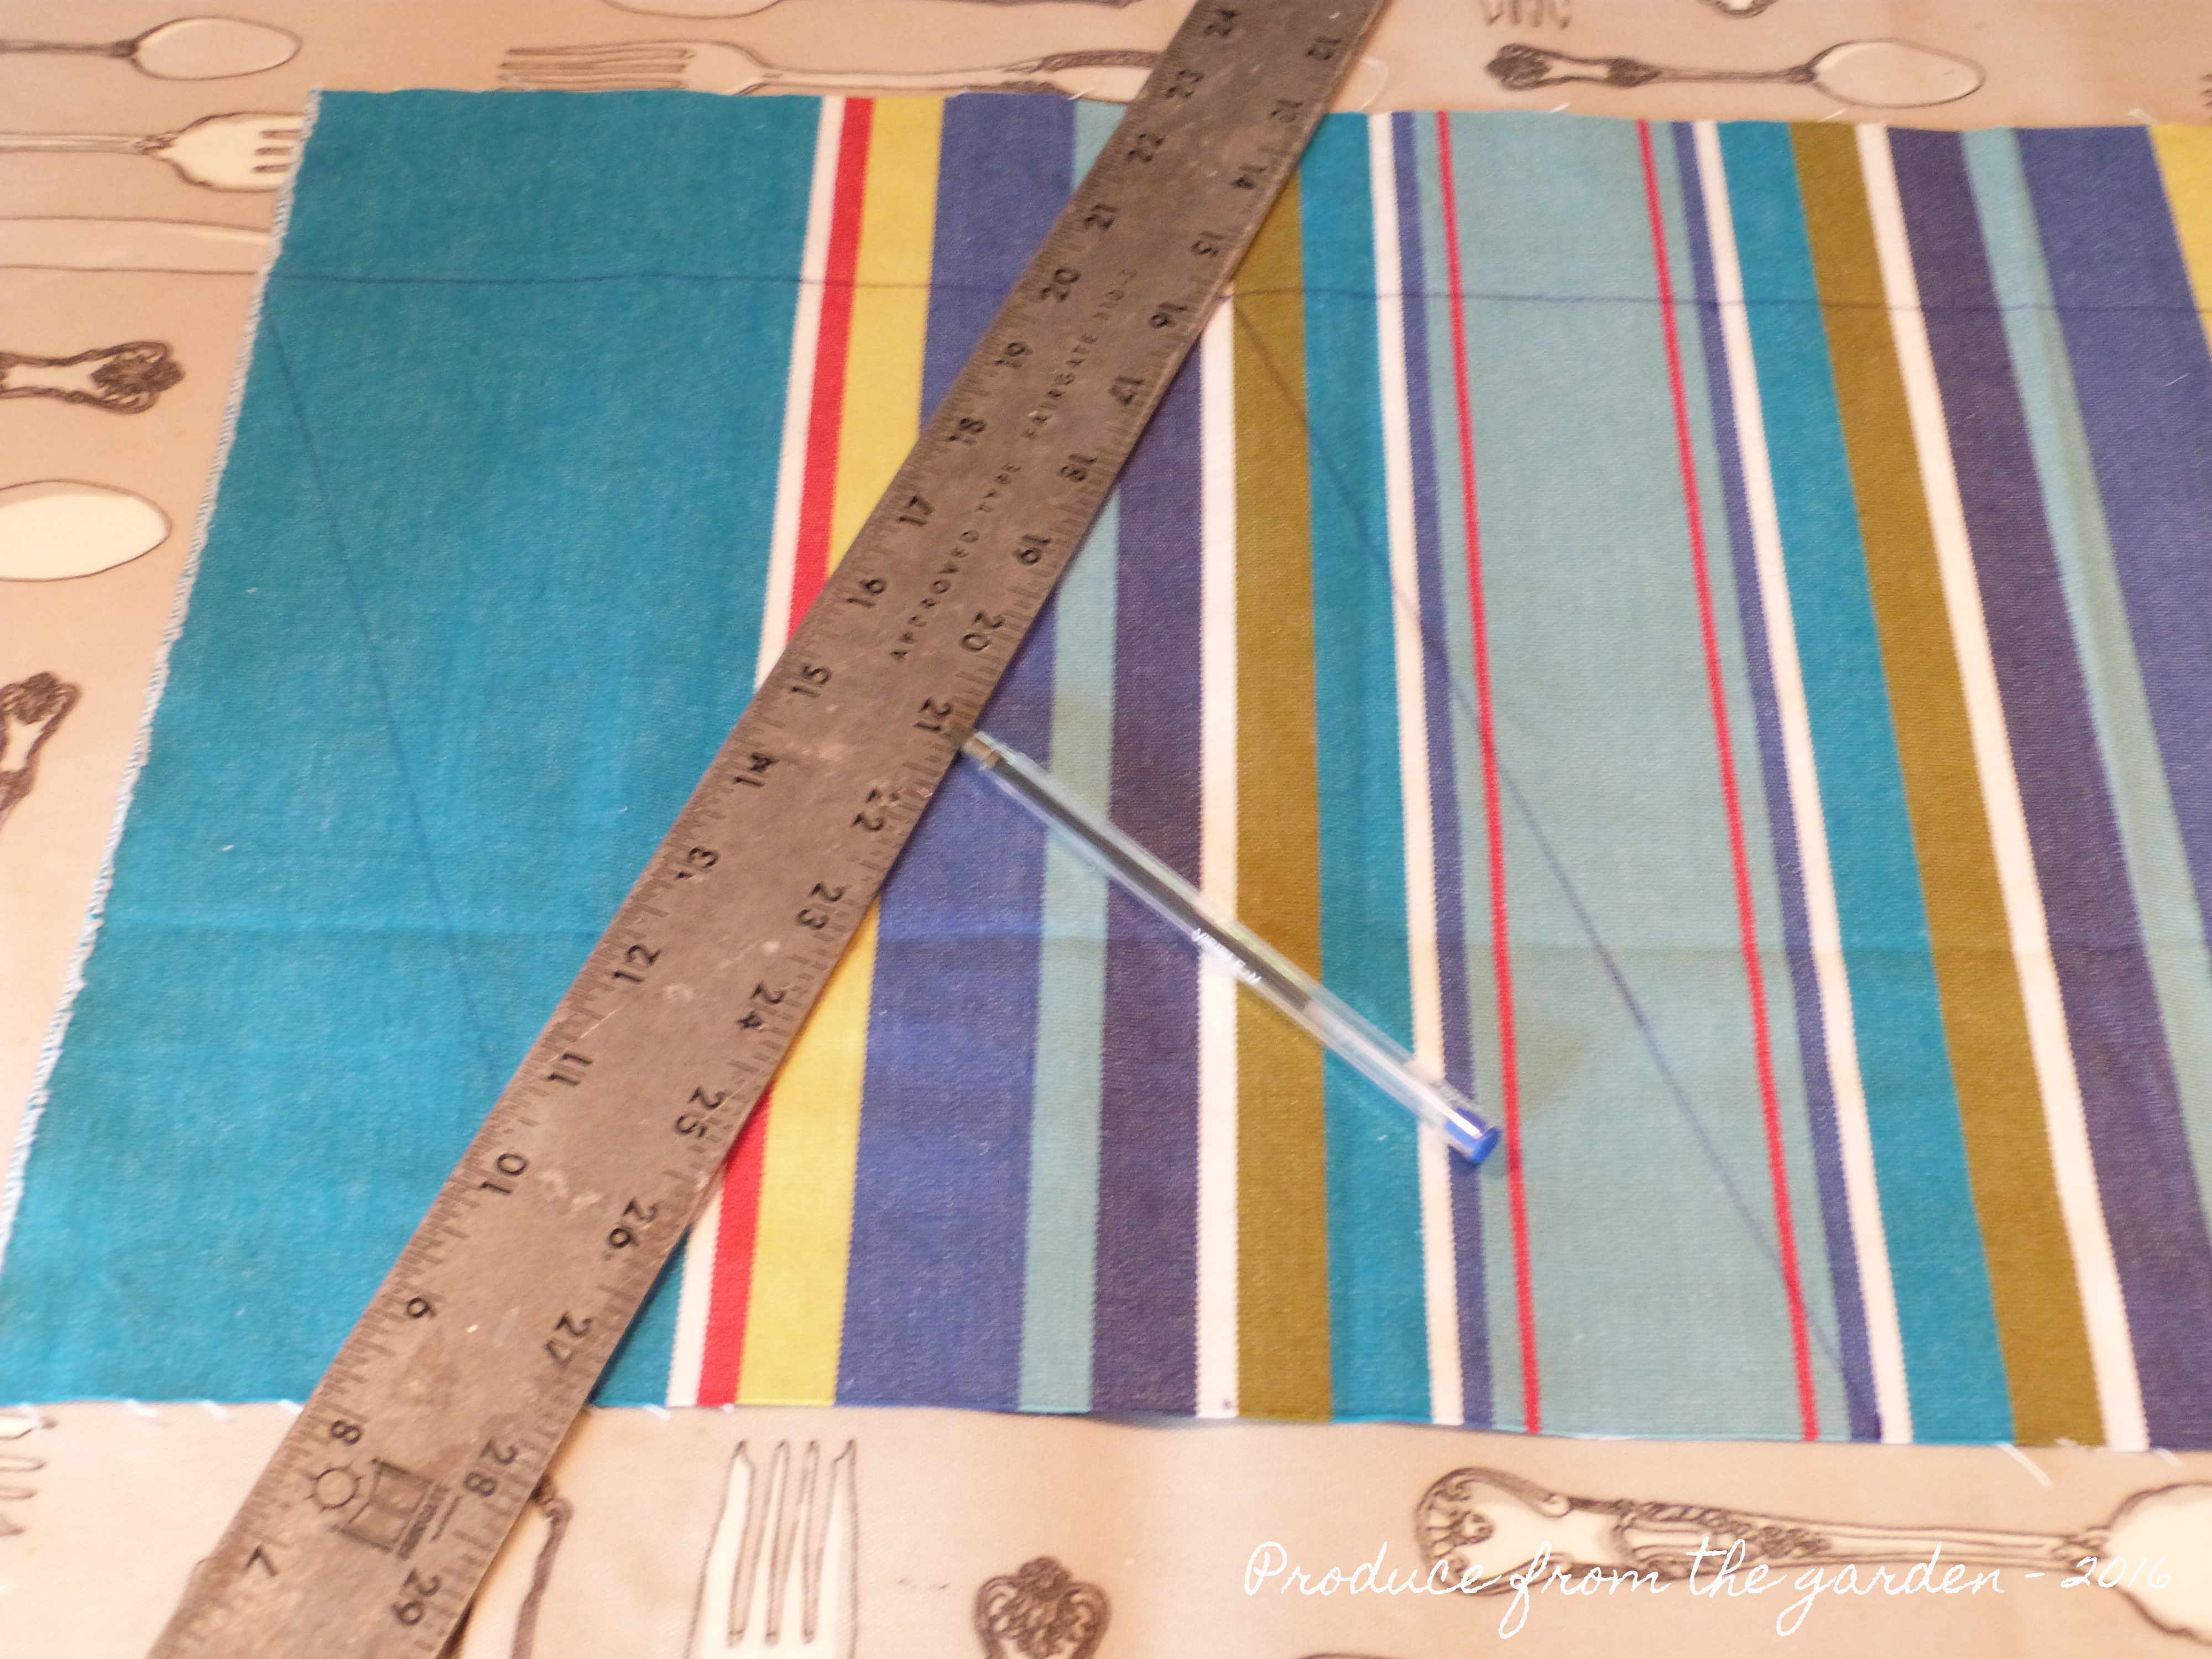
You then have a width of fabric marked out into triangles (the flags) 28cm long and 22cm wide at the top:

Bunting - The drawn flags

Next, cut the top and bottom edge of the bunting with scissors, creating a 28cm band with drawn triangles inside:

Bunting  - cutting

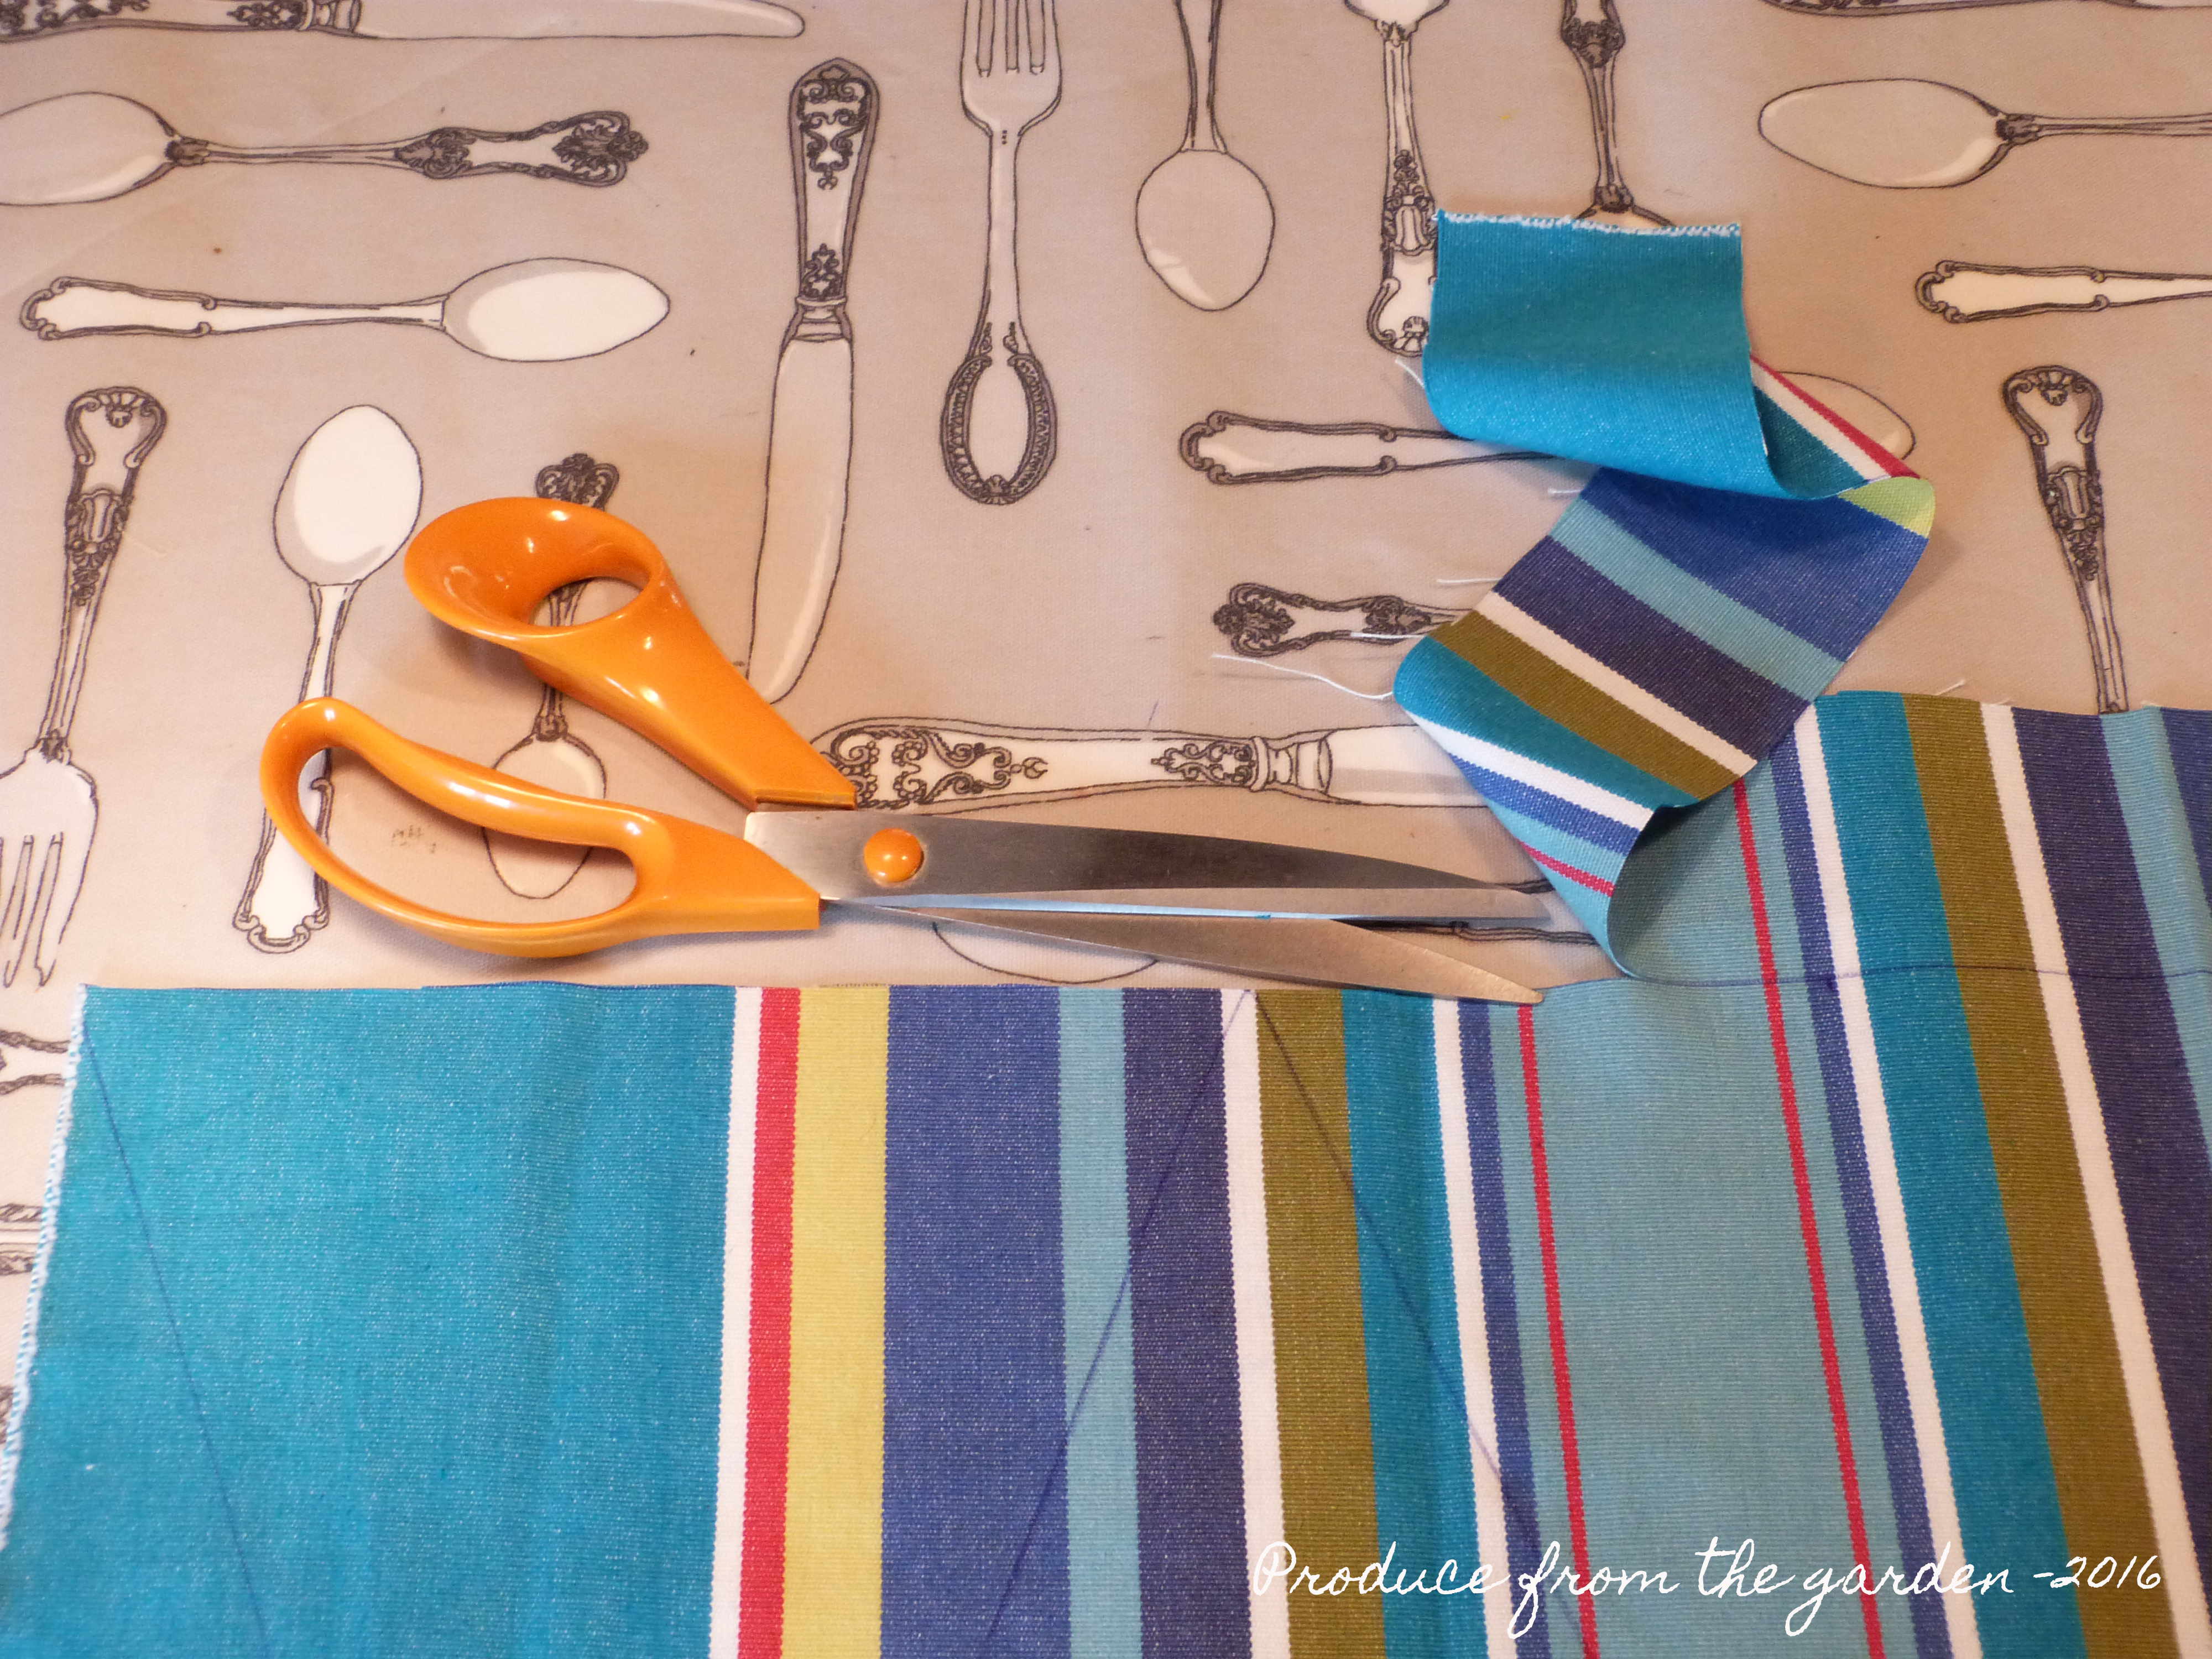
Then cut the angled sides of the bunting flags with pinking shears. This gives a zig zag edge to the fabric which prevents the material fraying, and saves us a lots of  time sewing!

Bunting - cutting the fabric with pinking shears

One of the bunting flags ready for sewing to the binding bias. You will need 11 flags in total, always have an odd number of flags to ensure there is a central one.

Bunting - the individual cut flags

Leave a 44cm length of binding bias tape at each end, then insert your flags into the binding bias tape and pin, leave a 17cm gap between each flag:

Bunting - Pin flags to bias binding

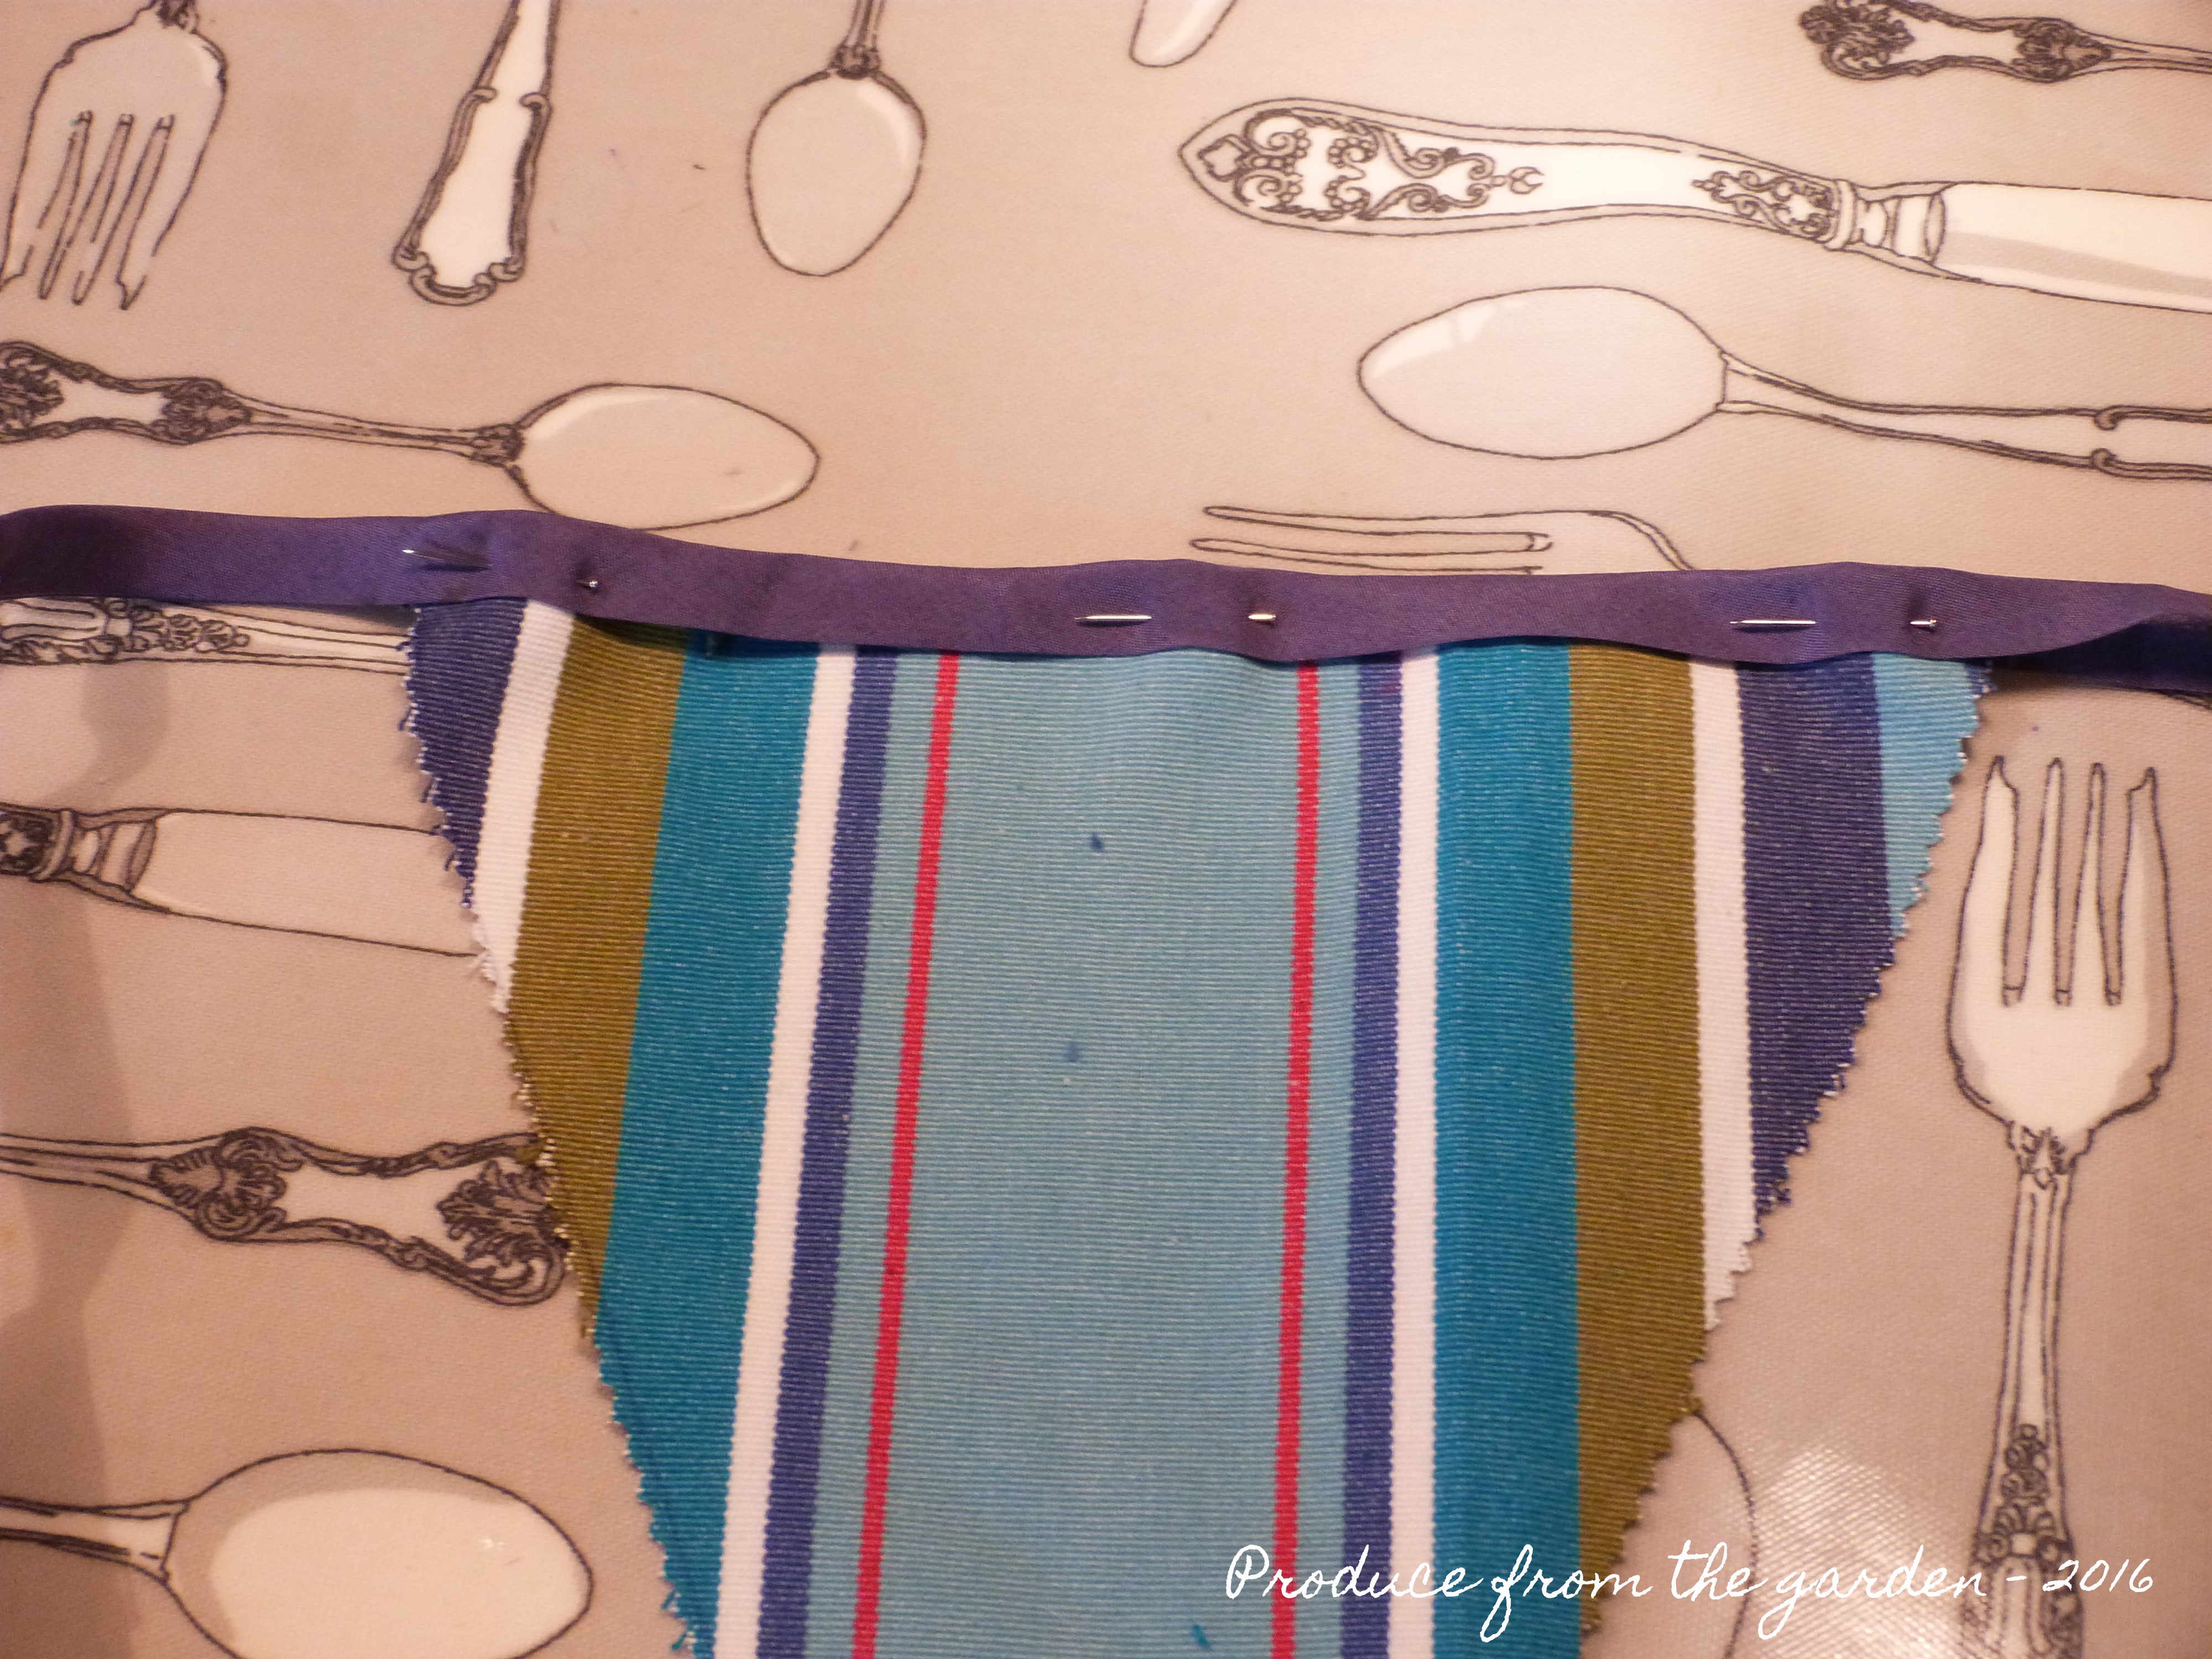
Pop in a pin to hold the binding bias tape together between each flag:

Bunting - pin the flags 17cm apart

Finally machine sew the bias binding tape to your bunting flags, carefully removing the pins before you get to them:

Bunting - Sew the flags to the bias binding

And that’s all there is to it, easy peasy bunting!

Summer House as an office
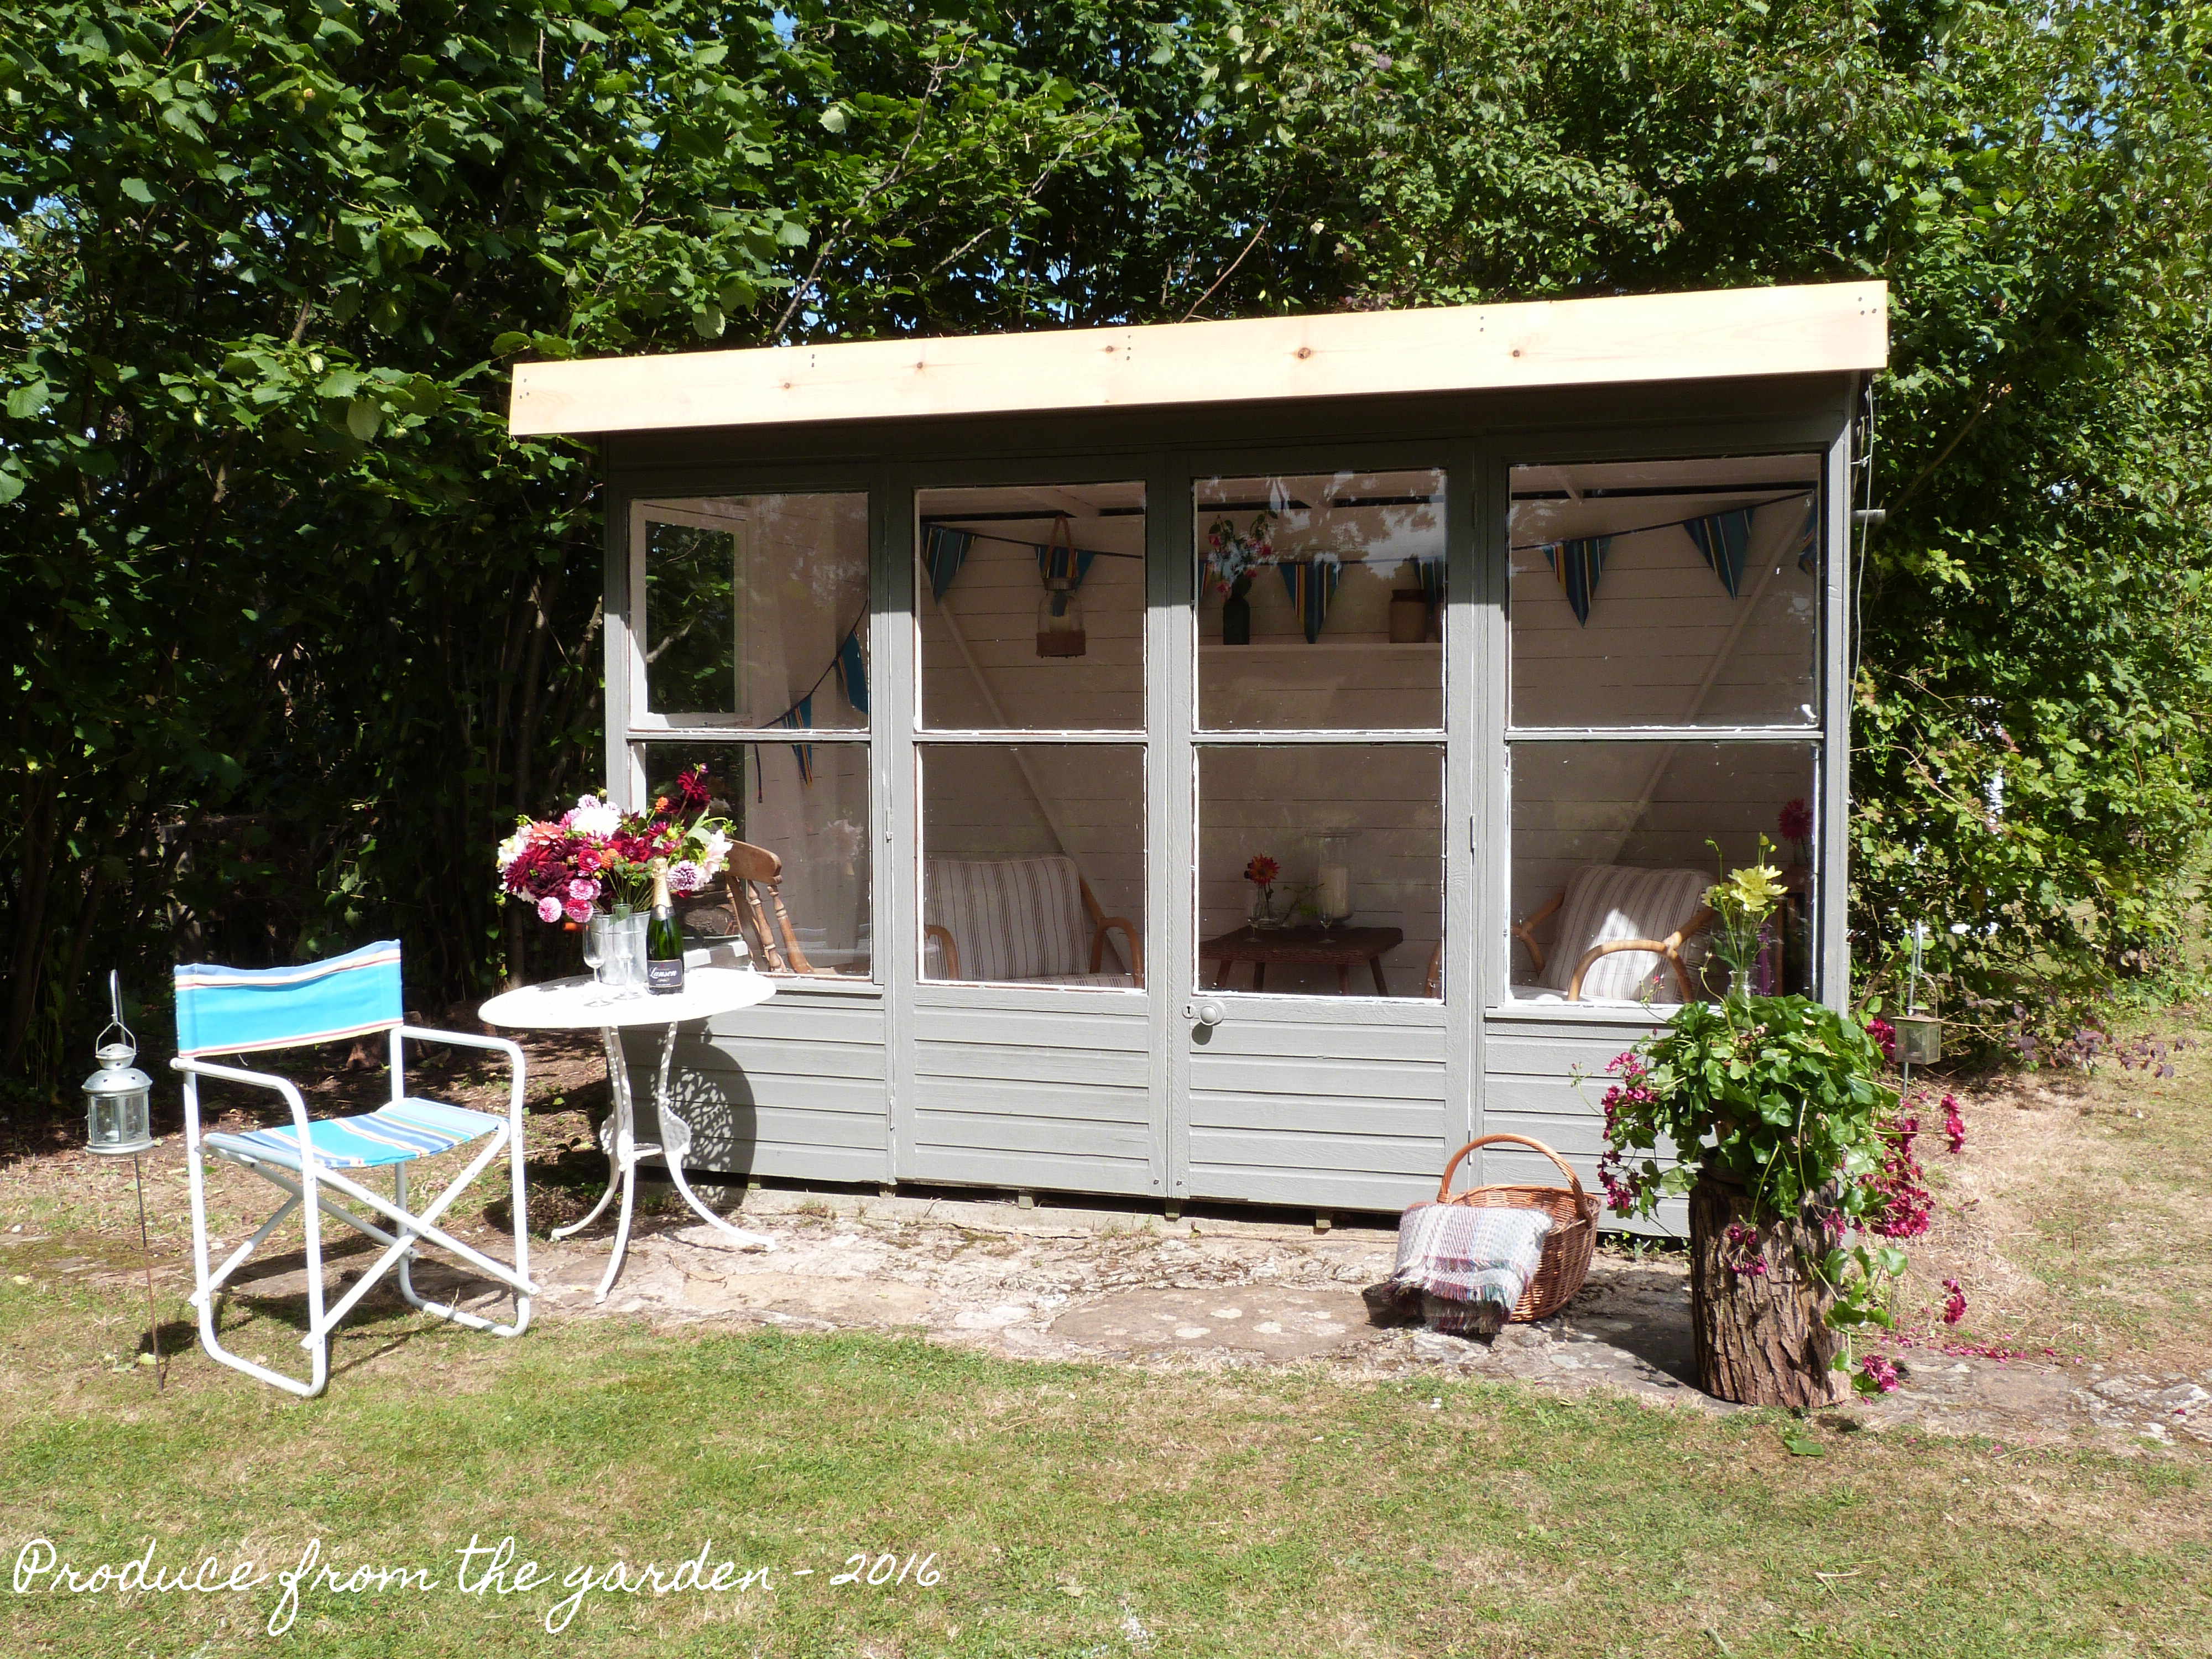
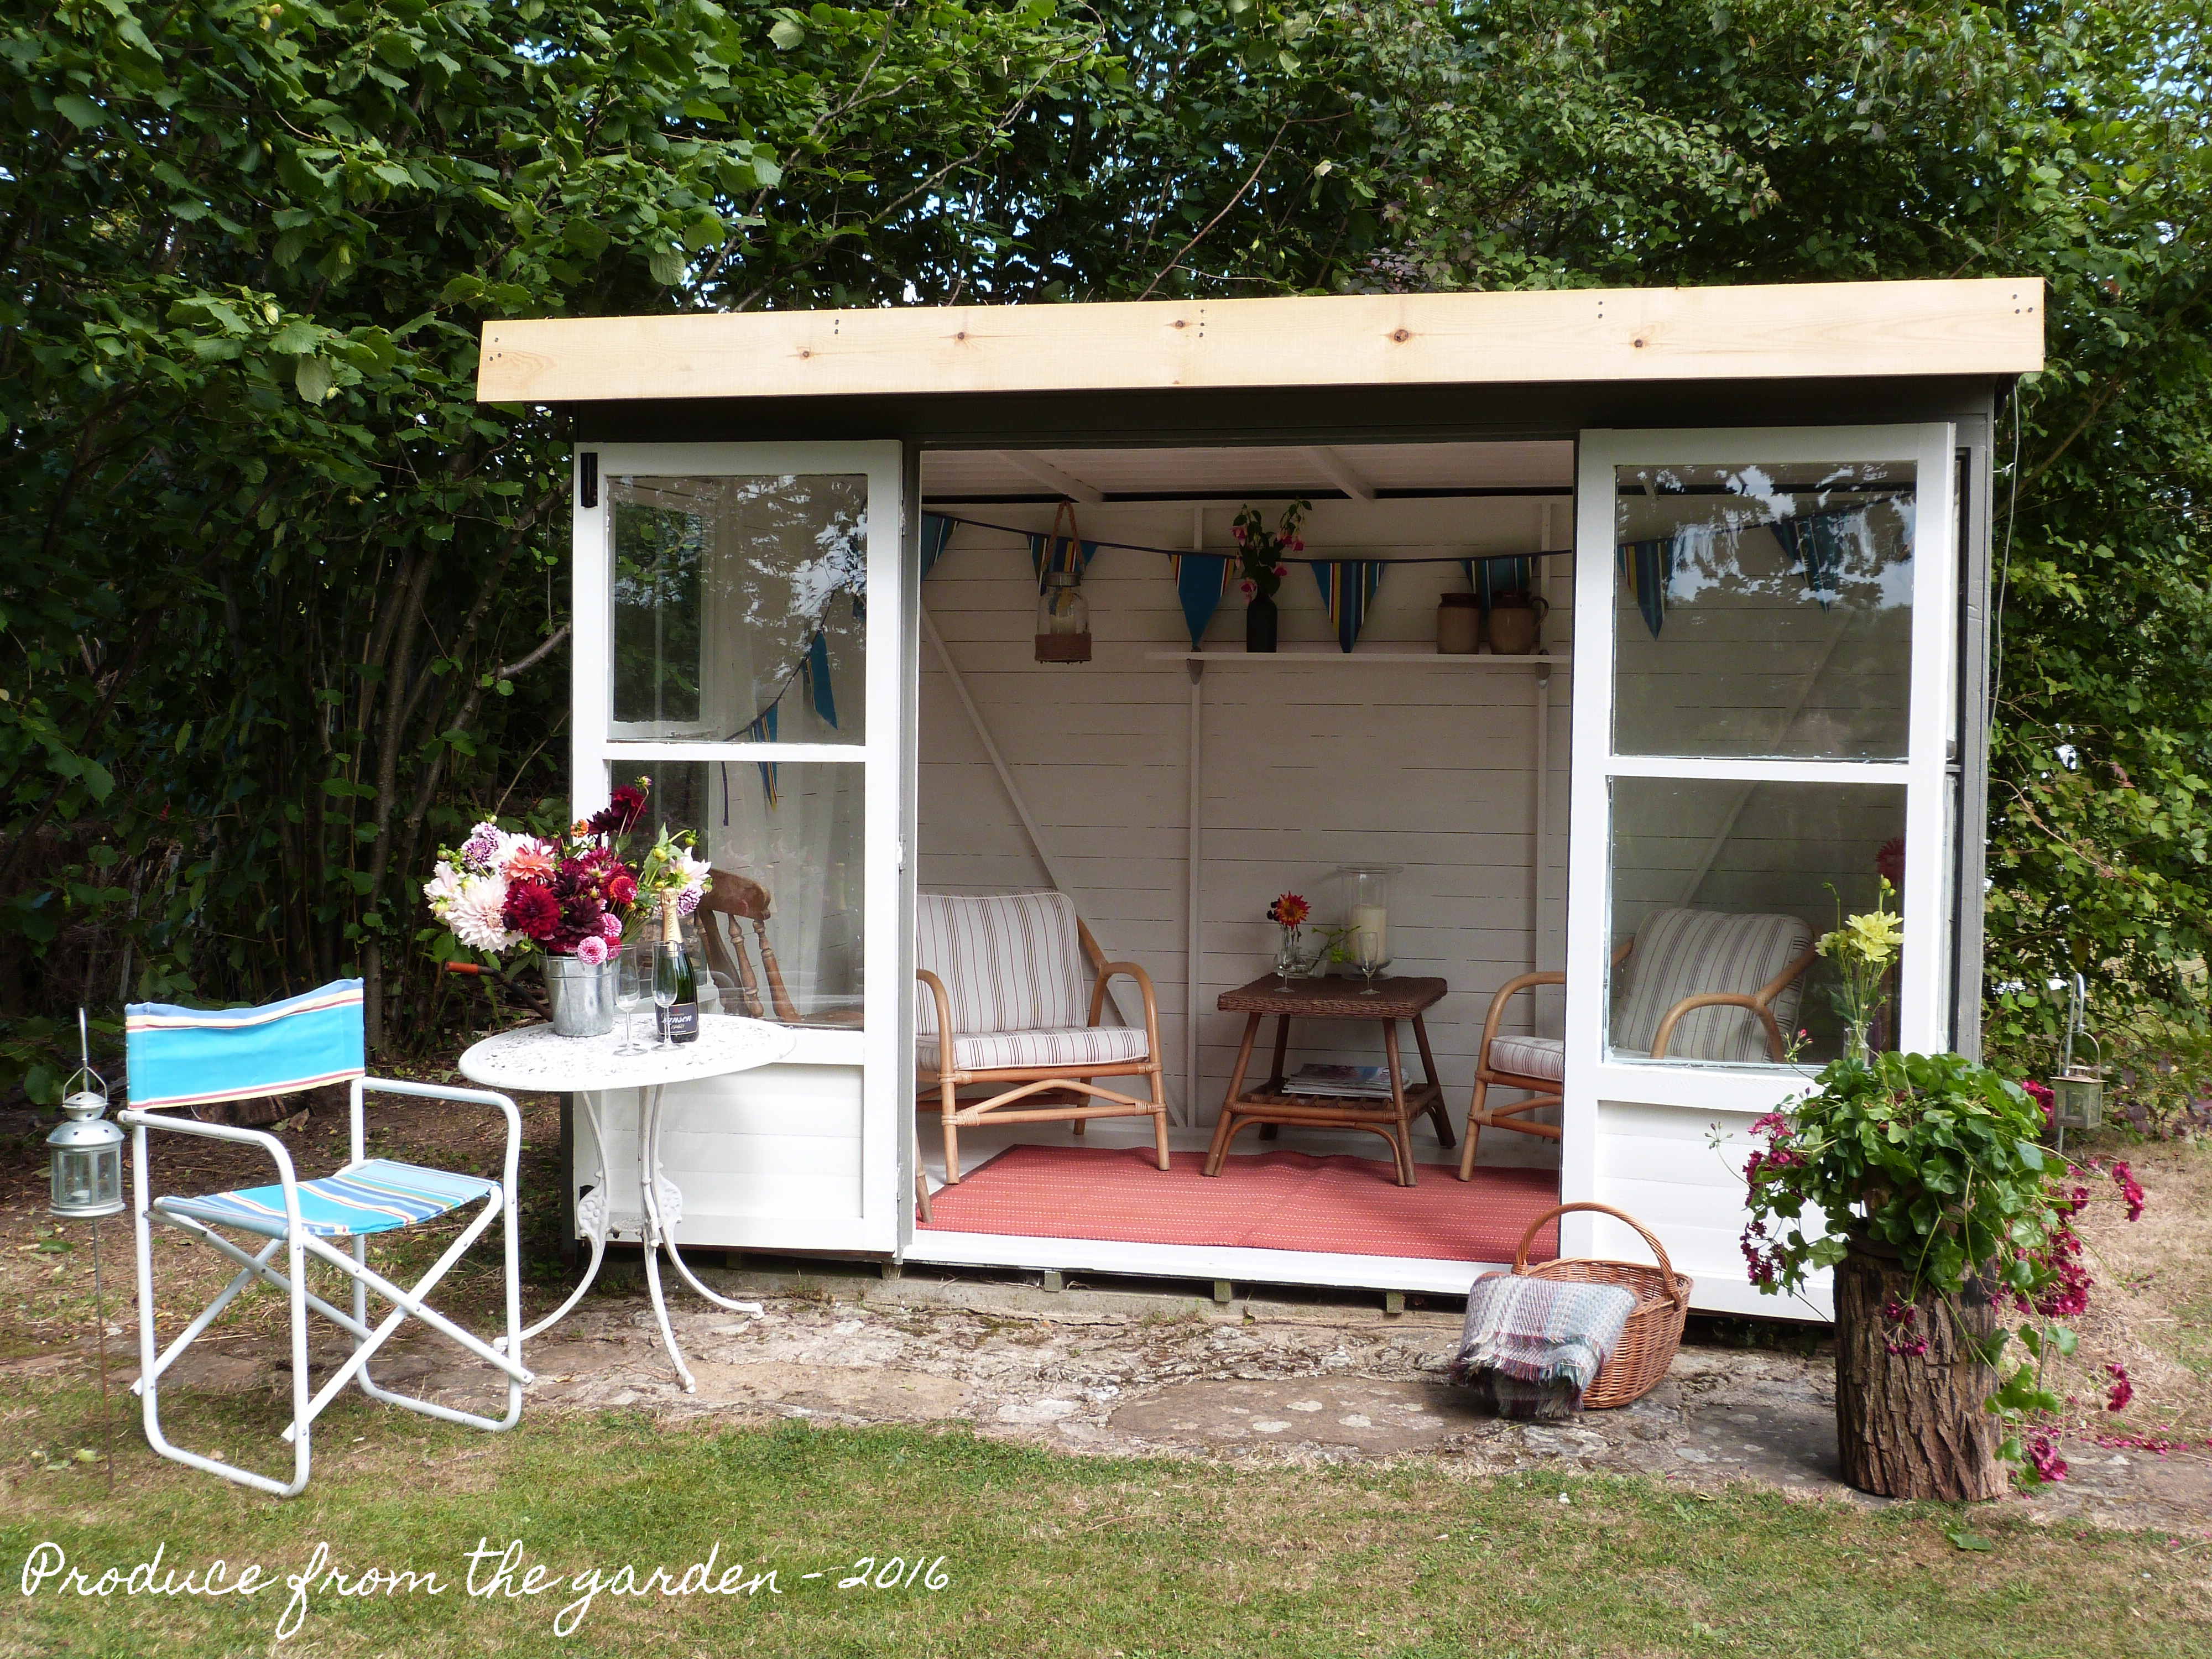
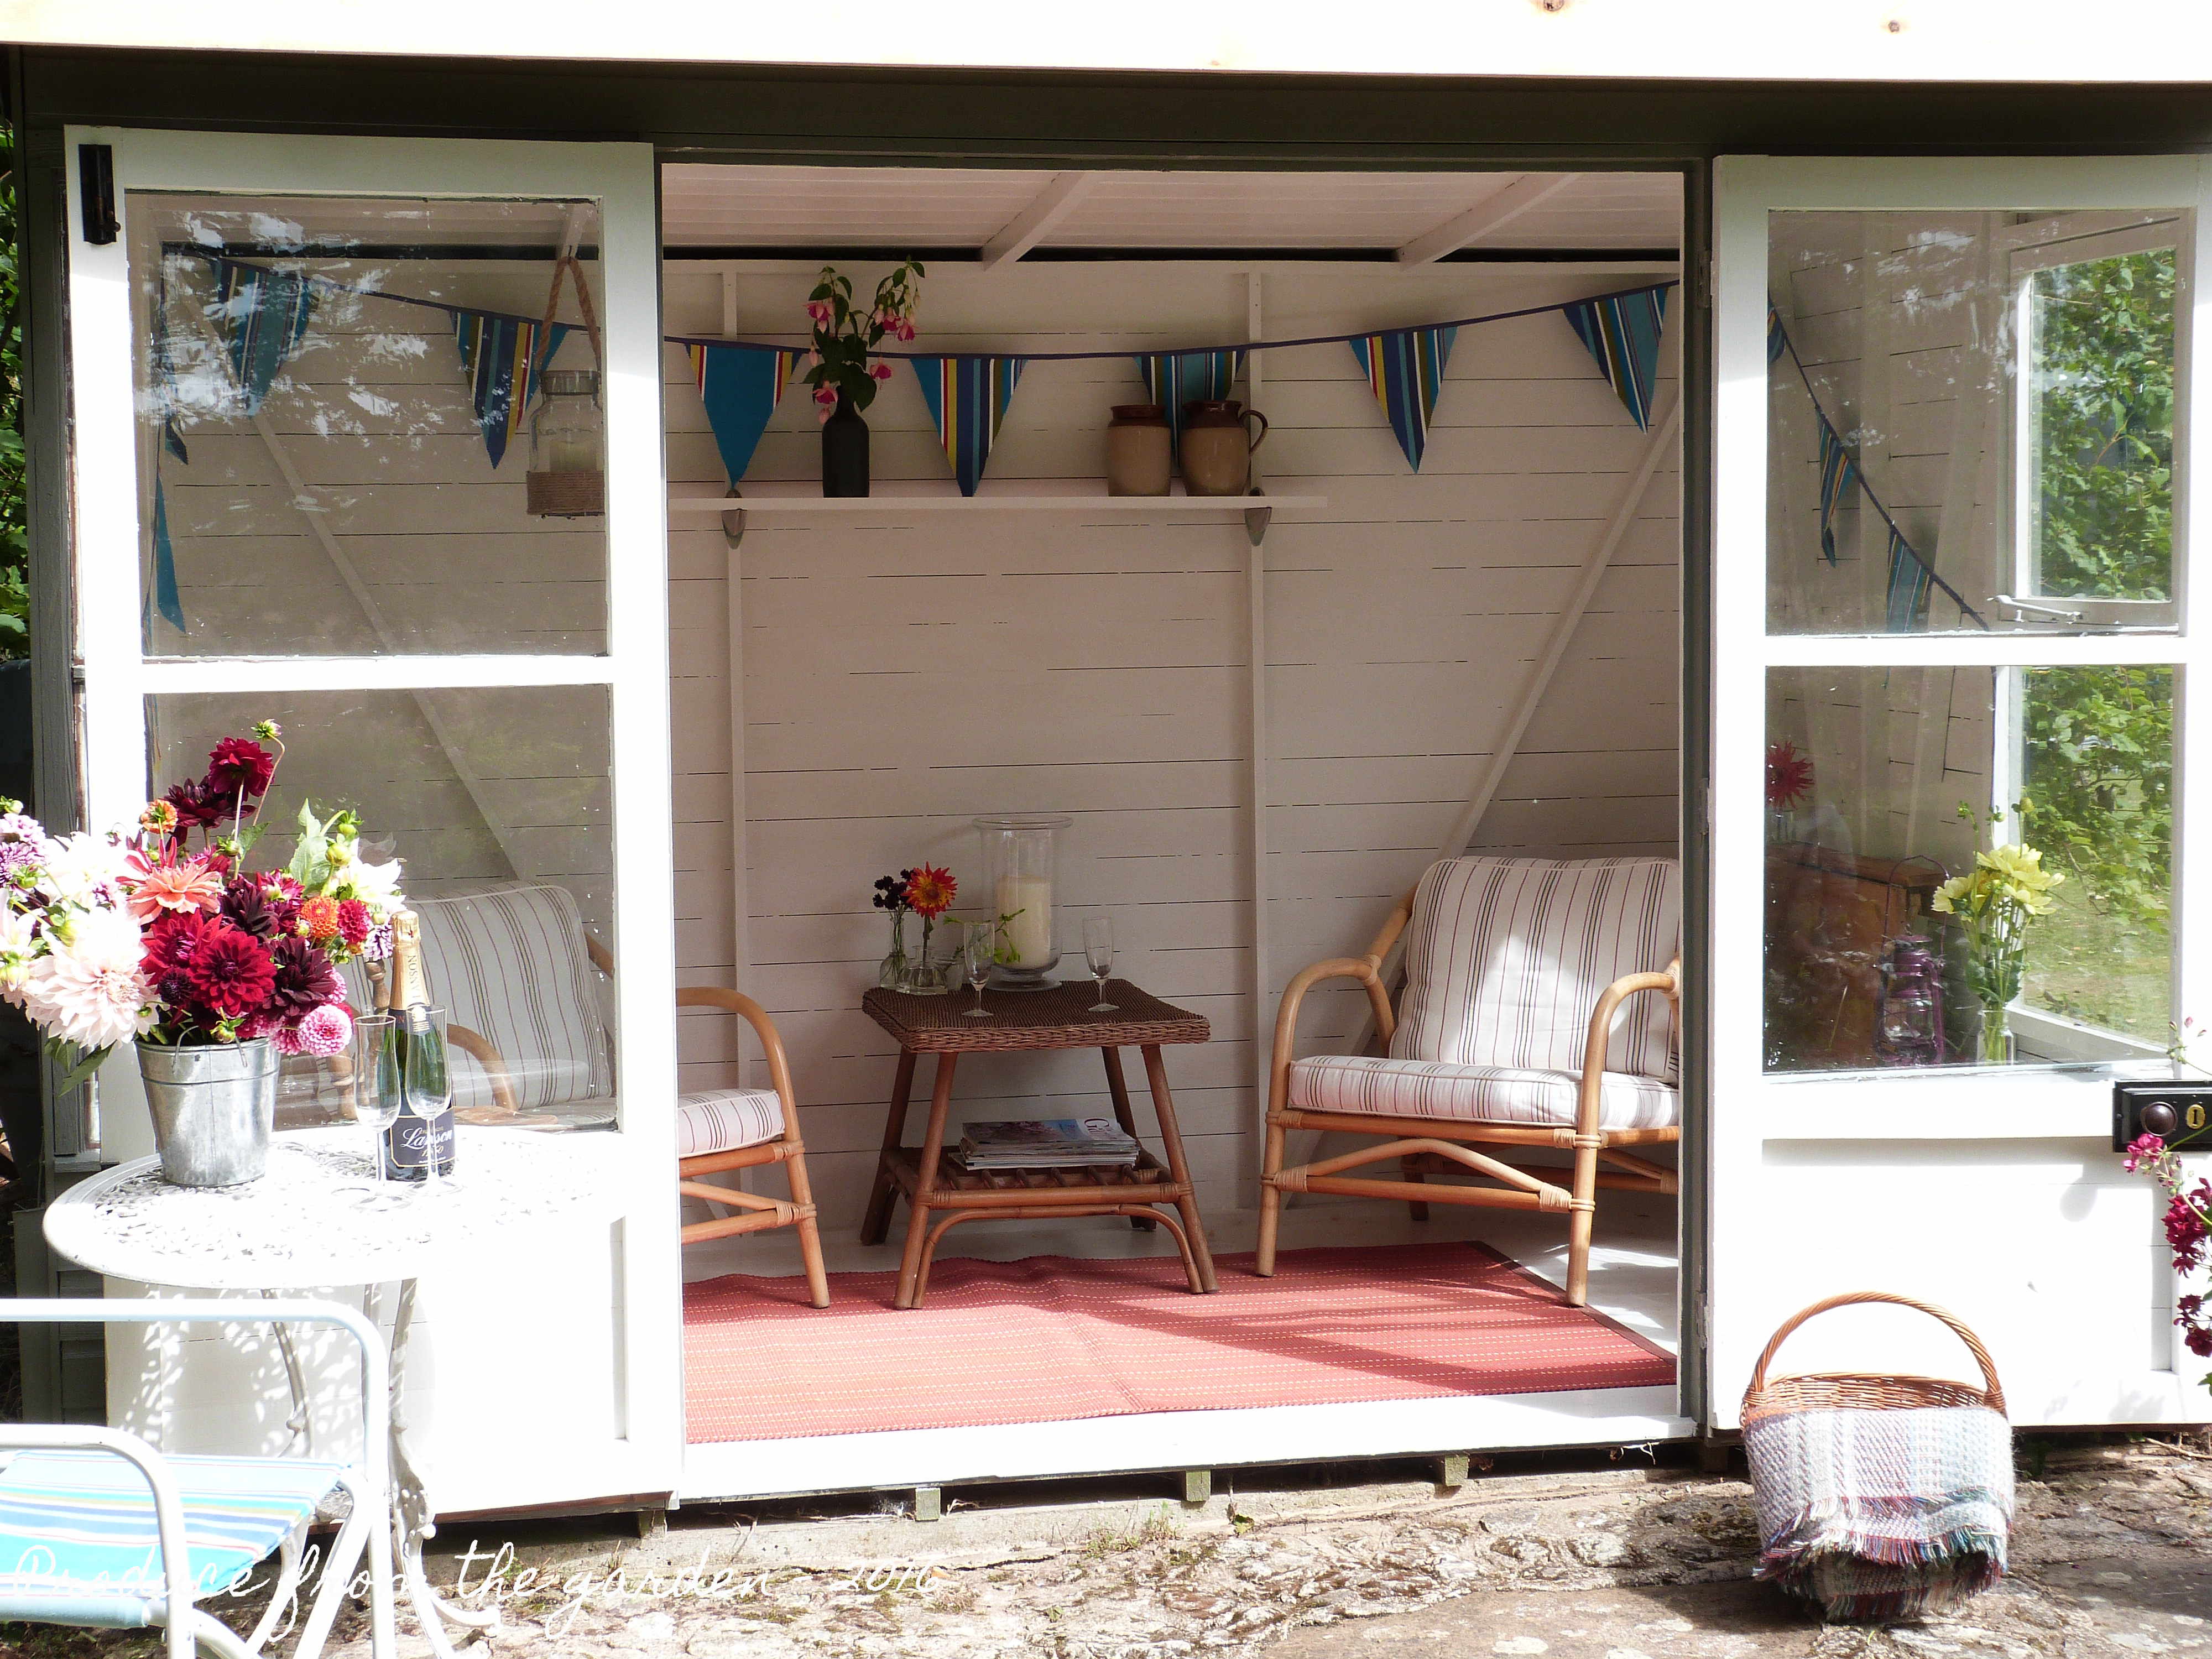
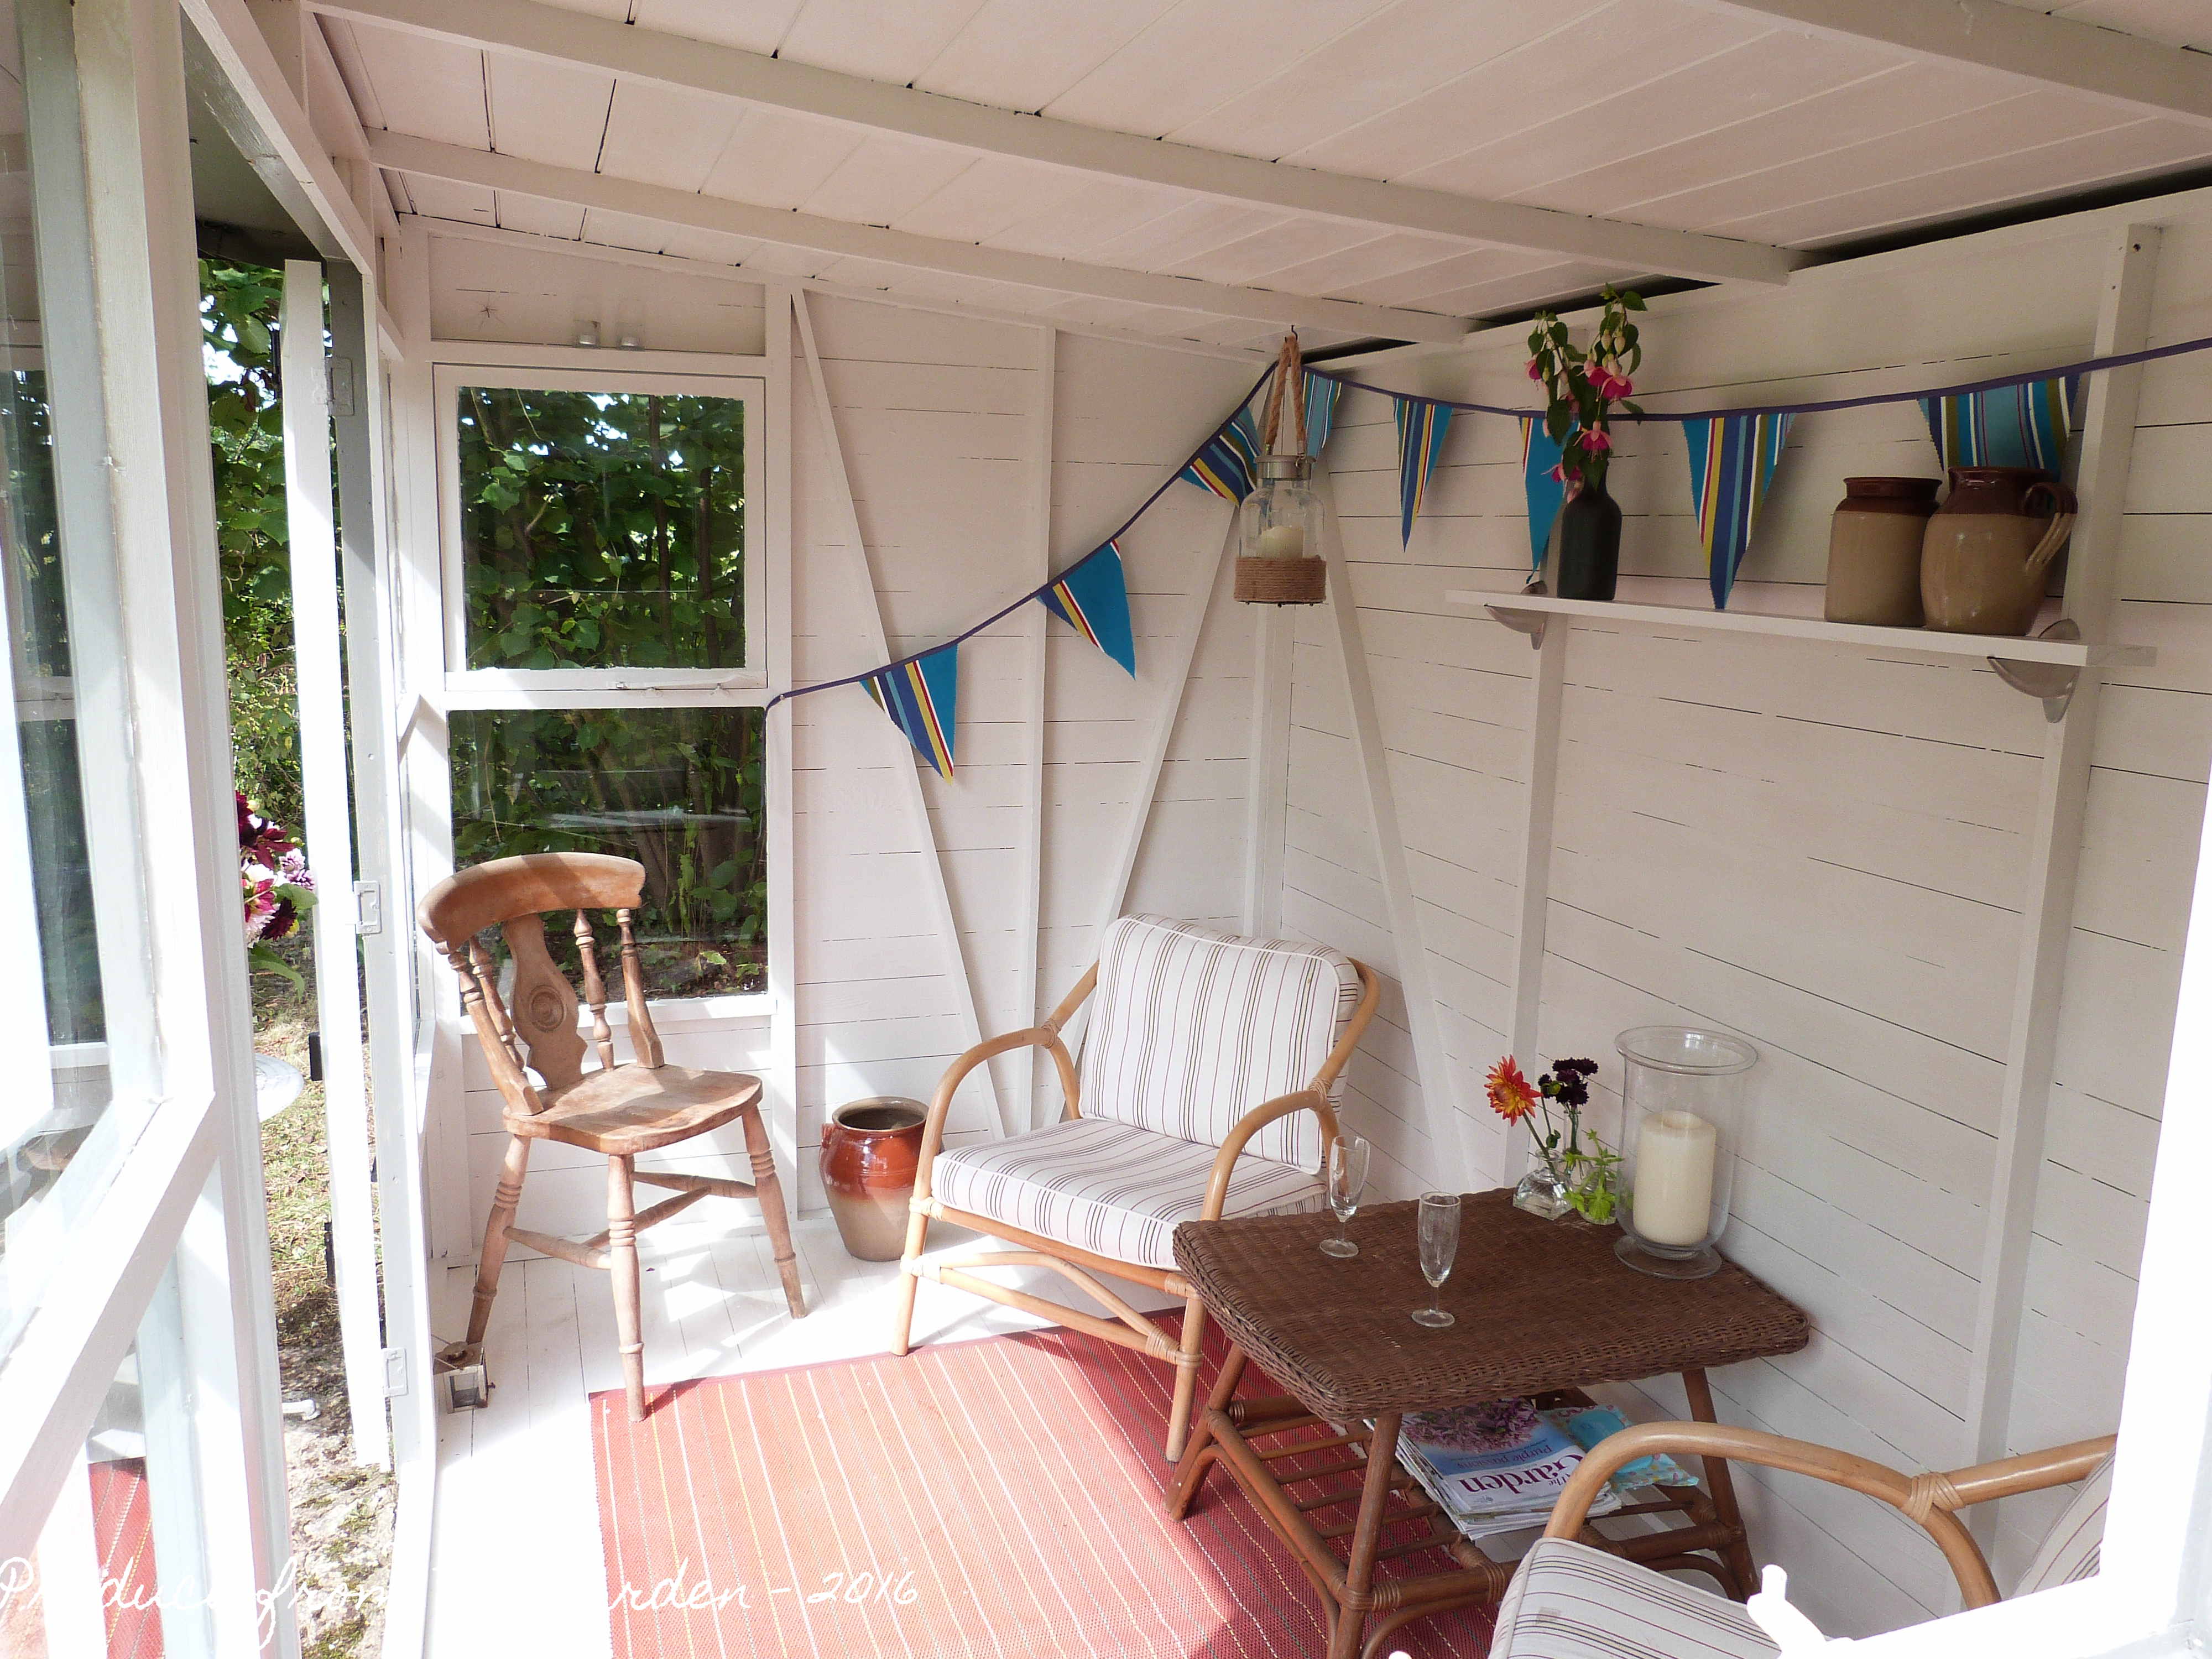
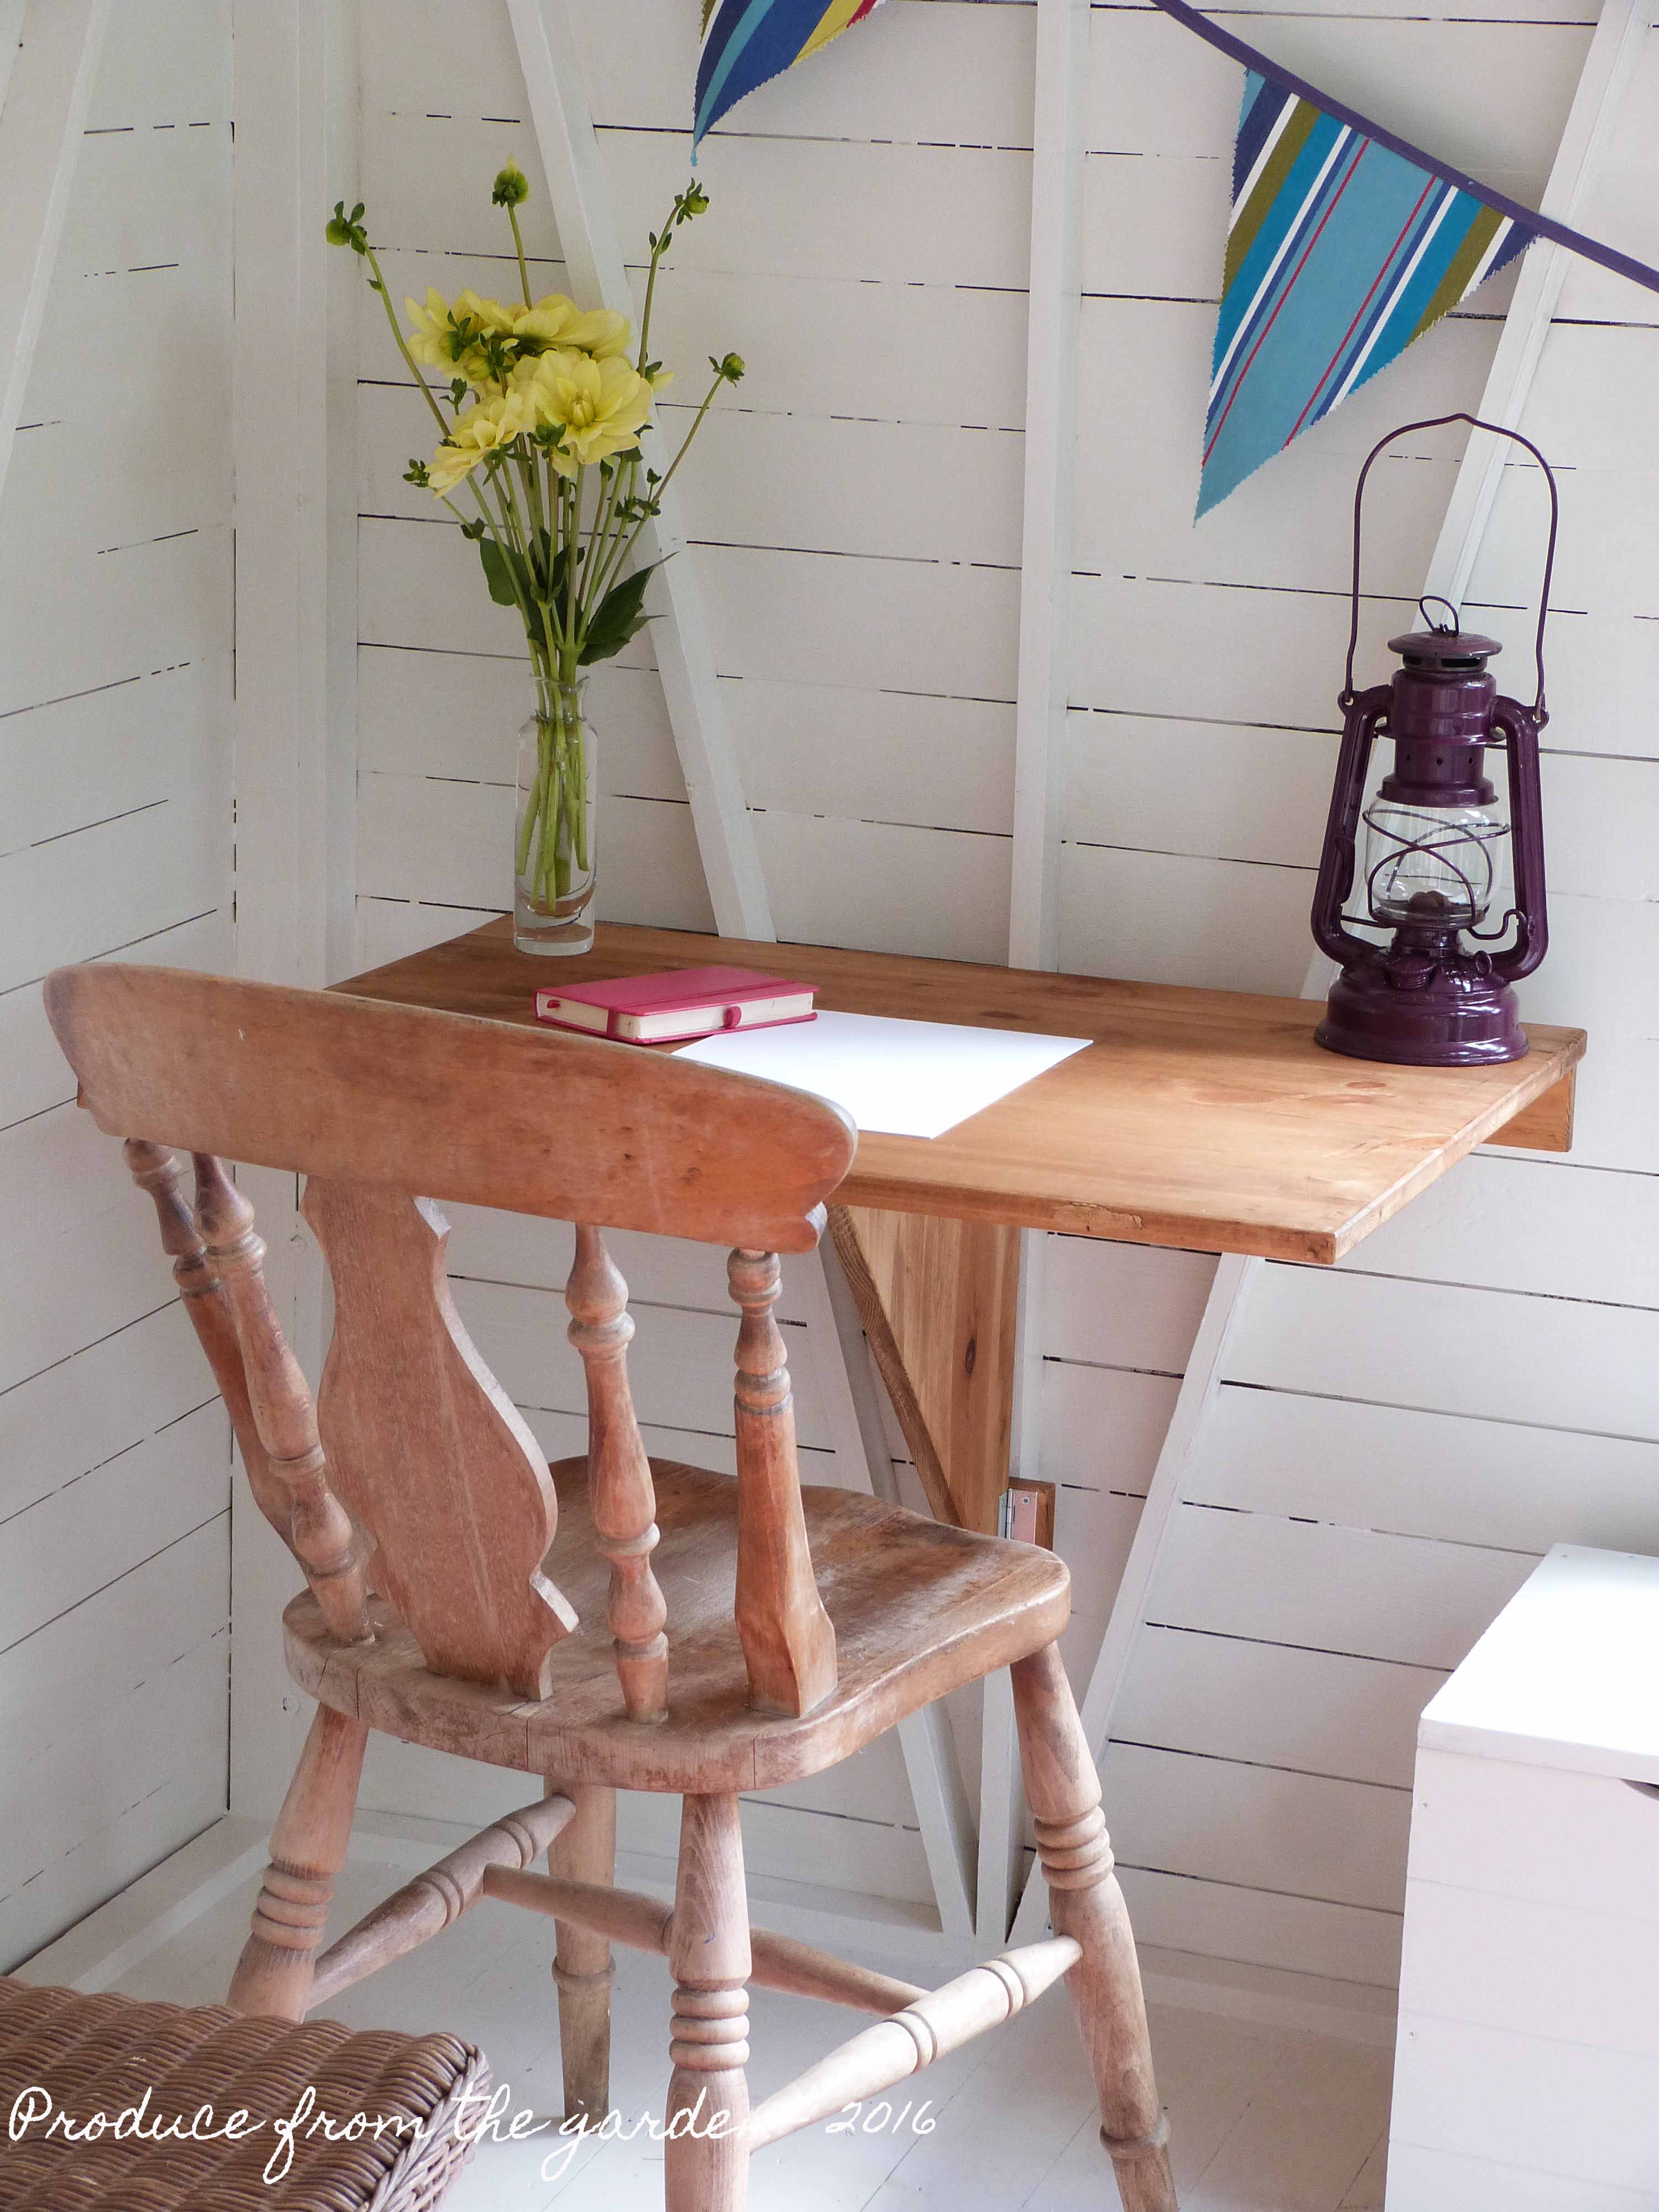
The bunting in pride of place in the summer house

A Summer House renovation

My summer project was to renovate an old summer house inherited from our homes previous owners. This tatty eyesore has been used as a dumping ground for my boy’s garden toys. With money earned from our garden produce honesty stall, I set about renovating and painting to create a summer haven. The result has been a complete revelation, a luxurious garden retreat that I use to relax, unwind and work in. I’m now convinced that everyone could benefit from such a sanctuary in their garden.

Summer House exterior shot doors shutThe finished Summer House

Summer House Before ShotThe shocking ‘before’ shot!

Summer House Exterior Doors openThe Summer House with the doors wide open

Summer house before shot 2The ‘before’ shot with the doors open

The renovation

First of all I cleared out all the toys, invading creepers, spider’s webs and general natural mess that seems to accumulate when a shed like structure is abandoned and left to its own devices. I found some rotten and woodworm infested wood, I treated the woodworm holes with woodworm killer and luckily the rot was not too bad, I cleared the crumbly fragments away and soaked the area with wood hardener, this magic liquid soaks into the affected area and hardens the wood as it dries. I then painted the Summer House inside and out with an undercoat that was recommended by the paint shop. It was very important to use the right undercoat as the Summer House had not been painted previously, if we’d put our paint on straight away it would have been a waste soaking into the hungry dry wood, also the original wood preservative and resins would have seeped through the paint discolouring it.

Summer House looking insideLooking into the Summer House

When planning my summer house renovation I tried a few tester pots of dedicated shed paint but quickly decided against this option, I didn’t like the colours available and didn’t feel it provided a good quality painted wood finish, it looked like a stain or wash. I ended up selecting ‘Grey Moss’ by Little Greene Paint Co. in an oil based eggshell. It’s the same colour as our conservatory which gives continuity throughout the garden. I selected a light ‘Dove Grey’ in a water based eggshell for the interior.

Designing the interior on no budget!

The interior of the summer house required some thought as I only really had enough money for paint. A few years ago we were given two bamboo armchairs from my husband’s Grandfather’s conservatory; sadly we never really had space for them in our conservatory as its prime role as potting shed and greenhouse seems to take up all available space! They were the perfect start, to the interior design of the summer house. We found a matching bamboo and rattan table at the local auction house for £7.

Summer House Interior

Summer House Interior 2Inside the Summer House

Summer House the view from my arm chairThe view from my armchair

I had to accept that the children still need to store their tennis rackets, cricket stumps and various balls somewhere. A compromise was required, I decided to paint a discarded wooded chest the same colour as the walls, and issued a new rule; garden toys have to fit into the box or find a new home!

As I sat musing in one of the armchairs, relaxing, whilst the boys cycled passed on their bikes and swung from the oak trees rope swing, my mind drifted, imagining myself writing and working in this peaceful environment. I needed a desk that would fit into a tight space, yet not encroach on my new tranquil haven. Eureka (it happens rarely in our household)! A folding table from IKEA, purchased for the galley kitchen table in our then London flat, never used, in its original wrapping and stored for 15 years in our various garages. It was the perfect summer house desk, with just the need of an oak stained wax, to give a little character and dull the stark untreated pine. In seconds I can move an arm chair and have my desk up in place, a dual purpose space in just over 6M².

Summer House My deskMy desk

Summer House as an officeThe Summer House as an office

The final decorations include a beautiful hanging lamp given to us by my Aunt and Uncle, homemade easy peasy bunting which I will detail how to make in my next posting and colourful cut flowers from the garden, that take my wonderful new summer house to another dimension.

Summer House table flowers Flowers on the table

Summer House FuchsiaFuchsias in the Summer House

Summer house flowers in nooks and cranniesFlowers in the nooks and crannies

Summer House - more flowersMore flowers and t. lightsSummer House Exterior side shot doors open

Not only is the renovated Summer House a great place for a cuppa, it’s the perfect spot for a sundowner, cheers!


Save

Save

Save

Save

Save

Sweet Peas

Sweet Peas are the quintessential English cottage garden flower; there will always be a place for them in my garden just for the idealised romantic image they conjure up, let alone their scent and great properties as a cut flower. There aren’t many flowers that can better the summer fragrance that drifts around your home from a freshly picked bunch of sweet peas.

Swet Pea Flower

Over the years I’ve had mixed Sweet Pea success, with issues ranging from too short a stems for a cut flower, low flower yields and the plants giving up by high summer. This year it seems to of all come together and with one wigwam of clambering sweet peas I’ve been picking a couple posy’s every few days, the flowers just keep coming. I think there are a couple of factors that have aided sweet pea triumph this year. Their wig wam is situated in full sun; I’ve popped one of the watering system sprinklers at the base in the centre of the structure and enriched the soil with plenty of well rotted garden compost. This has resulted in strong healthy plants.

Sweet Pea posiesA mornings Sweet Pea harvest

Sweet PeasSweet Peas flowering up my home made willow wig wam


Picking Plums

I have just started picking our first plums. They’re a lovely high summer treat, but do sadly attract wasps who love to bury themselves into the intoxicating fruit. My great fear is that one of my bare footed boys will tread on a fallen plum containing dizzy wasps and be stung. I diligently try to pick all the ripe plums before they fall, preventing a painful incident. I find this an easier task than trying to get my boys to wear shoes in summer!  You can tell when a plum is ripe it’s a slightly darker purple than the other fruit on the tree and when you gently pull, the plum comes away from the stalk with ease.

We have far more plums than we can eat so they’re being snapped up on my ‘Produce from the garden’ honesty stall.


Picking plums

Plums
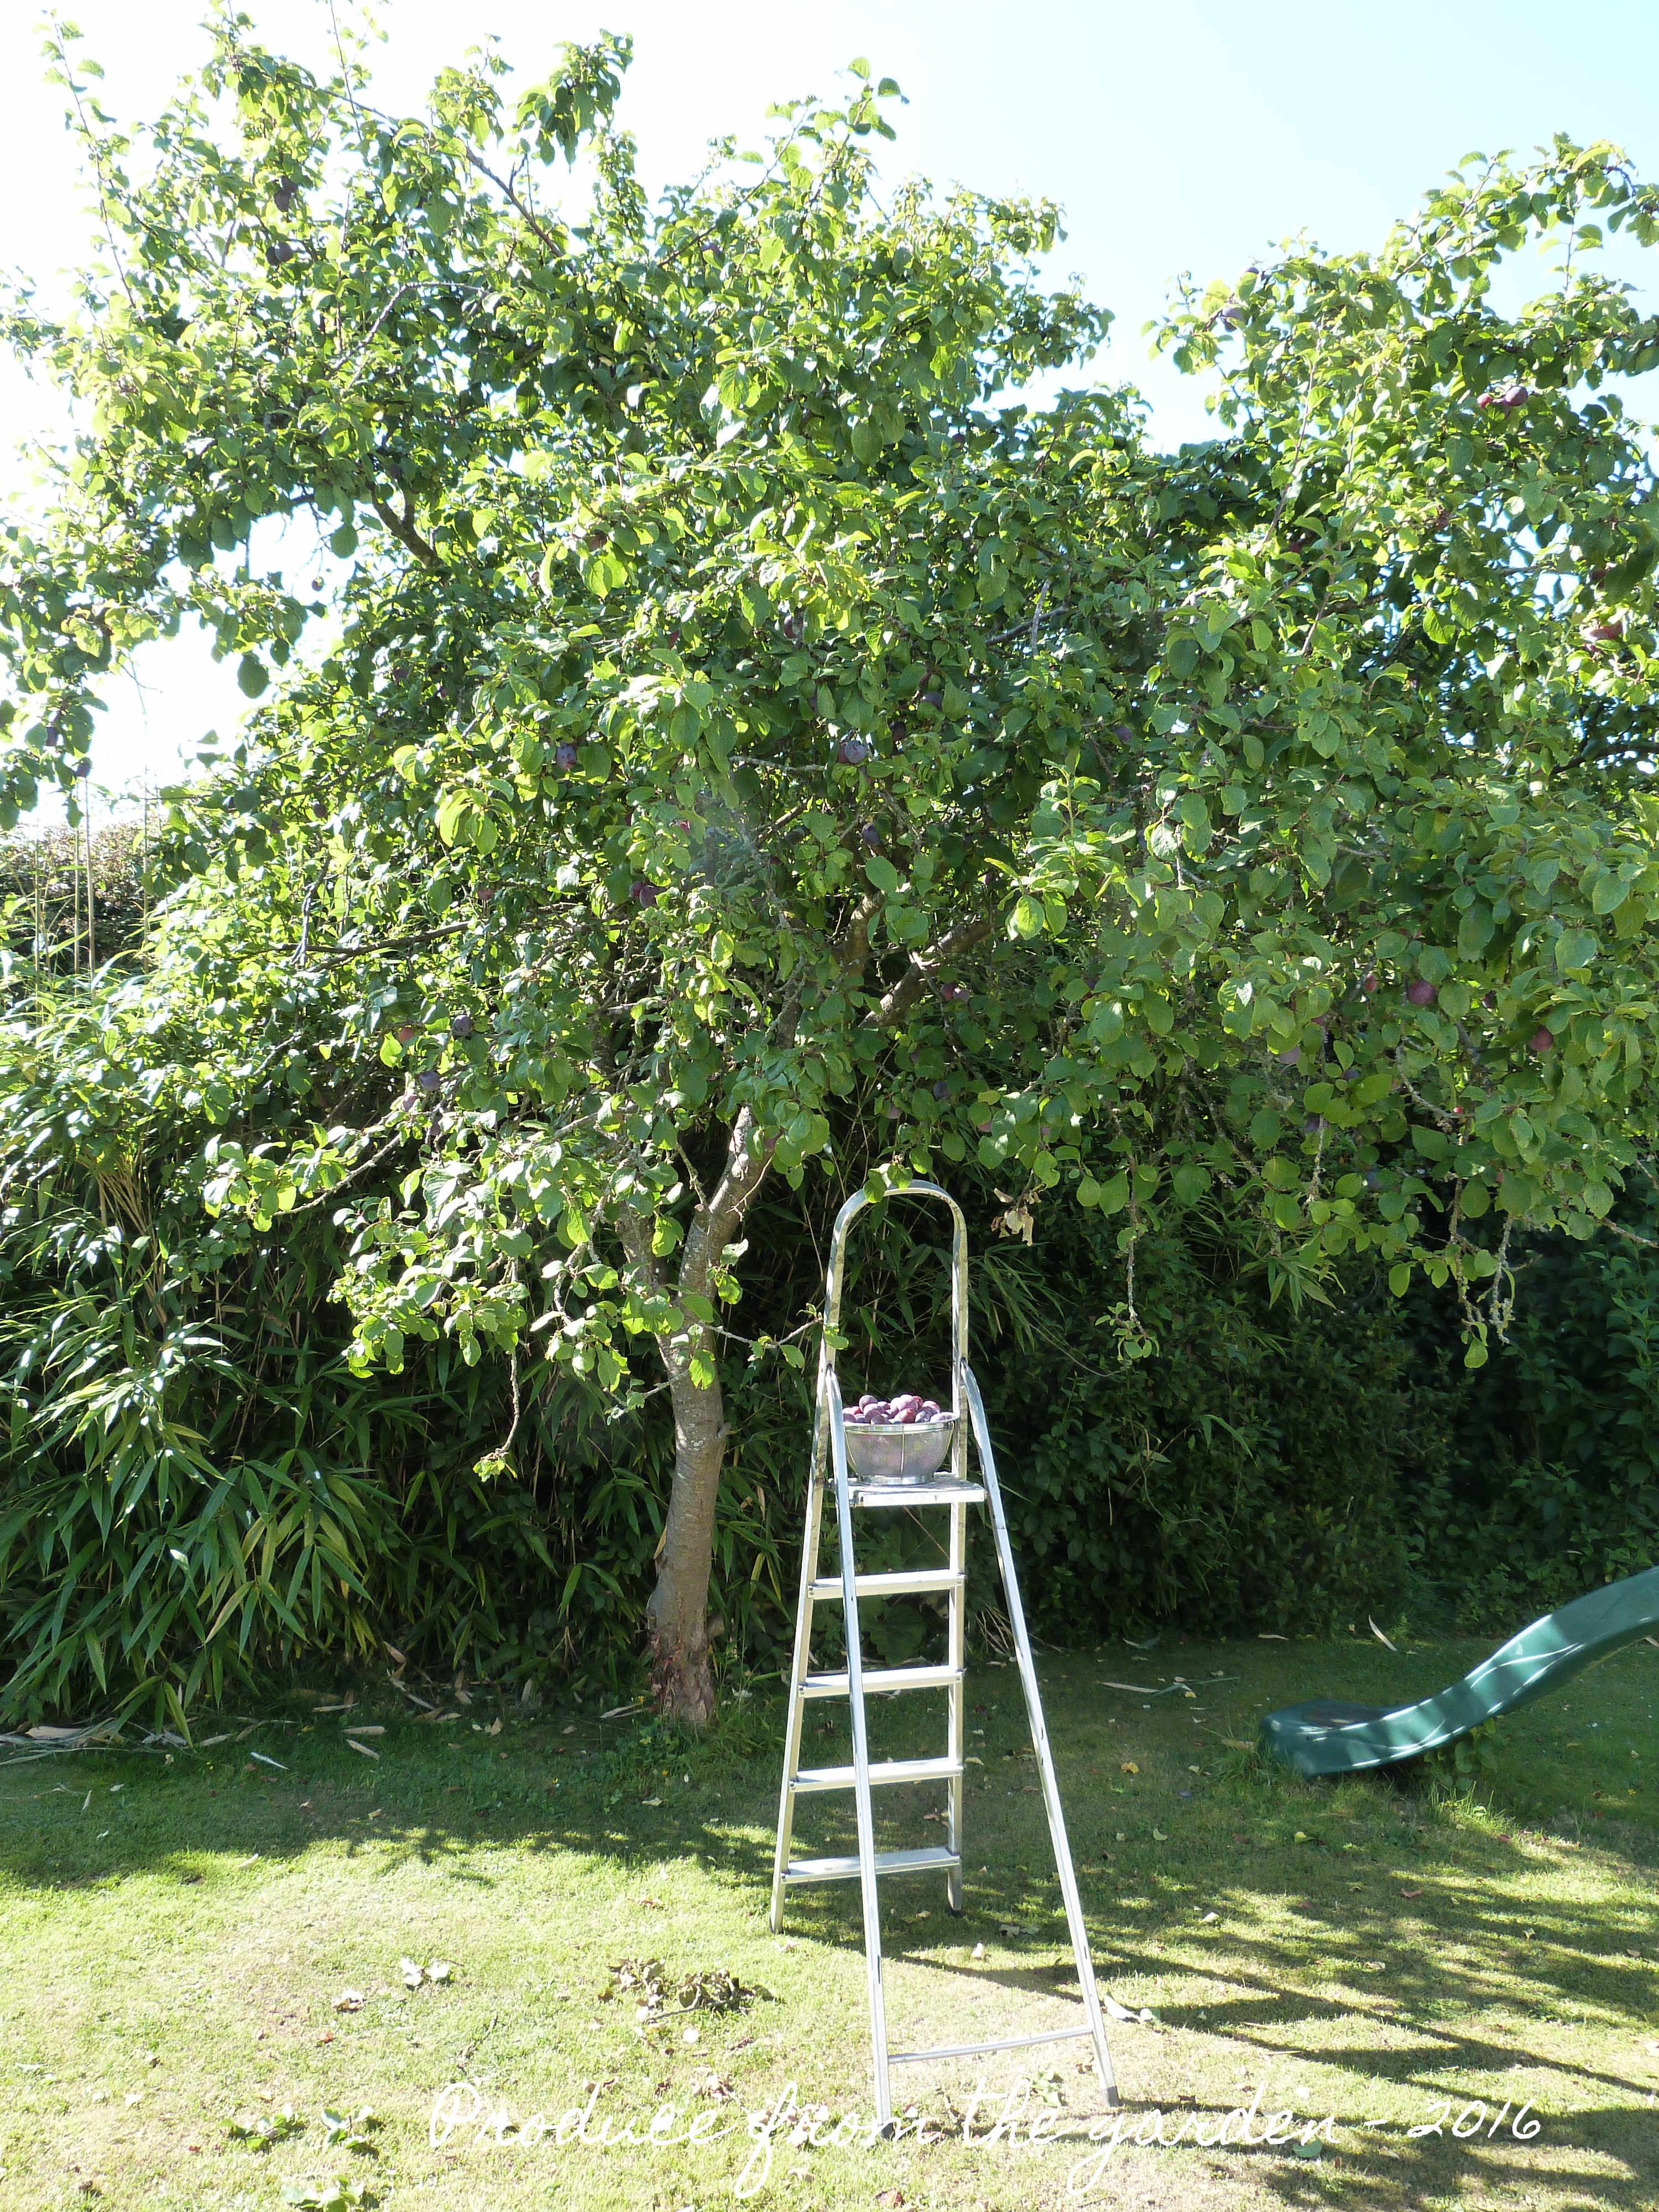
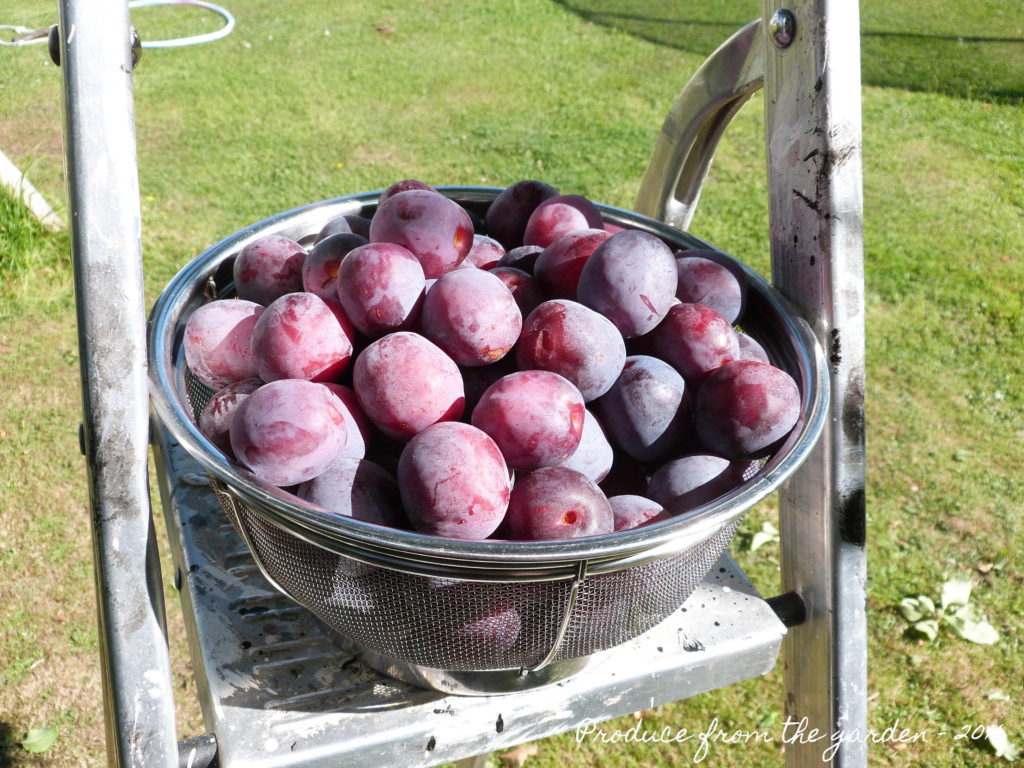
This afternoons plum harvest

The most effective cabbage white caterpillar trap!

Last year I spent much of the summer picking cabbage white caterpillars off my brassicas. They were particularly fond of my Cavolo Nero. Try as hard as I might, I’d always miss a group of tiny caterpillar babies or eggs, in no time they would turn into great big brassica stripping pests. I even managed impressive rants to my boys about the origins of Eric Carle’s ‘Hungry Caterpillar’ book, which not only teaches young children their numbers and days of the week but also the valuable parable that a caterpillar can eat an extraordinary amount of your precious vegetables before it happily takes off as beautiful butterfly!

On top of all that my tummy turns at the smell and texture of the caterpillars, particularly the aroma of slightly squashed caterpillars! I couldn’t face another year of collecting them from my Kale.

Apart from the slug pellets I used earlier in the year (which I still feel guilty about, but it really was that or no dahlias and vegetables this year!) I garden with the organic theory in mind (enrich your soil; you’ll have strong plants that will be able to fight off attacks of pests and disease without the need for chemicals). But I am a realist even the richest soil is not going to give brassicas the strength to fight off a cabbage white caterpillar attack. Lateral thinking was required, what is the greatest delicacy to a cabbage white? Answer Nasturtiums. I decided to plant Nasturtiums in amongst my vegetables with the hope that the cabbage white caterpillars would gorge on them and not my brassicas. It is important to select a compact bush forming variety (I chose ‘Tom Thumb Mixed’) and not a trailing variety which puts on vigorous growth and would dominate a vegetable bed very quickly.

A Nasturtium Trap!One of my Nasturtium traps!

Nasturtiums in the vegetable patchNasturtiums in amongst my Kale

I am very pleased to say that so far it’s worked, my brassicas are pest free and my nasturtiums are being munched, they also seem to be attracting the black fly, saving my vegetable crops from that scourge.

Cabbage White caterpillars on nasturtiumsCabbage white catterpillars gorging themselves on the Nasturtiums

Black fly on my nasturtium trapBlack fly enjoying the sacrificial Nasturtiums too!

To be honest I’ve never really been a fan of Nasturtiums, their flowers are a little gaudy and their umbrellas like leaves dull.  I do think the addition of nasturtium flowers takes the look of a salad to another level, but I’m afraid the taste turns my tummy as much as the smell and texture of the horrid caterpillars that love them so much. To use the Nasturtiums as a caterpillar distraction and feed has an appealing sense of justice to me!

Save

Save