What a busy start to summer, sadly this blog has become a little neglected. I console myself with the knowledge that my third and final son starts school in September (I’m going to be cheering and clicking my heels when I leave the school gates that day). I fully intend to establish a weekly kitchen garden routine with plenty of time to blog, I do love a positive and productive plan of action.
I have not completely let the blog go, I have been taking lots of pictures so todays posting will be the story of the kitchen garden over the last few weeks told in pictures, there are triumphs, disasters, and a bit of death and destruction!
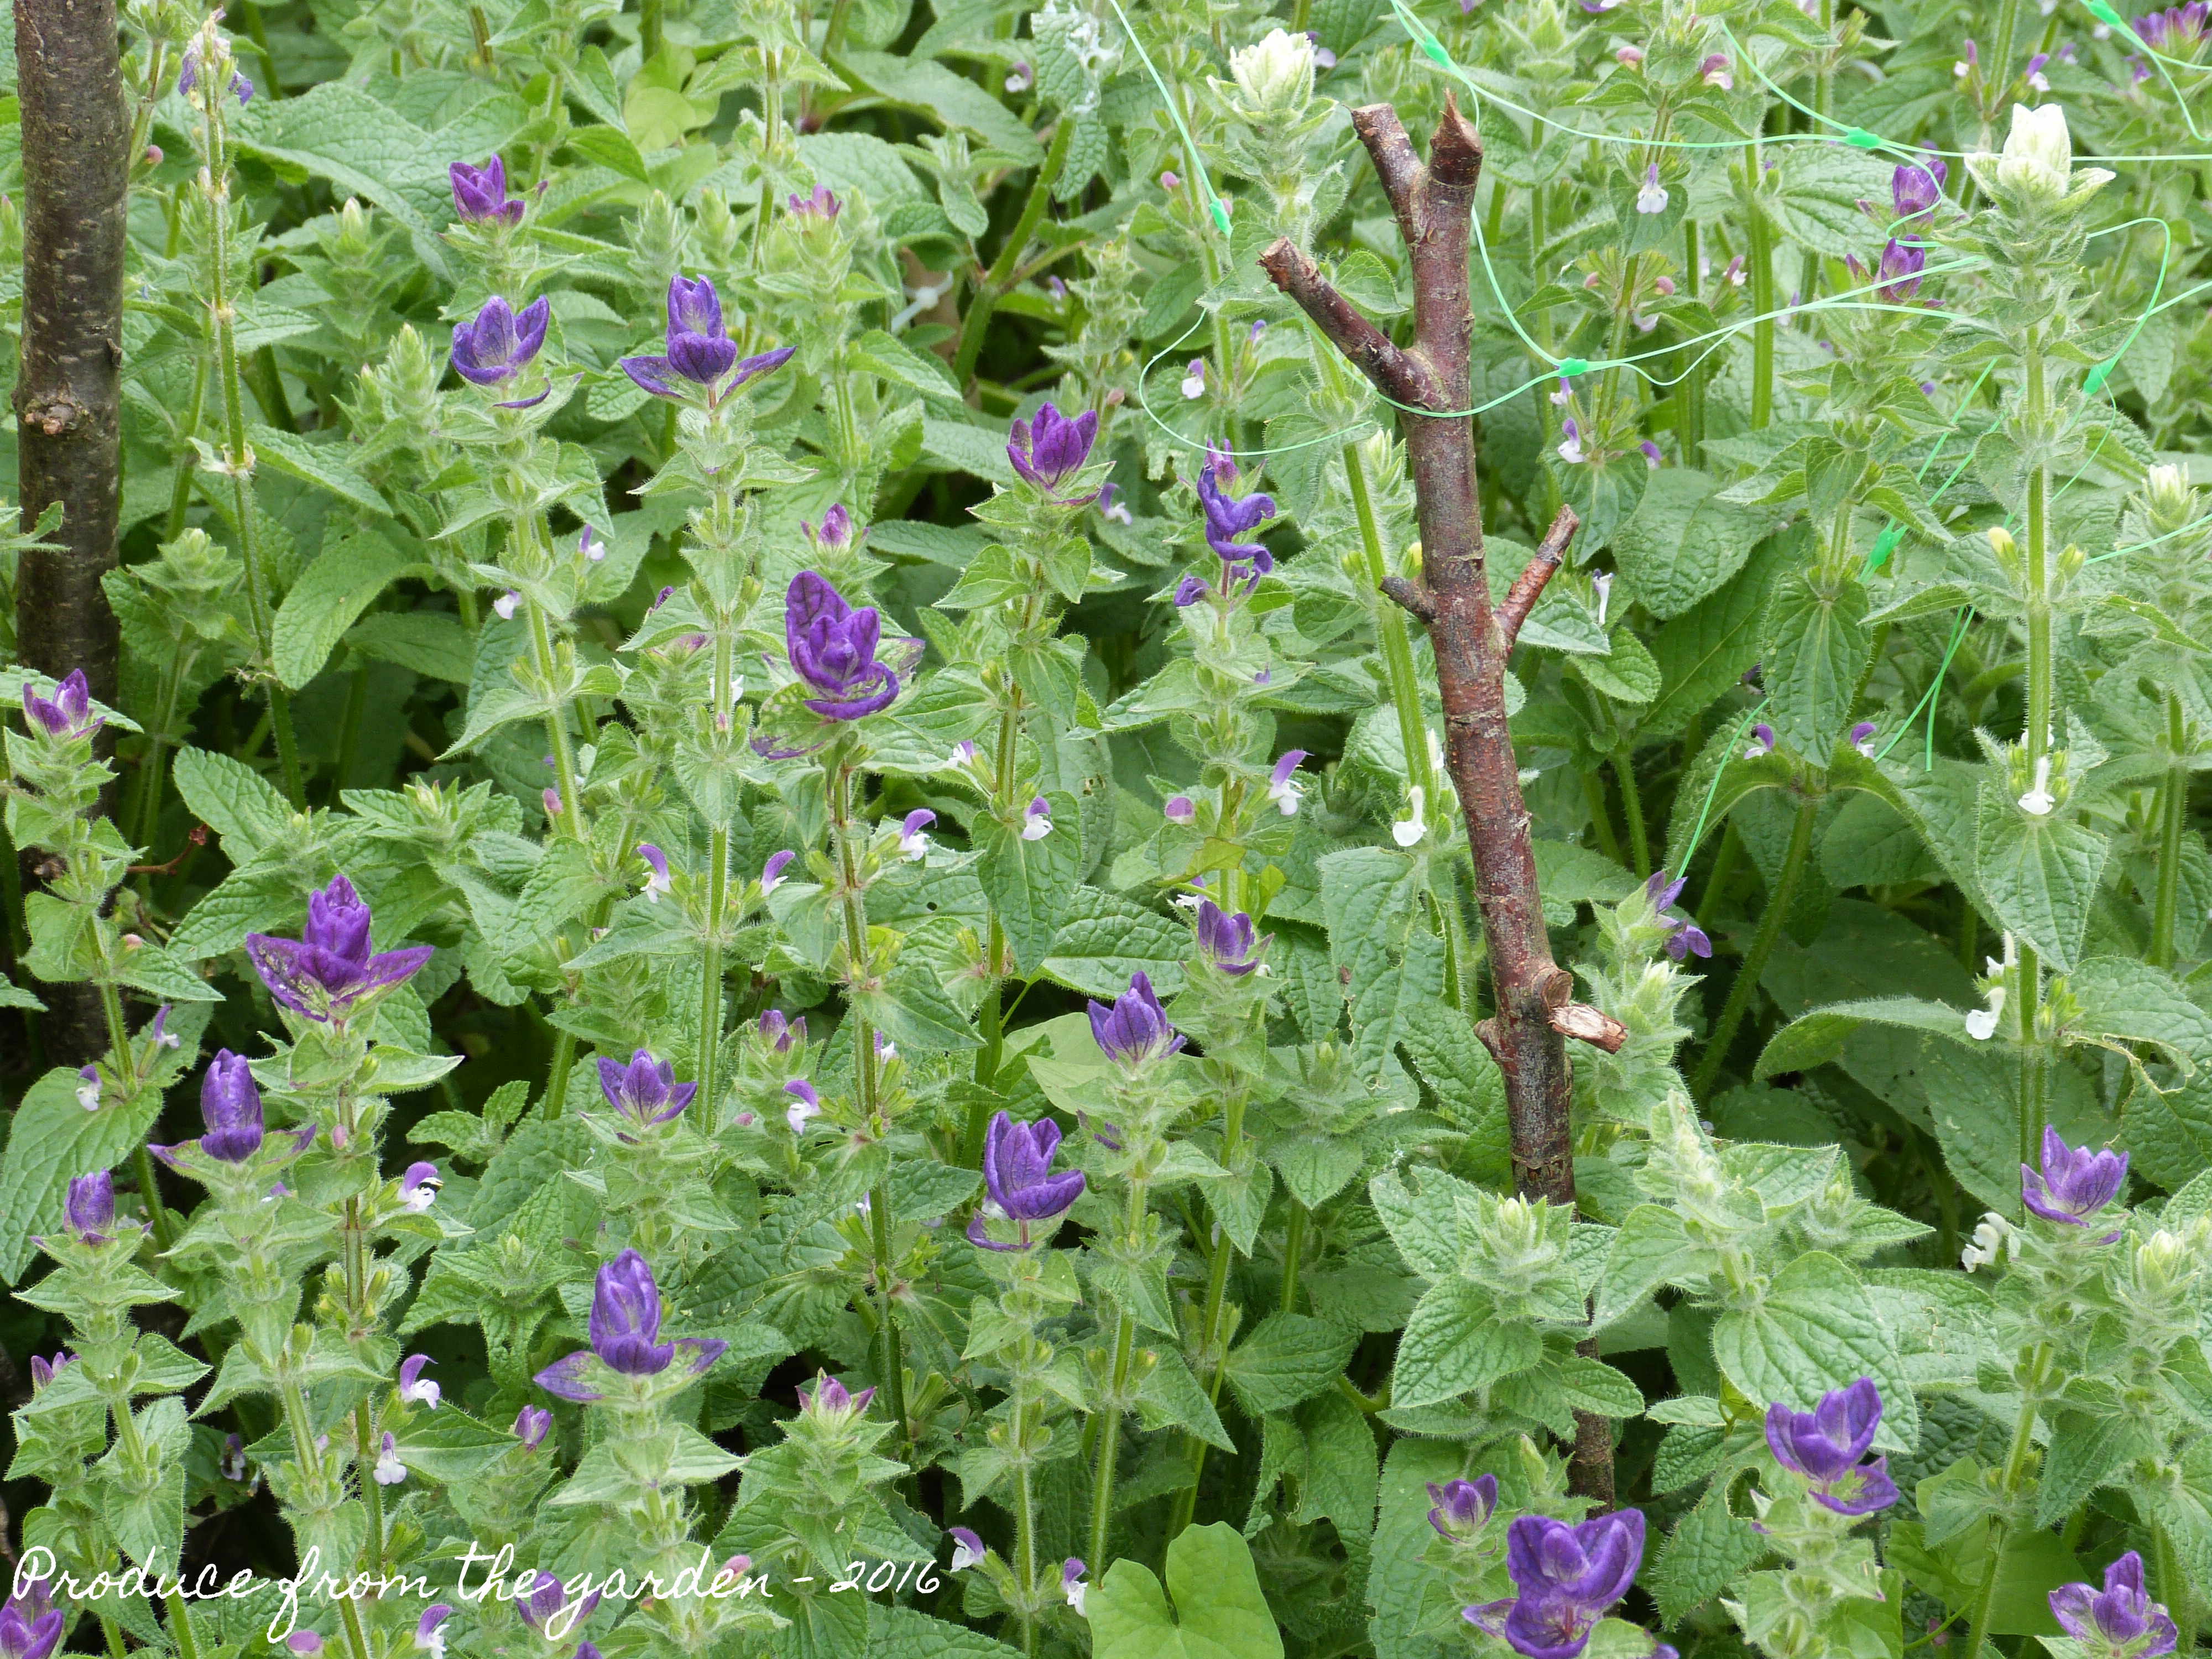
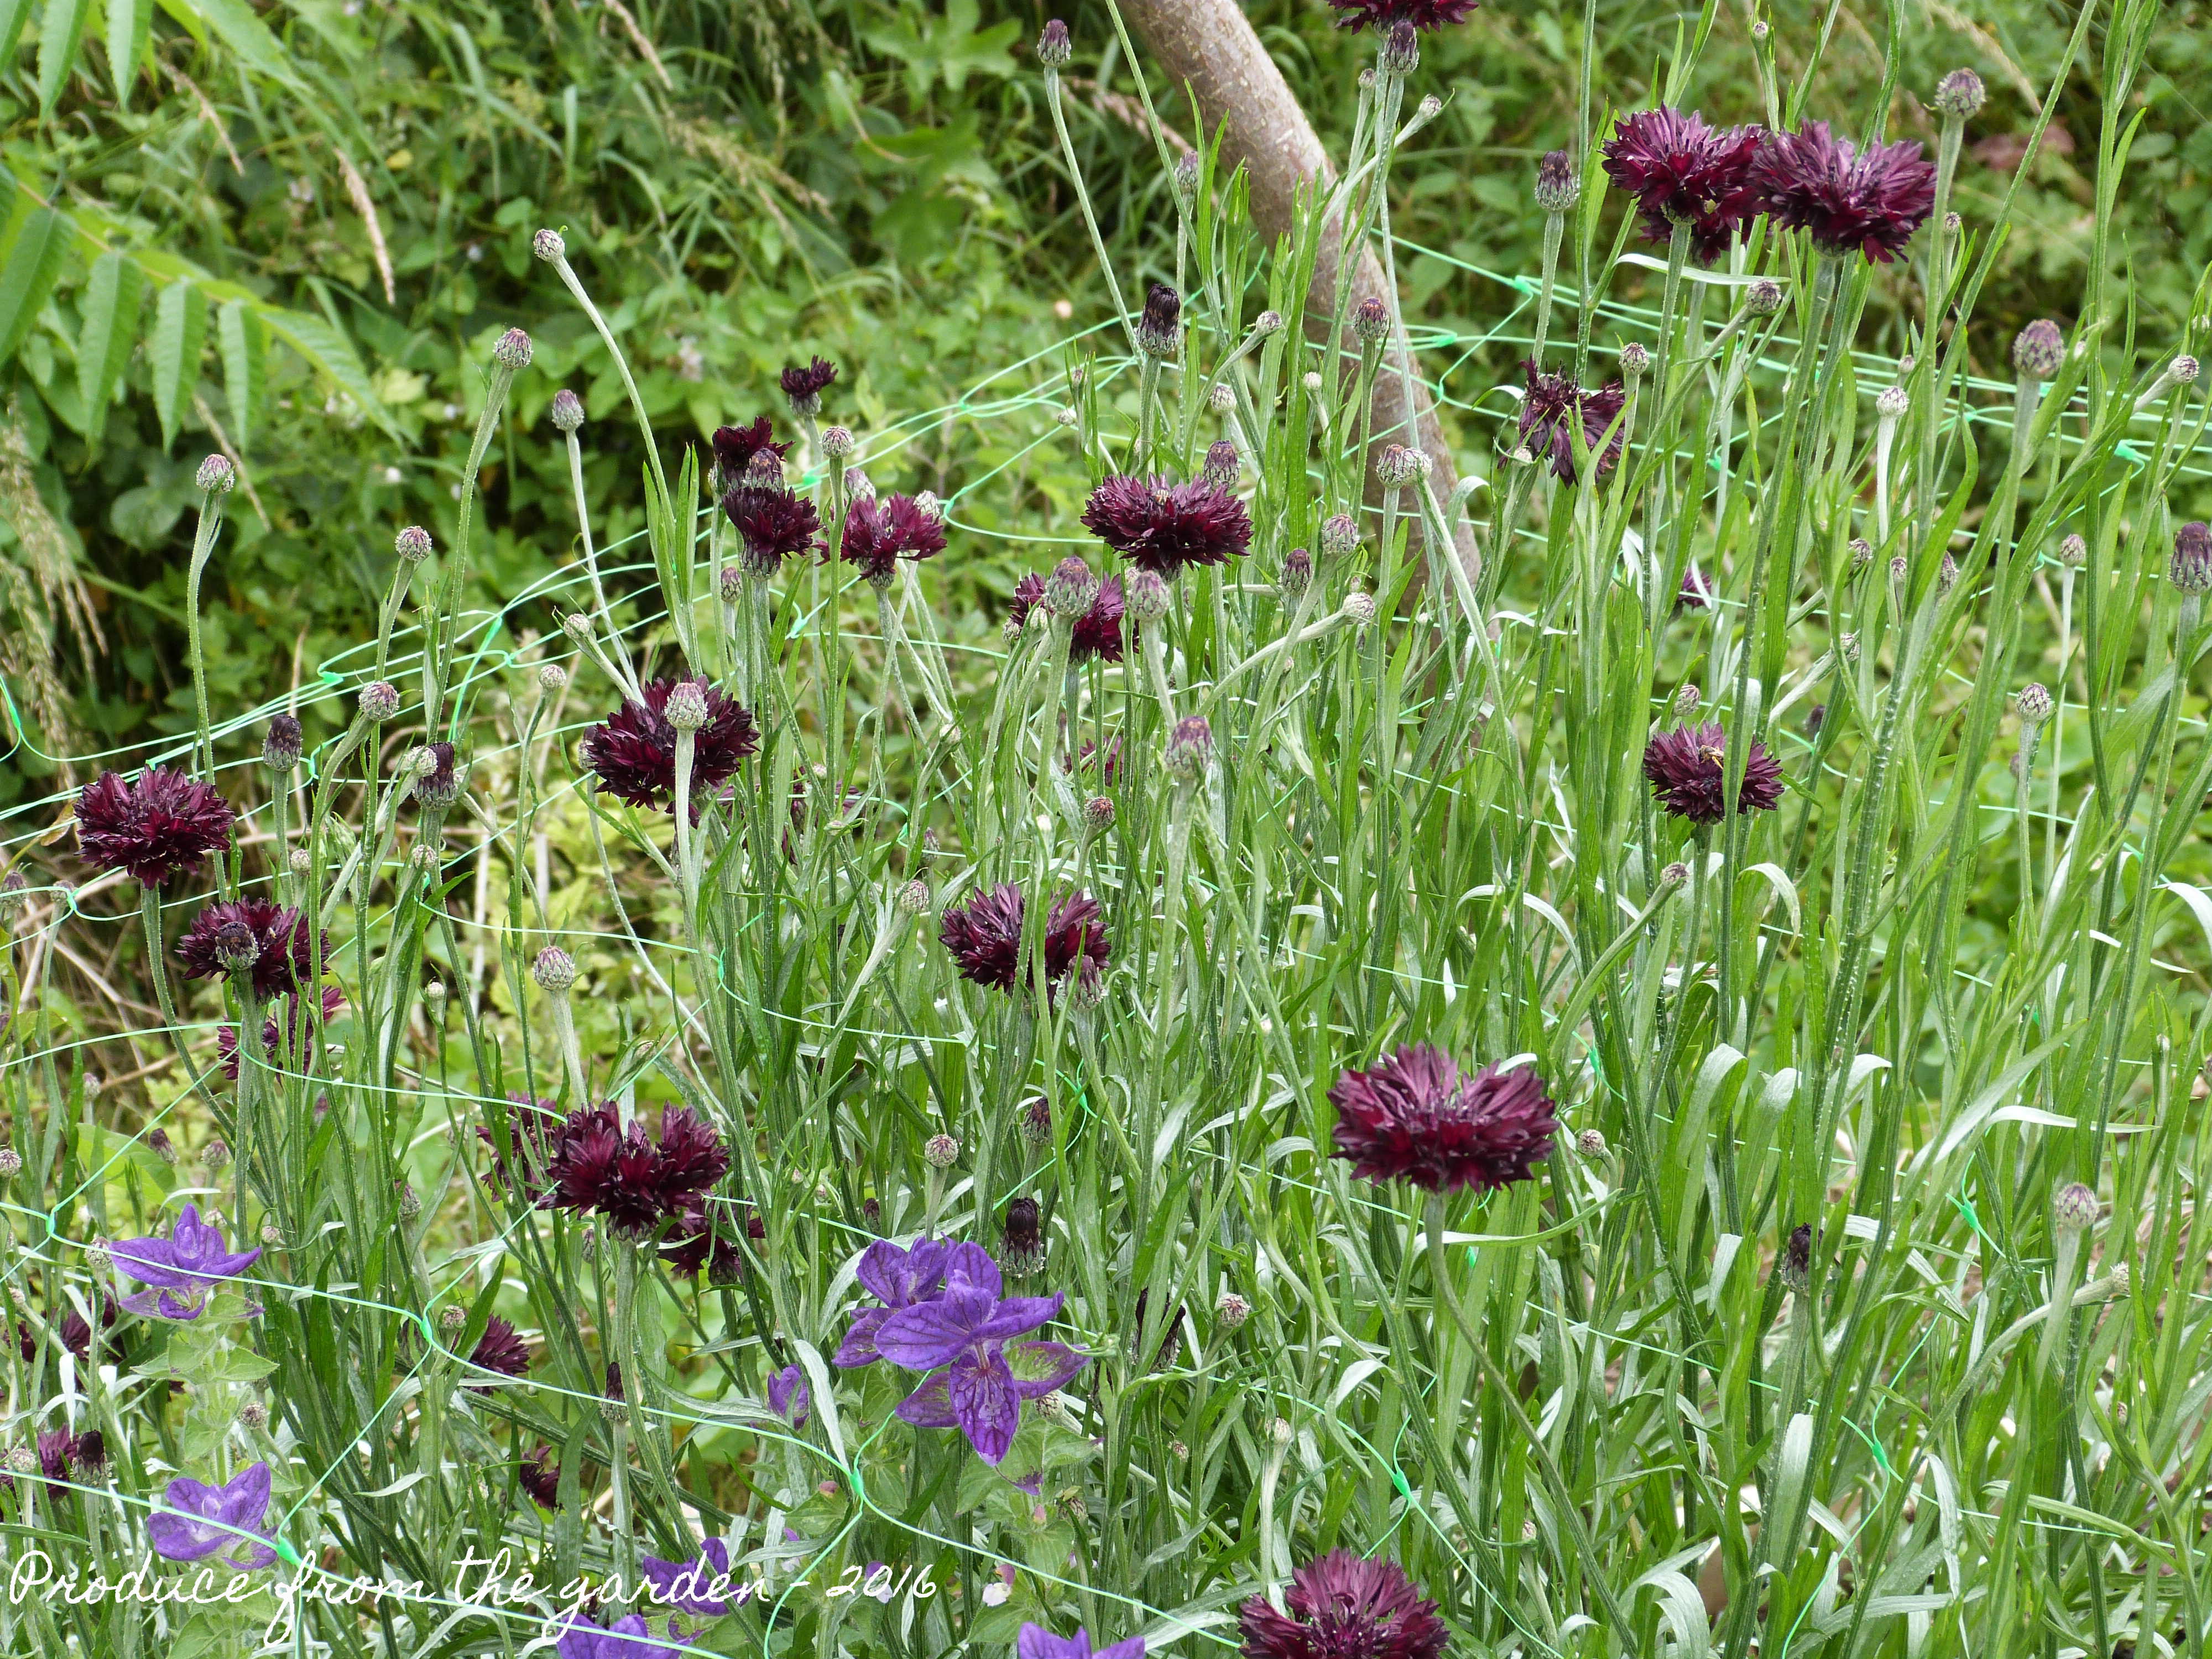
The cut flowers have been fabulous so far this year; the plants have thrived in the damp warm weather. These pictures show the amazing growth in the new cutting border in the space of just two weeks, the middle of June to the start of July.
 The new cutting border at the start of July
 The same border in mid June
 The cutting border at the start of July
 The same border two weeks previously, an amazing rate of growth
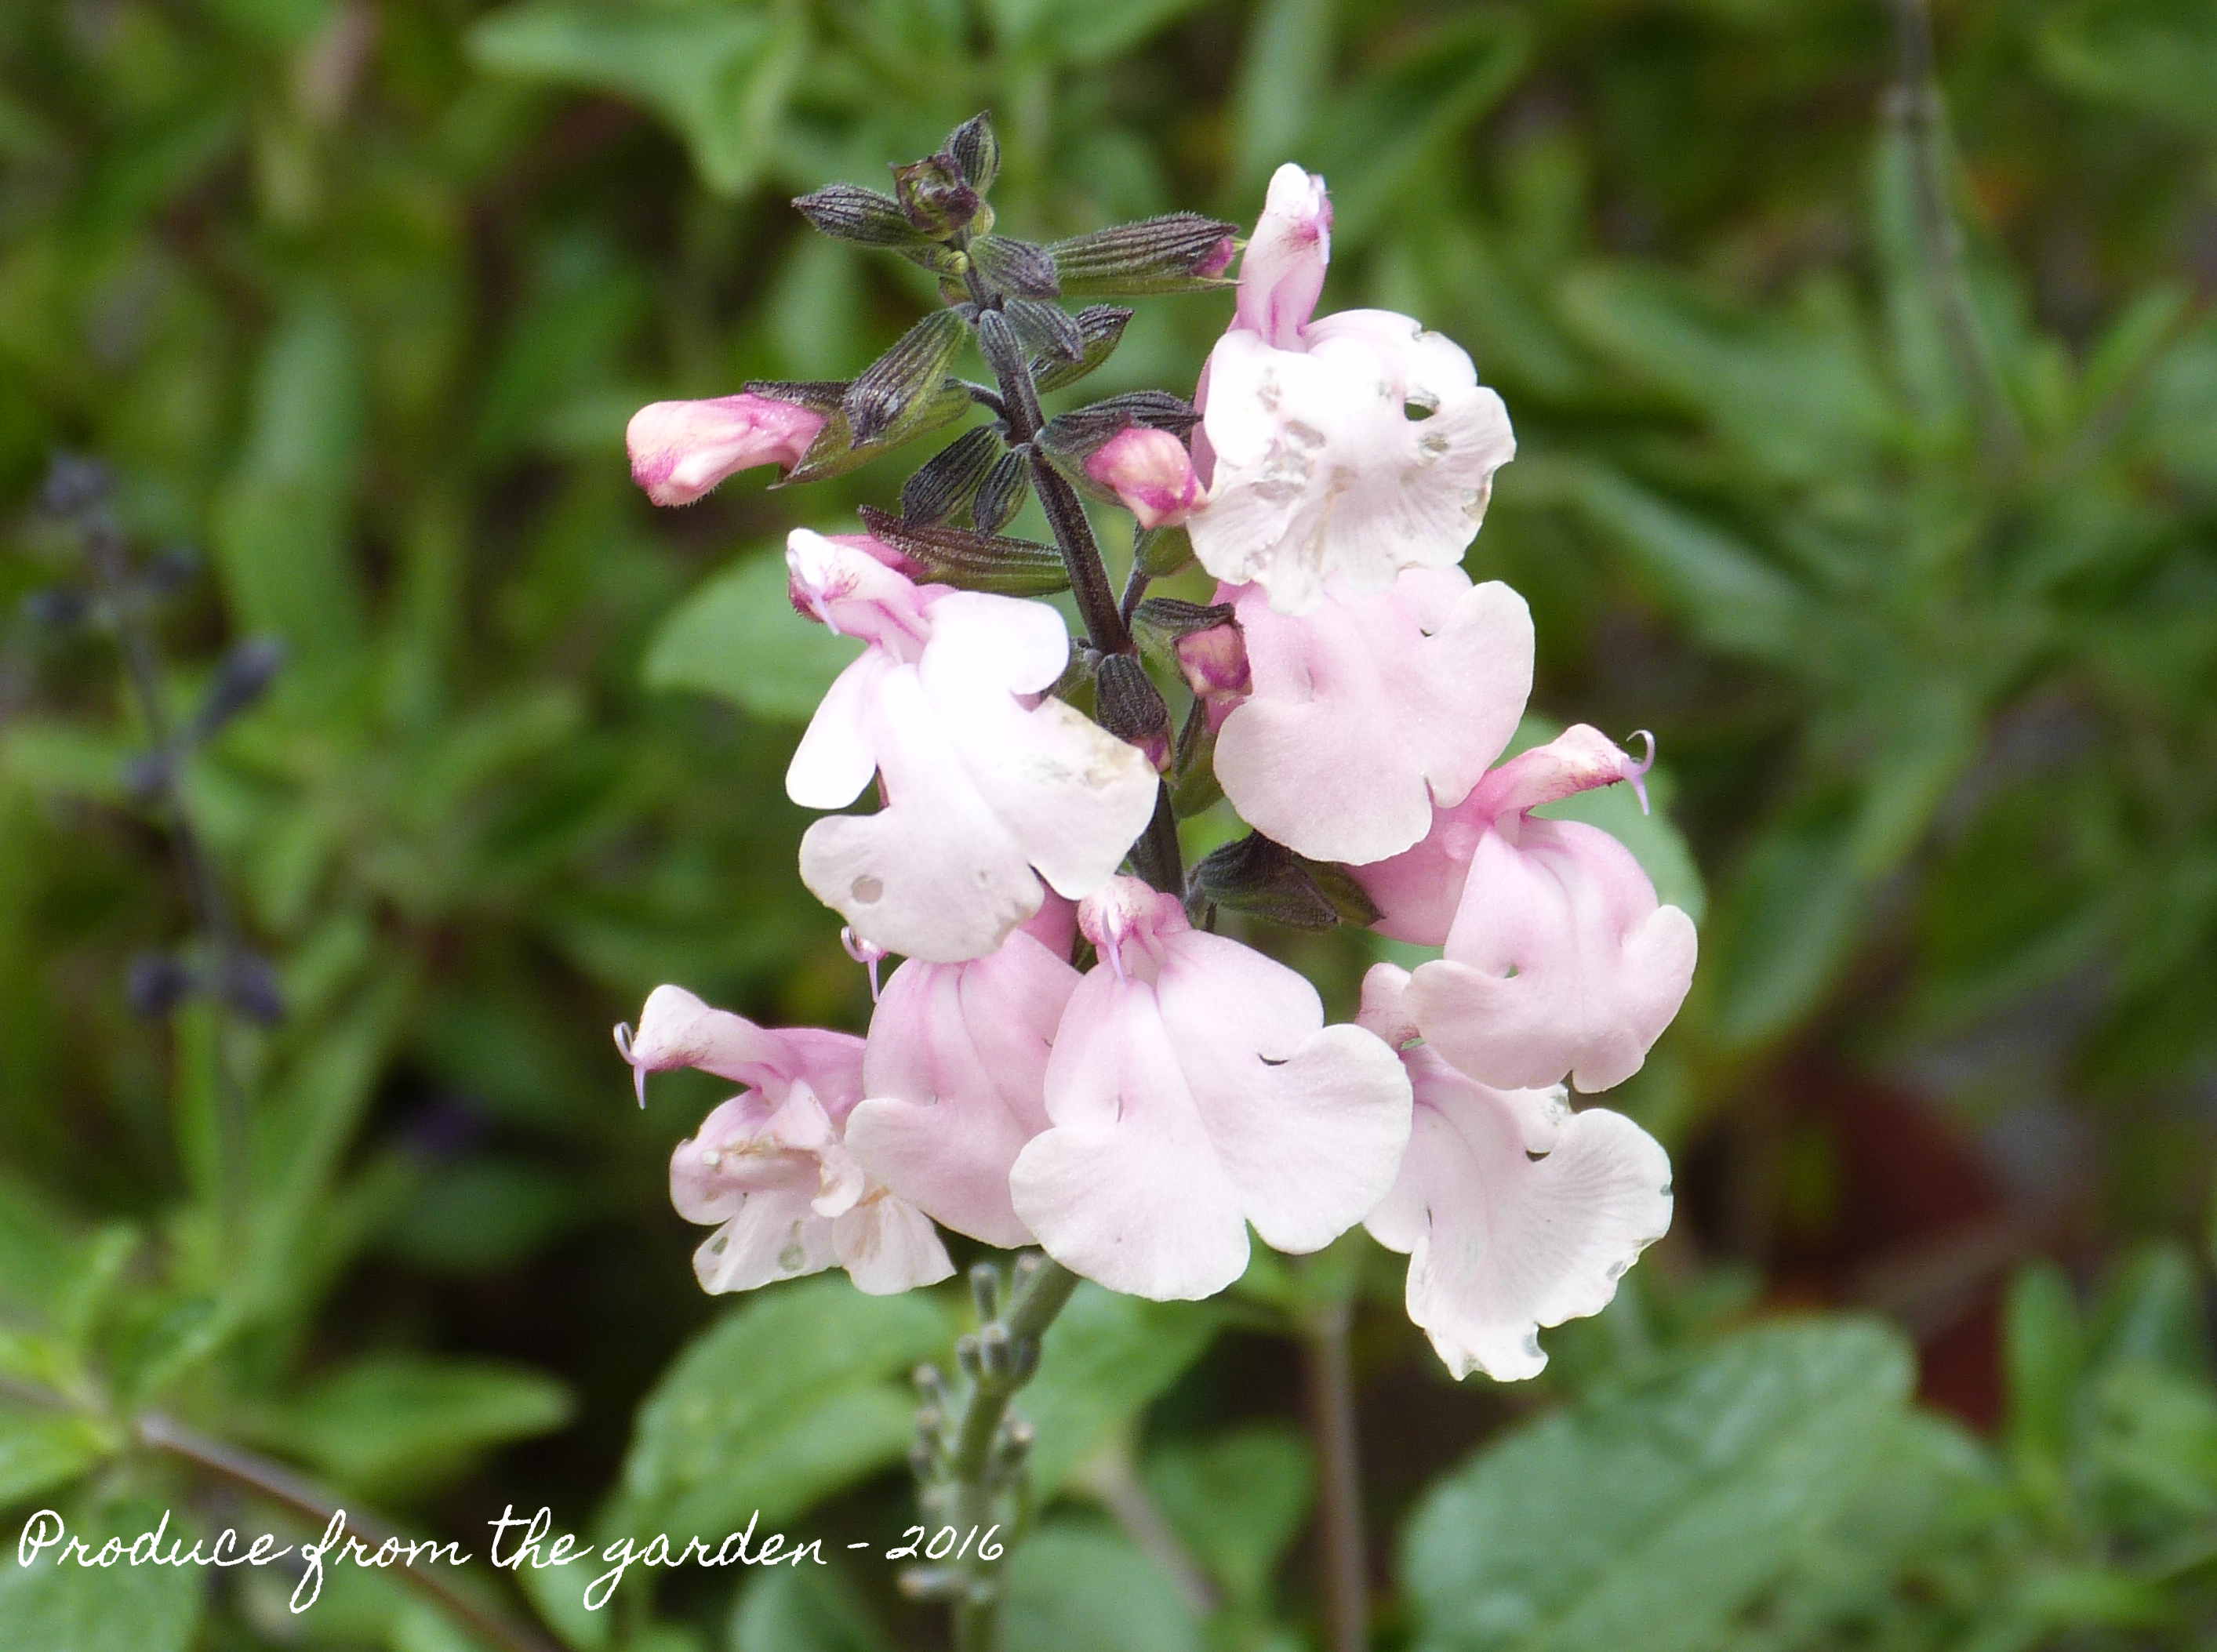
The star cut flower players have been Salvia Vardis Oxford Blue, Cornflower Black Ball, Nicotiana Lime Green, Antirrhinum, Calendula and Sweet Williams. The Dahlias, Cosmos and Sunflowers are bushing out well ready to produce abundant blooms in the next few weeks.
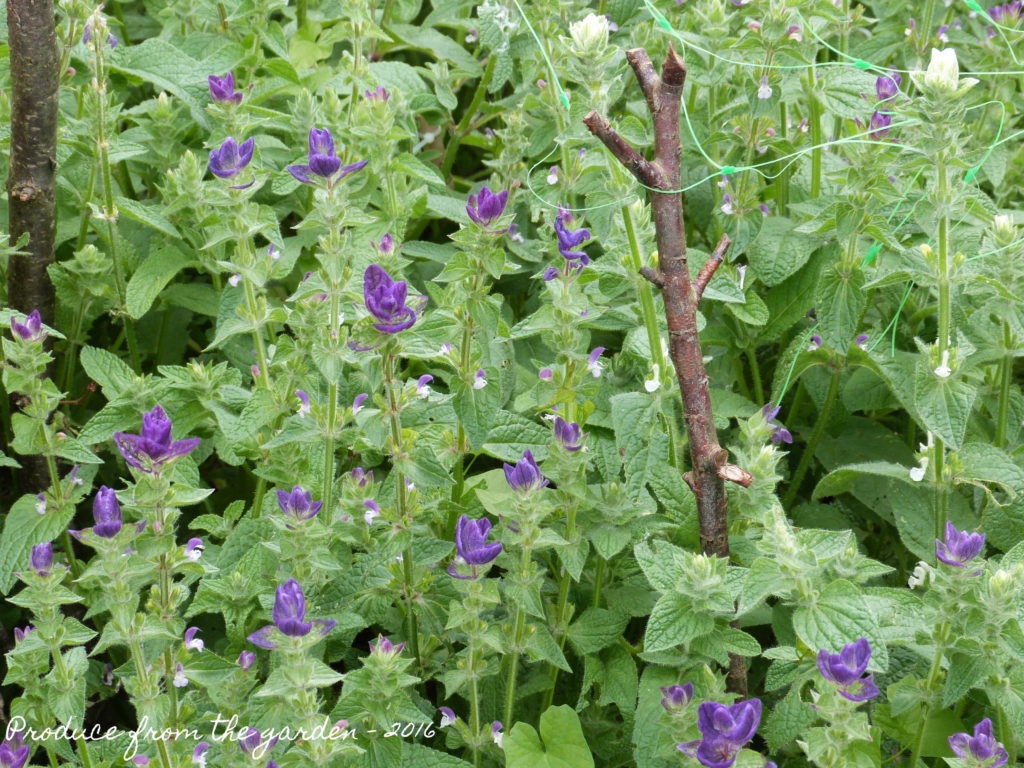 Salvia Viridis Oxford Blue
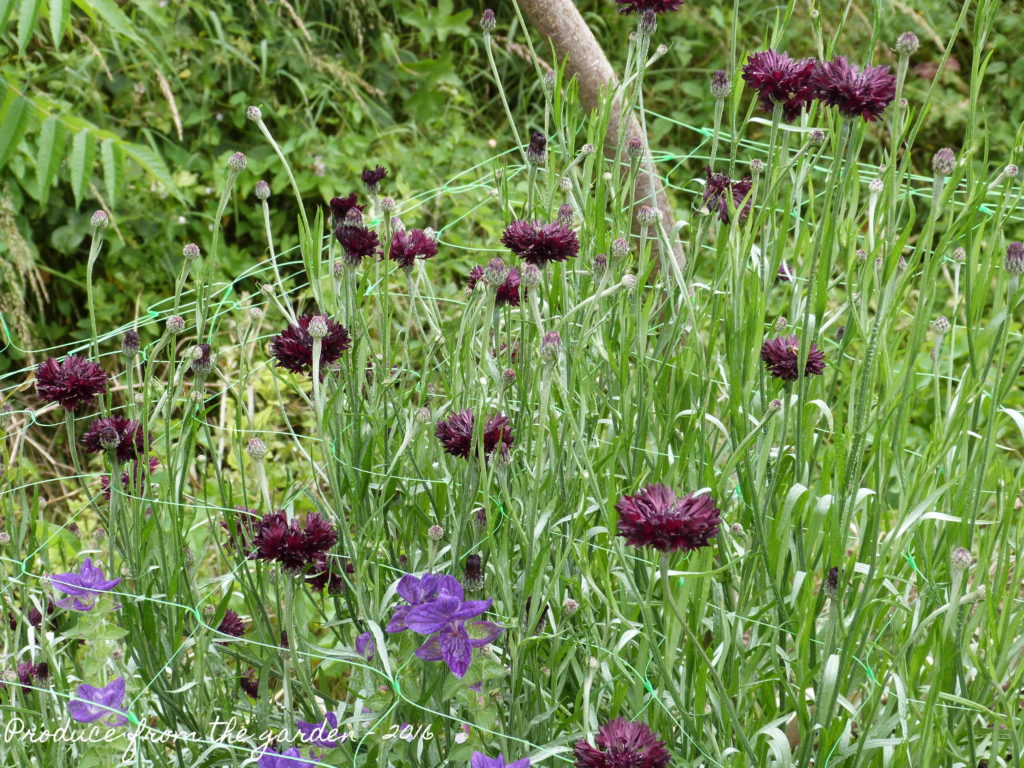 Cornflower Black Ball
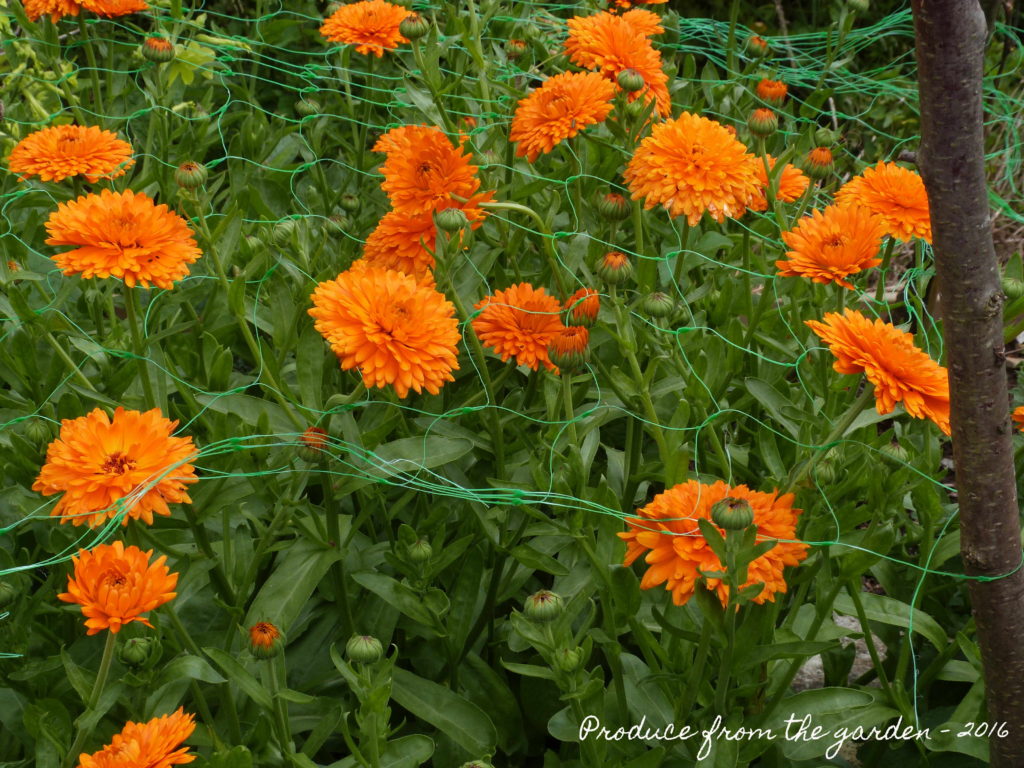 Calendula
 Antirrhinum
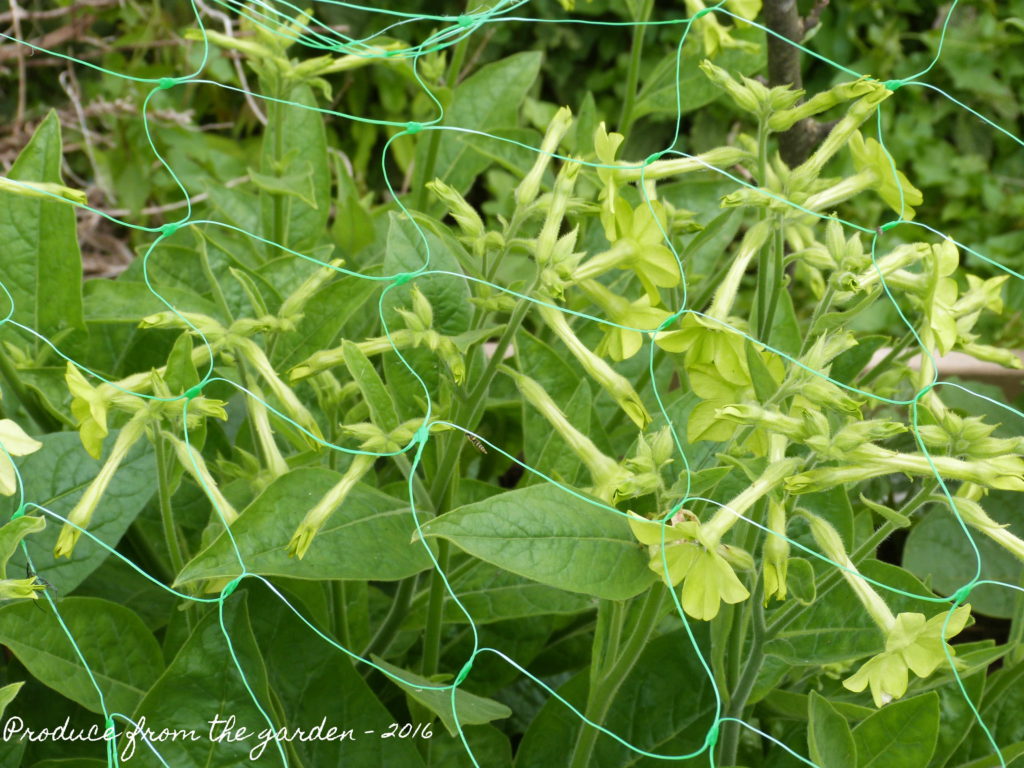 Nicotiana Lime Green
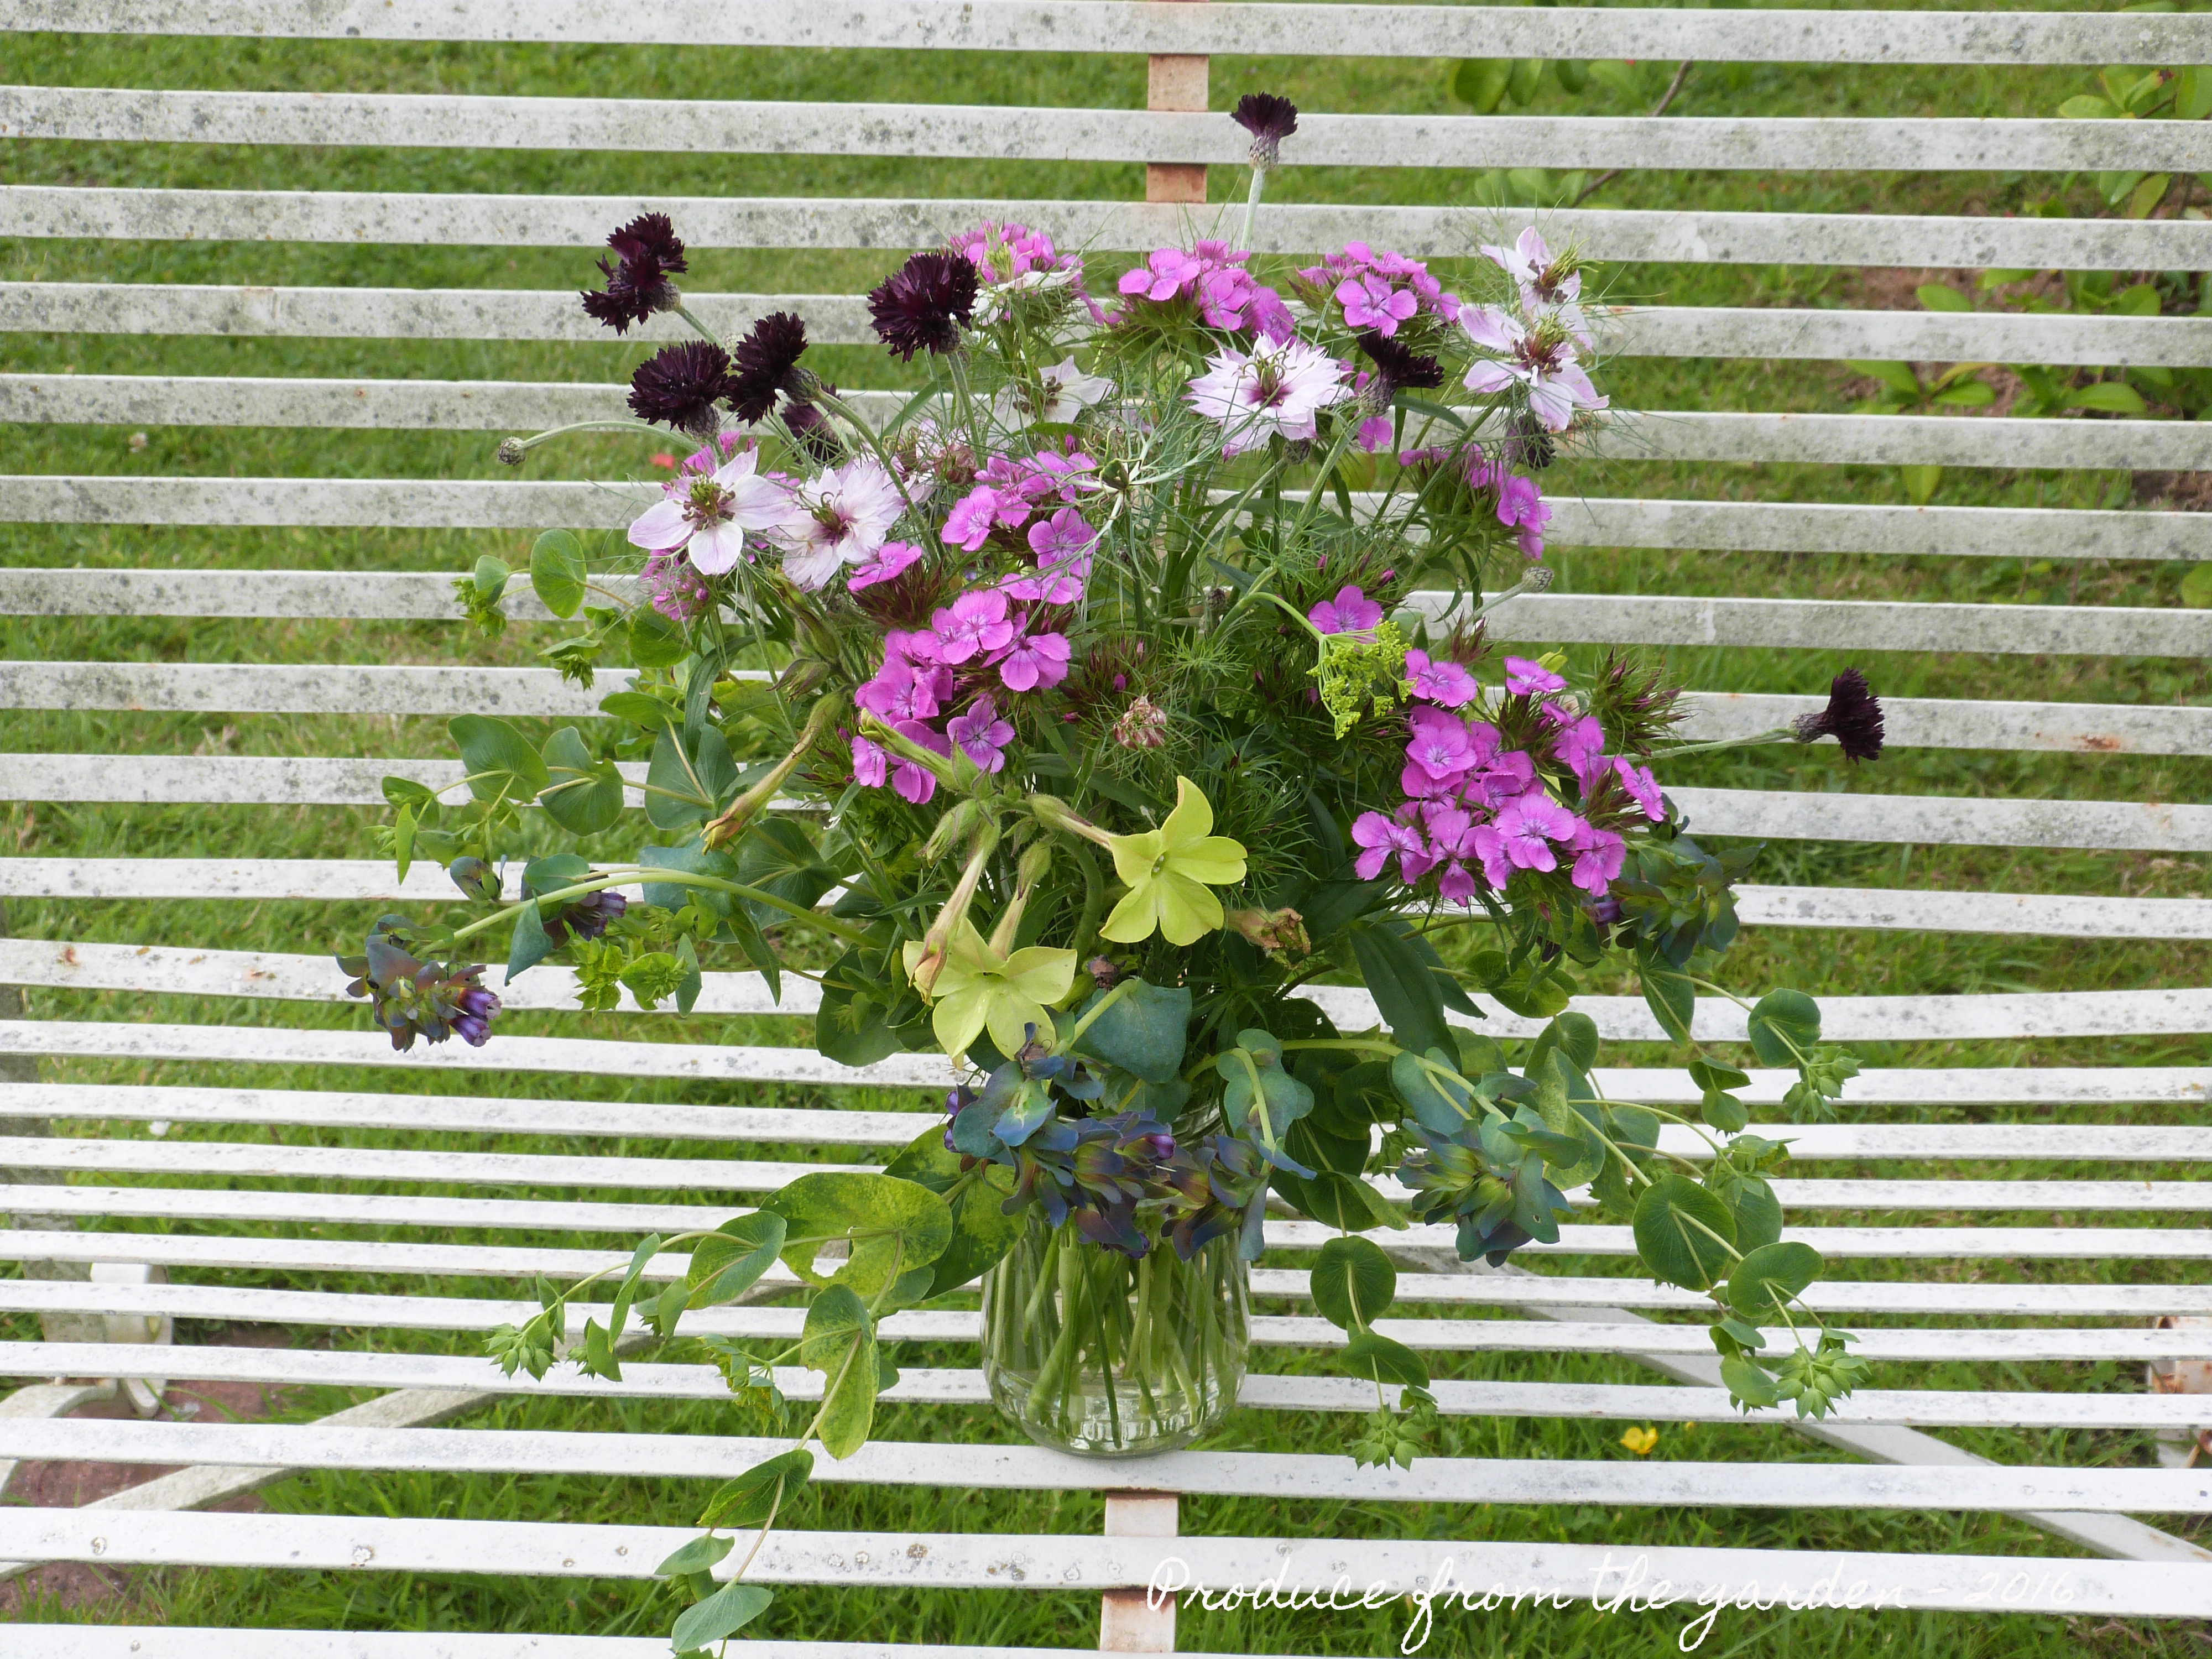
 A bunch of flowers from the cutting border
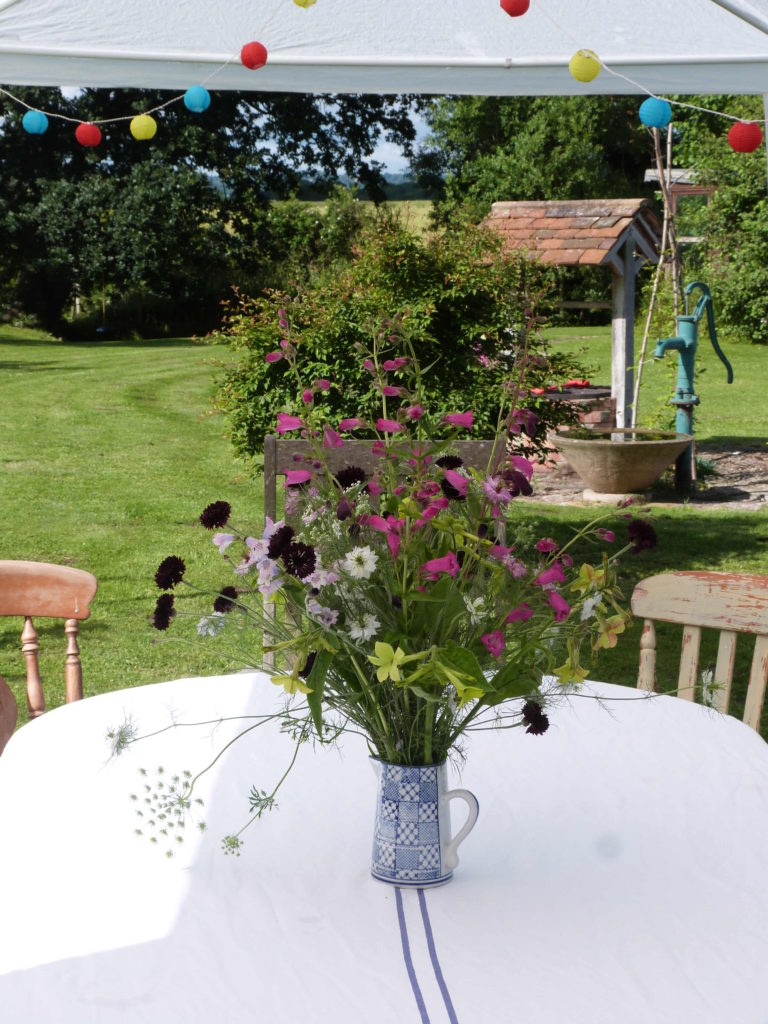 Flowers for a BBQ from the cutting border
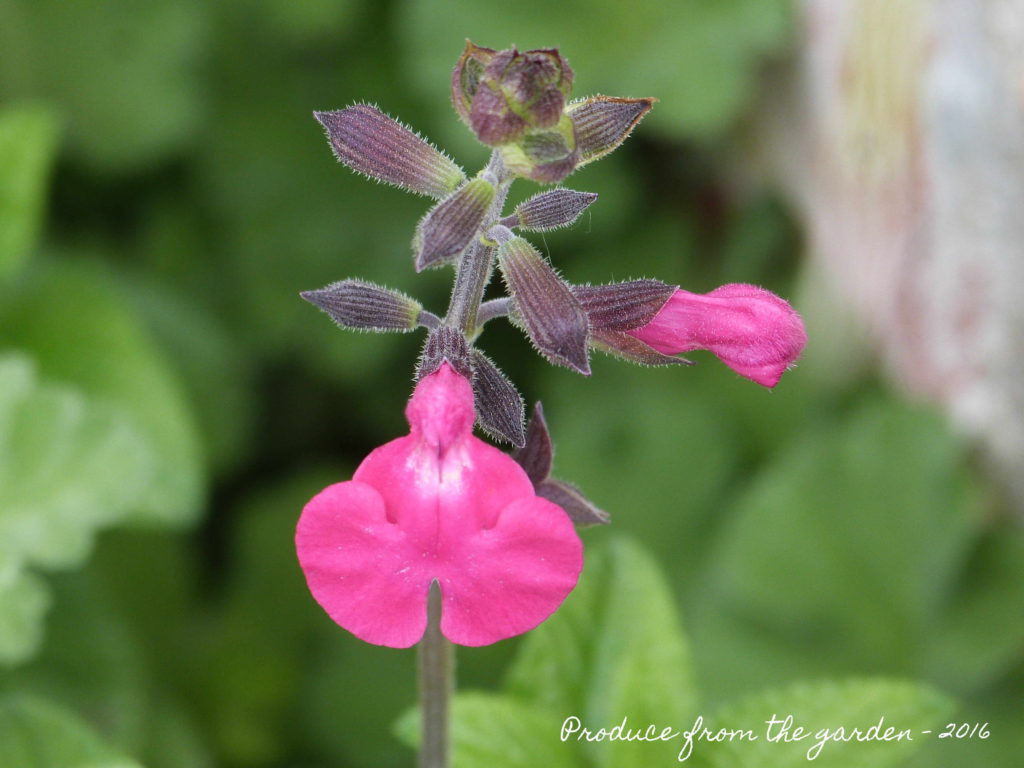
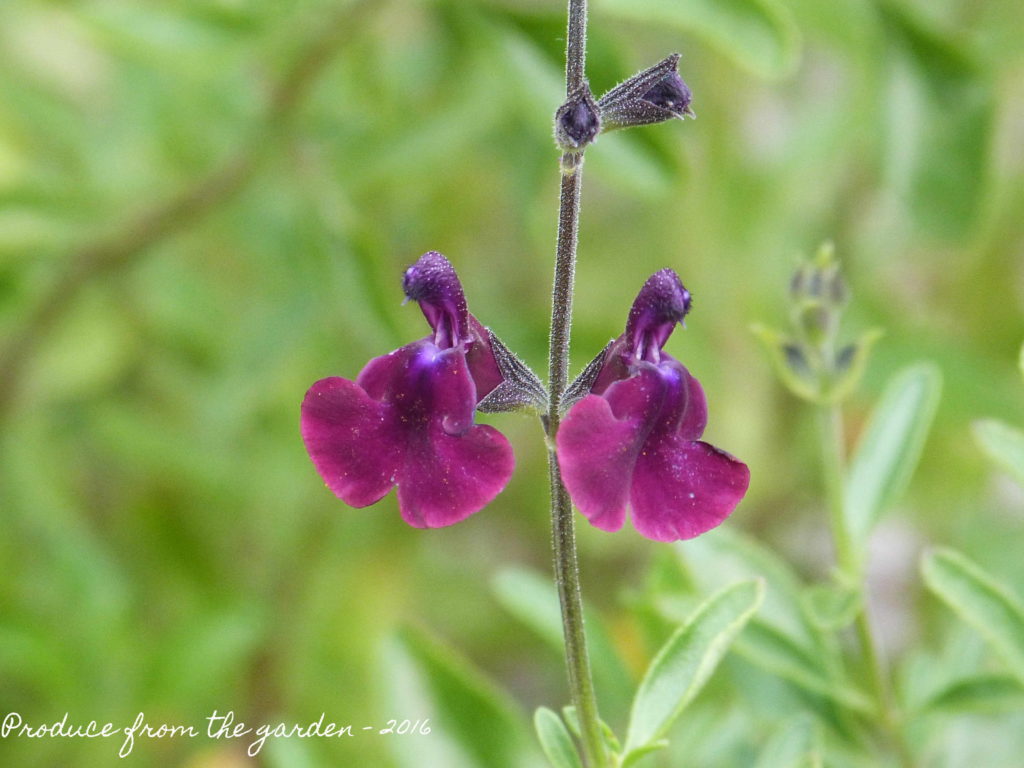
Ticking away in my head are plans for a new large ornamental border at the top of our lawn, it will incorporate roses I moved from a traditional (old fashioned) border I grassed over in Spring. I understand that Salvias possess many complementary qualities for roses, reducing risk of disease and encouraging strong healthy plants. This has sparked a new passion for me, Hardy Salvias, beautiful sophisticated blooms which just seem to go on and on. Here are a few of my current favourites and maybe the odd Penstemon and Dianthus. I do try very hard to keep this blog focussed on the kitchen garden, but, these are a bit special and can’t be missed!
 Salvia Cerro Potosi
 Salvia Nachtvlinder
 Salvia Stormy Pink
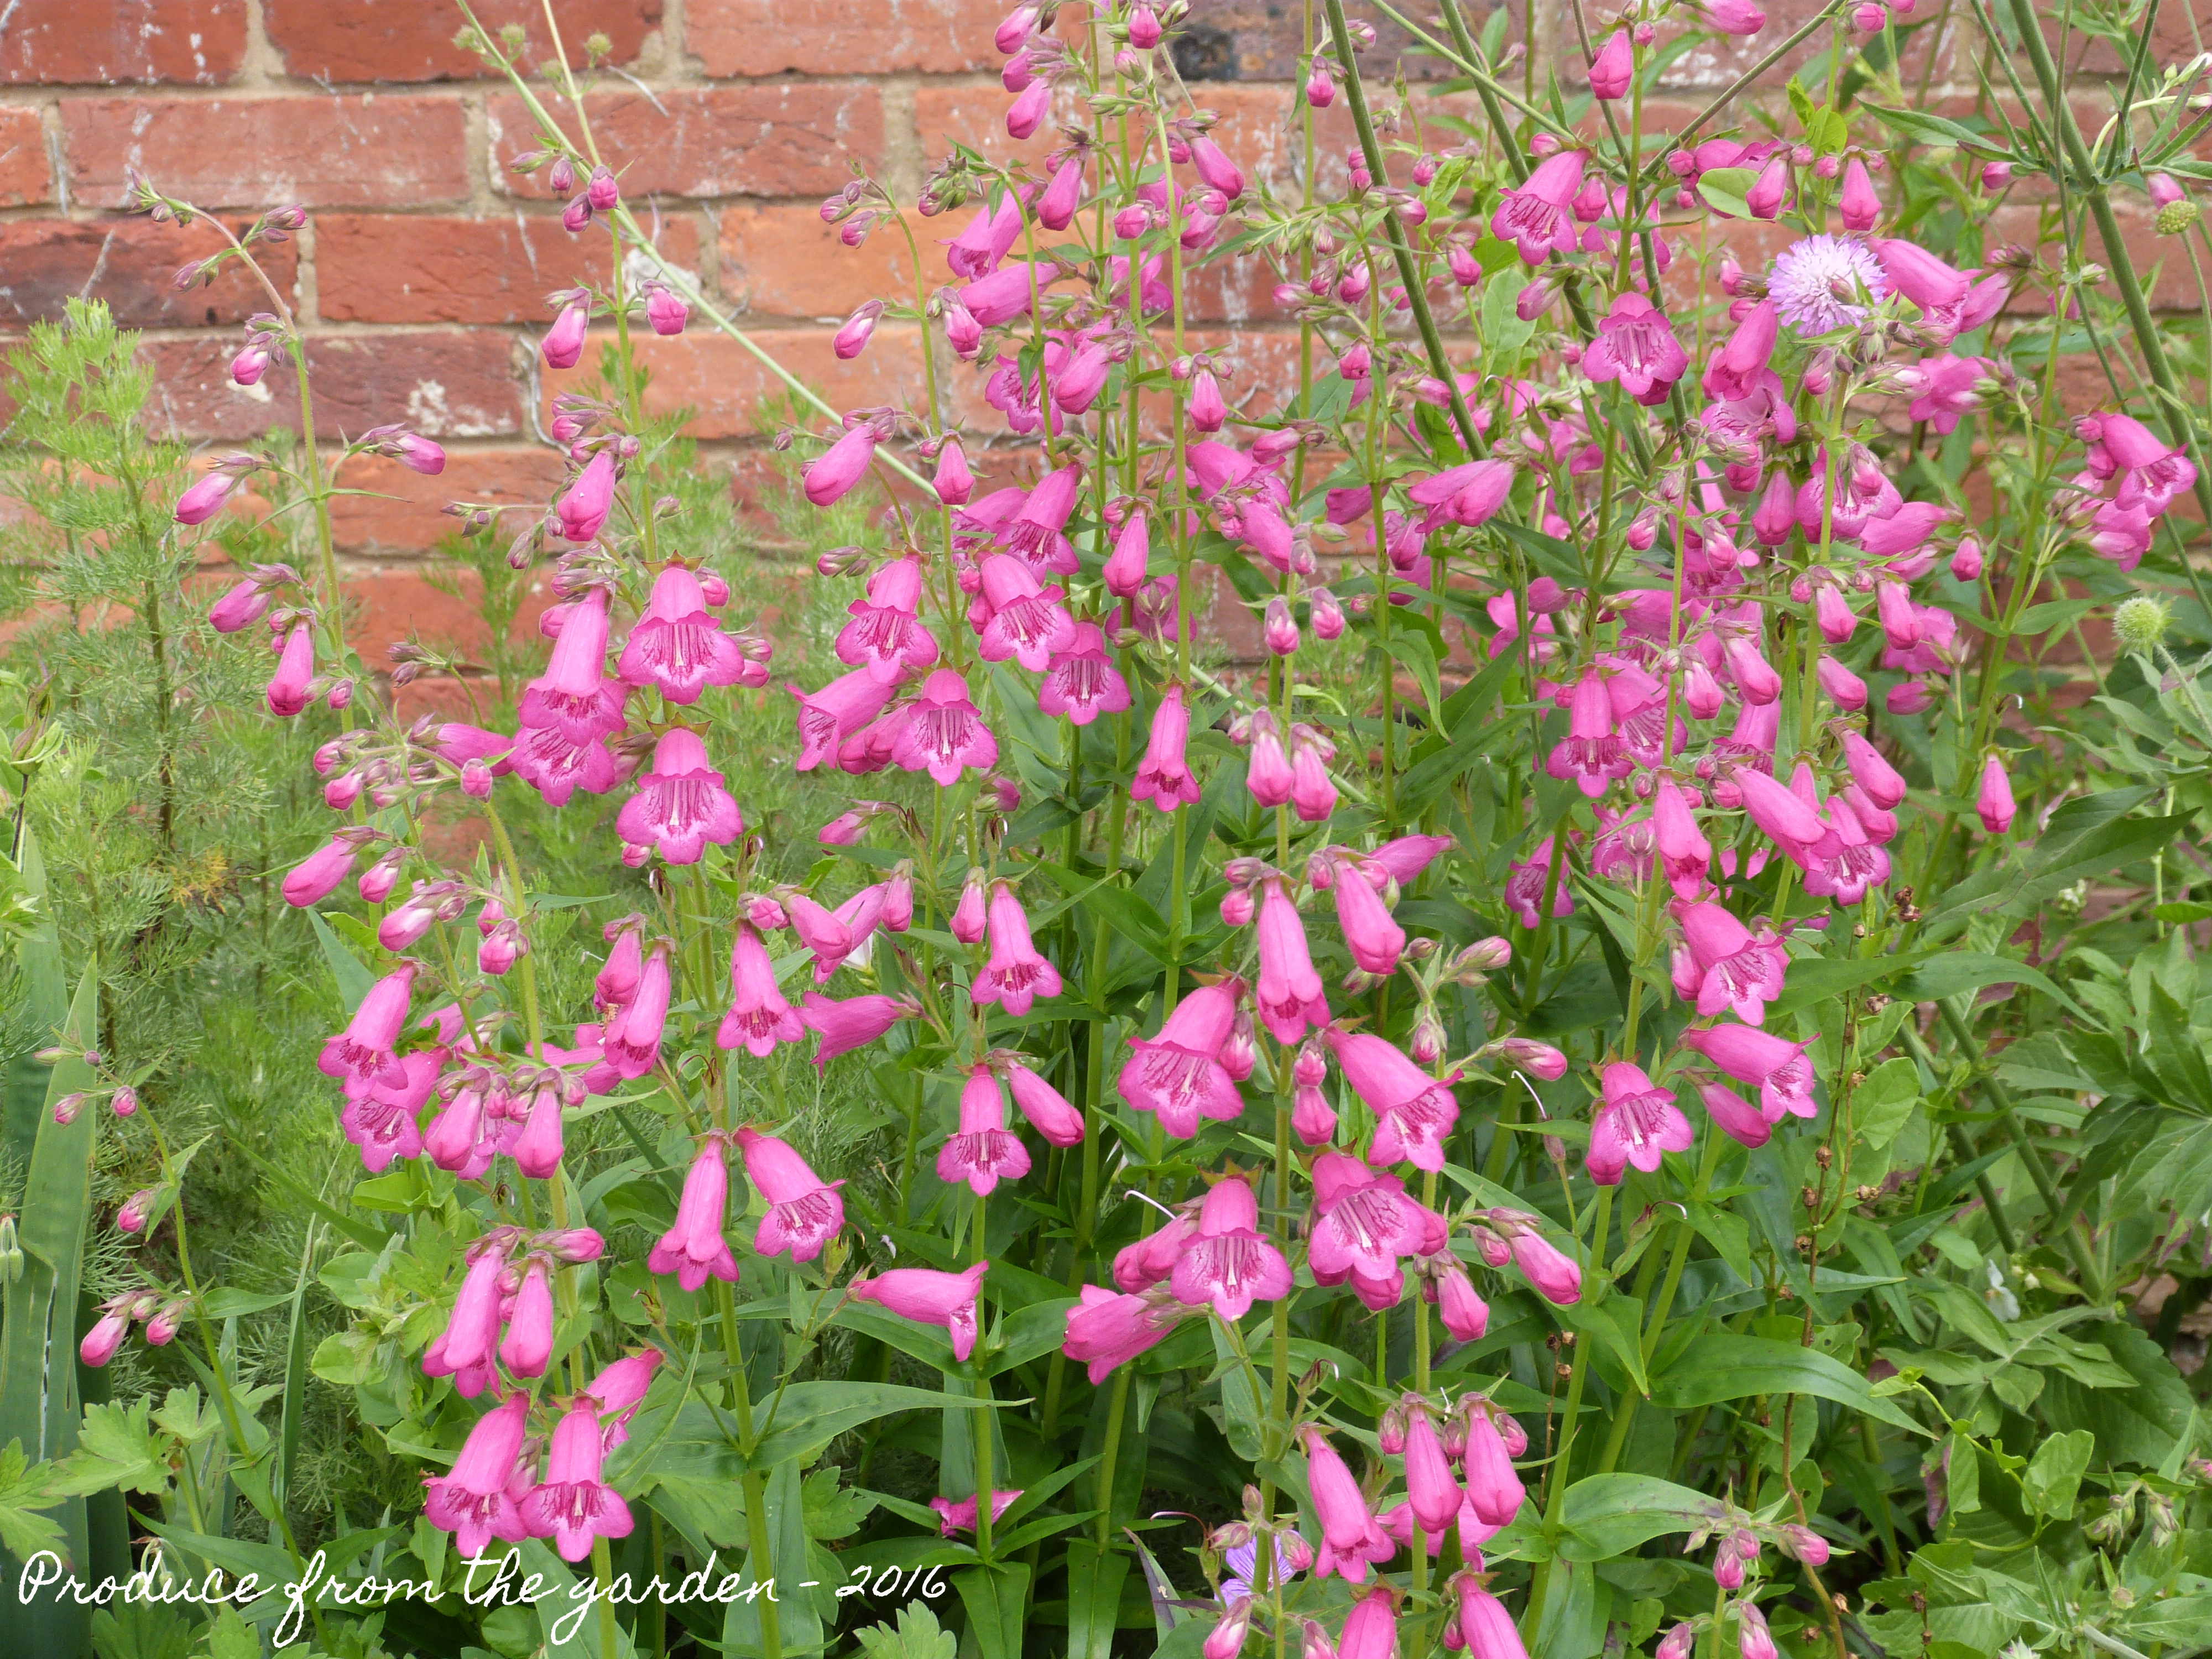
 Penstemon Just Jayne
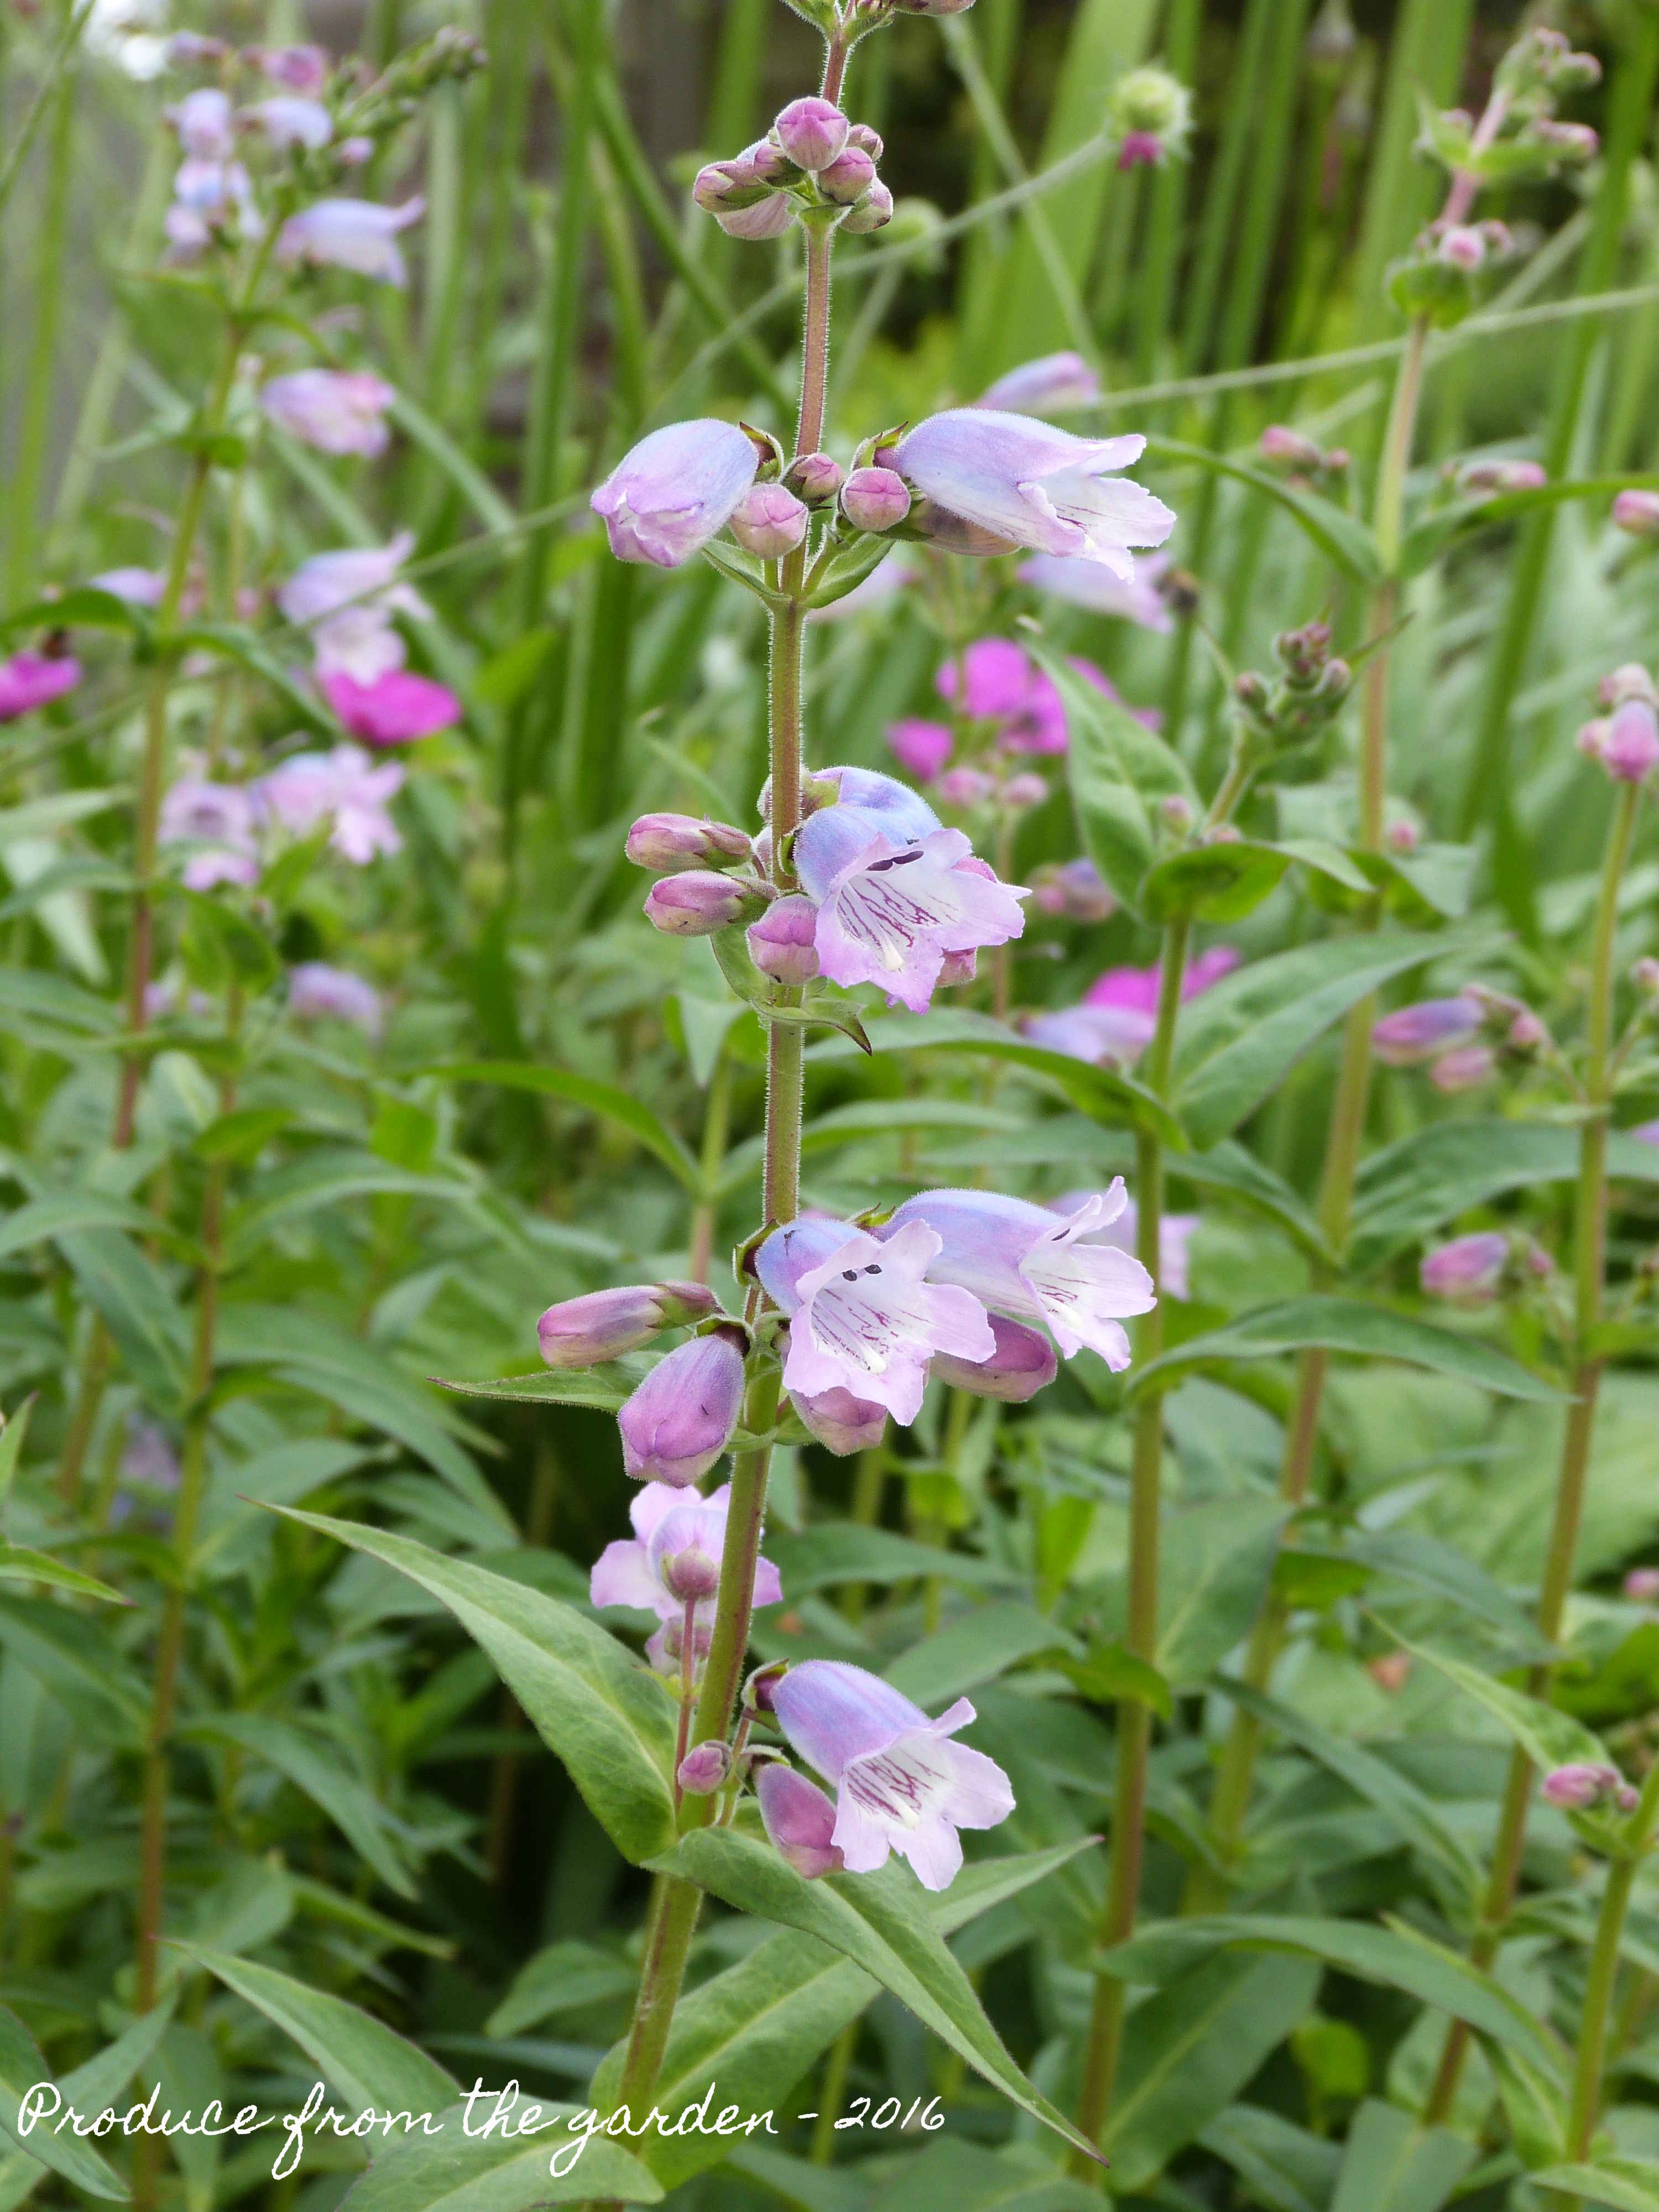
 Penstemon Sour Grapes
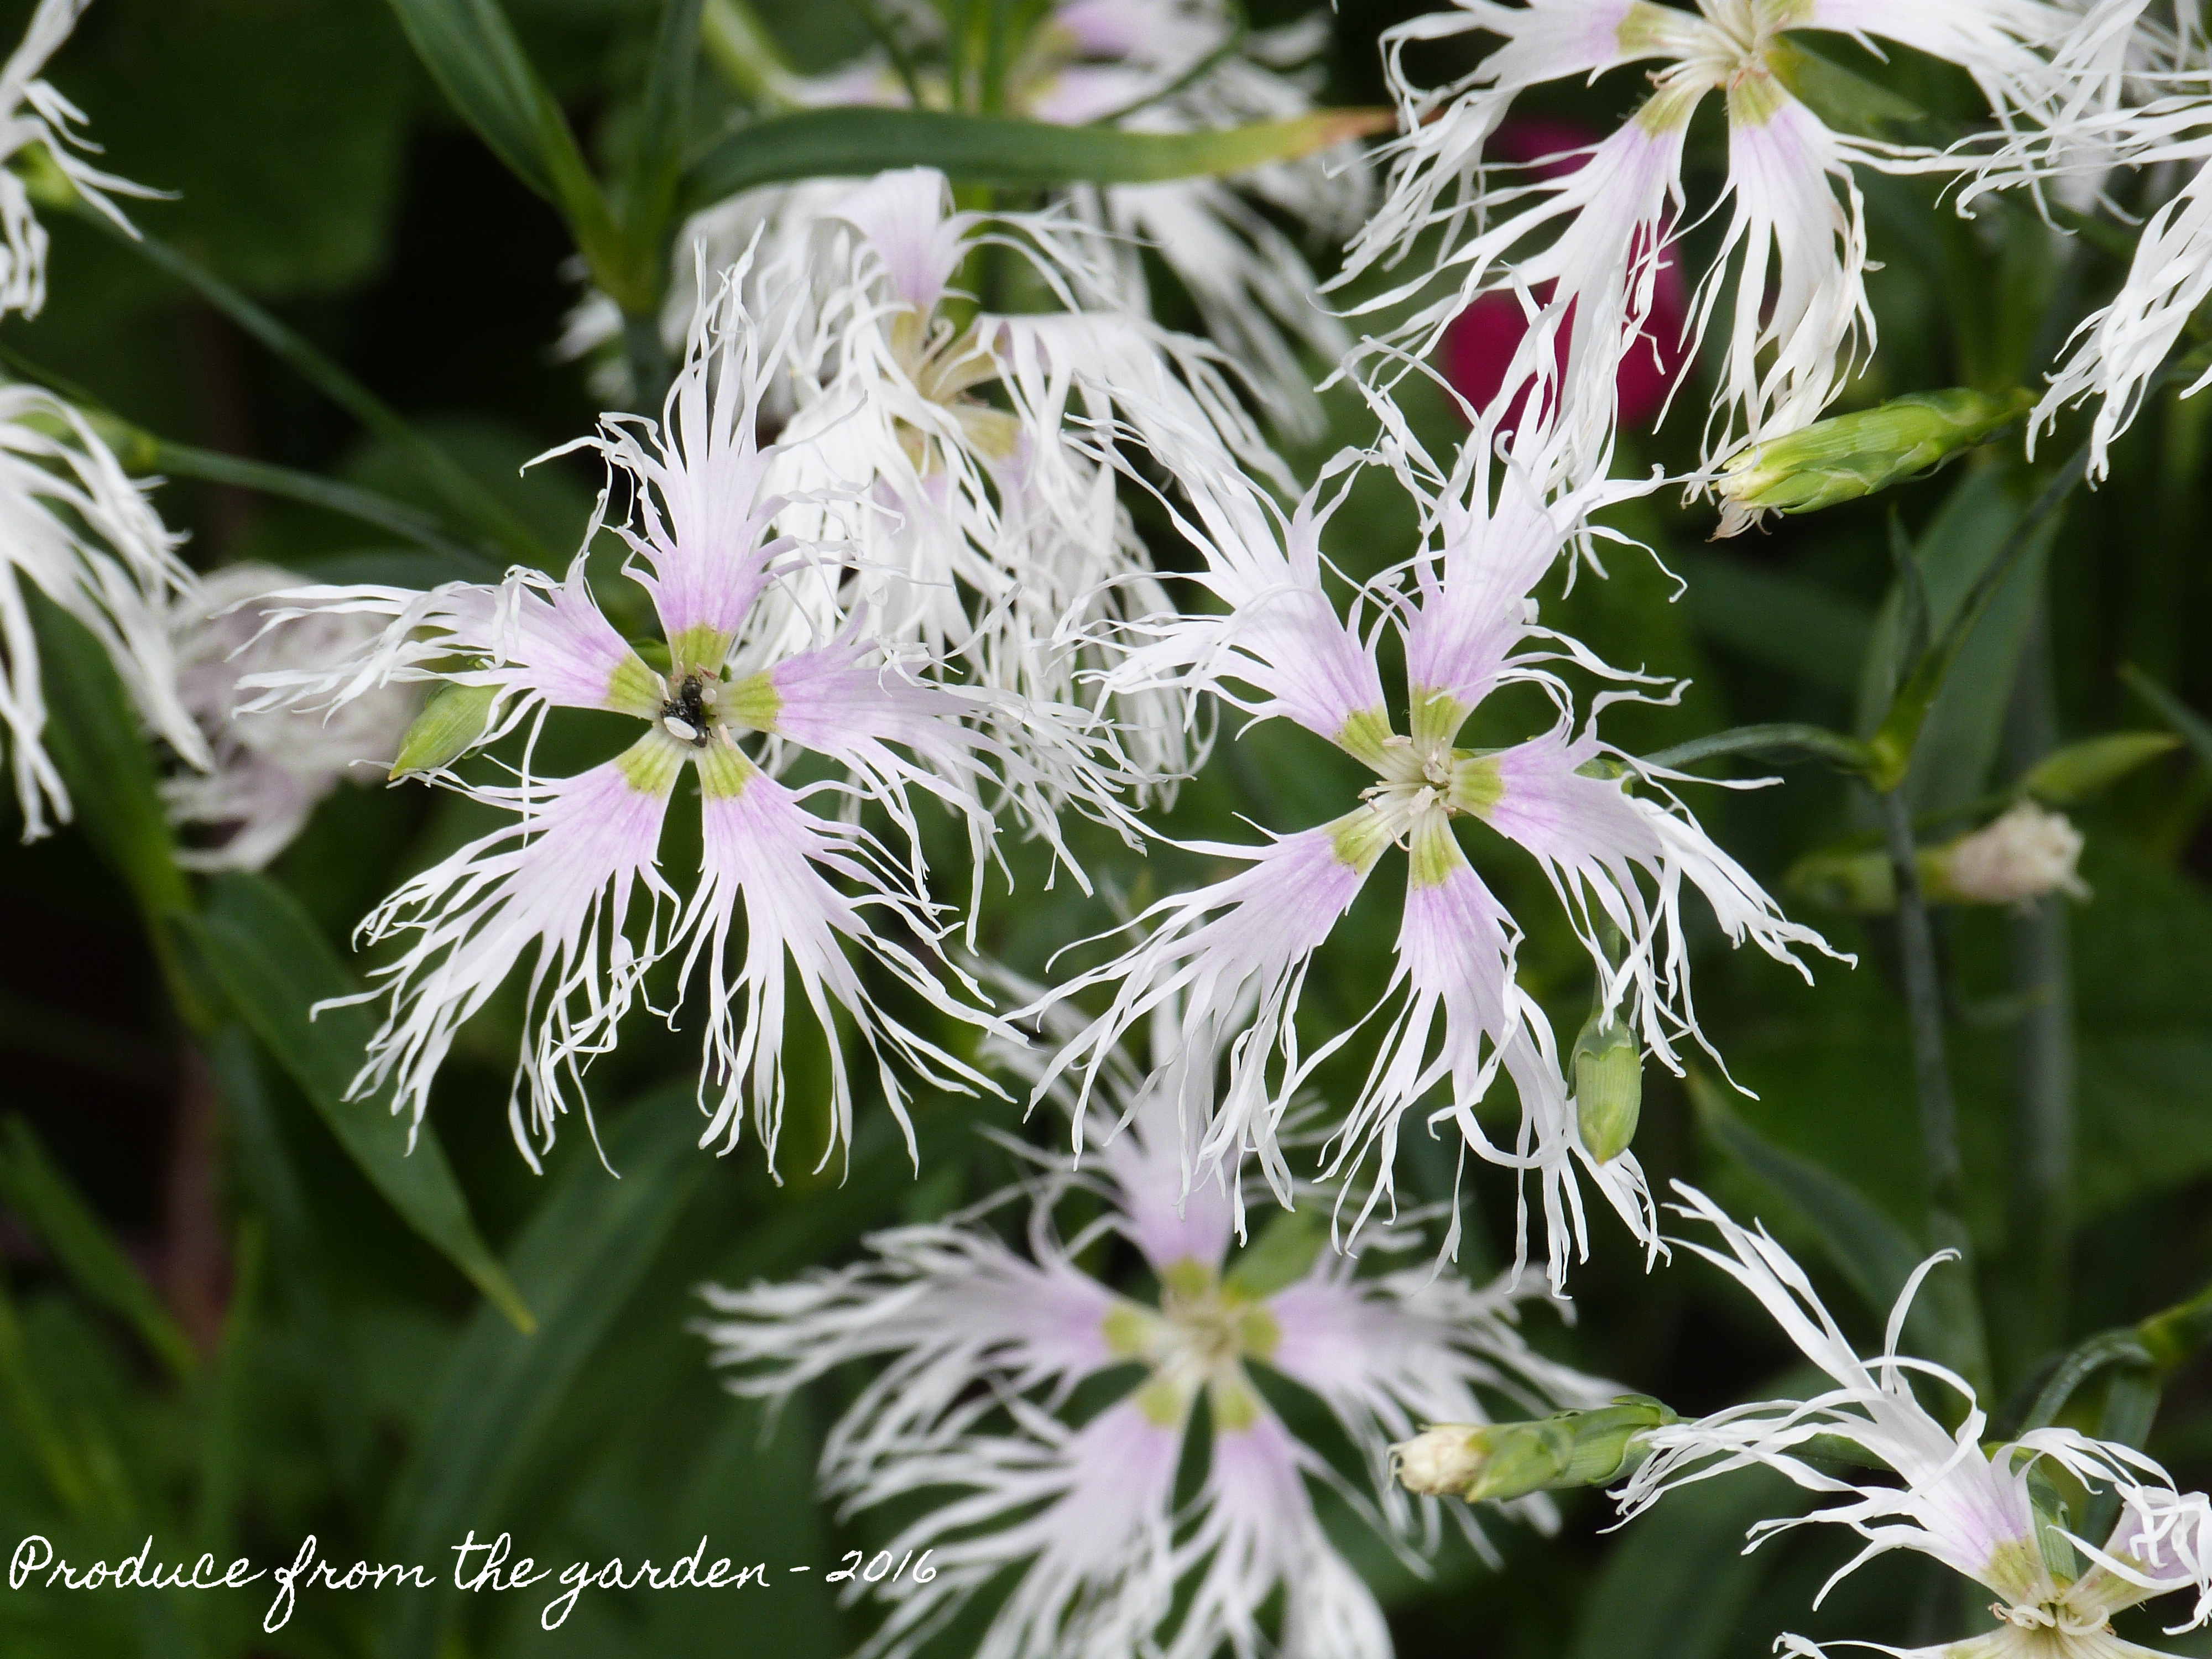
 Dianthus Rainbow Loveliness – a stunner!
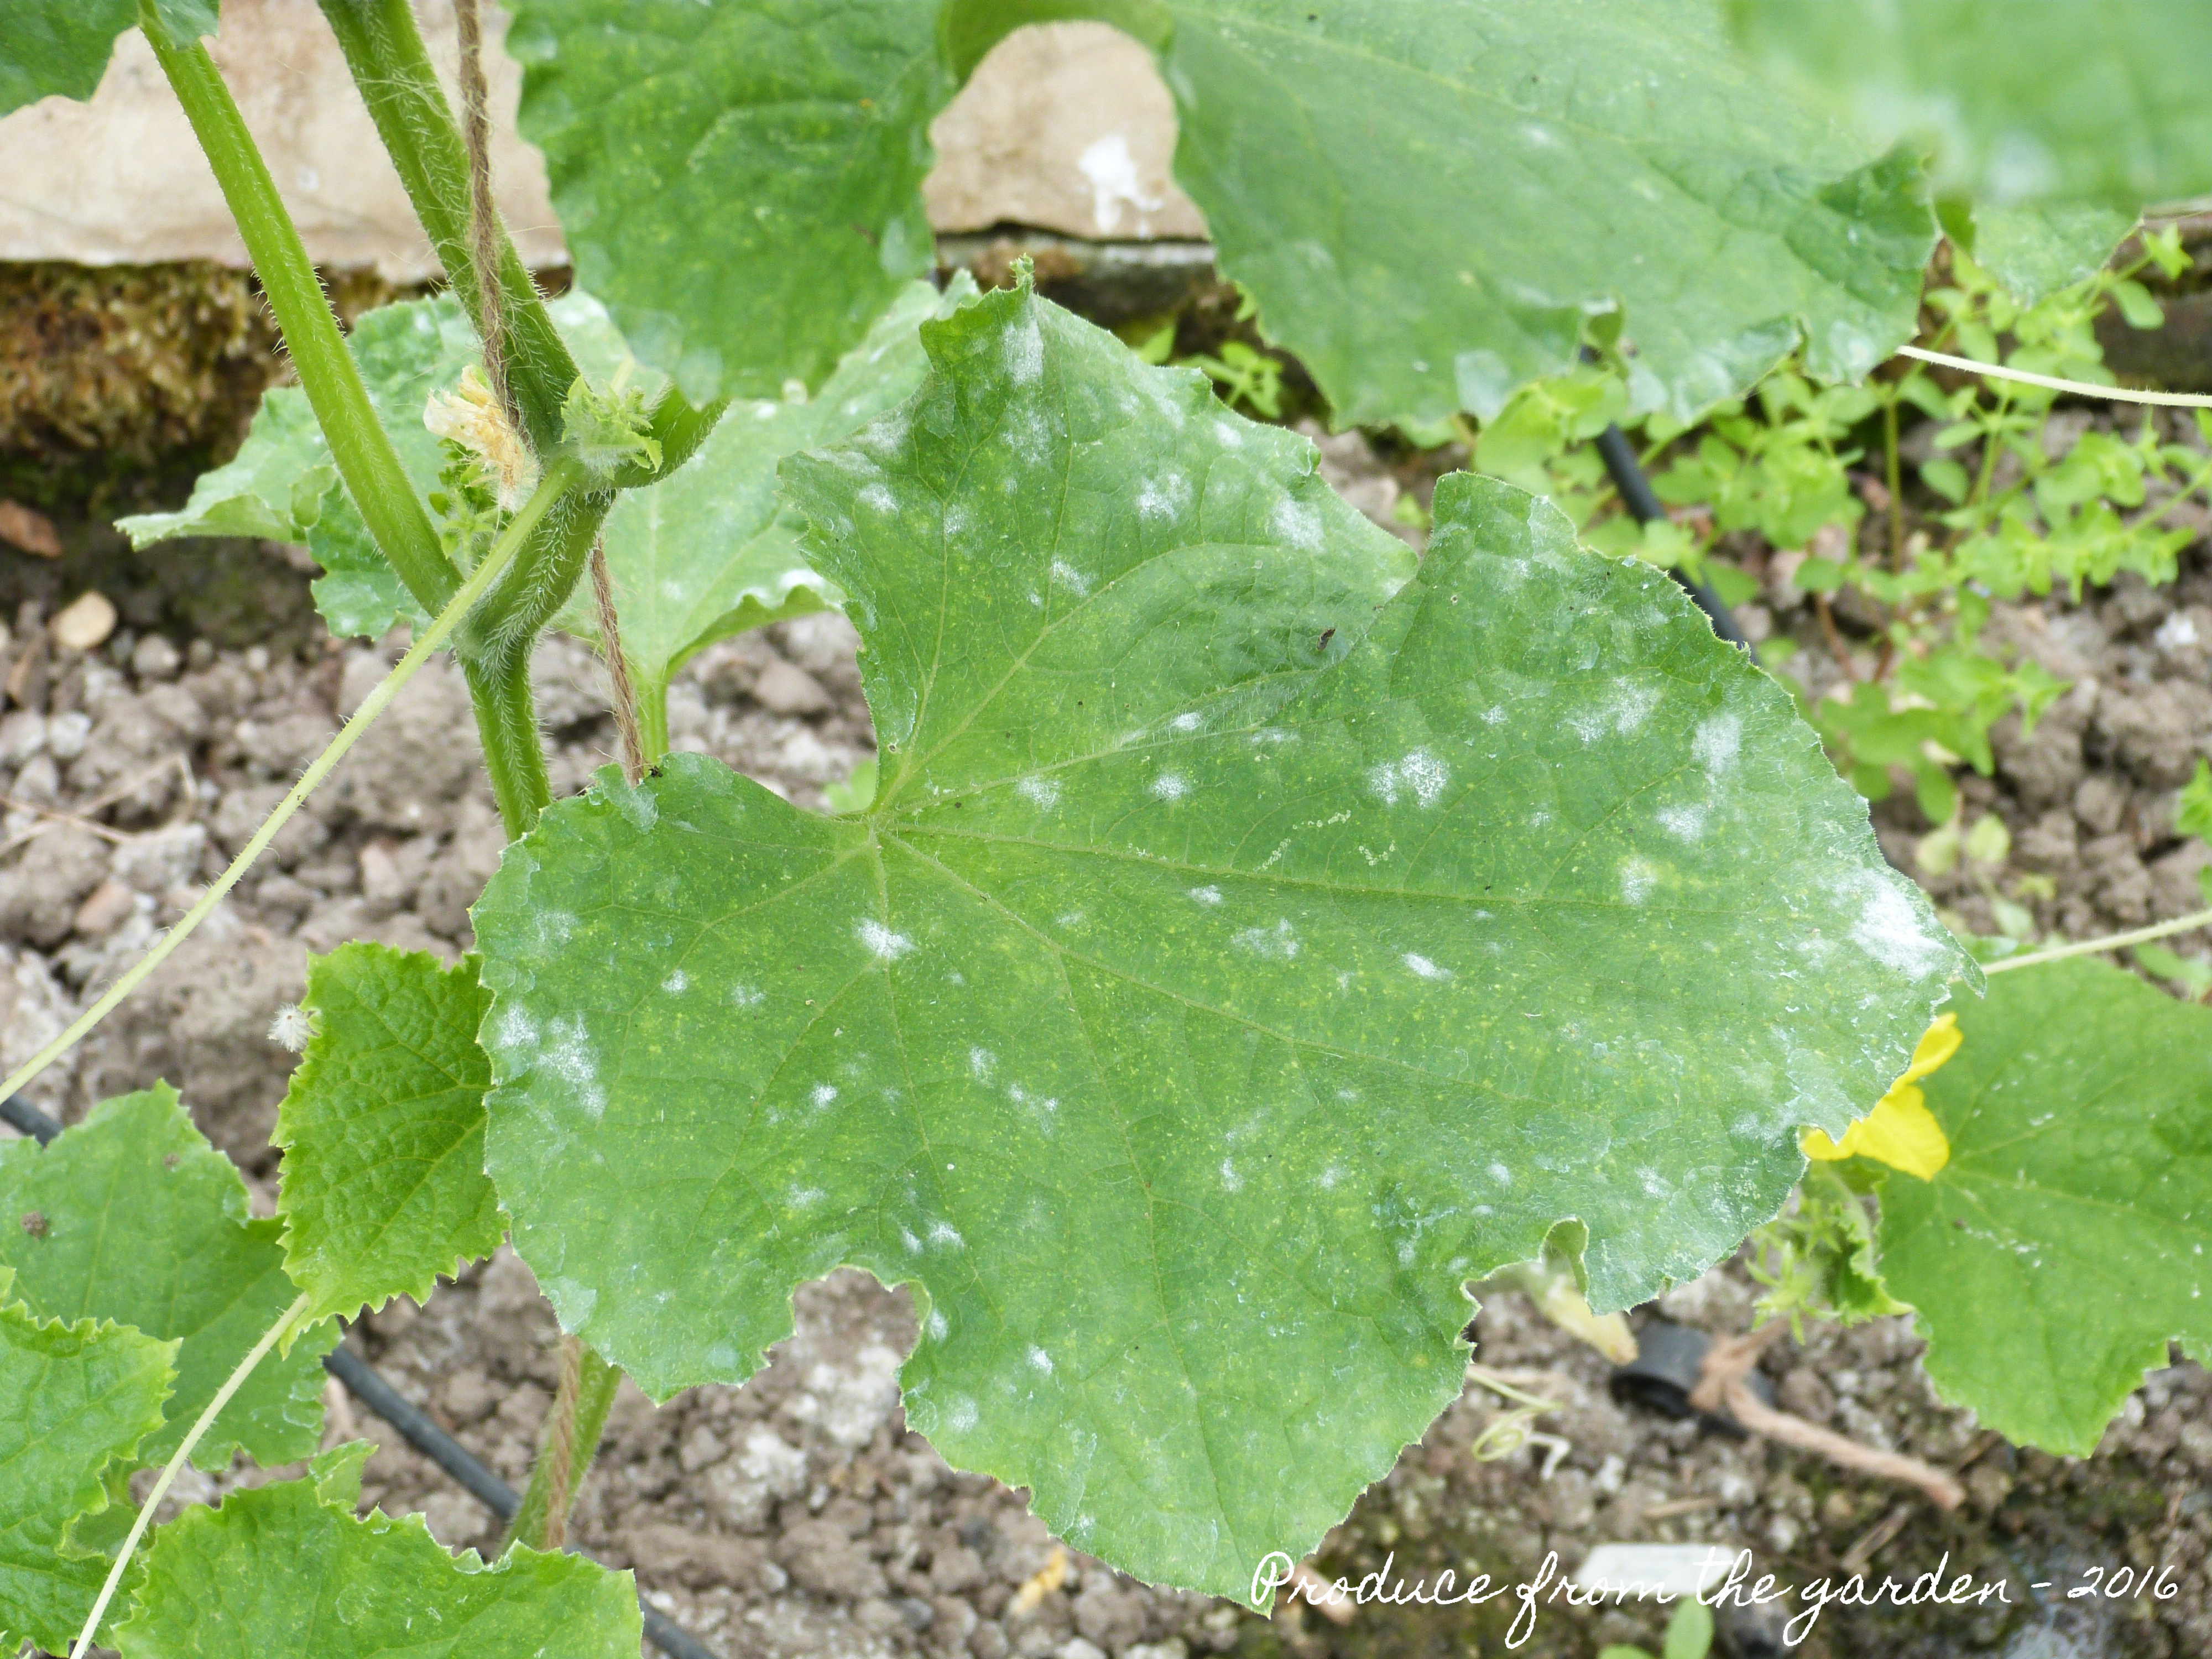
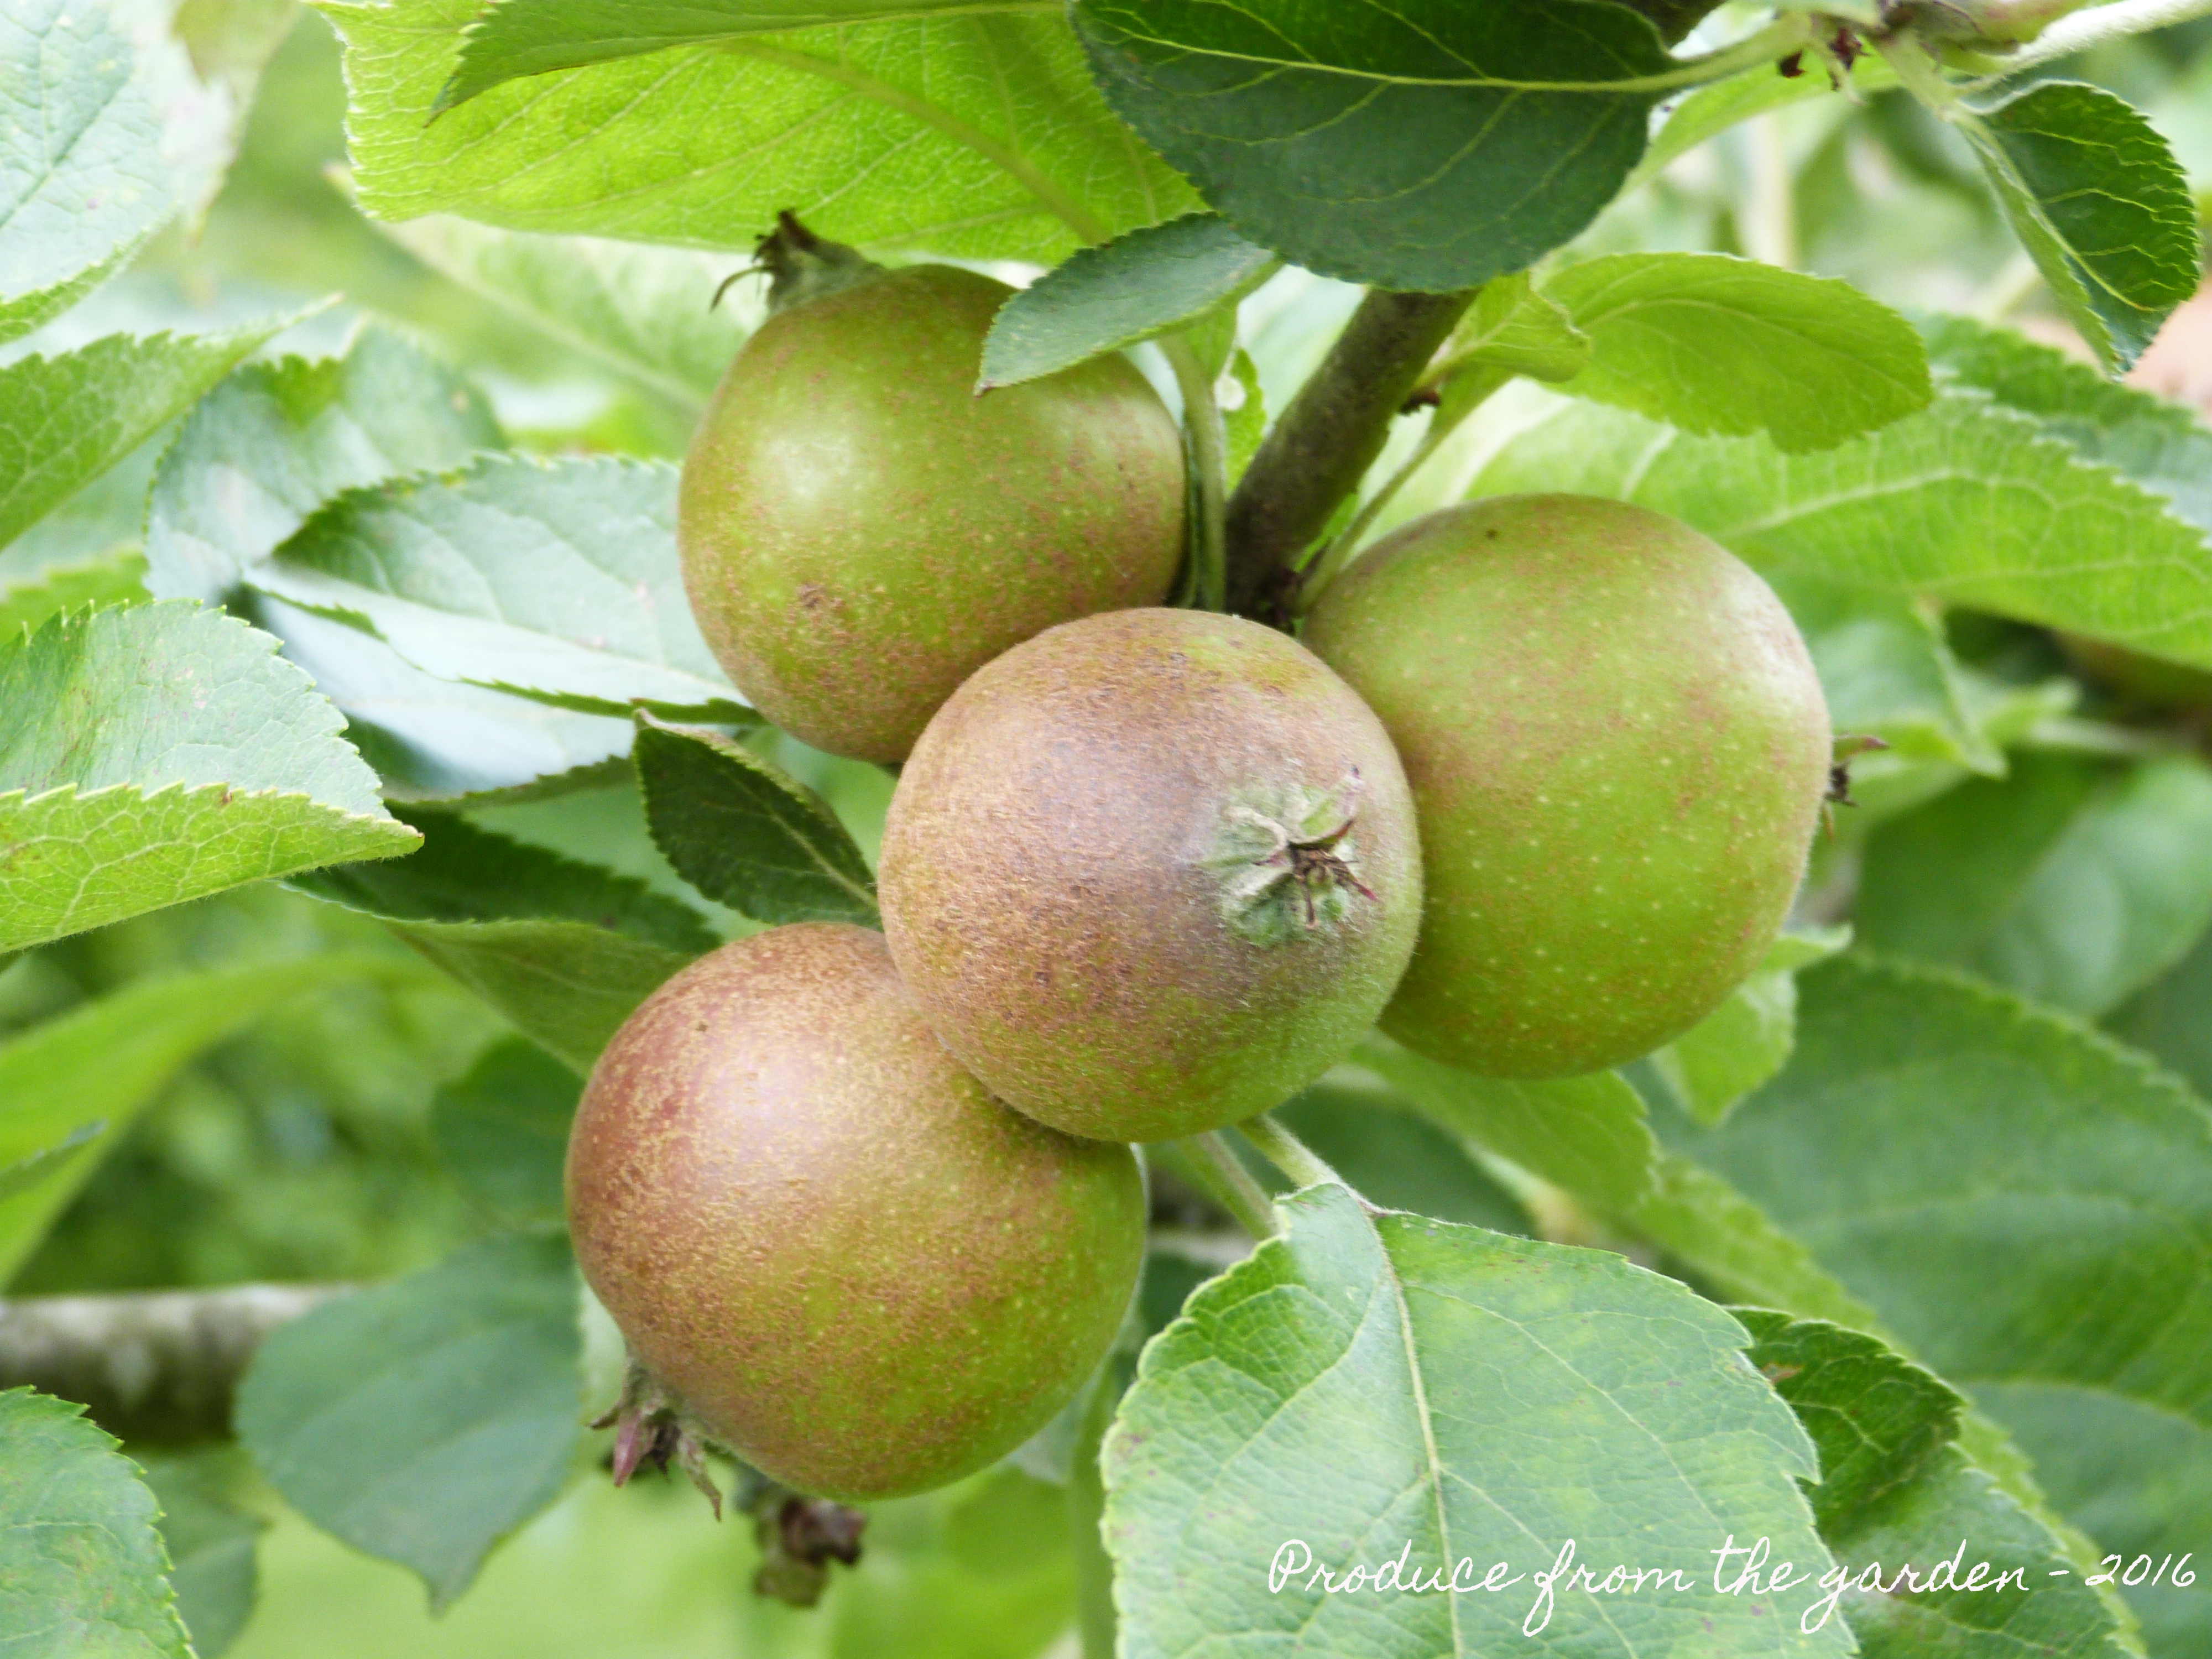
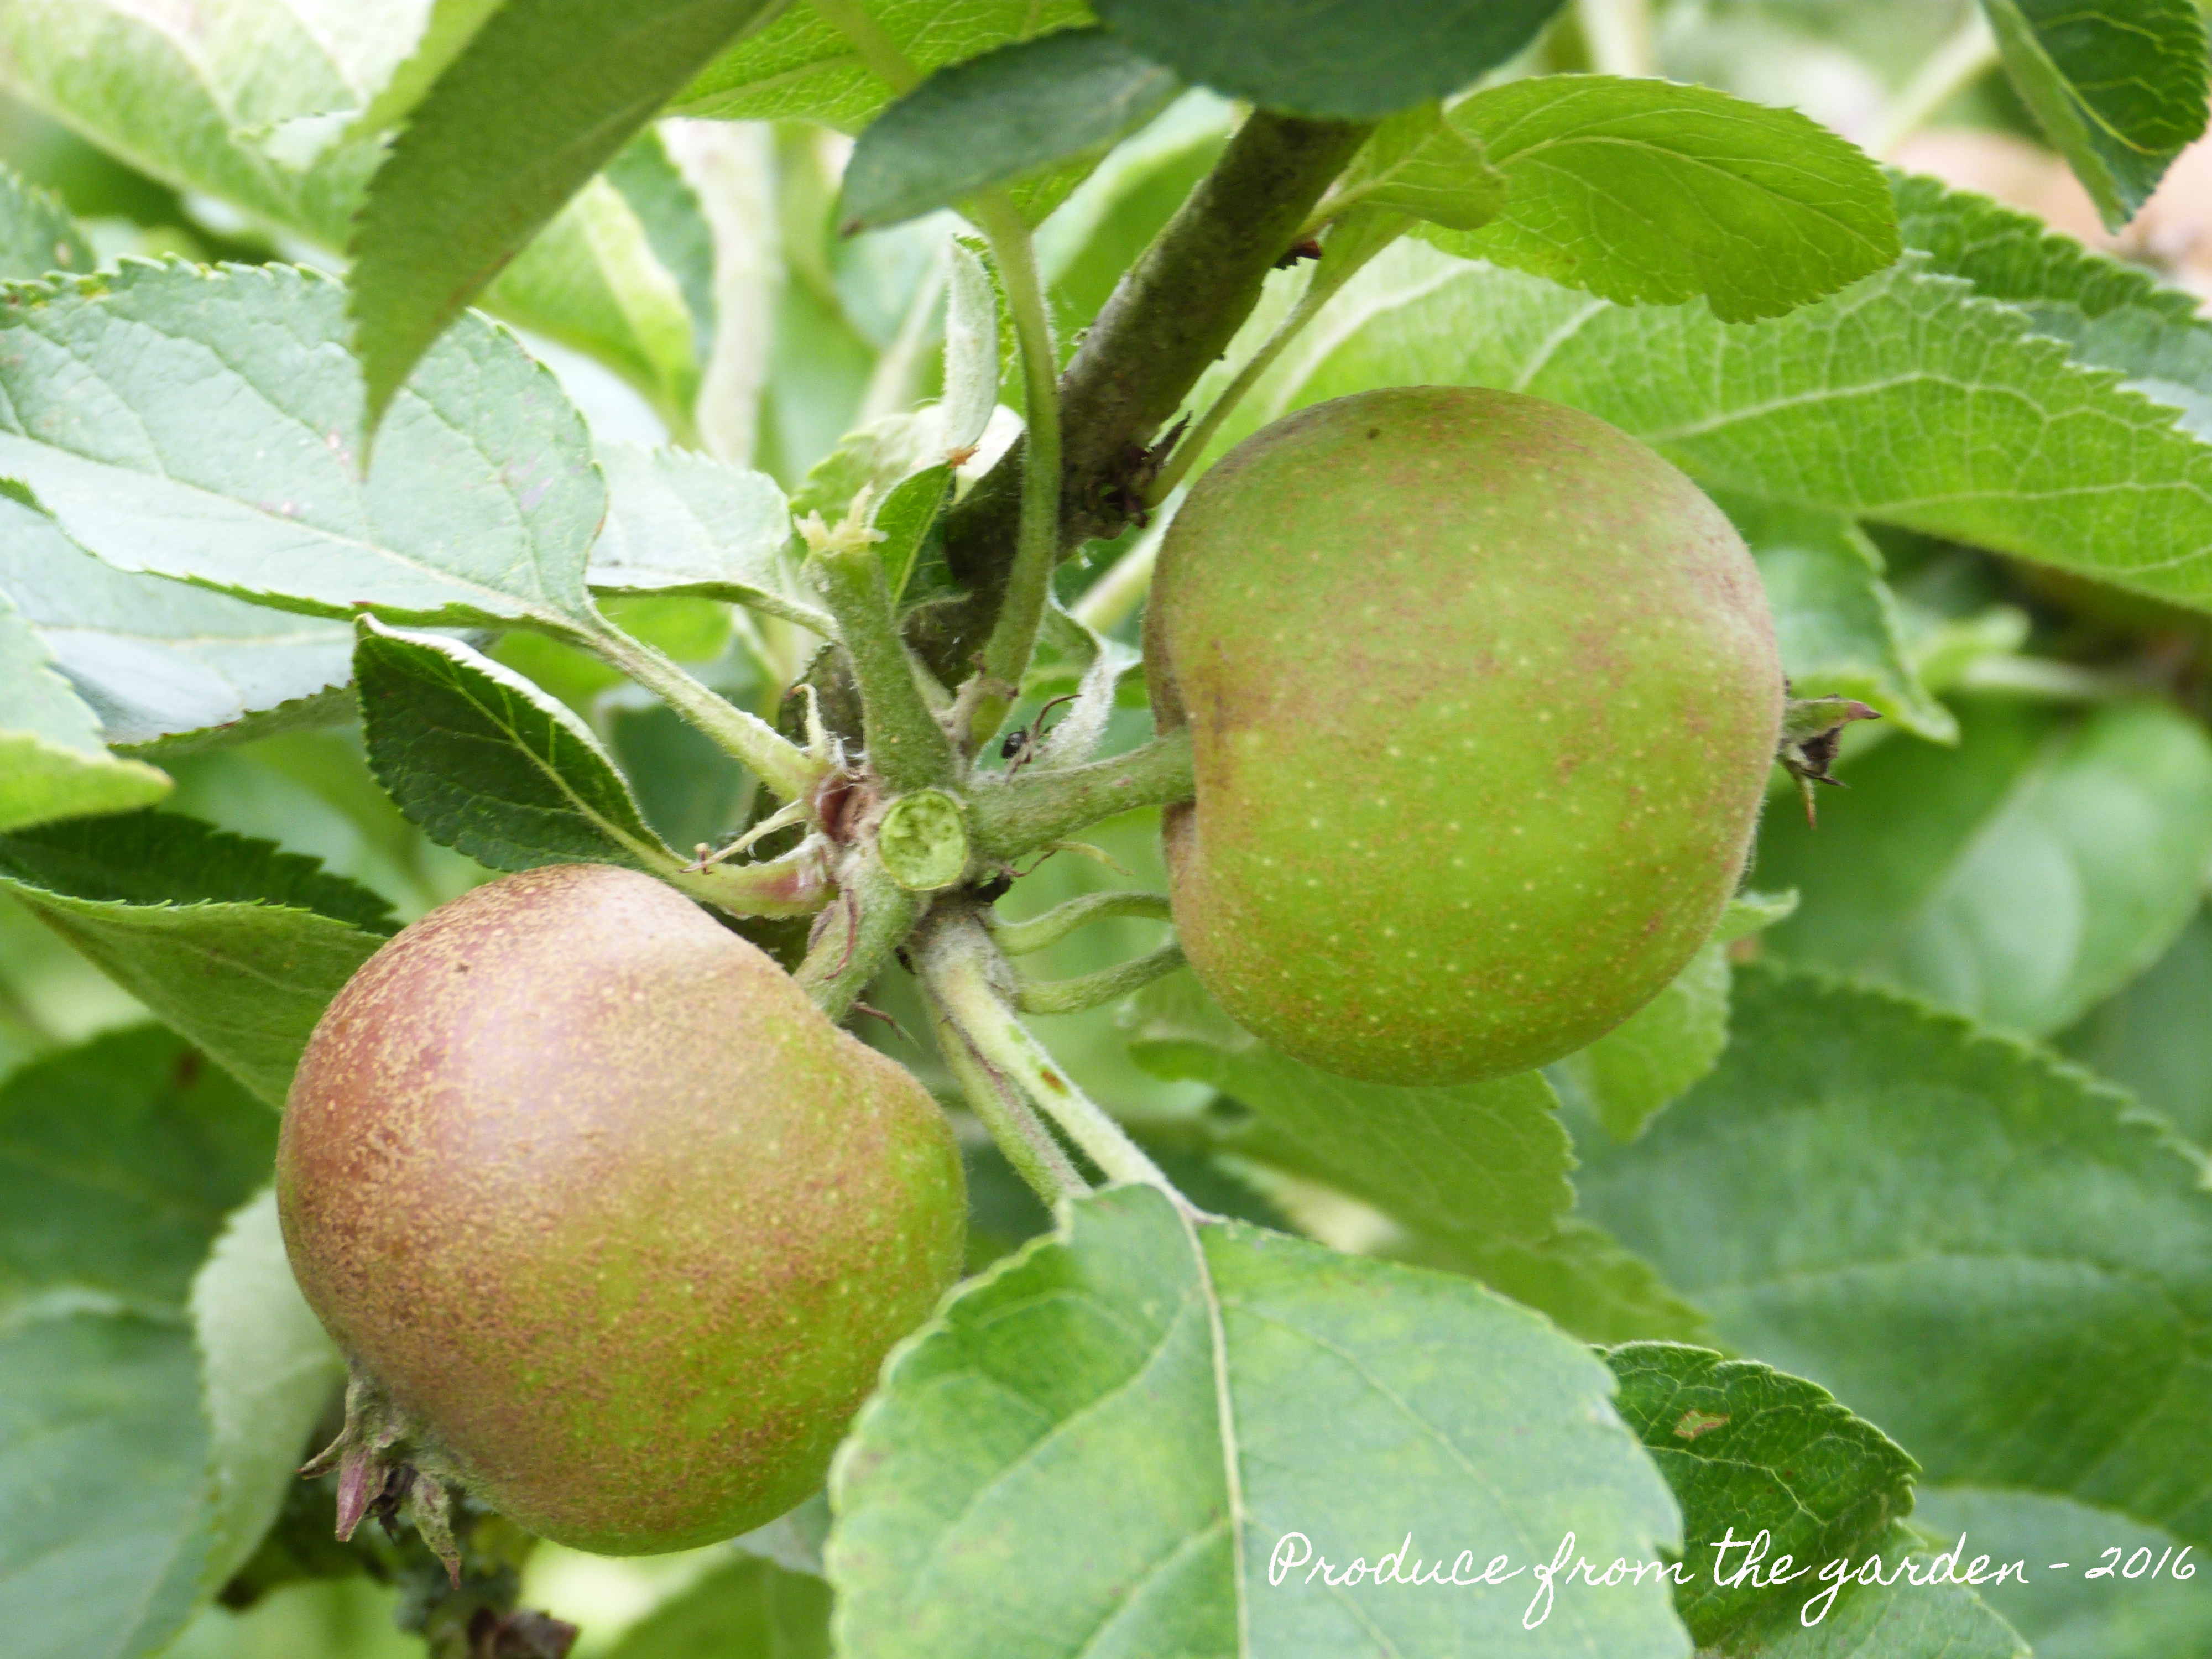
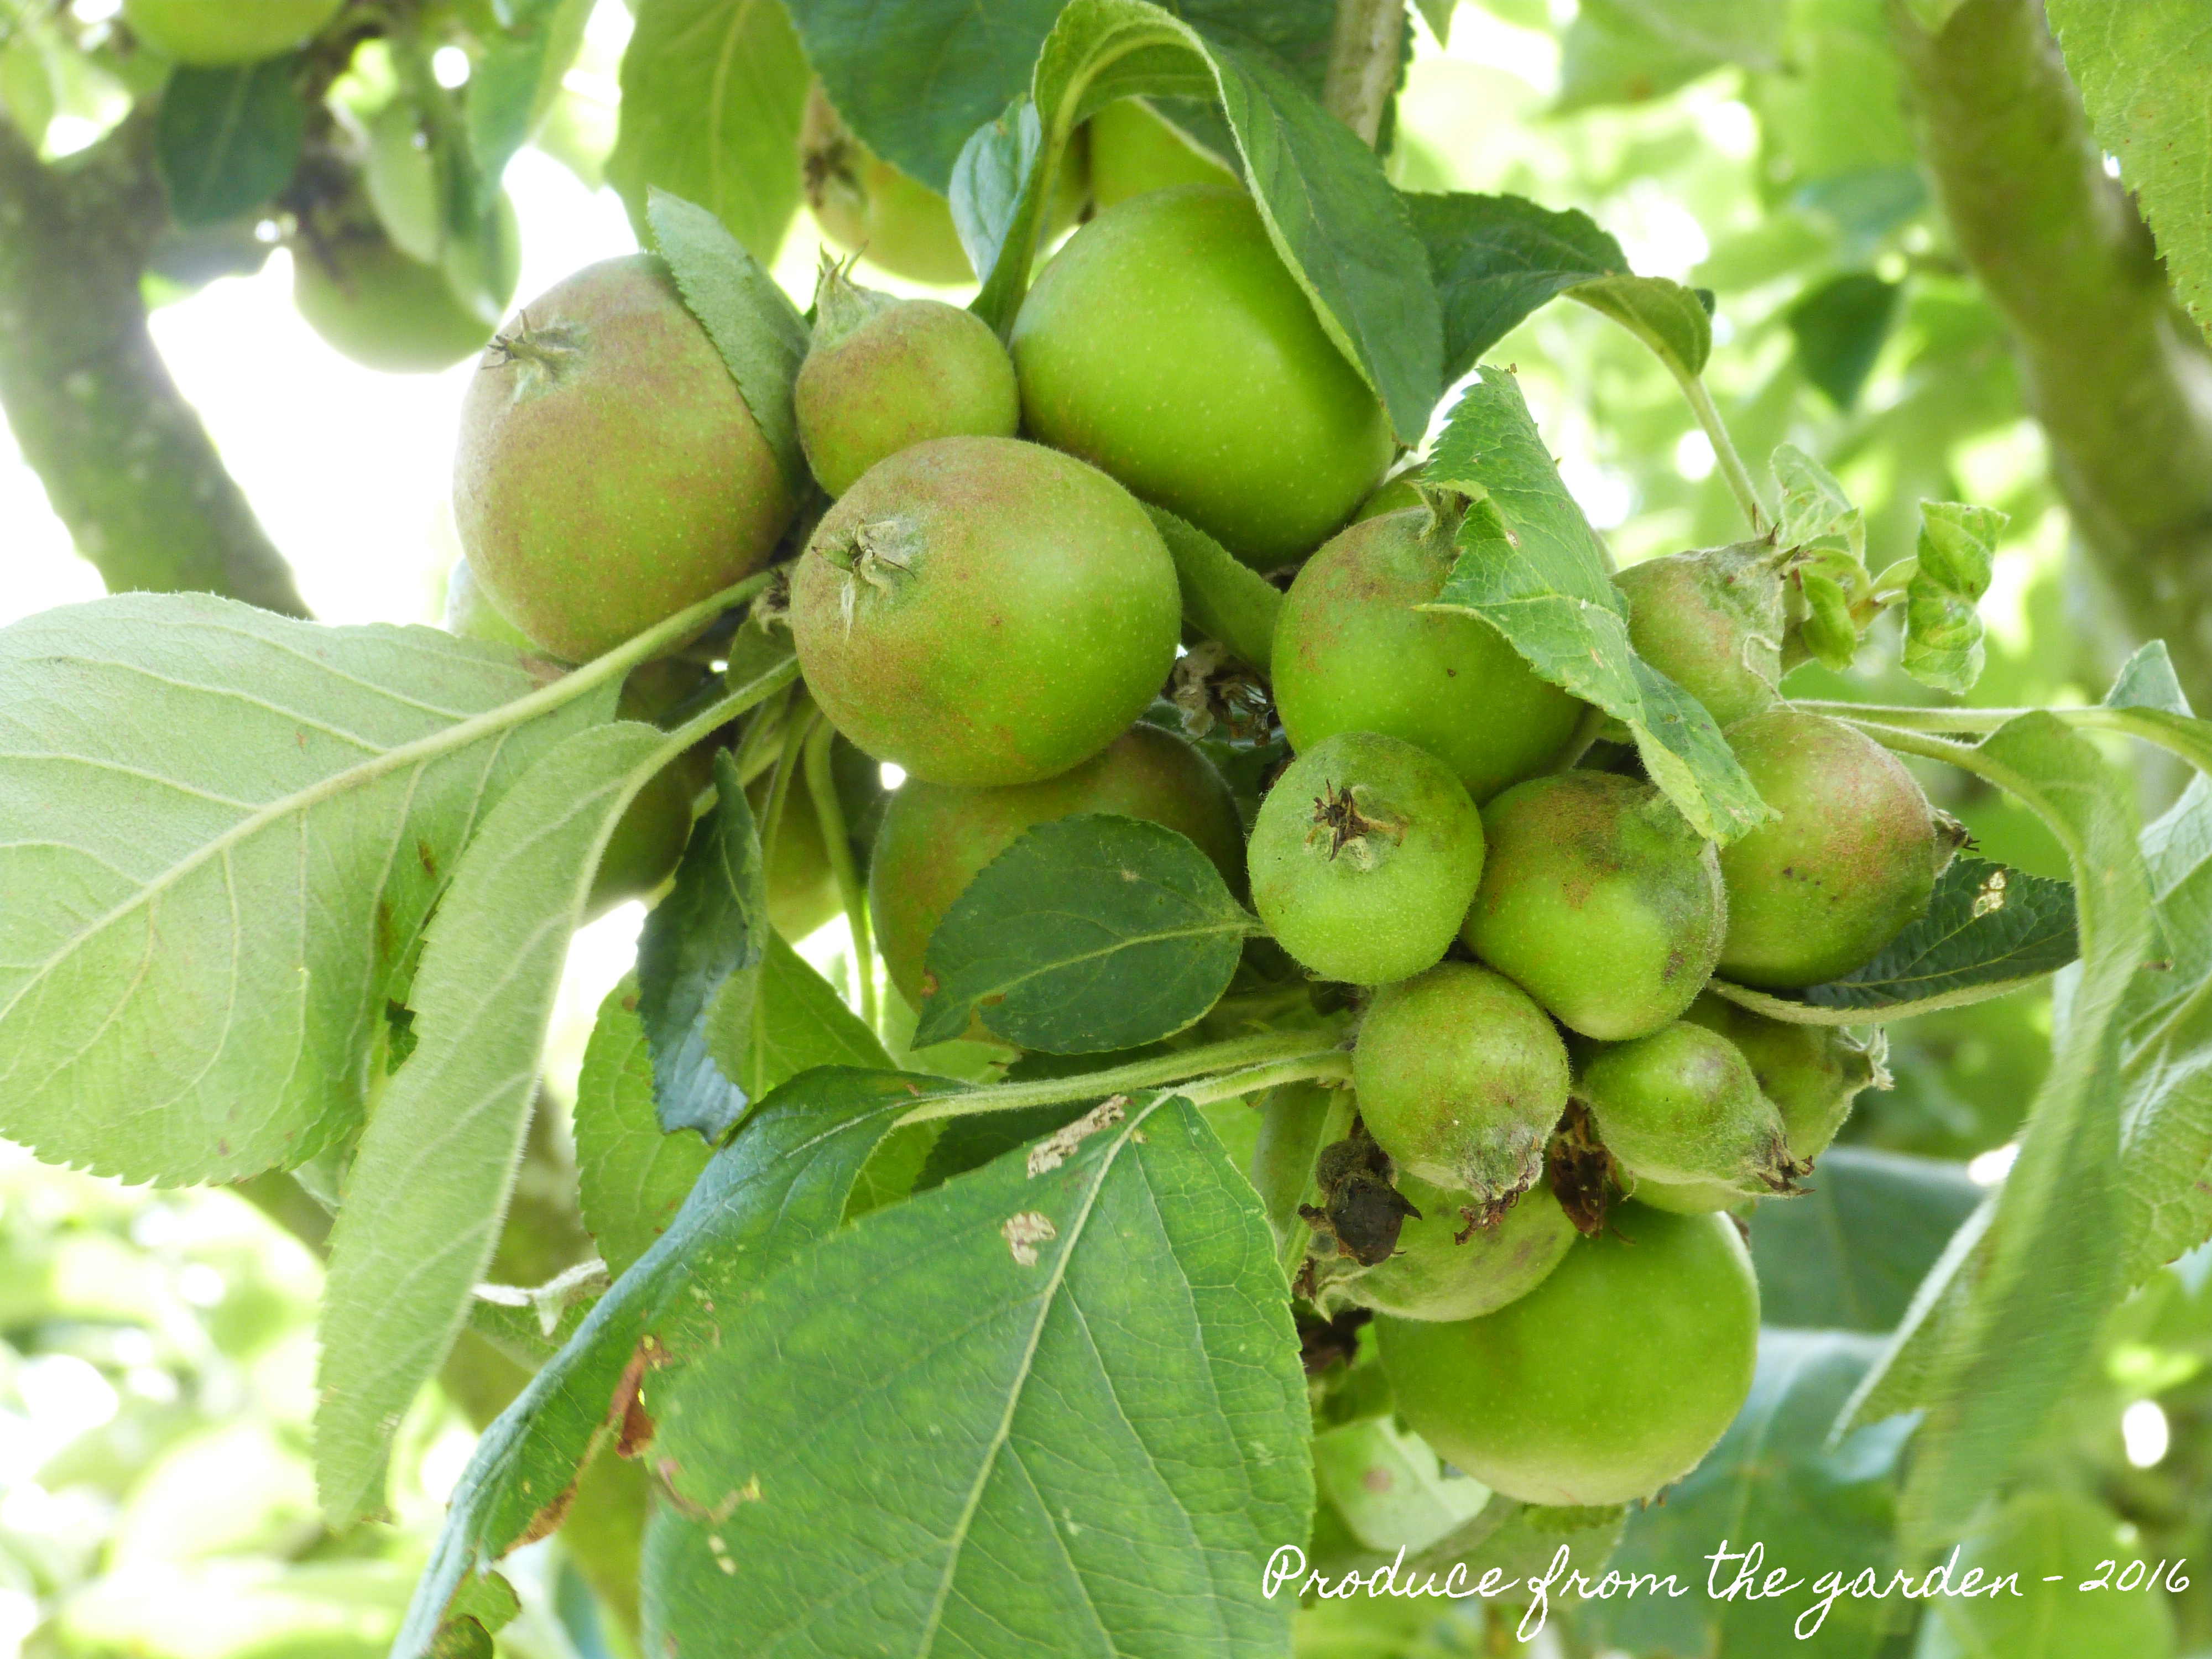
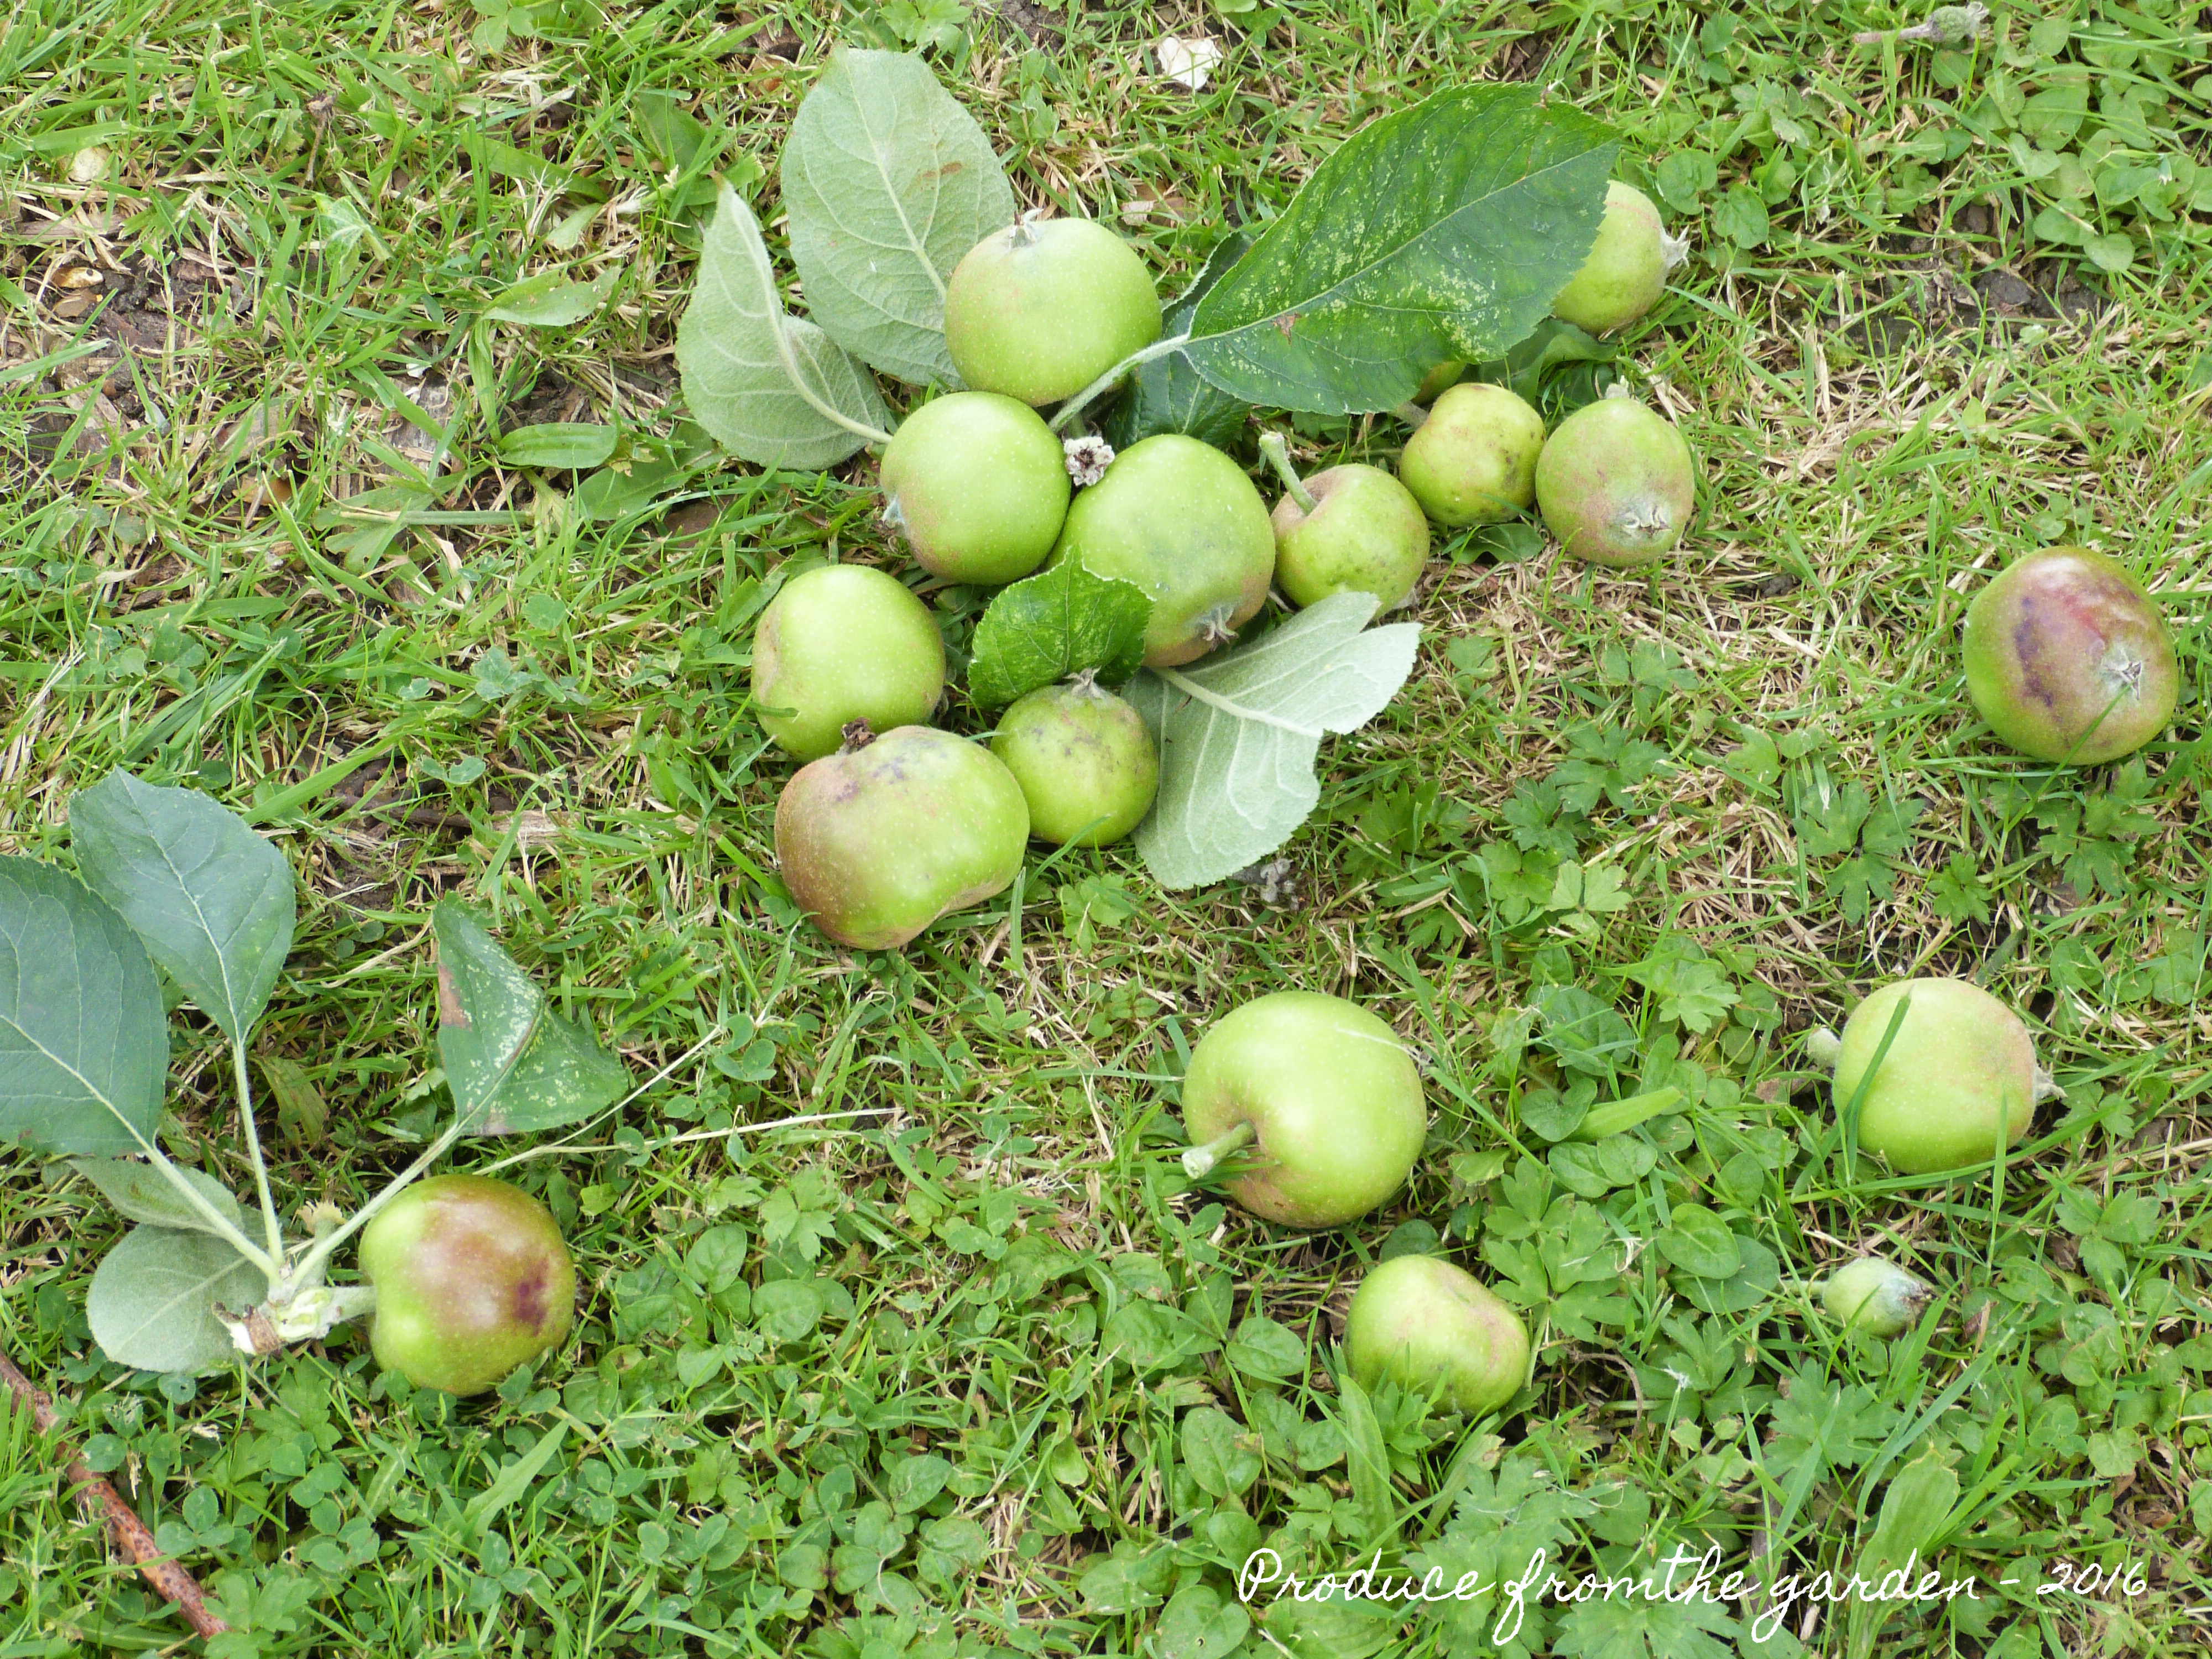
Compared with the cut flowers the vegetable plot has not felt so productive. Like many we’ve suffered terrible slug problems. I started going out in the evening and cutting the slimy vermin in half, this seemed to have no impact. Our slug population was enormous thanks to the mild winter and wet spring/early summer their perfect climate, slug paradise was then achieved by feasting on the sumptuous delicacies that were being planted out and germinating from my directly sown seeds. Sadly the only viable solution was slug pellets followed by crack of dawn trips to the kitchen garden to collect up the poisoned slugs before the birds got to them. It worked; I filled flower pot after flower pot with dead slugs – YUK! But thankfully the vegetable plants are starting to recover and begin their productive romp. My main gripe which has made me very grumpy has been the lack of salad leaves, I now live in hope that the seeds will develop and I’ll soon be able to pick my lunch again on a daily basis.
I make the vegetable patch feel and sound worse than it is, we’re not going hungry. We’ve been cropping Mangetout, Courgettes, a few French Beans and Tomatoes, Peas, Broadbeans and enjoyed some delicious Artichoke suppers. I’ve harvested the garlic and will plant out the winter cabbages in their place during the coming weeks.
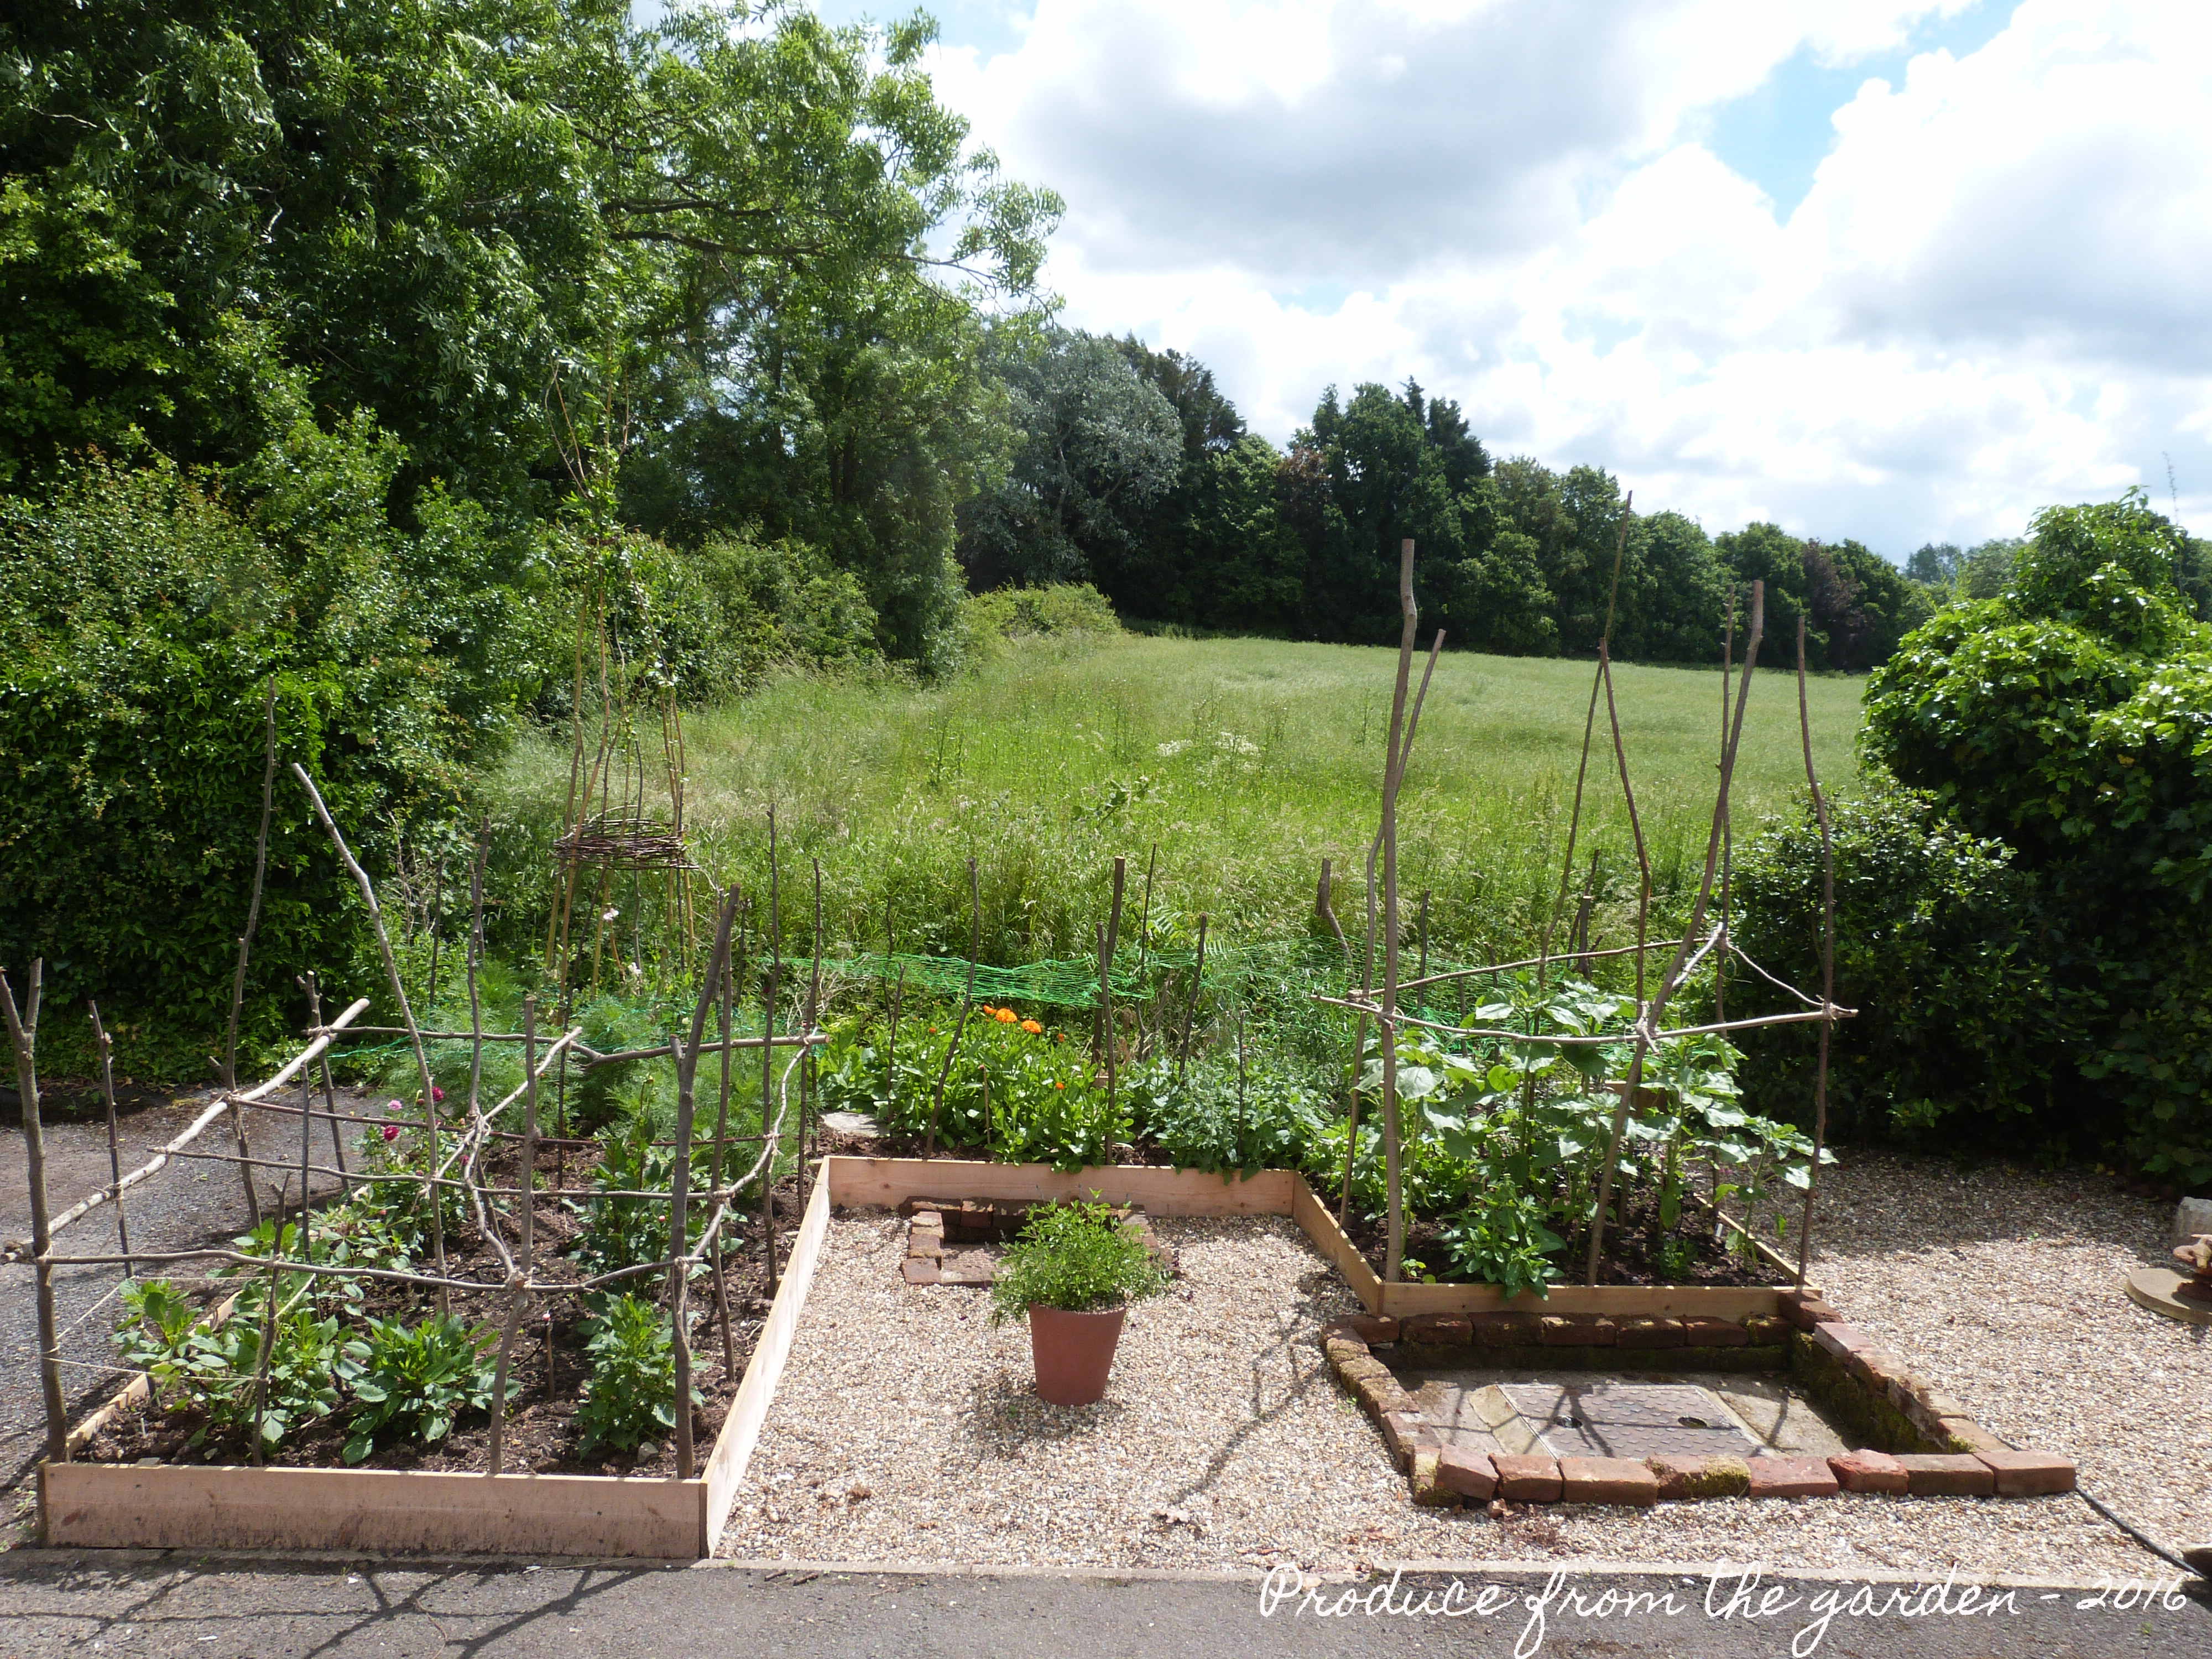
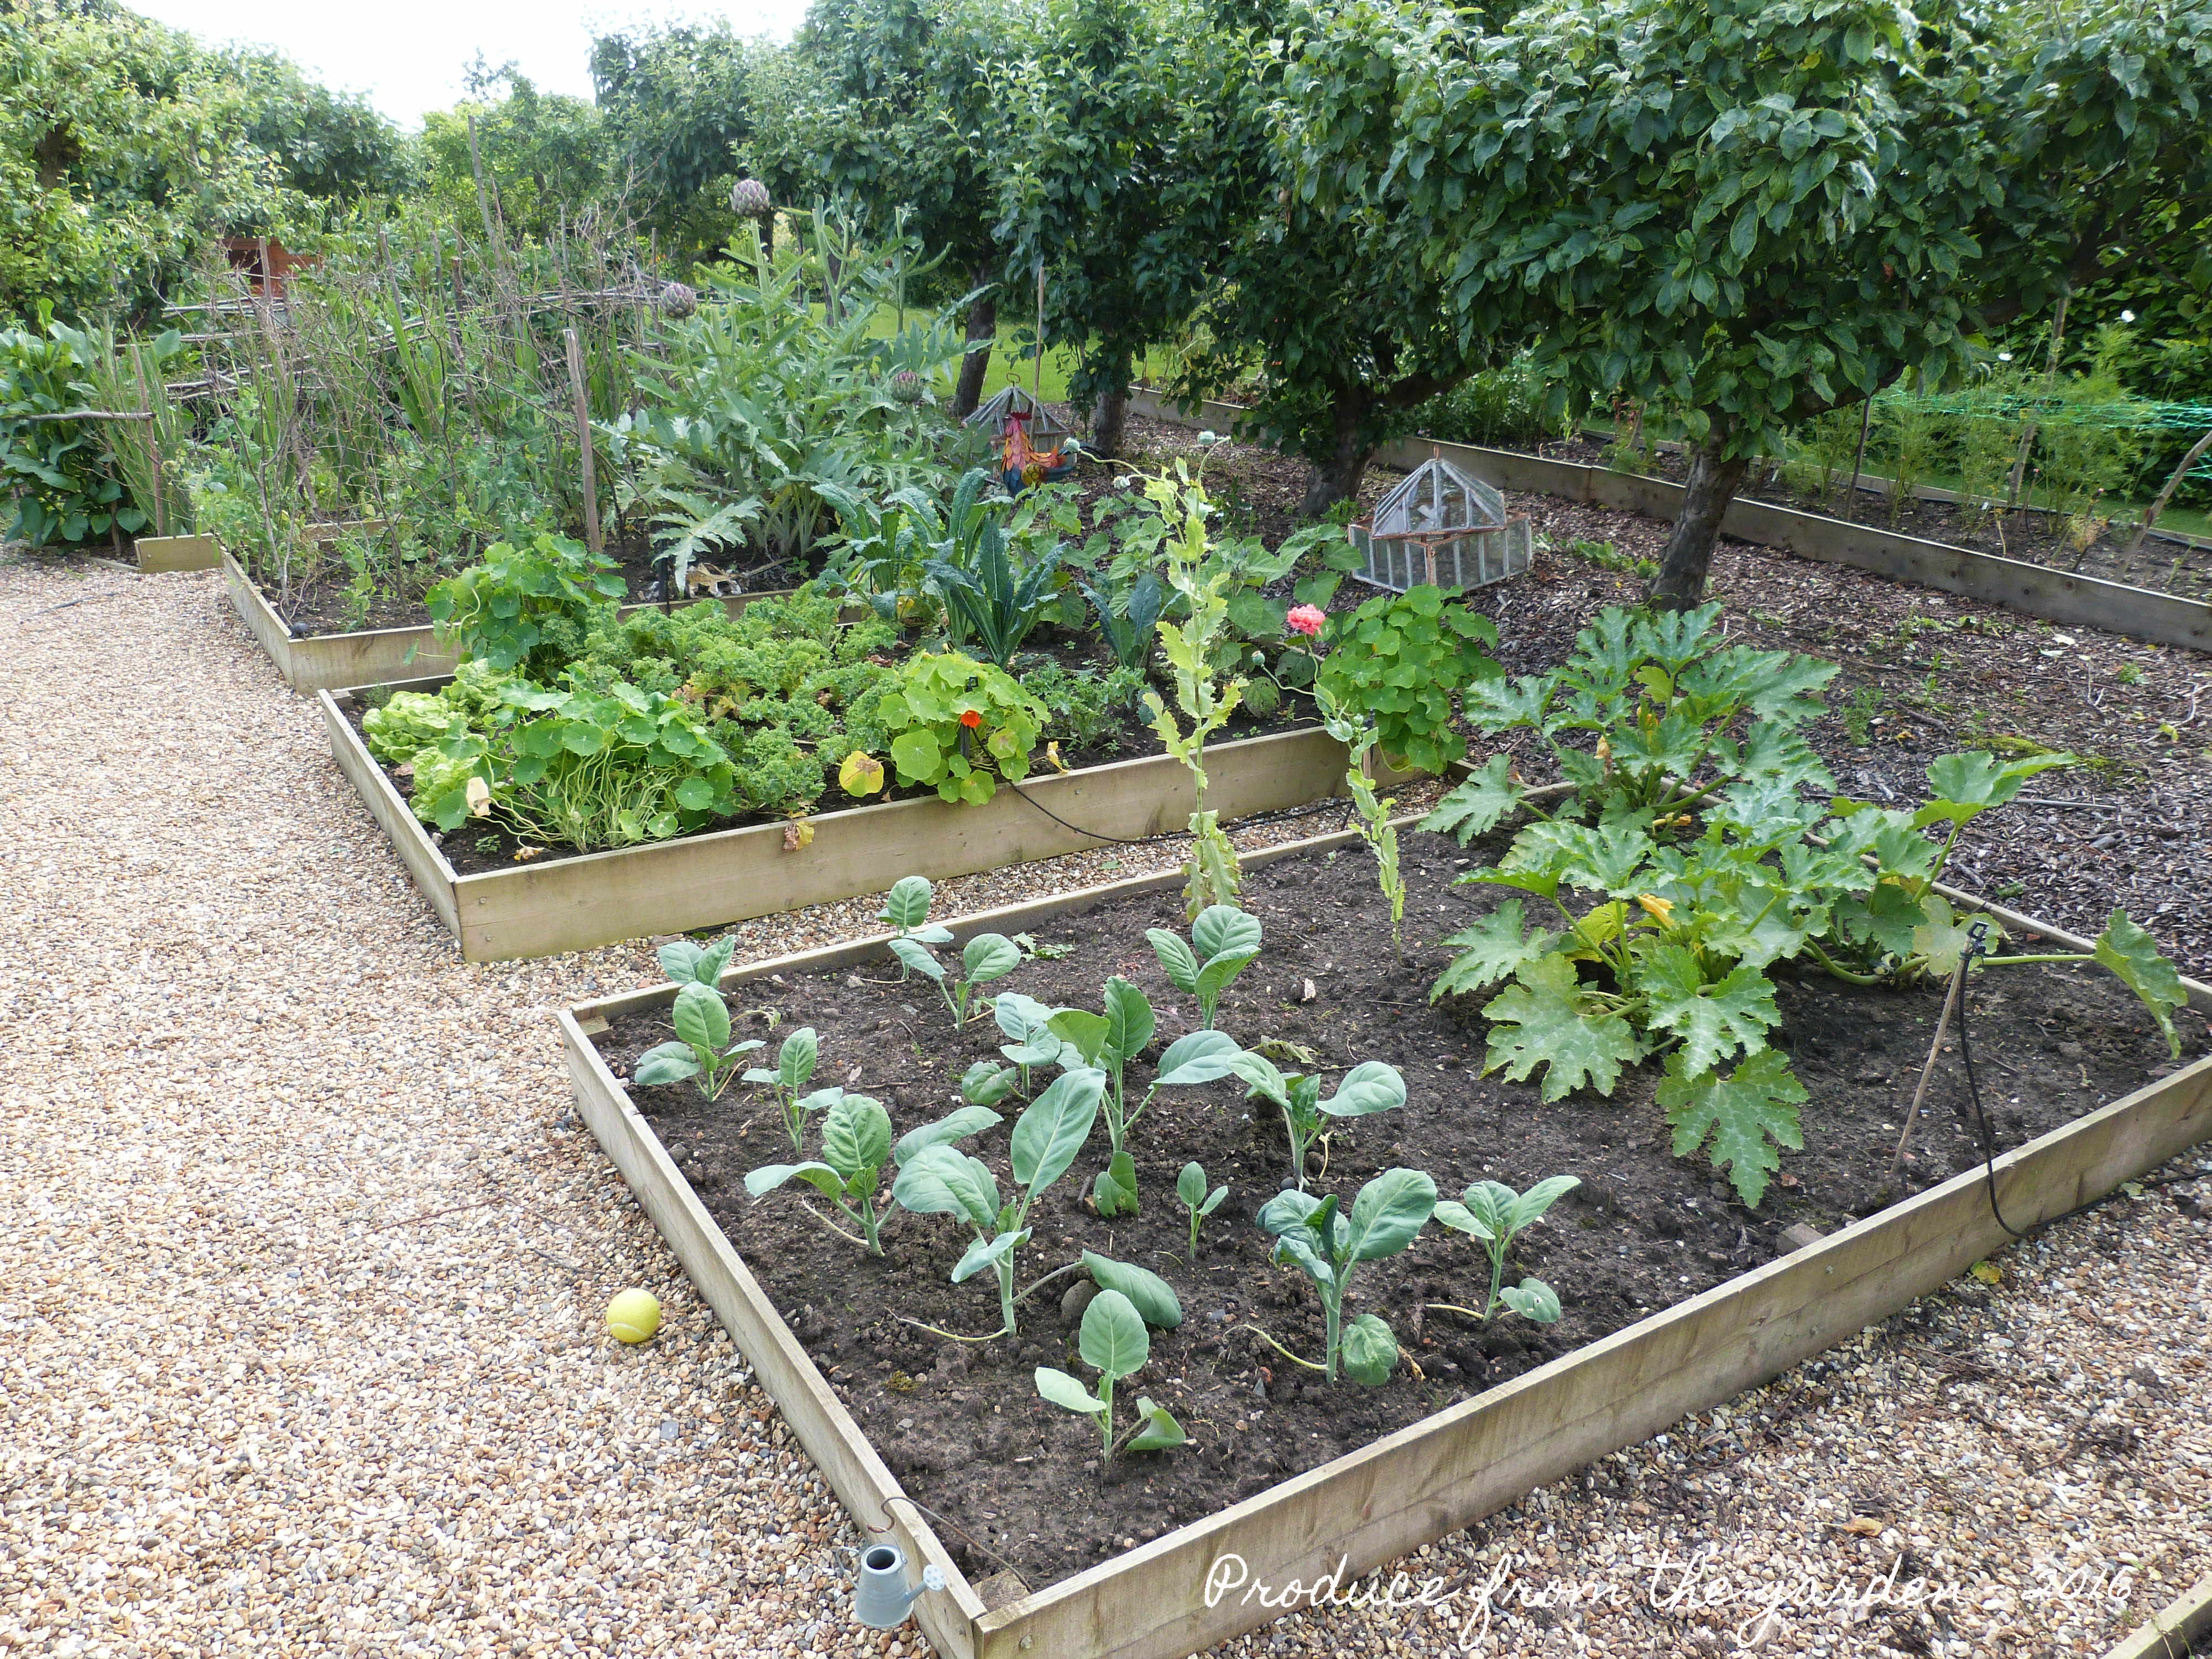
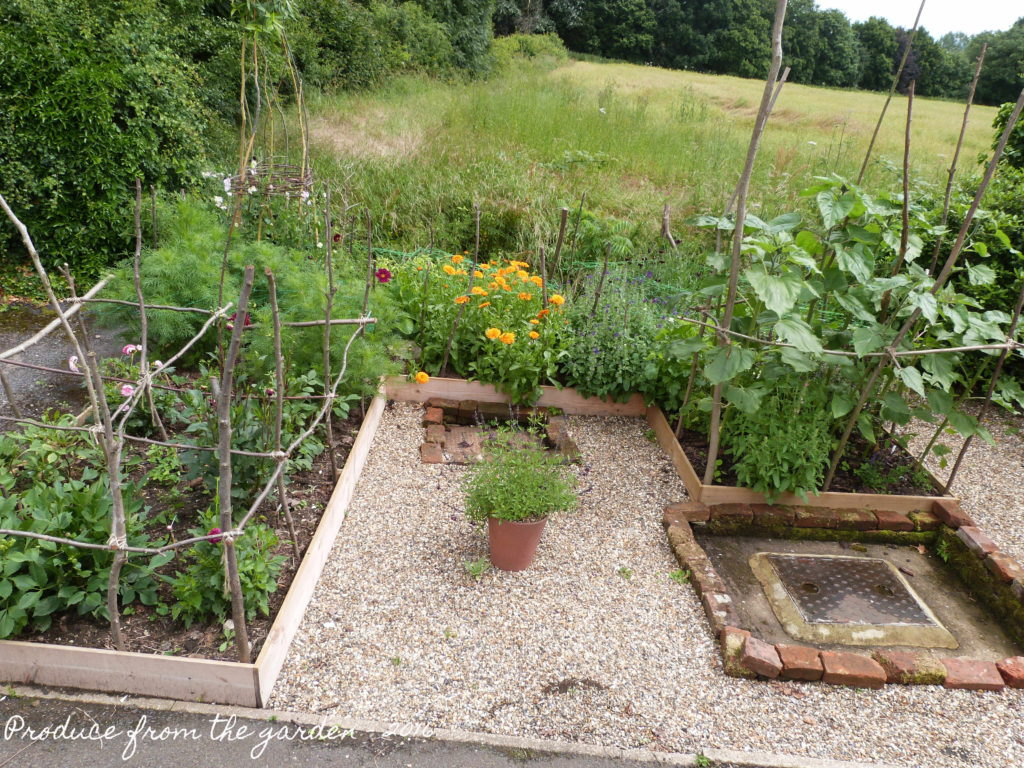
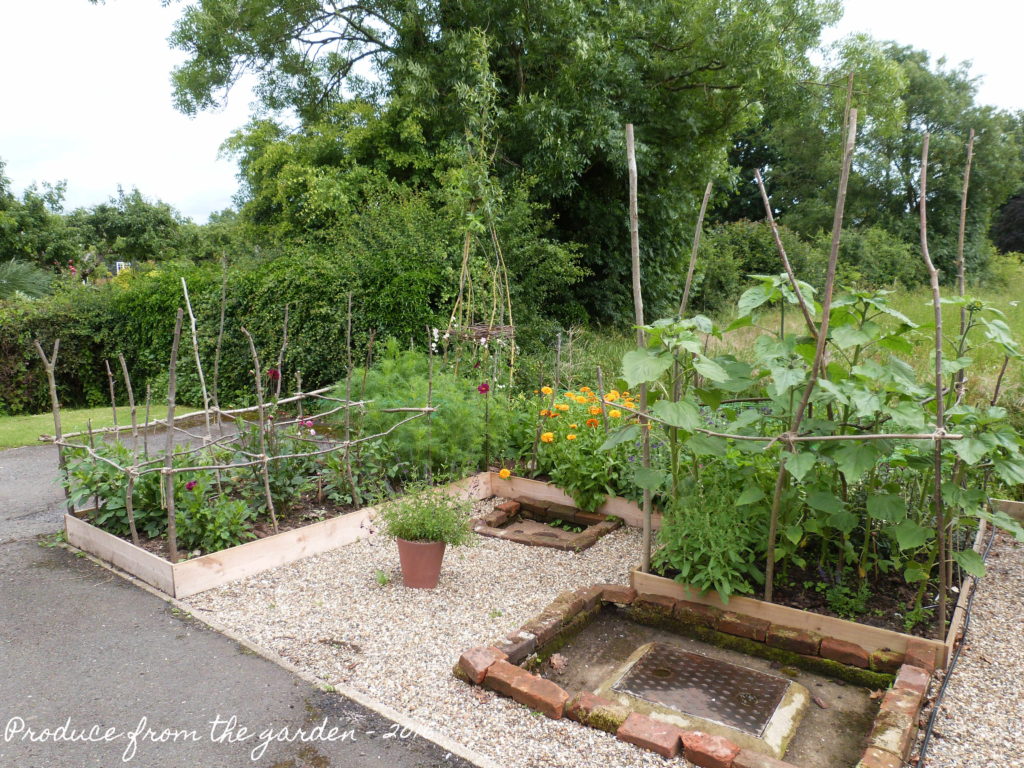
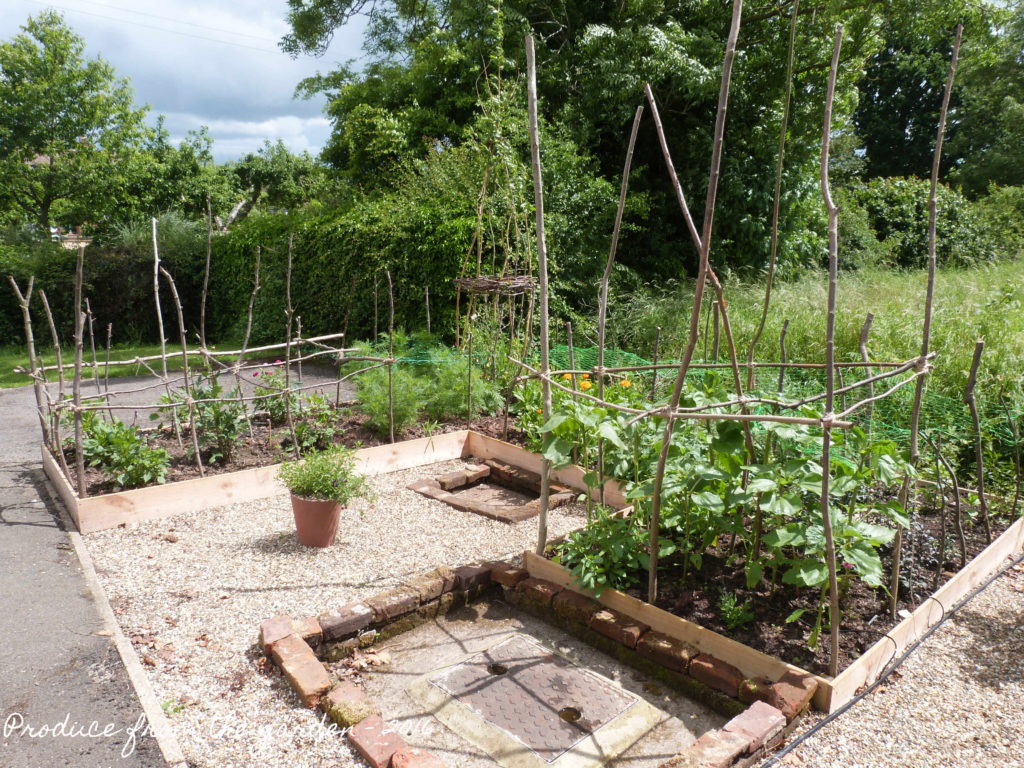
 Some of the Vegetable beds at the start of July
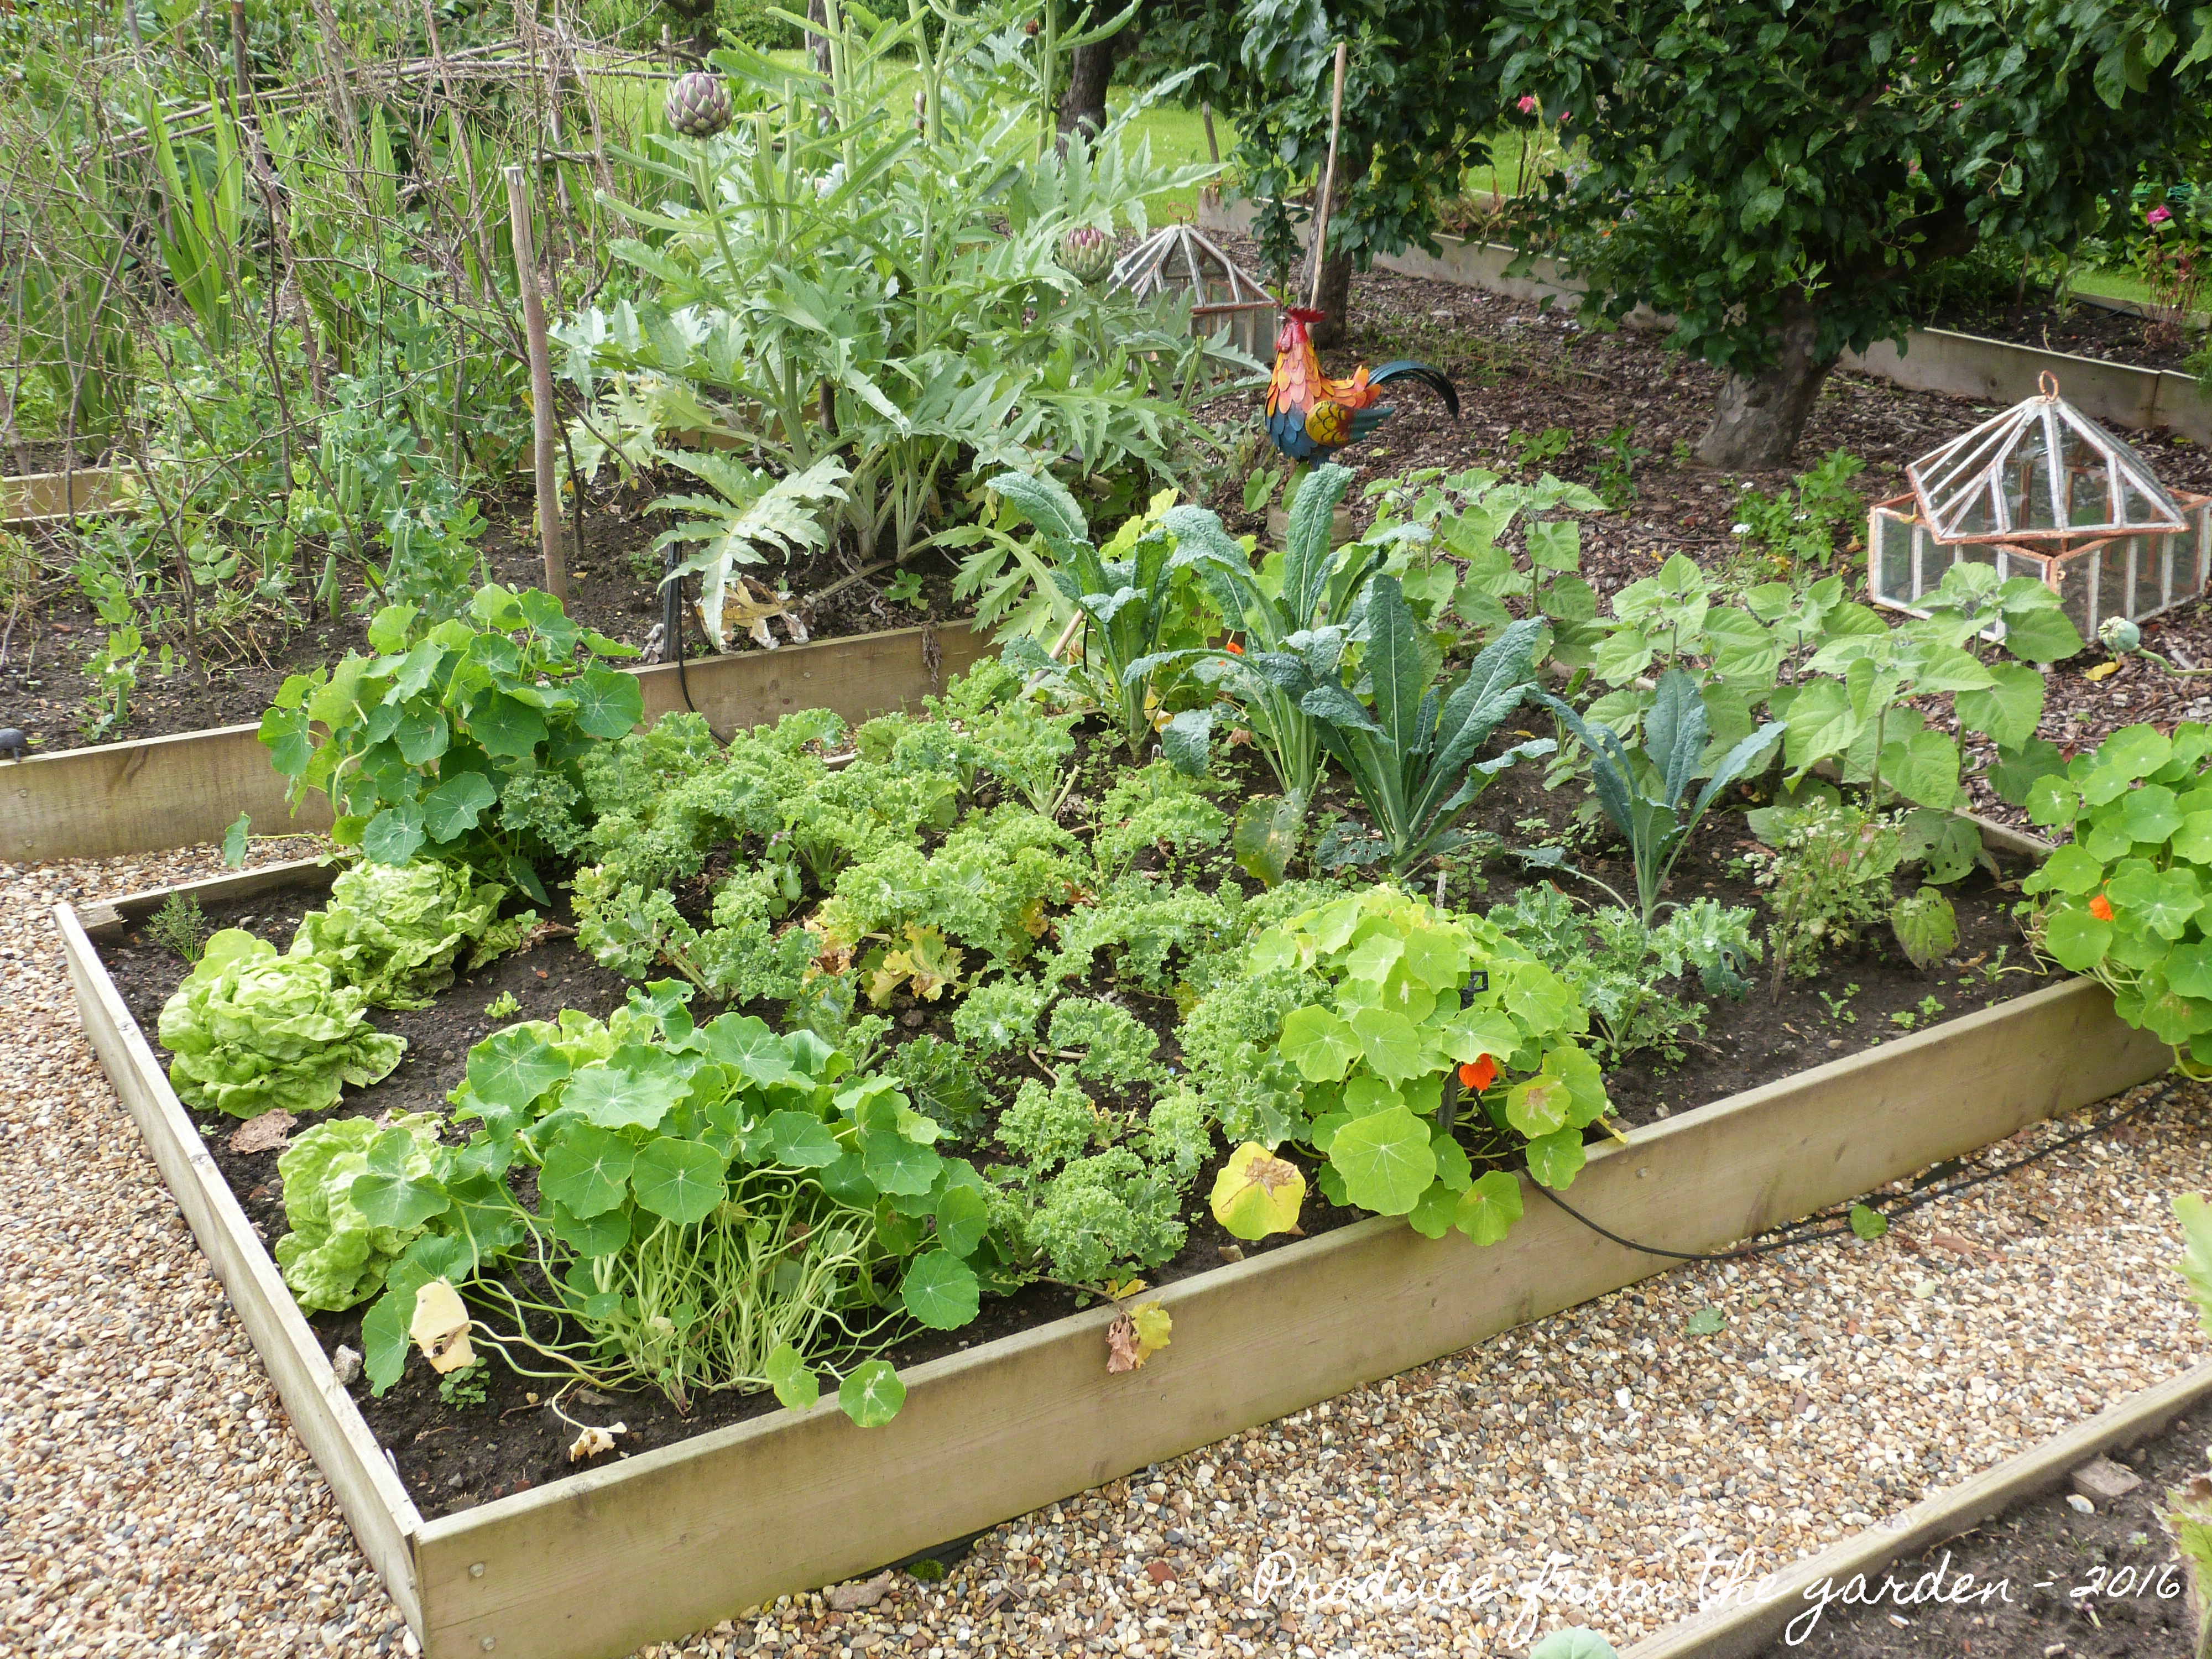
 A mixed vegetable bed of Kale and Cape Gooseberries, the Nasturtium are a sacrificial planting for the cabbage white butterflies and their hungry caterpillars
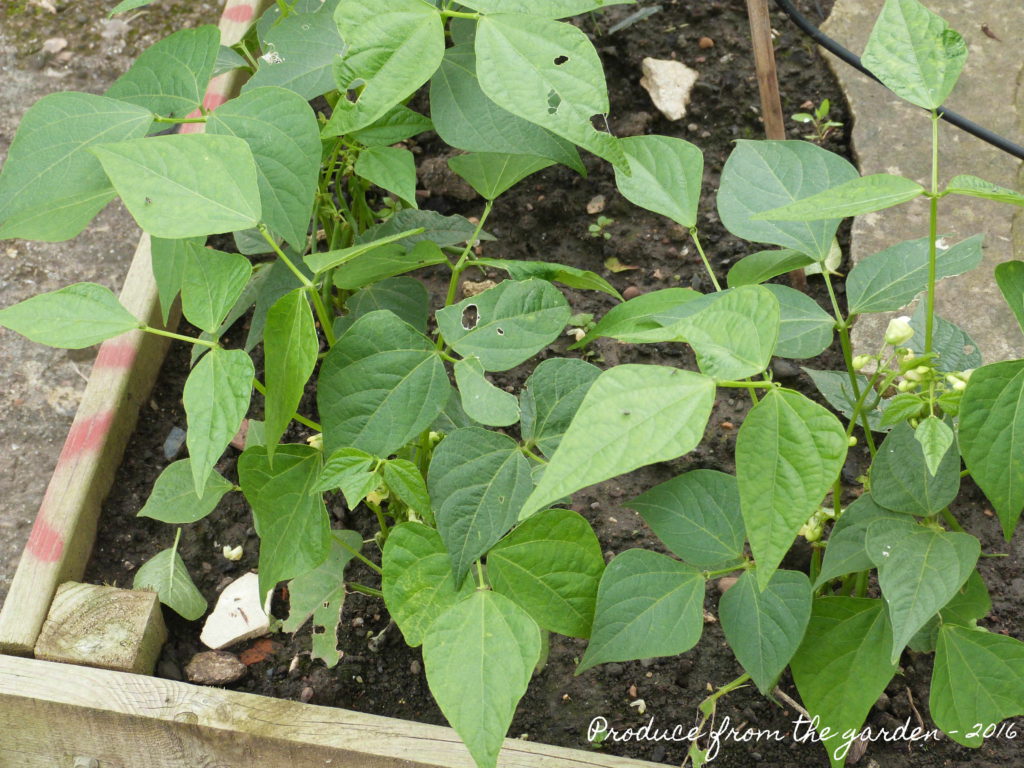 French Beans
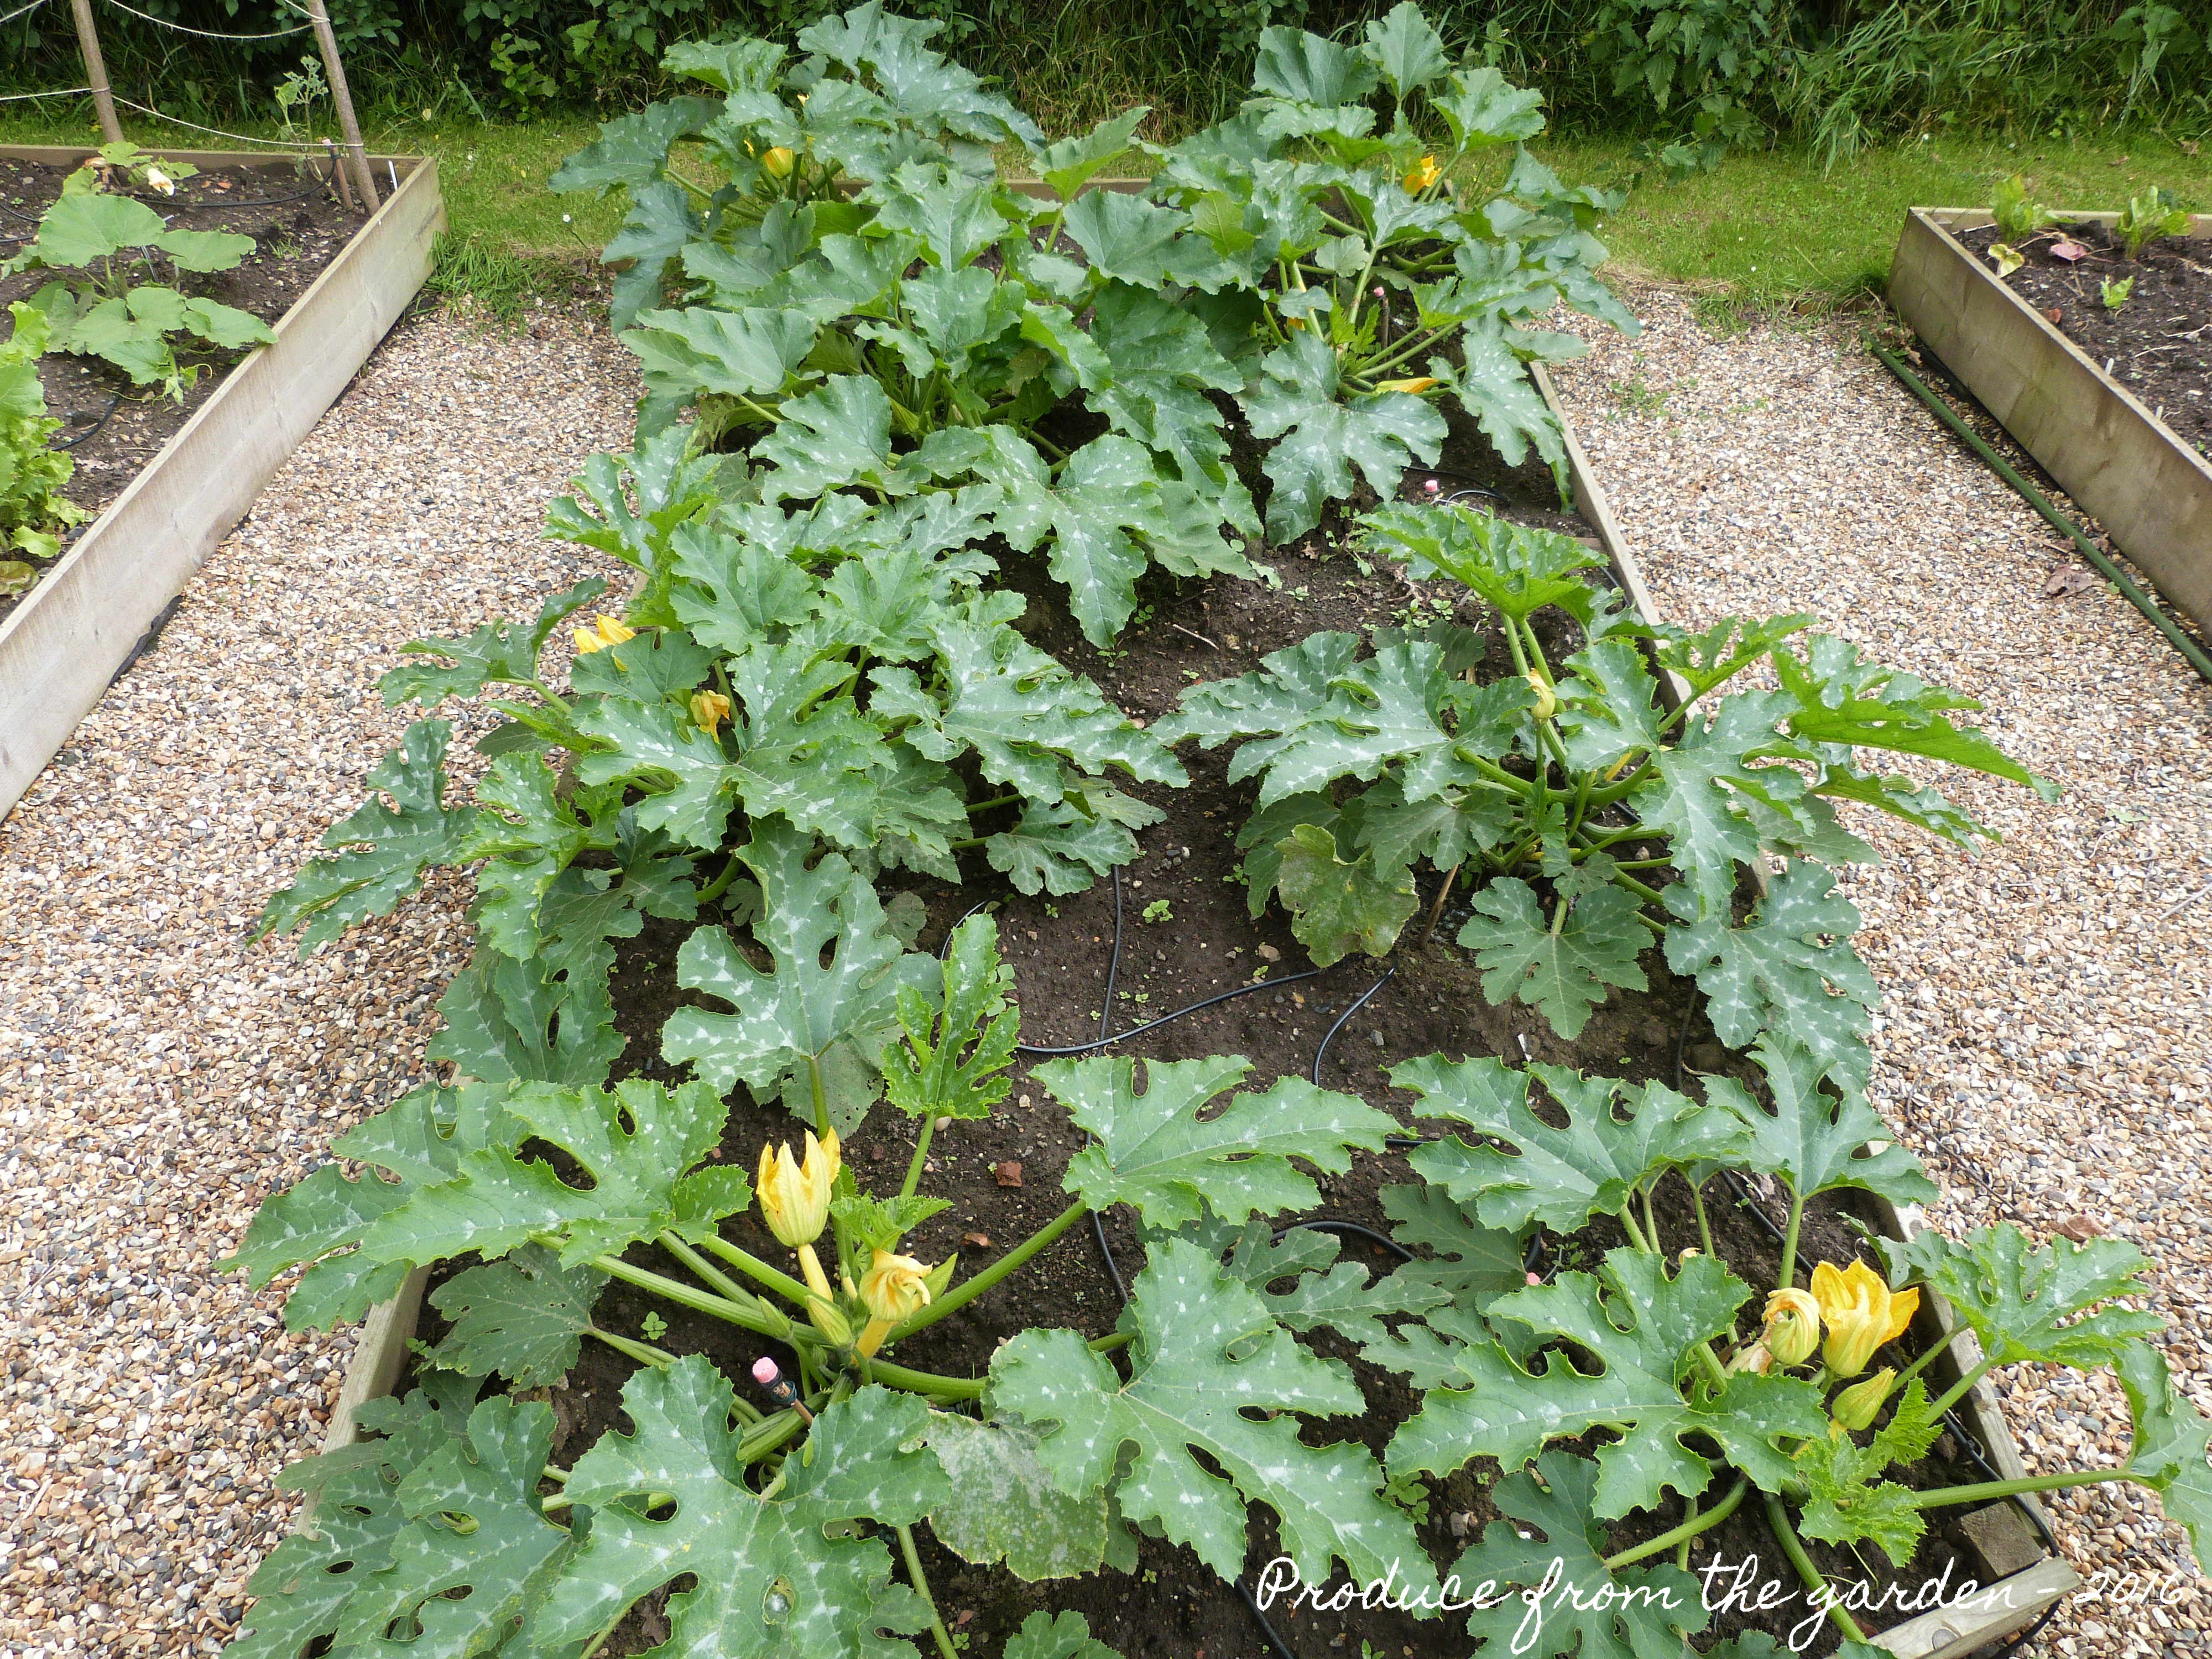
 The Courgette bed making a recovery frm the slugs
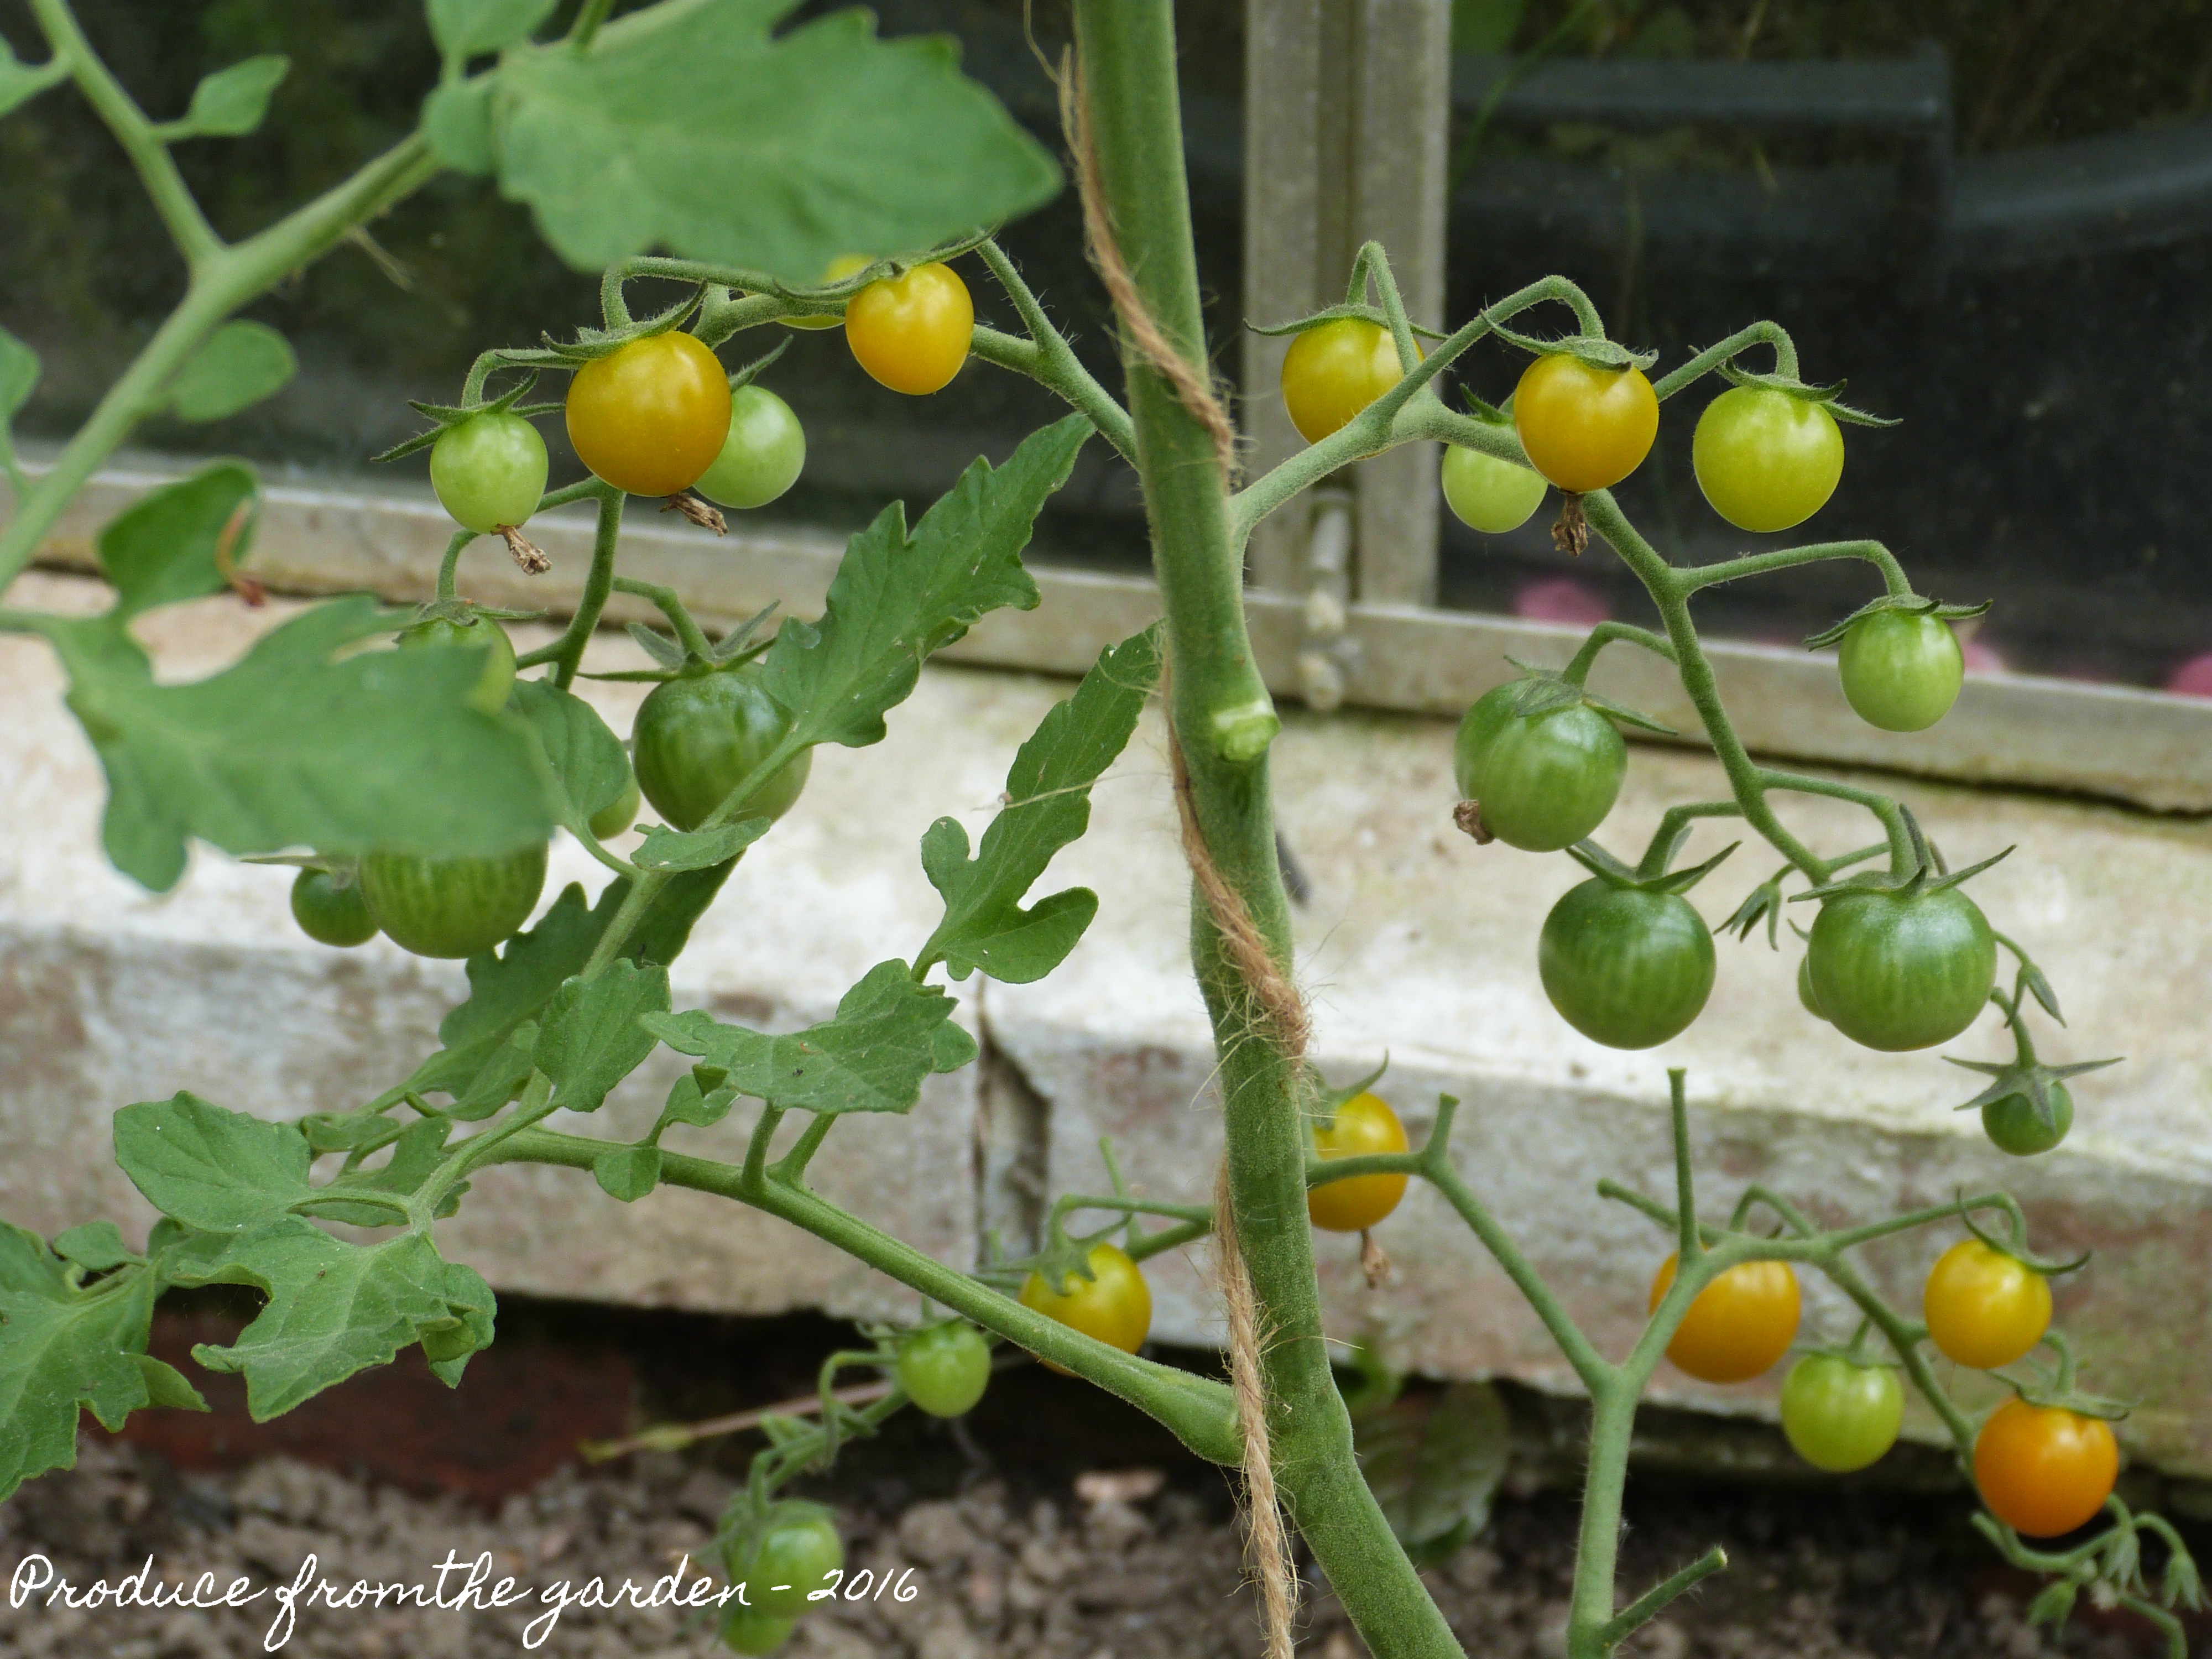
 Tomato Sungold
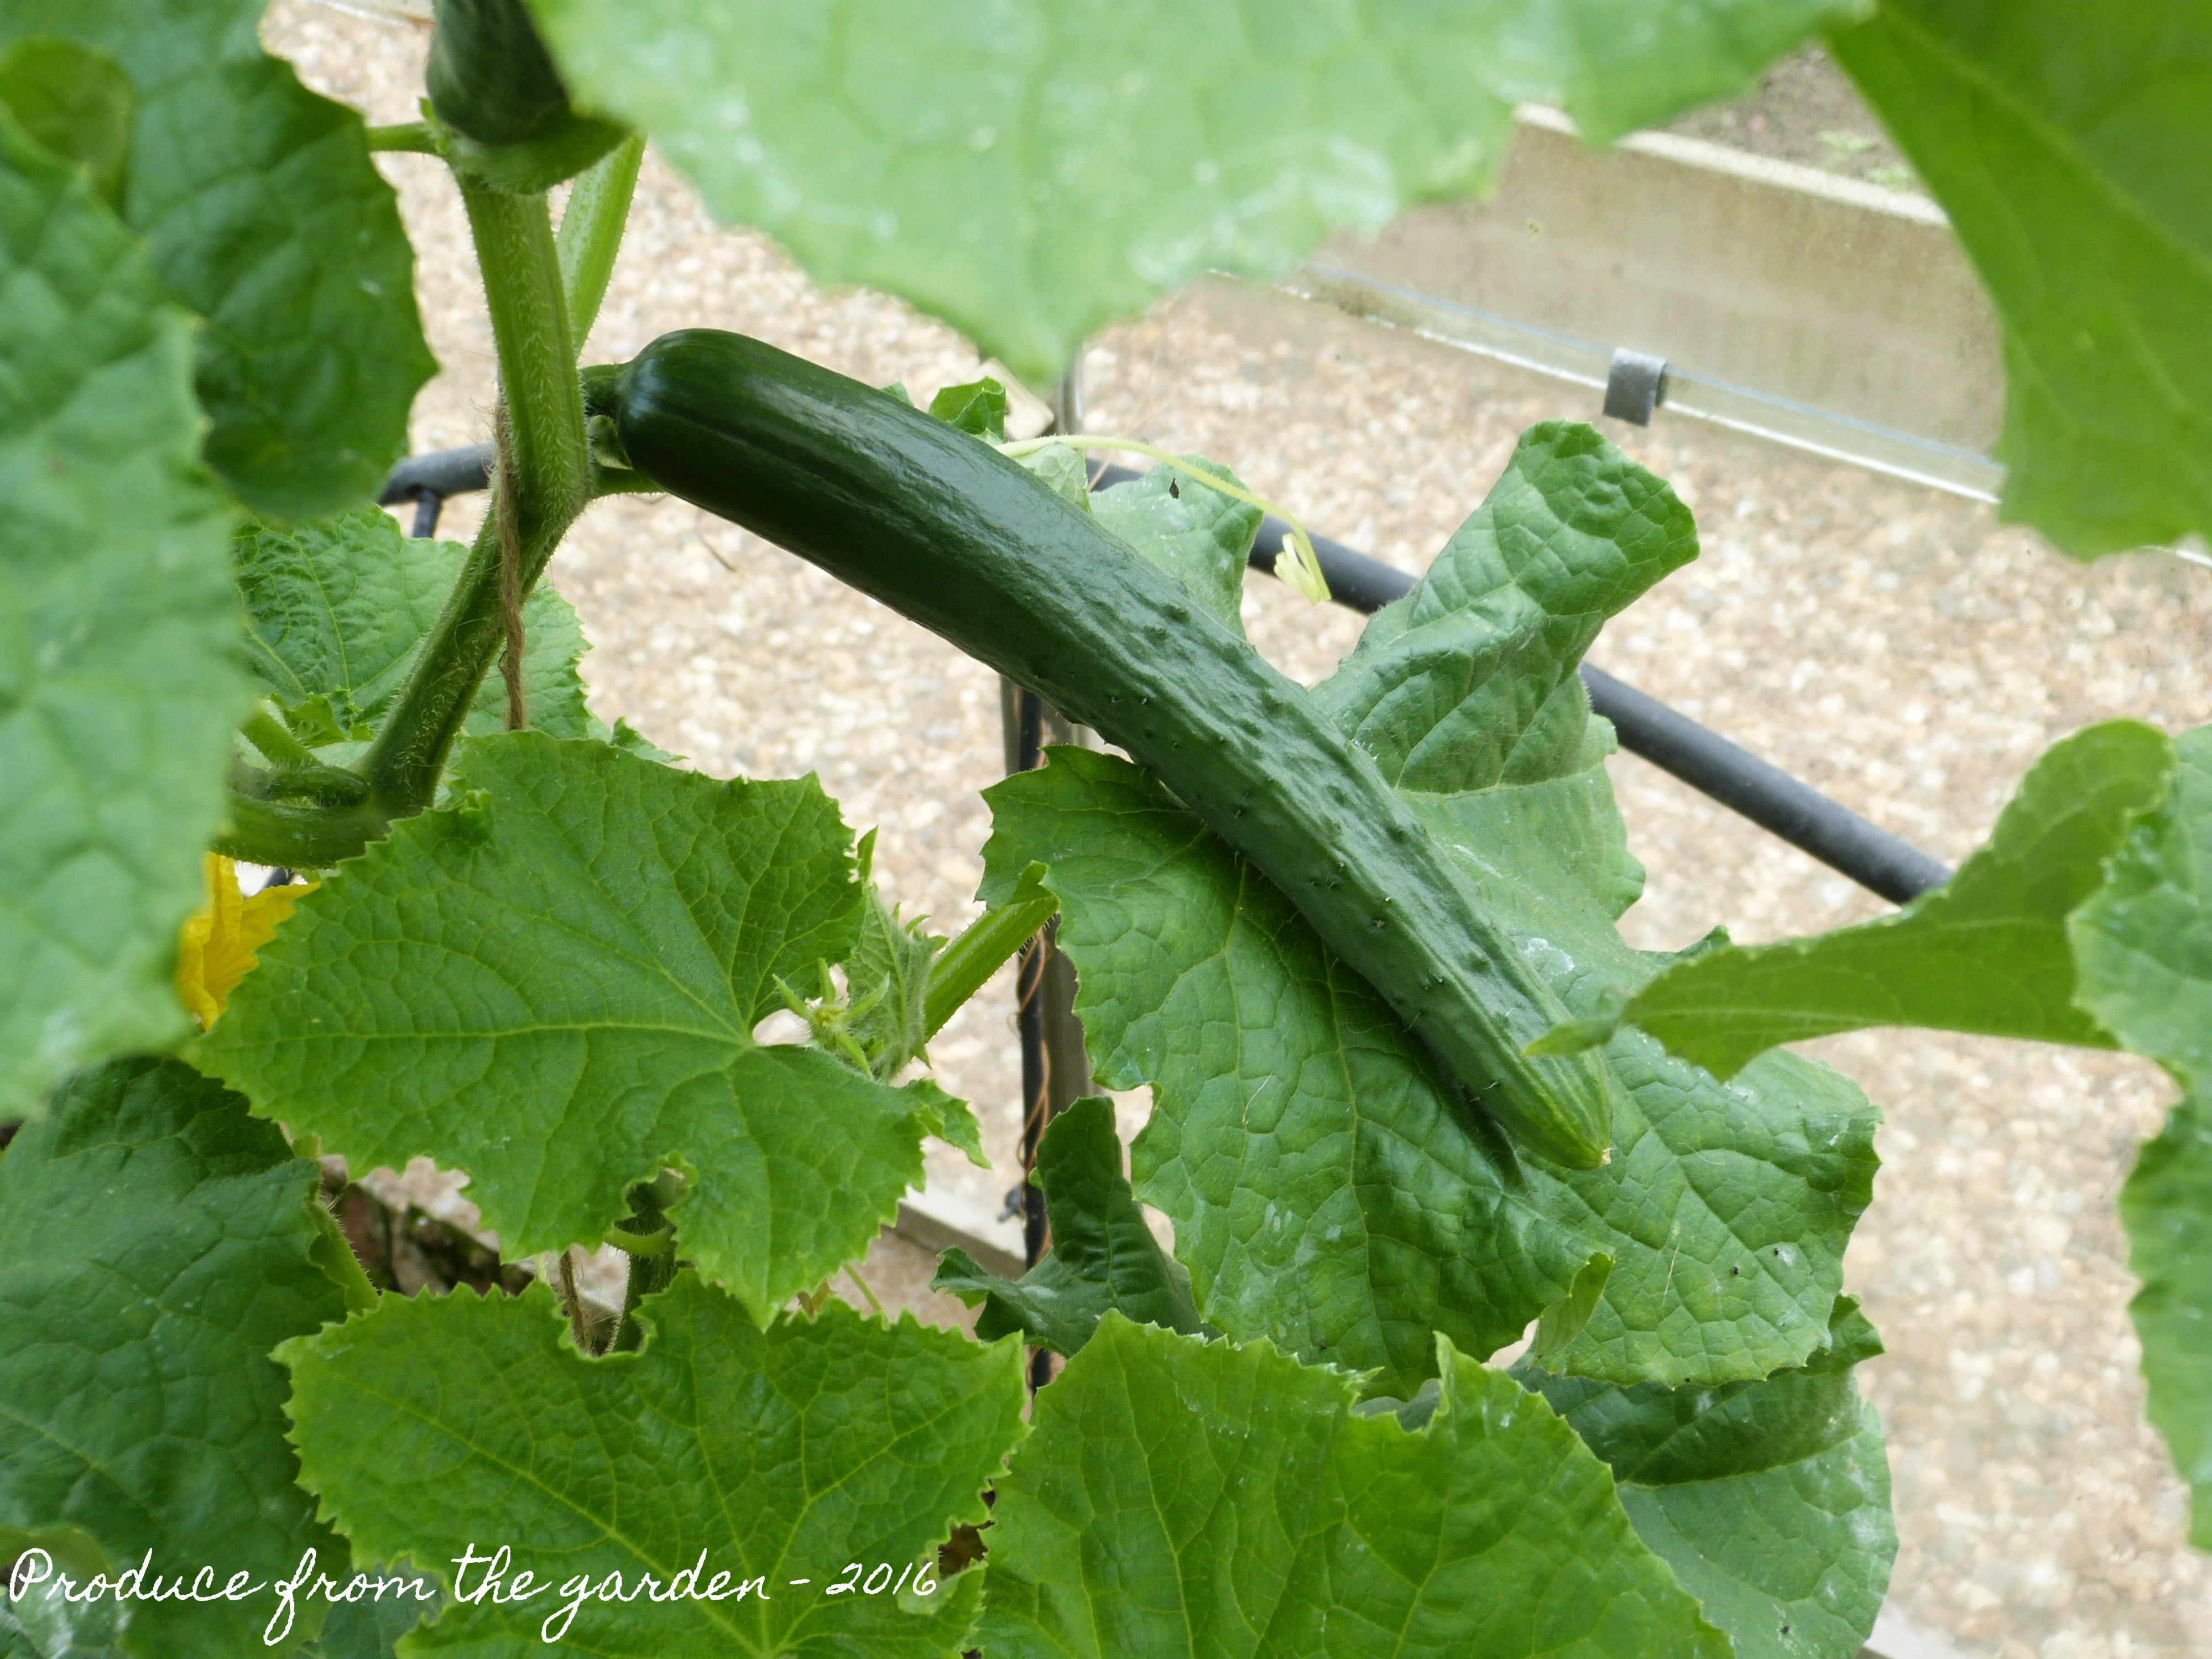
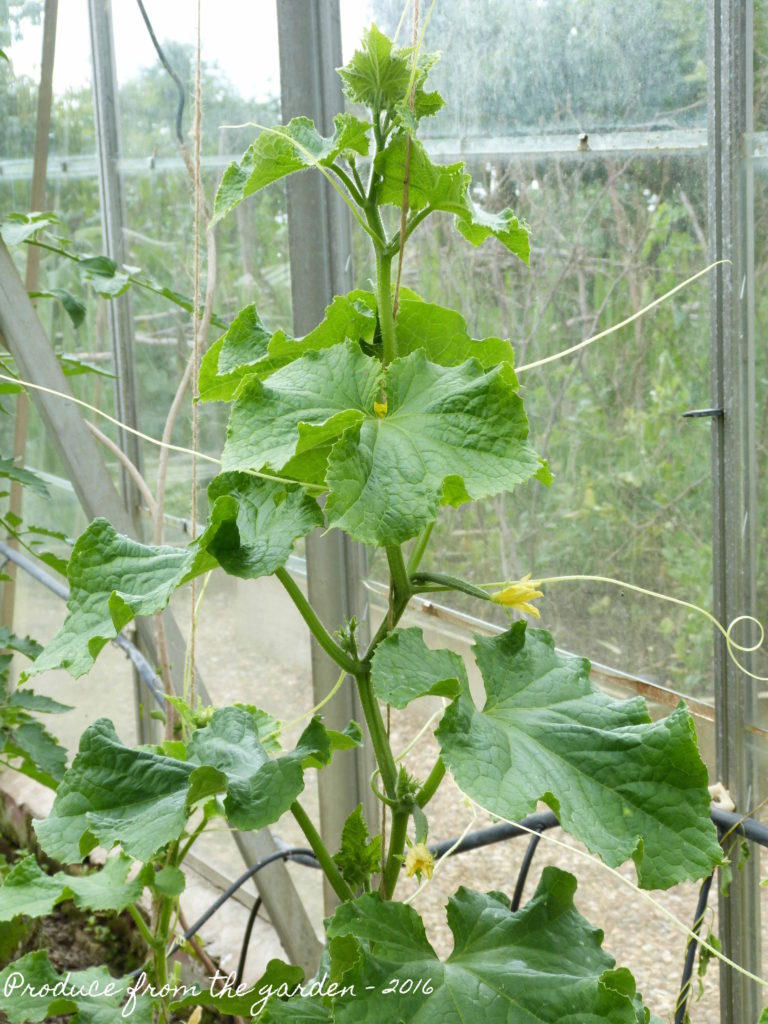 Cucumber – Burpless
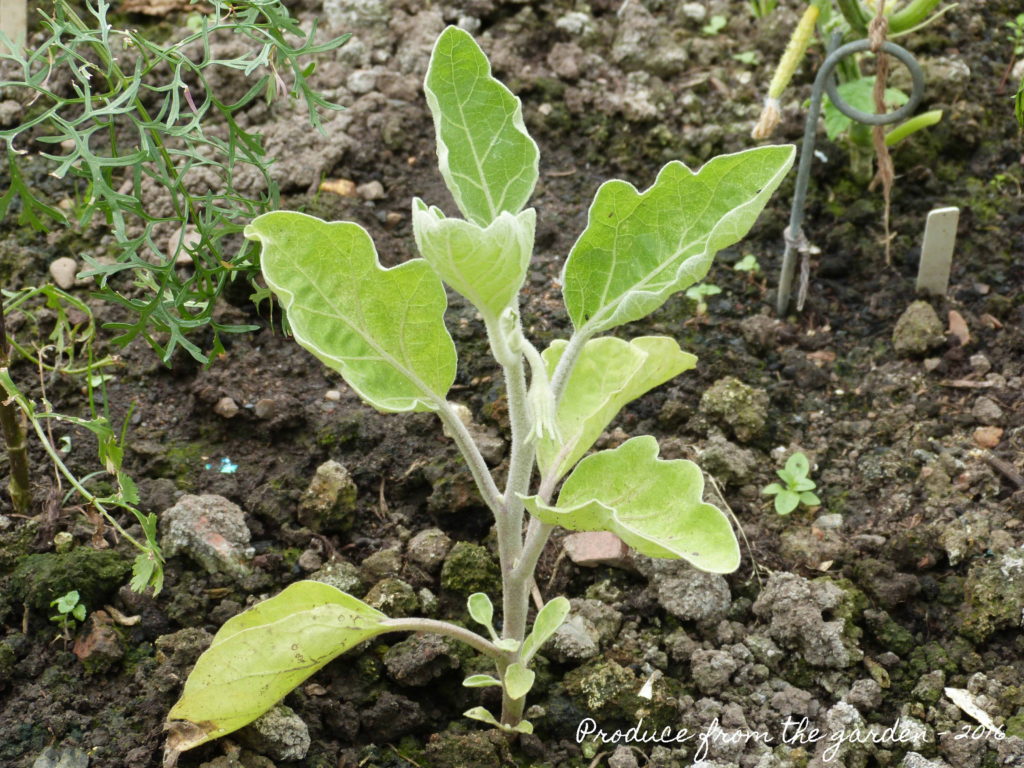 My best looking Aubergine plant. I never manage to grow successful Aubergine, maybe it’s time to accept defeat!
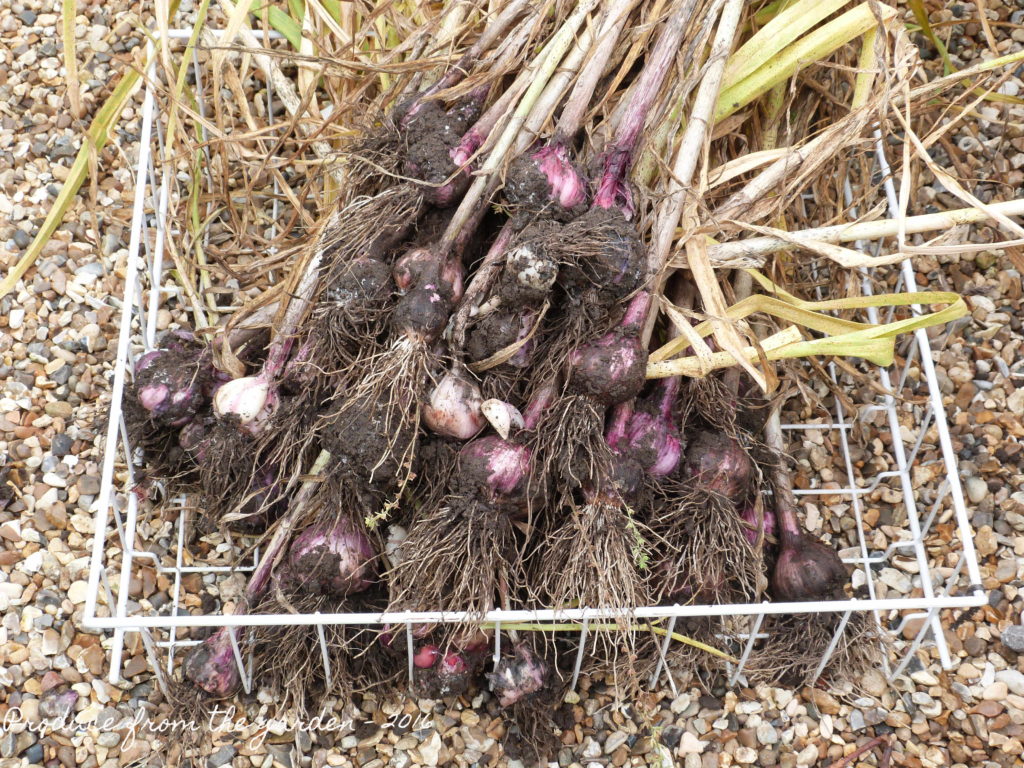 The garlic harvest, ready to be dried out in the conservatory before storing in a cool dark place
There is definite hope for the kitchen garden, bumper crops will be on their way, it’s just been a tricky start to year and I do miss my salad leaves.
Save
Save
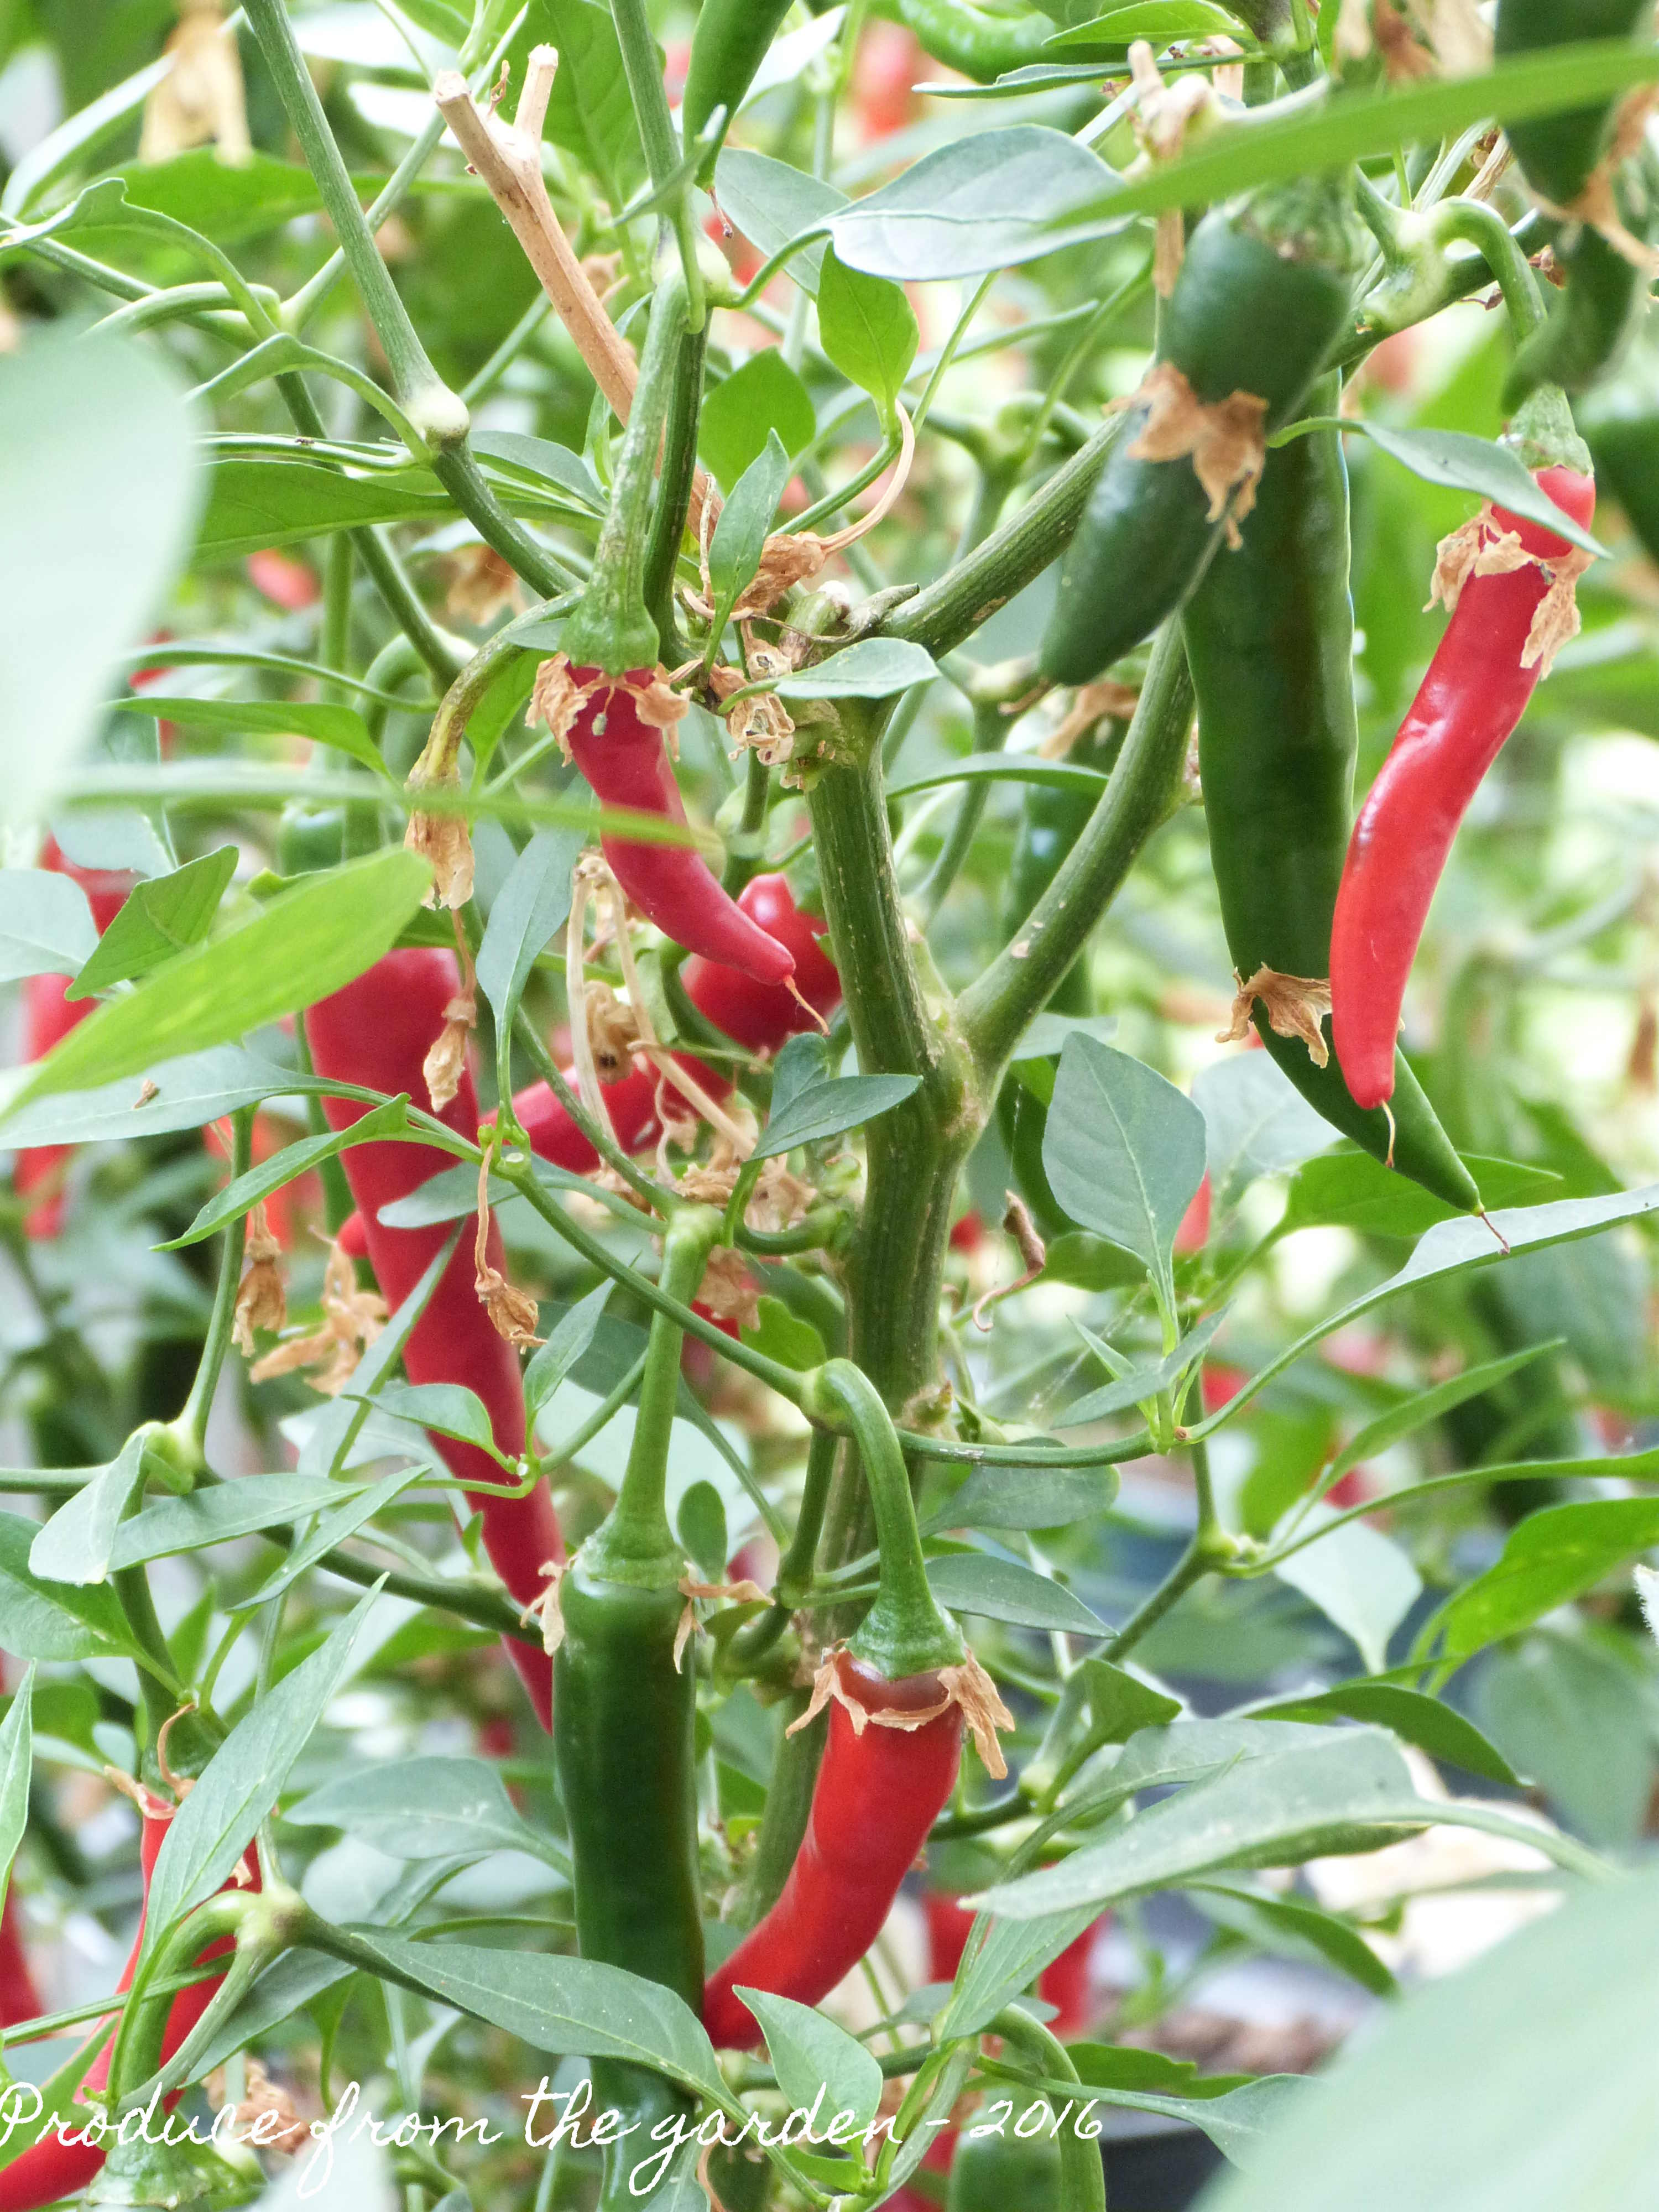
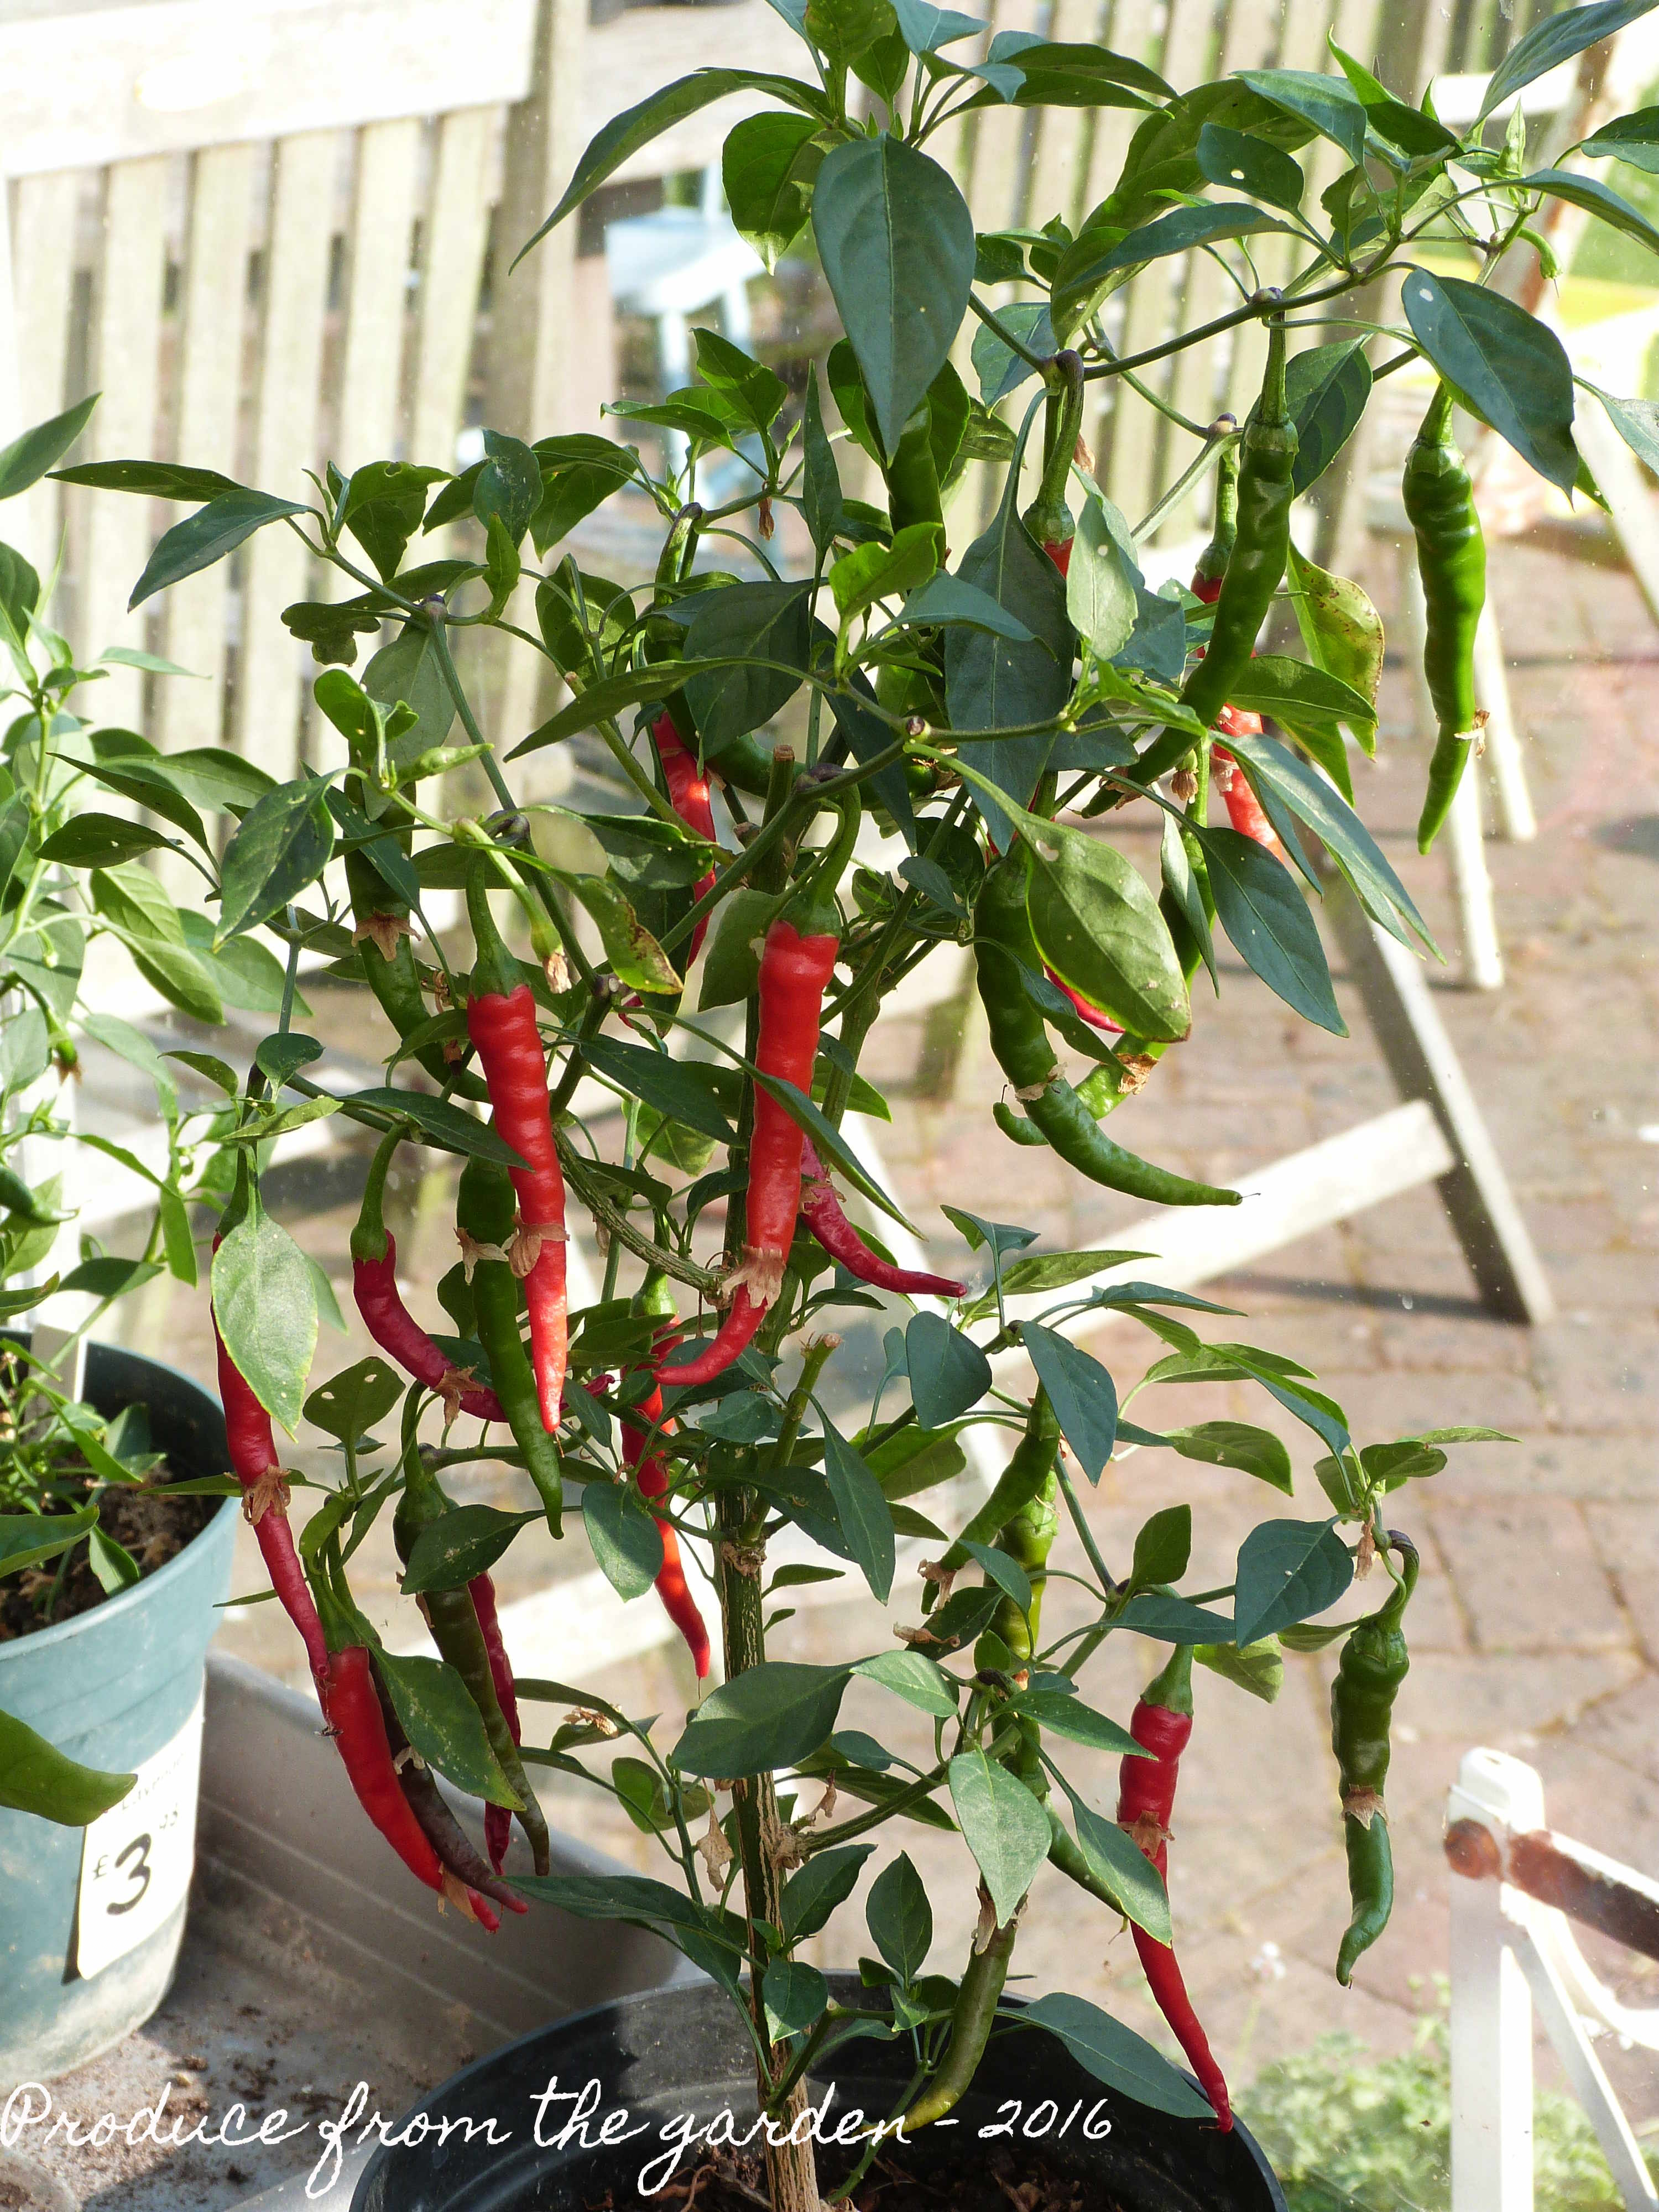 Chilli ‘Ring of Fire’ in its second year
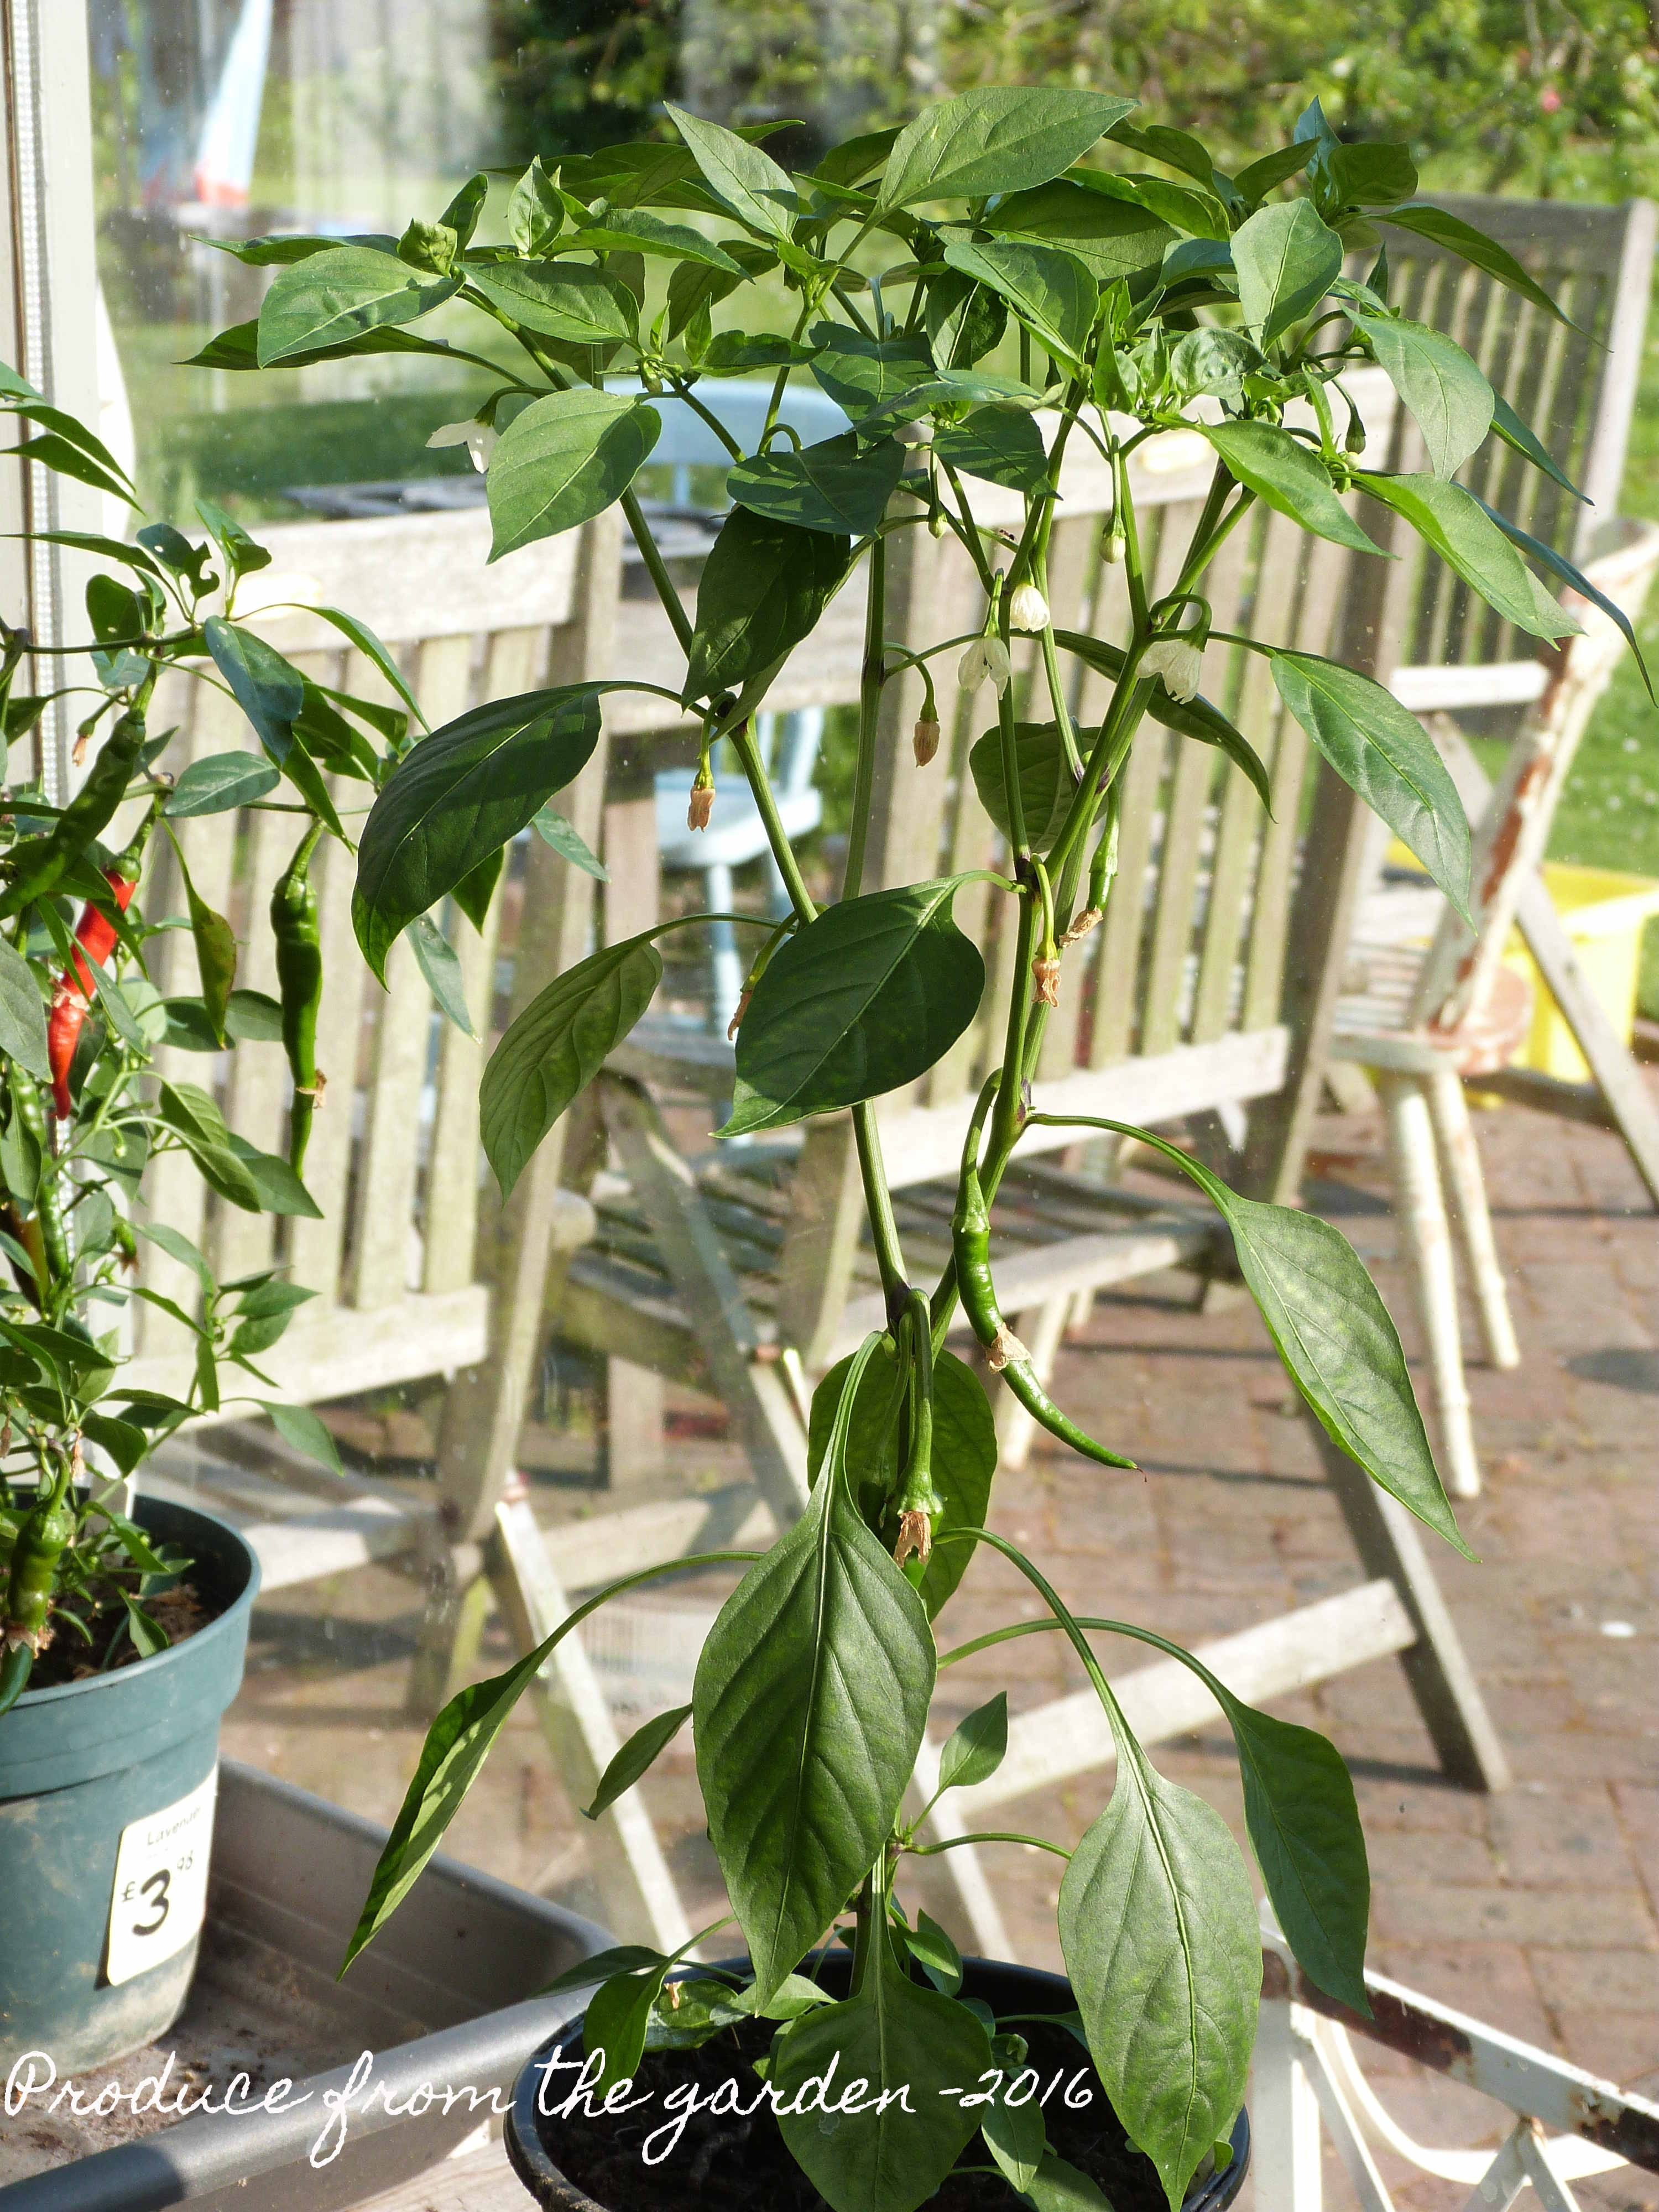 Chilli ‘Ring of Fire’ in its first year
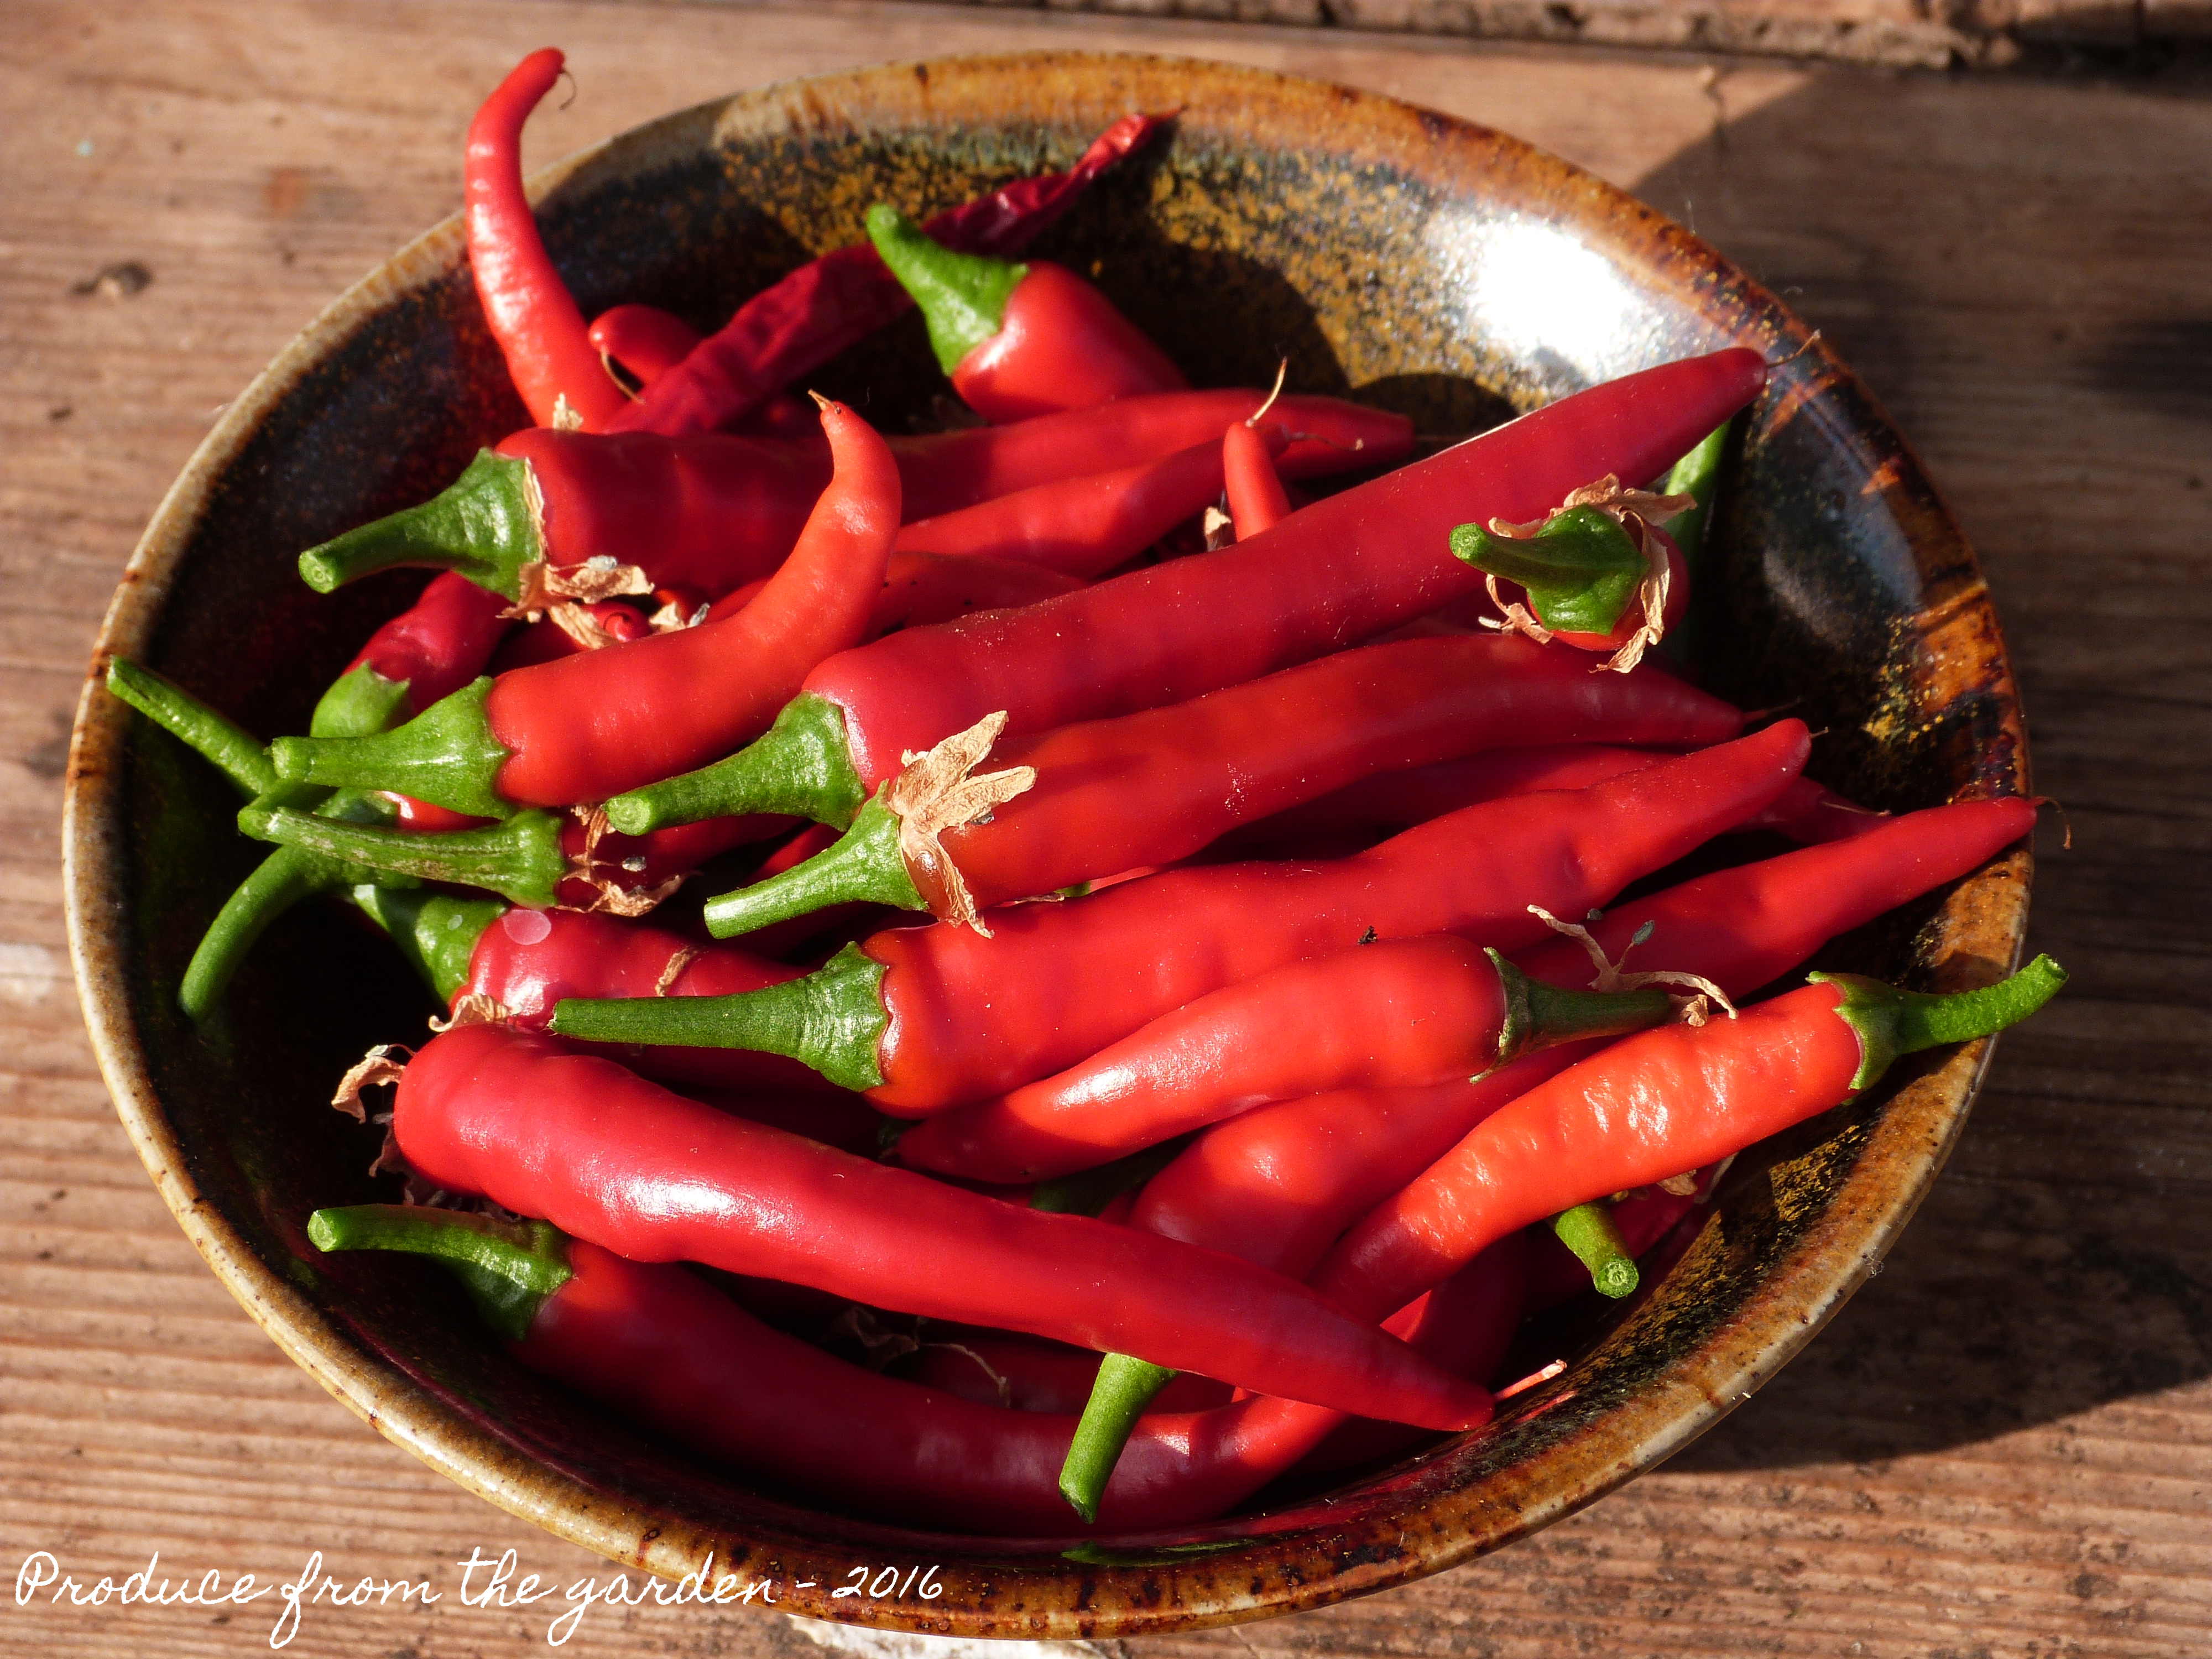 Todays Chilli harvest