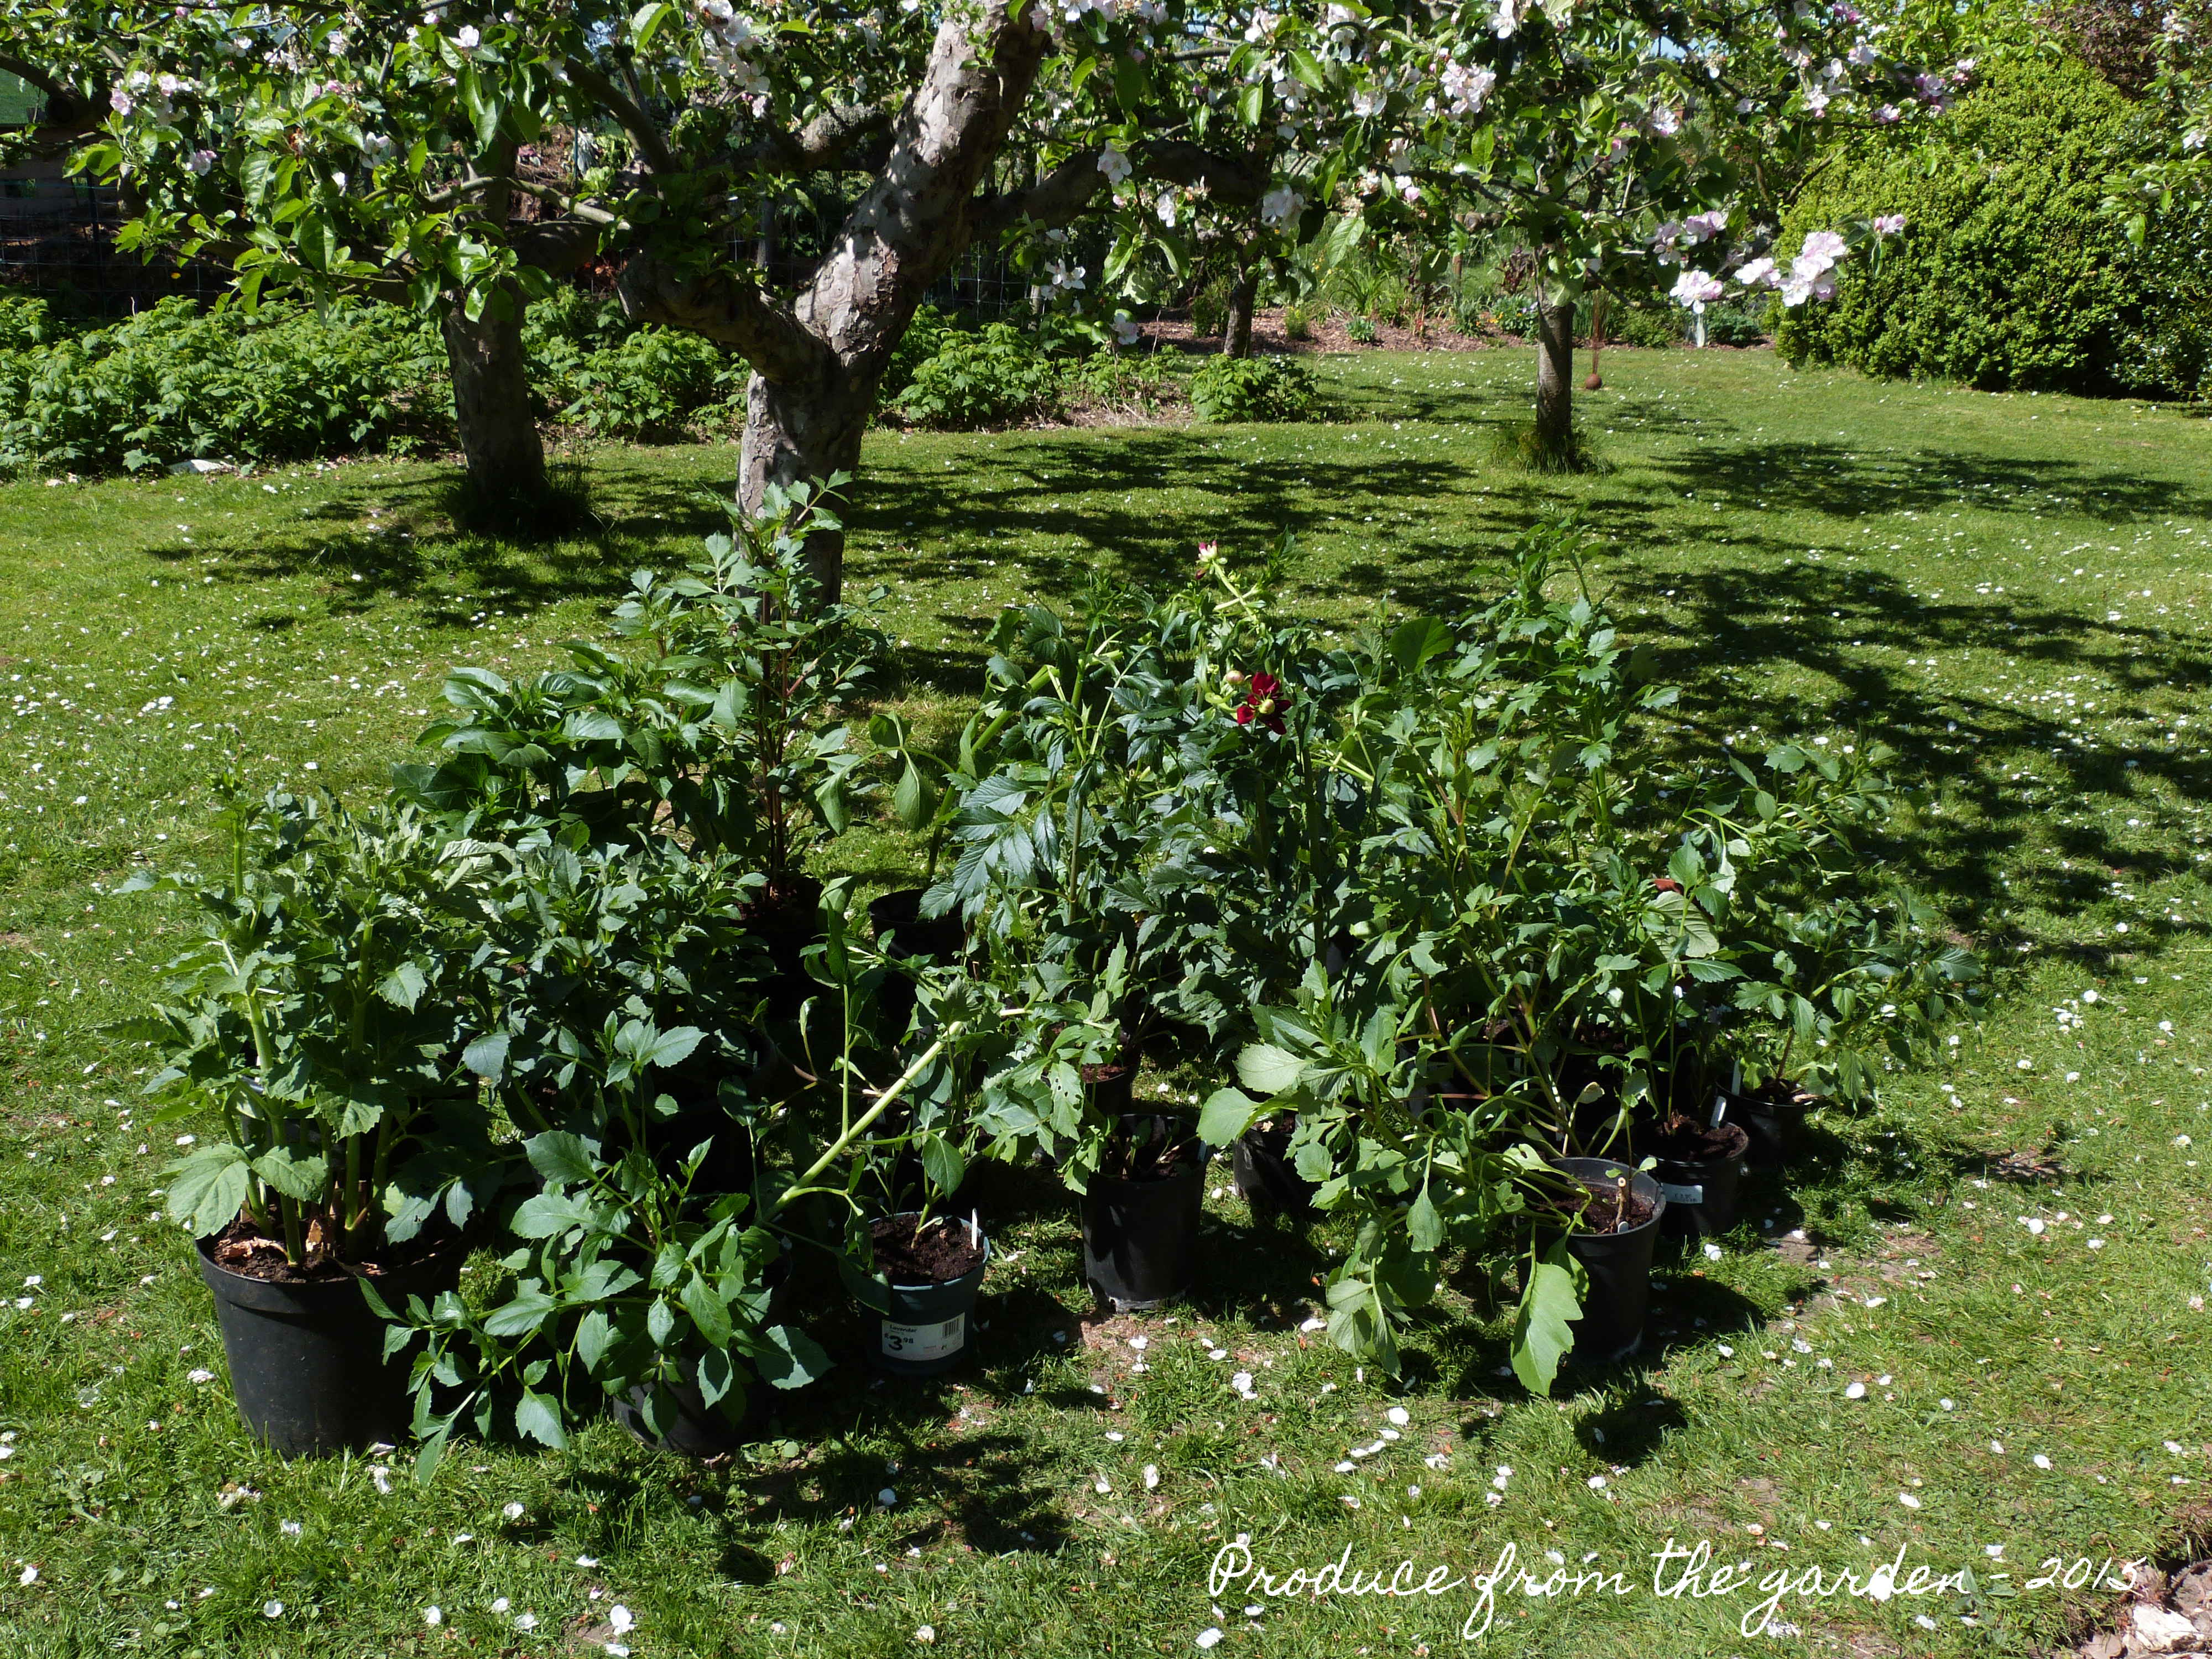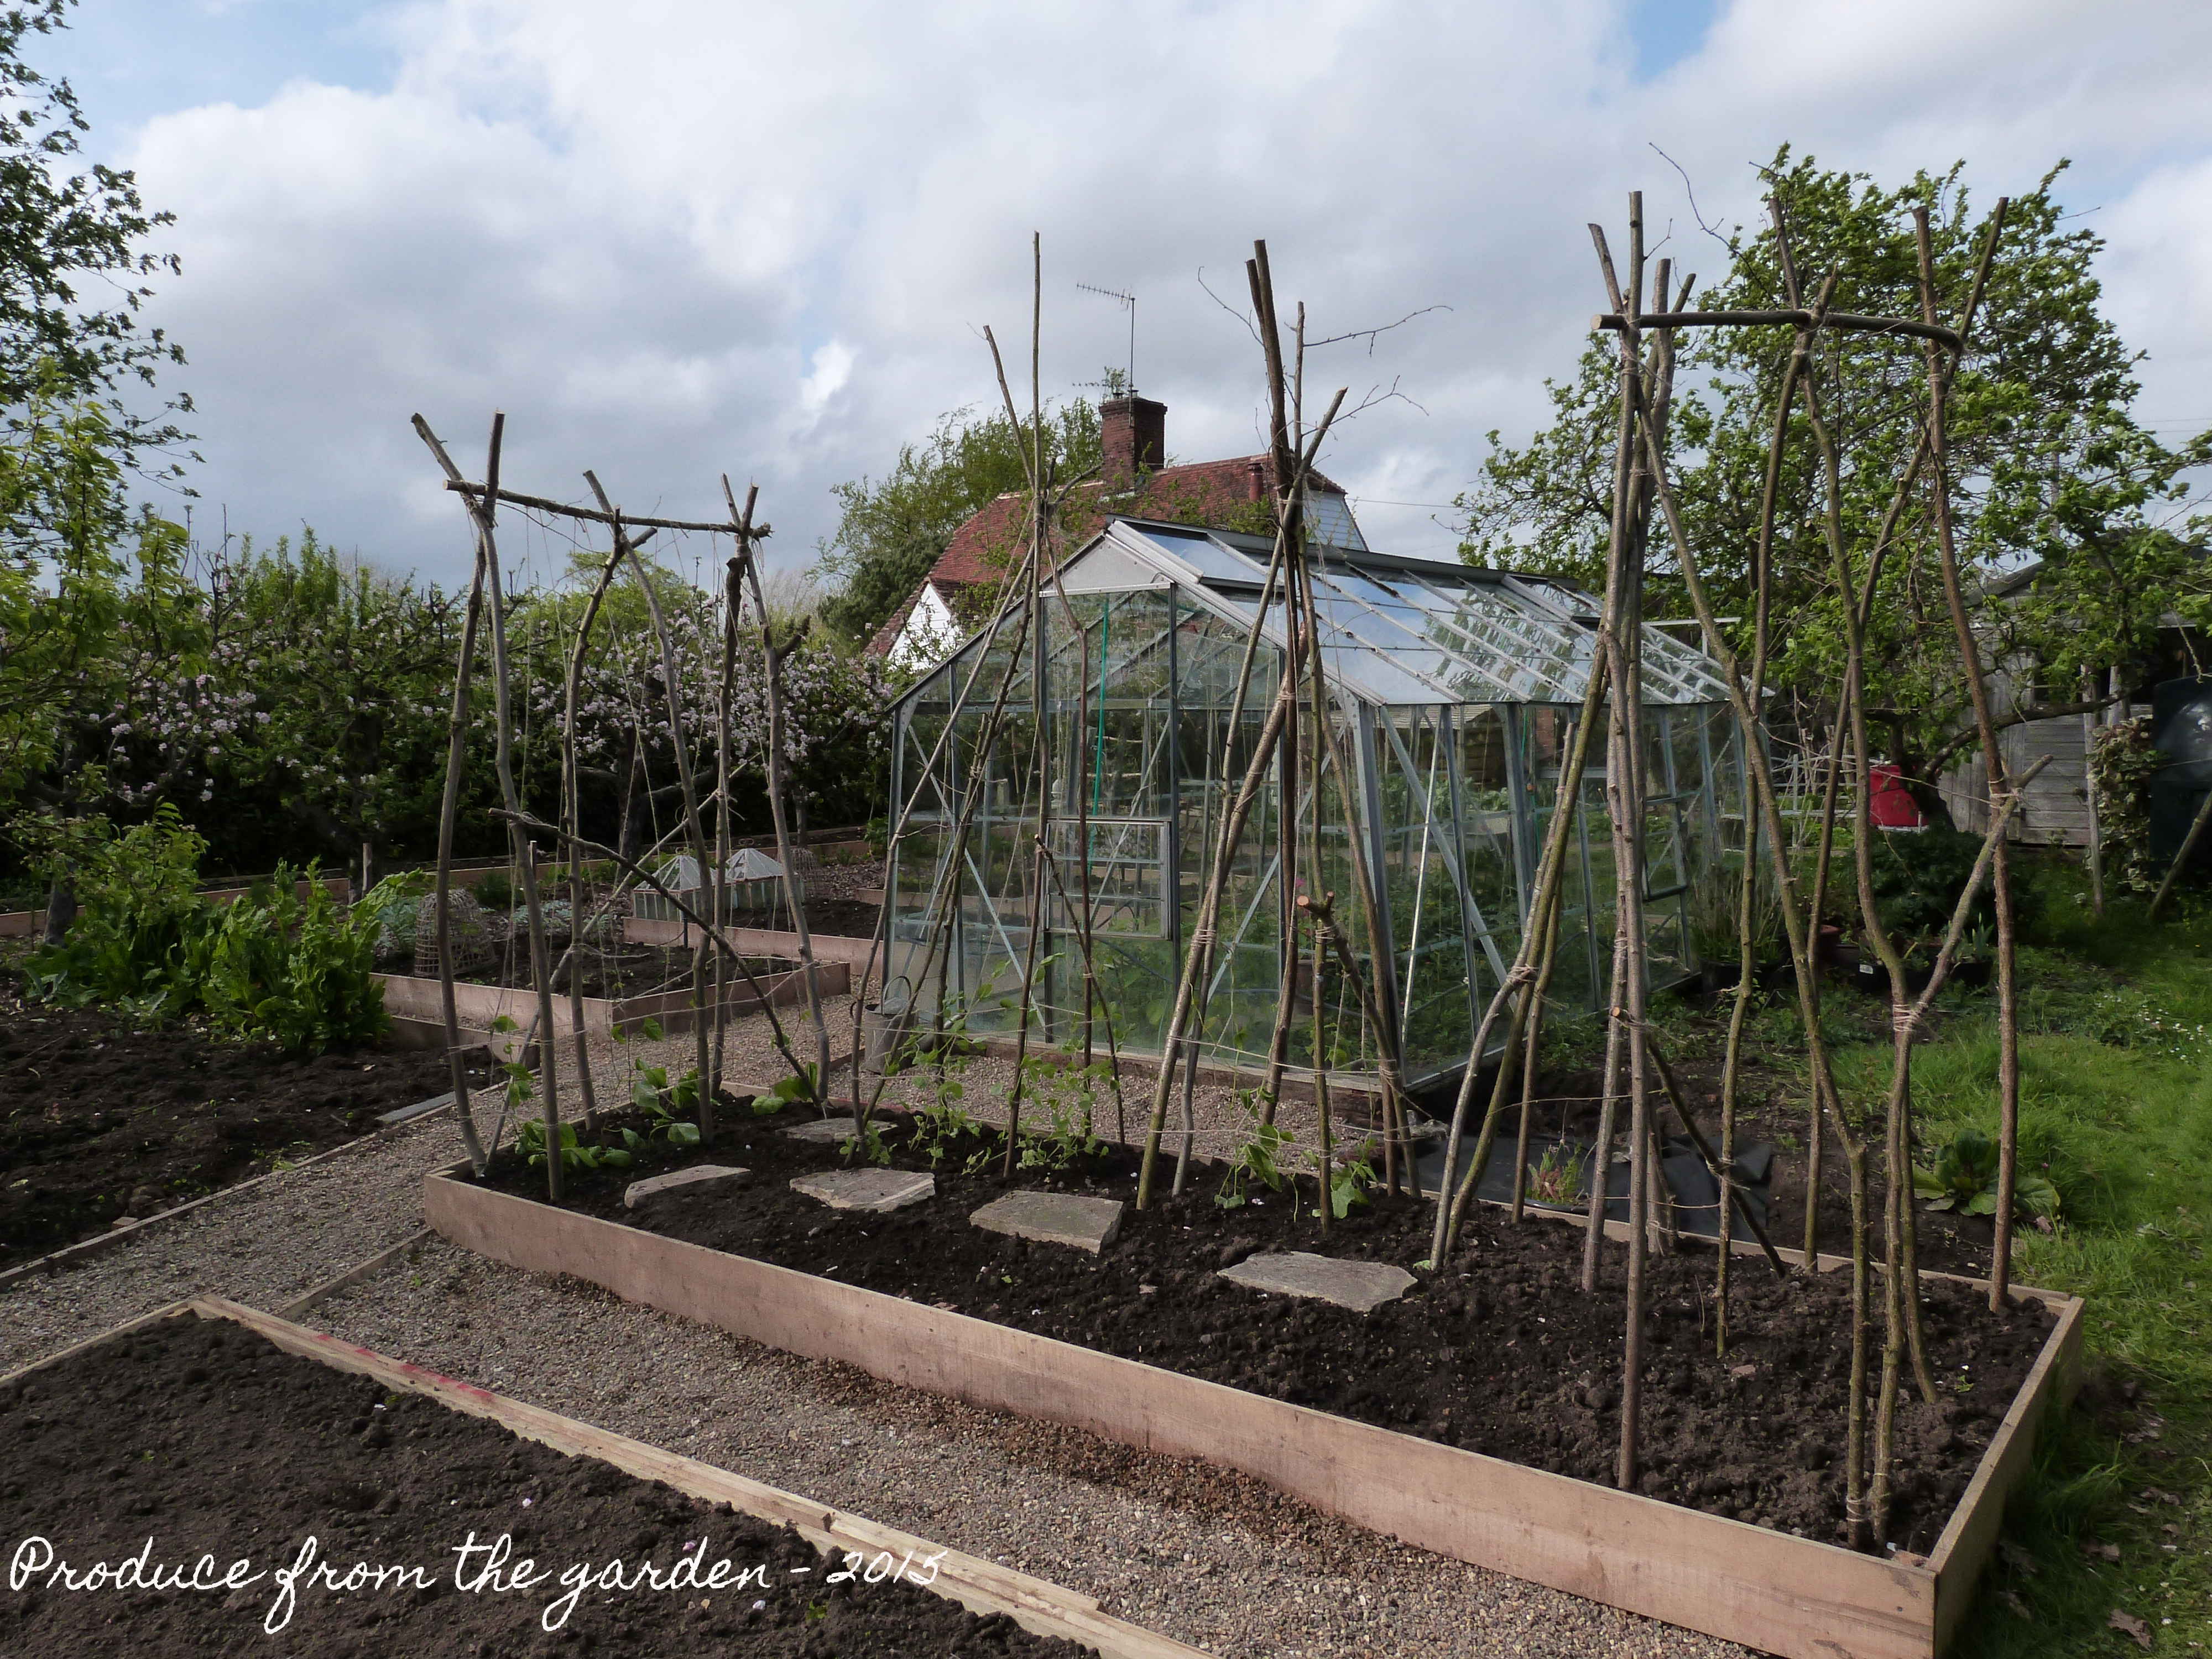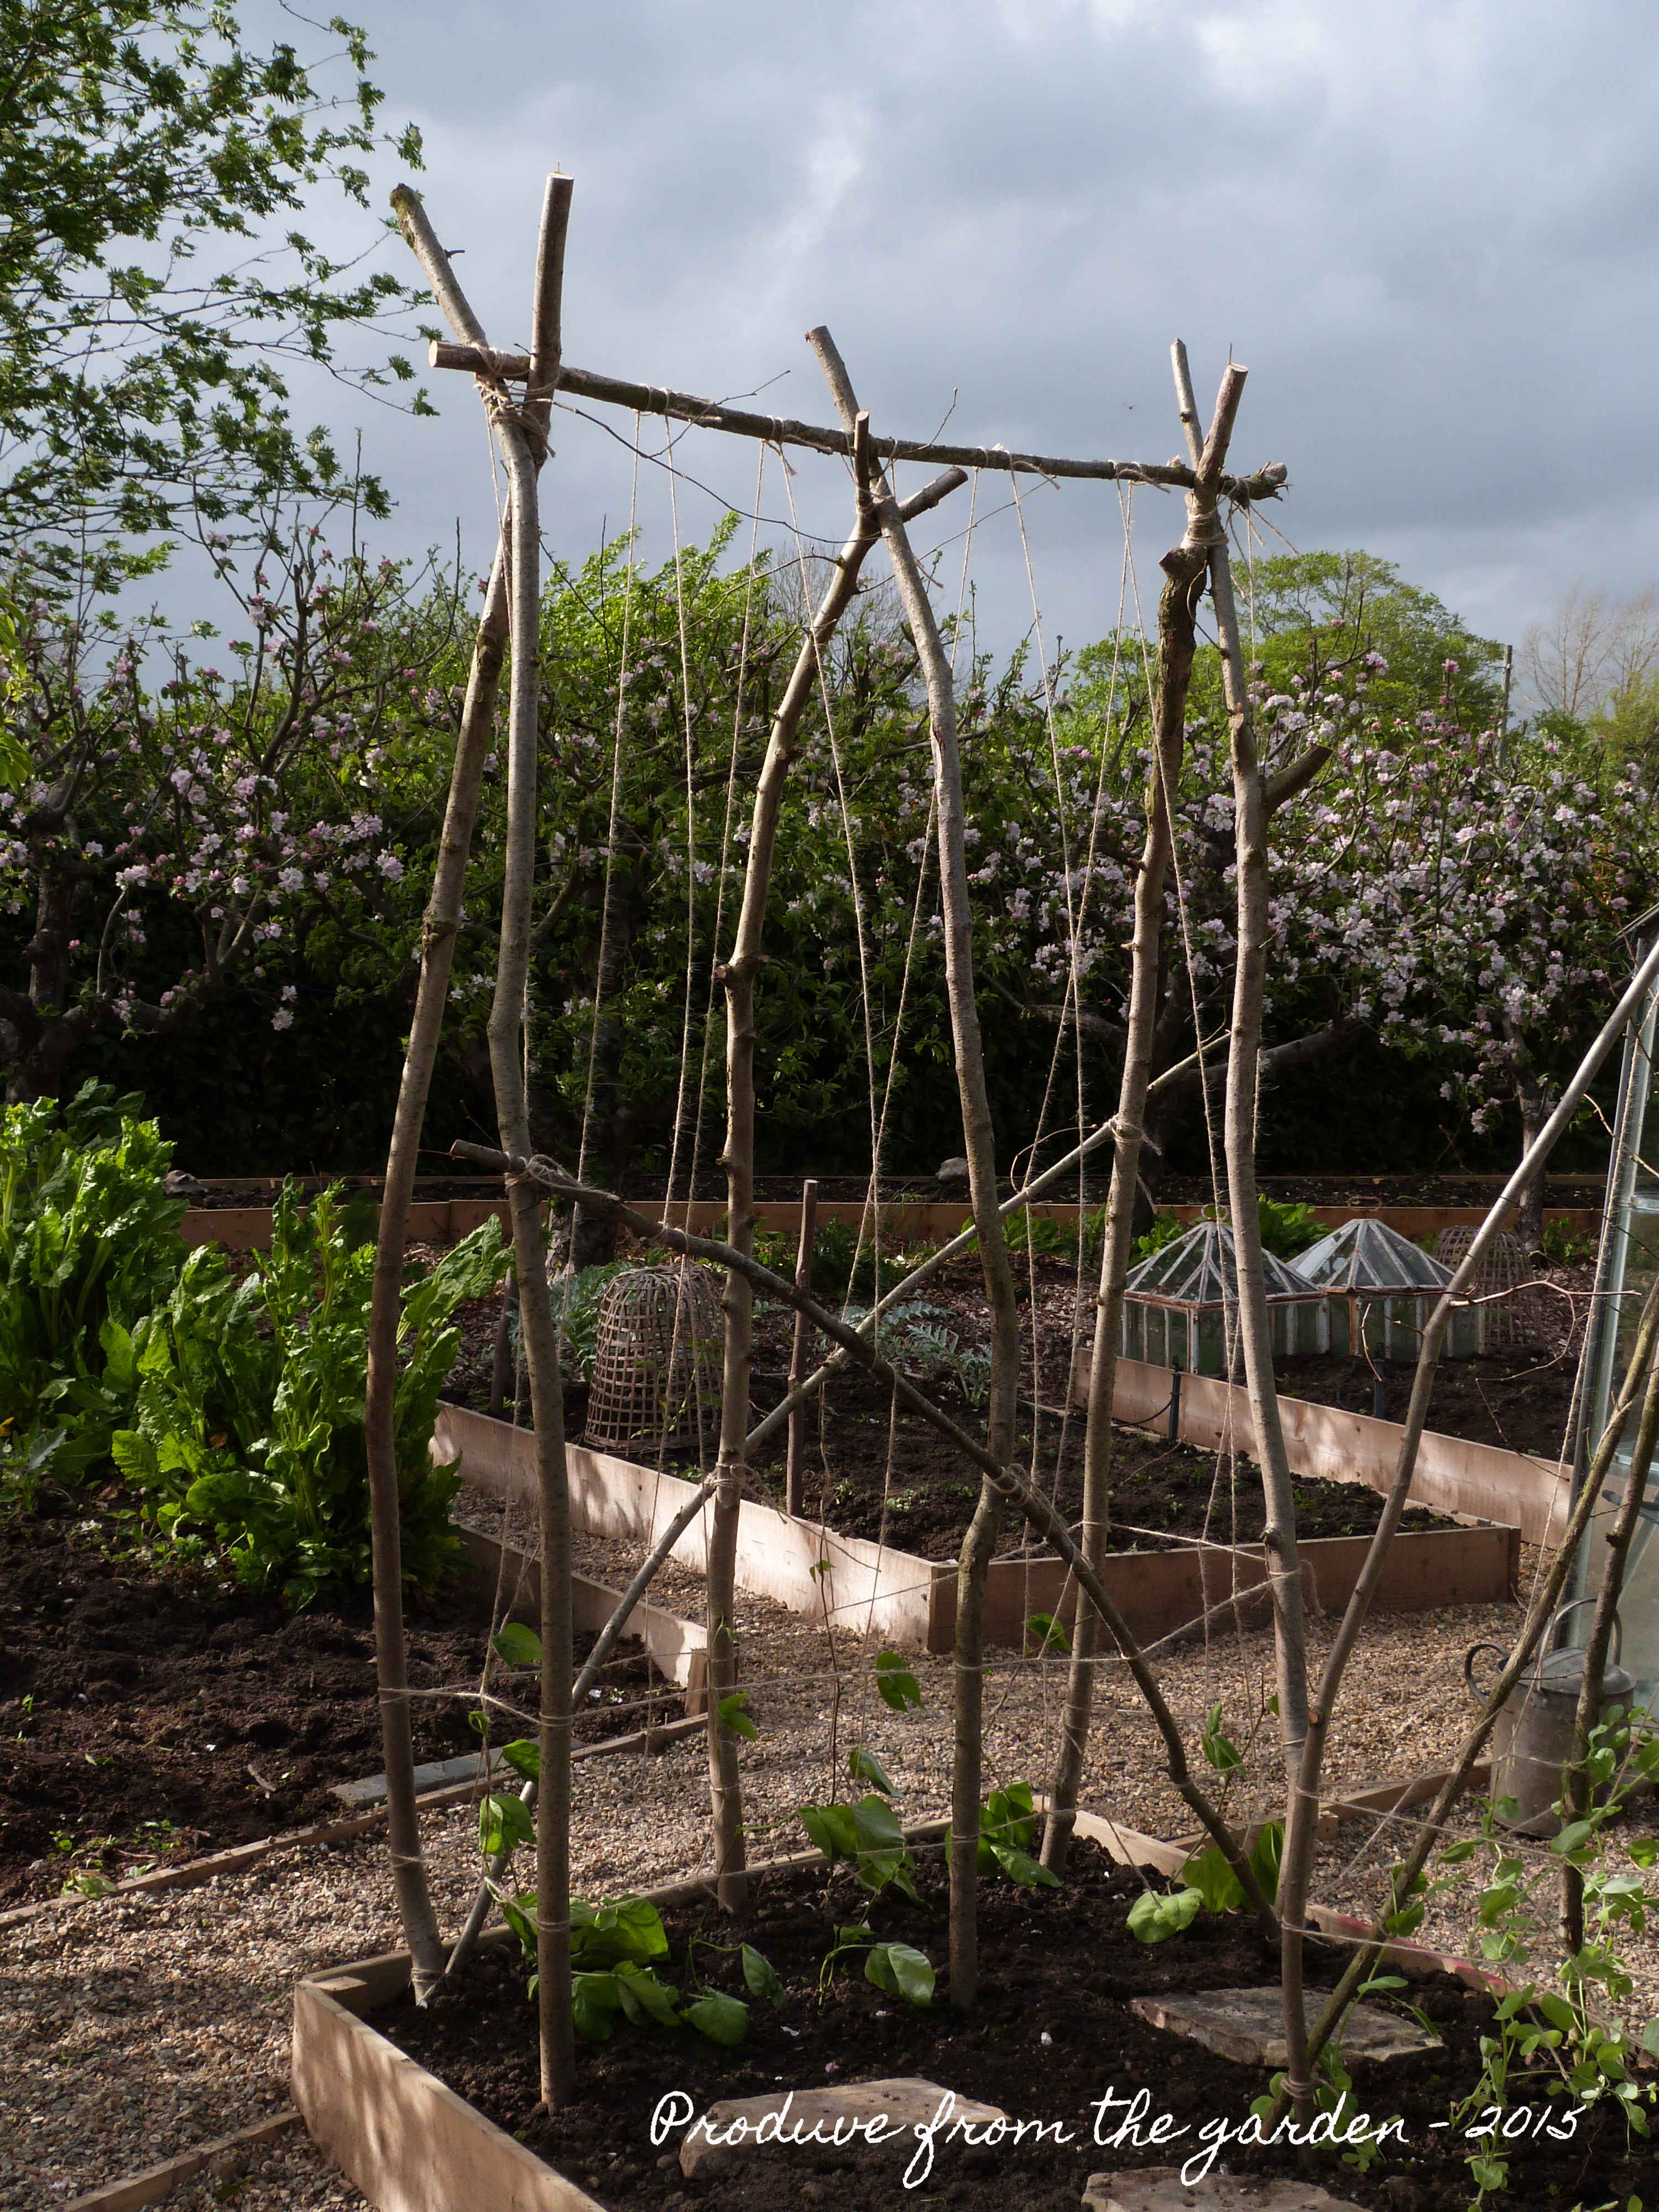
May is ending on a wet note. I’m not complaining, the weather this month has generally been good, friends have even commented on my gardening suntan. The newly planted dahlias have been looking a bit limp and in need of a good water. The dahlia bed is not linked to a watering system; past experience has proved that dahlias can survive a fairly dry summer. When first planted out they do need regular watering to give them time to establish. So this wet end to the month has come at the right time. I have finished constructing the frames in the dahlia bed. This structure gives the dahlias support as they grow. A strong wind can easily snap dahlia stems at the base restricting dahlia produce for the year.
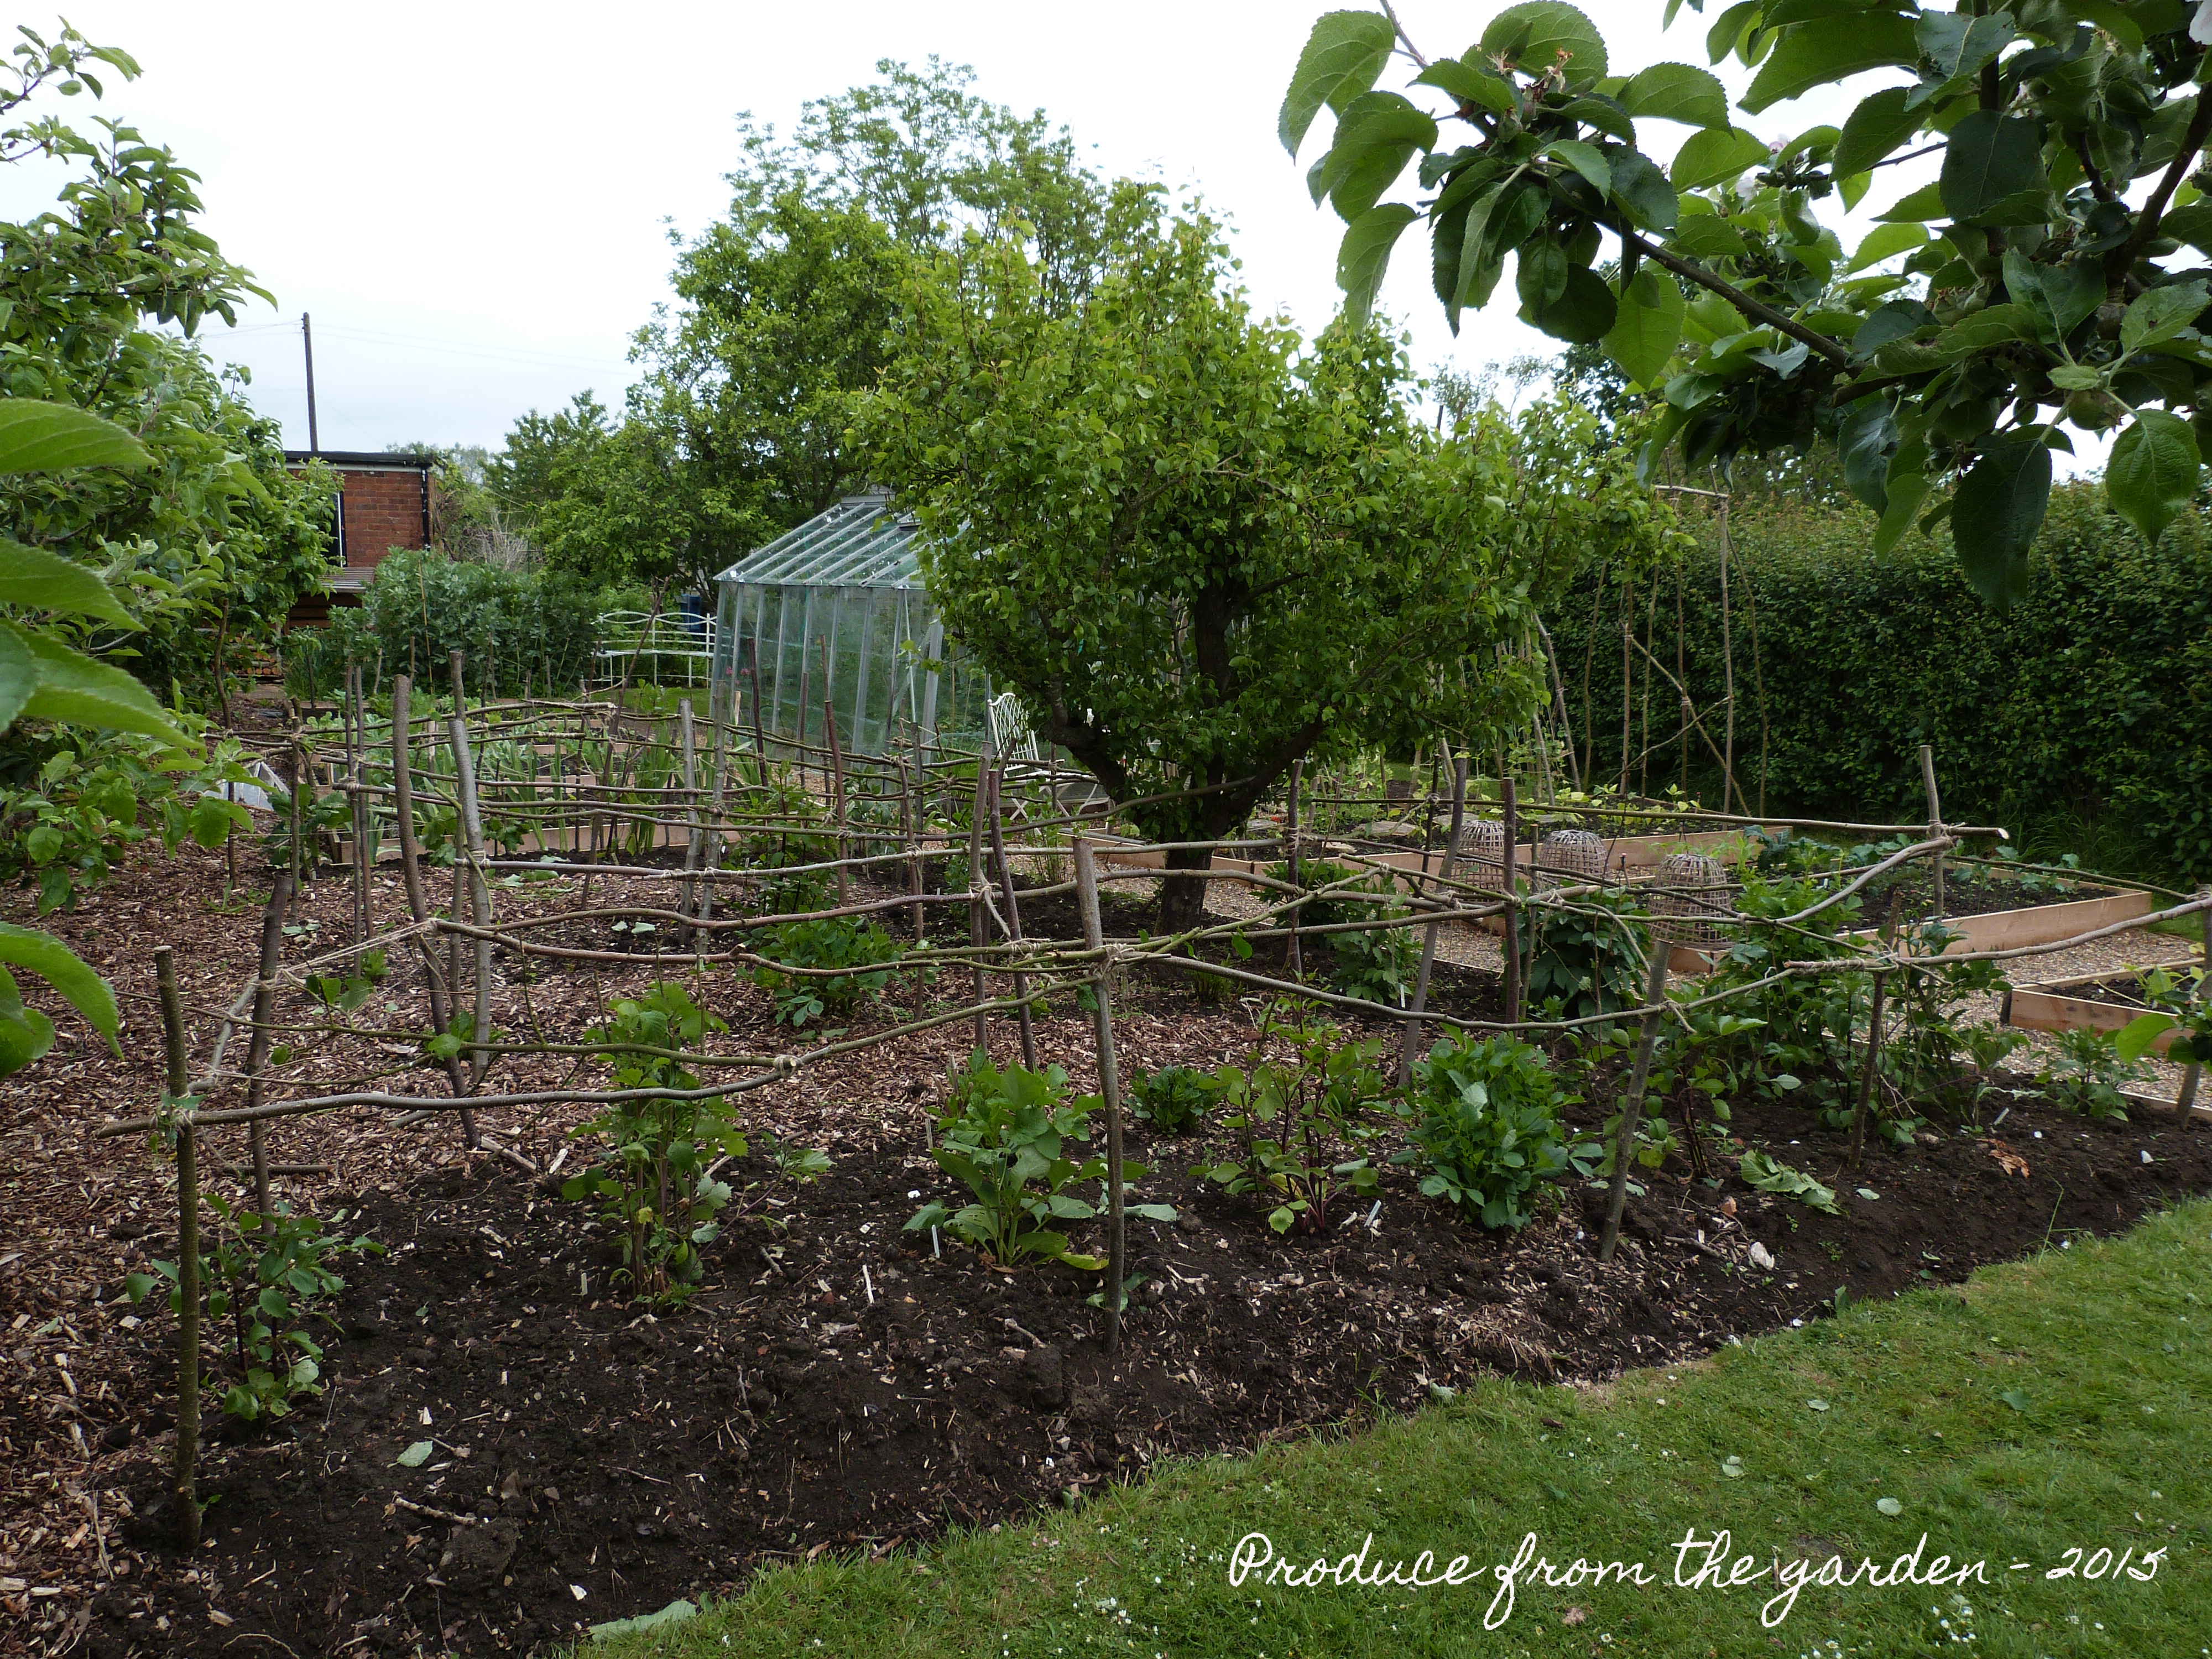 The dahlia bed with the completed frame to support the dahlias
My herb bed which I planted outside the kitchen door last year is flourishing, the chives and thyme are both in flower and looking stunning. I will cut the chives back hard as the flowers go over, this will produce lots of new fresh growth and stop the flowers setting seed, leaving me with chive weeds everywhere. Once the Thyme has finished flowering I will lightly prune this, stimulating new fresh growth to crop for the kitchen.
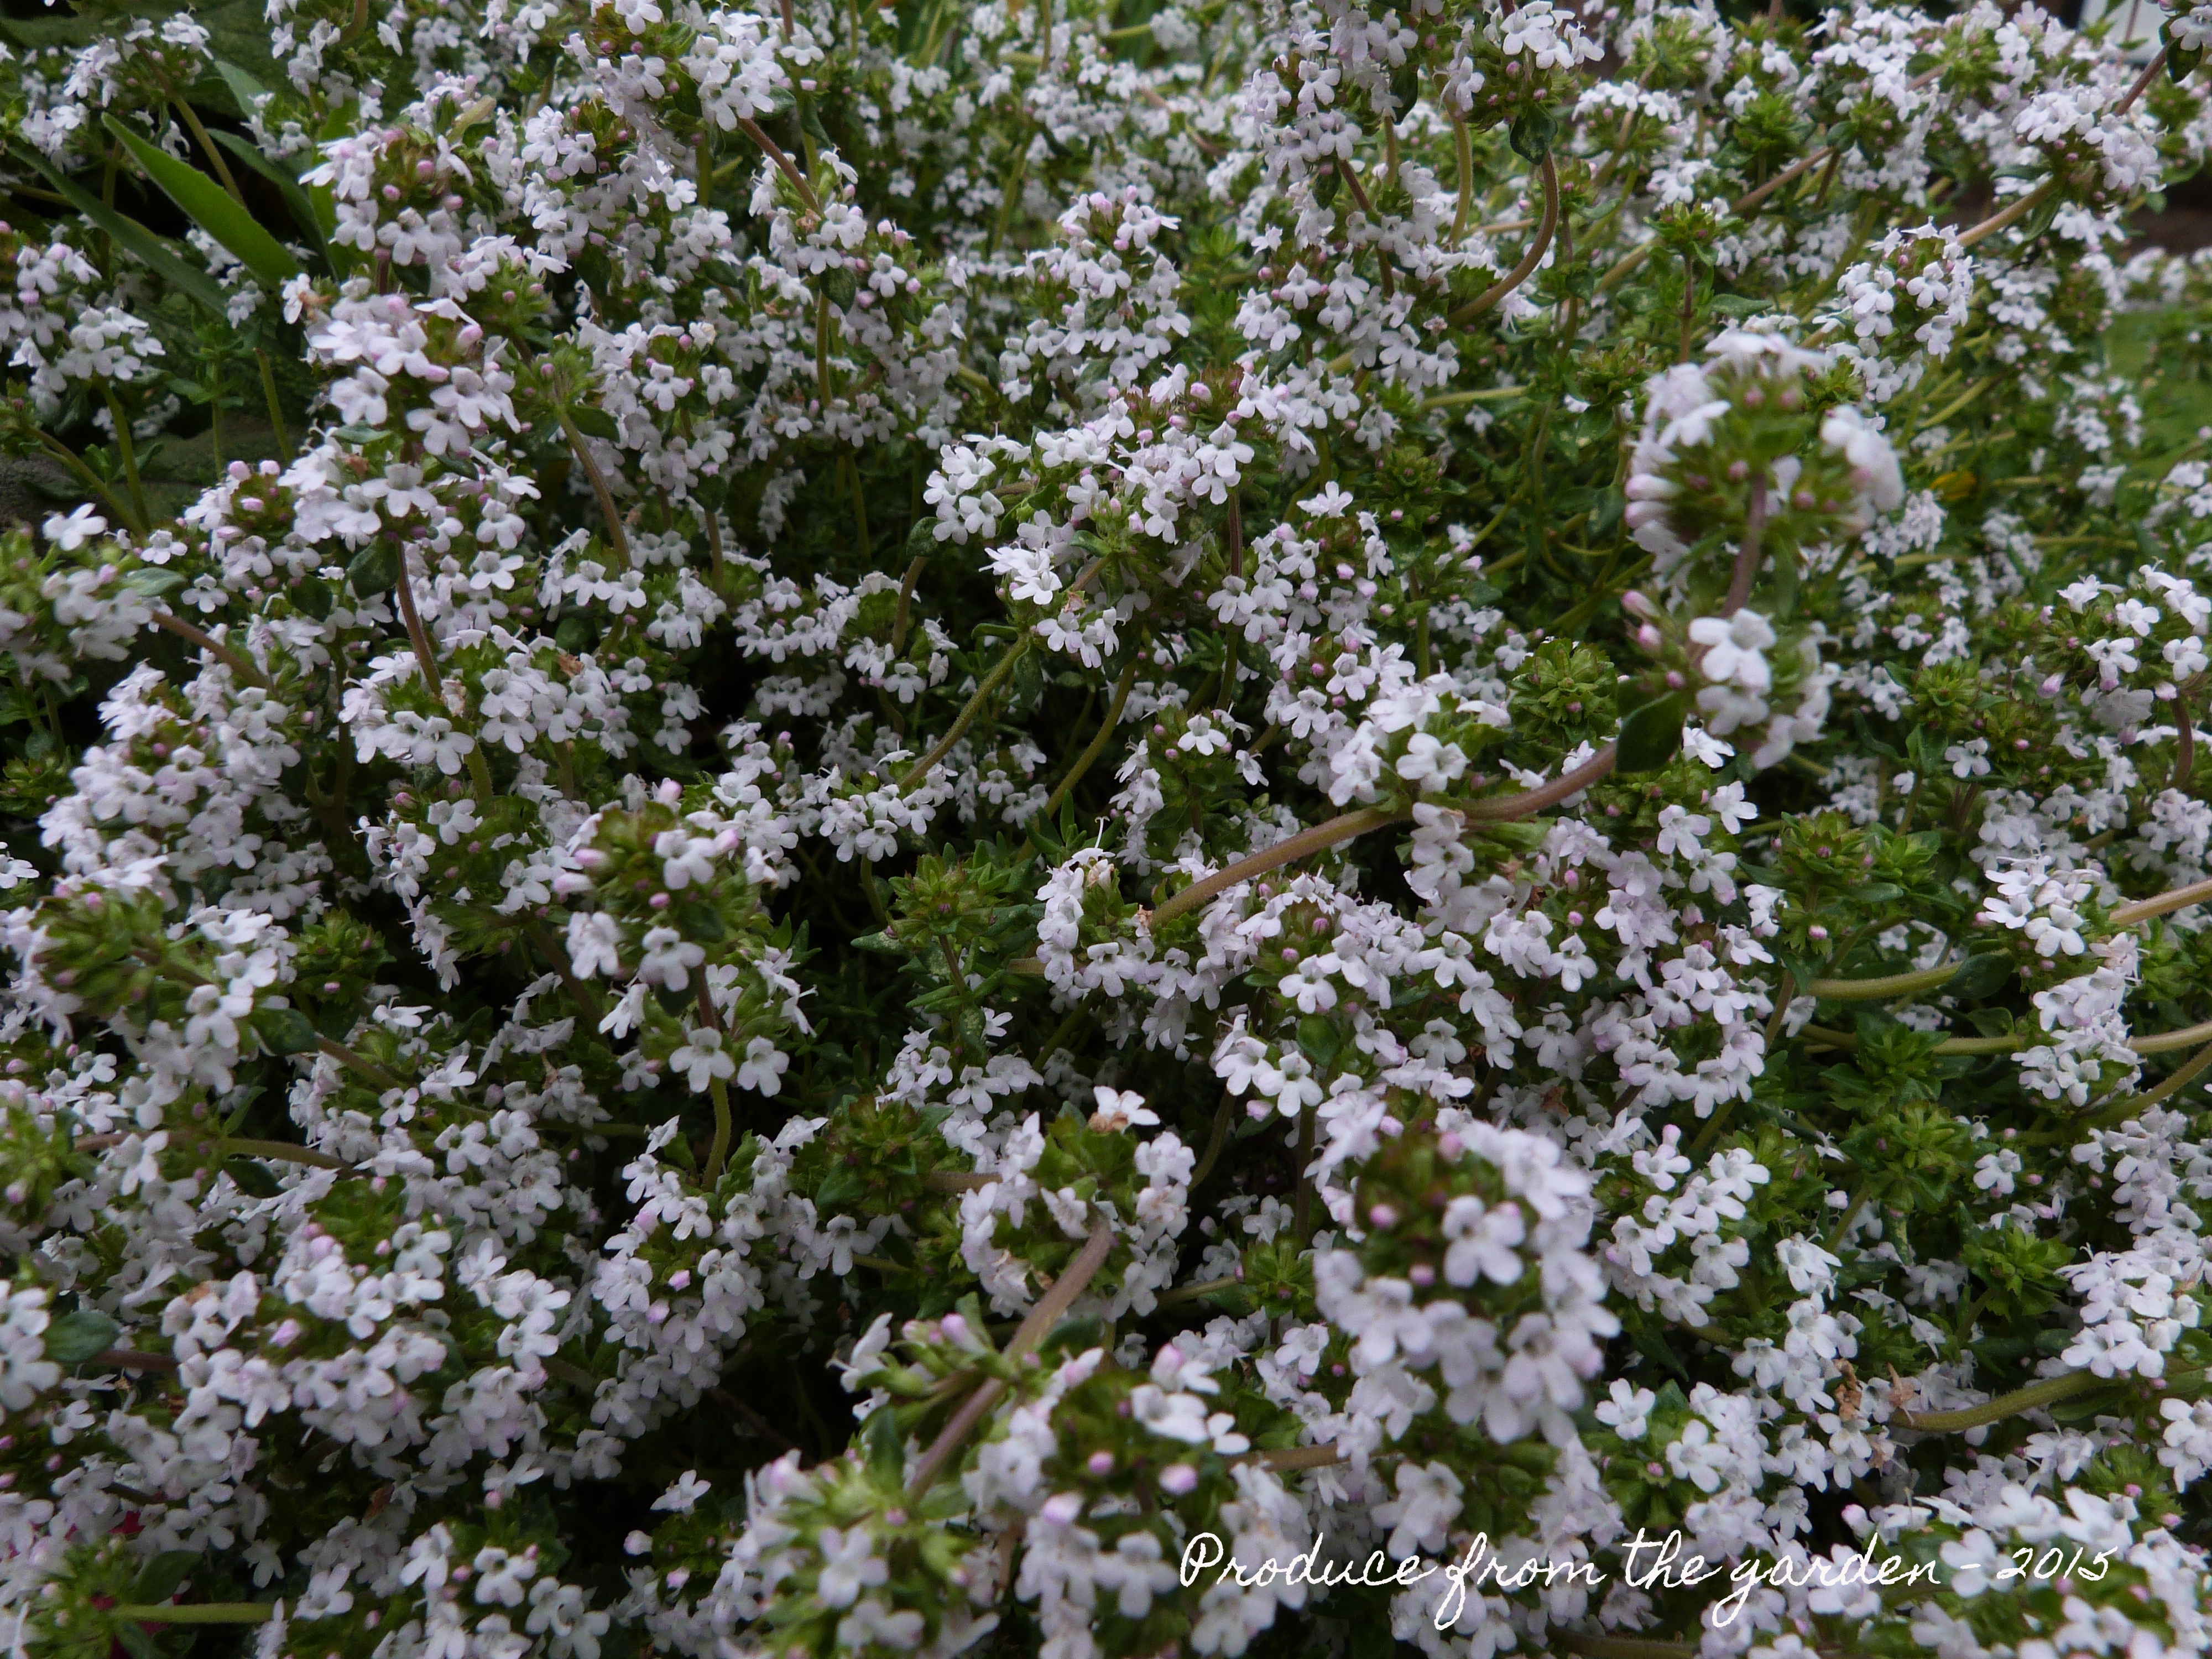 Thyme in flower
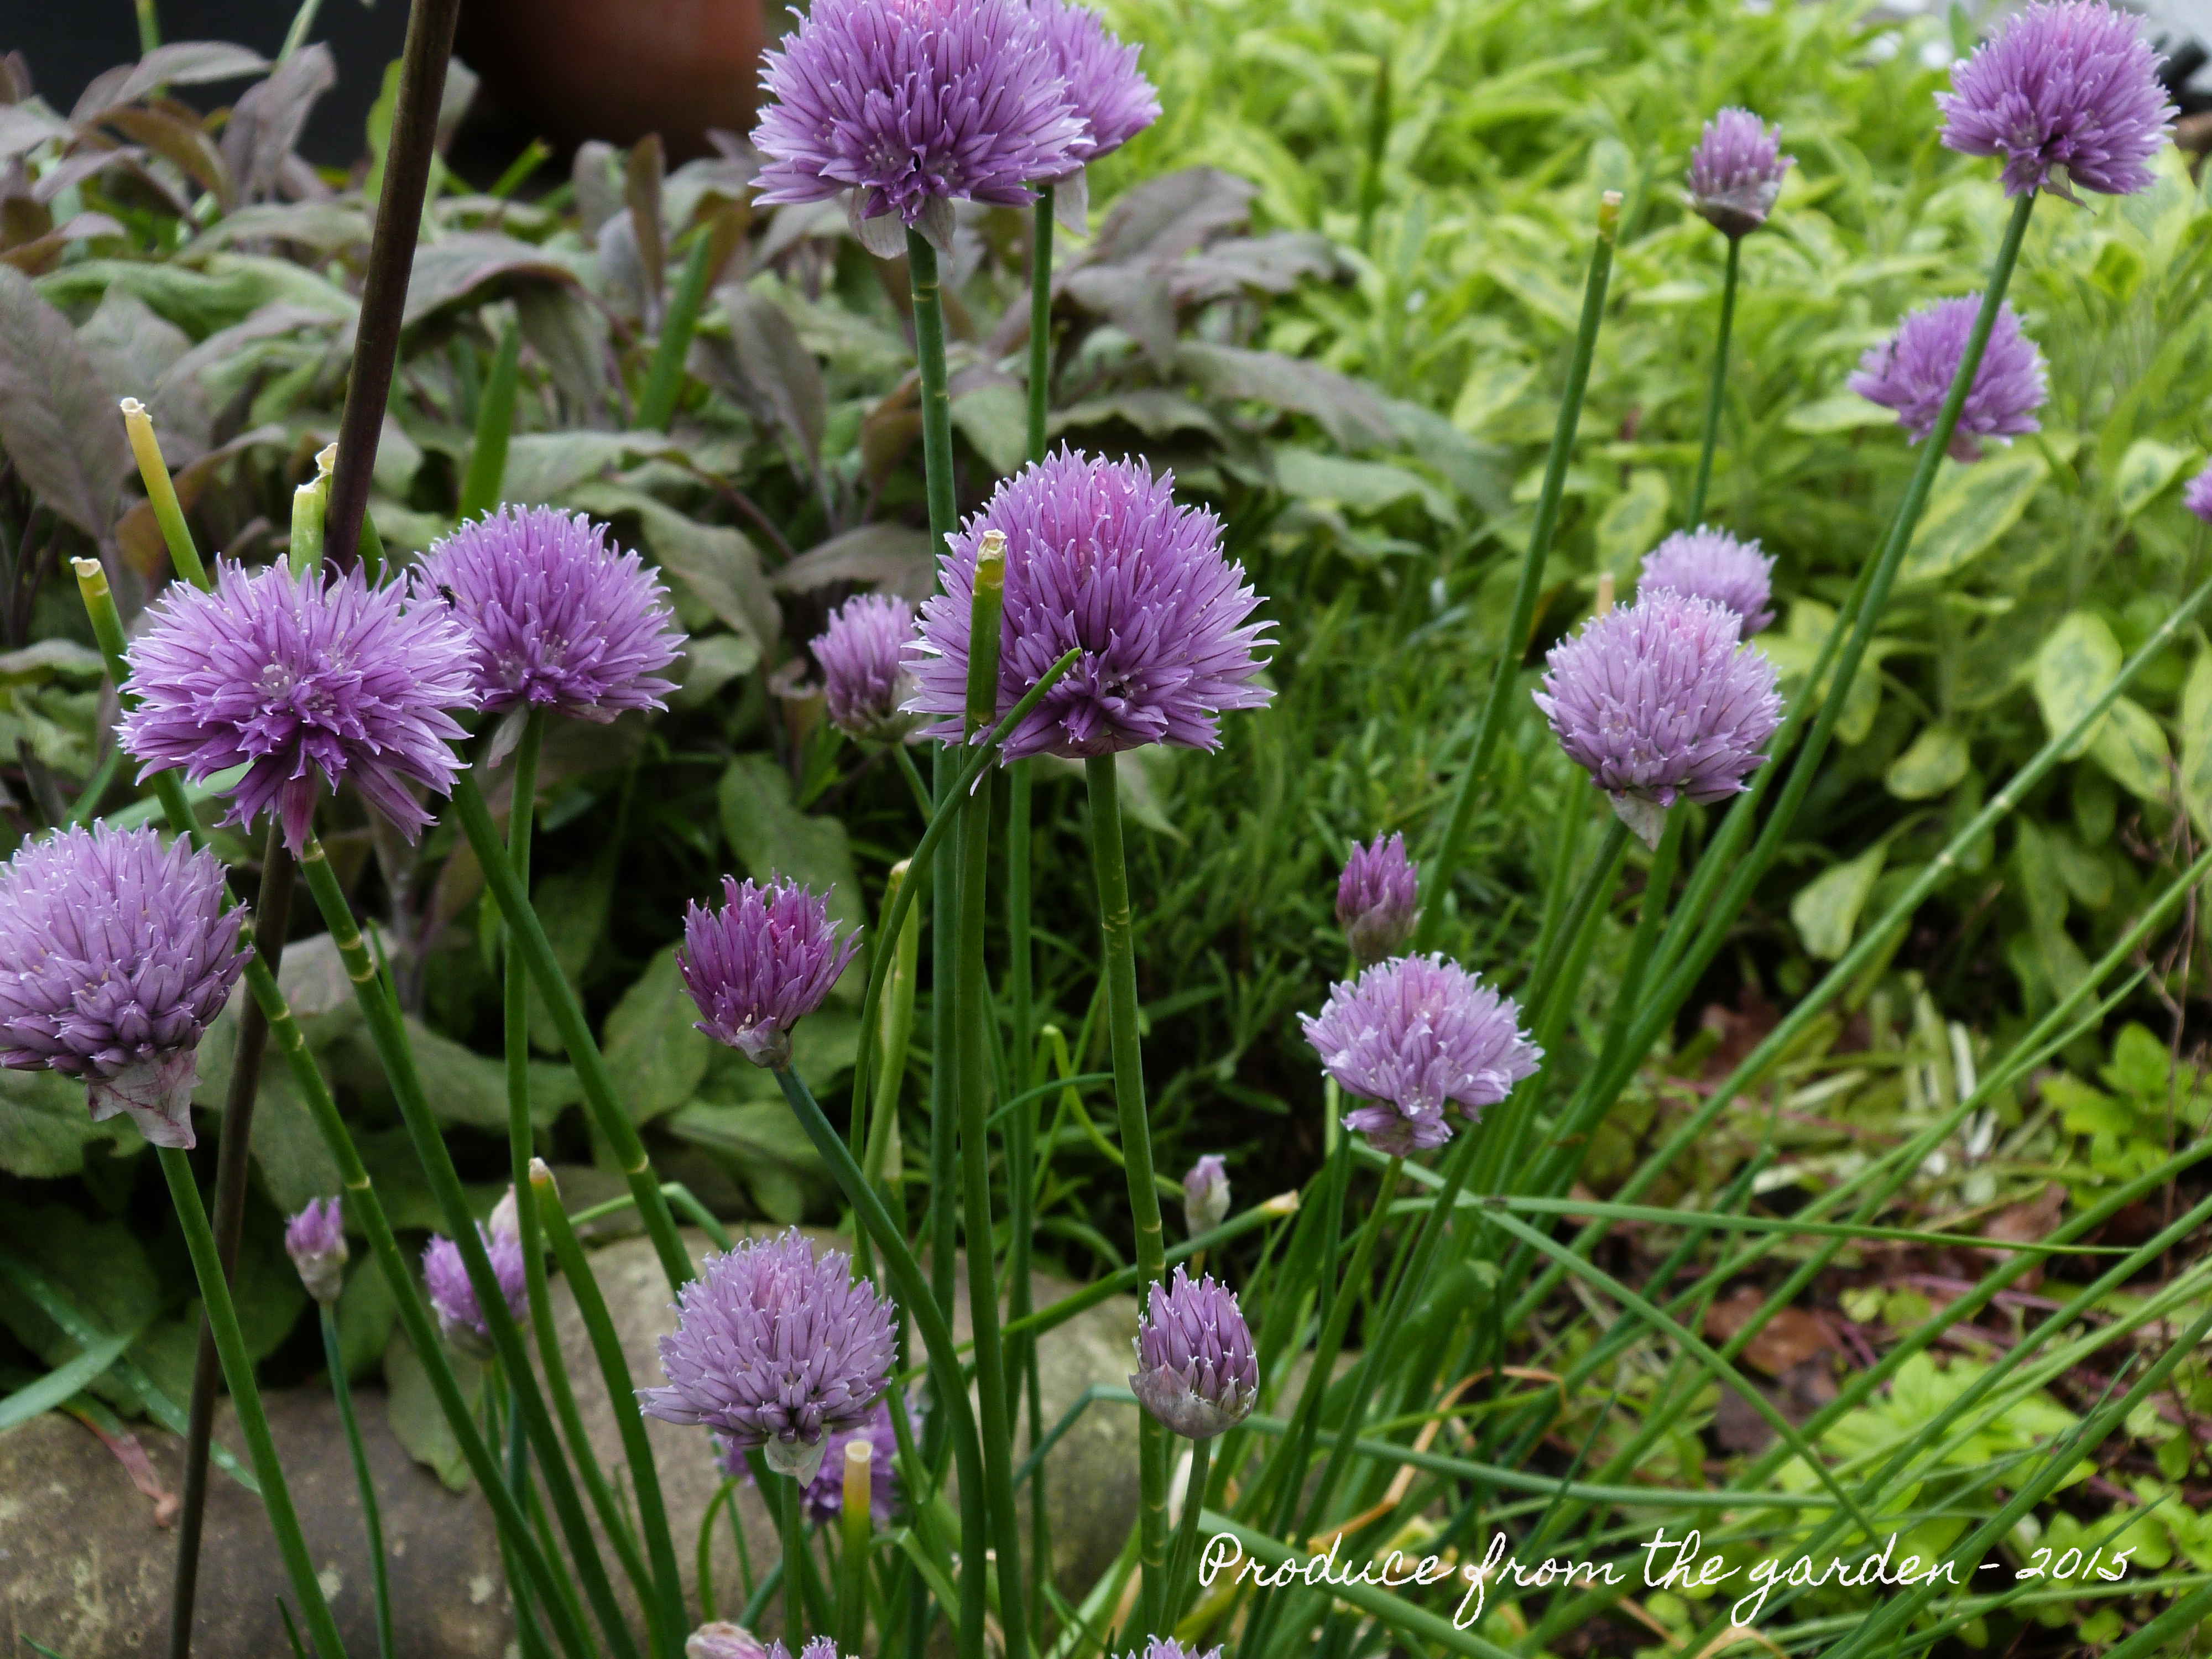 Chives in flower
My Broad bean plants are well over 4 feet high, laden with flowers and at last I have some miniature bean pods developing at the bottom of the plants. Hopefully I’ll only have to wait another couple of weeks to savour this produce from the garden. I have spotted today that black fly have discovered the fresh luscious top shoots of the broad bean plants. It’s now time to cut off the tips, taking away the temptation for the black fly, who if allowed will heavily infest the plant resulting in poor pod formation.
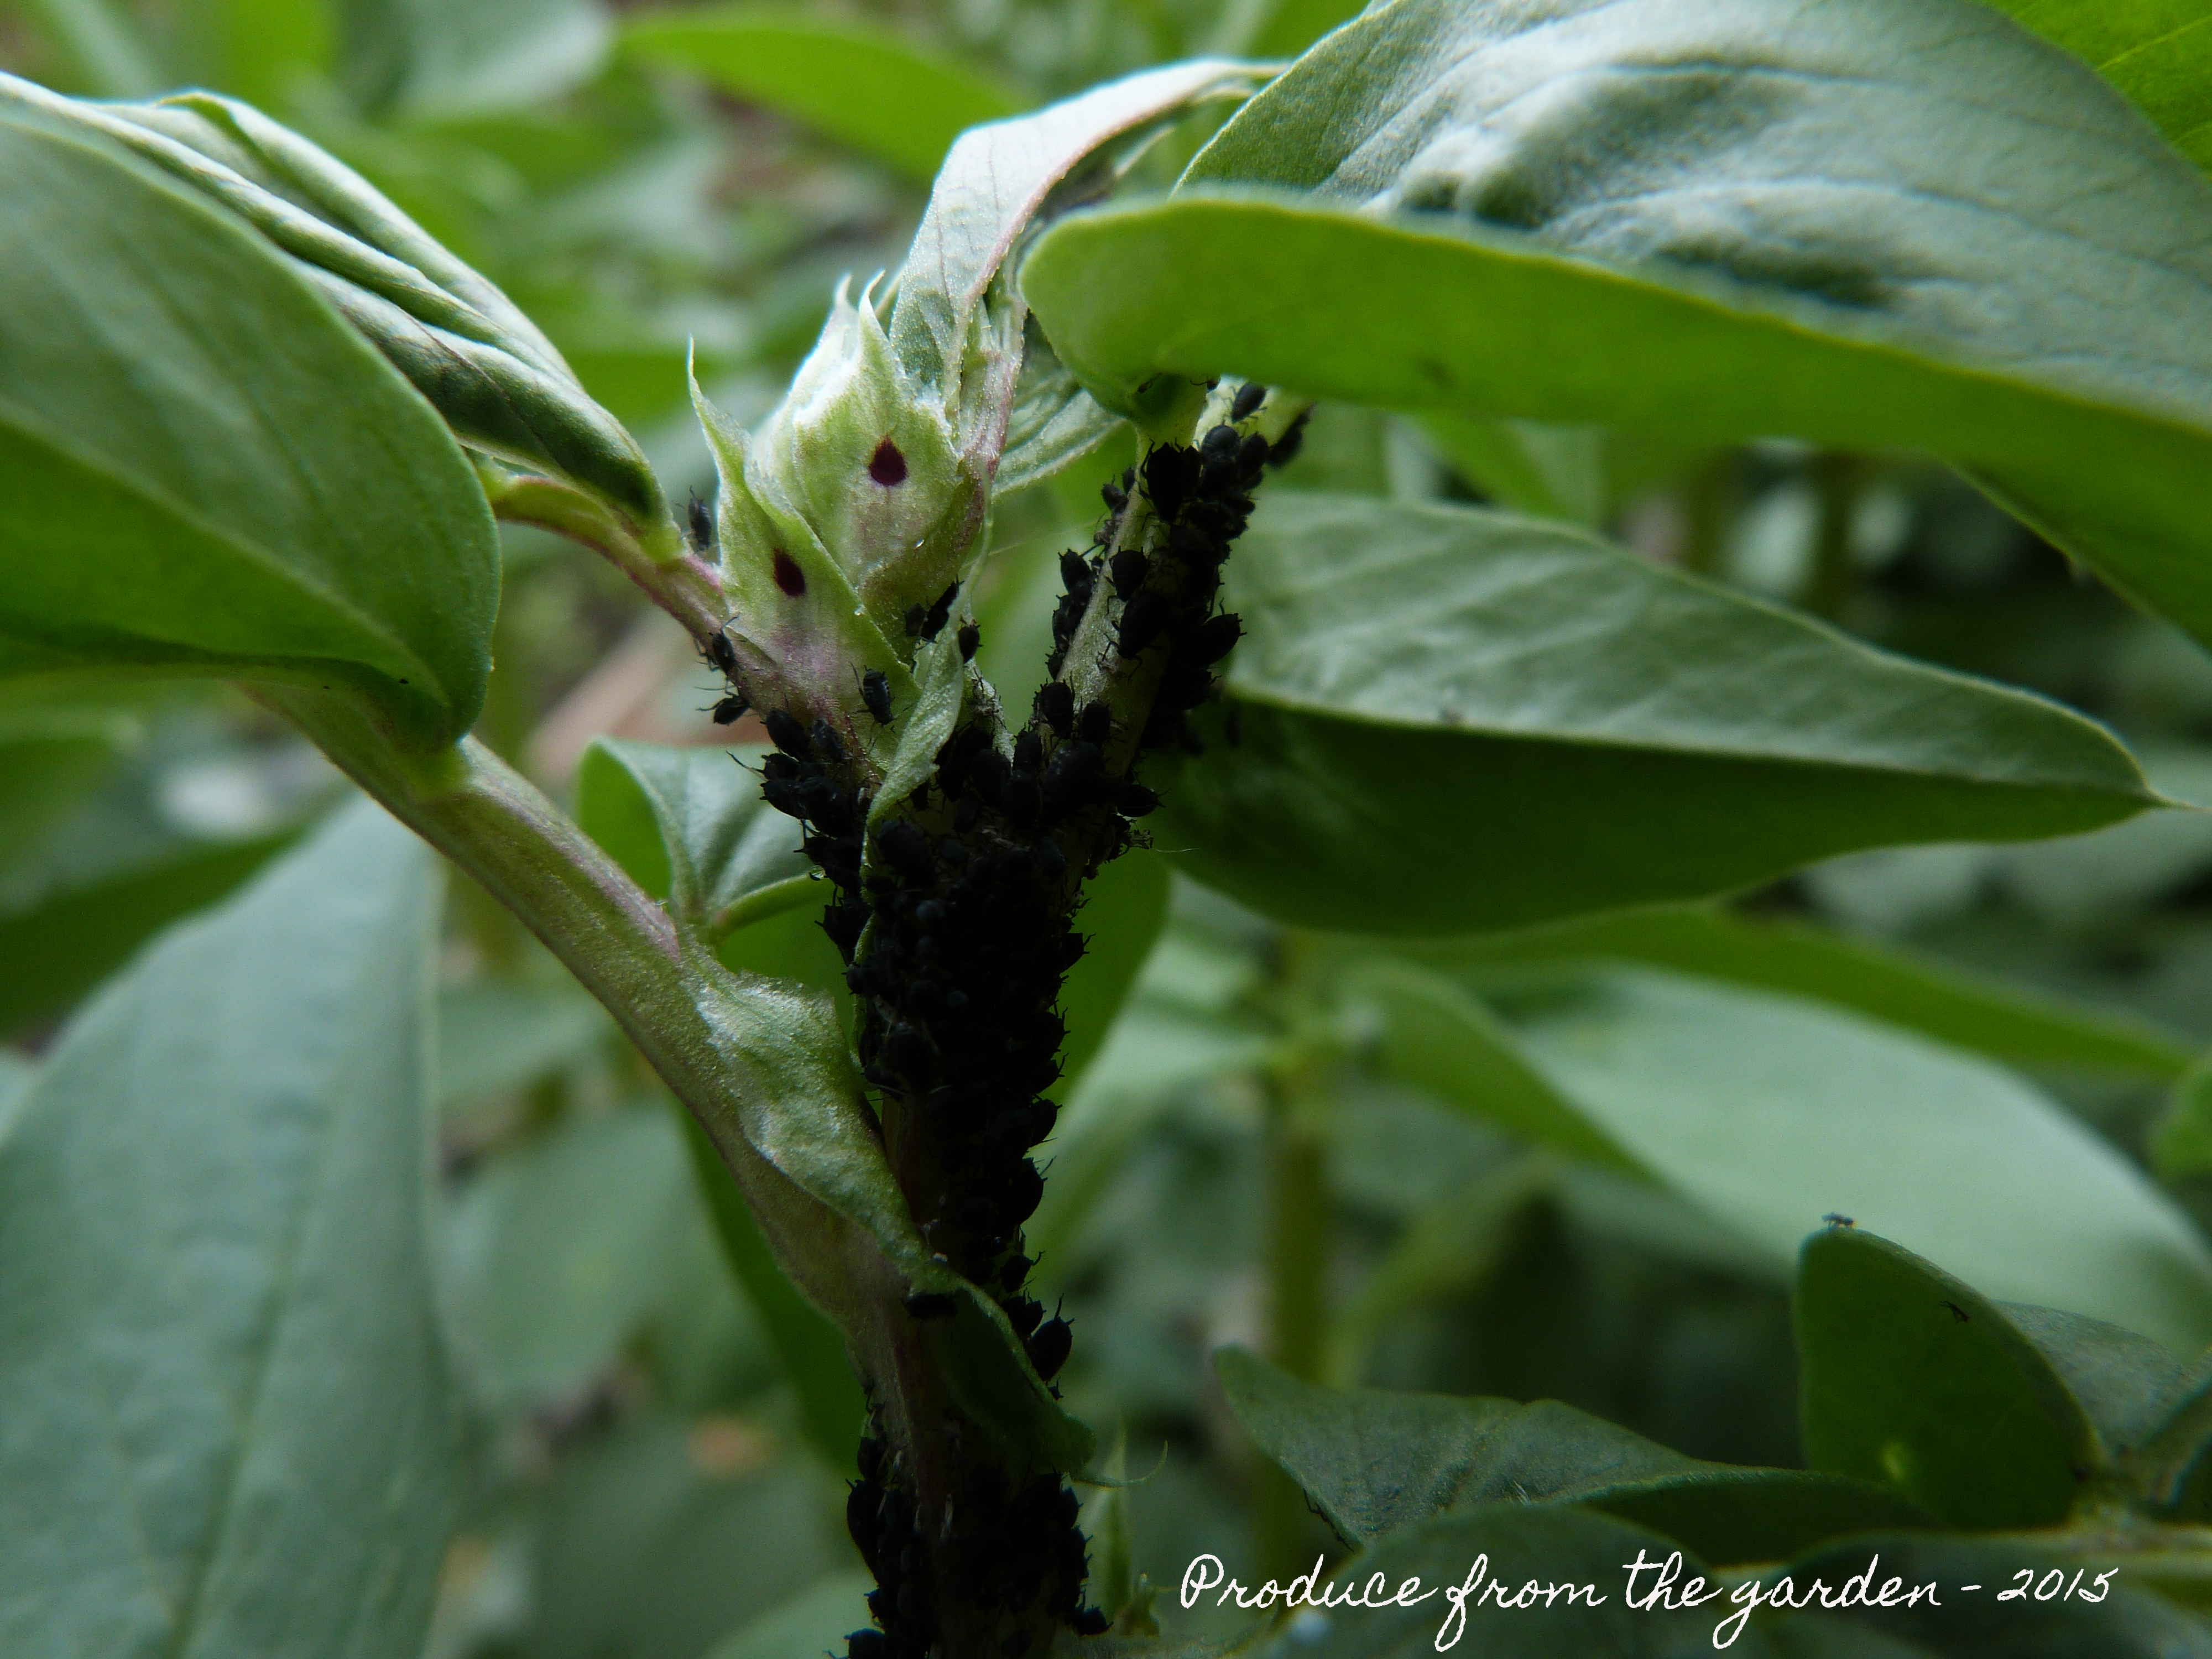 Black fly on the broad bean tips
We had our first dish of turnips this month. Once they reach golf ball size they’re ready for the kitchen. I simply steamed the turnips until tender. Cut them into 1cm sized cubes and finished them off in pan with melted butter and a selection of fresh herbs presented to me by my eldest, a handful of marjoram and thyme. They were delicious and got thumbs up from the whole family.
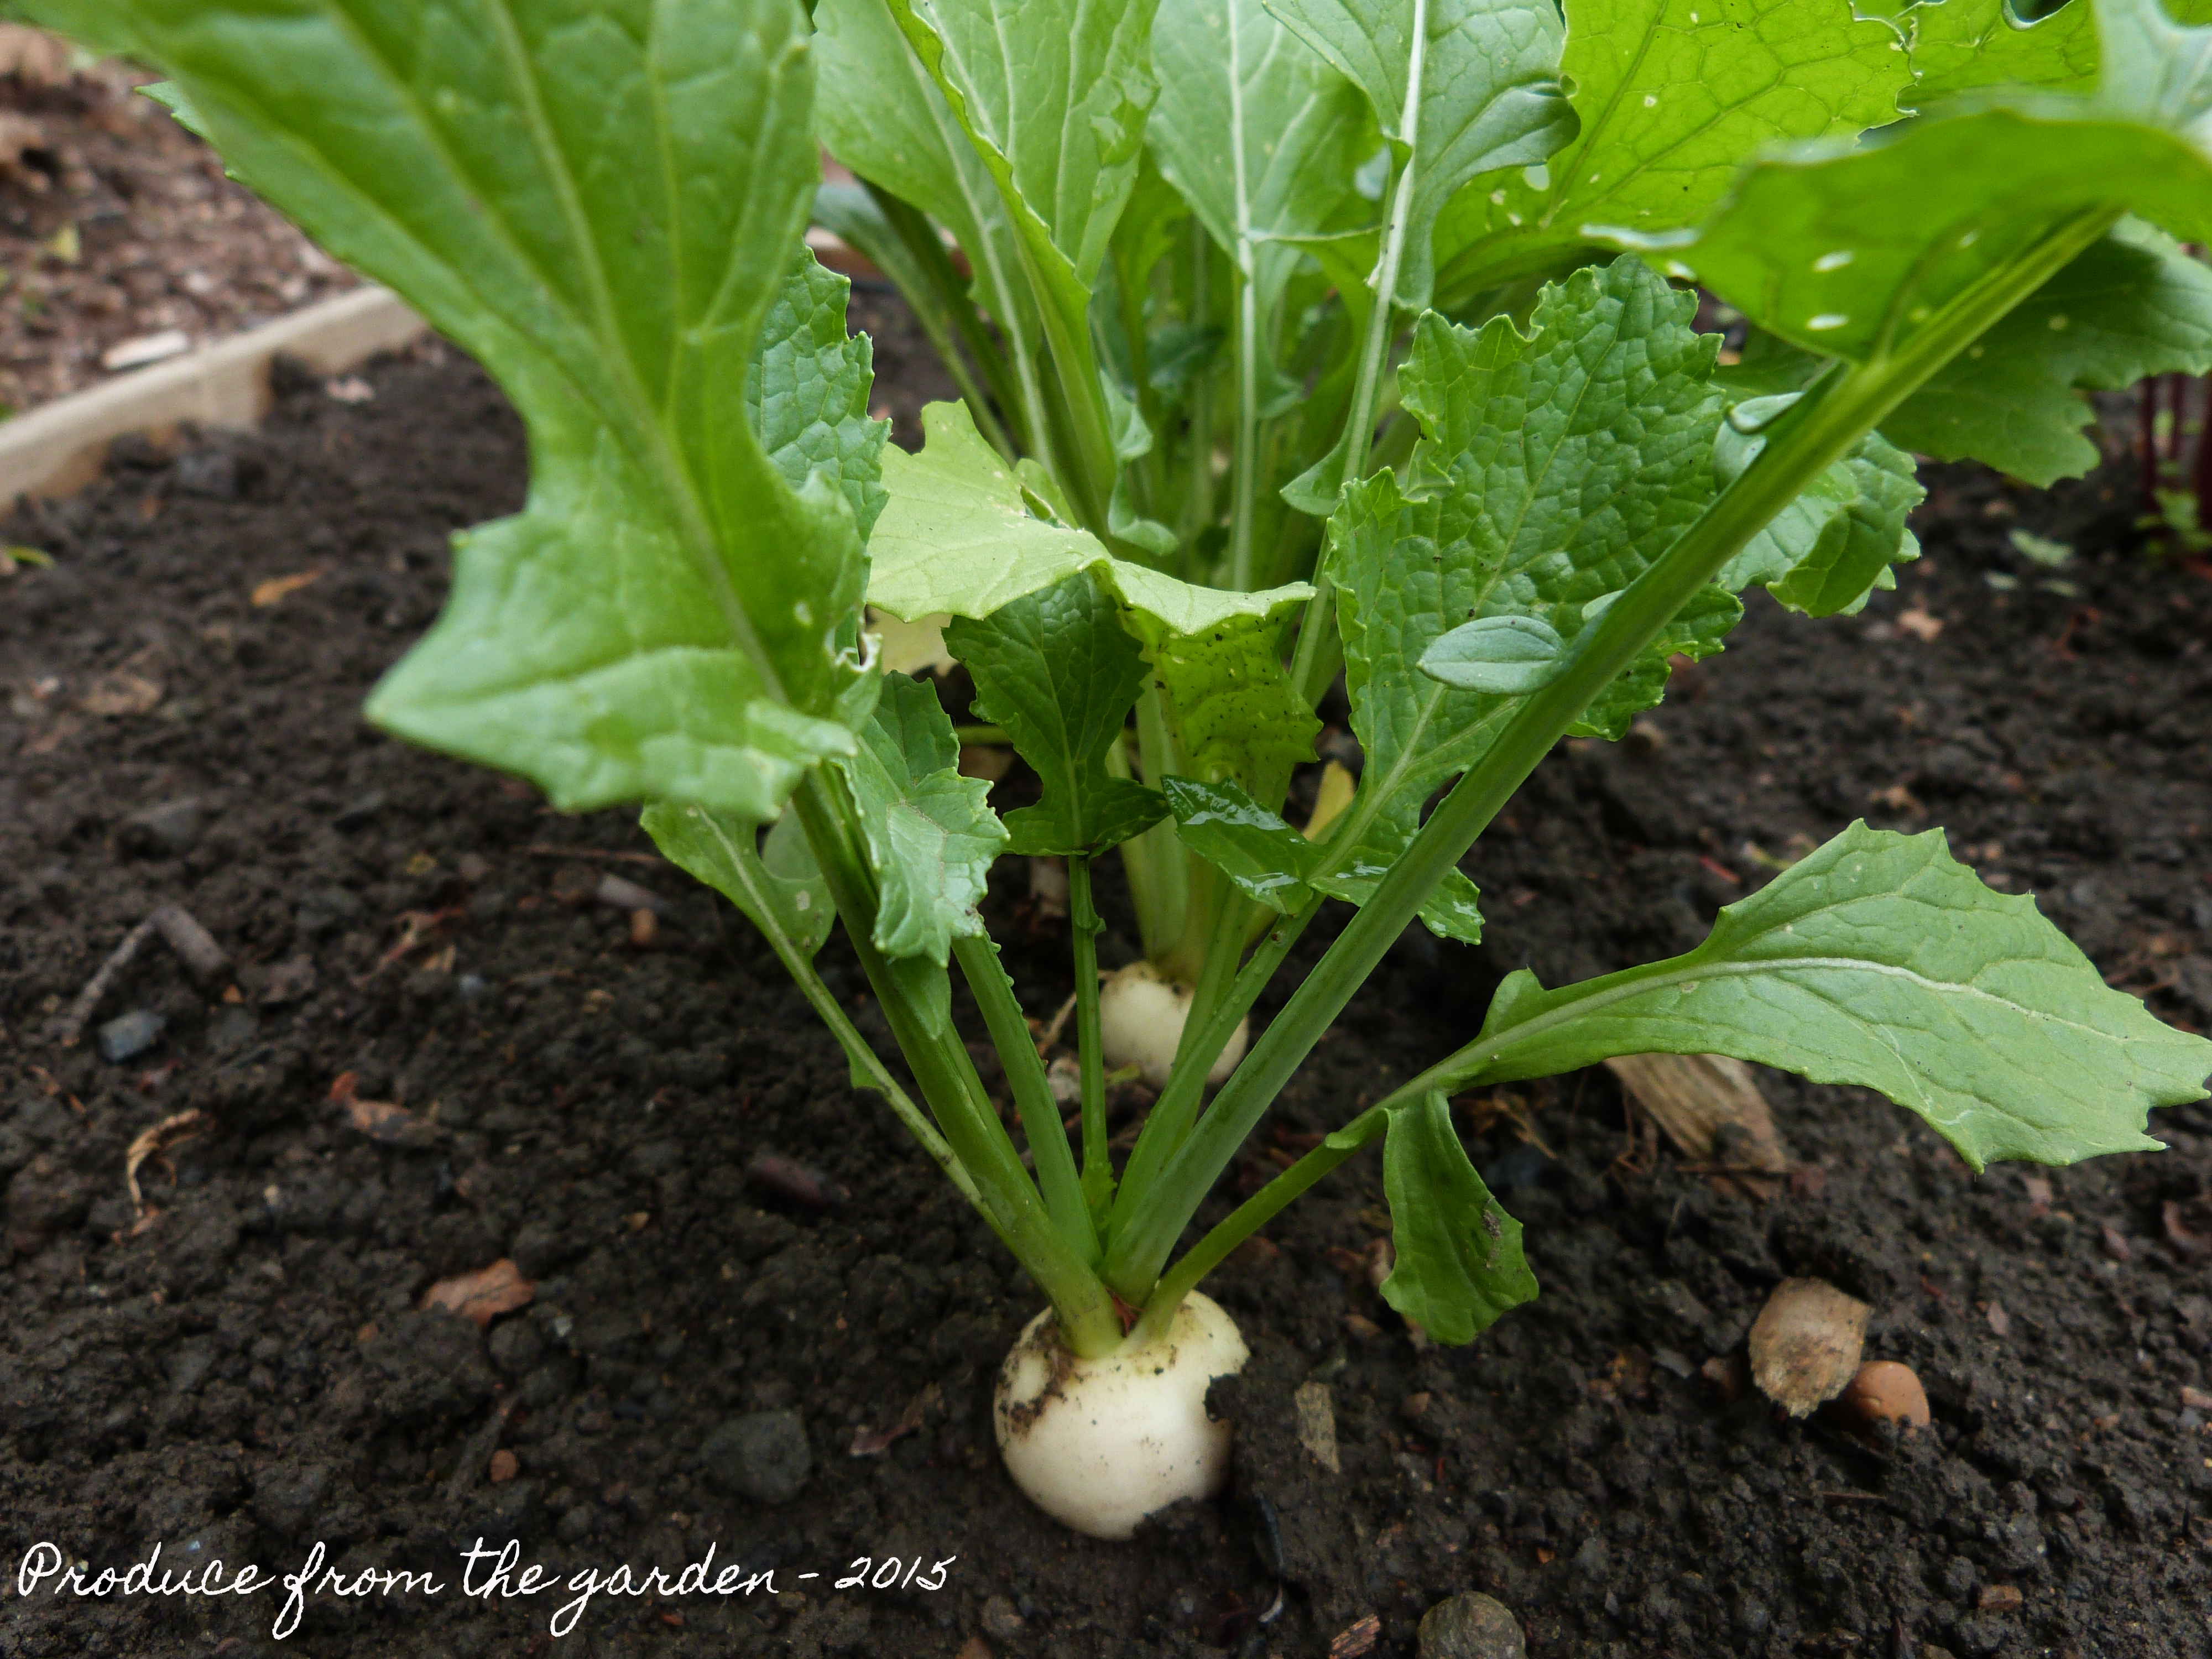 Turnips
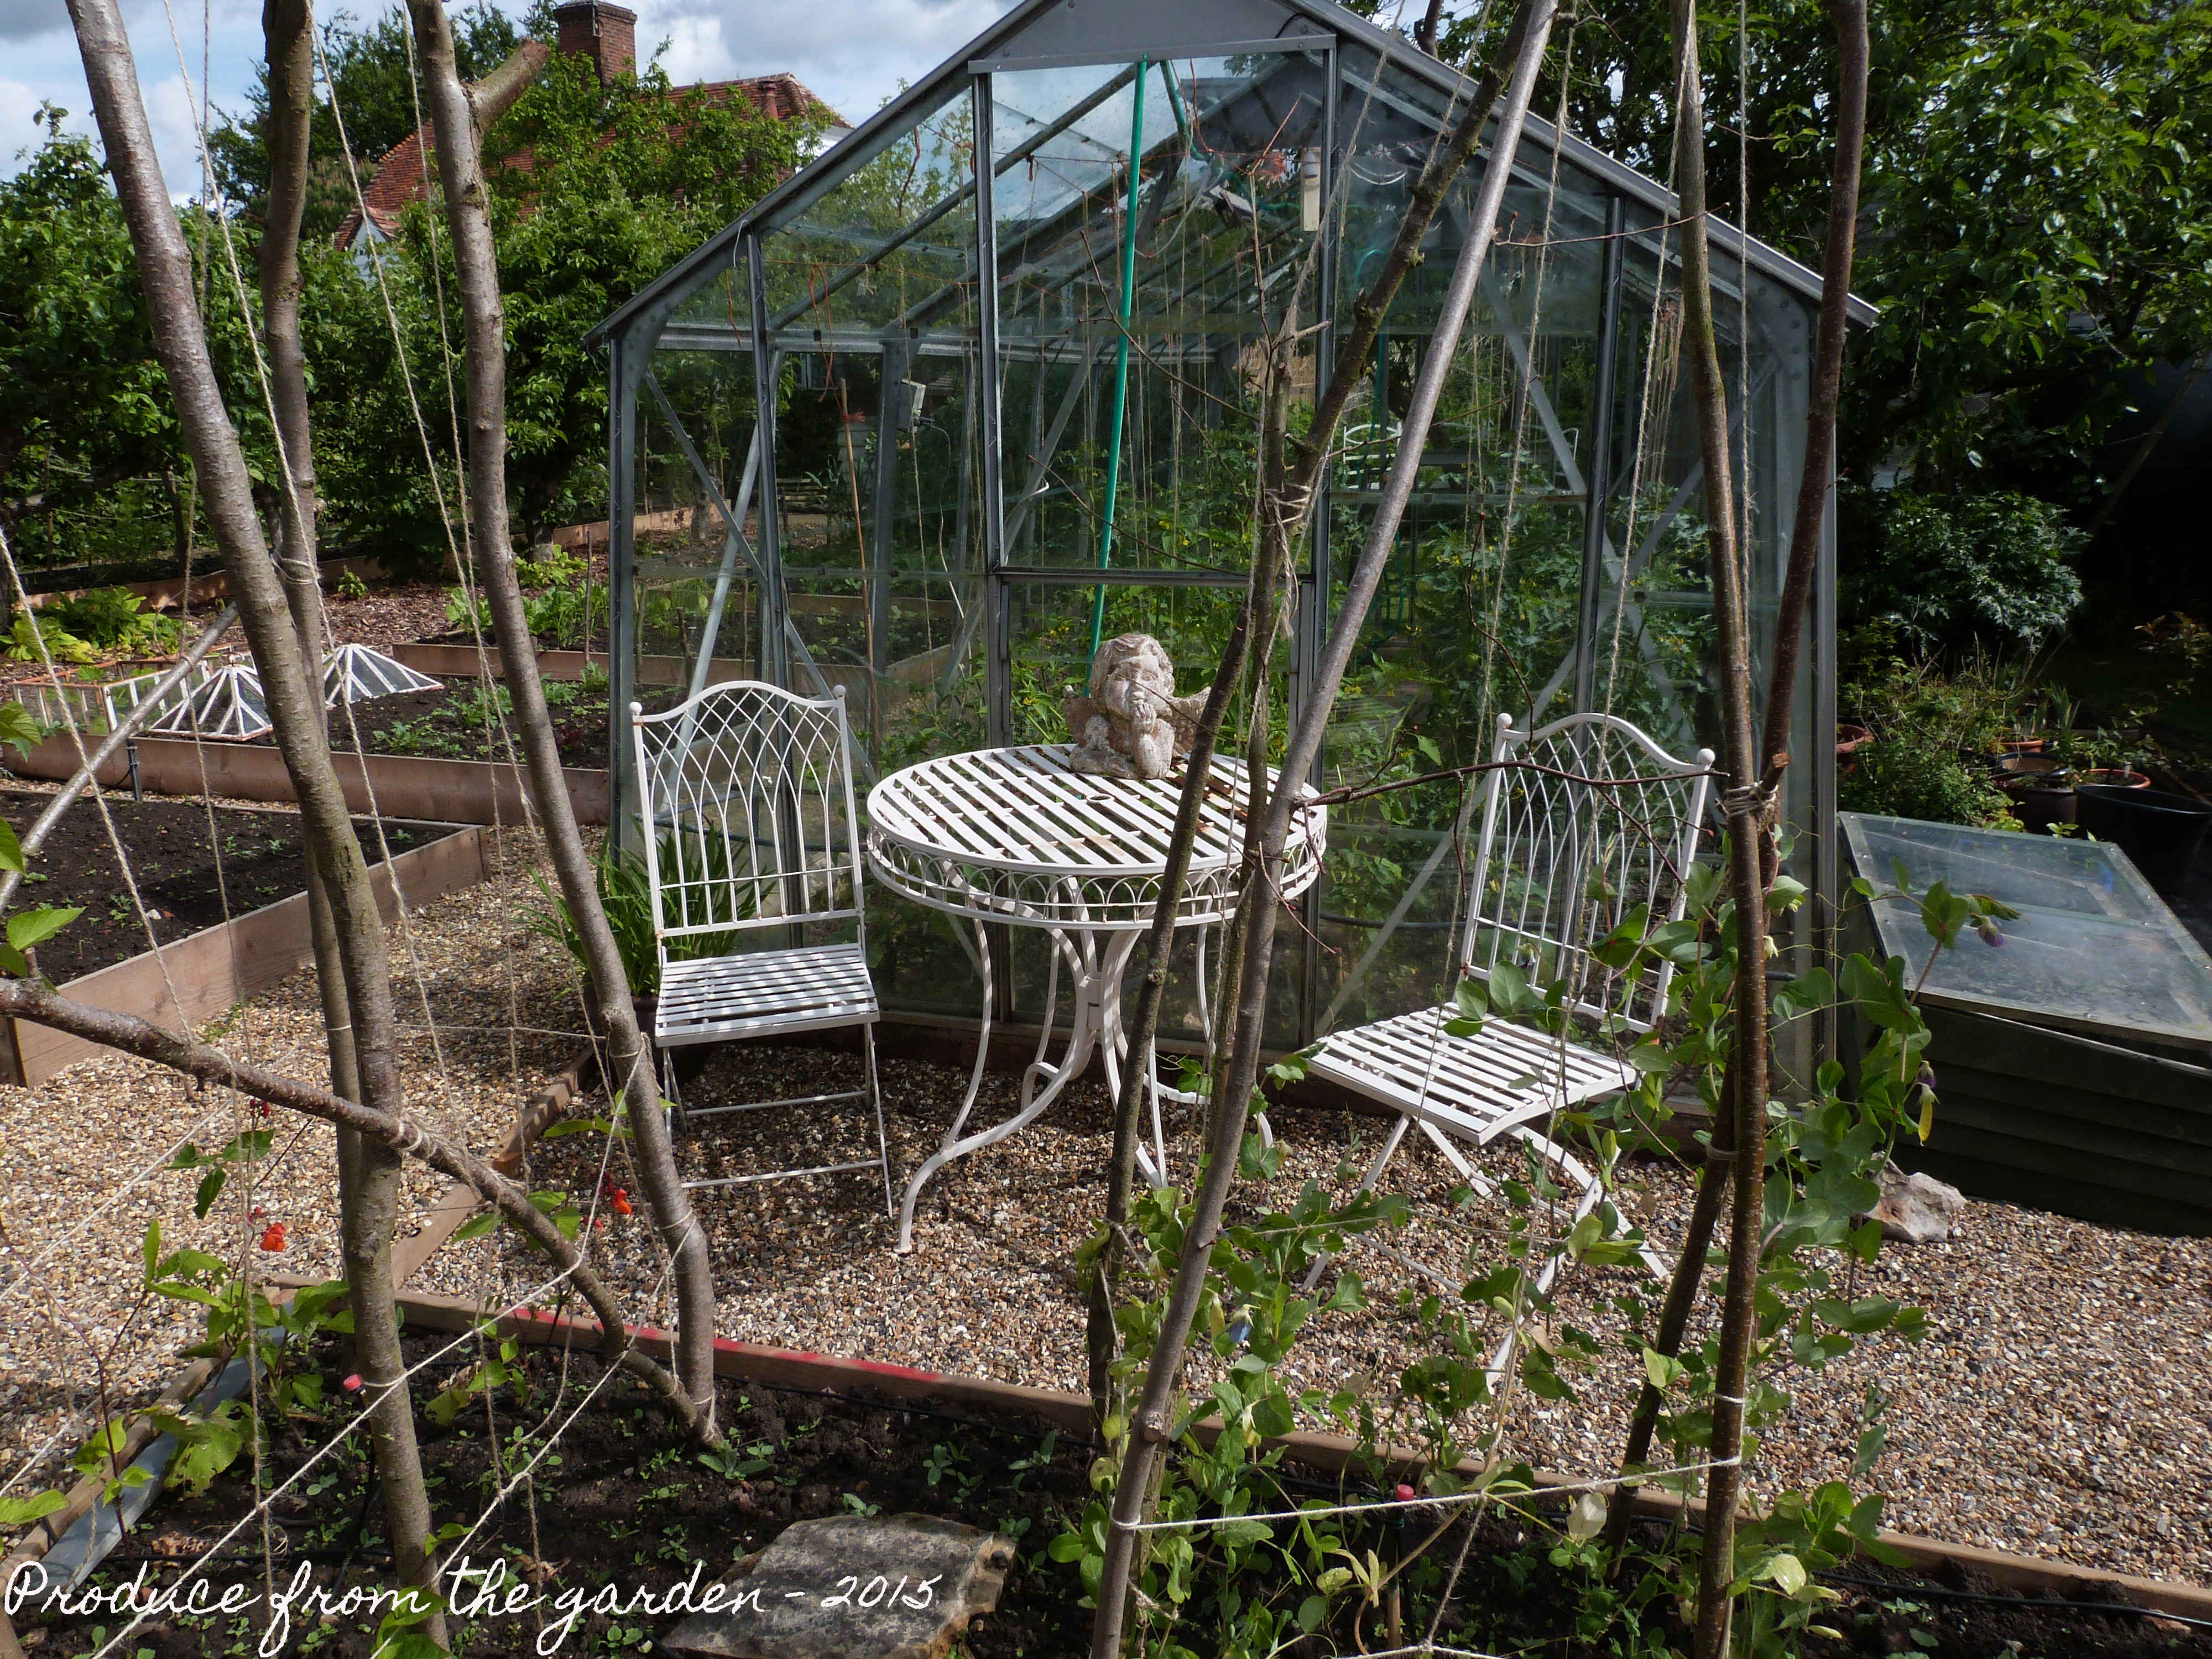
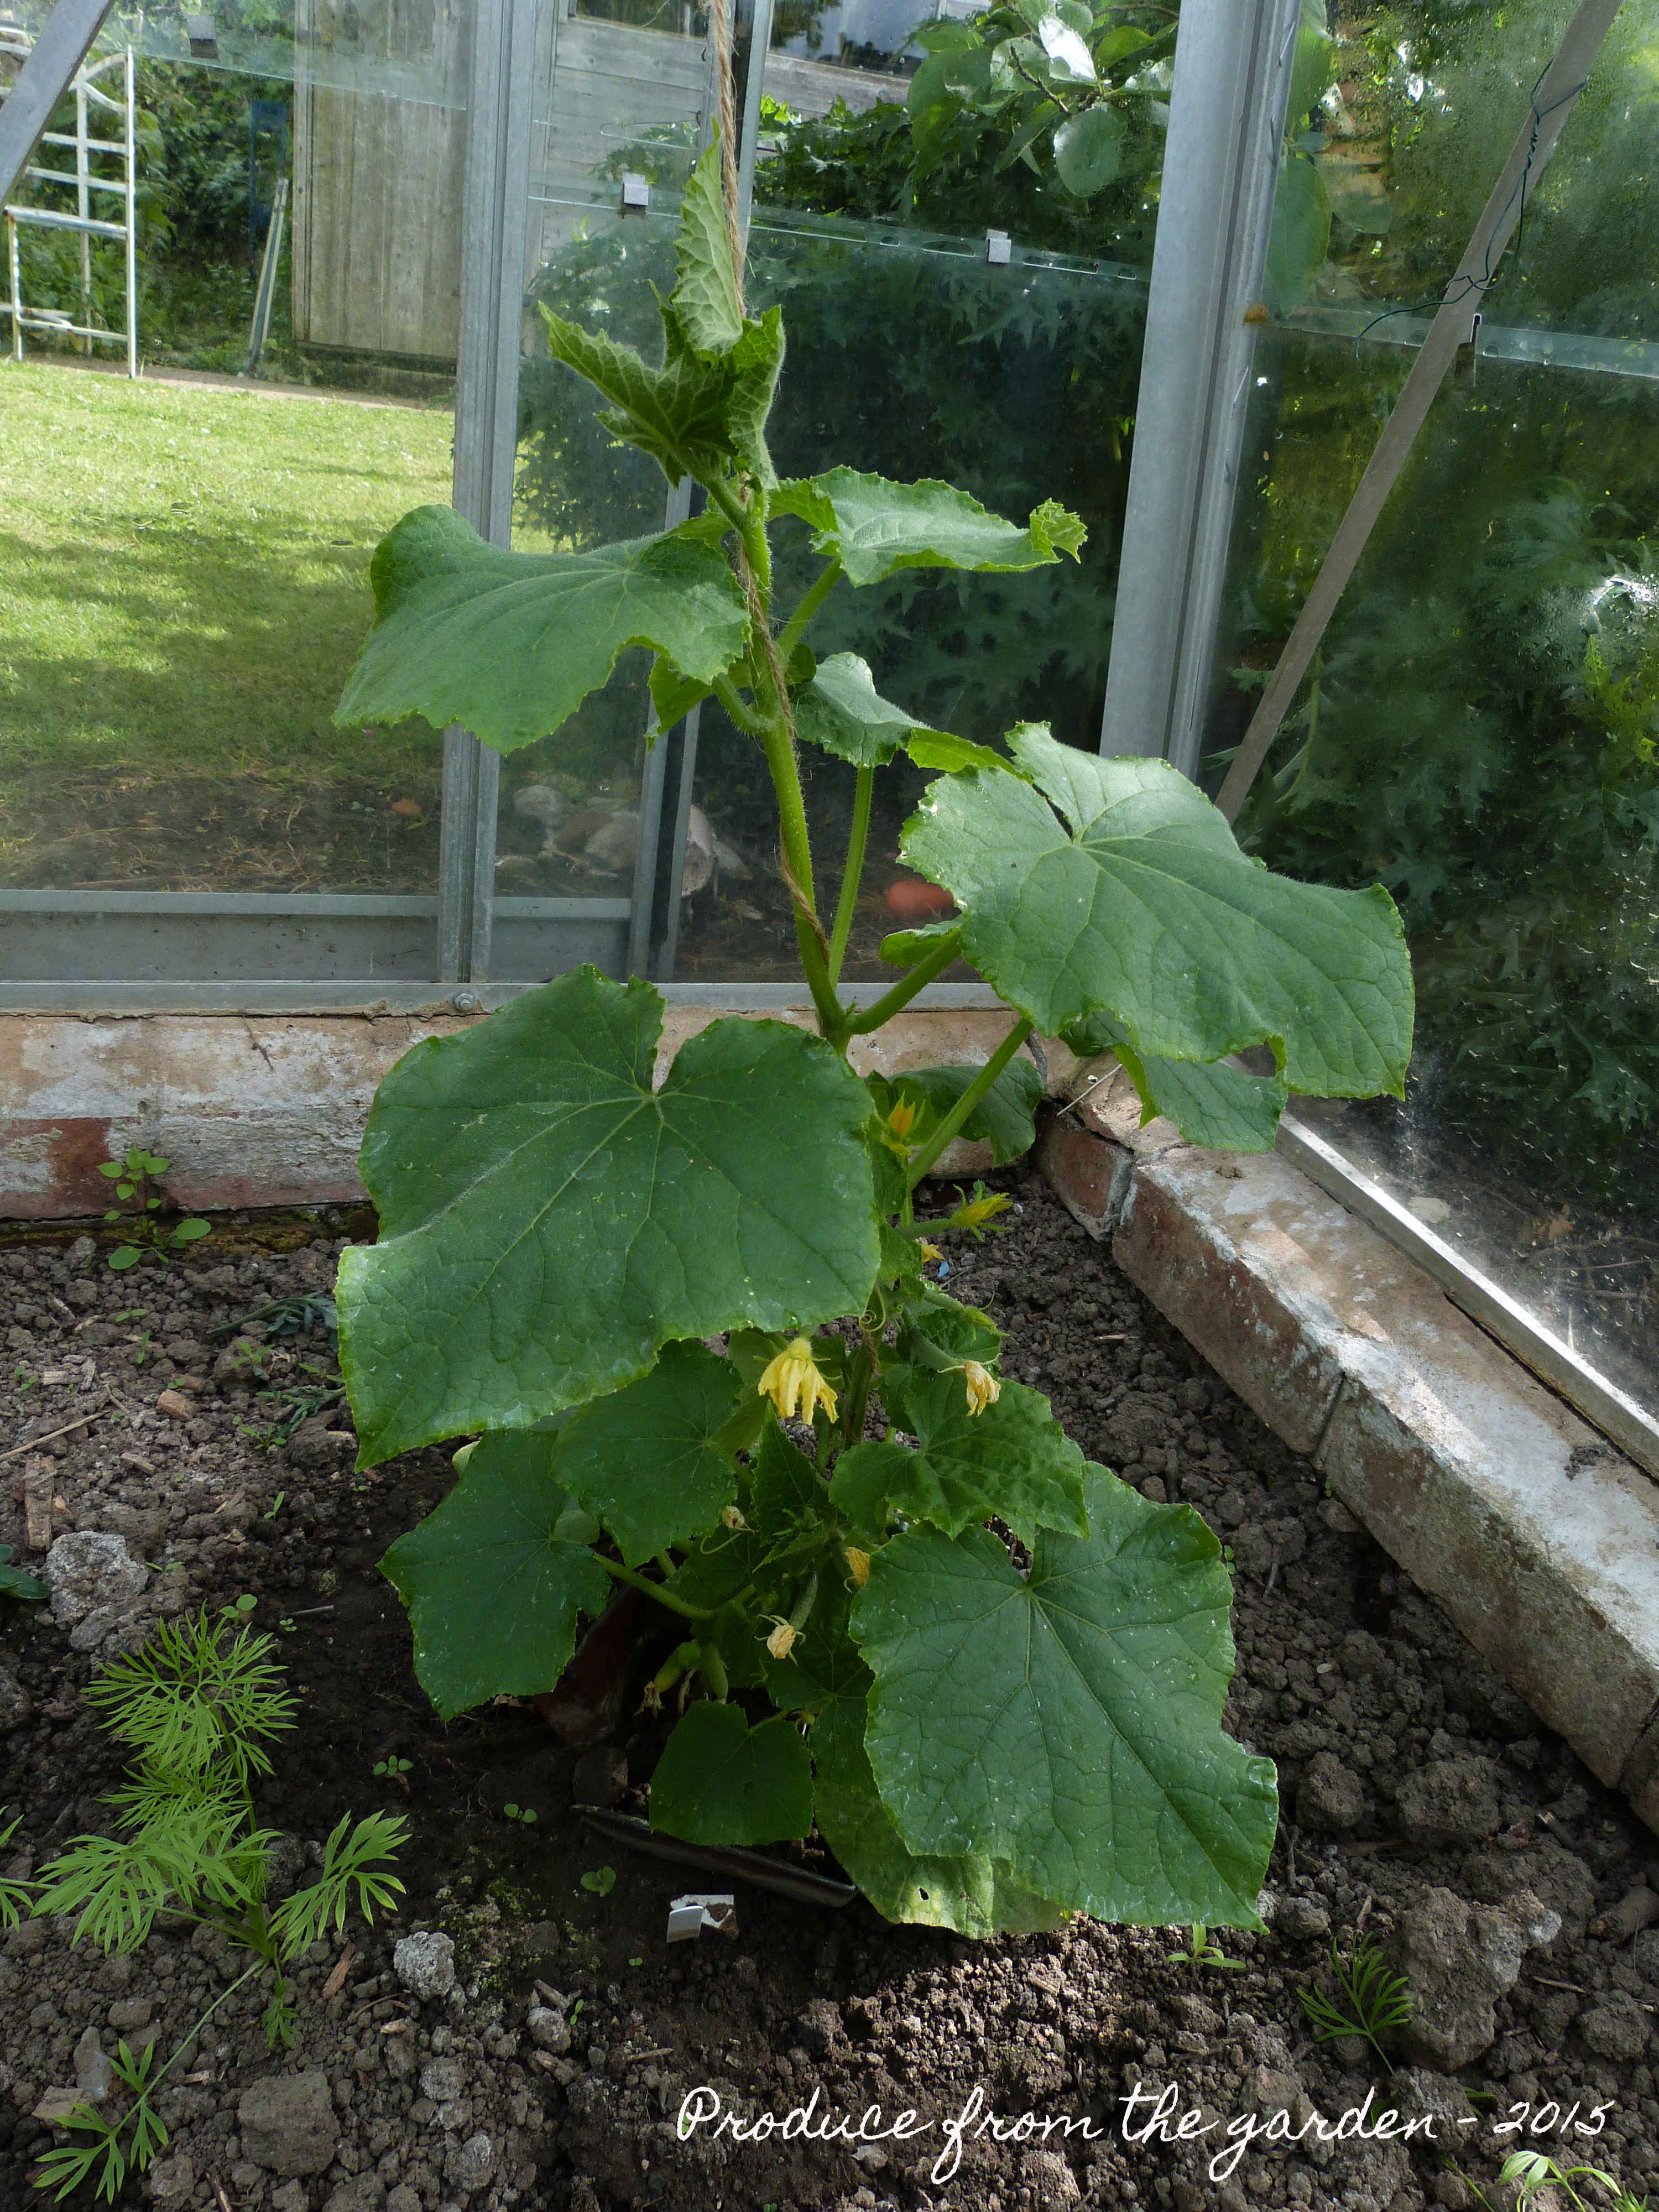
The greenhouse has thrived this month, we have lots of green tomatoes, a tomatillo forming, mini cucumbers and lots of basil, a companion plant for the tomatoes, the basil helps repel whitefly, mosquitoes, spider mites and aphids, it improves tomato health and flavour.
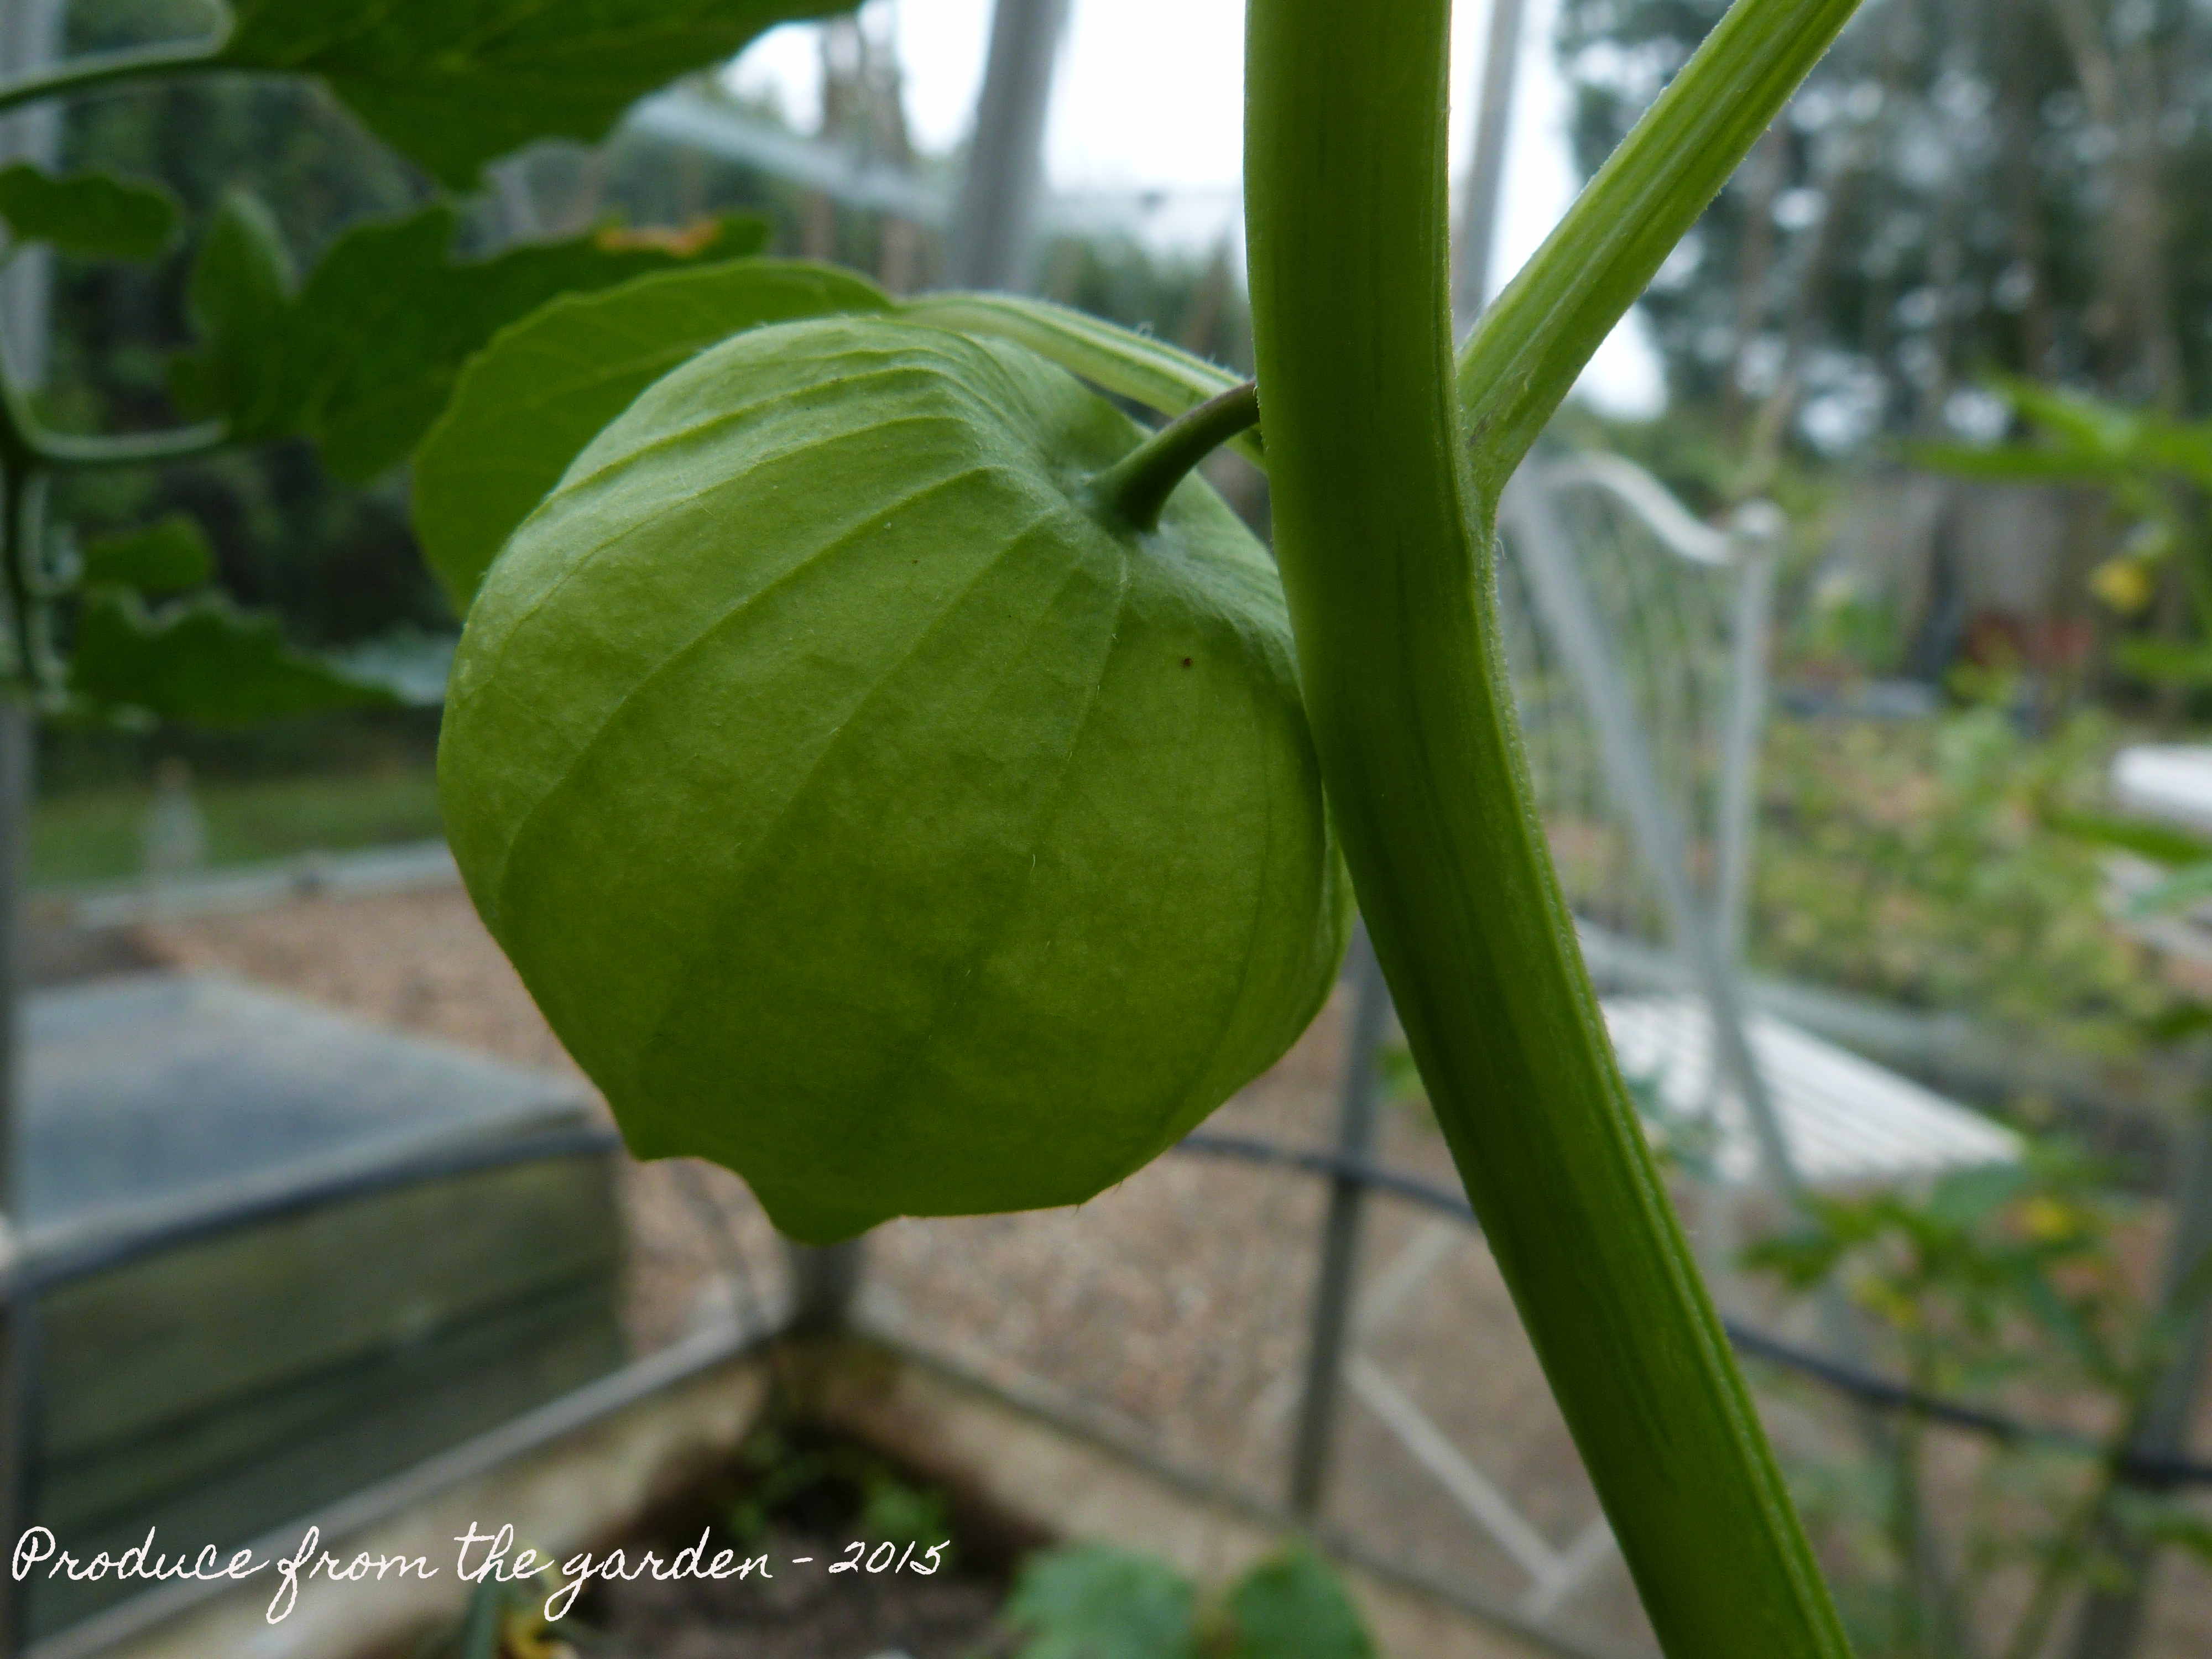 Tomatillo ripening
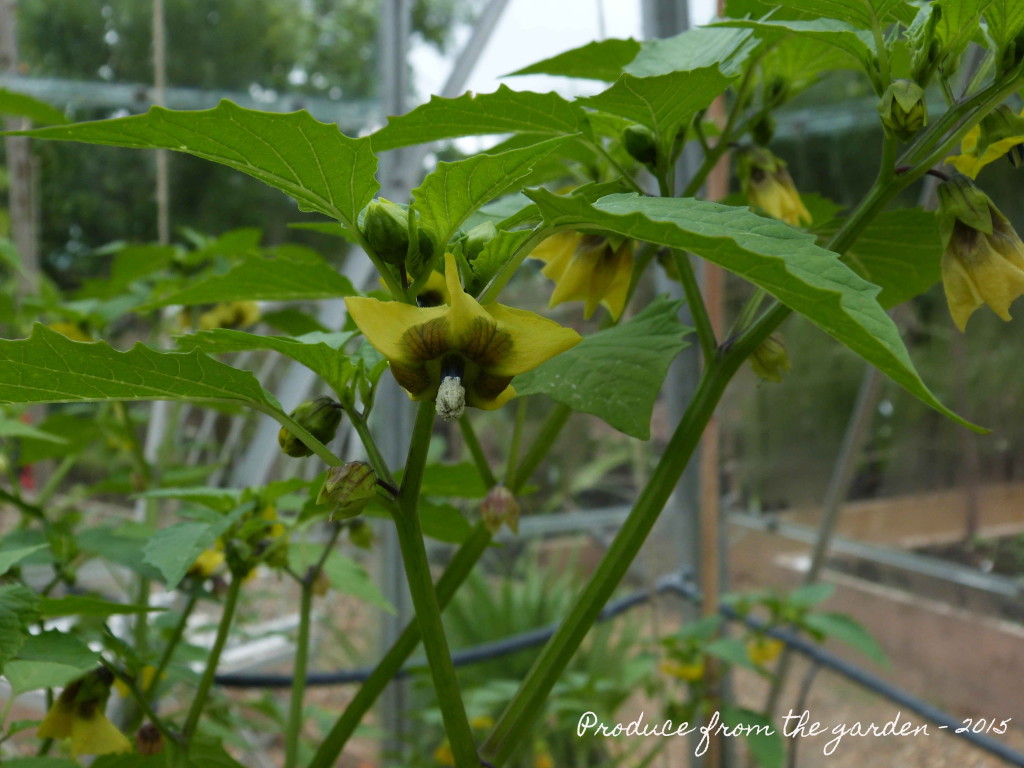 Tomatillo flowers
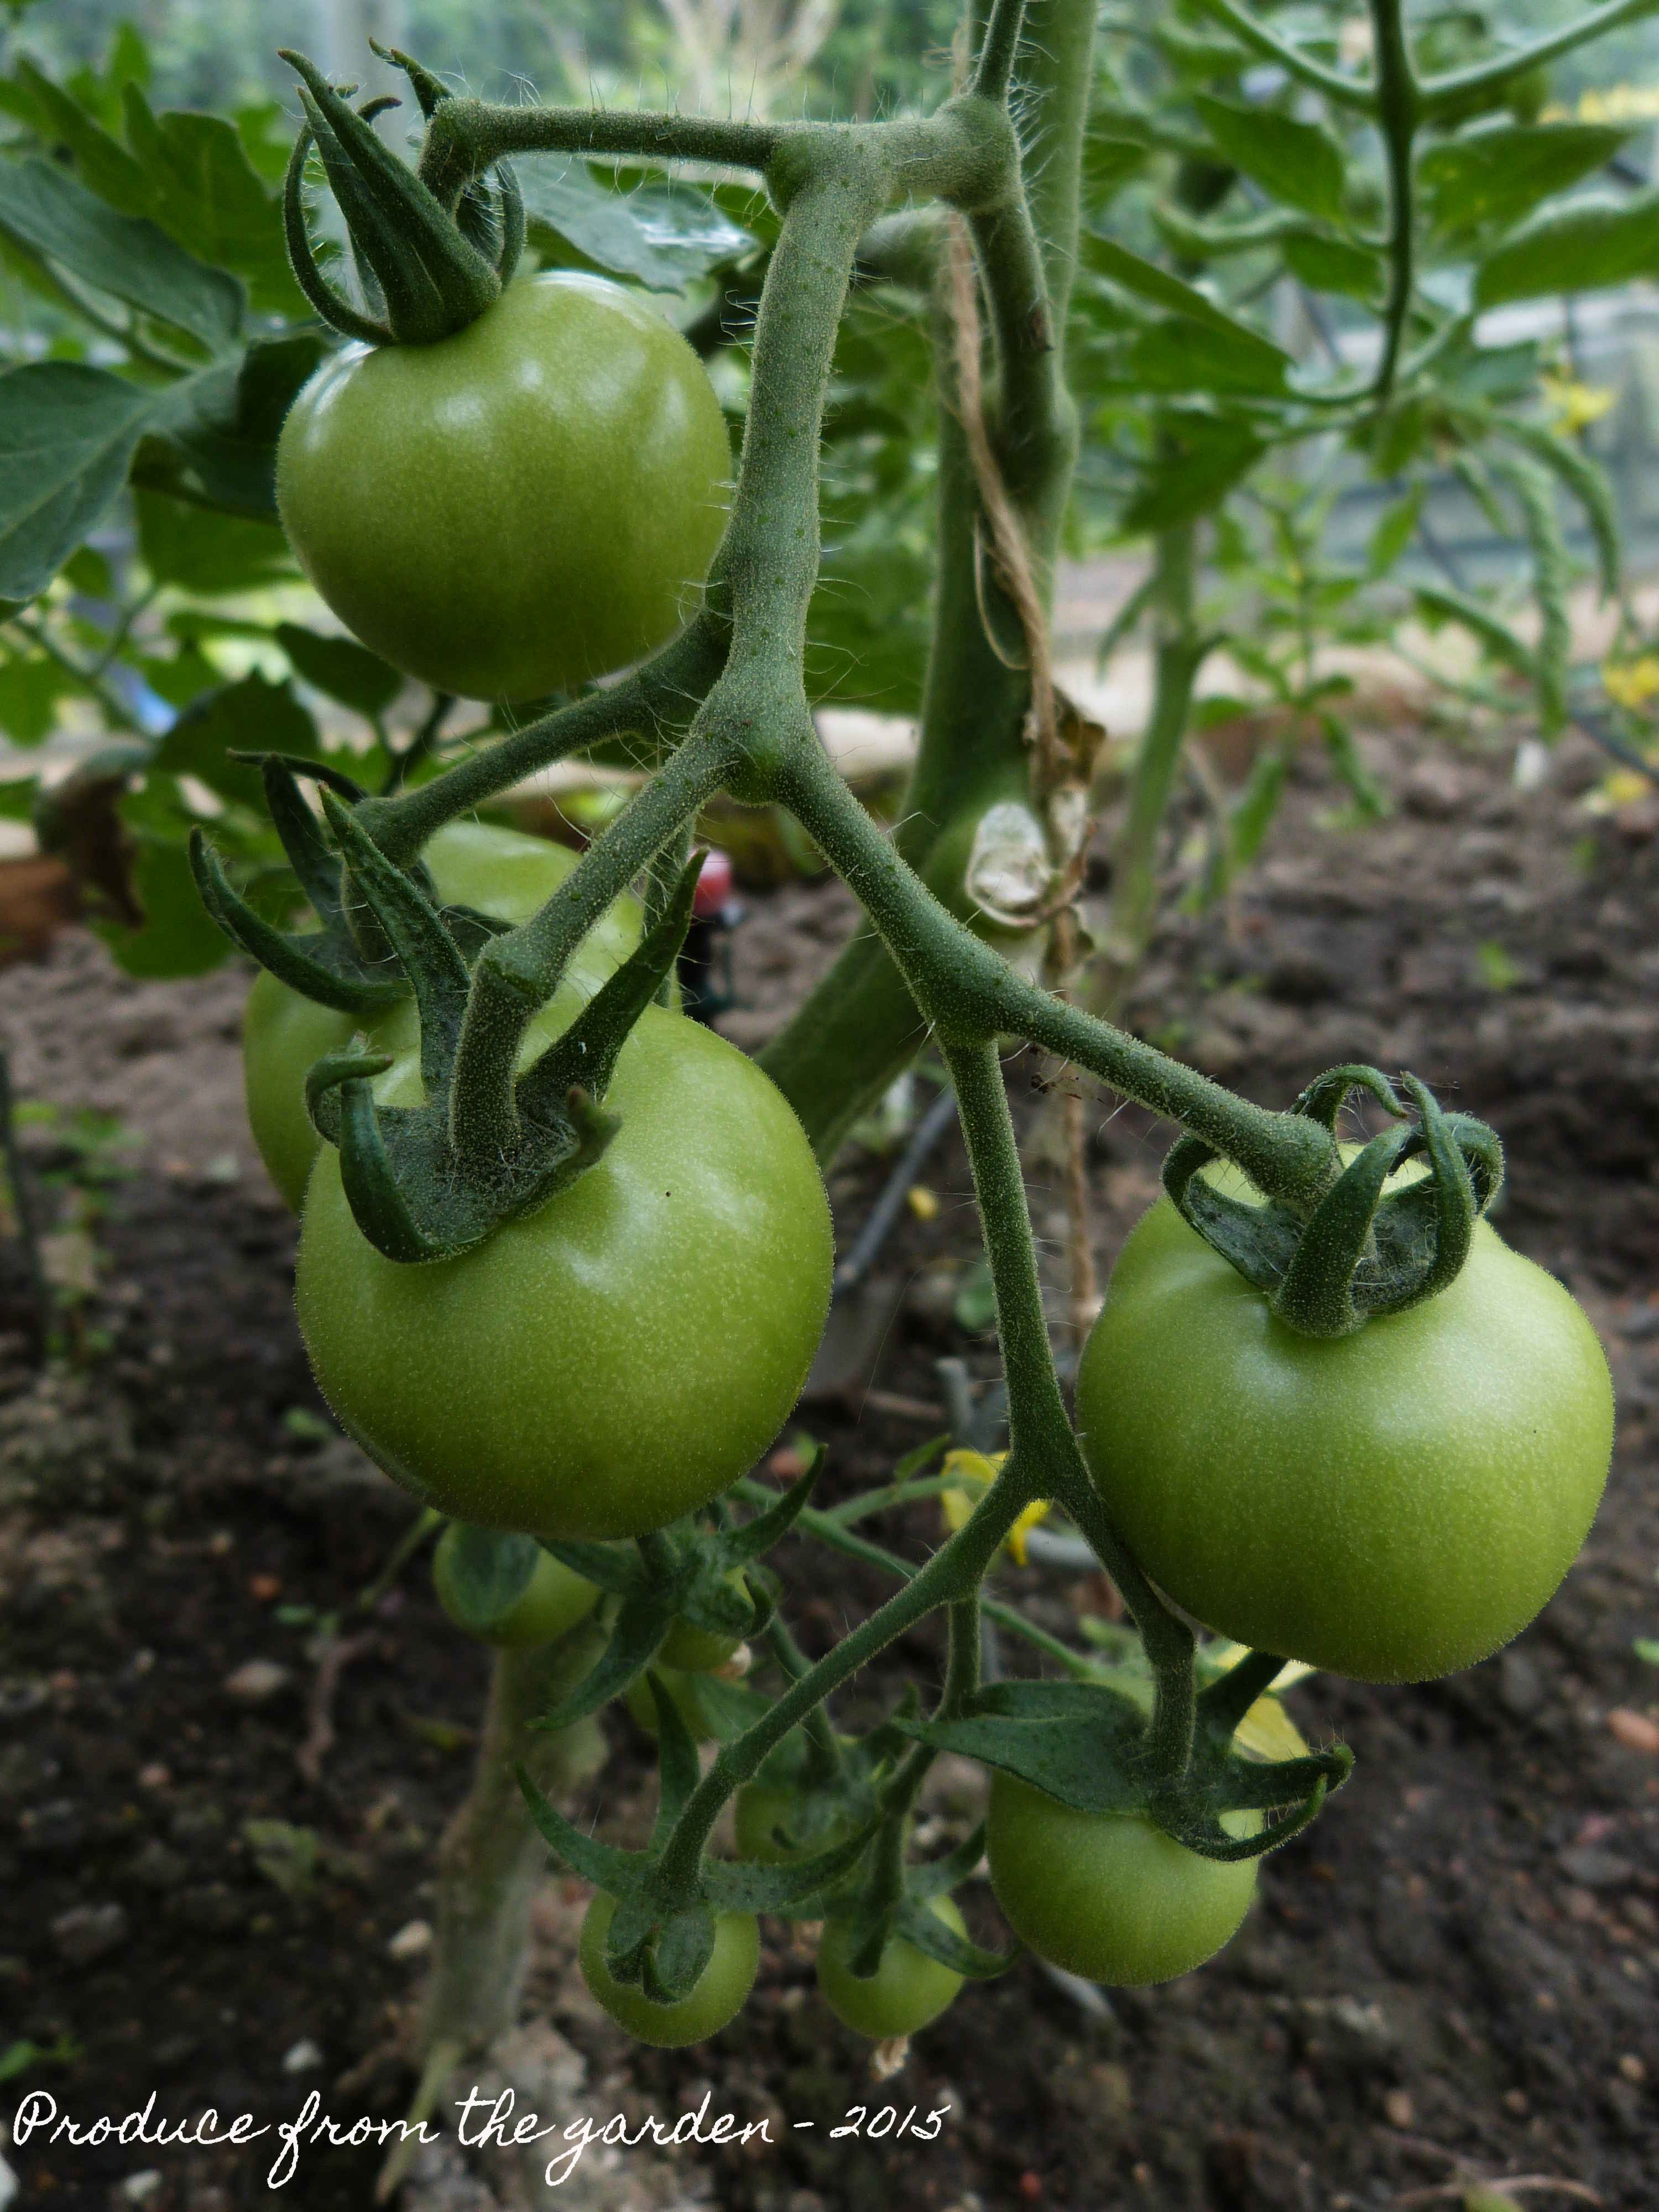 Green tomatoes
We’ve started to crop our perpetual spinach; this really is a kitchen garden essential. I only put last years plants on the compost heap last month. There aren’t many vegetables that provide produce 11 months of the year. The shallots which I sowed in modules and planted out without separating individual plants are doing really well; they seem to be spreading out making space for themselves. This is a great time saving tip for growing shallots from seed.
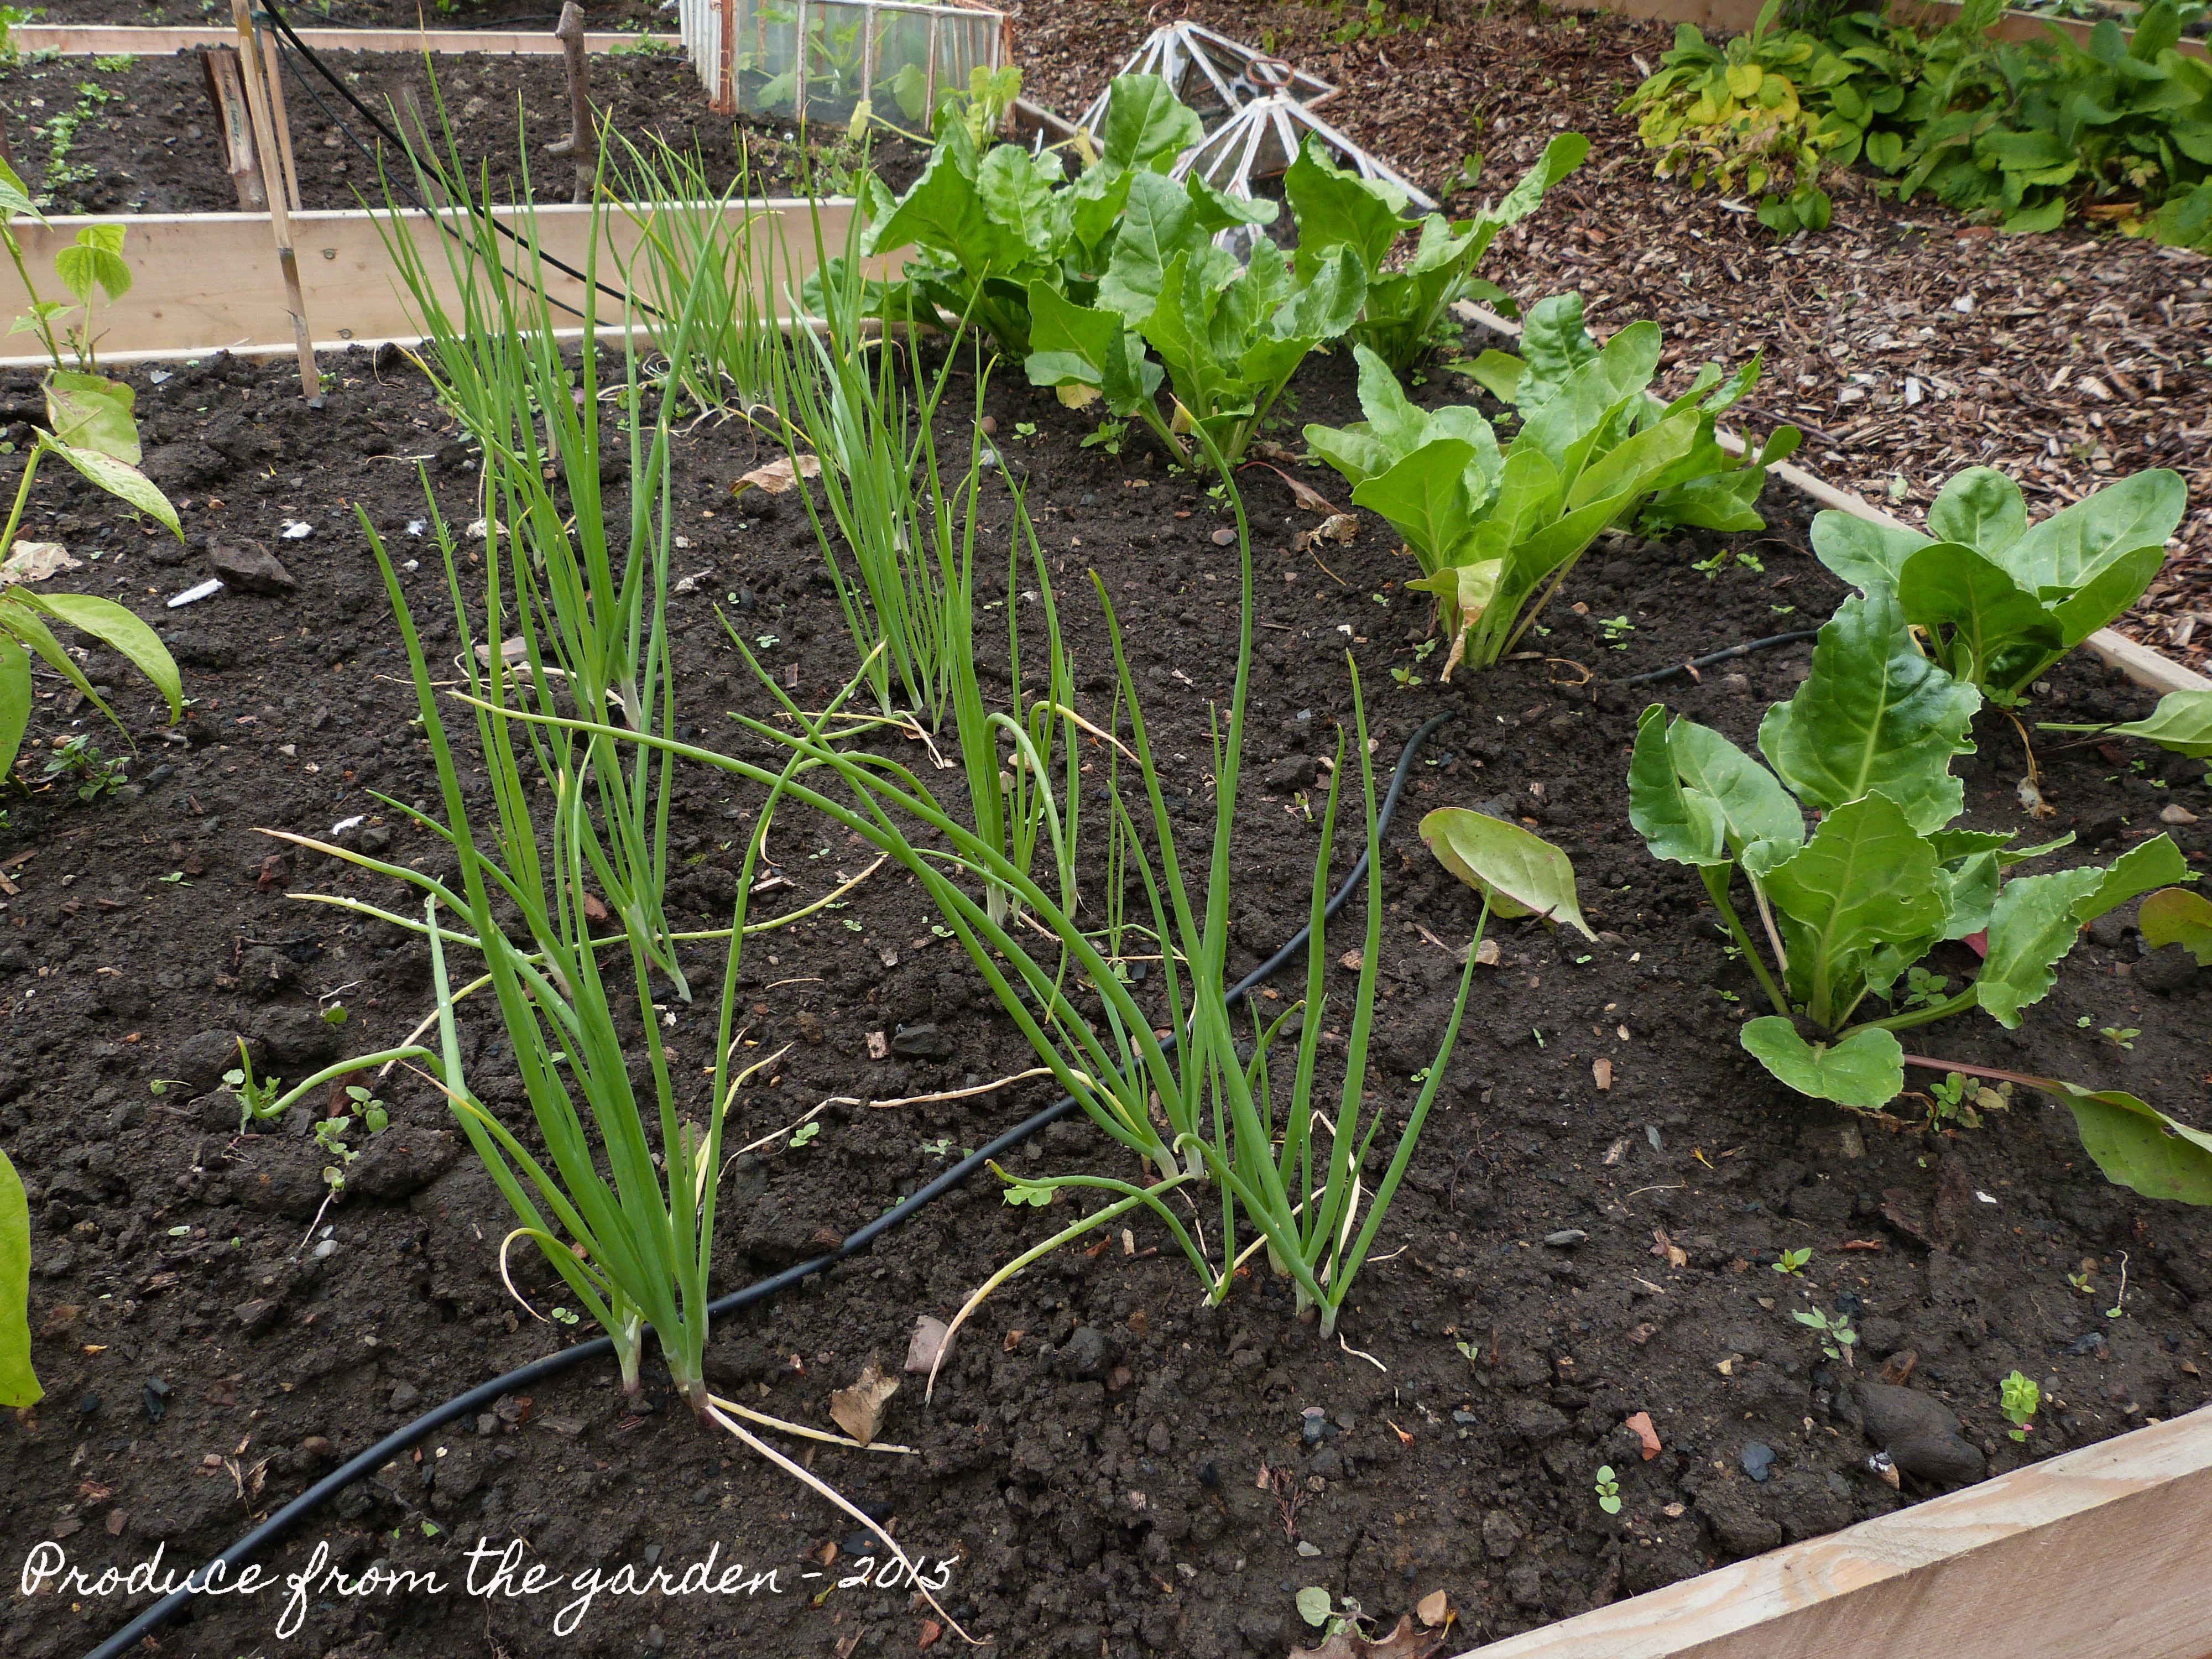 Shallots and perpetual spinach