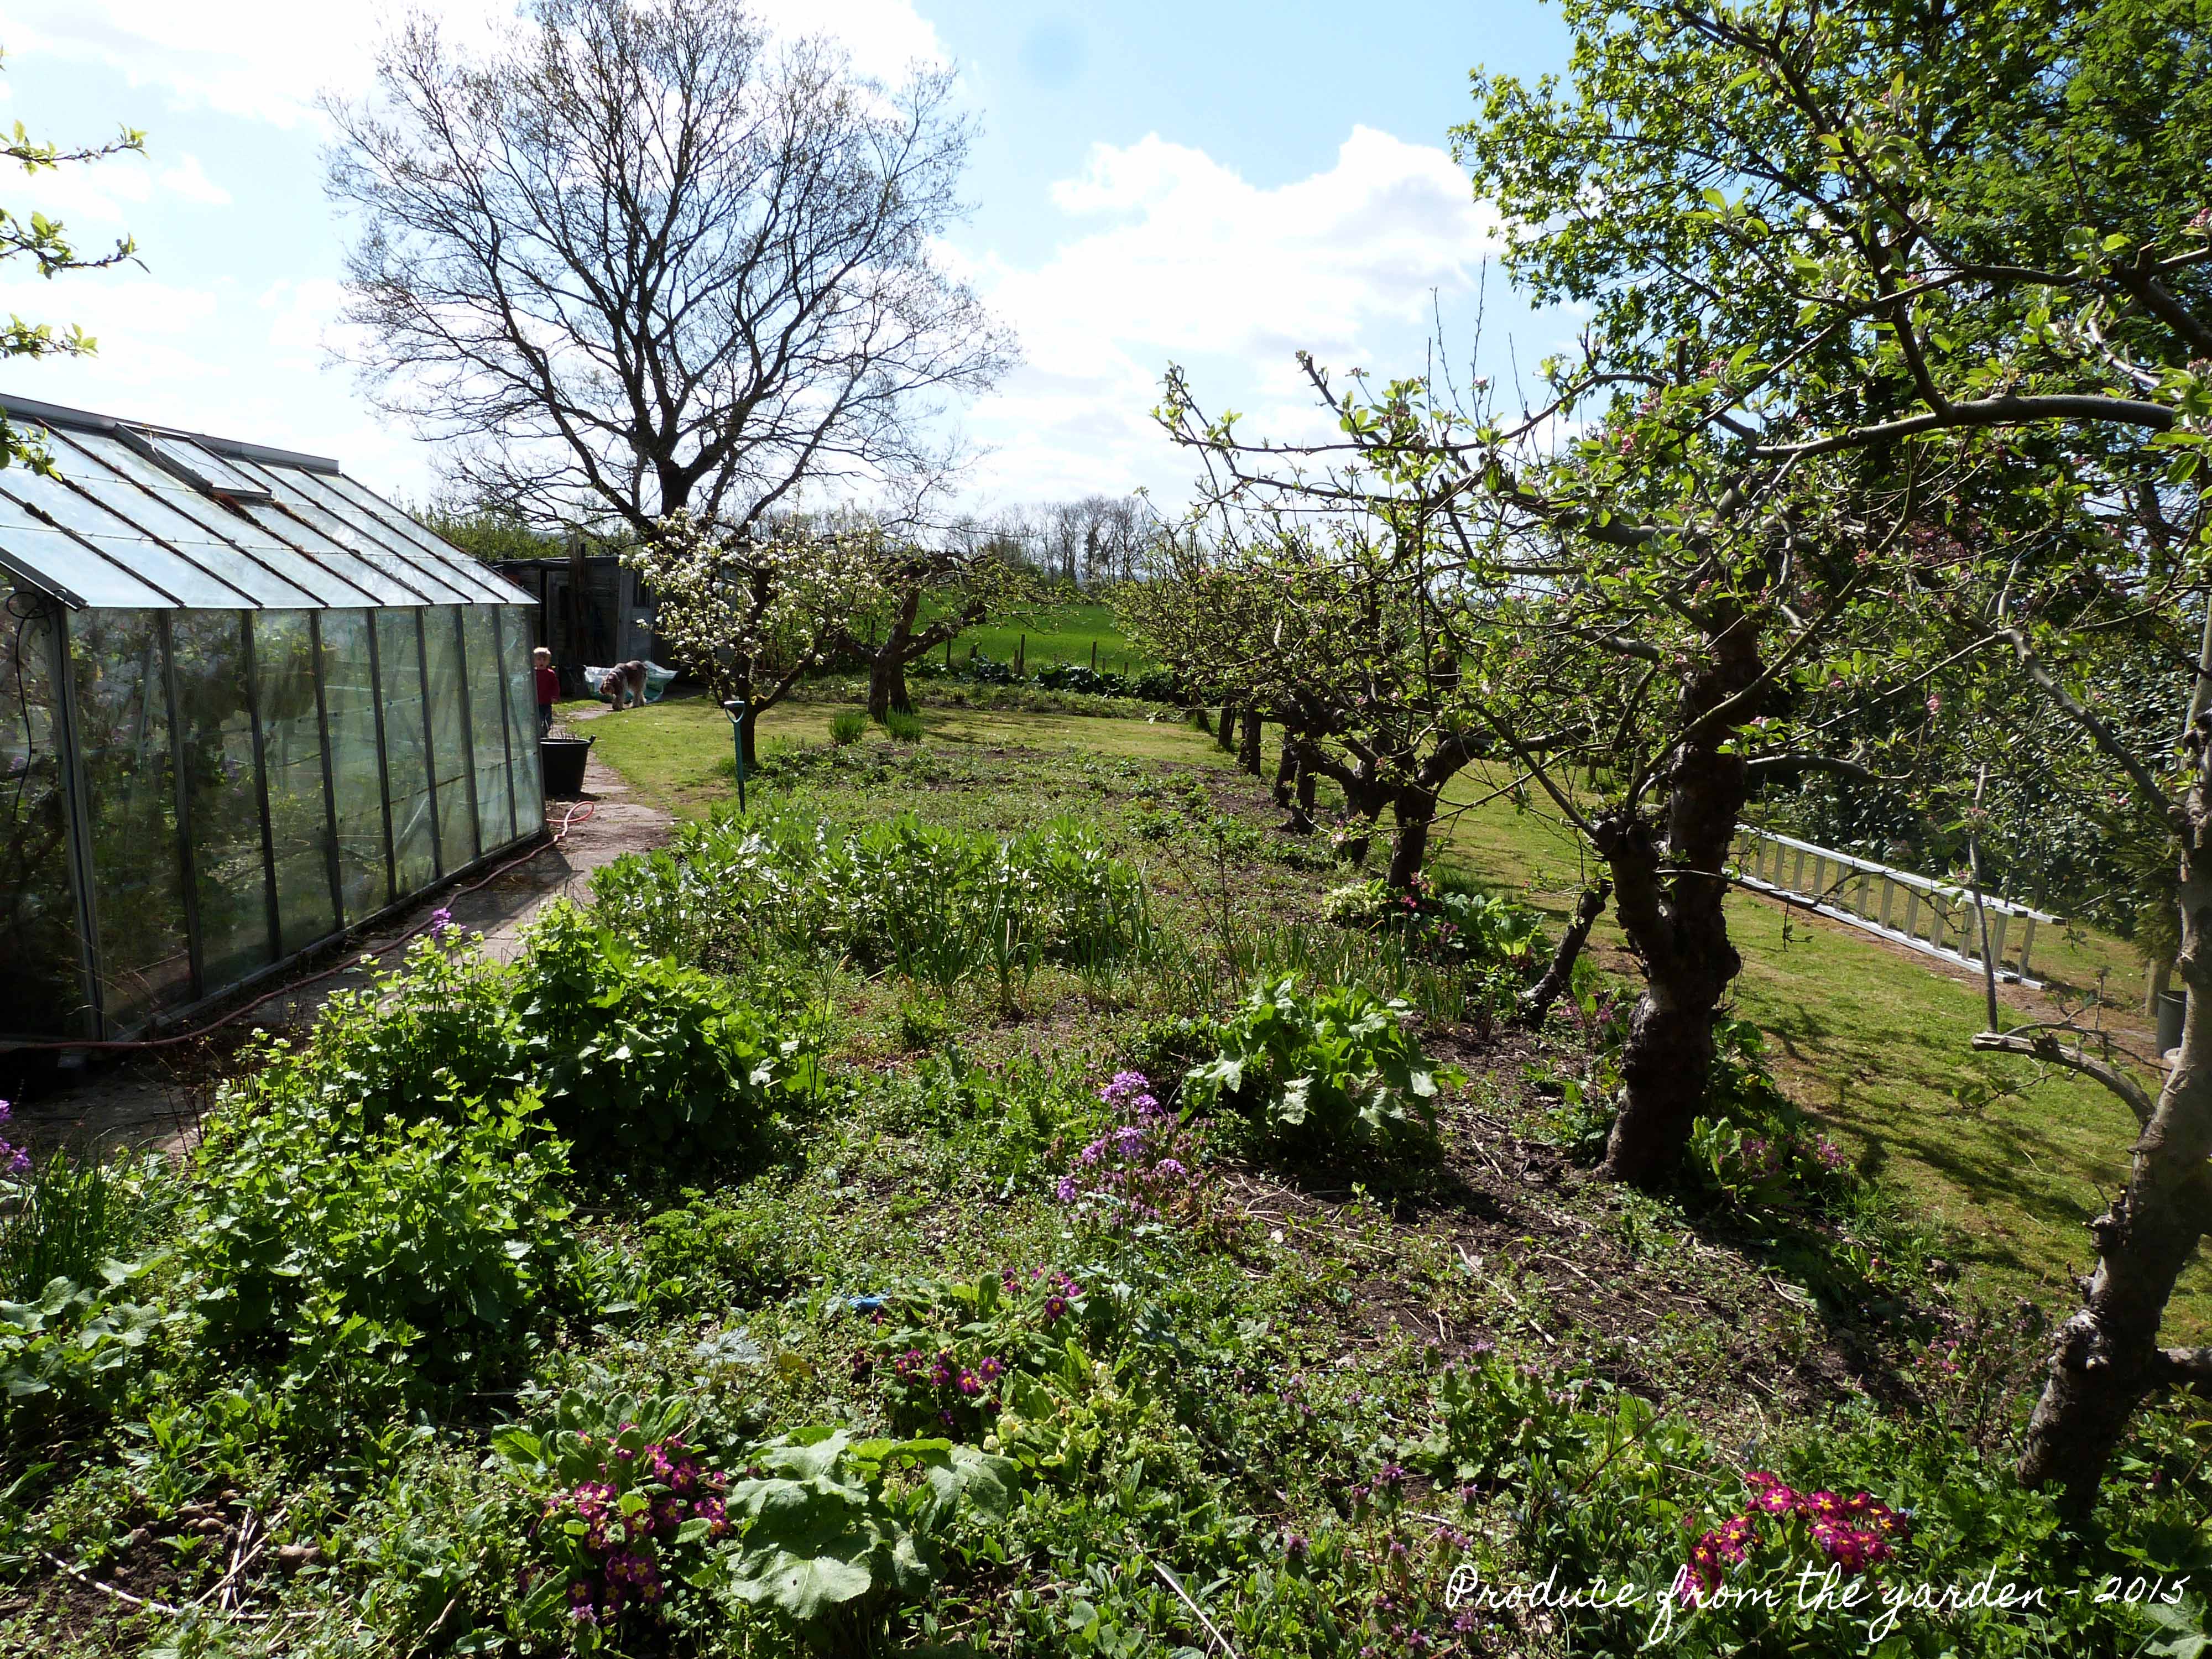
We have five Kentish cobnut trees which have been coppiced over the years, some much longer ago than others. My plan is to coppice one a year, after 5 years I should be ready to coppice again from the first one. I use hazel or chestnut stakes as bean poles, plant labels/markers, staking and supporting dahlias and the frame for netting in the cutting garden, supporting the stems. I far prefer the rustic look of coppiced hazel to bamboo canes, I banish them from my veg plot several years ago. So I was thrilled to have my own supply of hazel poles in the garden.
Coppicing needs to be carried out in February/March, before any new growth/leaves emerge. Each branch needs to be cut 5cm from the ground. I persuaded the husband that this would be a nice easy Sunday job to help me with. I choose the largest tree with the thickest branches.
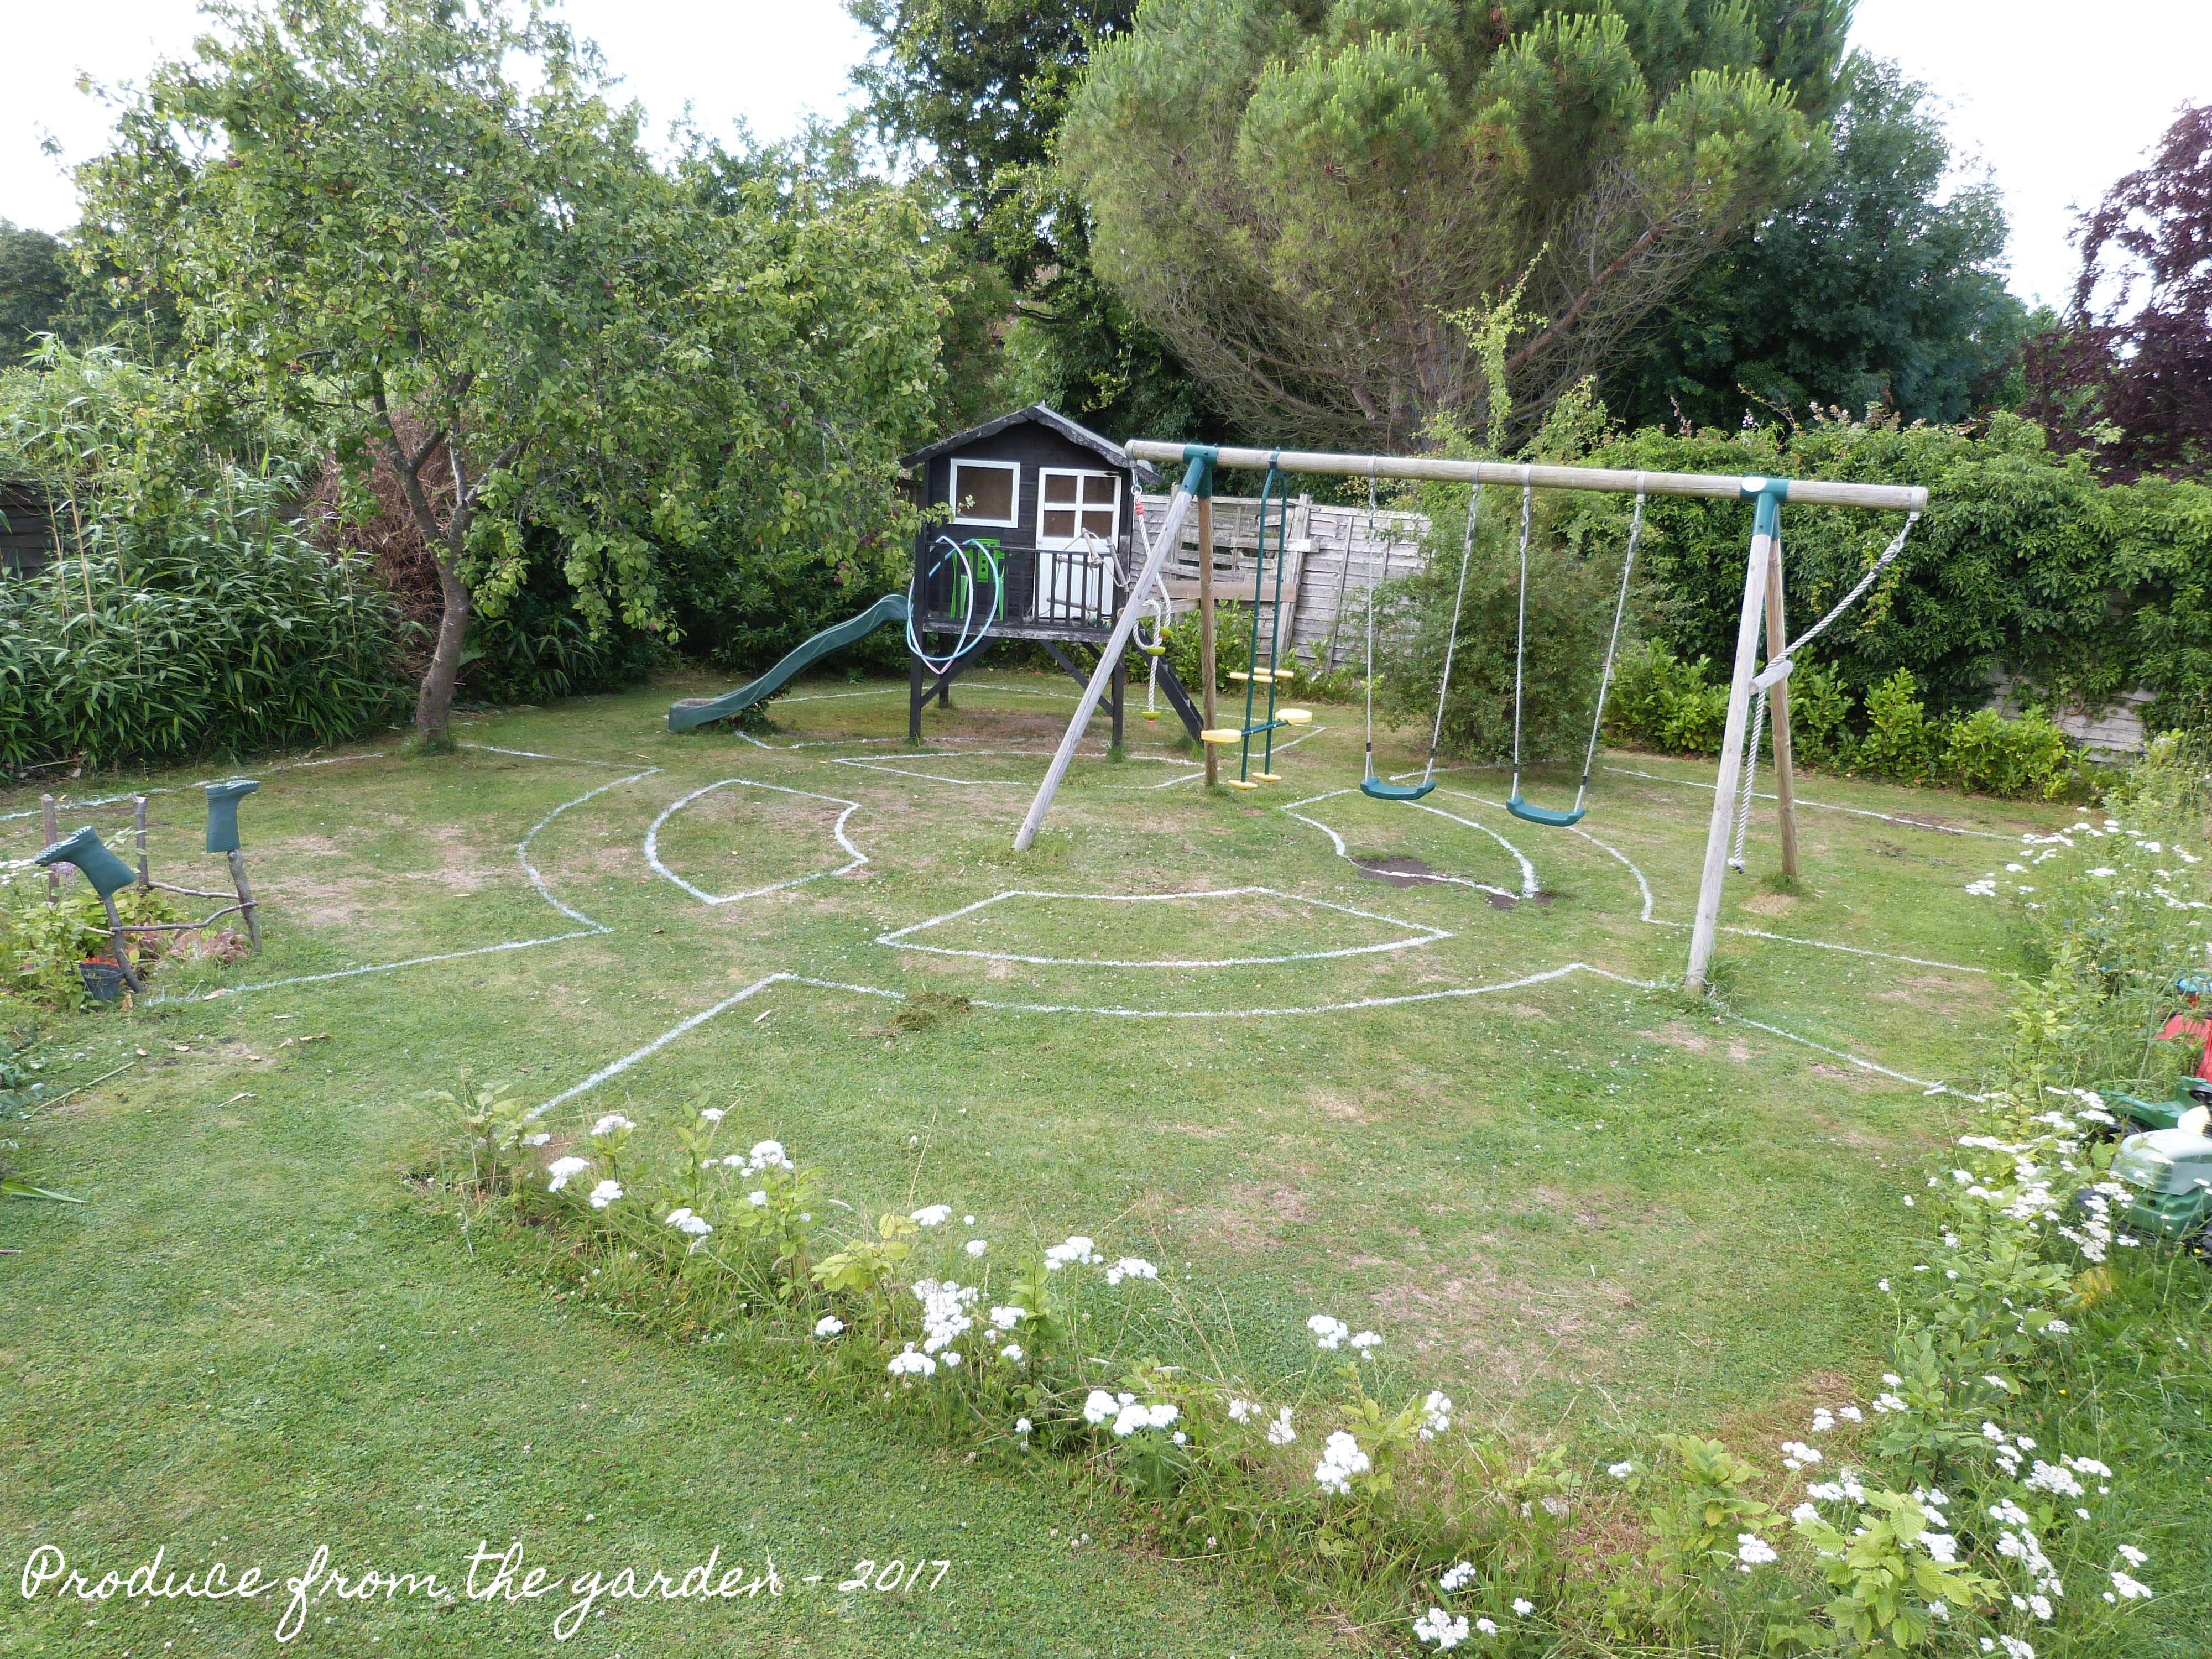
 The chosen Cobnut tree for coppicing
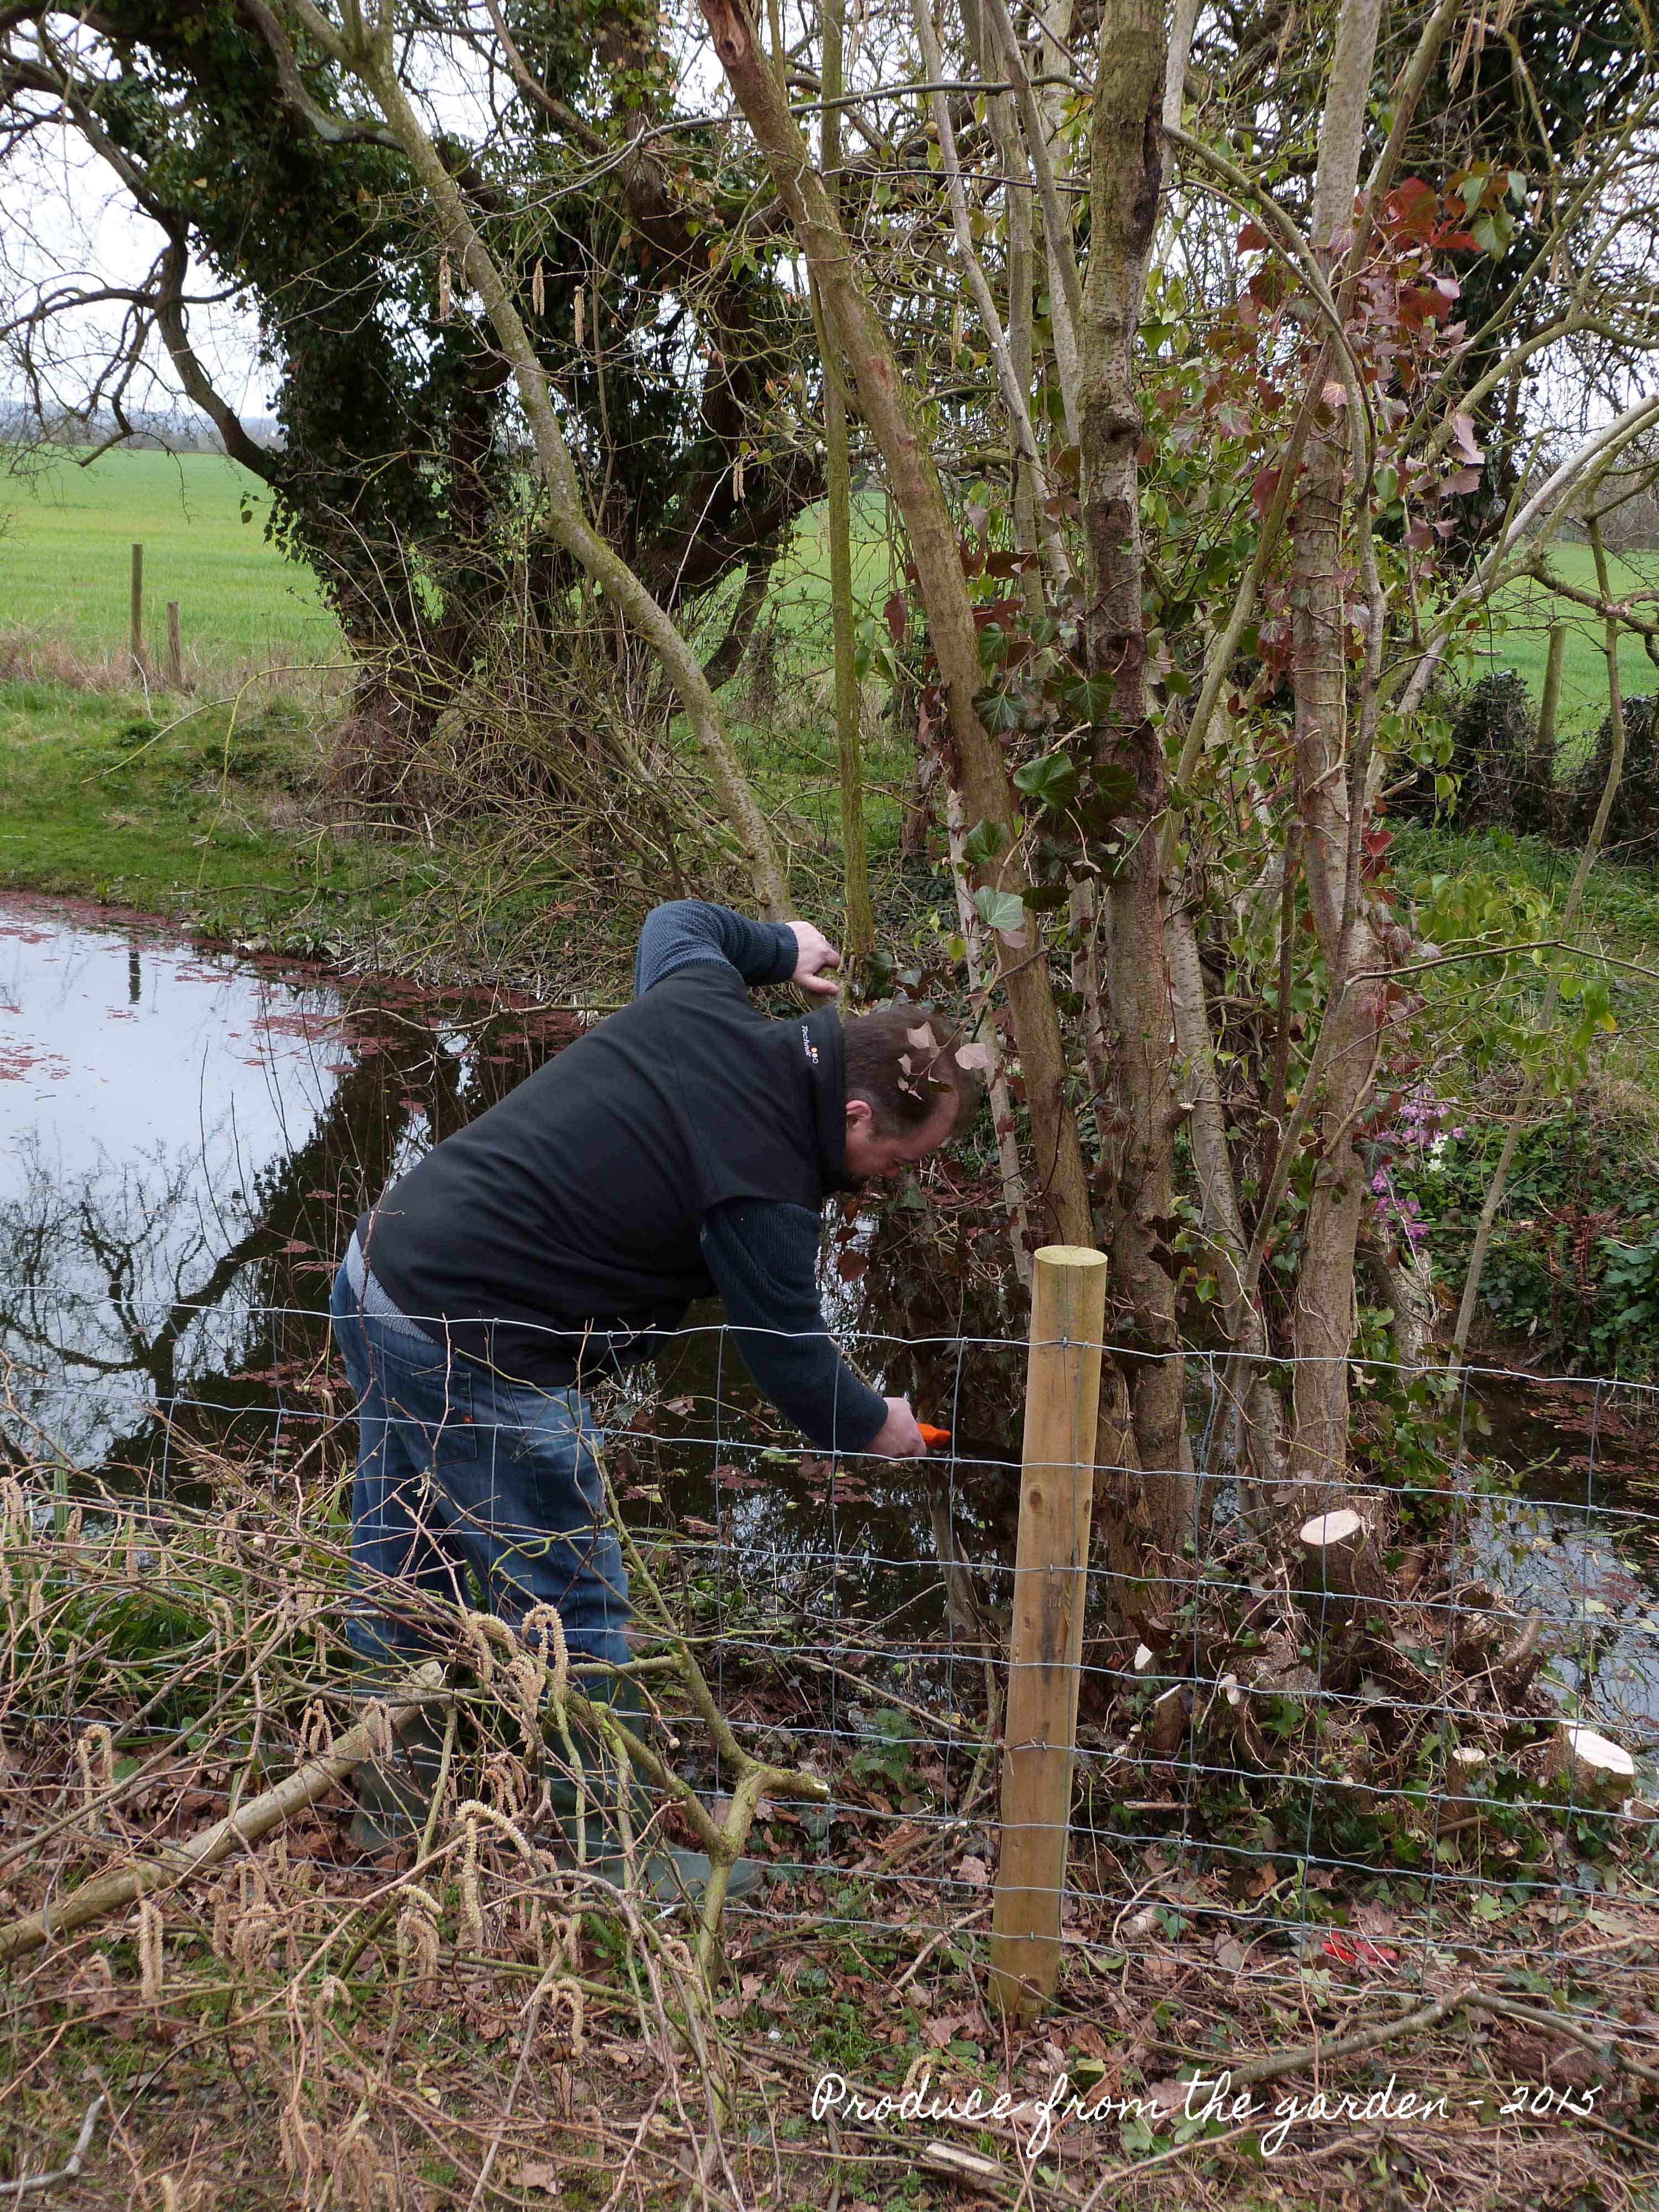
My initial enthusiasm for this job started to quash whilst sawing the branches. I counted 20 rings (20 years of growth) on one branch which was getting on for 10-15m high. All the branches seemed to be tangled at the top so once I’d sawn through, it was impossible to pull away from the tree, held firm by a web of branches up above. Many of the branches overhung the pond, I was in real danger of a soaking, not palatable for a Sunday morning in March! After 20 minutes I retreated to the house, looking for the husband who had agreed to help. As you can see he took over, mumbling under his breath that this was a job for a chain saw (our cheap chain saw has given up working and sits in a puddle of oil in the garage!). 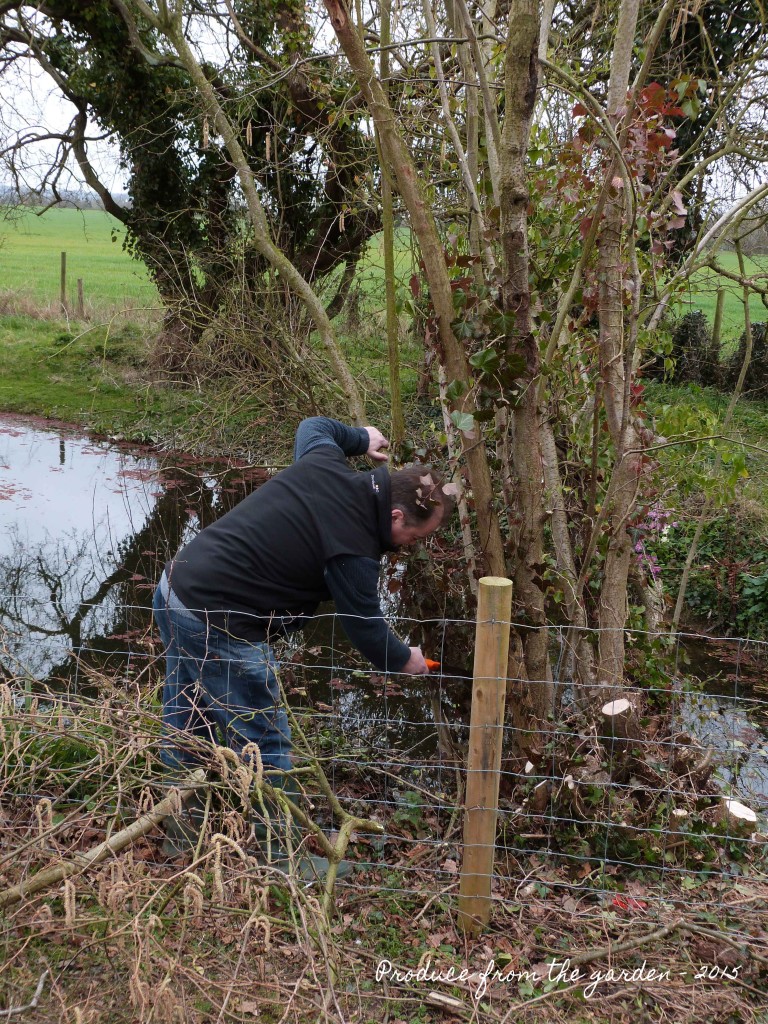
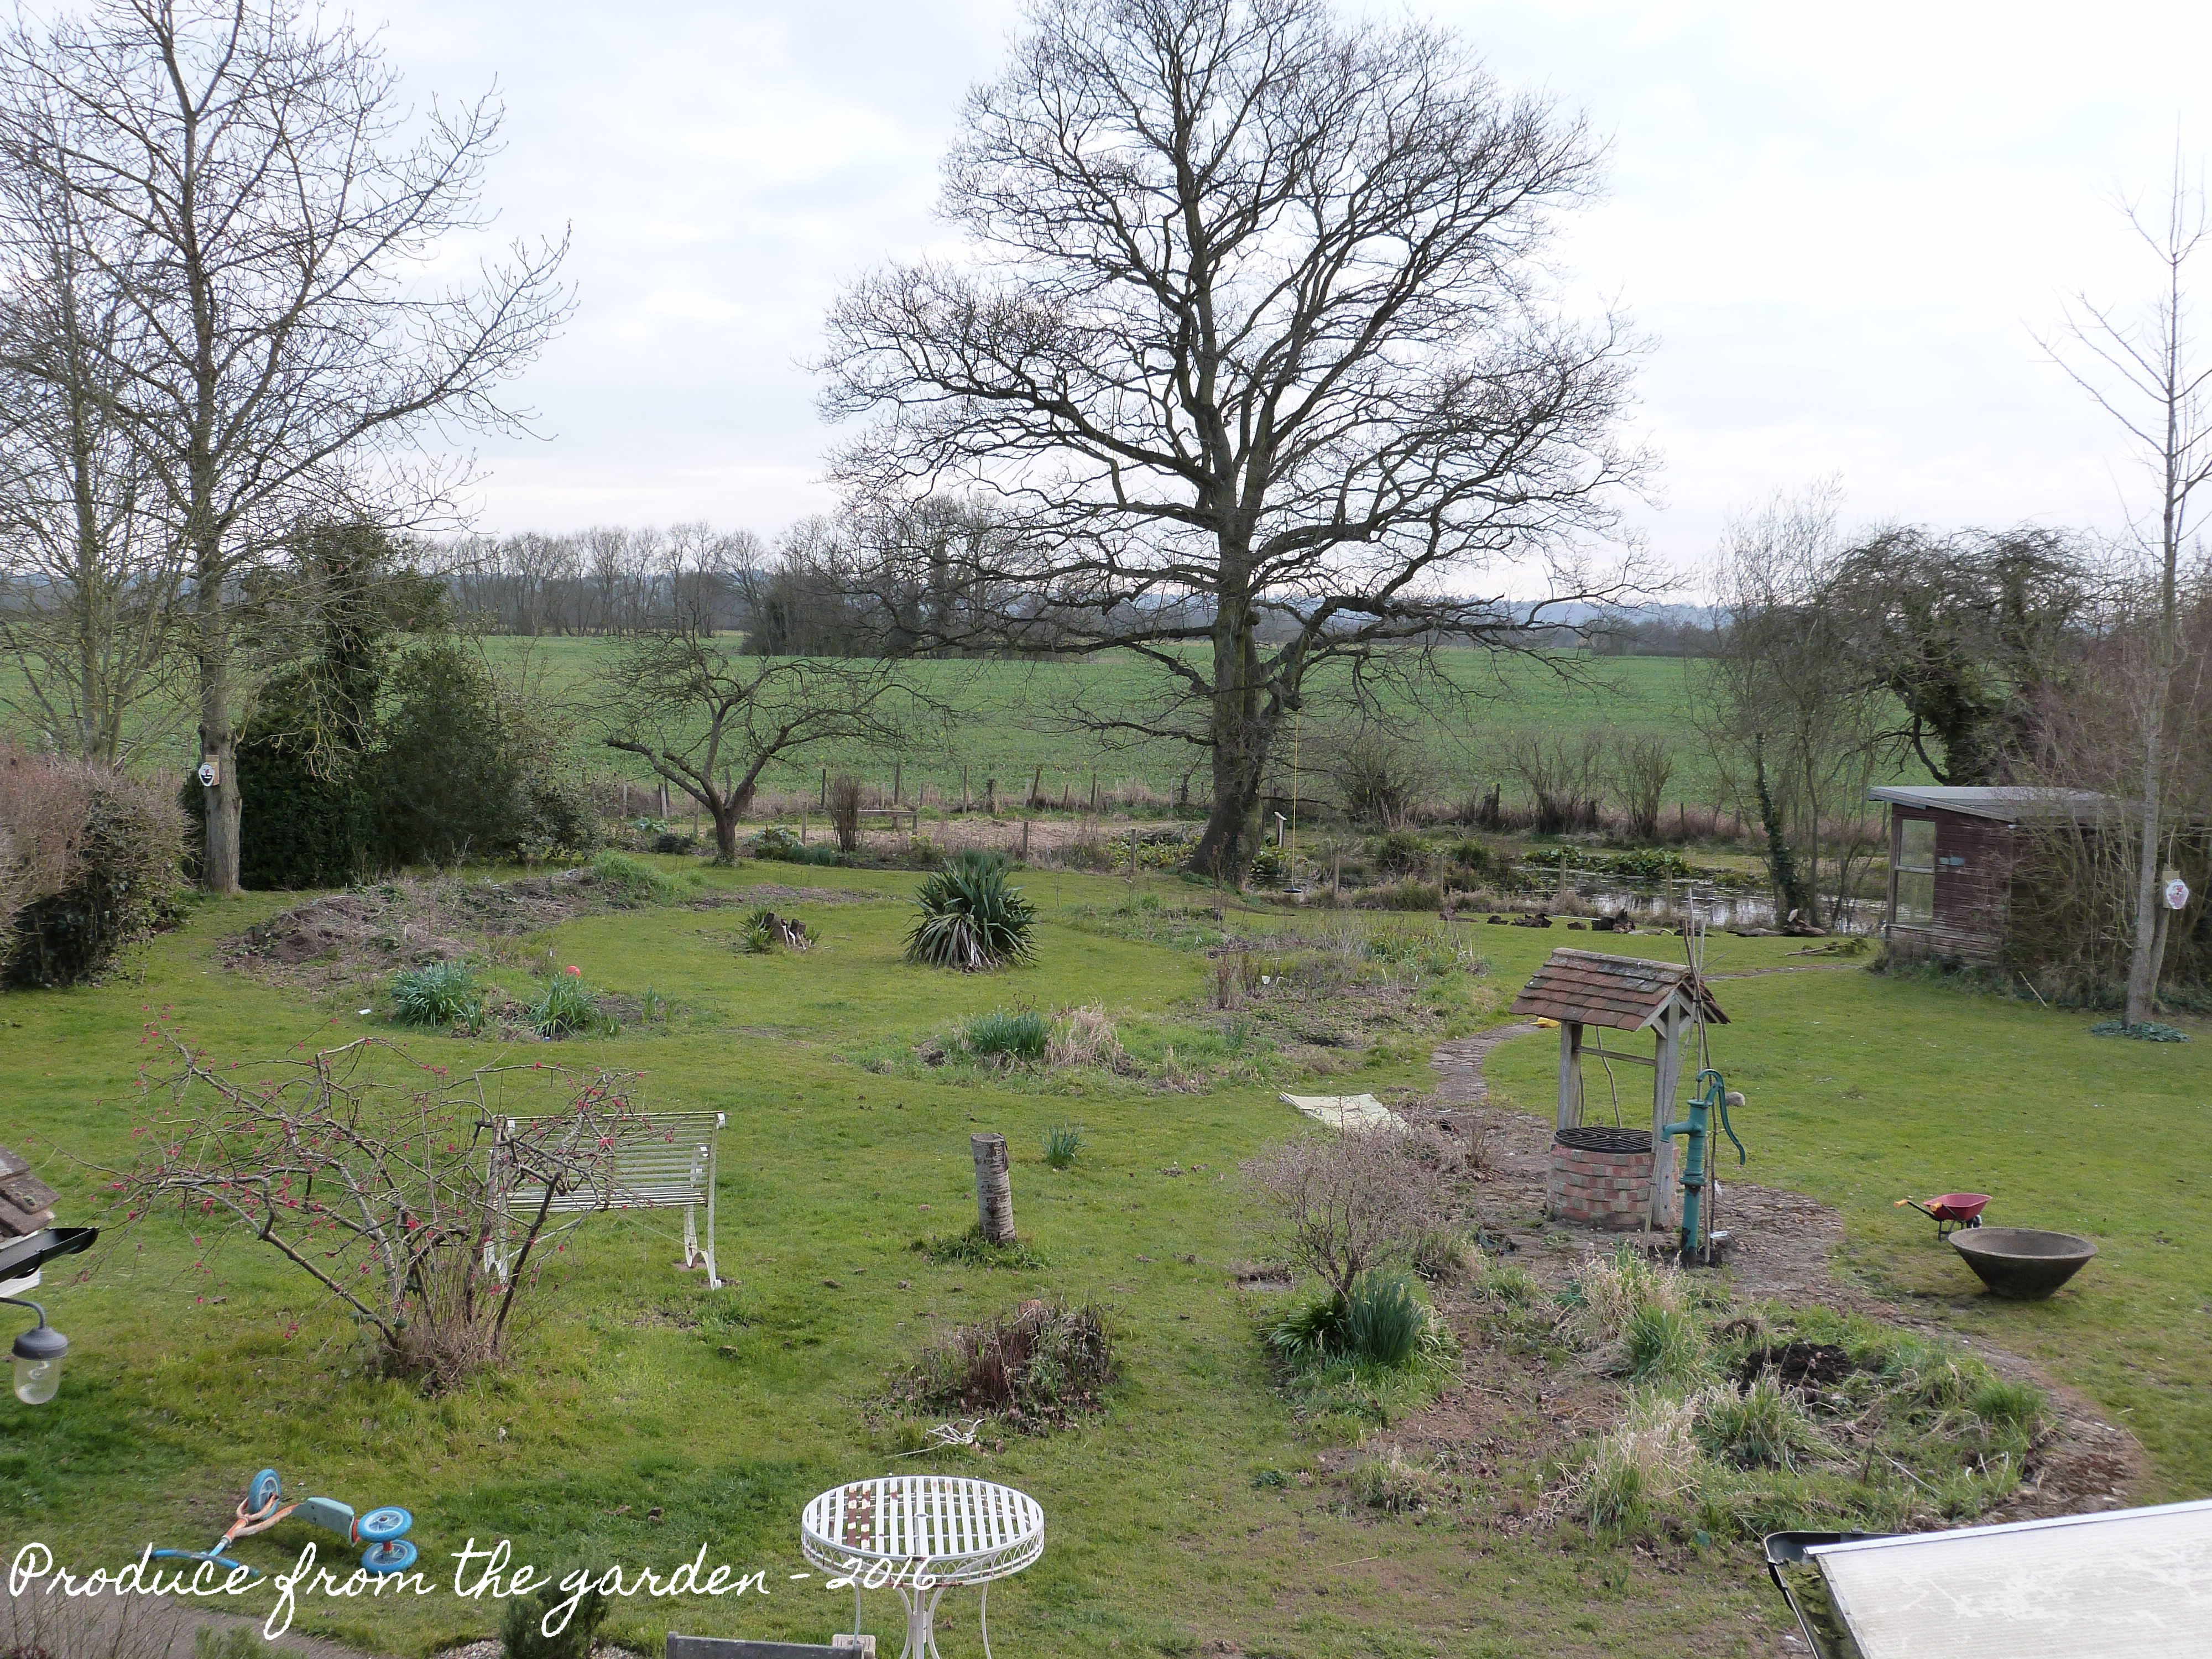
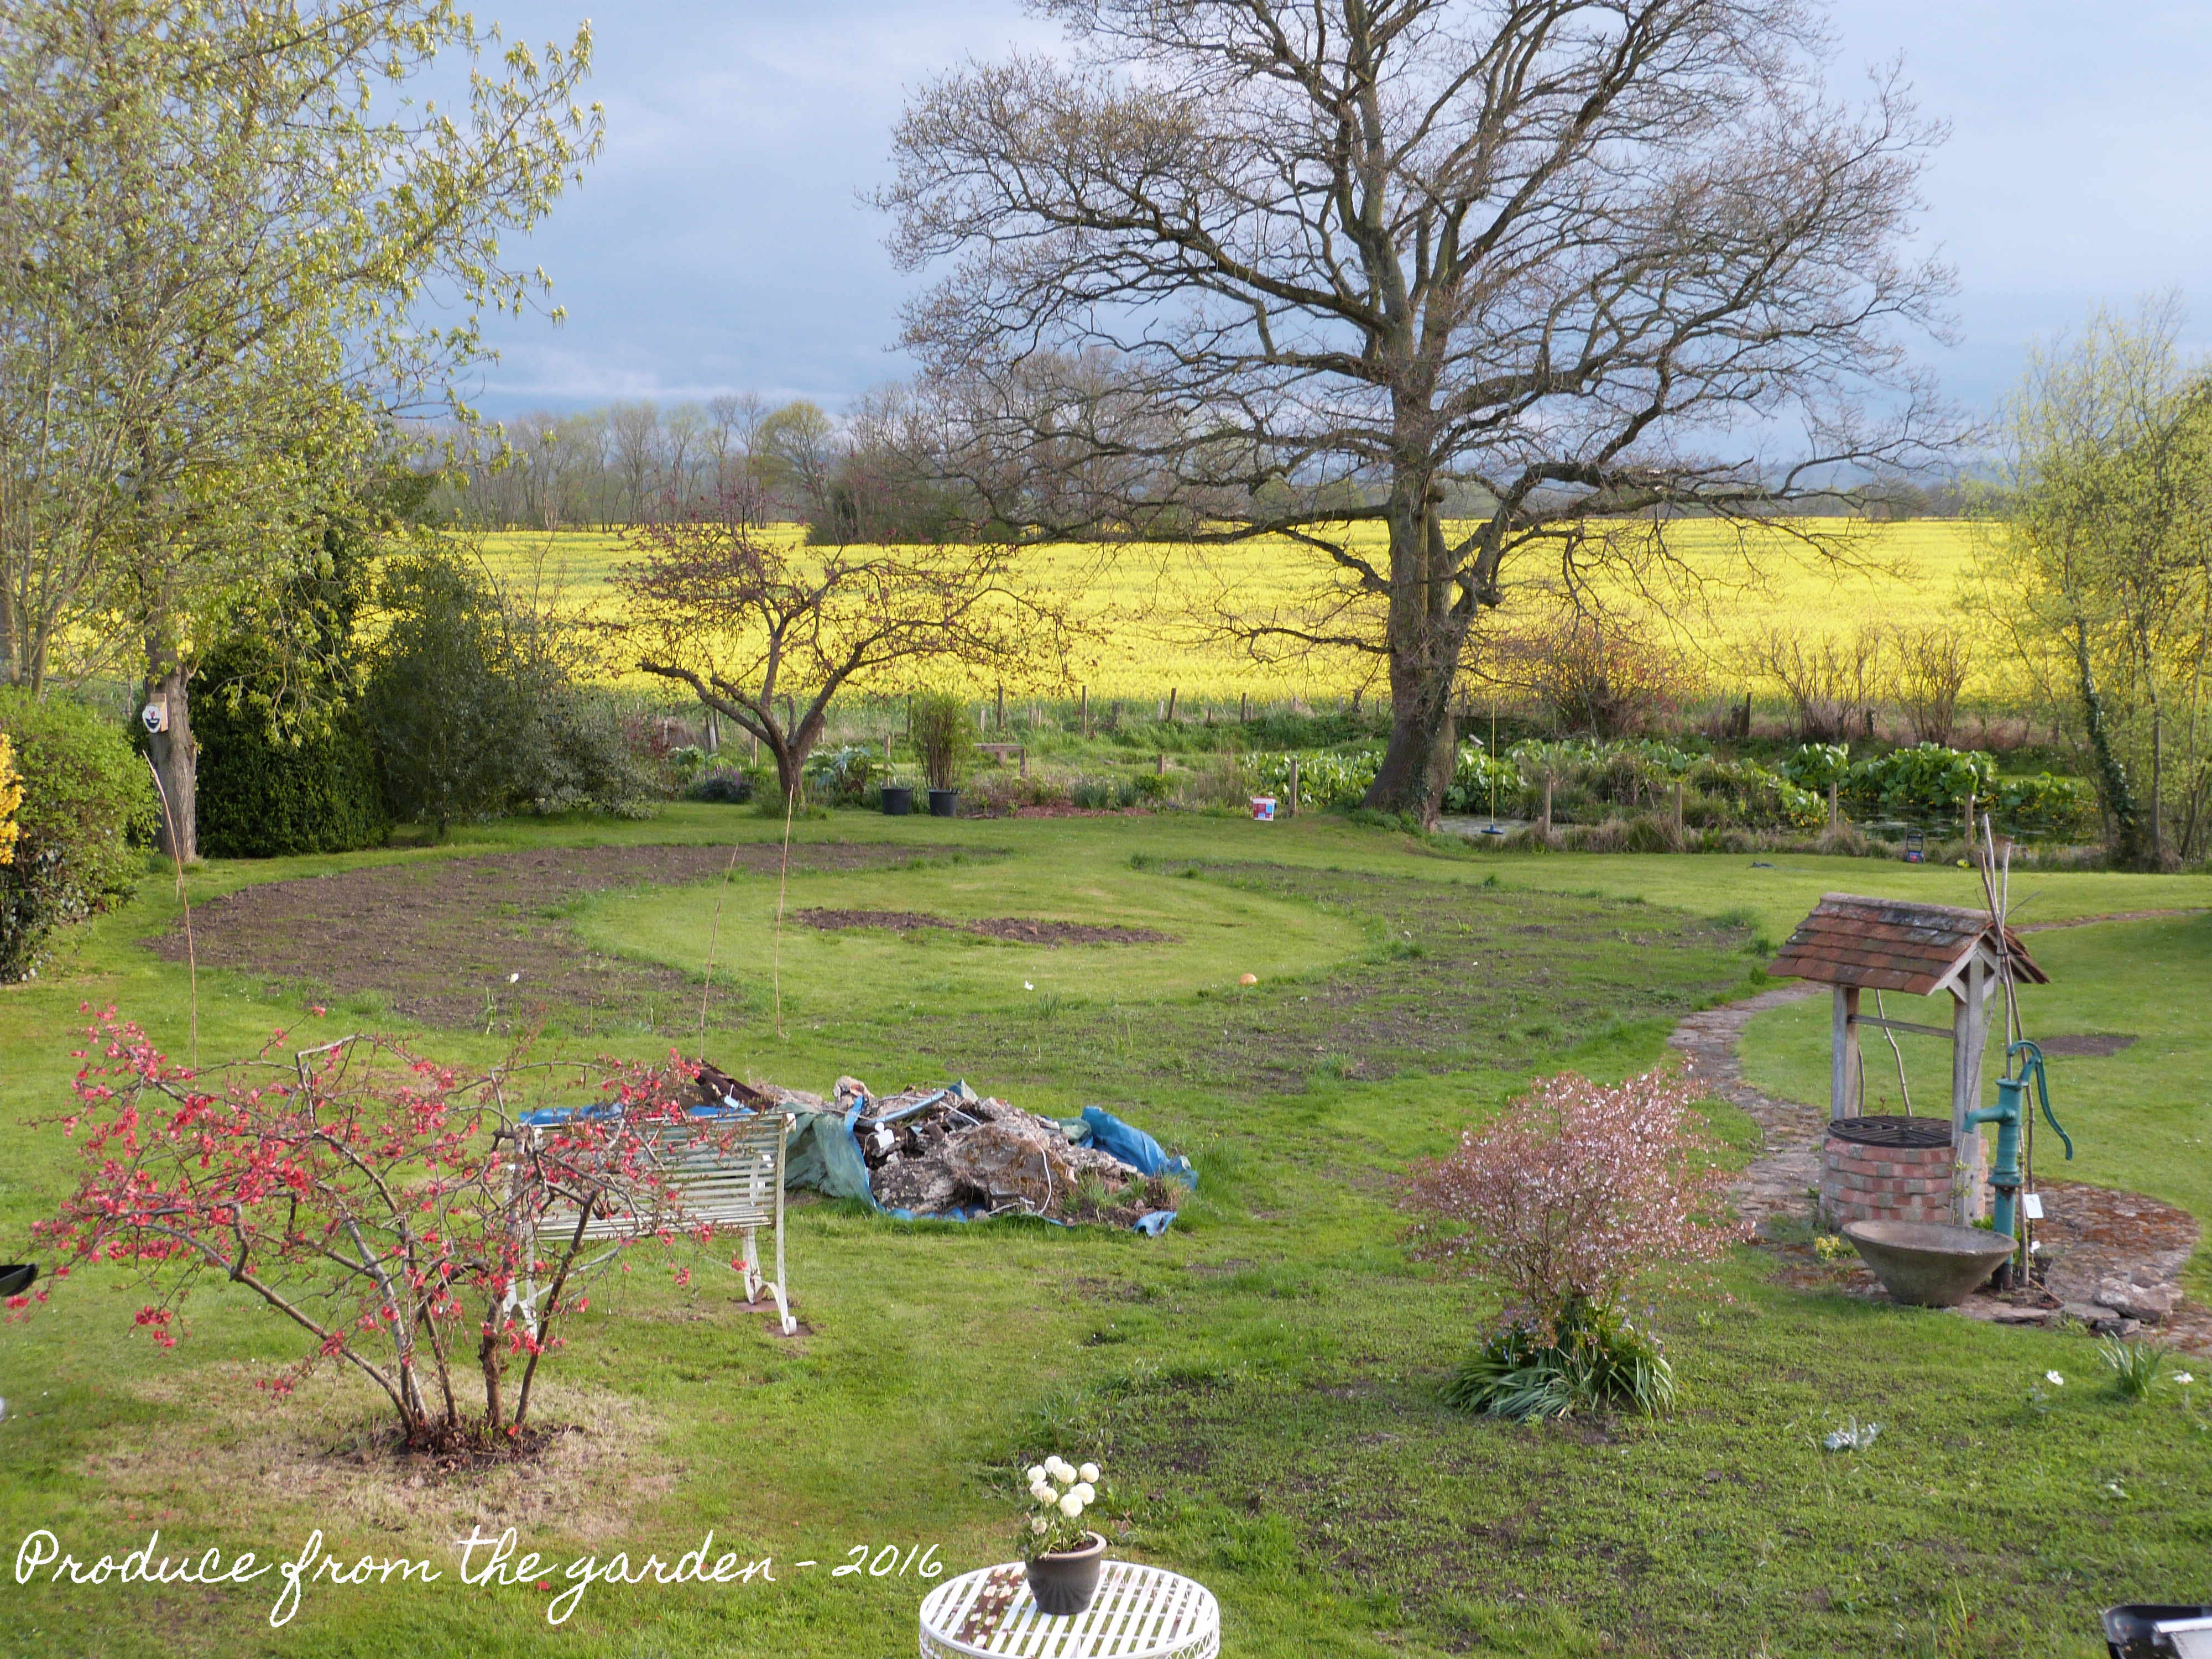
Coppicing underway!
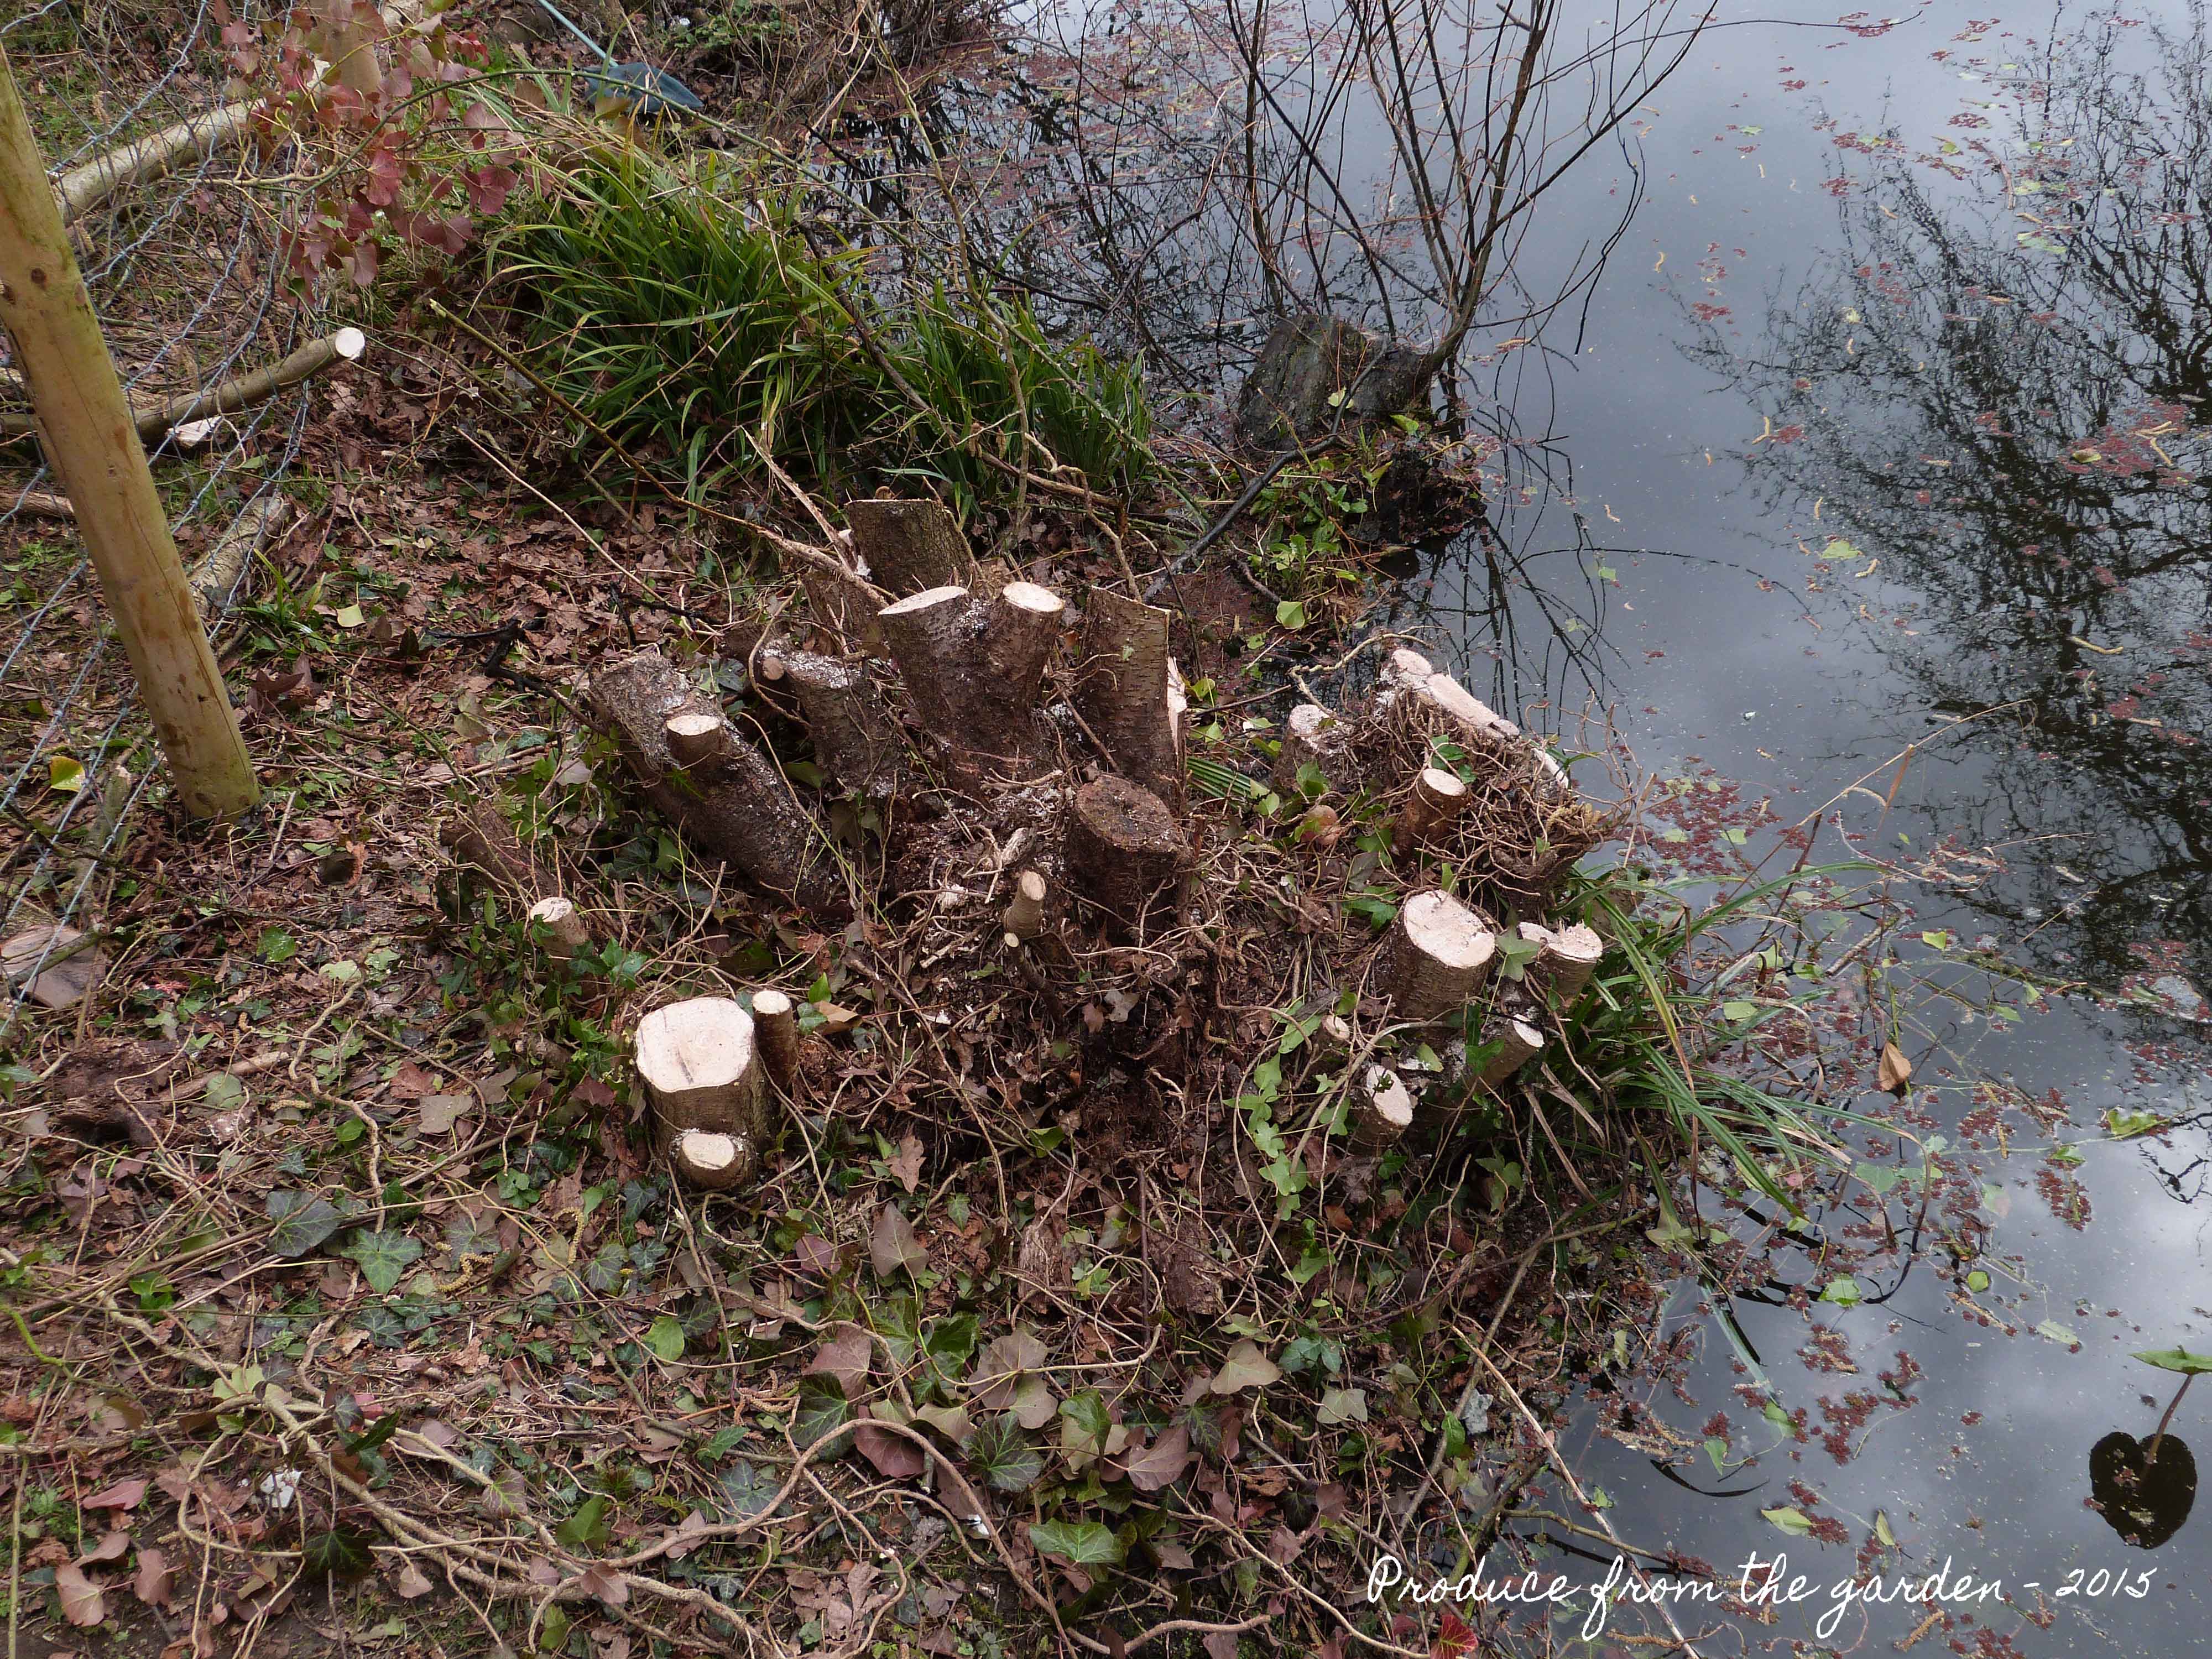
The husband successfully finished the not as easy as I first thought task, he managed to stay dry as well, bonus! Some of the stumps are a little taller than the suggested 5 cm, but it will just have to do. I look forward to seeing the first years growth emerge this year.
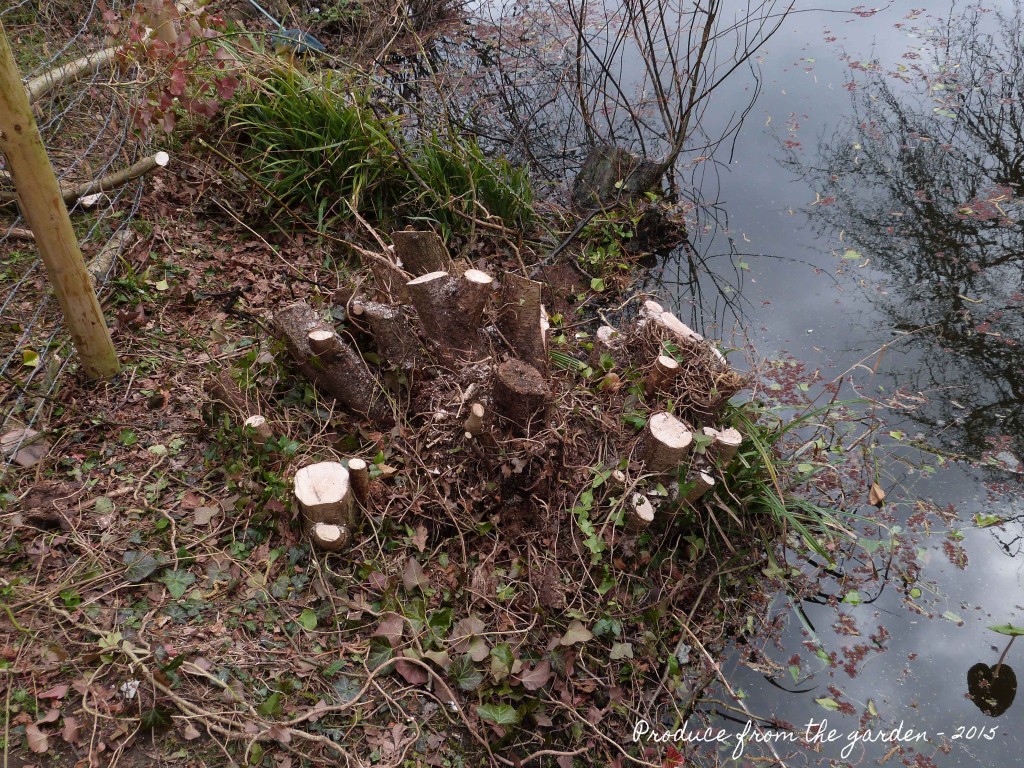
Coppicing complete
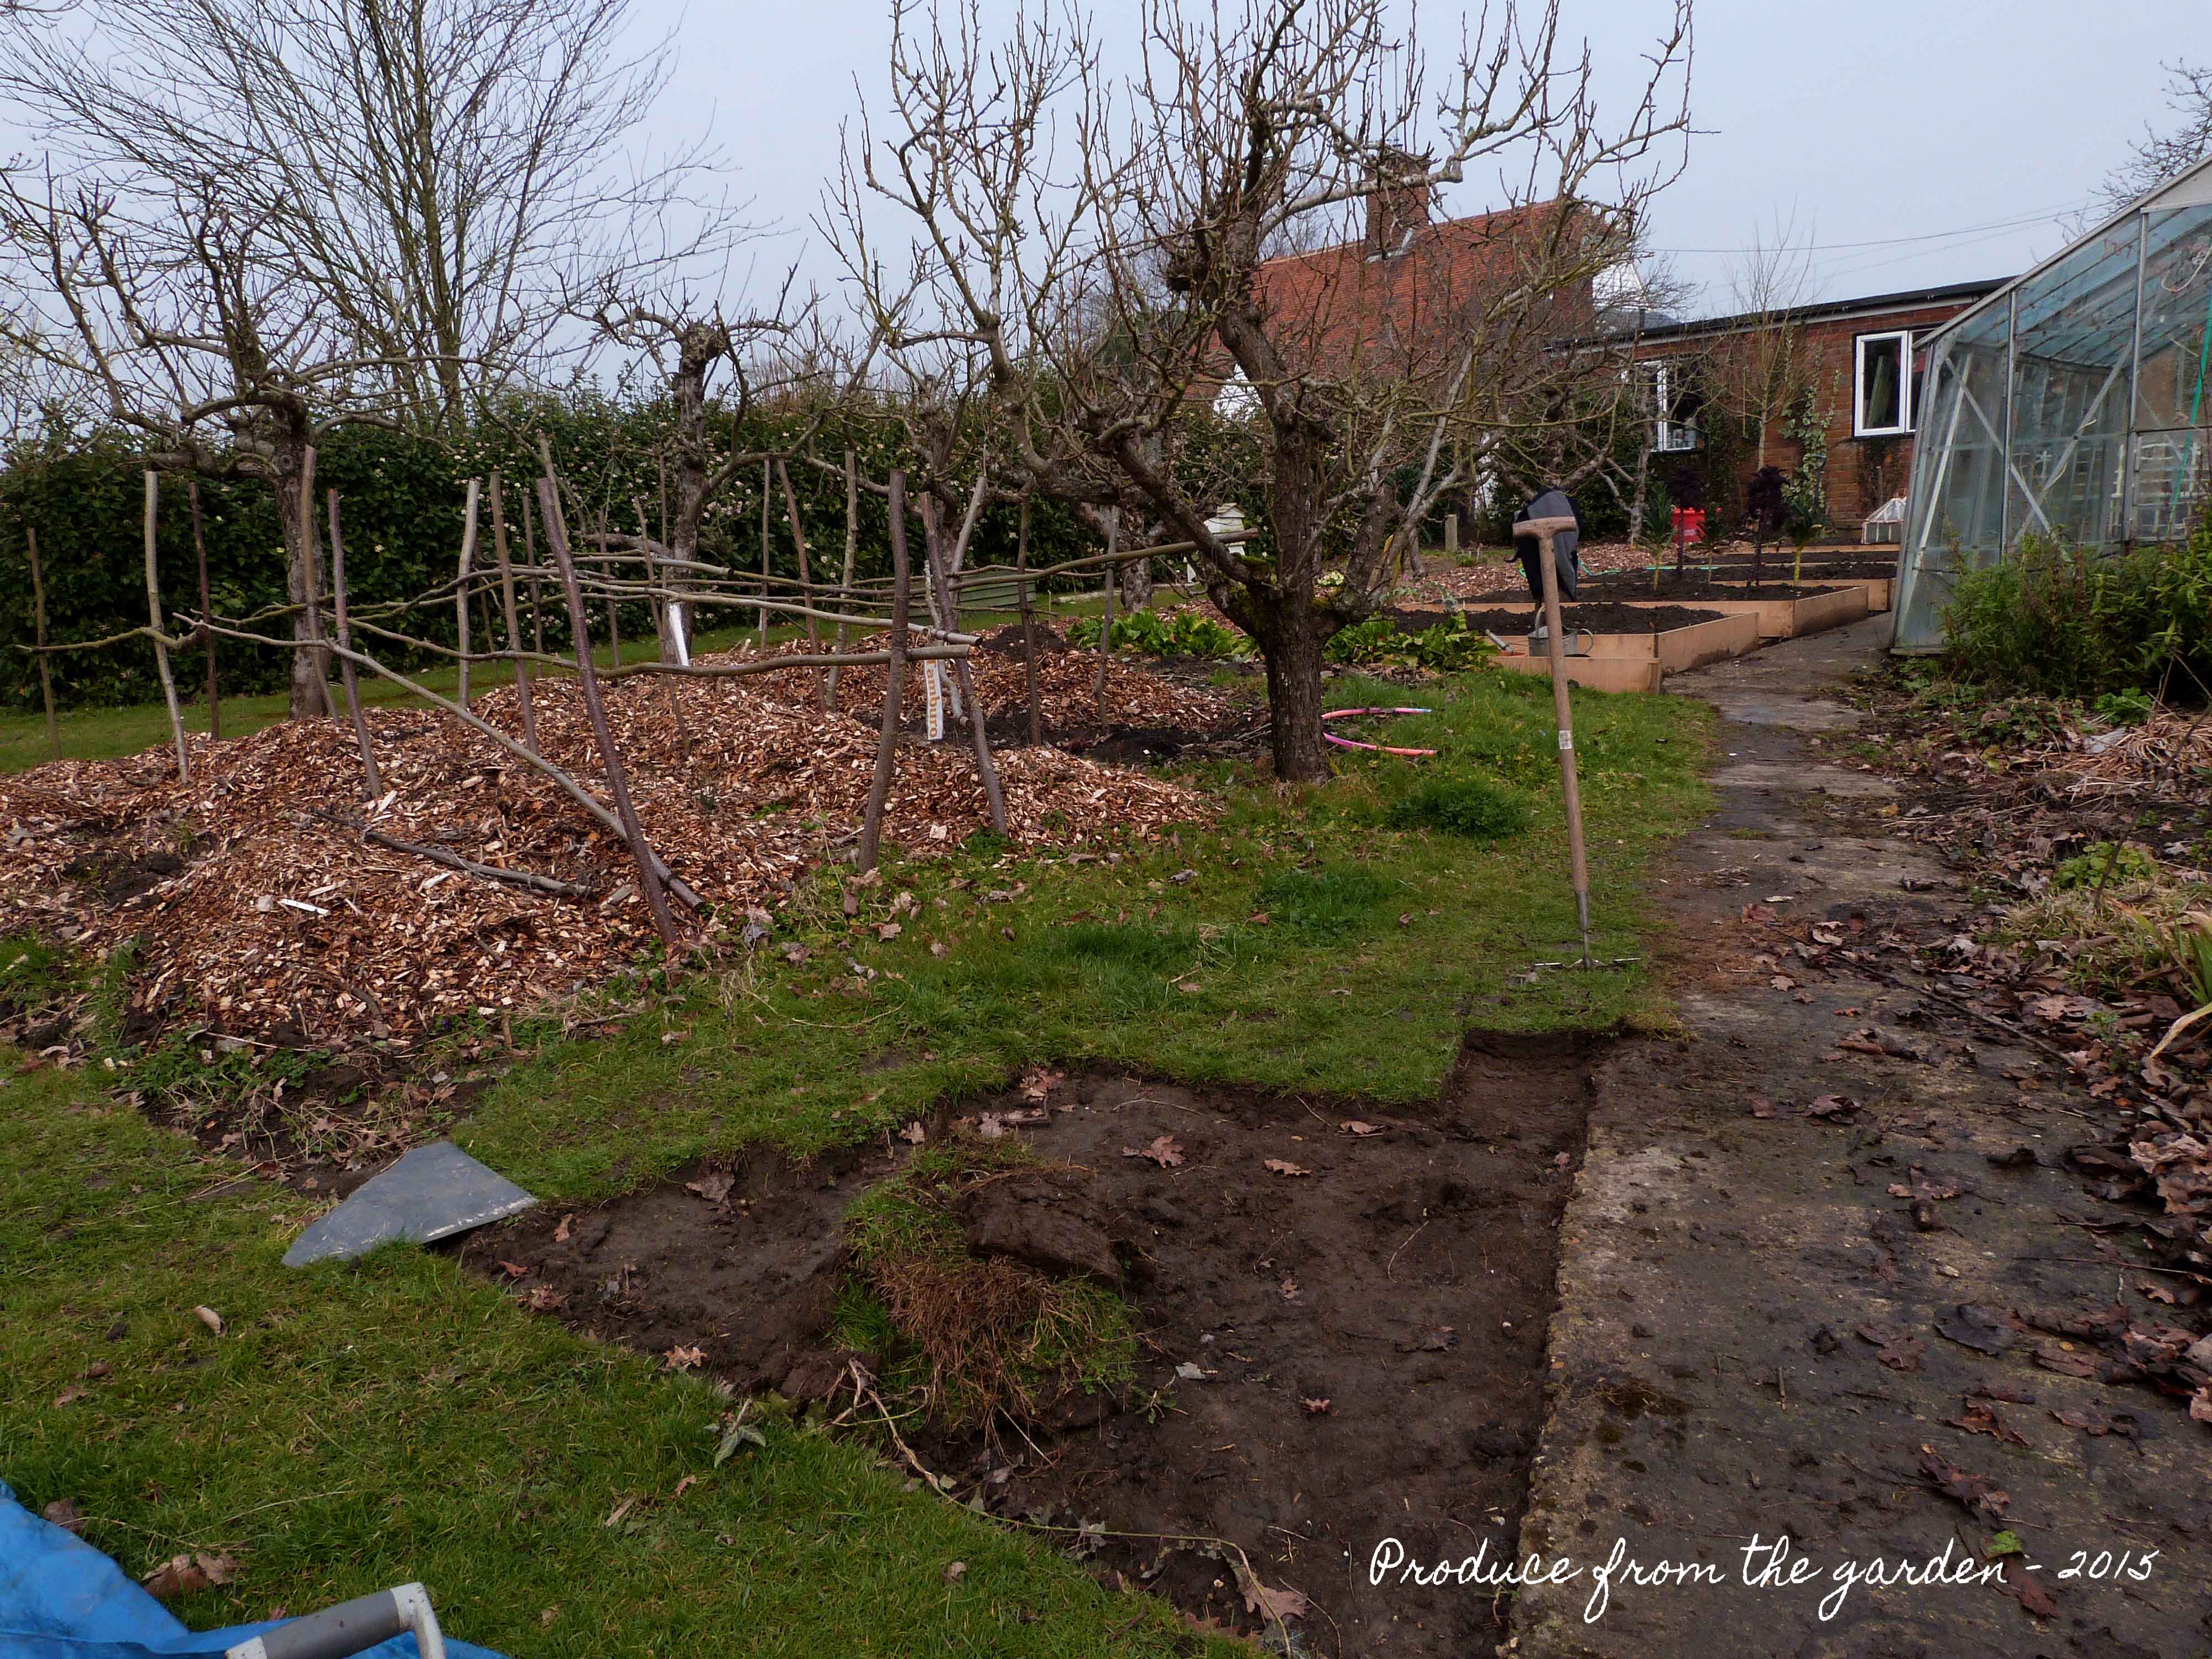
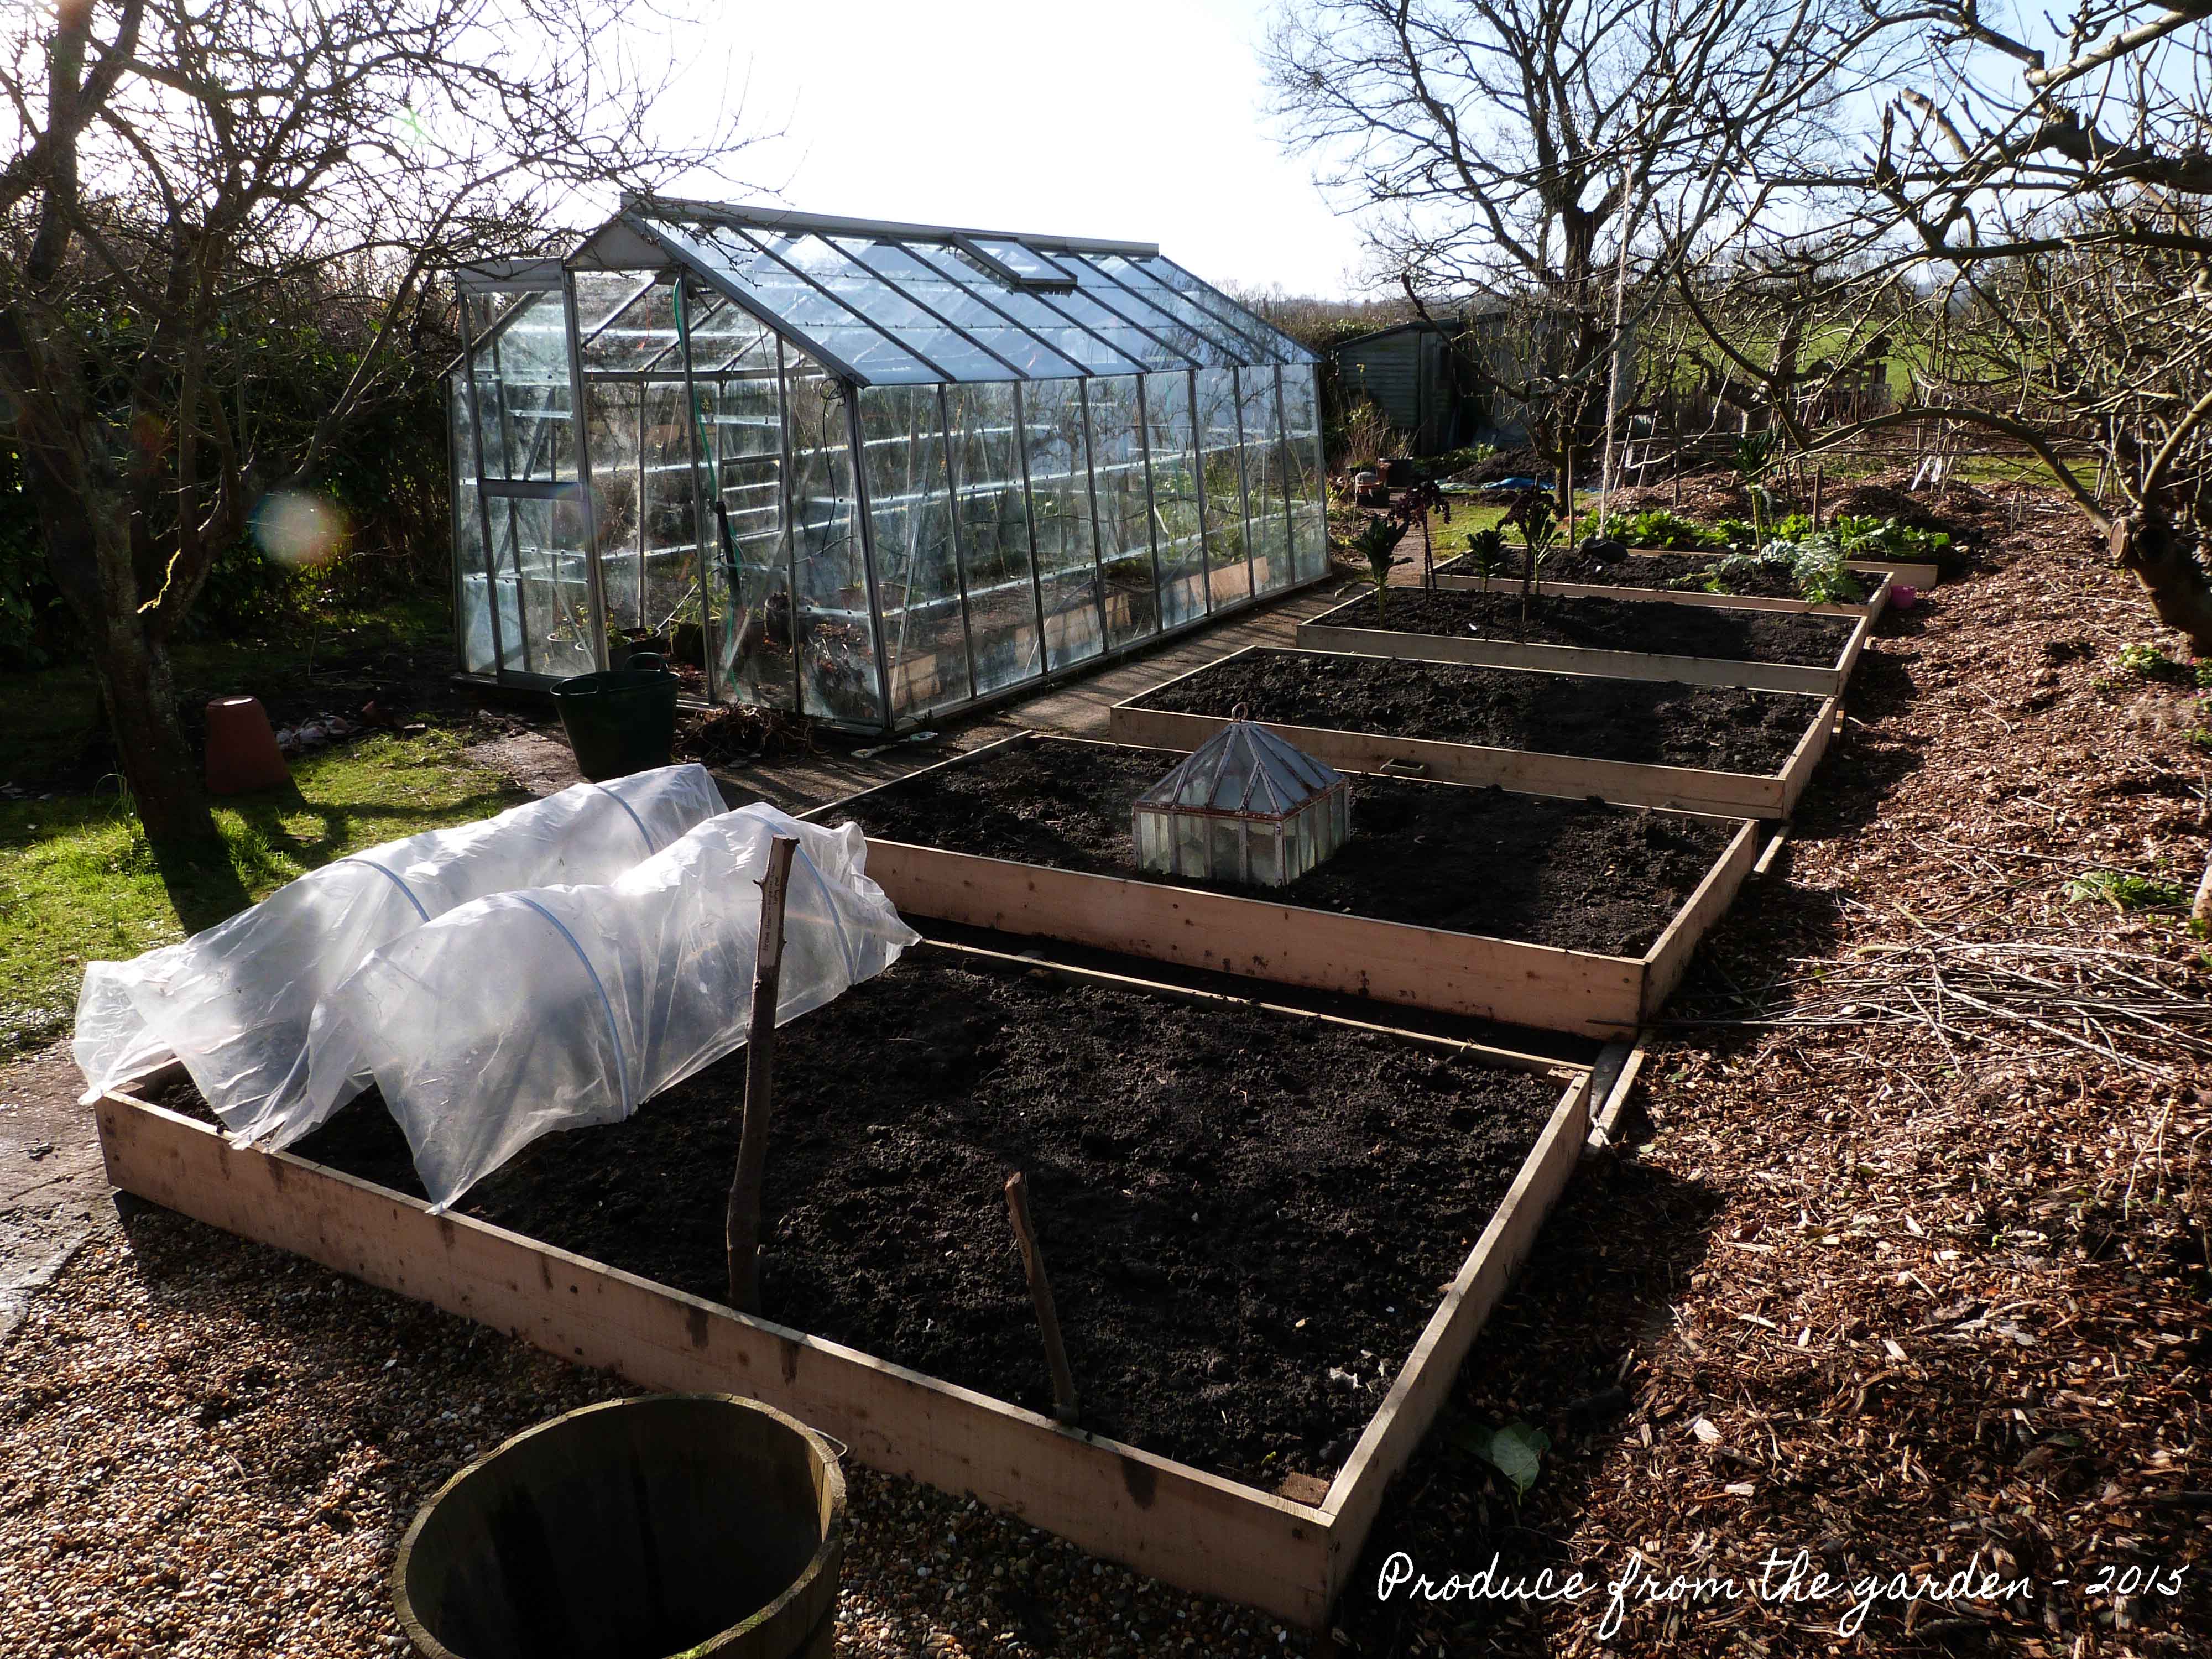
A productive mornings work resulted in poles and peas sticks for the kitchen garden, a good load of logs ready to be seasoned for next year and label stakes. I saw this clever labelling idea on Pinterest, it’s perfect as my small plastic labels would be redistributed around the garden by my darling children, I would never remember what I’ve sown and where. The new labelled stakes look great and fit in with the rest of the kitchen garden.
 The produce!
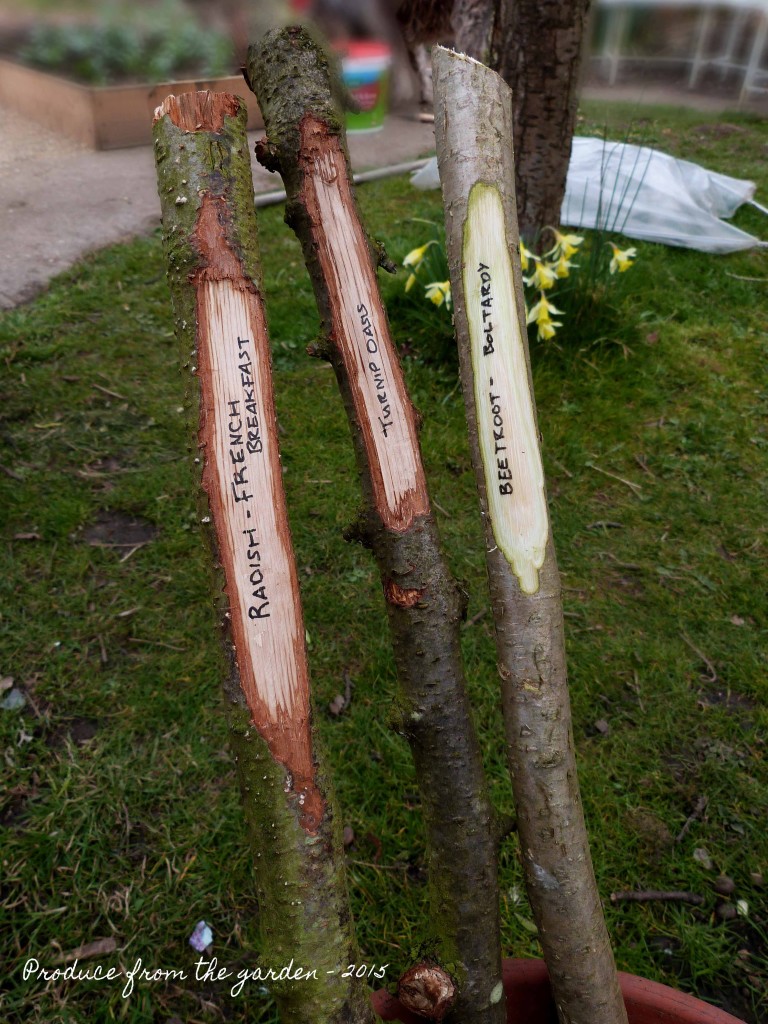 The stake labels
For those of you who have been thinking about the lovely cobnut harvest we must get, sadly last year we failed and I fear that will always be the case, the squirrels get there first. I do love the idea of nuts from the garden on the table at Christmas.