Last year I spent much of the summer picking cabbage white caterpillars off my brassicas. They were particularly fond of my Cavolo Nero. Try as hard as I might, I’d always miss a group of tiny caterpillar babies or eggs, in no time they would turn into great big brassica stripping pests. I even managed impressive rants to my boys about the origins of Eric Carle’s ‘Hungry Caterpillar’ book, which not only teaches young children their numbers and days of the week but also the valuable parable that a caterpillar can eat an extraordinary amount of your precious vegetables before it happily takes off as beautiful butterfly!
On top of all that my tummy turns at the smell and texture of the caterpillars, particularly the aroma of slightly squashed caterpillars! I couldn’t face another year of collecting them from my Kale.
Apart from the slug pellets I used earlier in the year (which I still feel guilty about, but it really was that or no dahlias and vegetables this year!) I garden with the organic theory in mind (enrich your soil; you’ll have strong plants that will be able to fight off attacks of pests and disease without the need for chemicals). But I am a realist even the richest soil is not going to give brassicas the strength to fight off a cabbage white caterpillar attack. Lateral thinking was required, what is the greatest delicacy to a cabbage white? Answer Nasturtiums. I decided to plant Nasturtiums in amongst my vegetables with the hope that the cabbage white caterpillars would gorge on them and not my brassicas. It is important to select a compact bush forming variety (I chose ‘Tom Thumb Mixed’) and not a trailing variety which puts on vigorous growth and would dominate a vegetable bed very quickly.
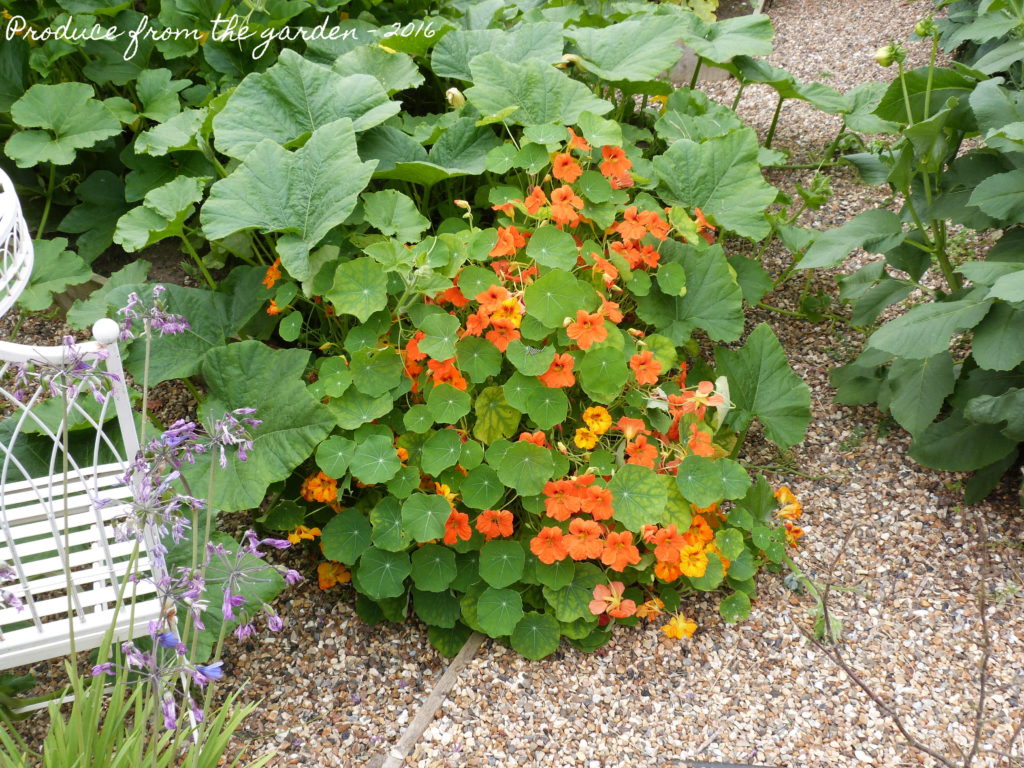 One of my Nasturtium traps!
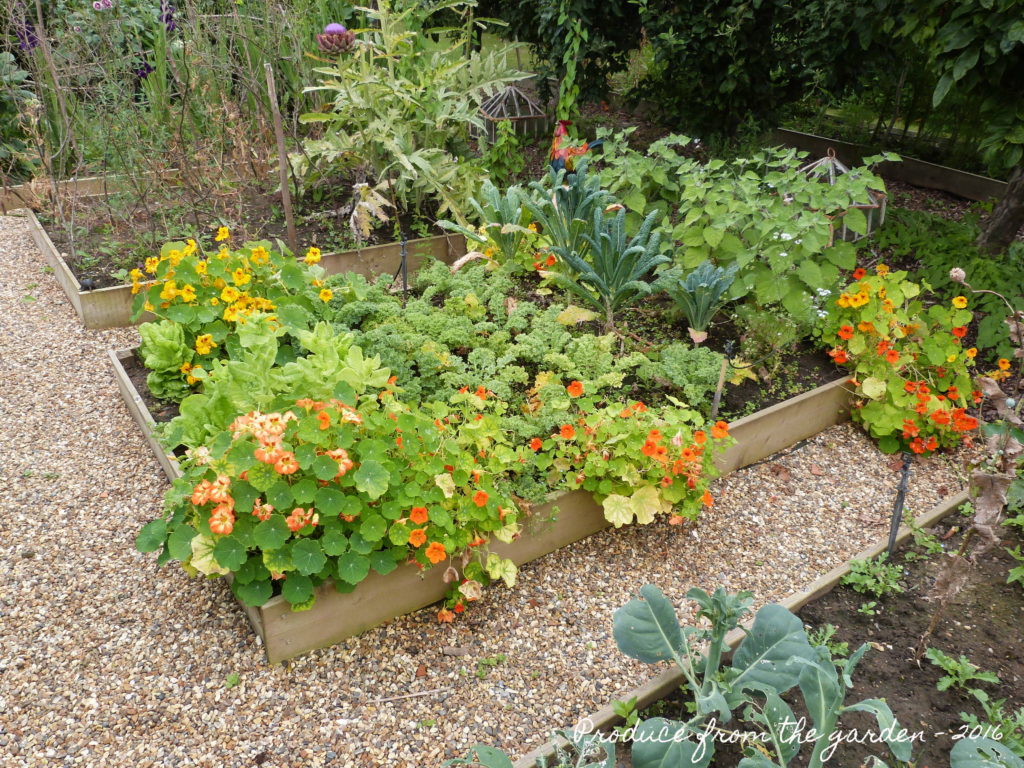 Nasturtiums in amongst my Kale
I am very pleased to say that so far it’s worked, my brassicas are pest free and my nasturtiums are being munched, they also seem to be attracting the black fly, saving my vegetable crops from that scourge.
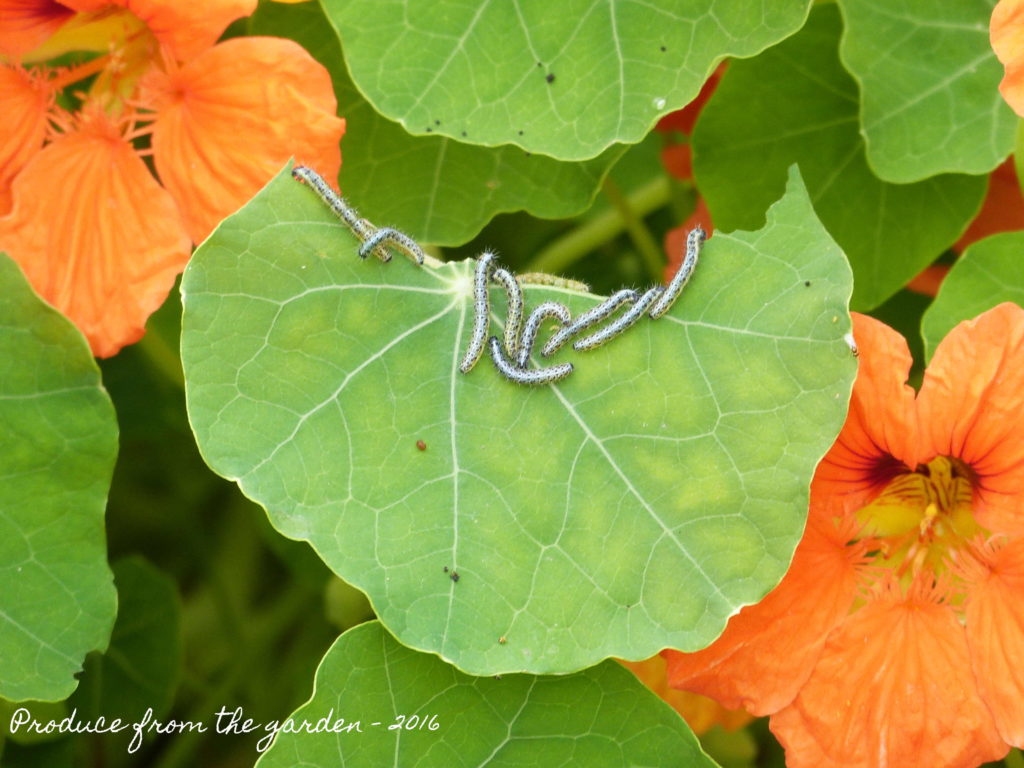 Cabbage white catterpillars gorging themselves on the Nasturtiums
 Black fly enjoying the sacrificial Nasturtiums too!
To be honest I’ve never really been a fan of Nasturtiums, their flowers are a little gaudy and their umbrellas like leaves dull. I do think the addition of nasturtium flowers takes the look of a salad to another level, but I’m afraid the taste turns my tummy as much as the smell and texture of the horrid caterpillars that love them so much. To use the Nasturtiums as a caterpillar distraction and feed has an appealing sense of justice to me!
Save
Save
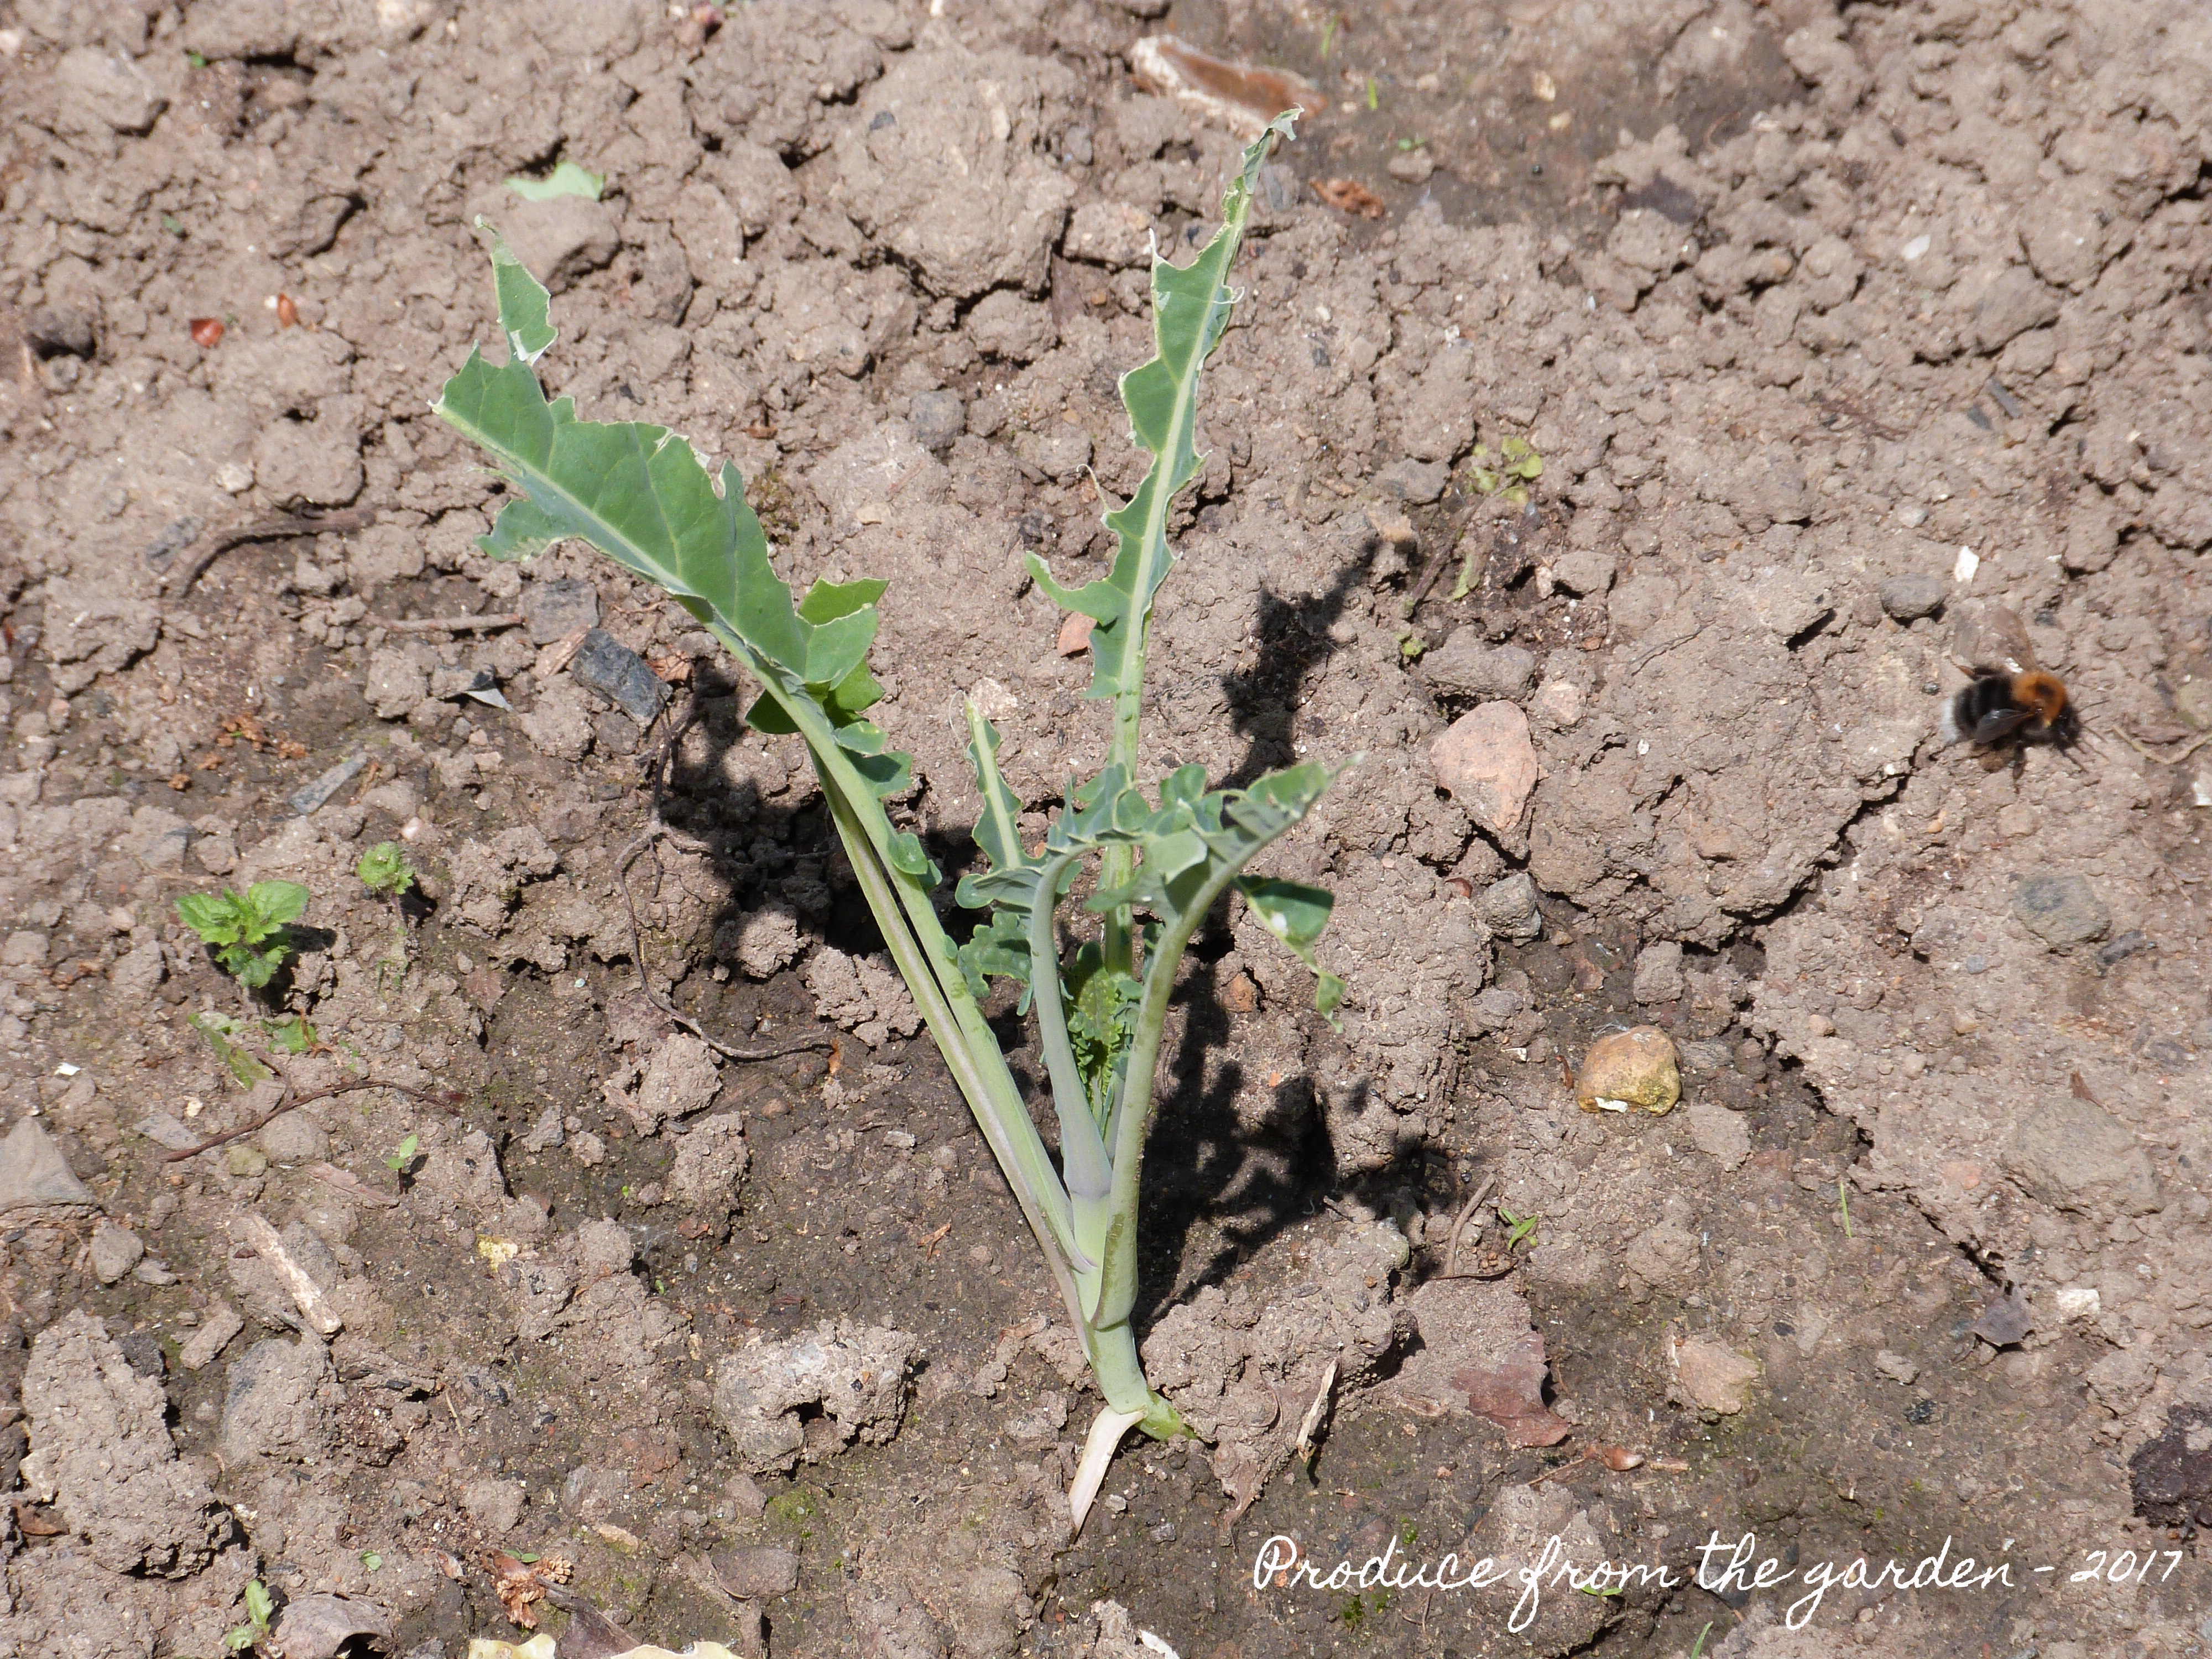 My kale, savaged by pigeons!
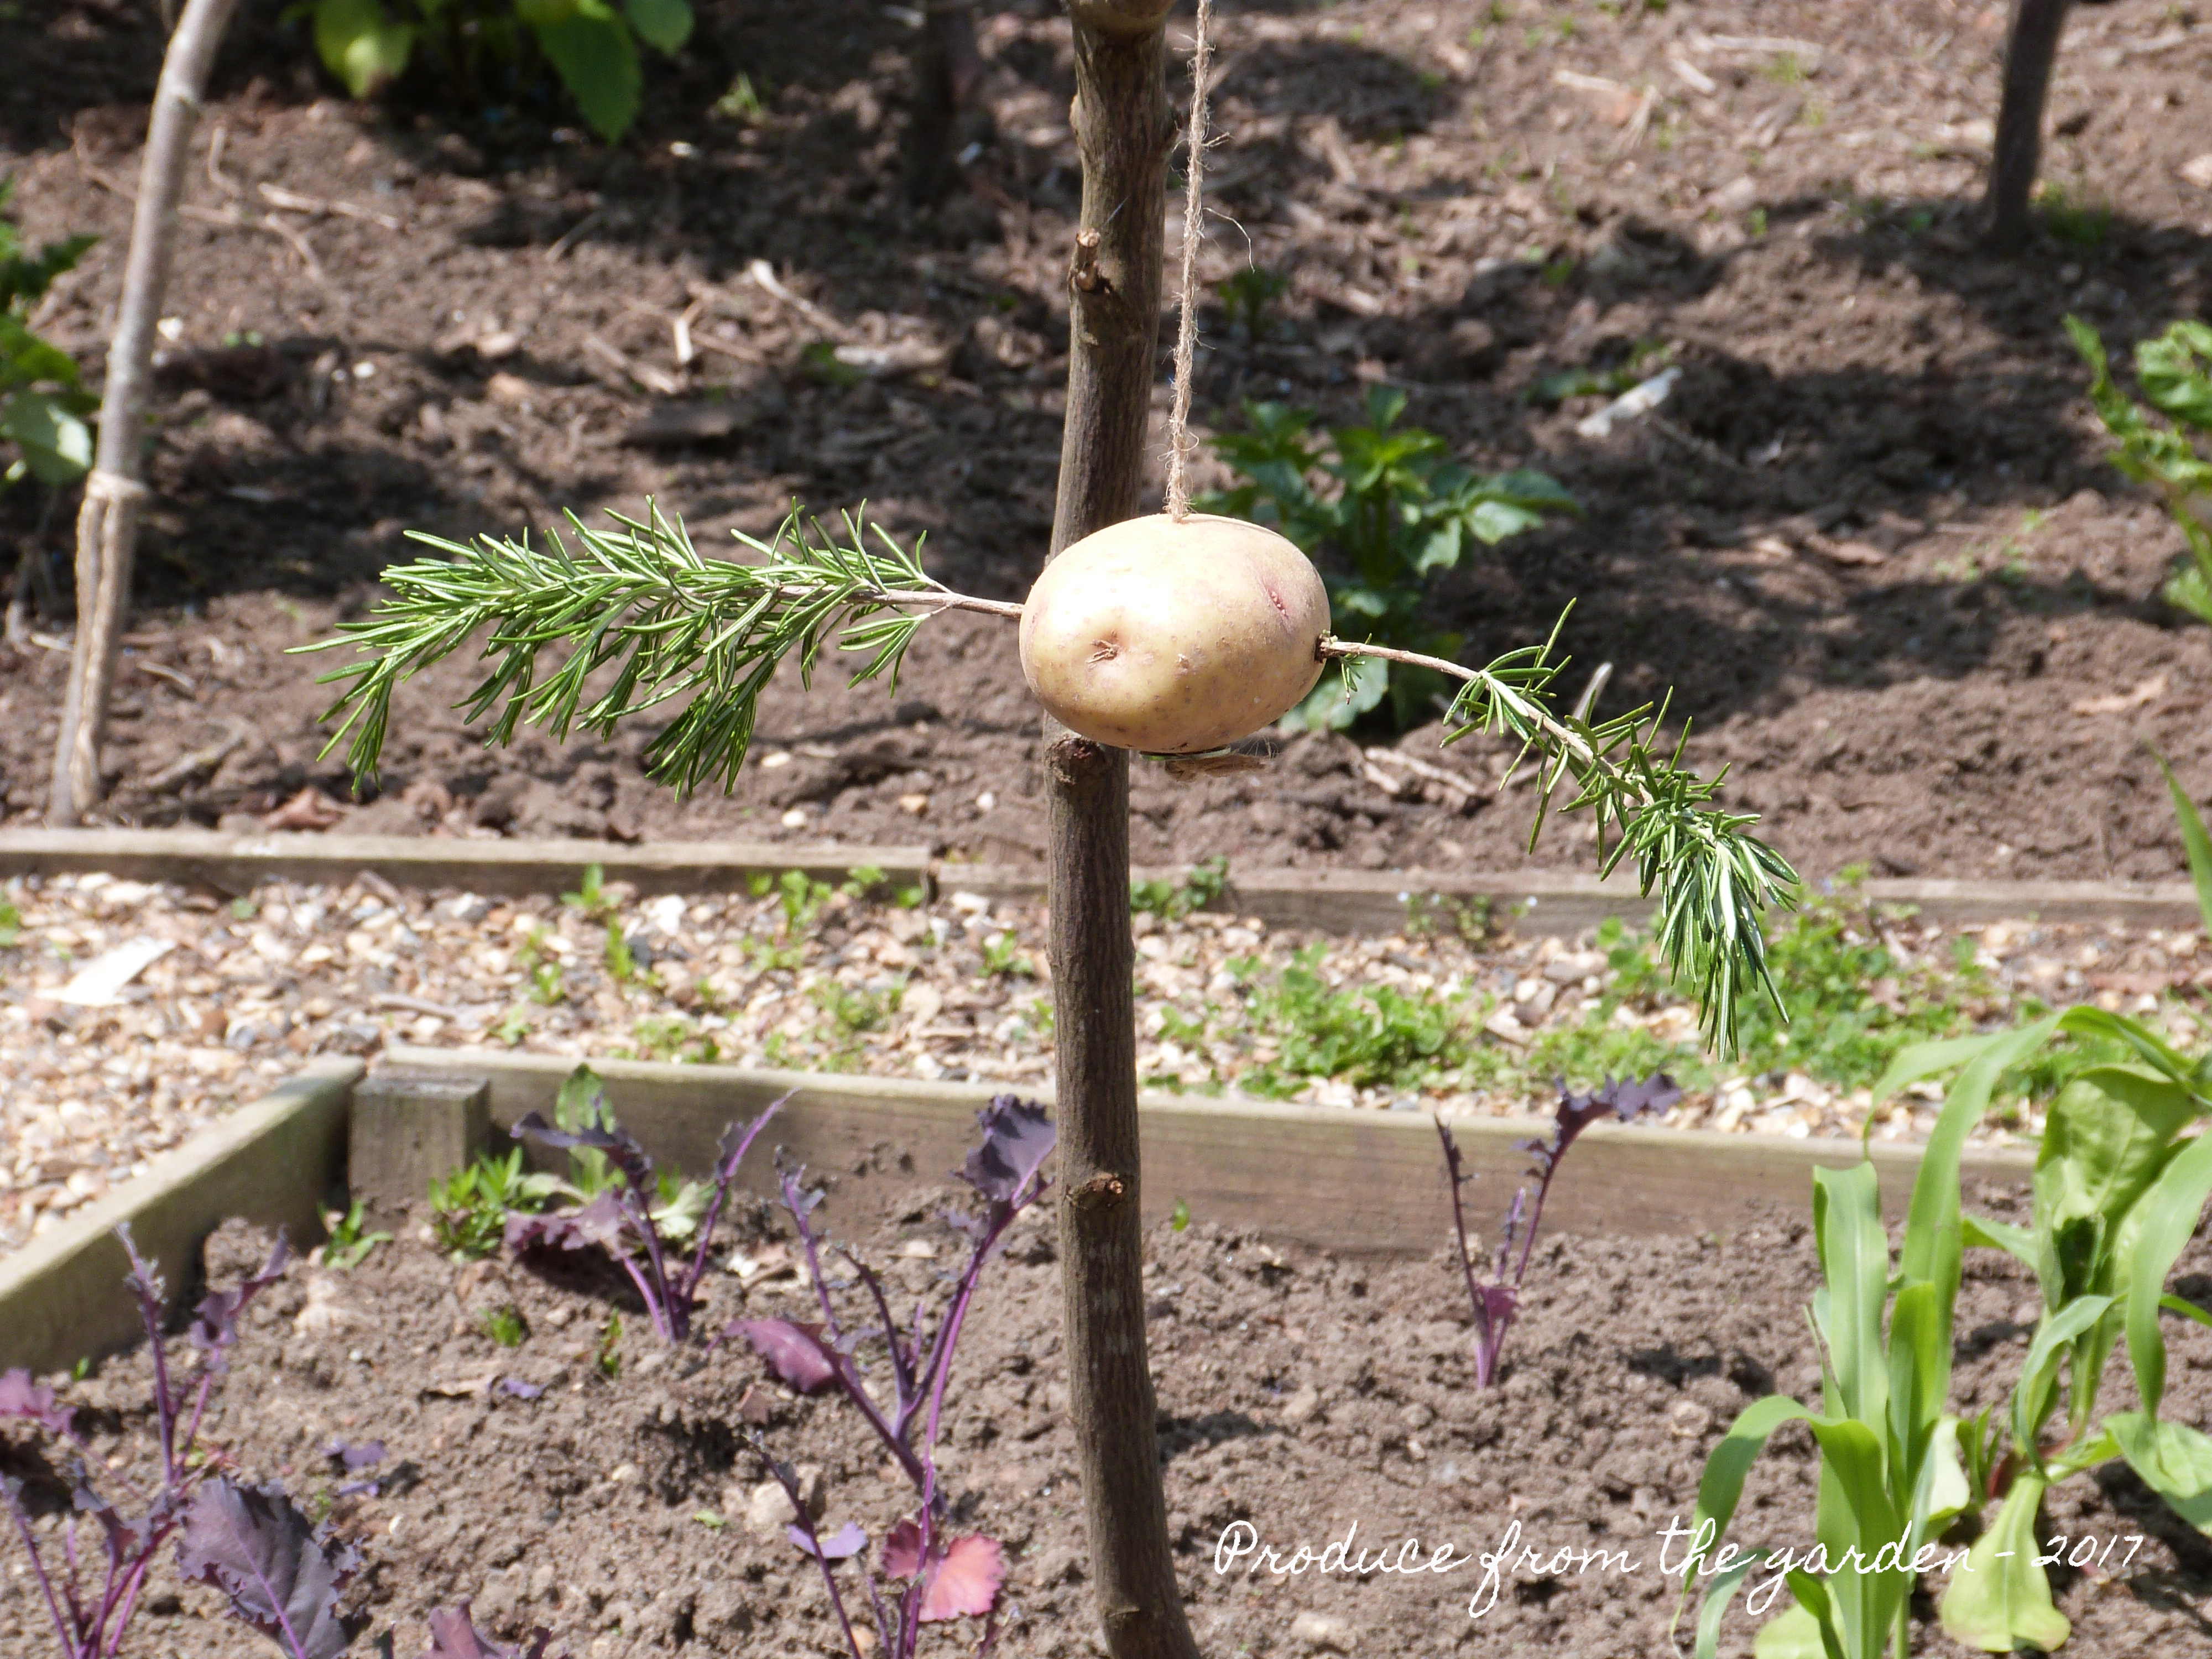 Plan A – Pigeon defence system
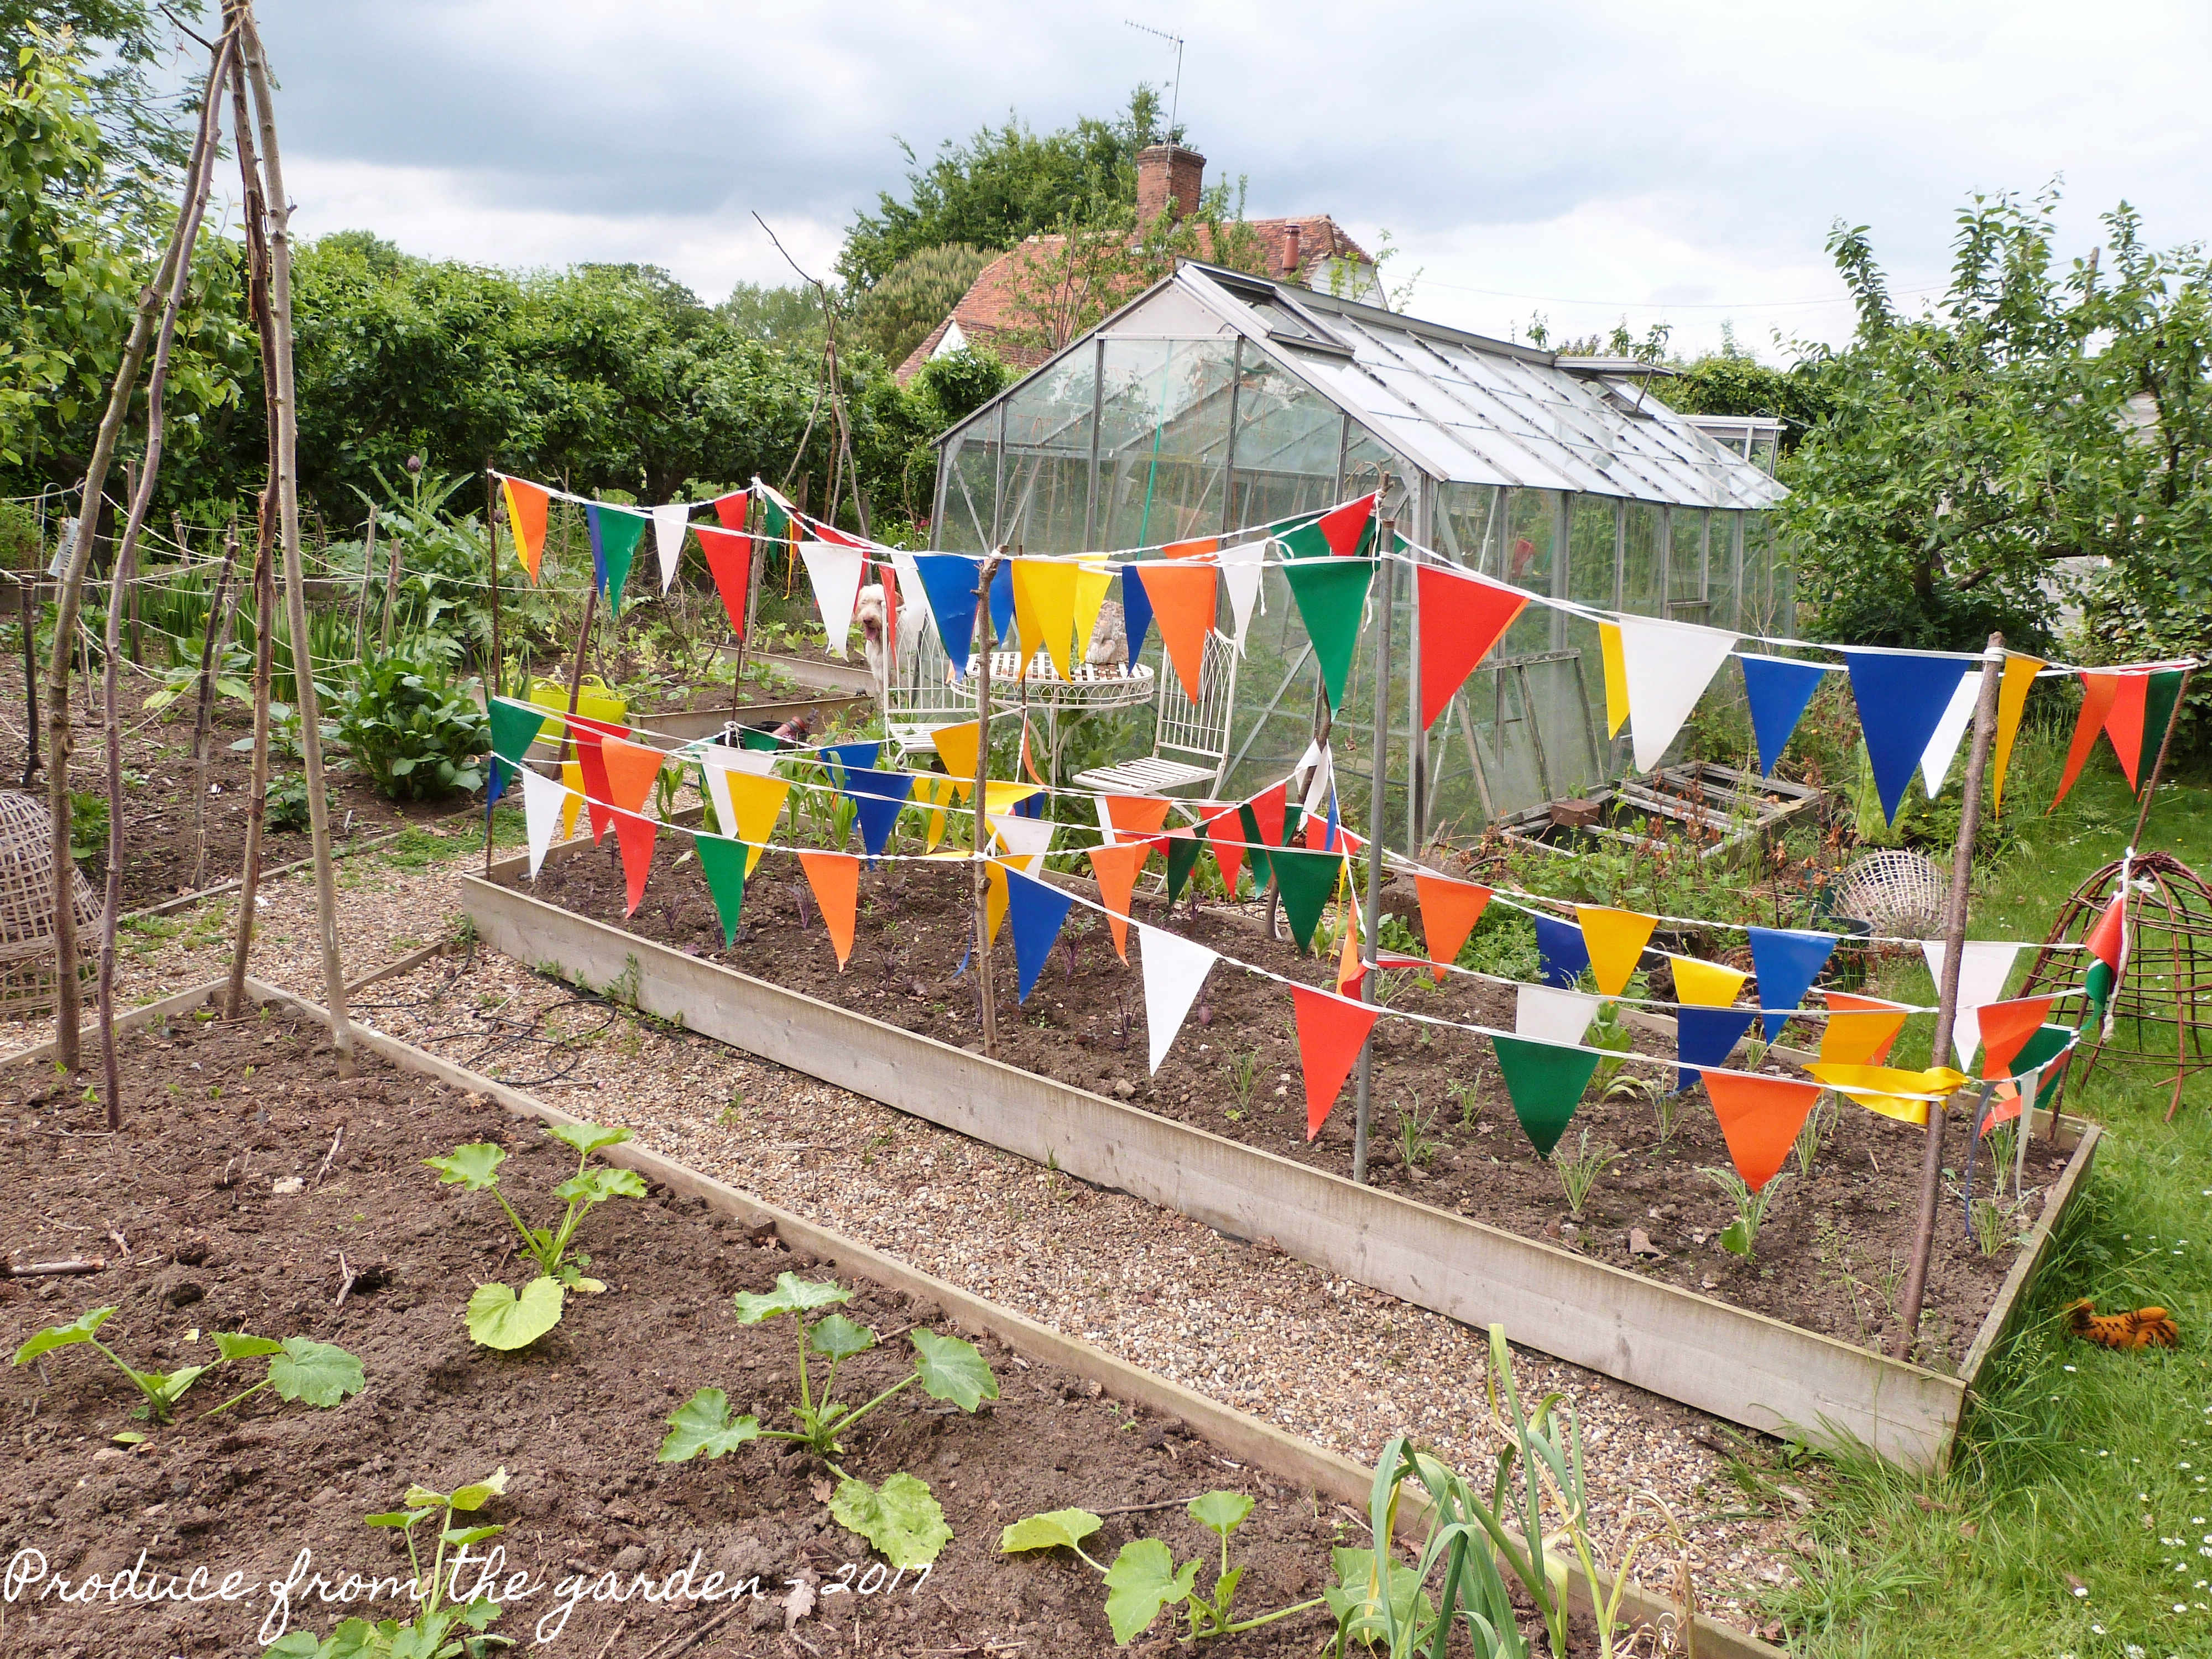 Plan B – Pigeon defence system!