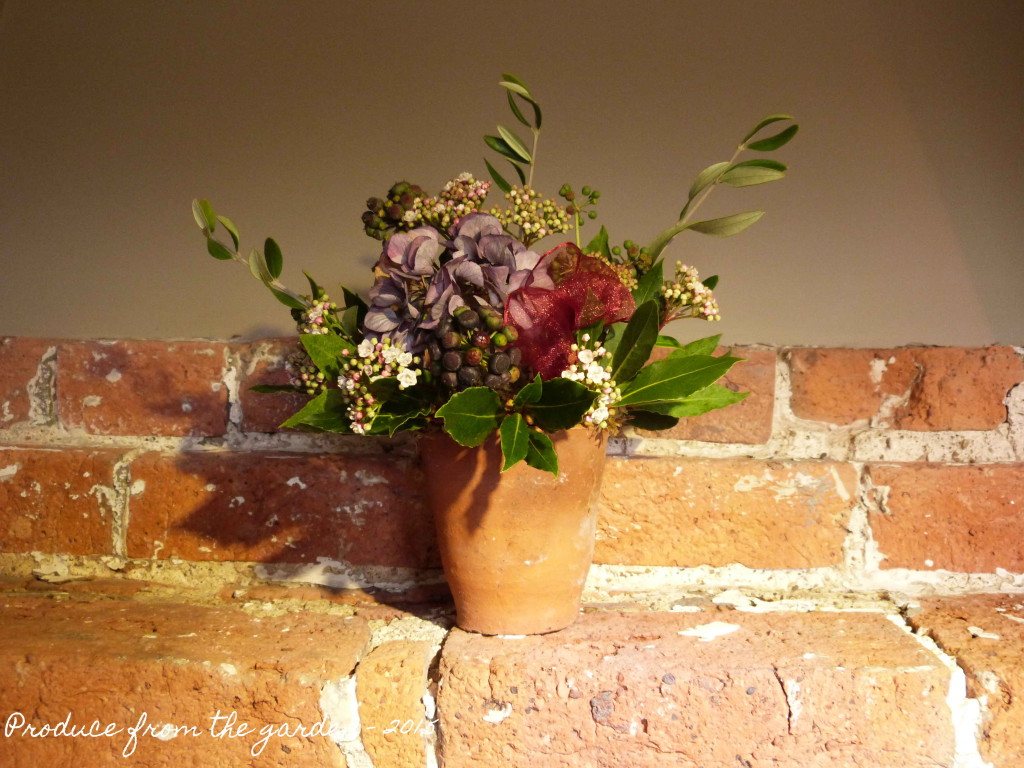
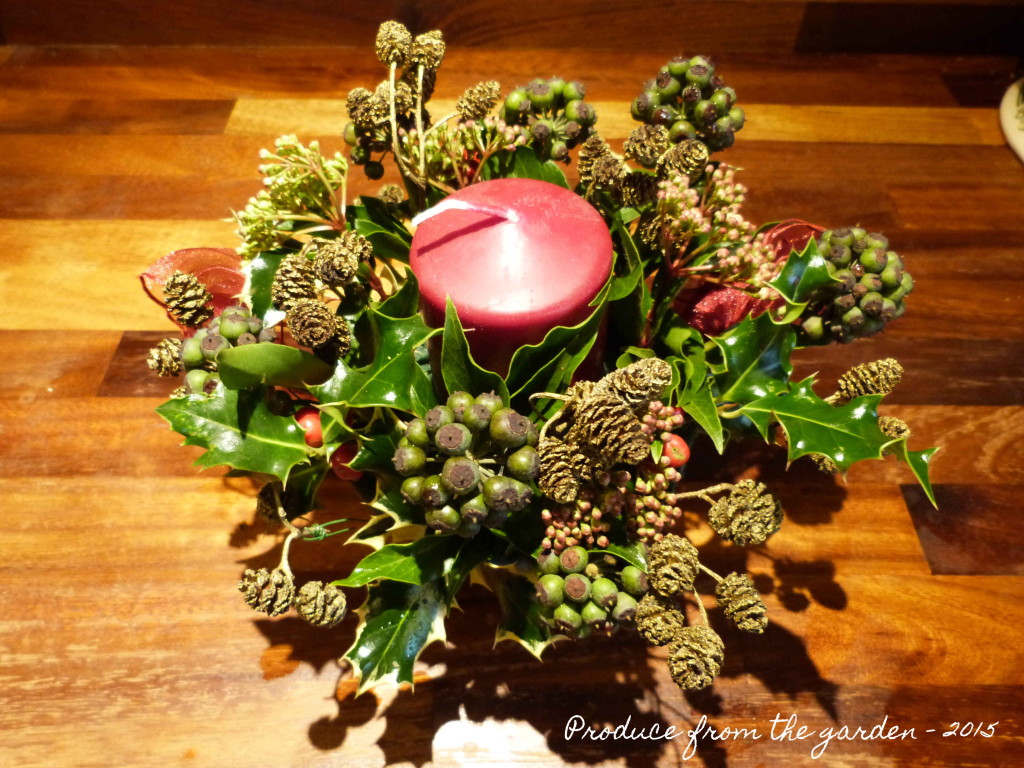
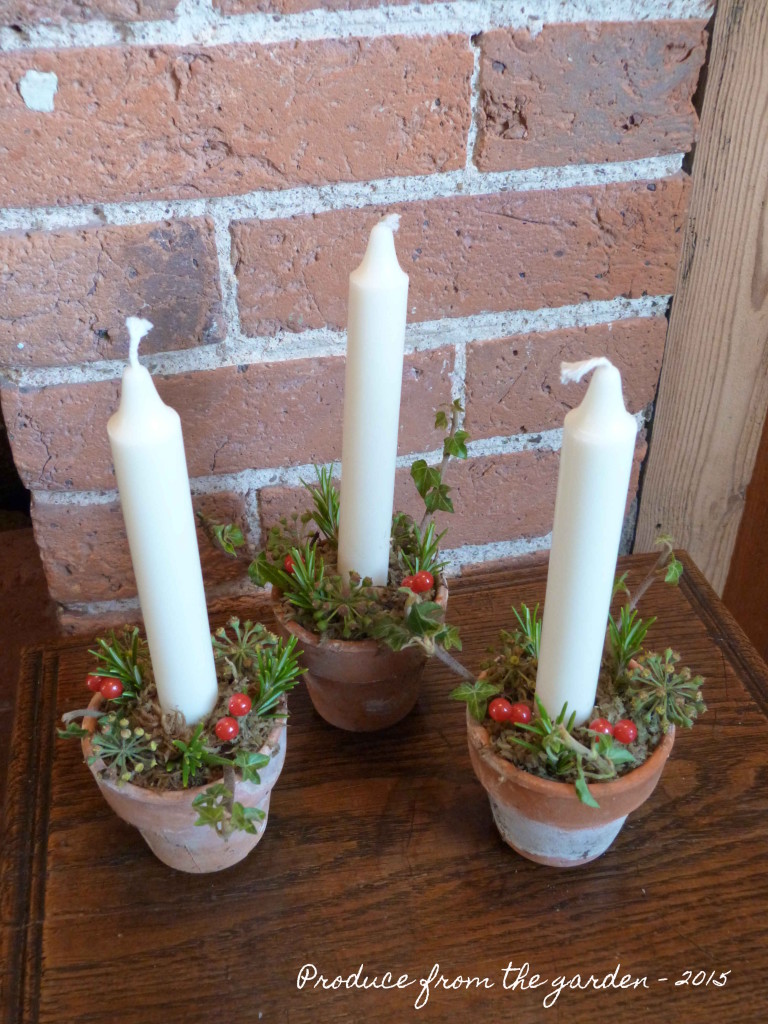
I love the build up to Christmas, more than Christmas itself. The children’s nativities, carol concerts, Christmas parties and my favourite Yule tide activity, decorating our home. This always starts with a stroll around the garden with my large wicker trug and secateurs, seeking festive foliage and anything pretty looking. I was pleased and surprised to see that the birds hadn’t gorged themselves on my bumper holly berry crop, so for the first time in years I am sporting genuine home grown holly berries in my decorations. More about my holly trimmed swags and candle arrangements in my next blog posting. Today is dedicated to the Christmas wreath, my favourite Christmas decoration.
The term wreath comes from the word ‘Writhen’ which means twisted or contorted out of normal shape or form, hence the twisted evergreen foliage into a circle. Wreaths were first used by the Romans who hung them on their doors as a sign of victory and of their status in society; the ancient Greeks gave the victors of their Olympic games a laurel wreath to wear on their heads. Christians celebrating Christmas adopted the twisted circle of the wreath as a representation of Christ’s eternal love, strength and creation of new life. To me they represent a warm festive welcome into friends and families homes. A simple wreath gives your home and instant Christmas lift. I often think homes without wreaths at this time of year look stark and bare.
I always make wreaths with produce from my garden, adding a few ribbons and baubles to give it a little extra lift and sparkle. I do like traditional holy wreaths but in recent years I’ve preferred to take a more colourful fun approach, I also think it matches the colour of our front door better!
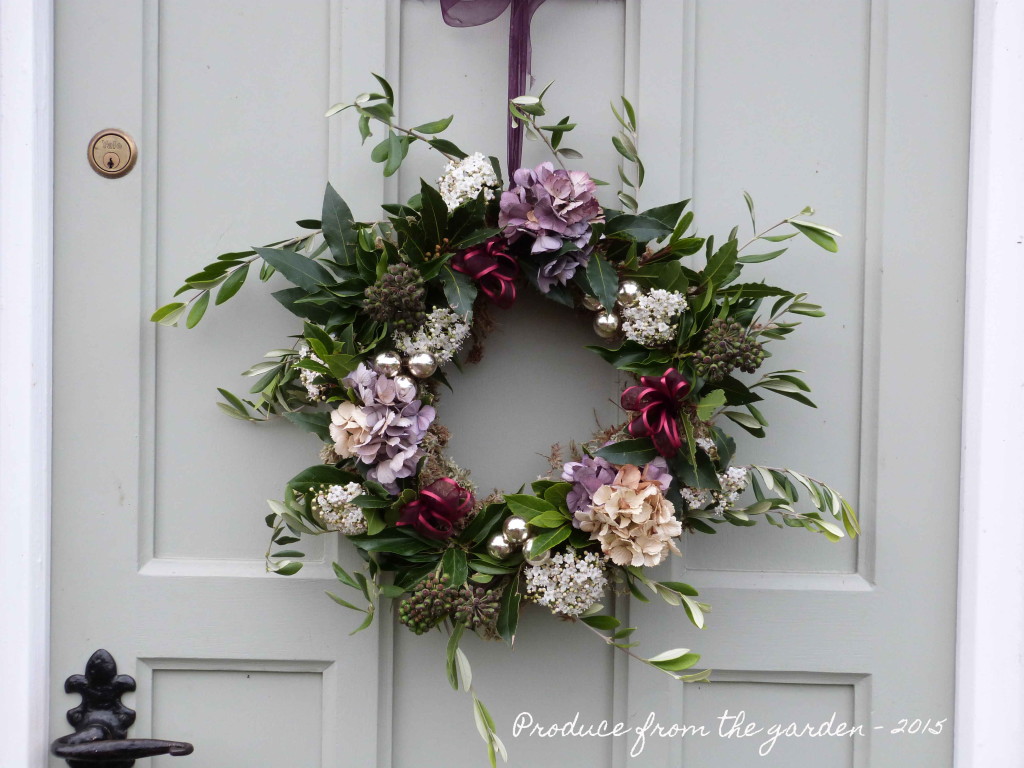 This years wreath hanging on our front door
Below is my step by step guide to making your own wreath from the garden:
1.First of all I collect a variety of evergreen foliage from the garden, dig out ribbon, Christmas baubles and sprayed wired hedgerow finds, all reused every year. In late summer/autumn I cut and save some of my hydrangea flowers for winter arrangements, this year they’re going to be the star performer of the wreath.
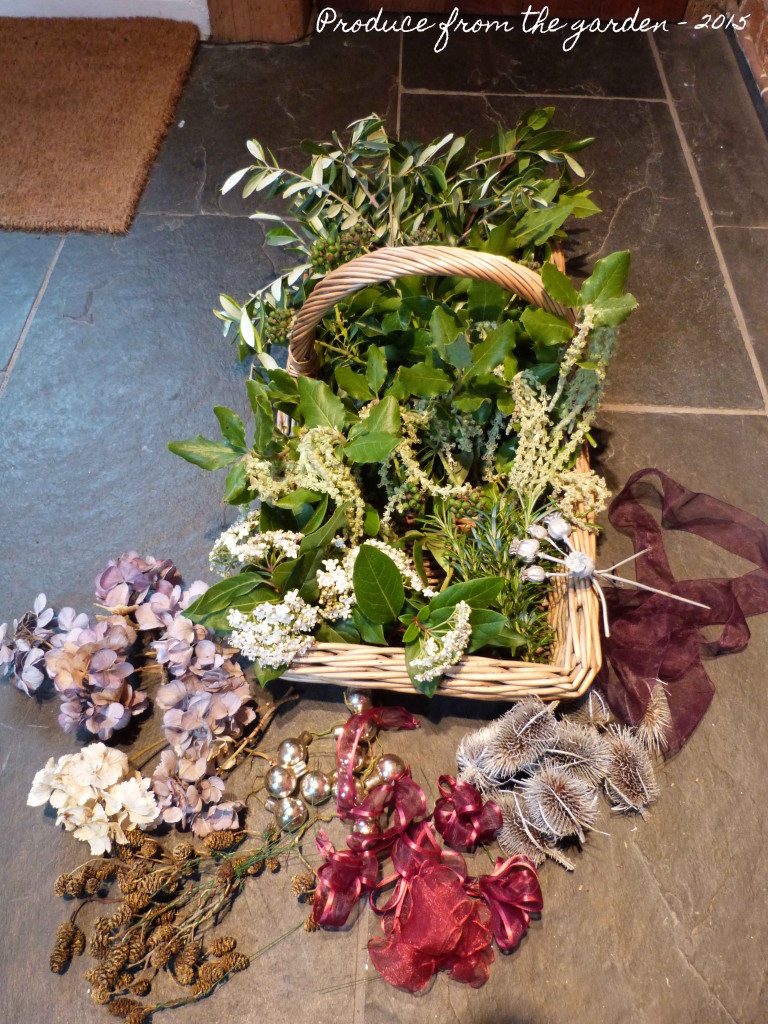 Various materials I’ve collected for the wreath
2. Buy a wire wreath frame and some flower arranging wires from your local florist, they literally cost a few pounds, or like me who has mislaid her wreath frame and forgot to buy a new one, wire together two rings from a garden obelisk!
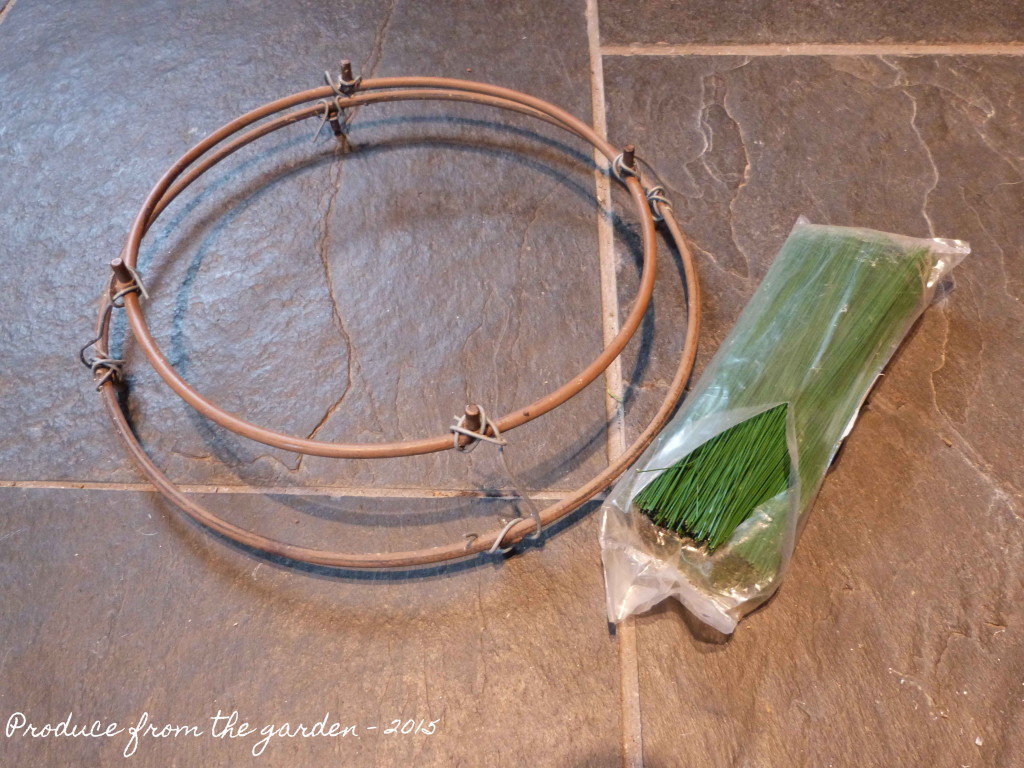 A wreath frame and flower arranging wire
3. Tightly wire good sized chunks of damp sphagnum moss (easily sourced from garden centres and florists) to the wire frame, this becomes the base of your wreath. The moss needs to be reasonably dense as it will need to hold the wreaths material firmly as they’re inserted into the moss base.
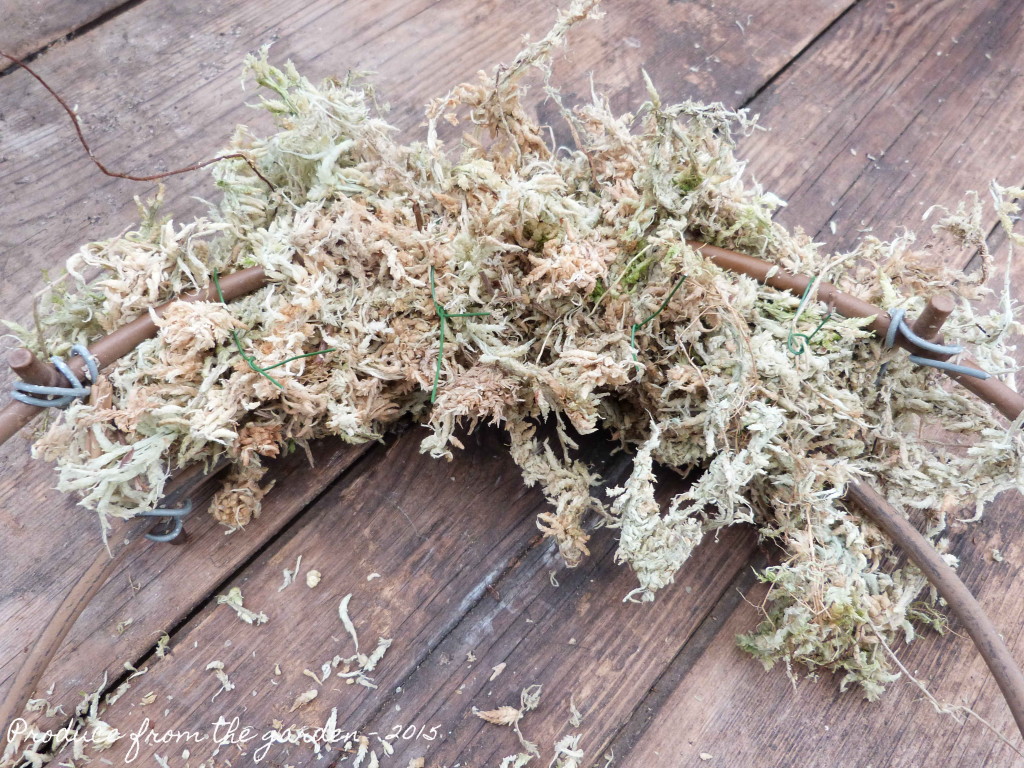 The sphagnum moss being tightly wired to the wreath frame
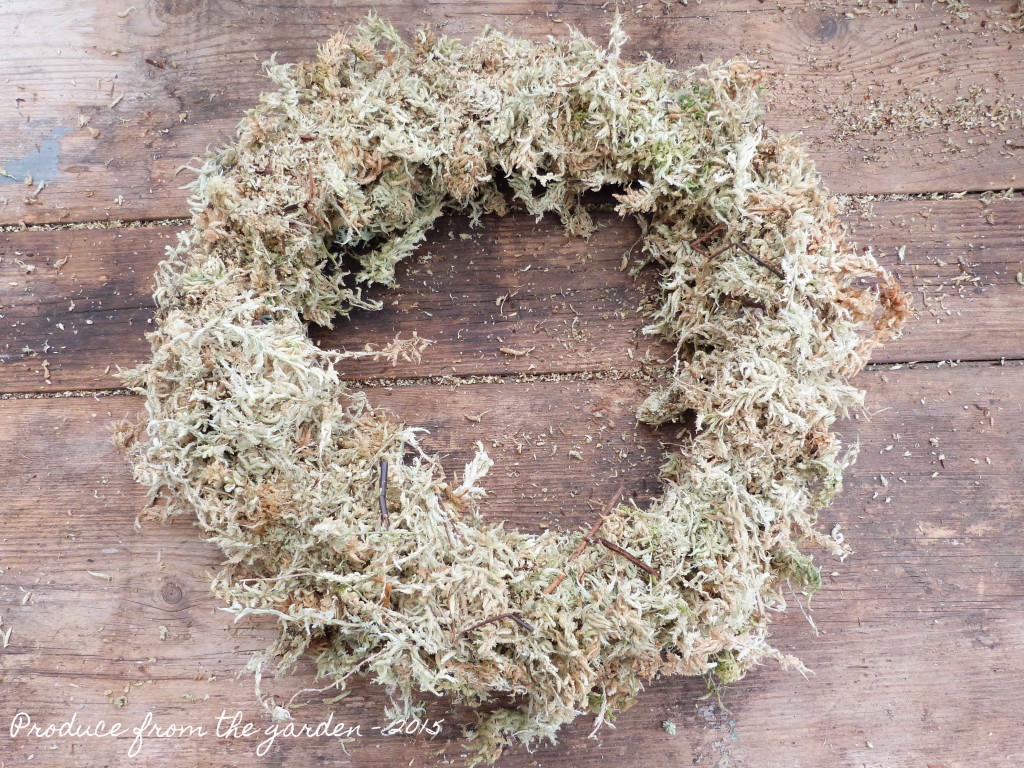 The completed sphagnum moss base
4. Create a background to the wreath using a dark evergreen leaf. I have used bay as I love the deep matt green as a base colour and texture.
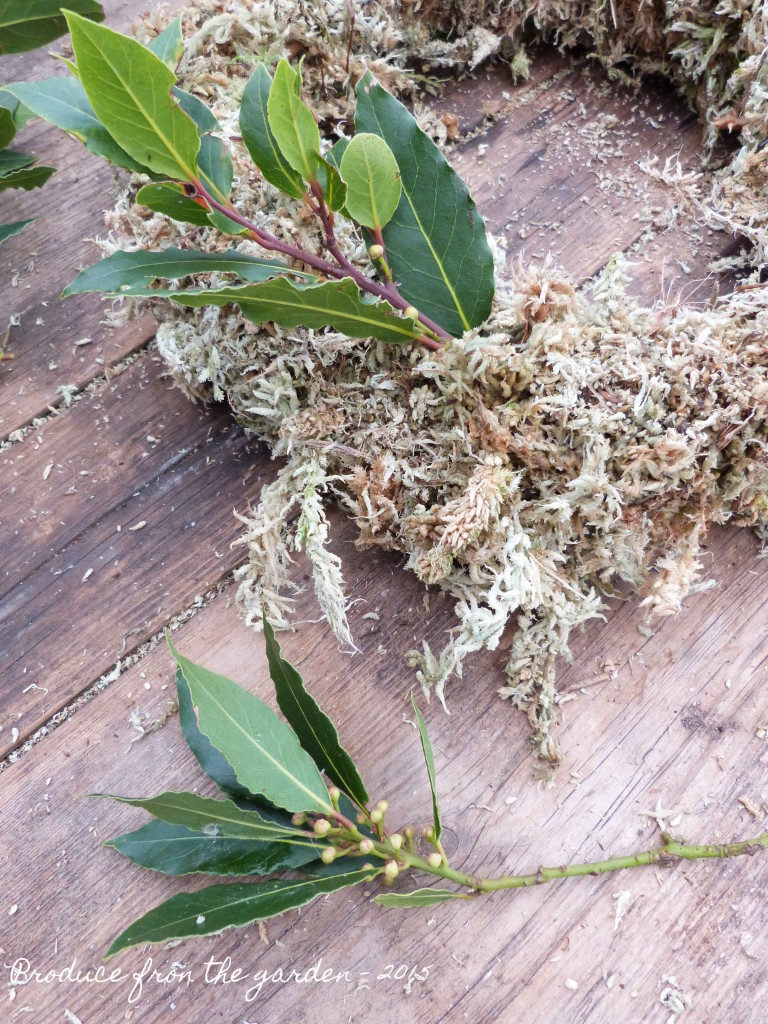 Sprigs of bay start to be inserted into the wreath
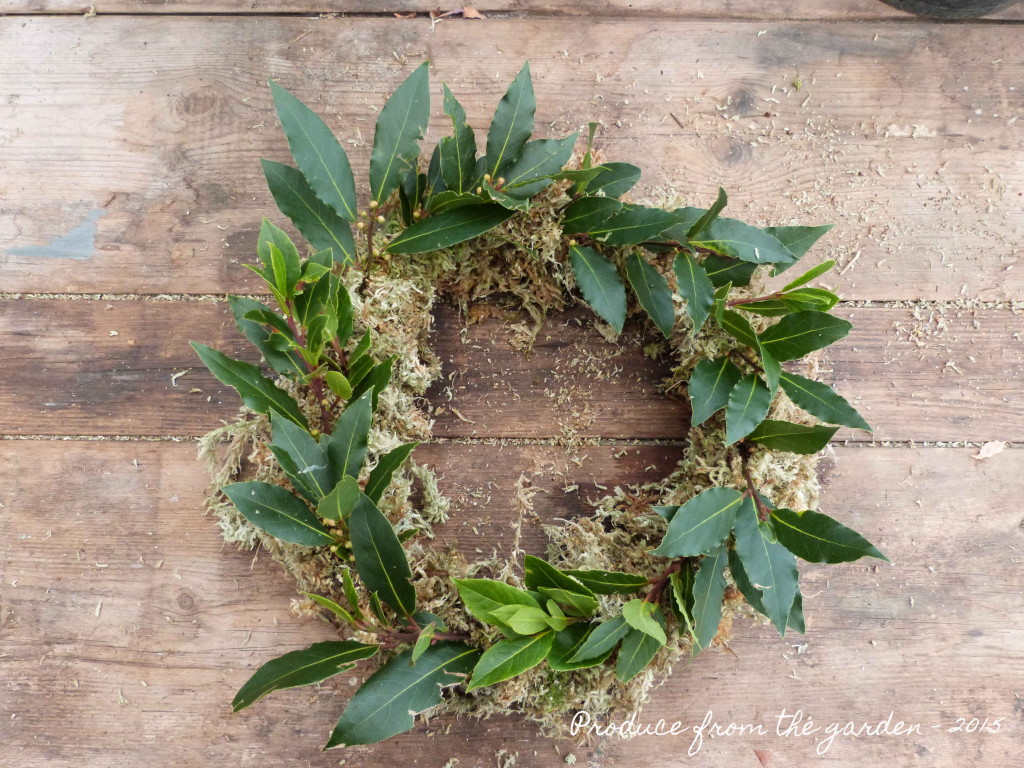 The bay leaf back ground is added to the wreath
- Now I have the background of the wreath I start to build the wreath arrangement, always working in threes or fives evenly distributed around the wreath. I have started by binding together with florist wire, three ivy berry stems, repeating until I have three bunches.
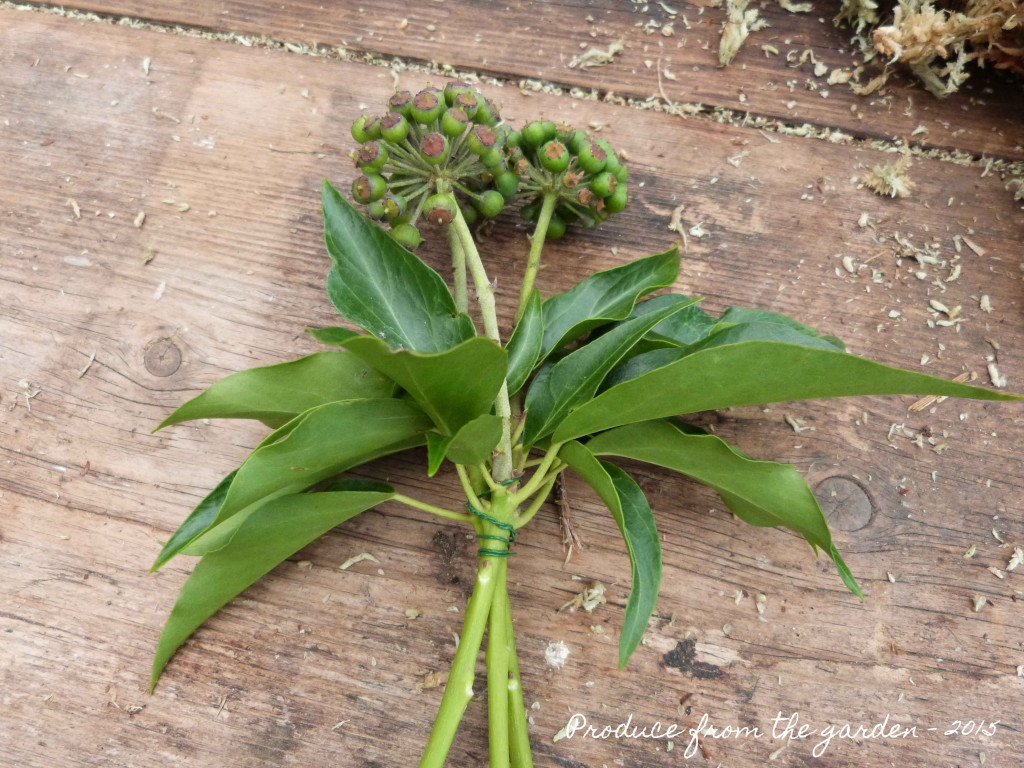 A bunch of Ivy berry stems bound with florist wire
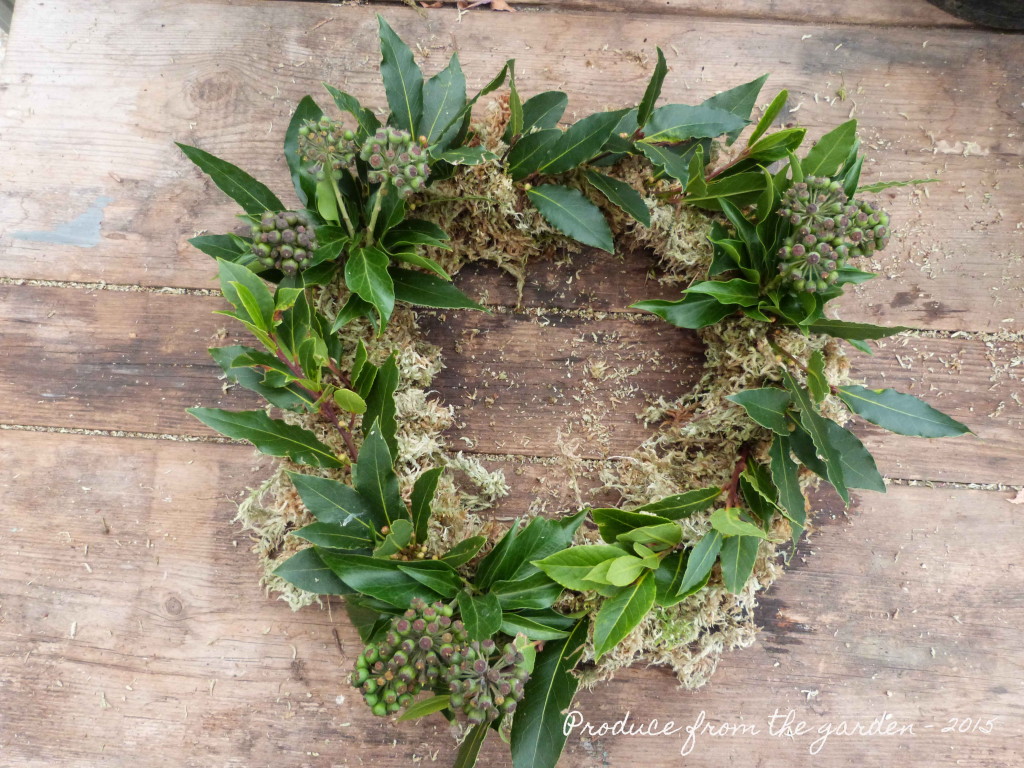 The three Ivy berry bunches place into the wreath base
6. My hydrangea flowers are quite small so like the Ivy I have bound a few together making three bunches to be inserted into the moss base of the wreath.
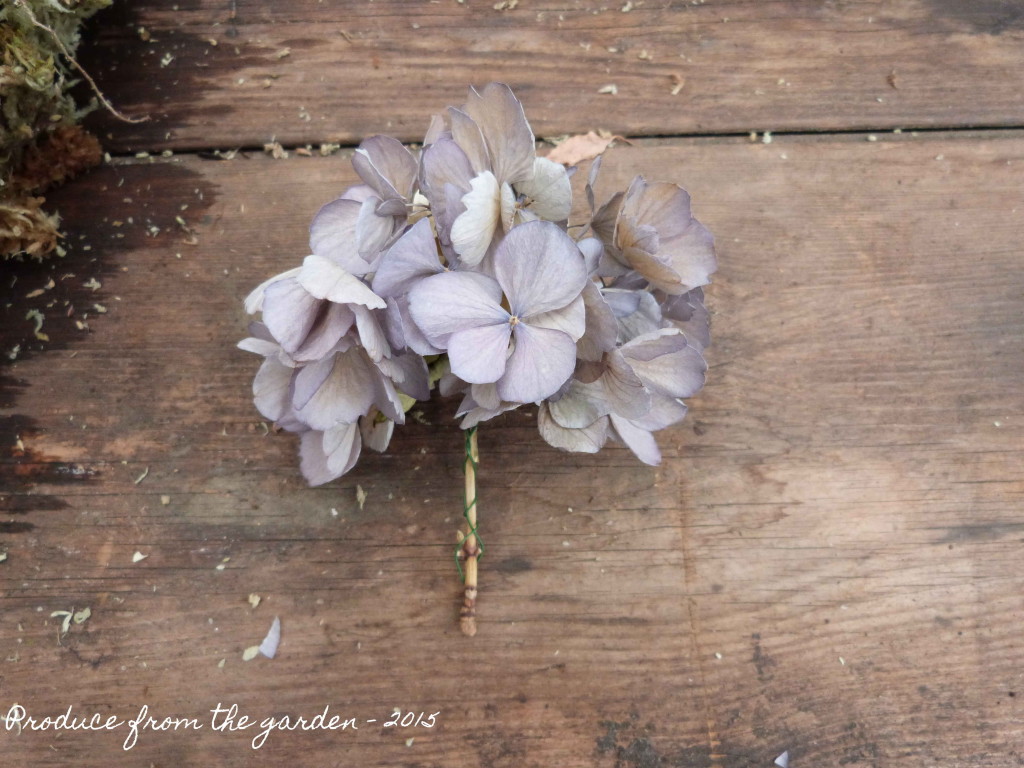 A wired hydrangea bunch
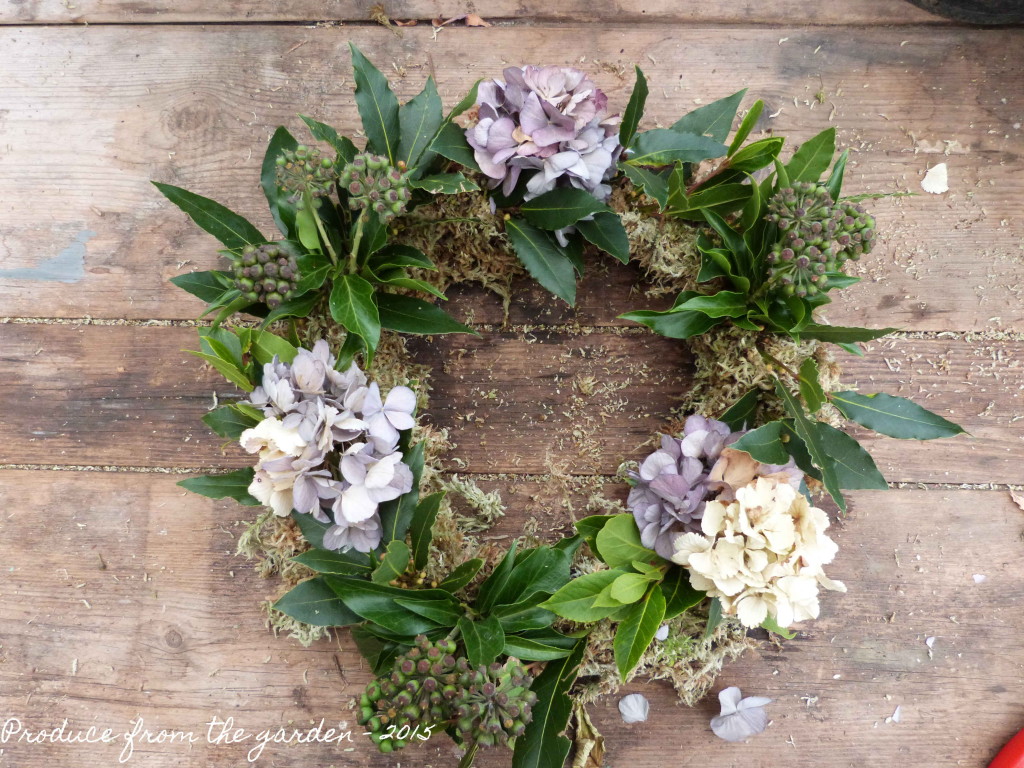 The Hydrangea inserted into the wreath
7. I like to add long stems of olive or silver birch twigs in a clockwise direction around the edge of the wreath to give it a little extra dimension.
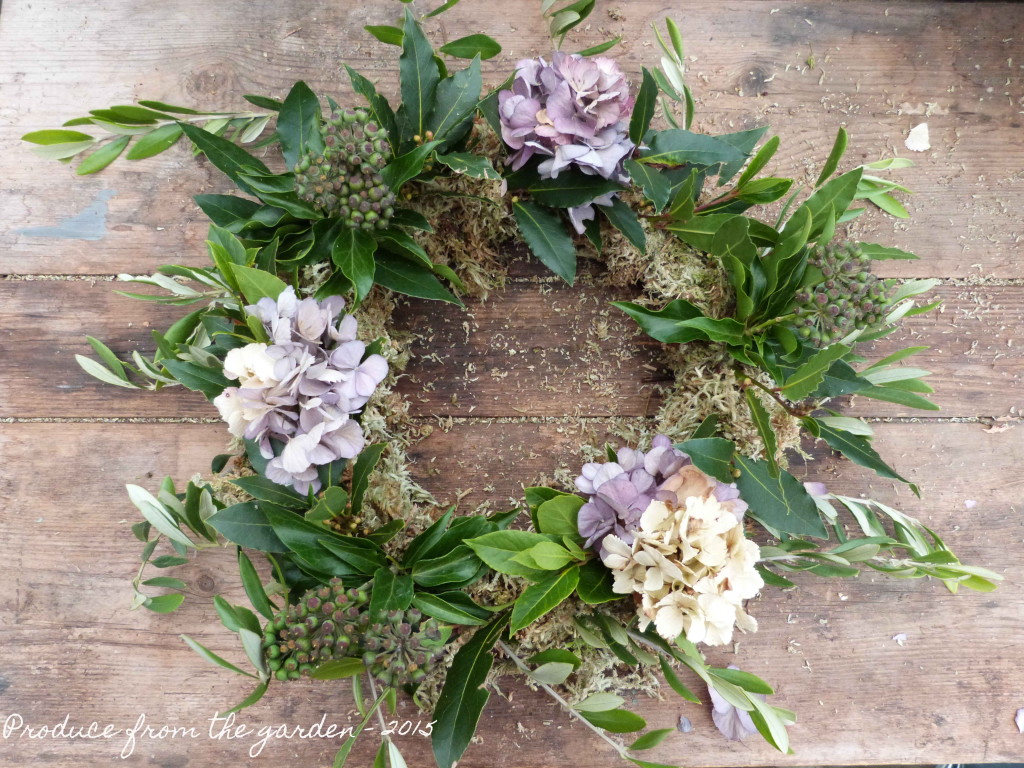 Olive stems inserted around the perimeter of the wreath
8. Again in groups and bunches of three, I add a bit of sparkle and festive glam with wired baubles. These are small glass baubles with an antique silver finish that come wired specifically for Christmas arrangements.
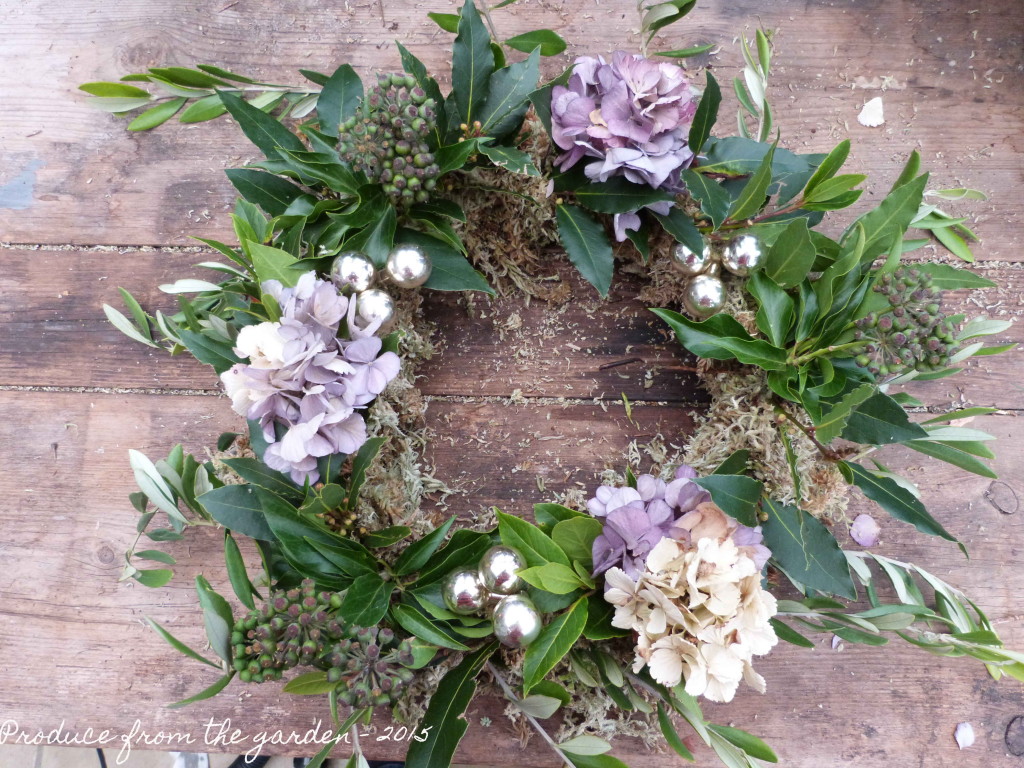 Christmas baubles added to the wreath
9. I am very good at getting myself into a messy tangle when trying to tie ribbon into pretty bows, so now I cheat by folding the ribbon and tying it with wire at one end. Again I make three bows to be place evenly on the wreath.
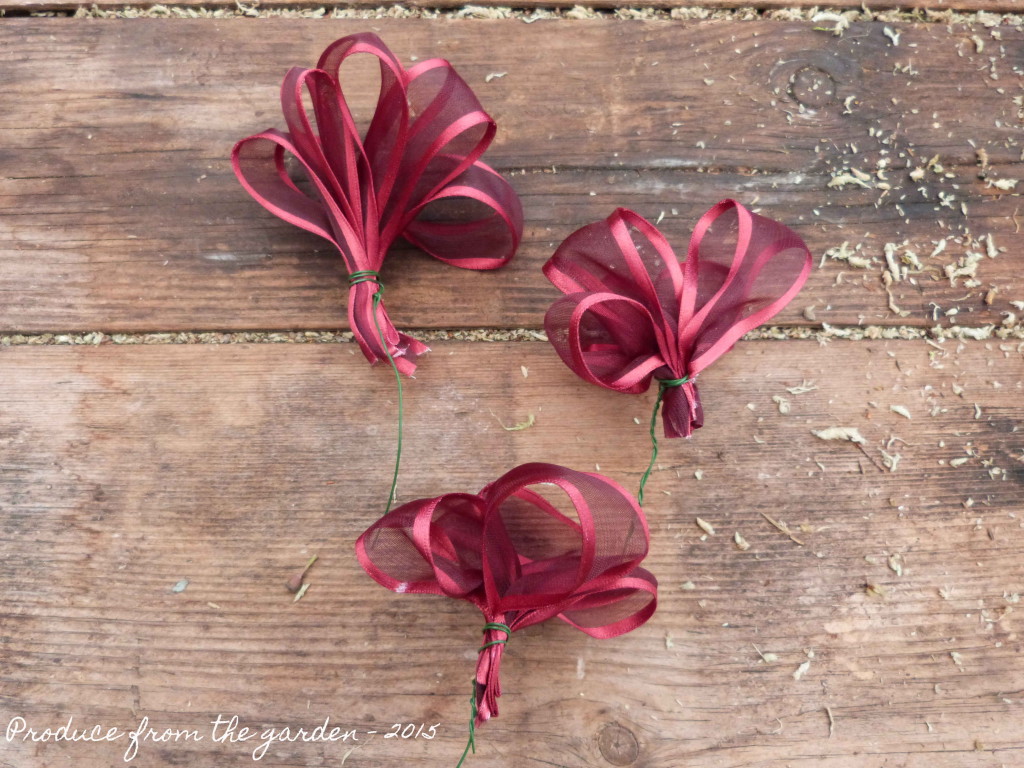 Three ribbons for the wreath
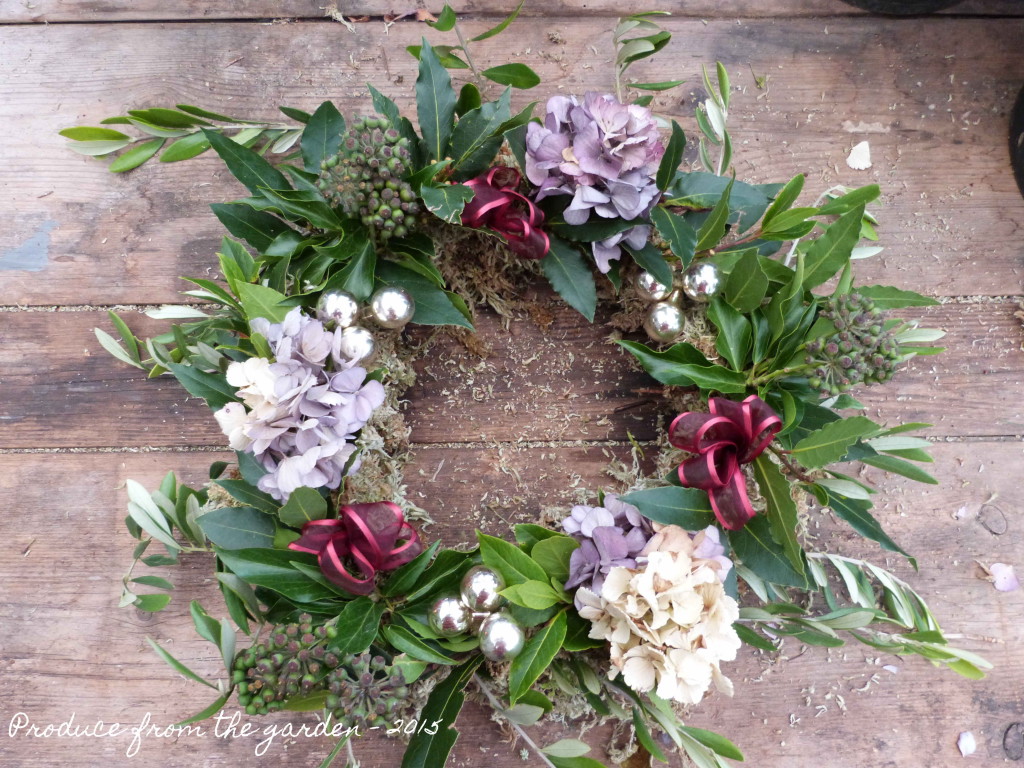 The ribbons placed on the wreath. I like how the pinkey red complements the light pink of the dried hydrangeas.
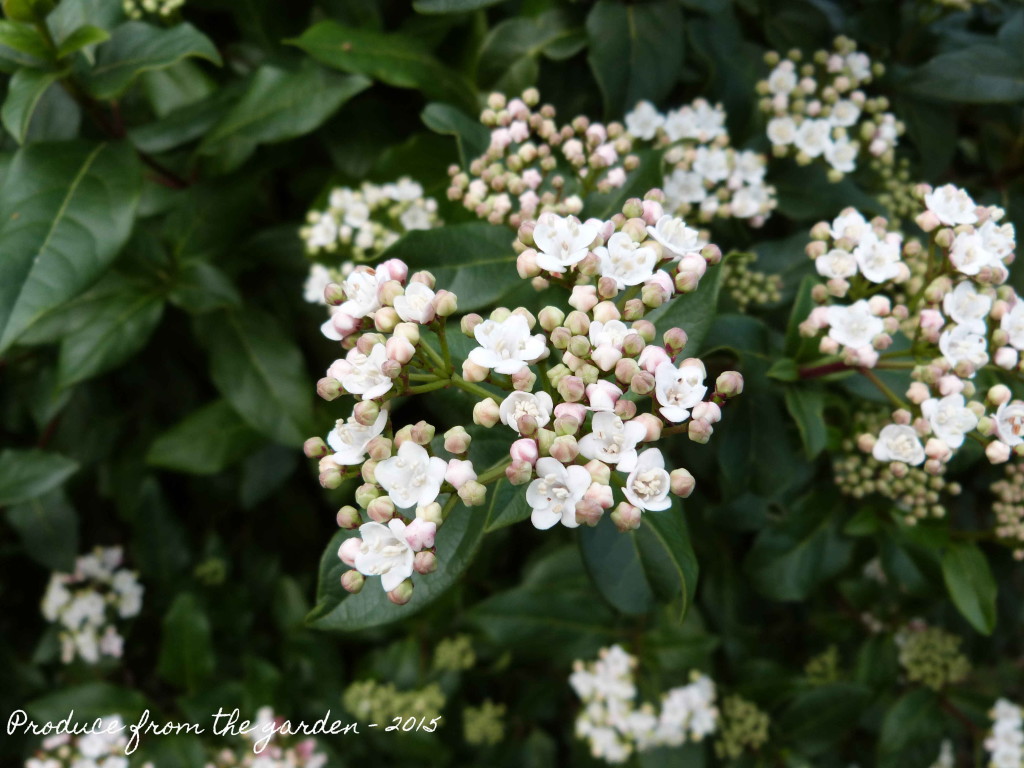
10. To finish the wreath I add viburnum tinus flowers to the wreath, I have plenty in the garden so will replace them as they start to wilt, the damp moss will keep them fresh for a good week.
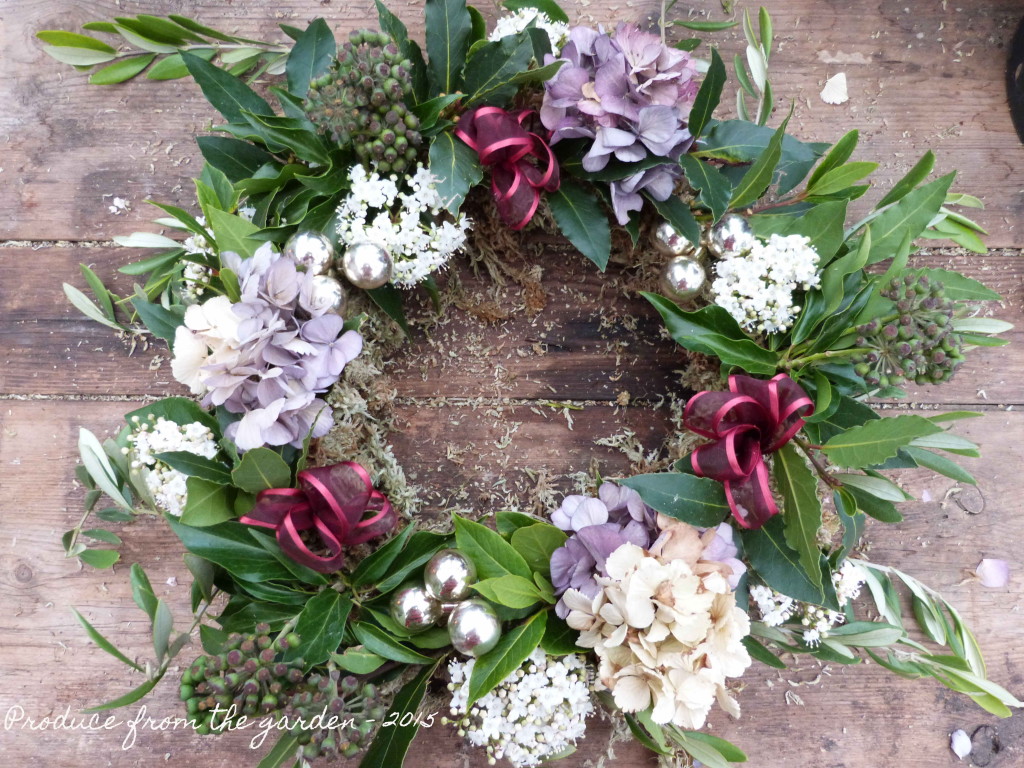 The completed wreath
11. Finally I tie a ribbon around the wreath and hang it to the front door. Every week I will spray the back of the wreath with water just to give it longevity over the whole festive season.
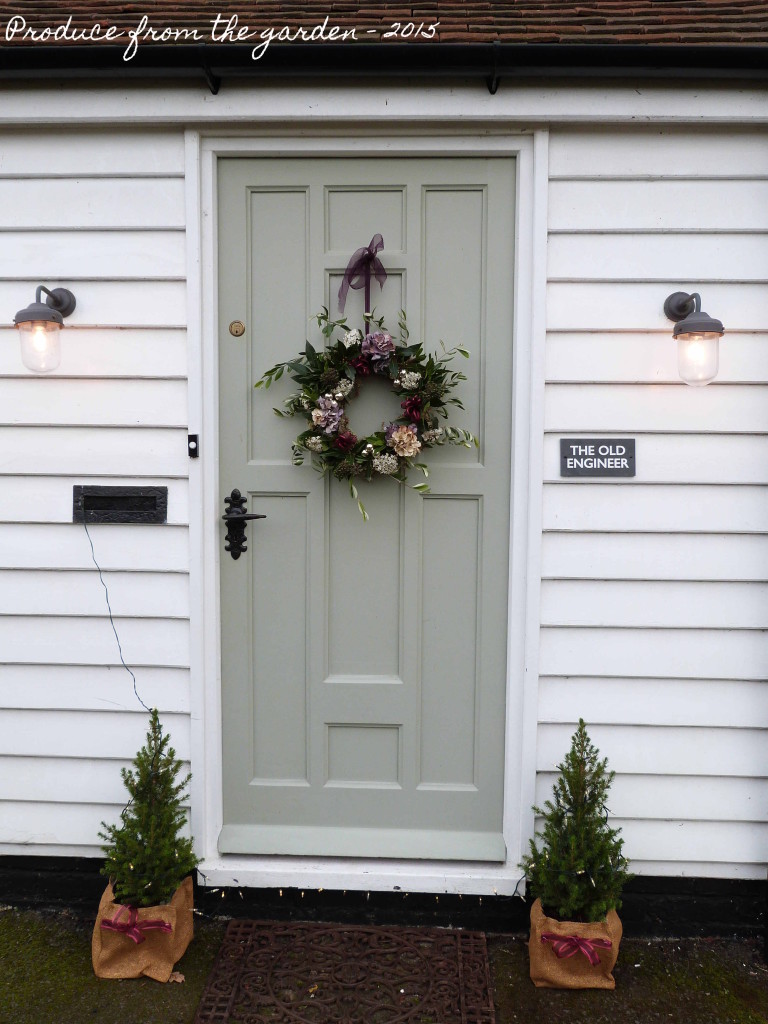 The wreath in pride of place at our front door, ready to welcome guests
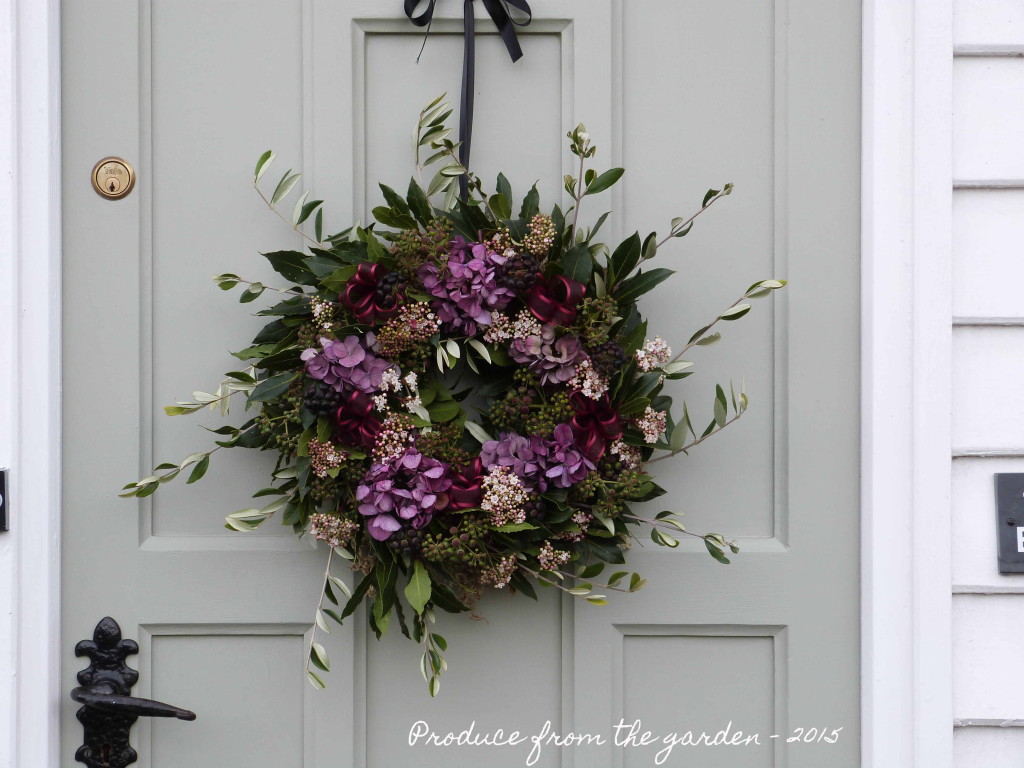 Another similar wreath I’ve made working in groups of five, giving a fuller effect
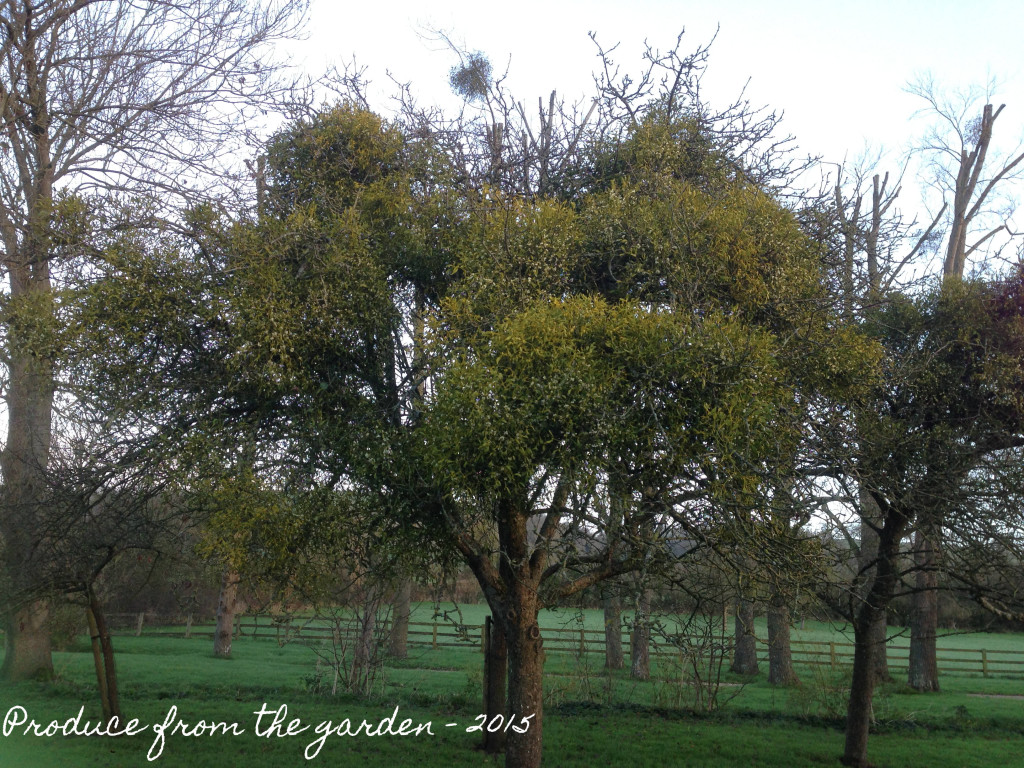 Mistletoe in my Mother-in-laws apple trees
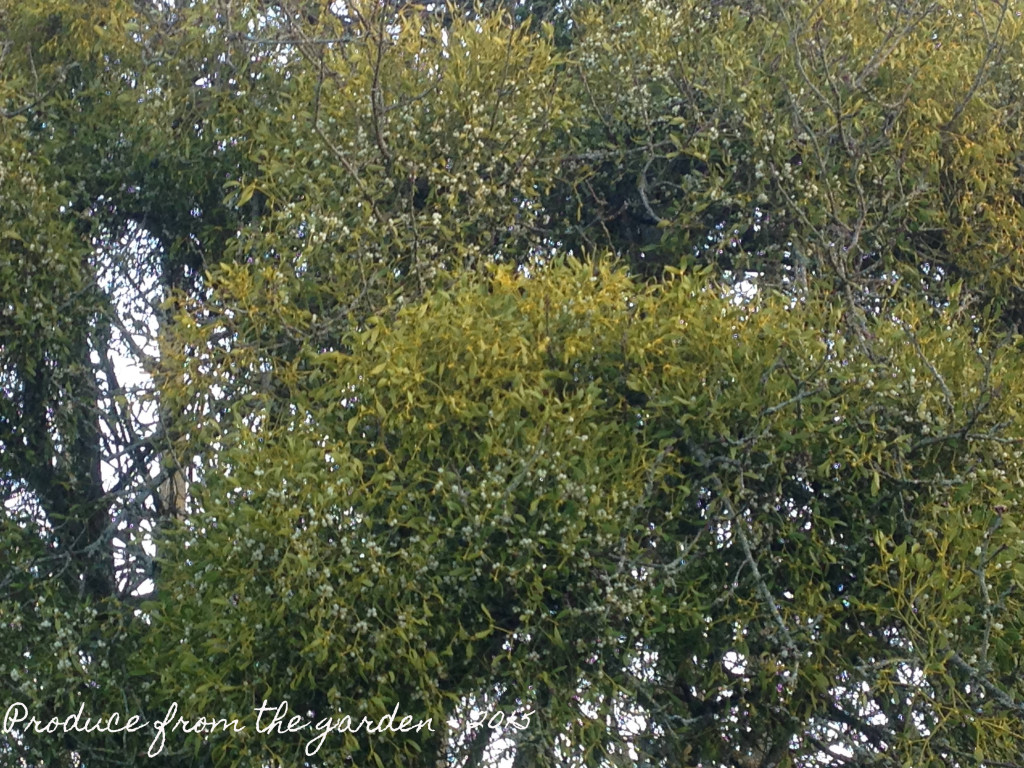 A close up of the berry ladden mistletoe
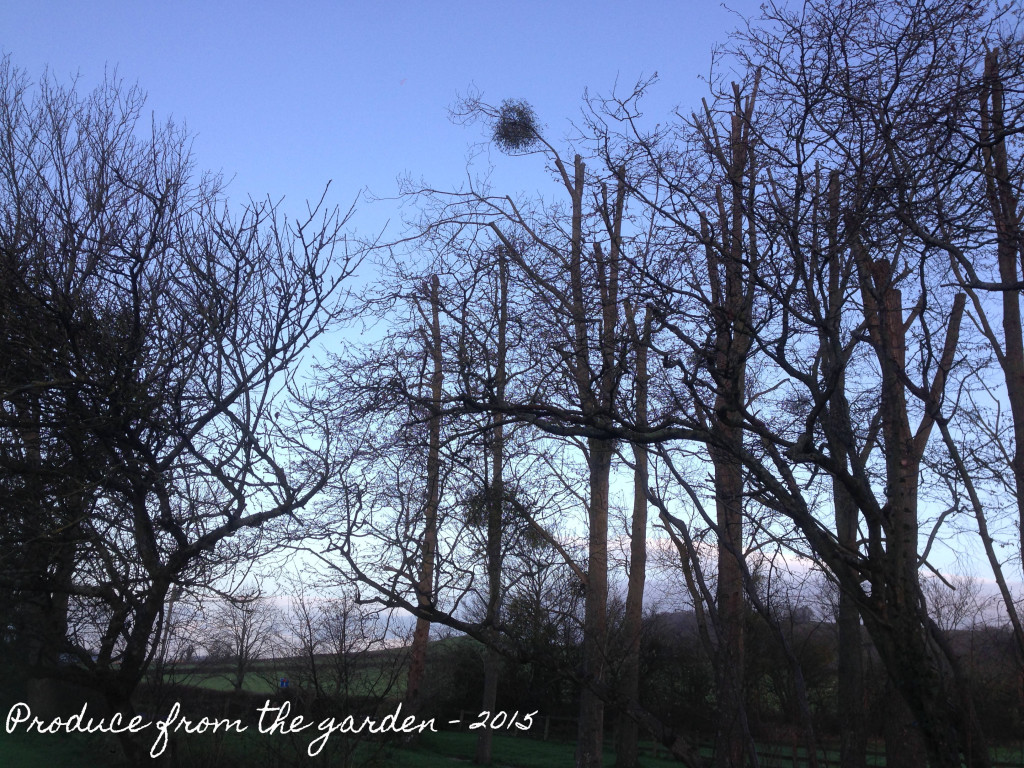 Mistletoe at the top of the giant cricket bat willows
 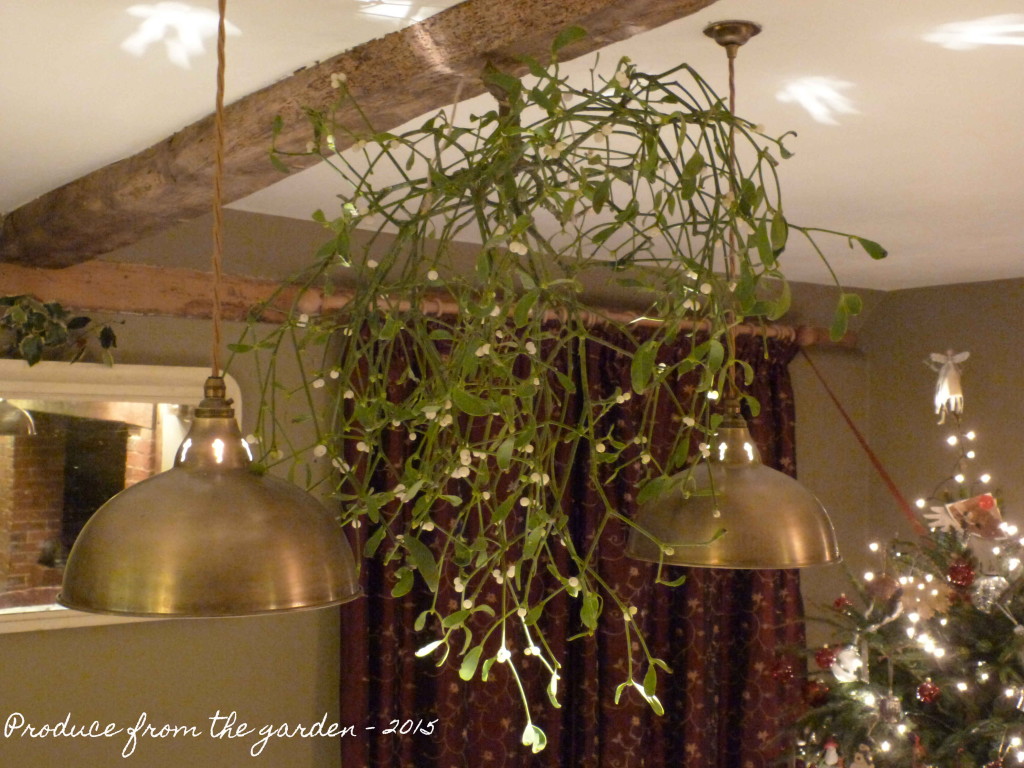 Mistletoe hanging above our dining table
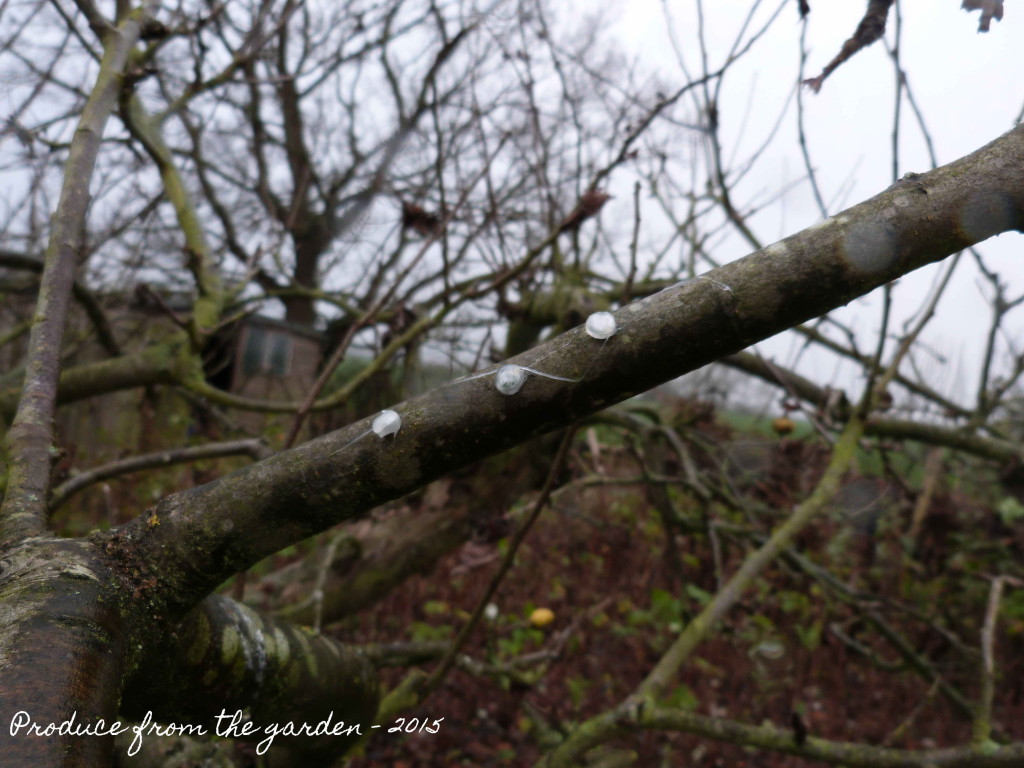 My attempt to establish mistletoe in our Bramley apple trees, I will apply further berries in February