Home grown willow obelisk

Life has been hectic the last few weeks and as a result my blog has been neglected. Over the next week I hope to update Produce from the garden with tales of Spring wedding flowers I‘ve grown and arranged, a day with a digger landscaping areas of the garden, planning a new cut flower patch in our front garden, coppicing our Hazel Cobnuts and Willow and rescuing our large trampoline from the top of a Plum tree thanks to storm Katie!

Today I’ve had a go at weaving a Willow obelisk with our coppiced Willow as a structure for Sweet Peas to clamber up. It’s not as neat as a shop bought creation, but I love its rustic uneven charm.

Willow Obelisk

I selected eight sturdy, long, straight branches and pushed them into soil in a circle. I then wove thinner Willow whips around the bottom of the eight vertical branches and another ring of woven Willow half way up the obelisk. The top branches were gathered together with a mini woven Willow wreath.

Coppiced willow
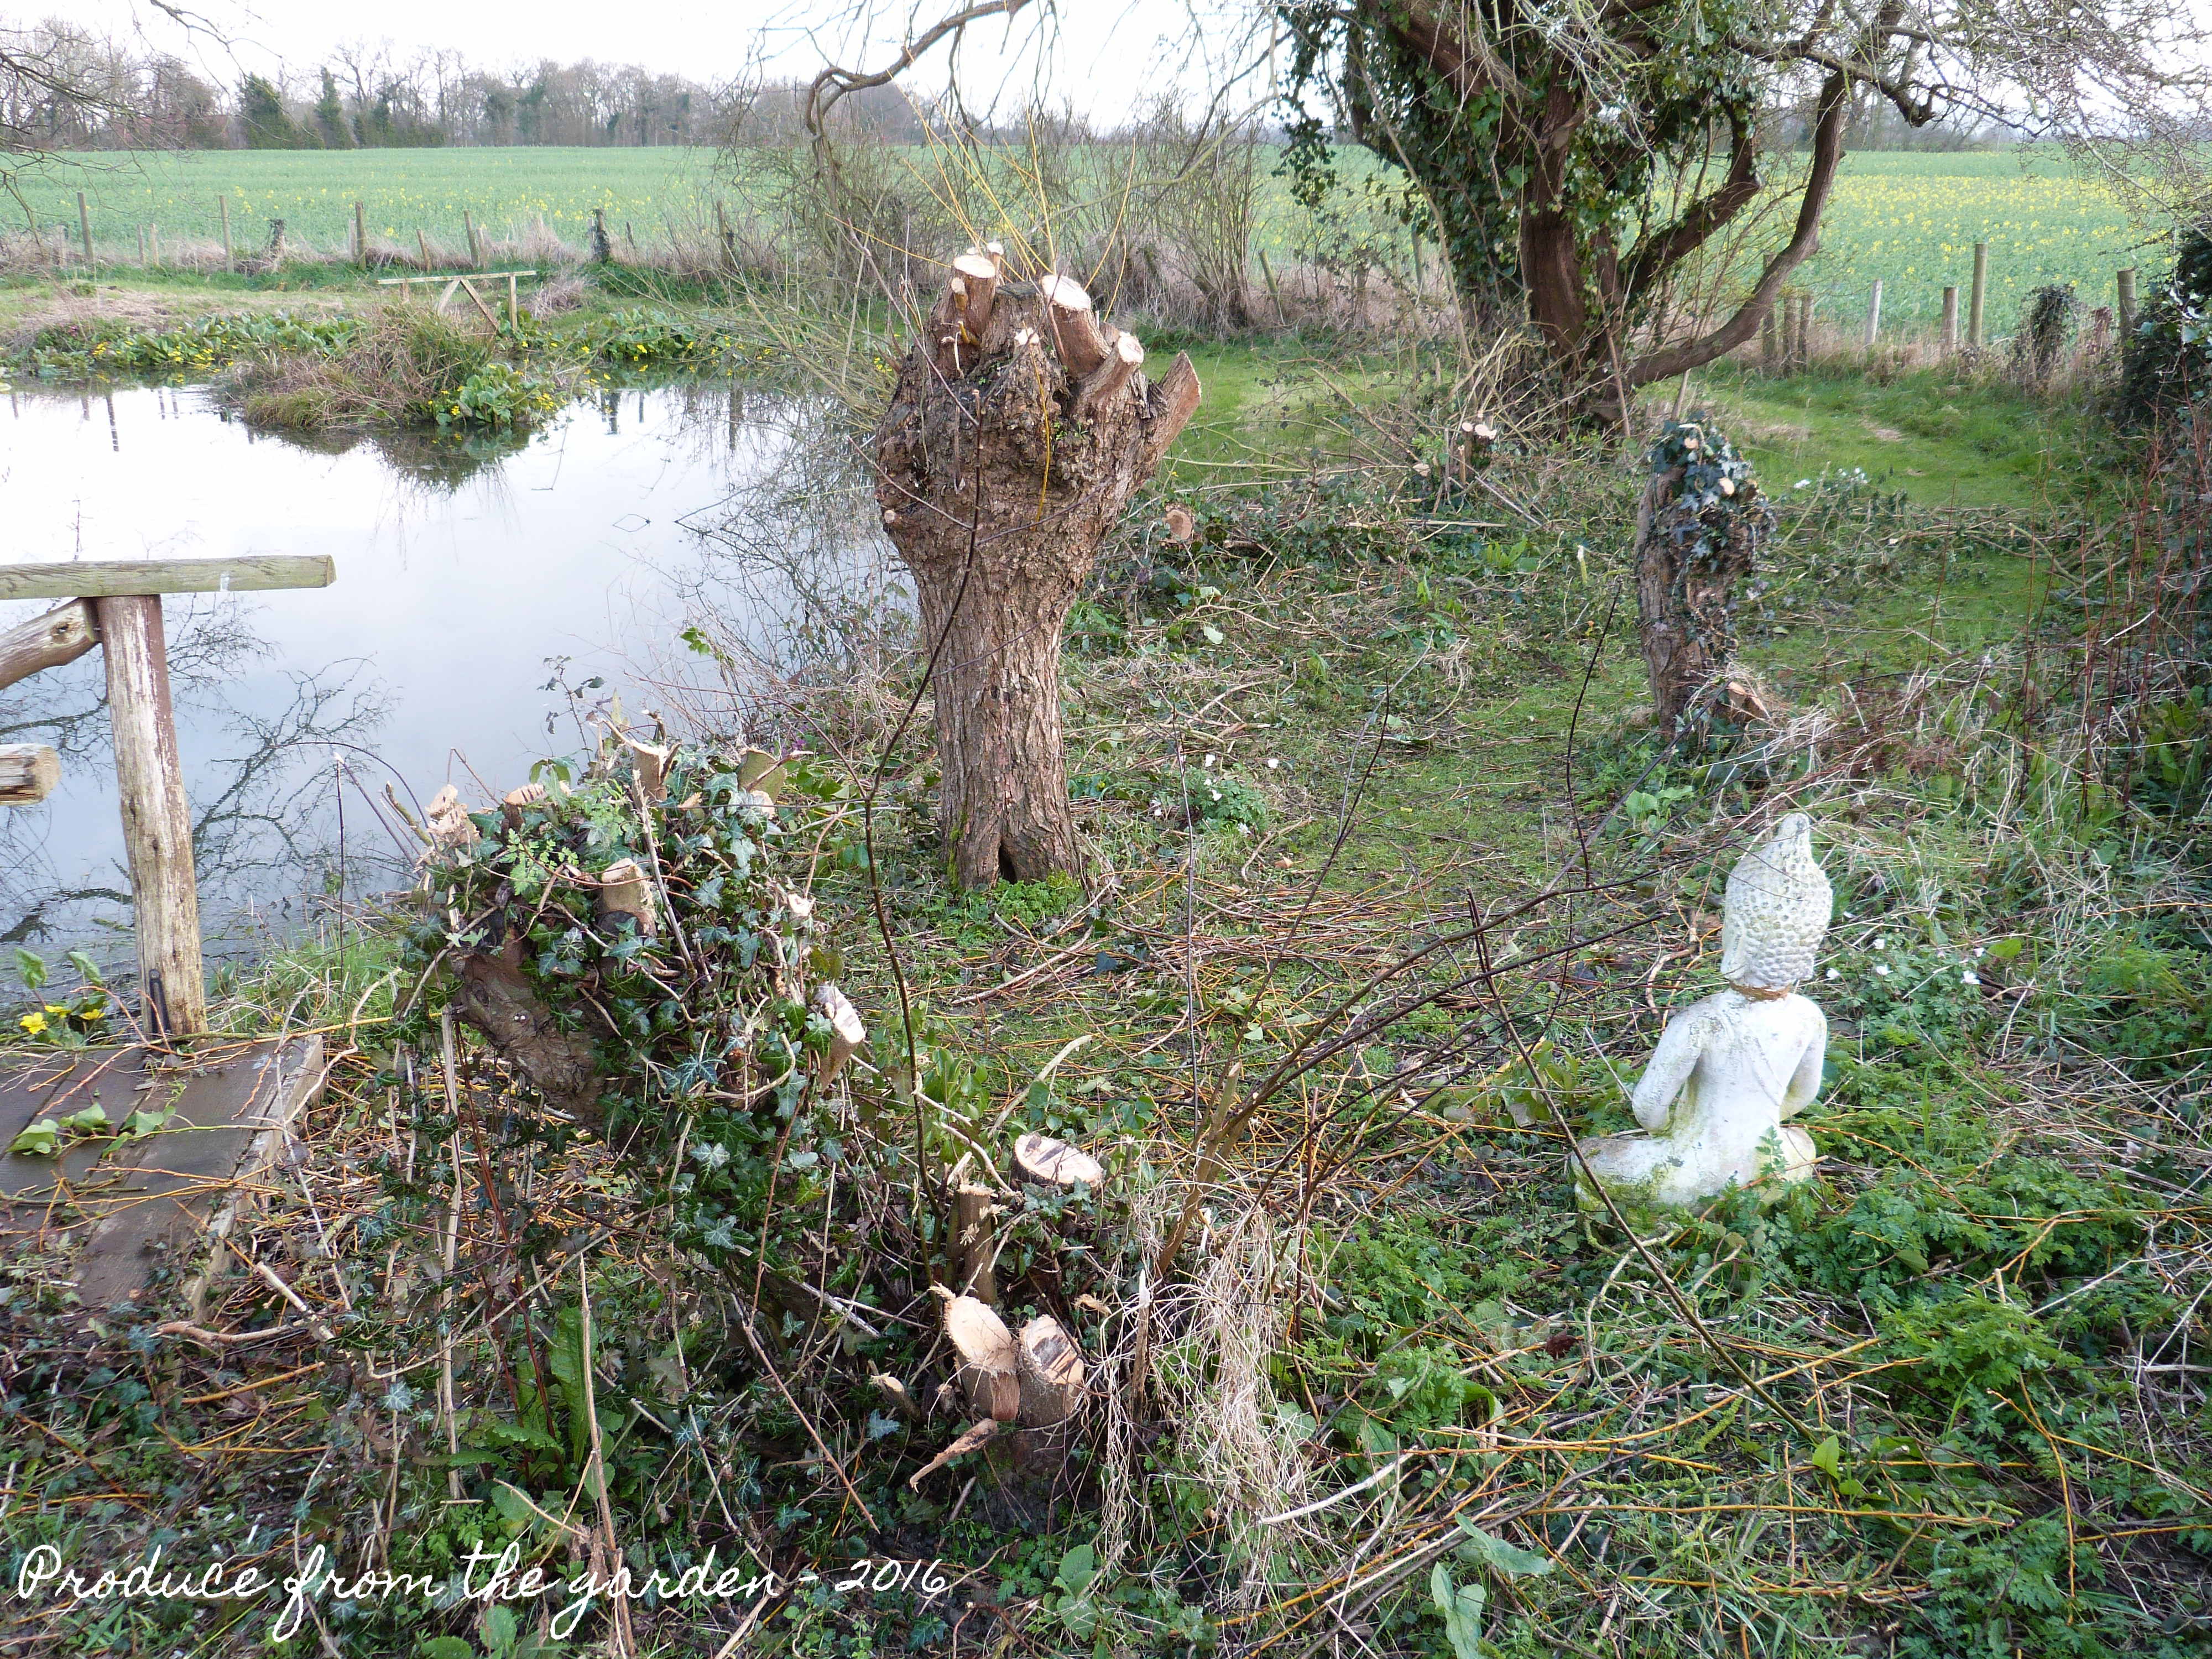
The coppiced Willow stumps will shoot in Spring providing us with new Willow whips


An Autumn chill in the air

Not all produce from the garden are flowers, fruit or vegetables. This is our collection of wood from the last year. It’s a bit early, but I feel that Autumn chill in the air, so I’ve just gathered up some of our log bounty for our fireplace. I’m looking forward to our first fire of the year tonight, snuggling up to watch Gardeners World with a lovely glass of red.

Logs

Our log store

Terracotta Pots and Standard Bays

Yesterday was one of those days that ended up going in a completely different direction to what I’d planned. The plan was not an exciting one, the house was looking neglected and in need of a good tidy and clean, and I’m afraid to say still does! I’d successfully bid at a local auction on a pair of fabulous old and very large terracotta pots, planted with a couple of sickly looking six foot standard Bay trees. At the time I was envisaging these pots planted with tulips followed by luscious summer bedding, acid green and silver foliage with dahlias the star performers. As is my way, the practicalities of getting them home we’re not a necessary consideration, we’d just remove and bin the Bays, then pop the pots in the back of the car.

So yesterday morning after school drop off, I went to collect my new treasured acquisitions. I realised that to remove the existing Bays I’d need some equipment so sensibly took a spade, trowel, fork, saw and the husband. Reality quickly hit, these Bays were not going to easily lift from the pots, an hour later, after a lot of hard graft the bays had been extracted, I can honestly say that I’ve never lifted anything as heavy in my life. The pots (getting on for the second heaviest thing I’d lifted in my life) were hauled into the car and taken home. A return journey was then made, after all the effort we’d gone to I’d formed an attachment with these belligerent sickly trees and am determined to resurrect them into a stunning garden feature. By 8pm I’d successfully finished the morning’s simple job, the standard bays planted into nursery pots where they’ll get some TLC and the beautiful terracotta pots ready in waiting for planting that will compliment their splendour.

Large terracotta potsMy fabulous new pots

Sickly BayThe Sickly bay, planted up in a nursery pot.

Fuji Cherry Tree

Fuji Cherry Tree

I am constantly distracted by the amazing thick and tiny blossom on our Fuji Cherry Tree (Prunus Incisa Kojo-no-mai), it is a smasher! Although not in the kitchen garden I had to sneak it into the blog. It really is the star performance in the garden at the moment. I can highly recommend this dwarf ornamental cherry, idea for small gardens and will reach at most 2m in about 20 years.