Somehow I’ve managed to put my back out, I’ve not suffered with back pain before. I’m not comforted by friends who tell me that once hit it reoccurs and that gardening is one of the worst activities for those who suffer. So digging is out and standing up pruning is in! I would never claim to be an expert apple tree pruner; I’m more a trial and error, common sense tidier. I don’t worry too much about technique and I seem to manage the desired result, tidy trees with beautiful blossom in spring and delicious fruit come late summer/ autumn.
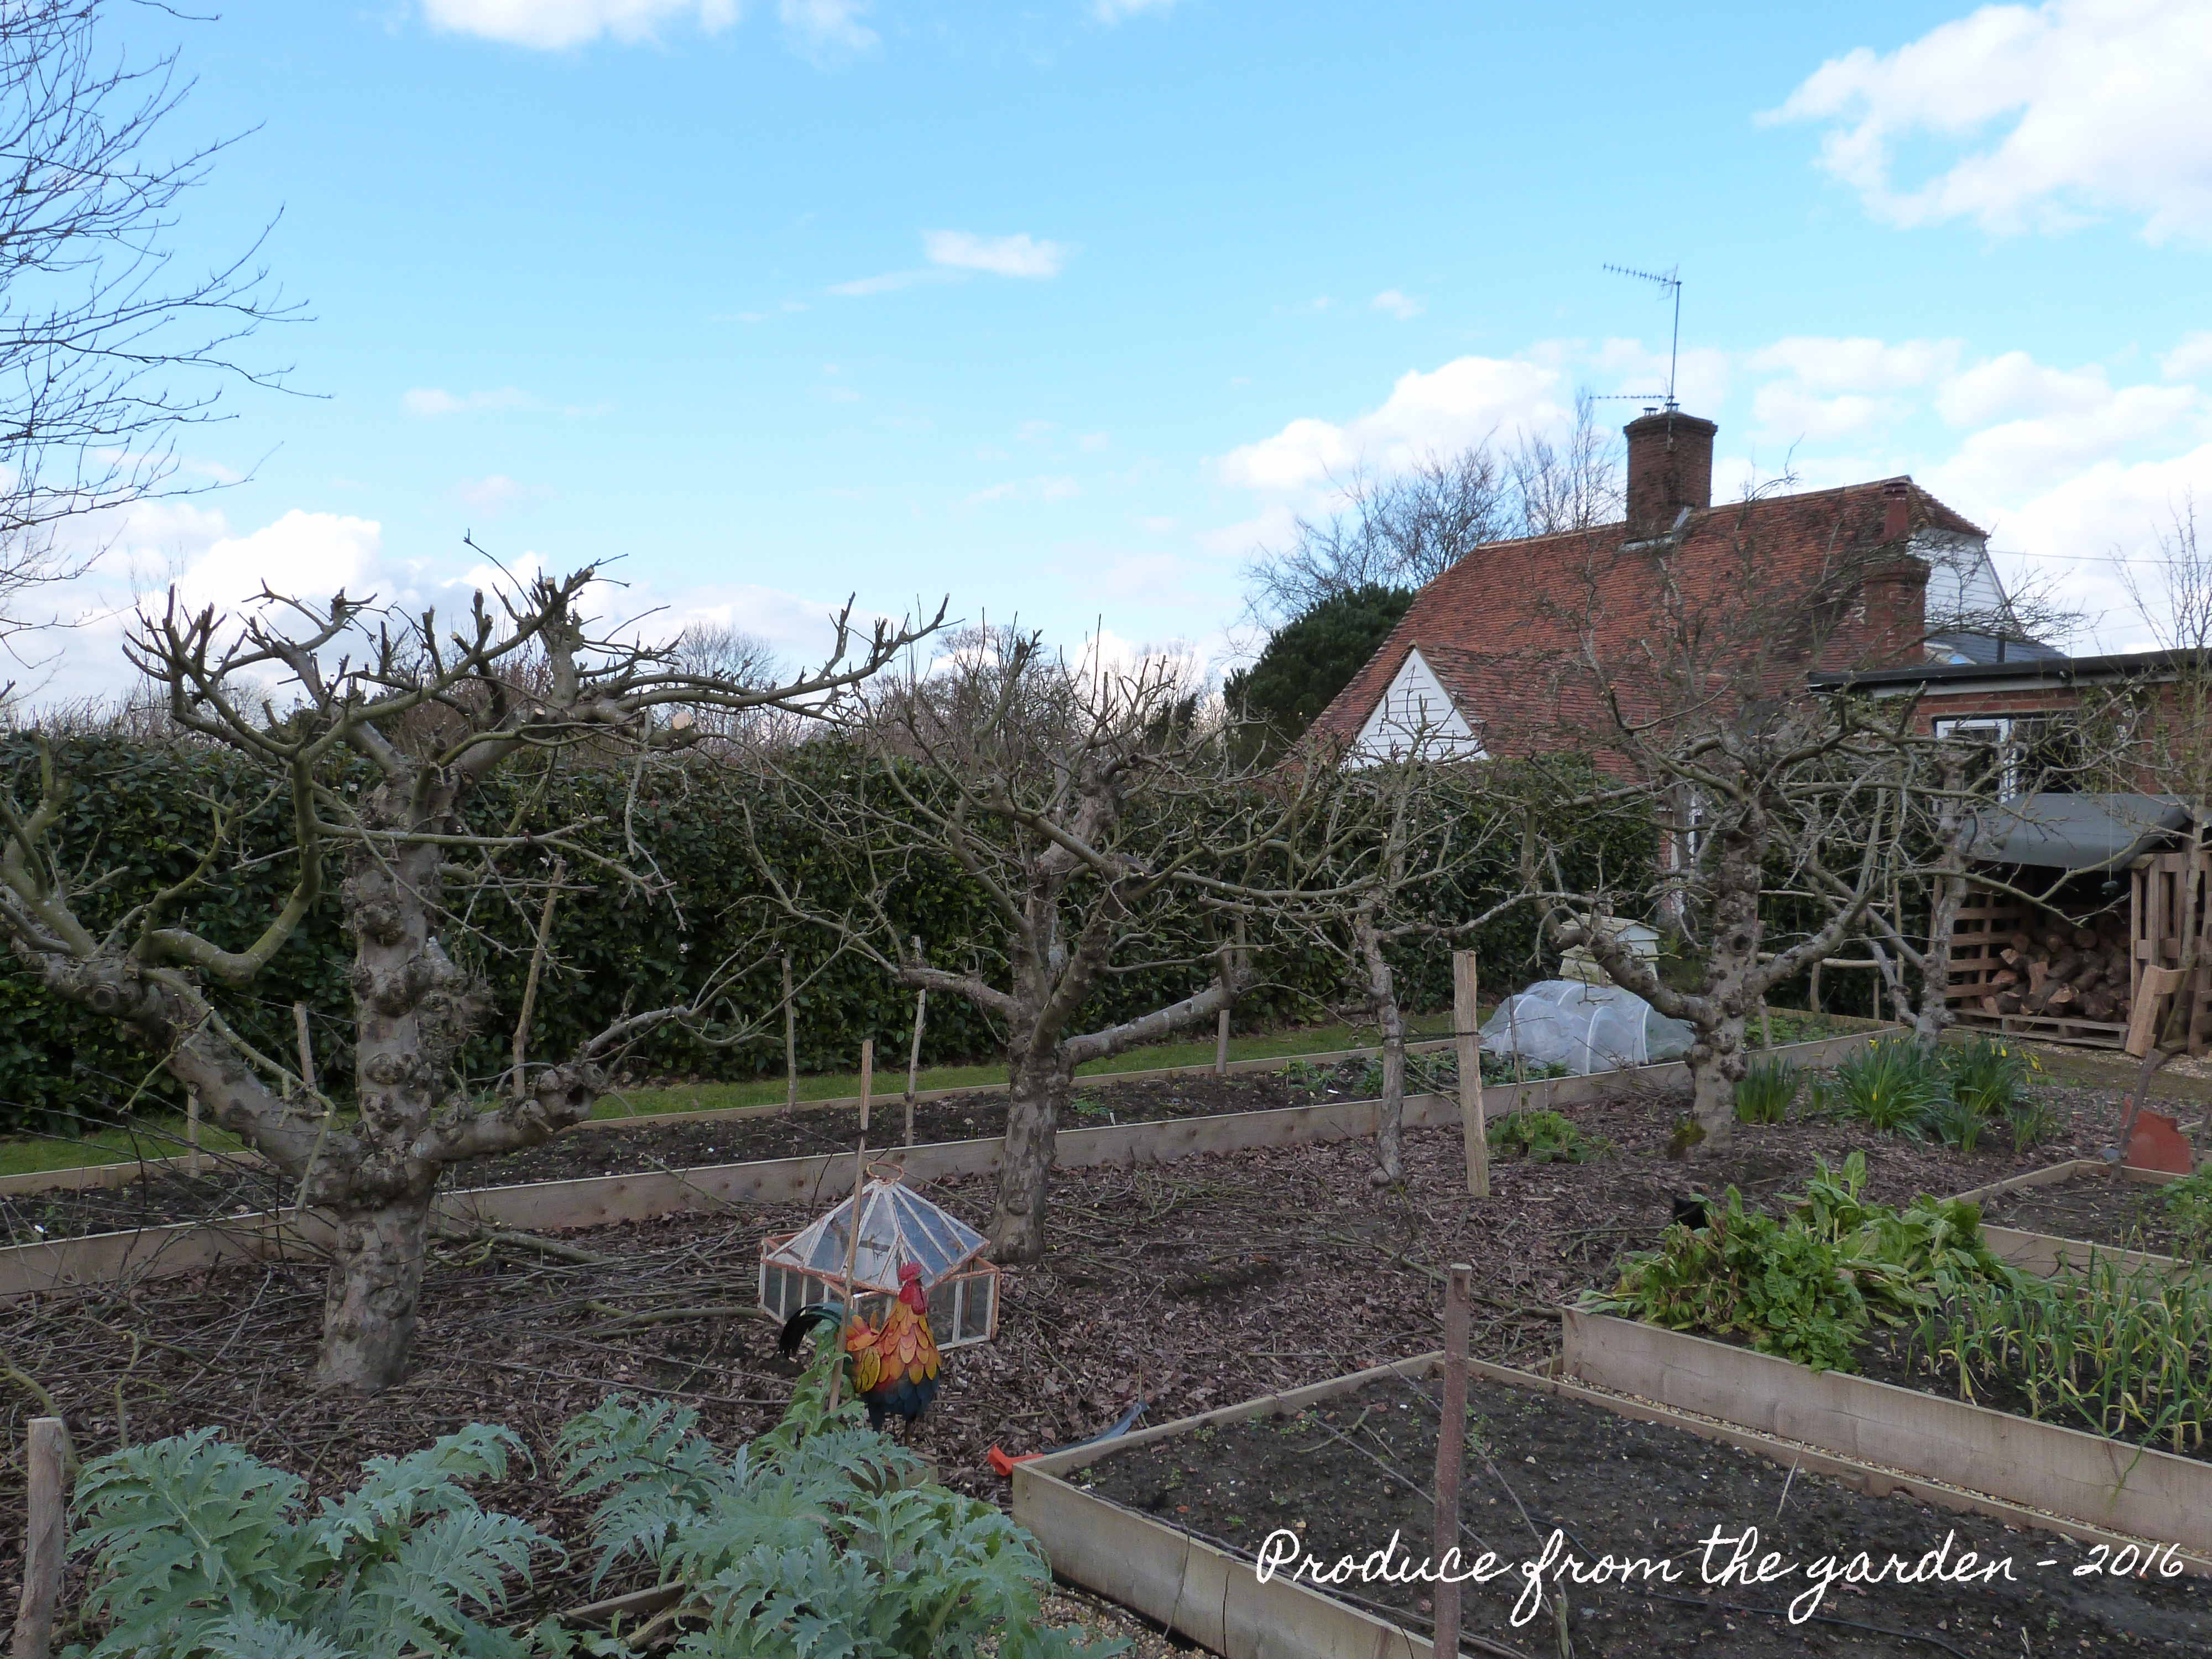 Some of my apple trees after pruning, I’ve just got to collect up the debris now!
I think there are just a few things to keep in mind when pruning apple trees.
Why do we bother to prune:
- To keep the apple tree a manageable shape and size so you can reach the fruit. Most apple trees these days are grafted onto dwarf rootstock (M9 or M27) resulting in trees that are 1.5m to 2m tall. Old large trees tend to be on far more vigorous rootstock which is much harder to maintain.
- Increase apple productivity.
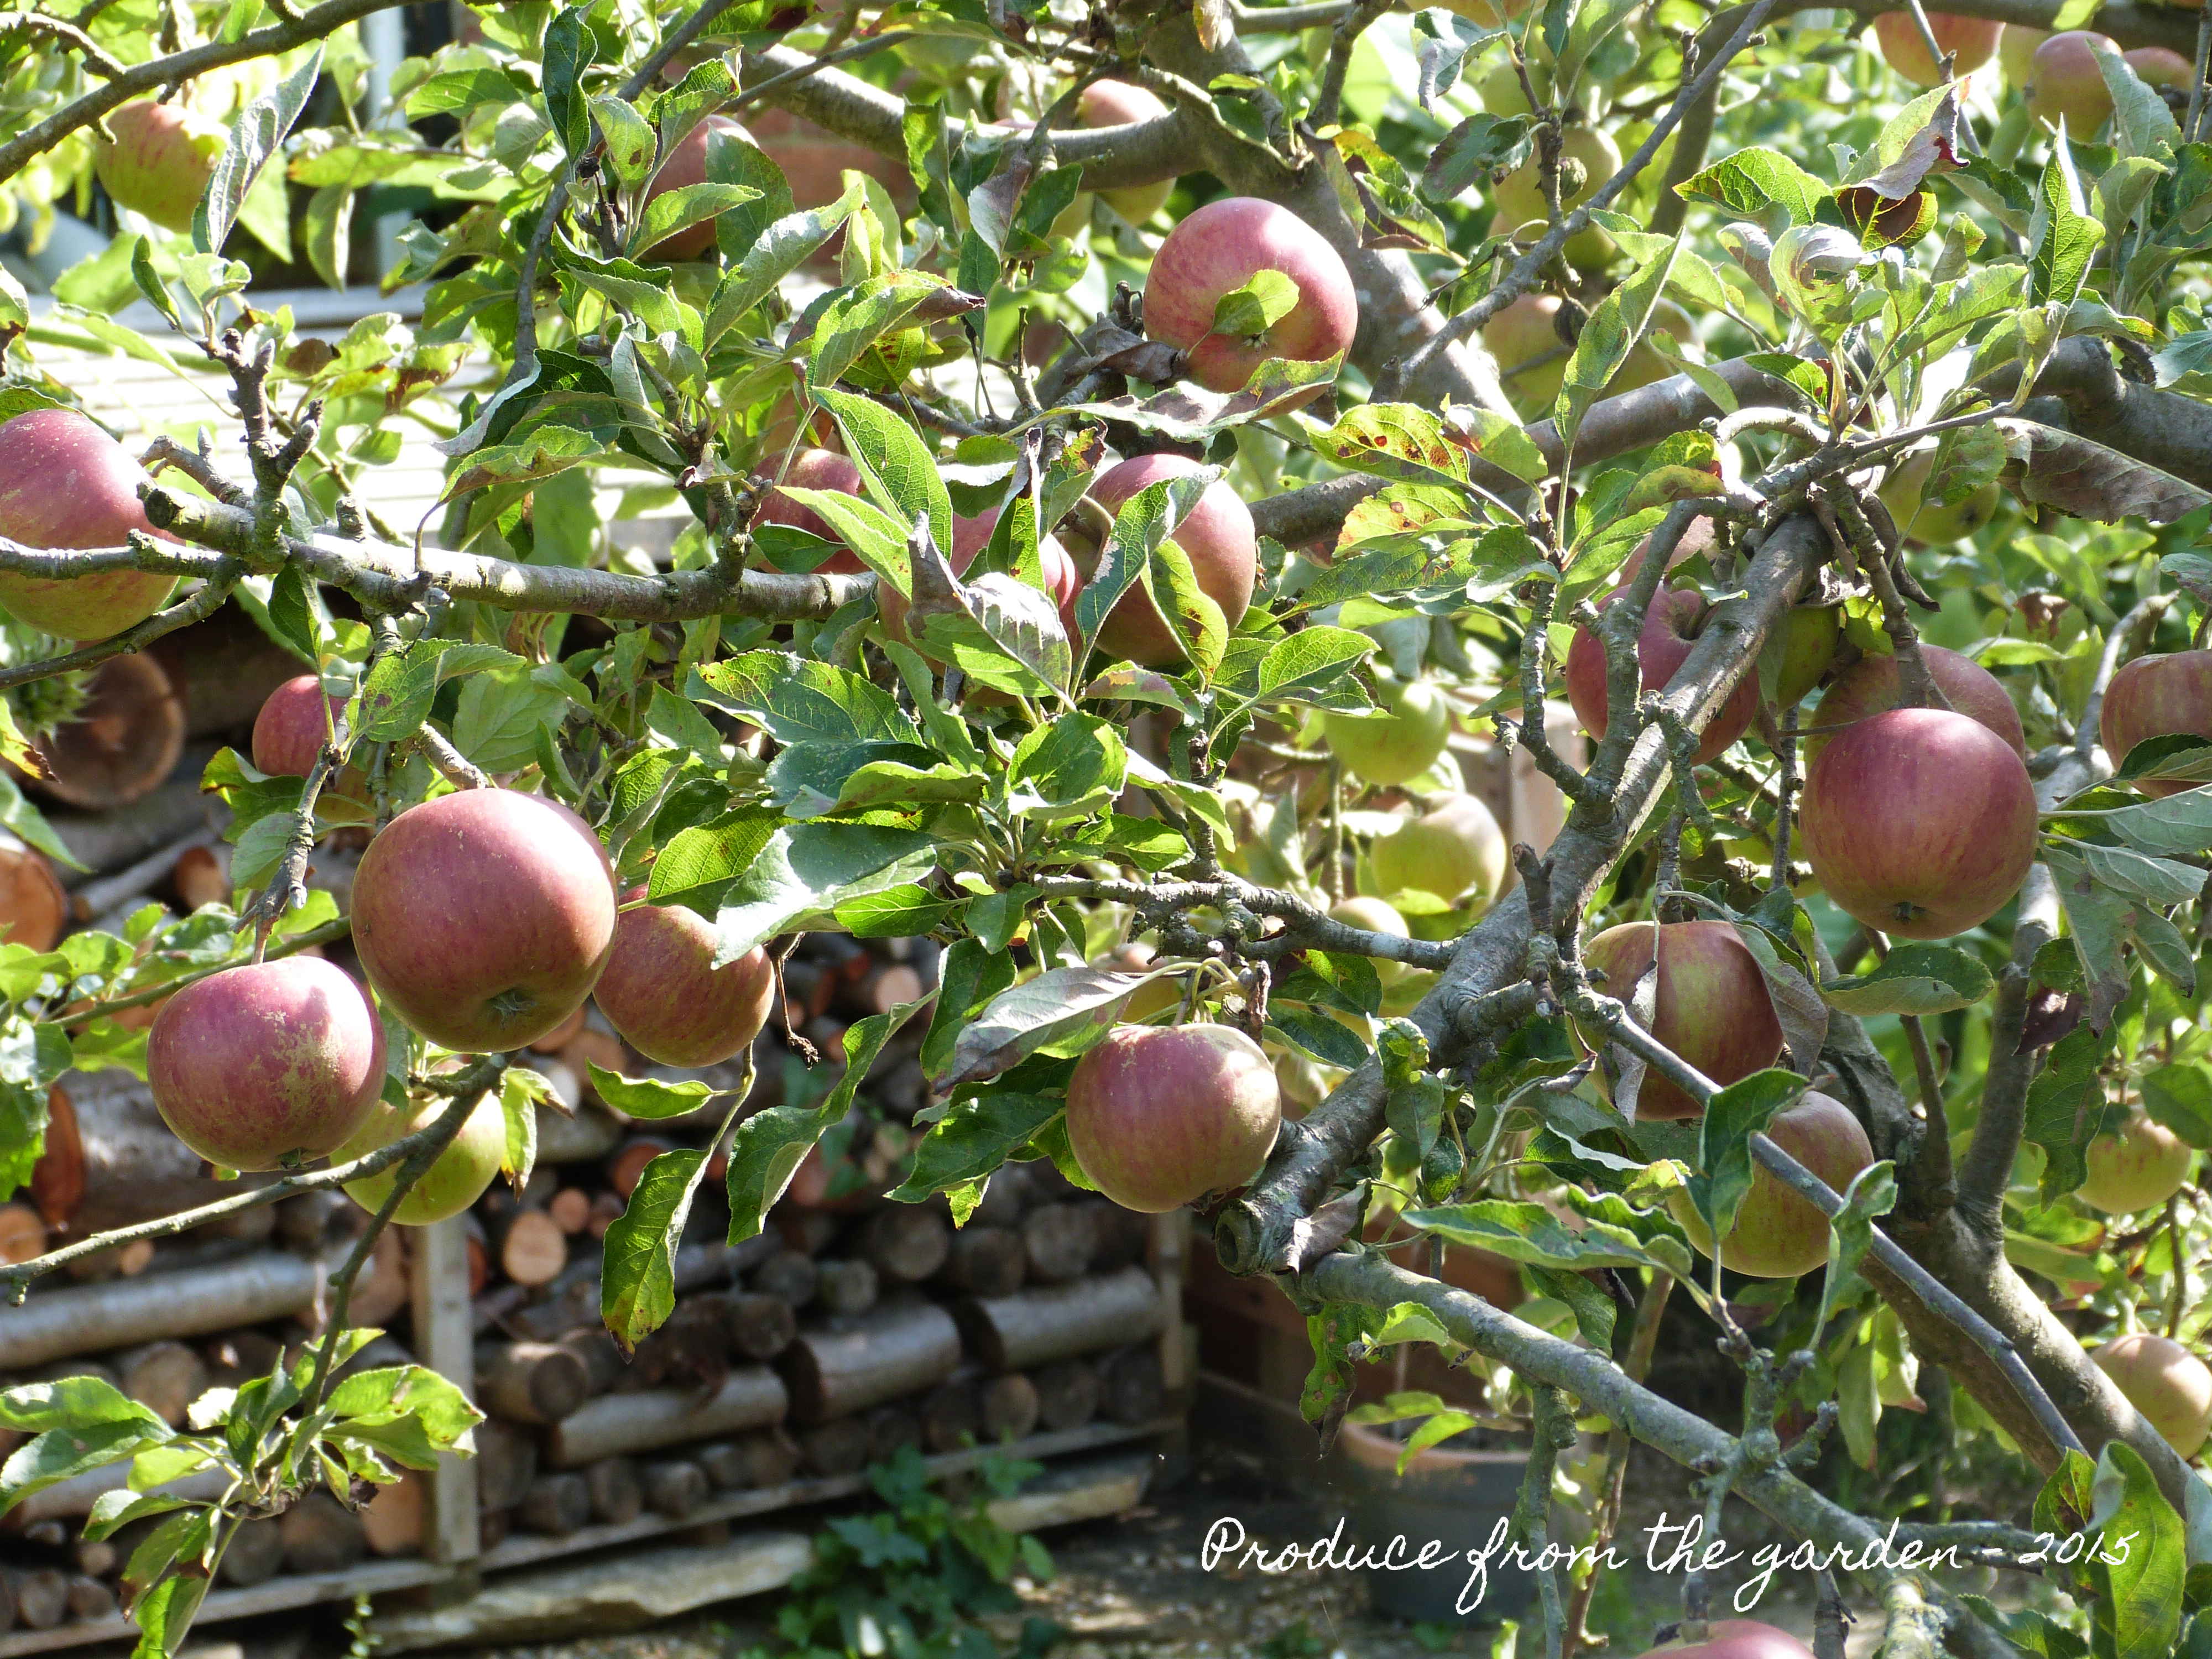 Last years bumper crop of apples
- To reduce disease. Apple trees have a tendency to be sickly specimens, they’re commonly susceptible to canker, scab, brown rot and honey fungus. Living in the heart of Kent’s apple orchards, I’ve noticed that all farmers spray their trees, ensuring a healthy crop for market, even the local organic apple farmer’s spray with potions certified by the soil association. In a domestic garden spraying is not really an option many of us would consider. The best way to deal with disease is firstly, accept you’ll have some, and secondly pruning, it increases air circulation around the tree blowing unhealthy spores away, it will also make the tree stronger, healthier and in turn more resistant to the disease.
How to prune:
- Prune when the tree is dormant (no leaves on it Nov/Dec – March), unless you have espalier trees.
- Make clean cuts at an angle so the rain can run off and not settle encouraging rot. To achieve this you will need a simple selection of sharp tools, secateurs for year old wood, loppers for branches the thickness of your finger and a pruning saw for the larger branches. Using the right tools will help you to get clean cuts; messy cuts are breeding grounds for disease.
 A clean angle cut, prventing rain from settleing and disease moving in.
 An old horizontal pruning scar, now a little pool of winter water rottting into the trunk, I fear this lovely old trees day’s are numbered!
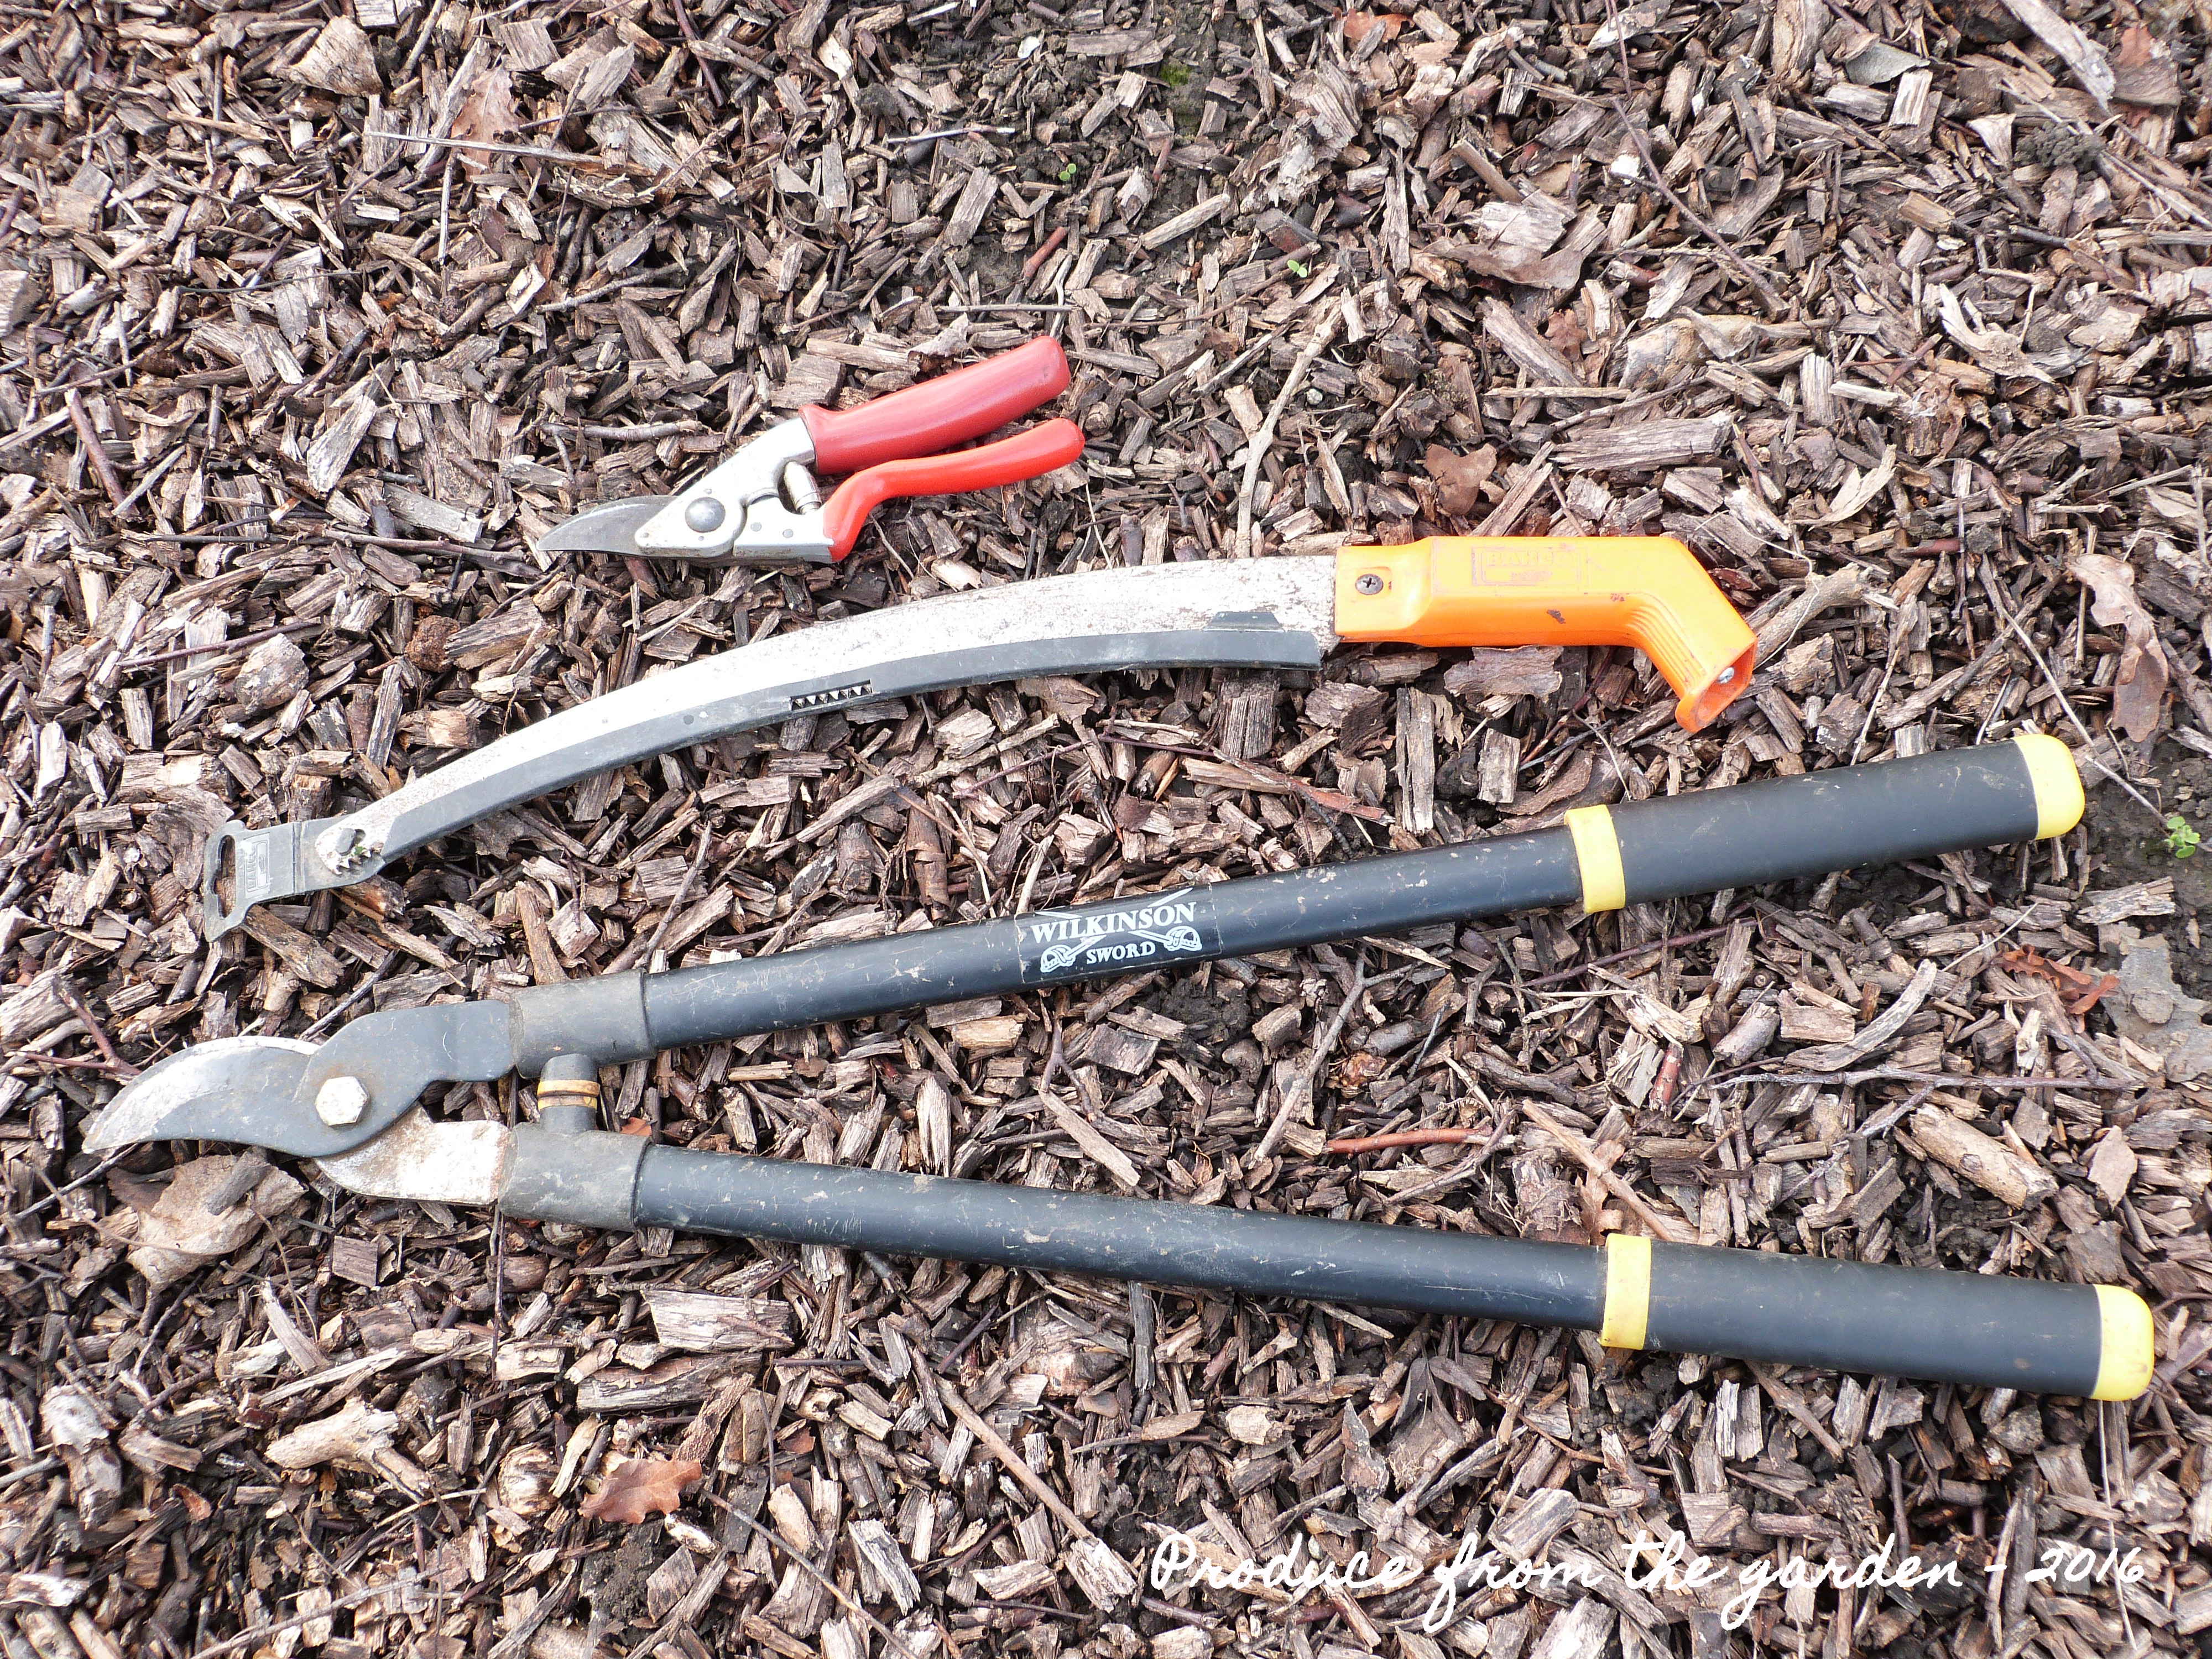 Useful tools for pruning, sharp secateurs, pruning saw and loppers
- Magazines and books on the subject will all tell you a simple easy rule to remember, the three D’s, cut out Dead, Diseased and Damaged wood. Also cut out branches that cross, they will rub together and become damaged, then diseased and finally dead!
 Some dead wood that needs removing
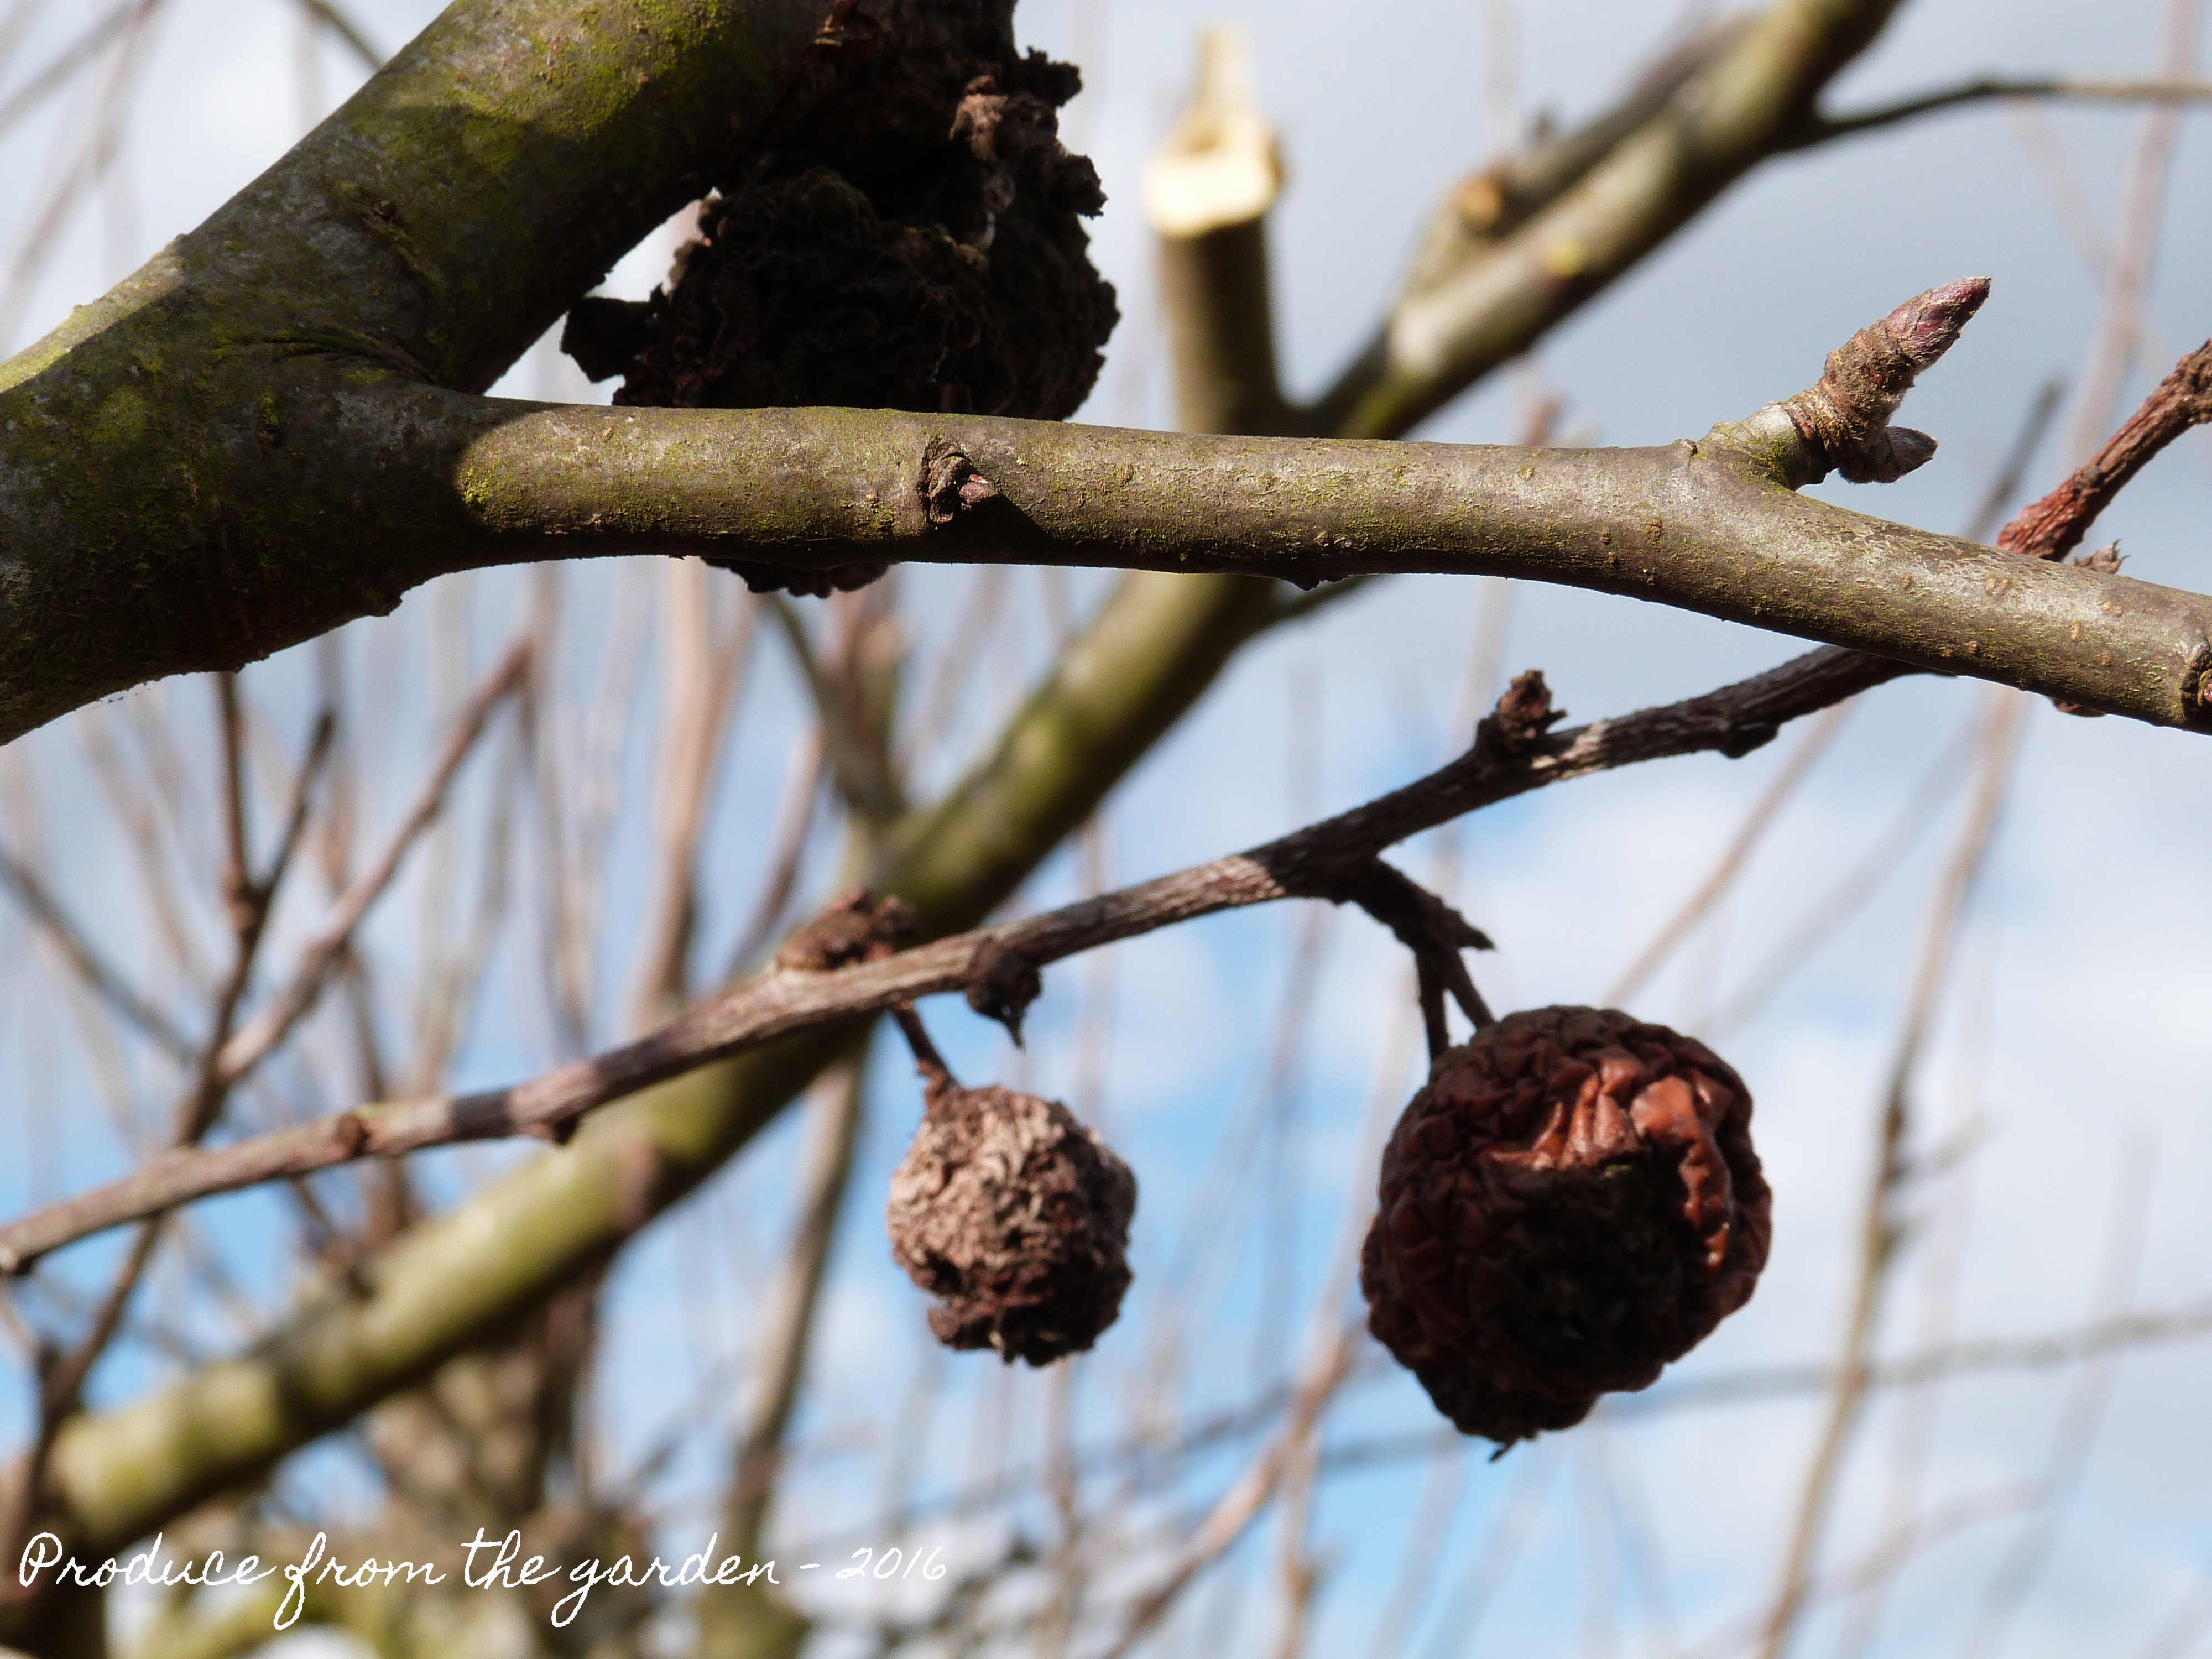 Remove any mummified fruit, as with all diseased wood don’t compost, burn or discard
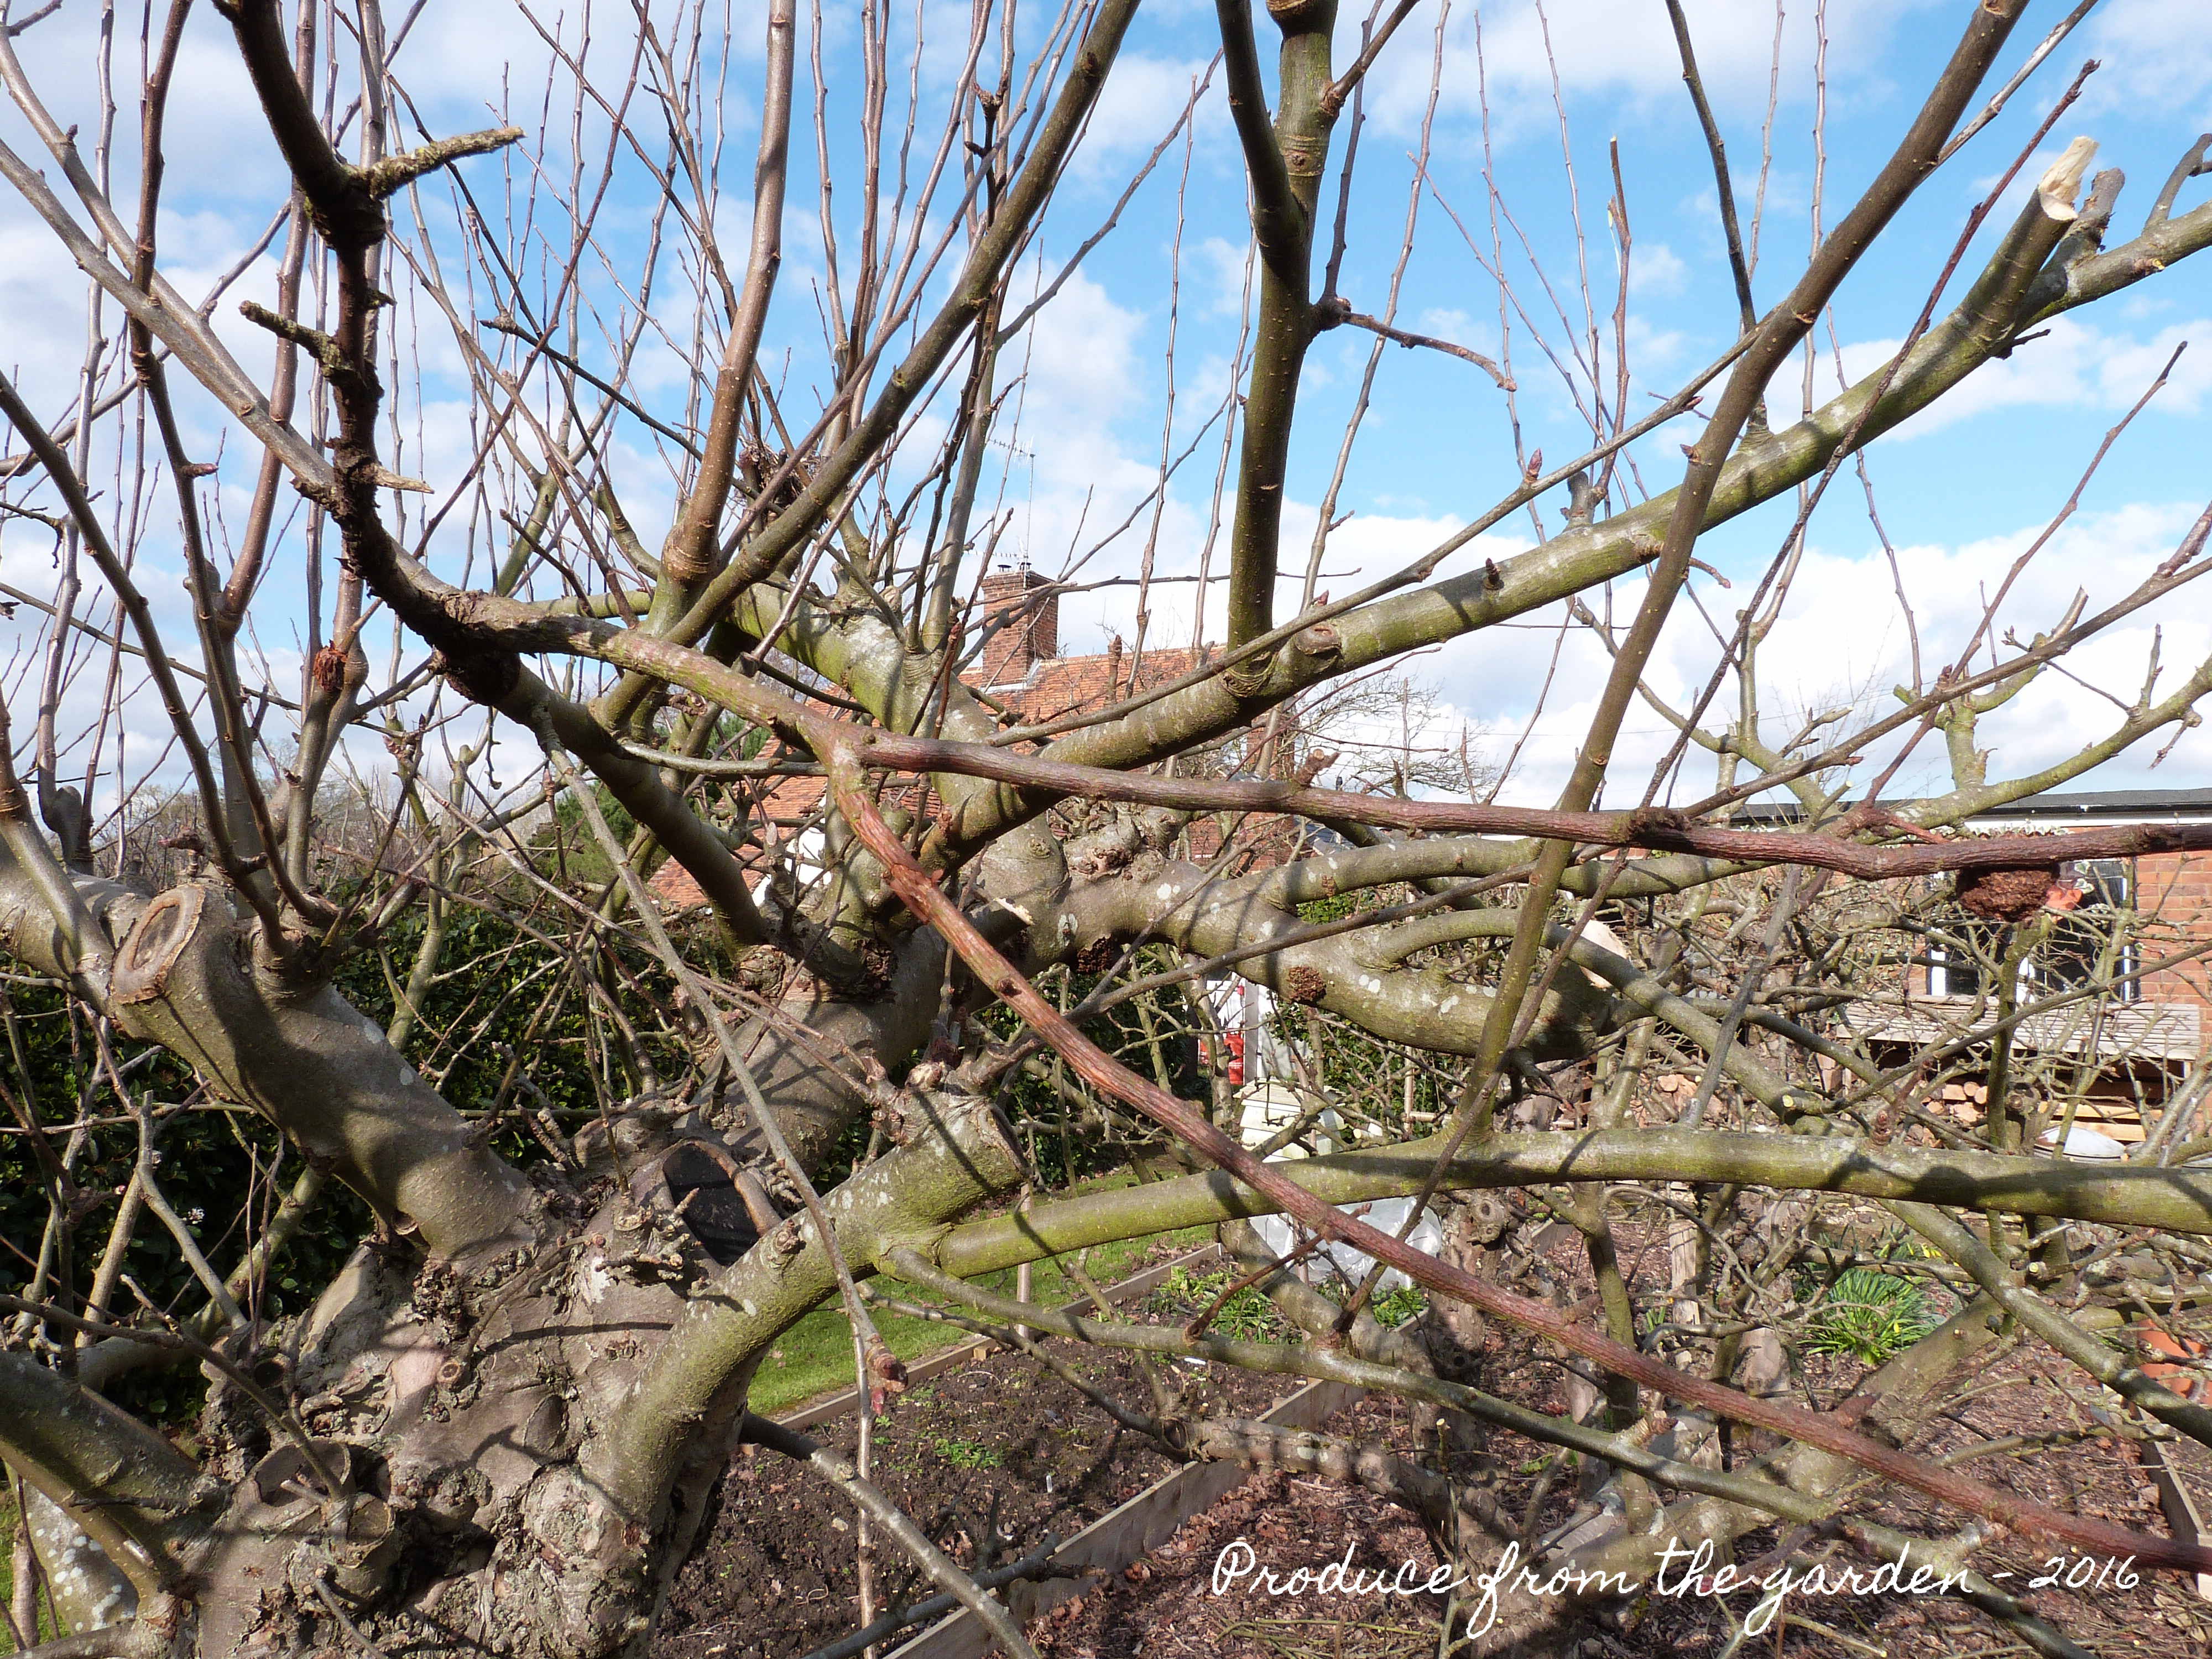
- Aim to have horizontal branches spurring off from the main truck (if you squint it should form the shape of a tea cup!) and a flat top to the tree. Every year you will have many vigorous whips that can shot up 75cm seeking the light in a season, these all need to be cut out.
 A apple tree before pruning, note all the year old whips that are shooting up to the sky
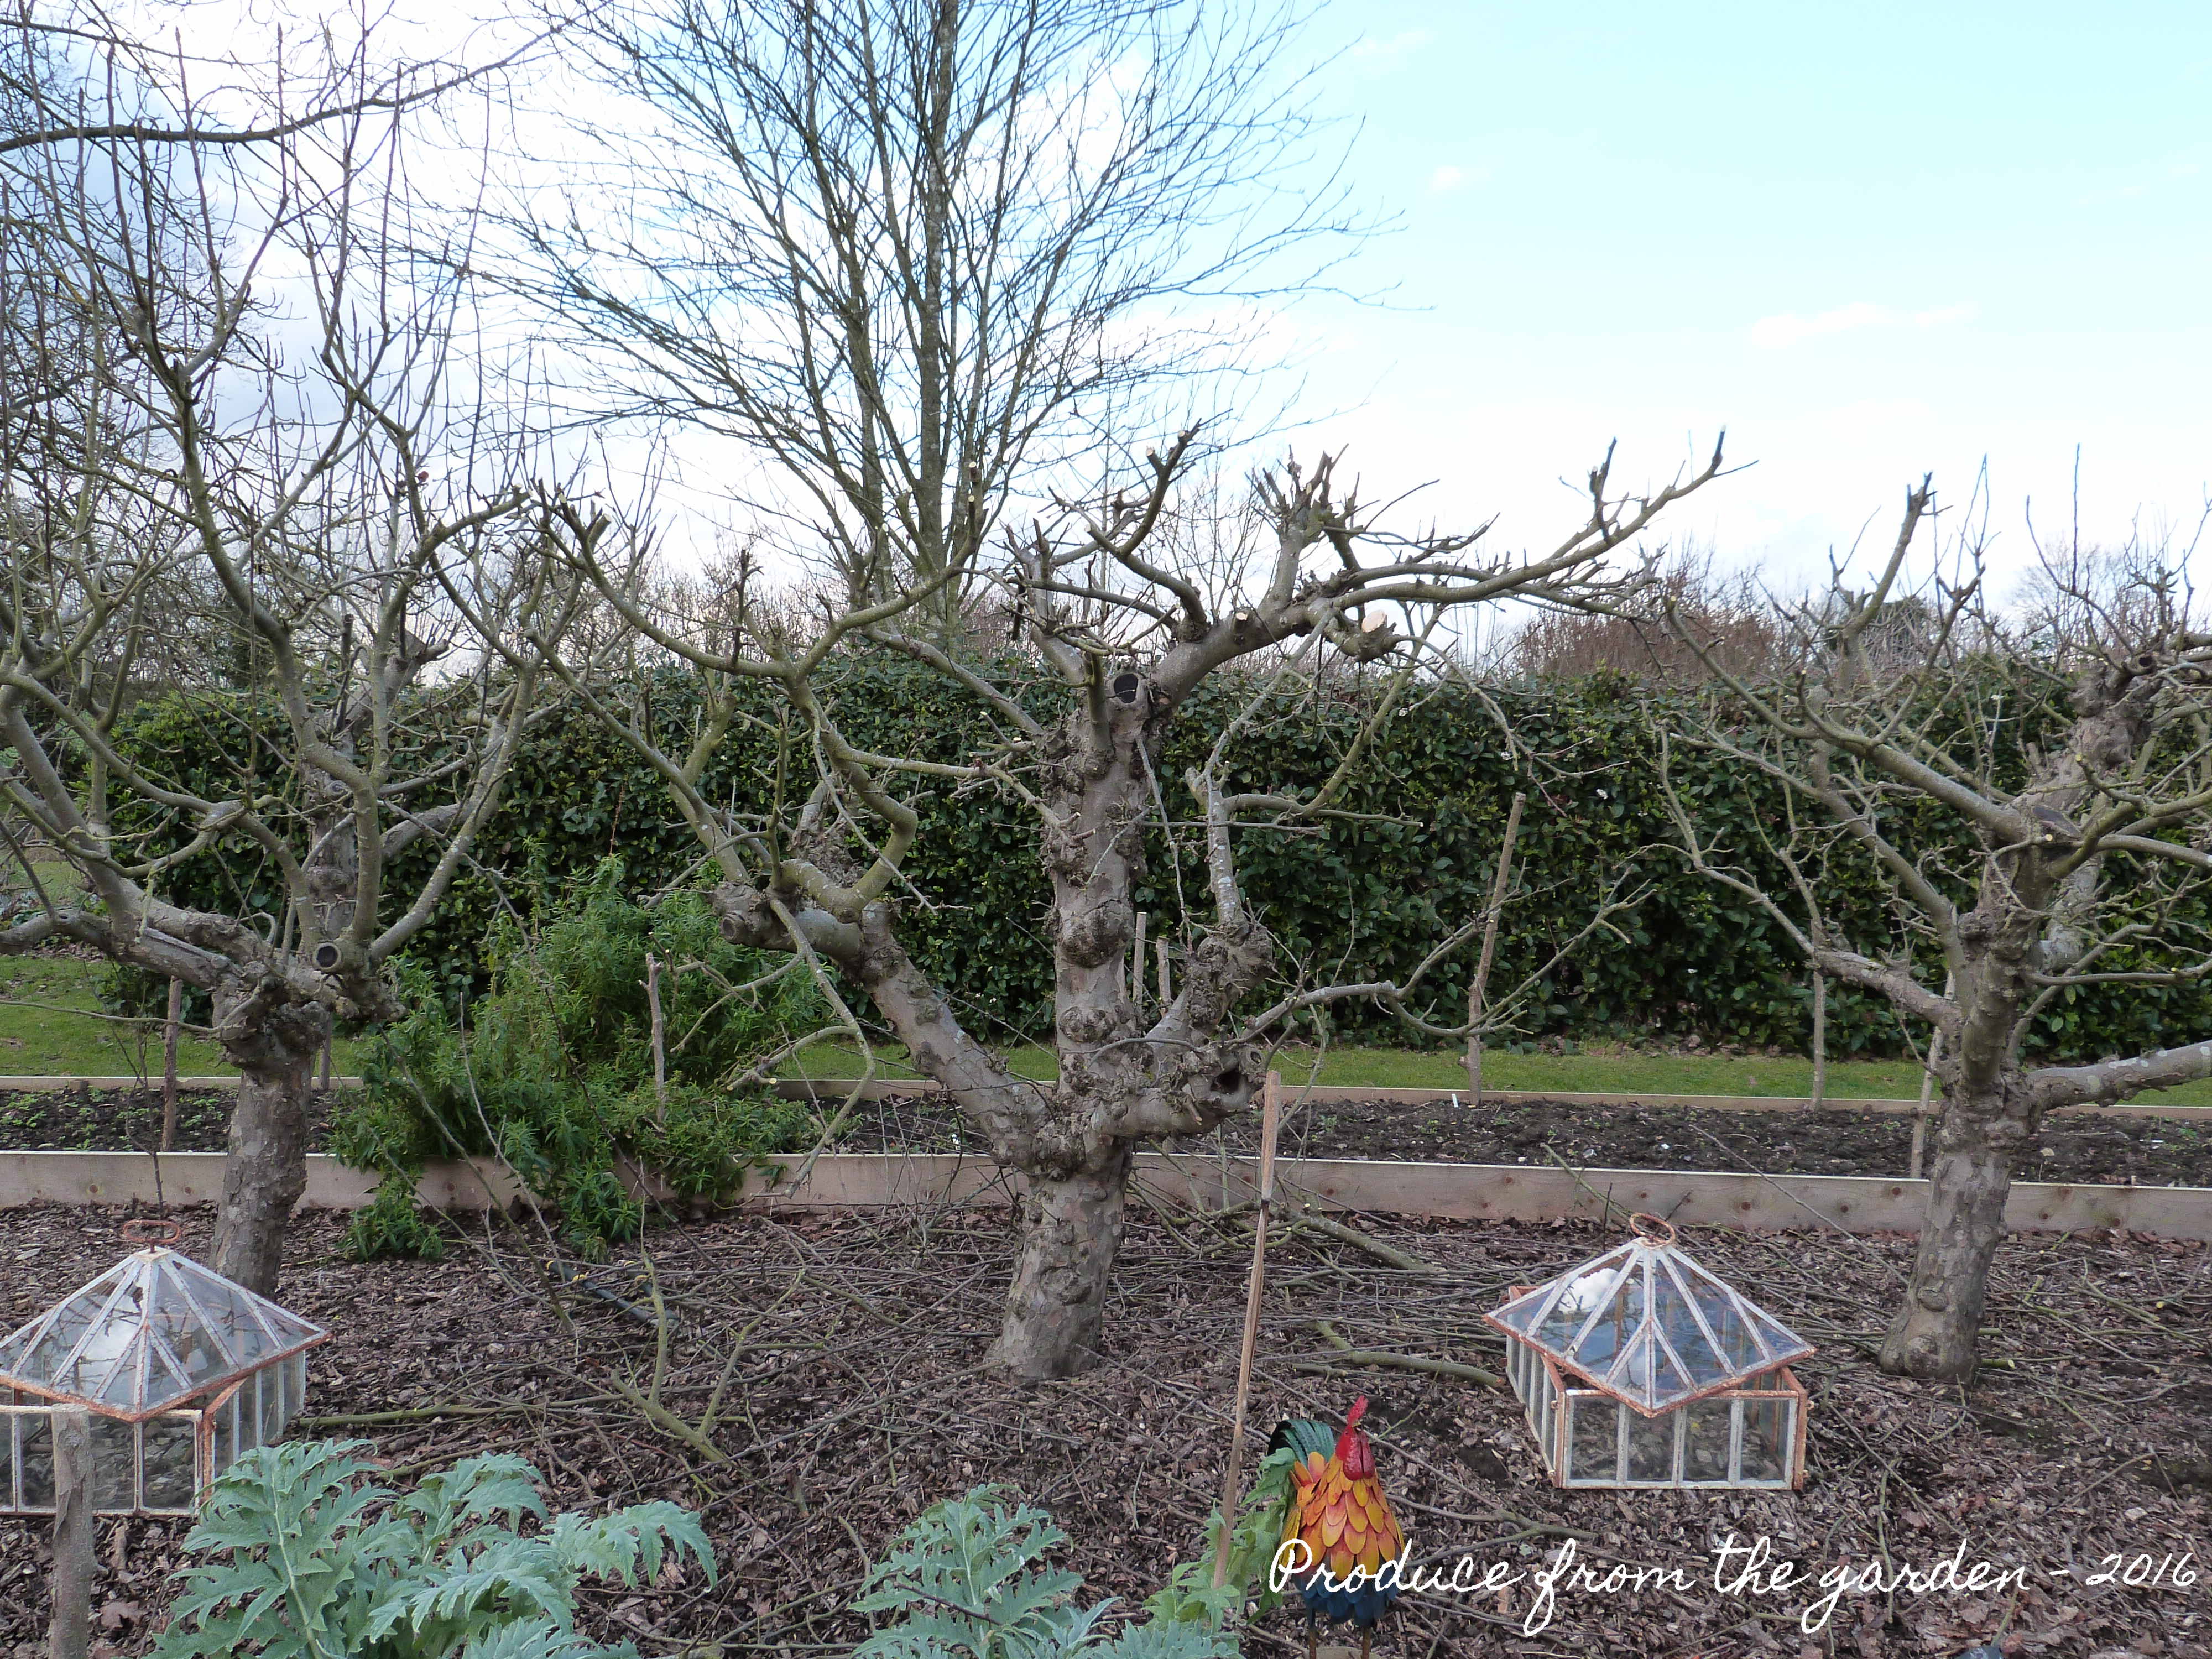 The same tree after pruning, it might look brutal but there are lots of fruit buds waiting to blossom in the next few months
- Become familiar with what a fruiting bud looks like, they are the plump curved buds, new wood or growth buds are far smaller and more pointed. Once you’ve worked out what the fruit buds look like you can make sure you don’t chop them all off in your pruning quest.
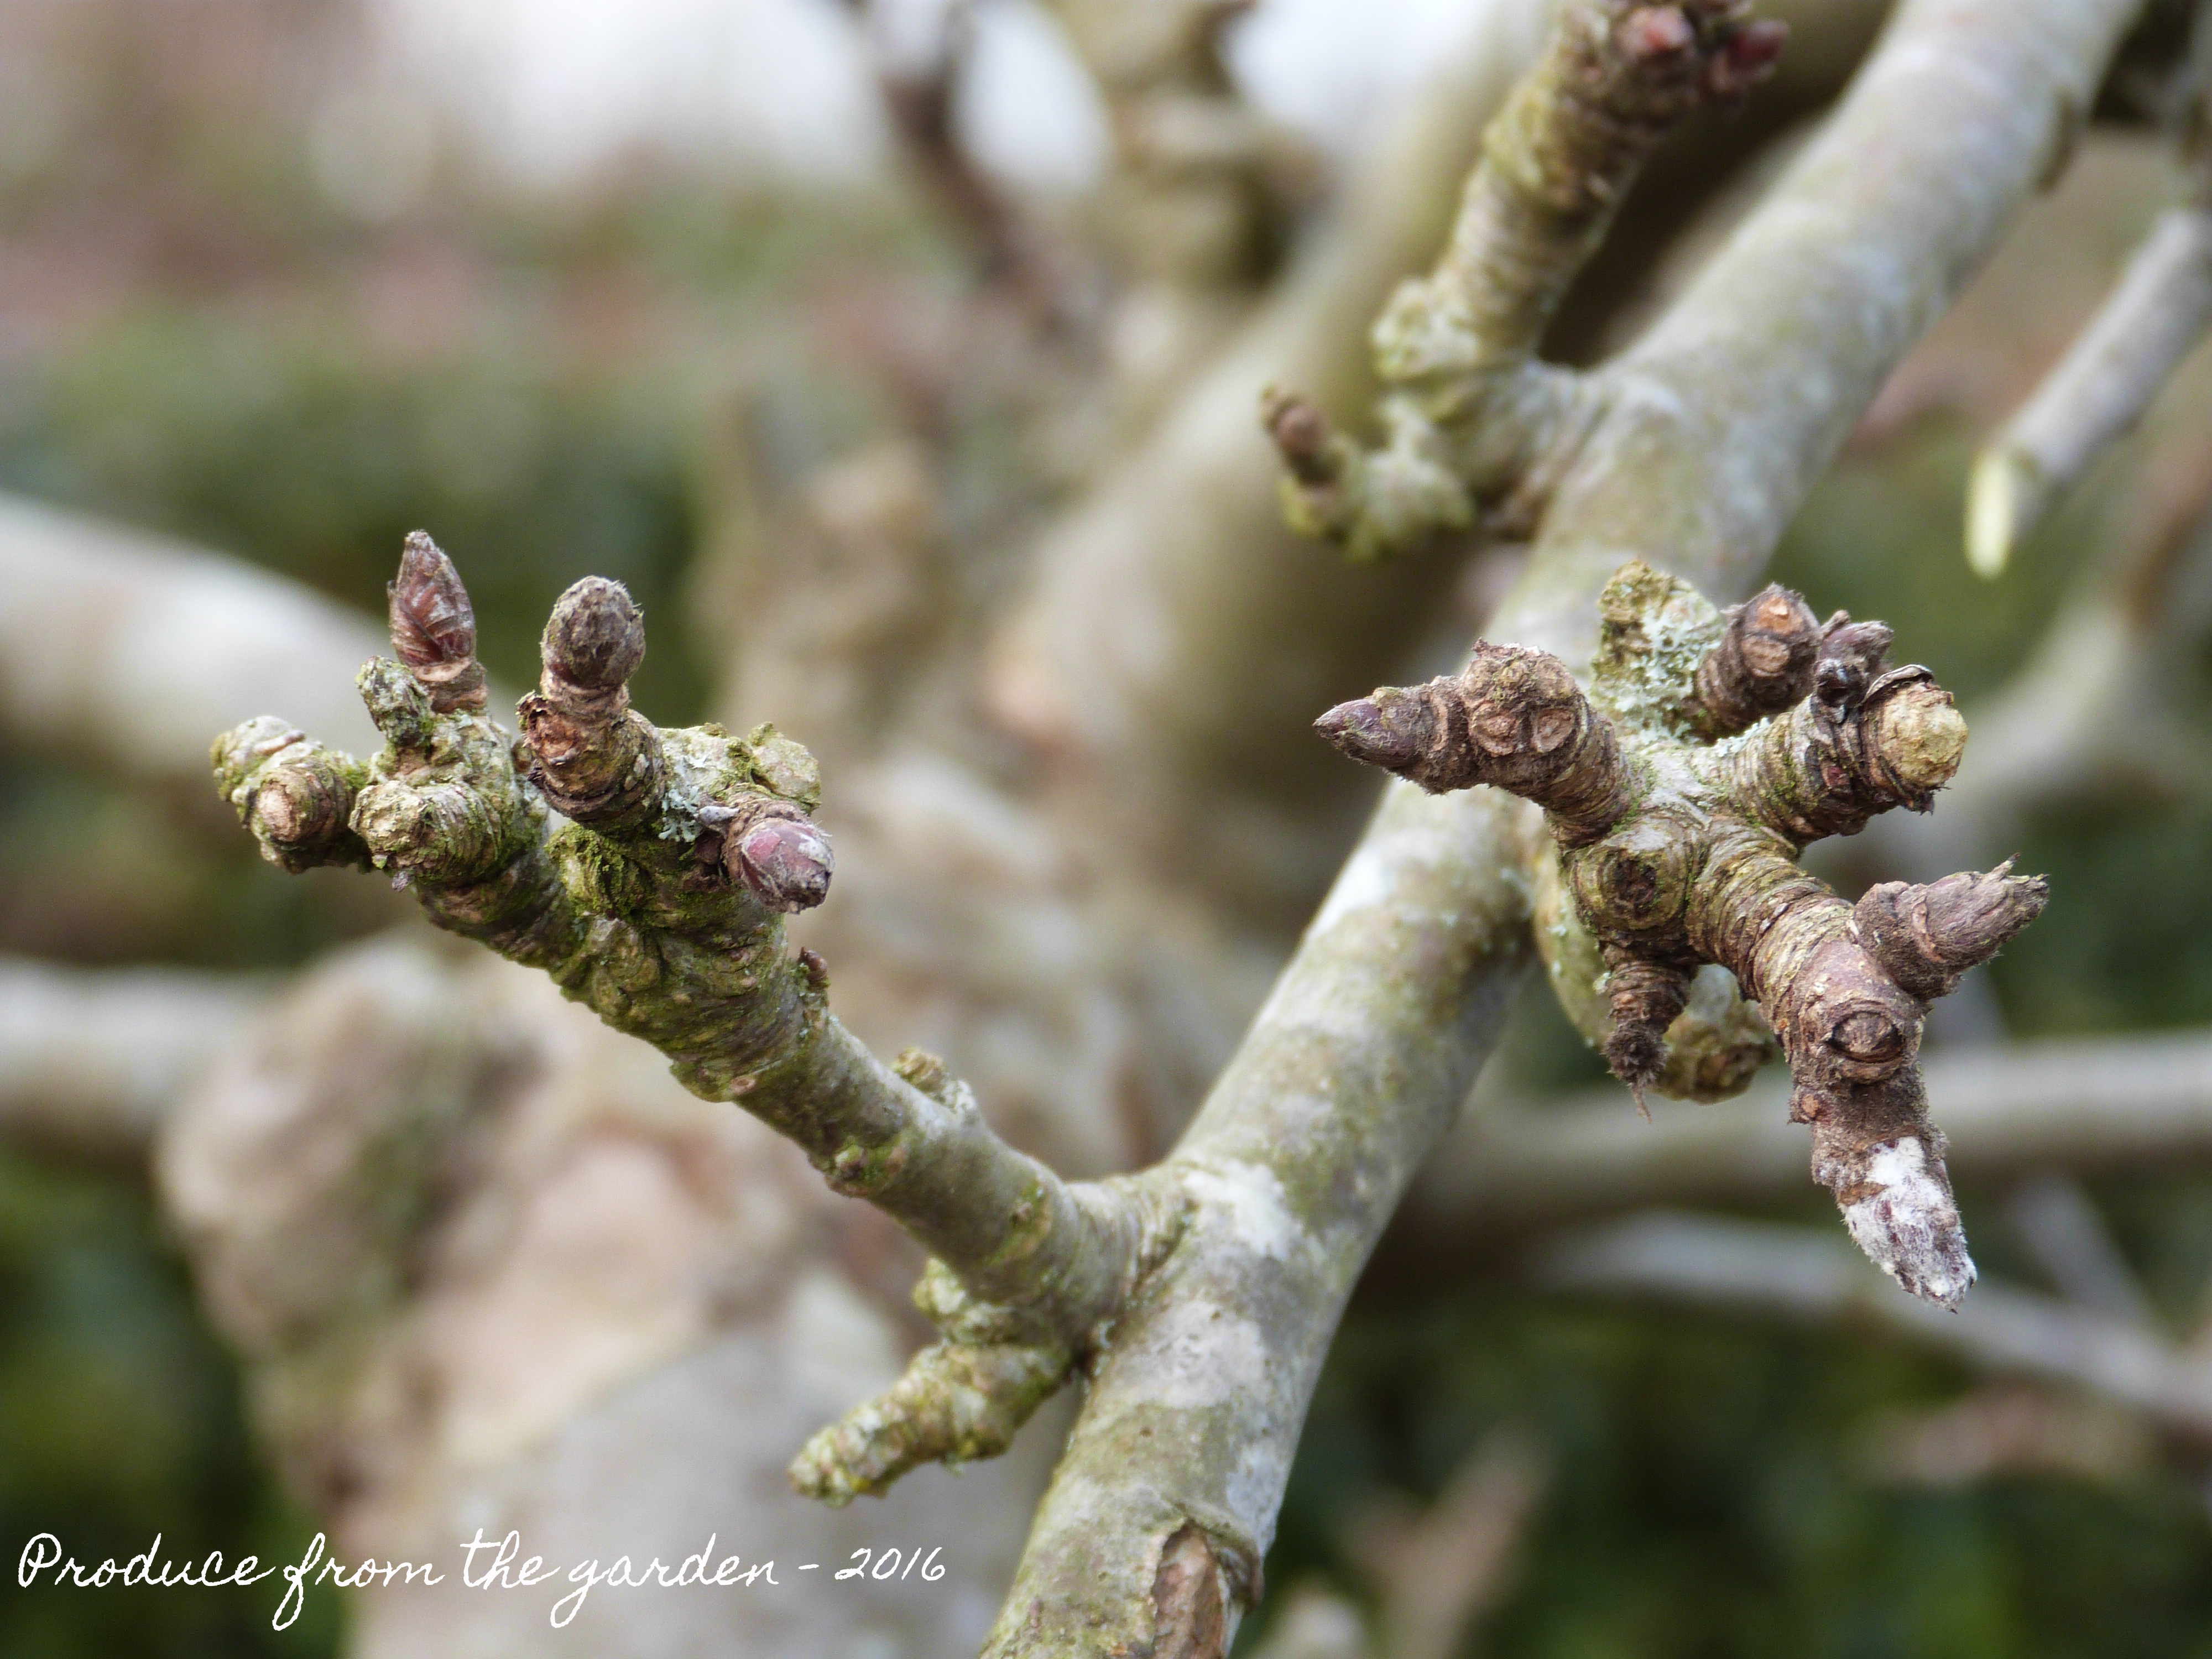 Plump fruiting buds on one of the apple trees
 New wood or growth buds
- If you have a tree that has not been pruned for years, you’ll probably need to cut a lot of wood out to achieve a desired shape, this will result in a poor harvest but you can console yourself with the thought that future pruning will be far quicker and easier and your apple harvests in years to come, healthier and more productive.
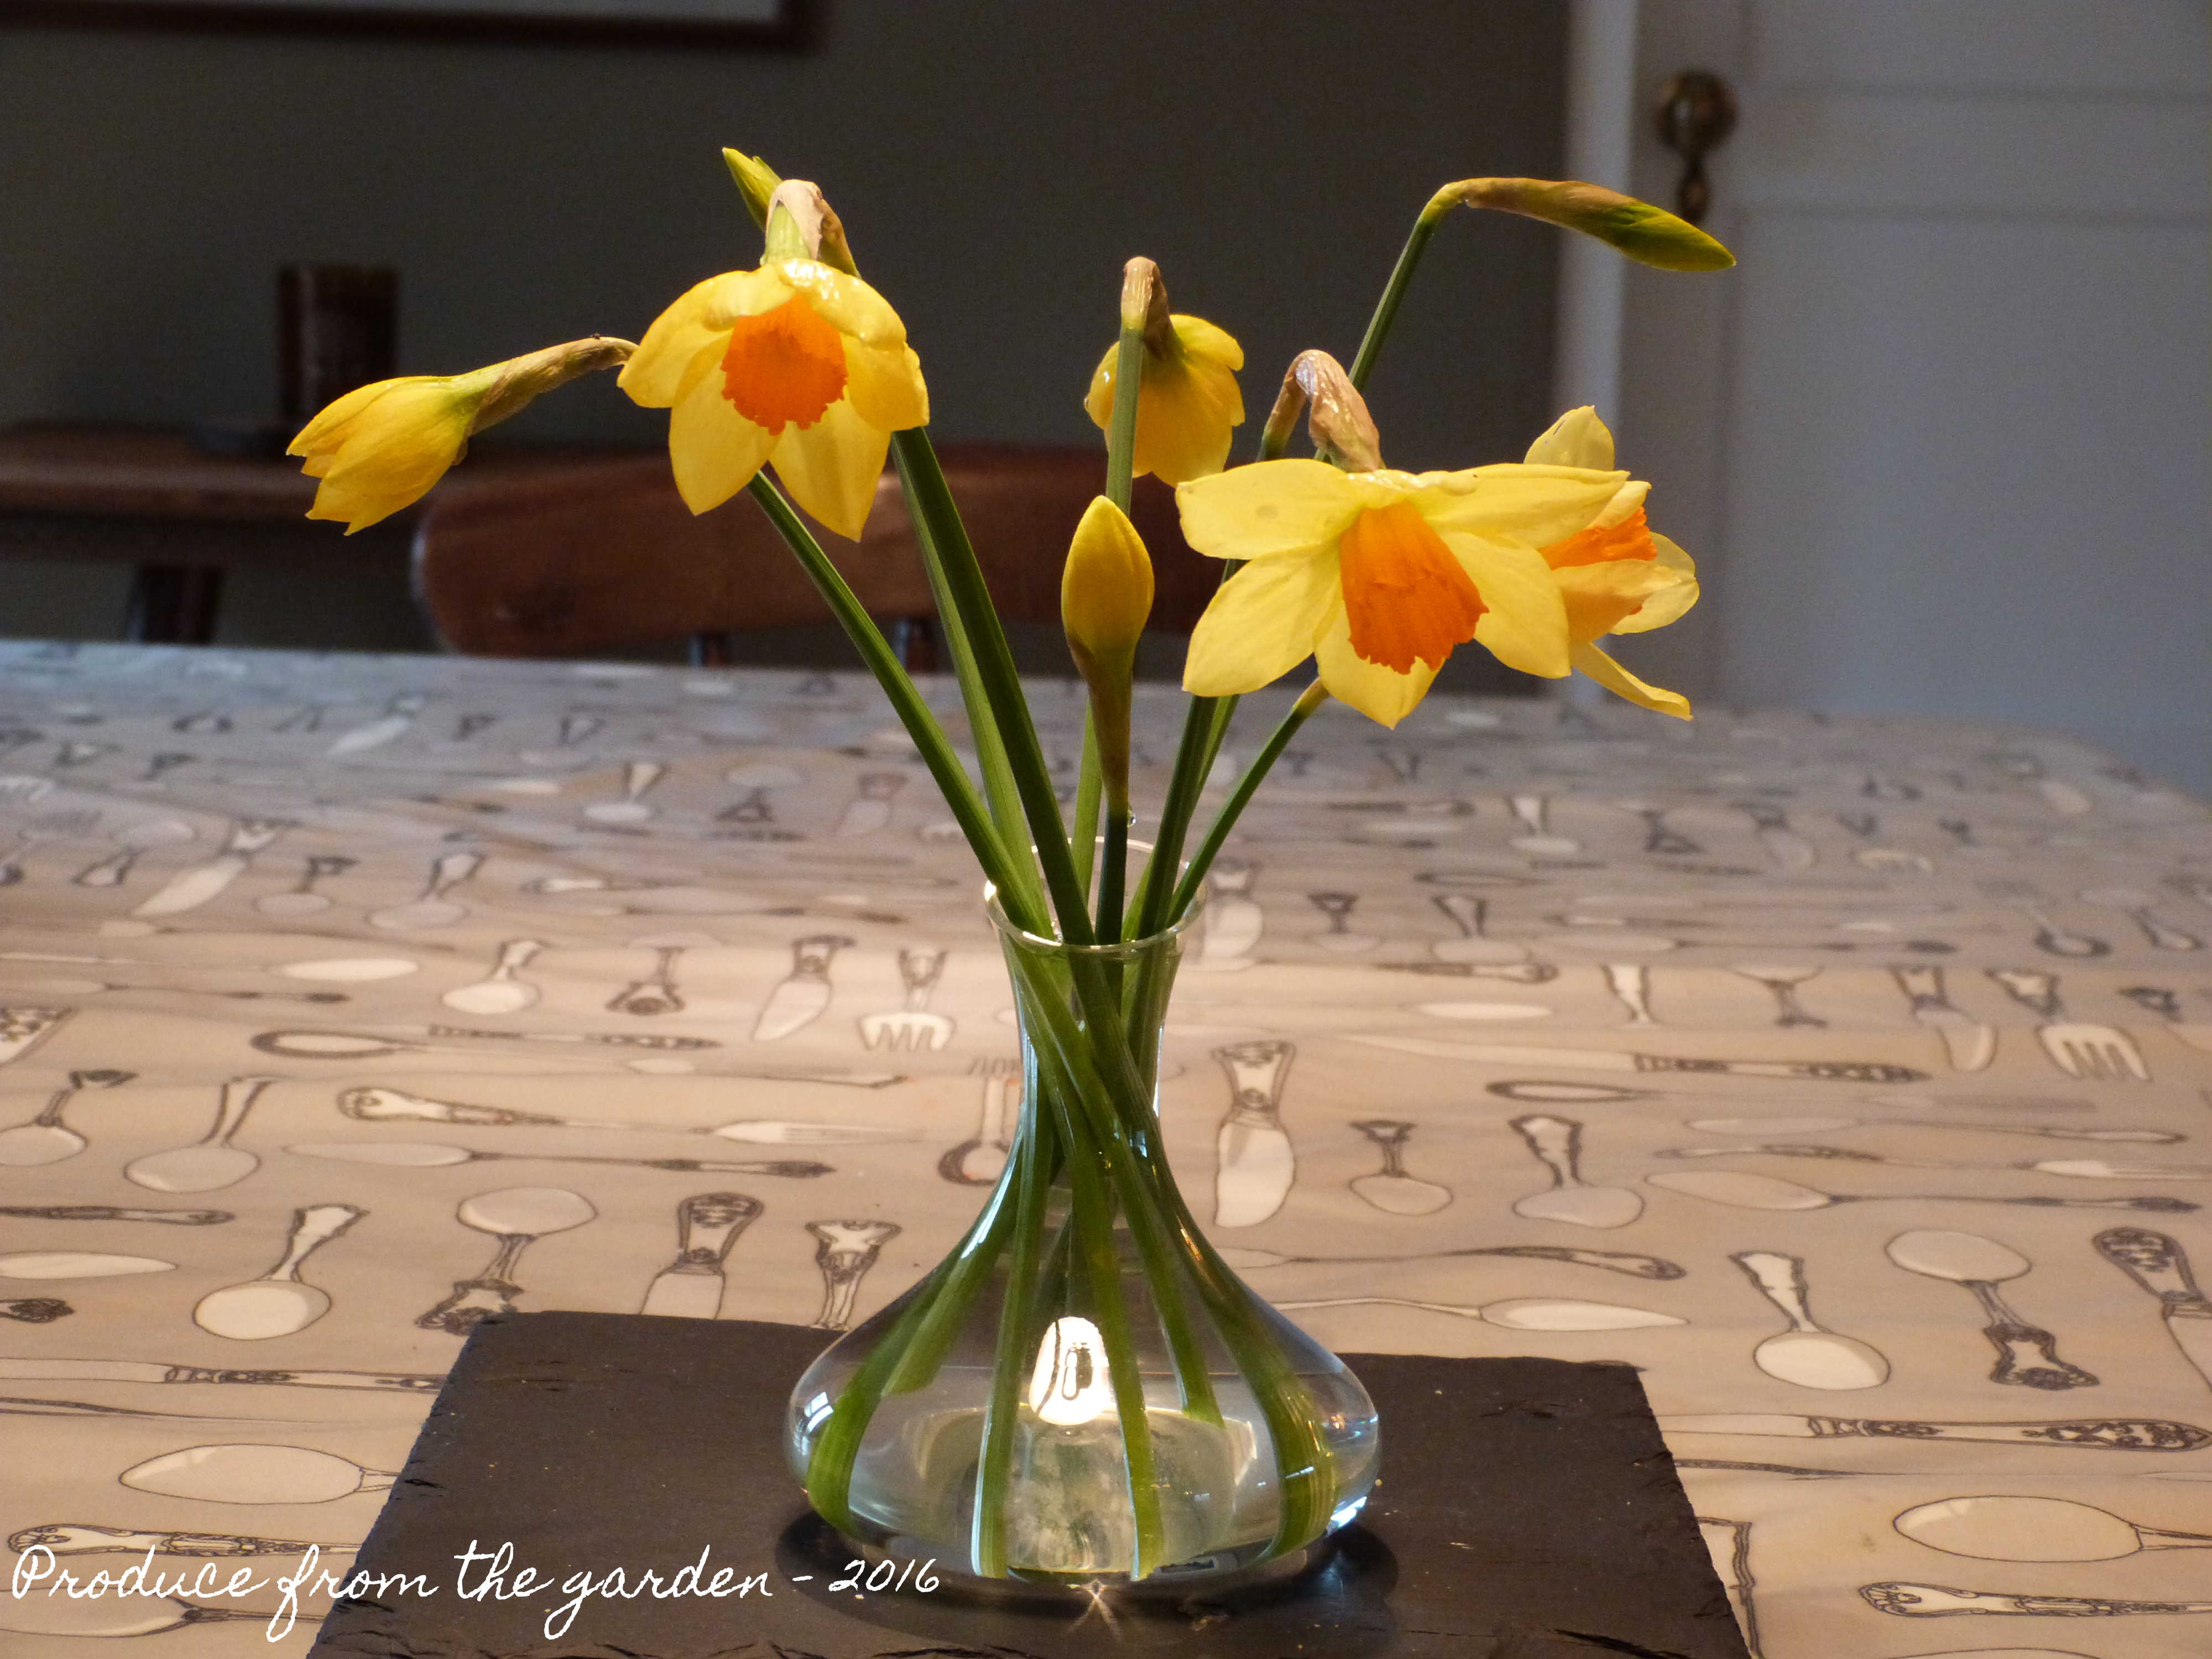
So if you’re not a regular pruner, have a go it’s well worth the initial effort, don’t worry if you make mistakes, they’re lessons to be learnt, the worst that can happen is a few less apples this year. A lesson for myself is to prune in December, as I under plant the trees with spring bulbs for cutting, tip toeing with a bad back around daffodils has proved to be tricky!