Homemade apple juice and cider

We’ve fifteen apple trees and one pear tree in our garden, I’ve always felt guilty that we’ve not made the most of the fruit. We don’t buy dessert apples in September and October, a few apple pies are made, but, the majority fall to the ground waiting to be picked up and put on the compost heap. Past attempts to store apples have always attracted mice or rats, resulting again in the whole lot going on the compost heap.

So this year I treated my husband who has a September birthday to an apple press and crusher, with the idea that we’d make lots of juice and cider from our apple harvest. So yesterday we spent a productive day, picking, juicing and bottling our apple crop.

To my amazement the whole family joined in! We had a great day crammed into our boot room (three boys, two dogs, my husband,myself, the dog beds, laundry and apple pressing paraphernalia. No doubt those of a hygienic disposition will stop reading at this stage), everyone taking on a role in the production process, and sticking with it!

Apples on the tree
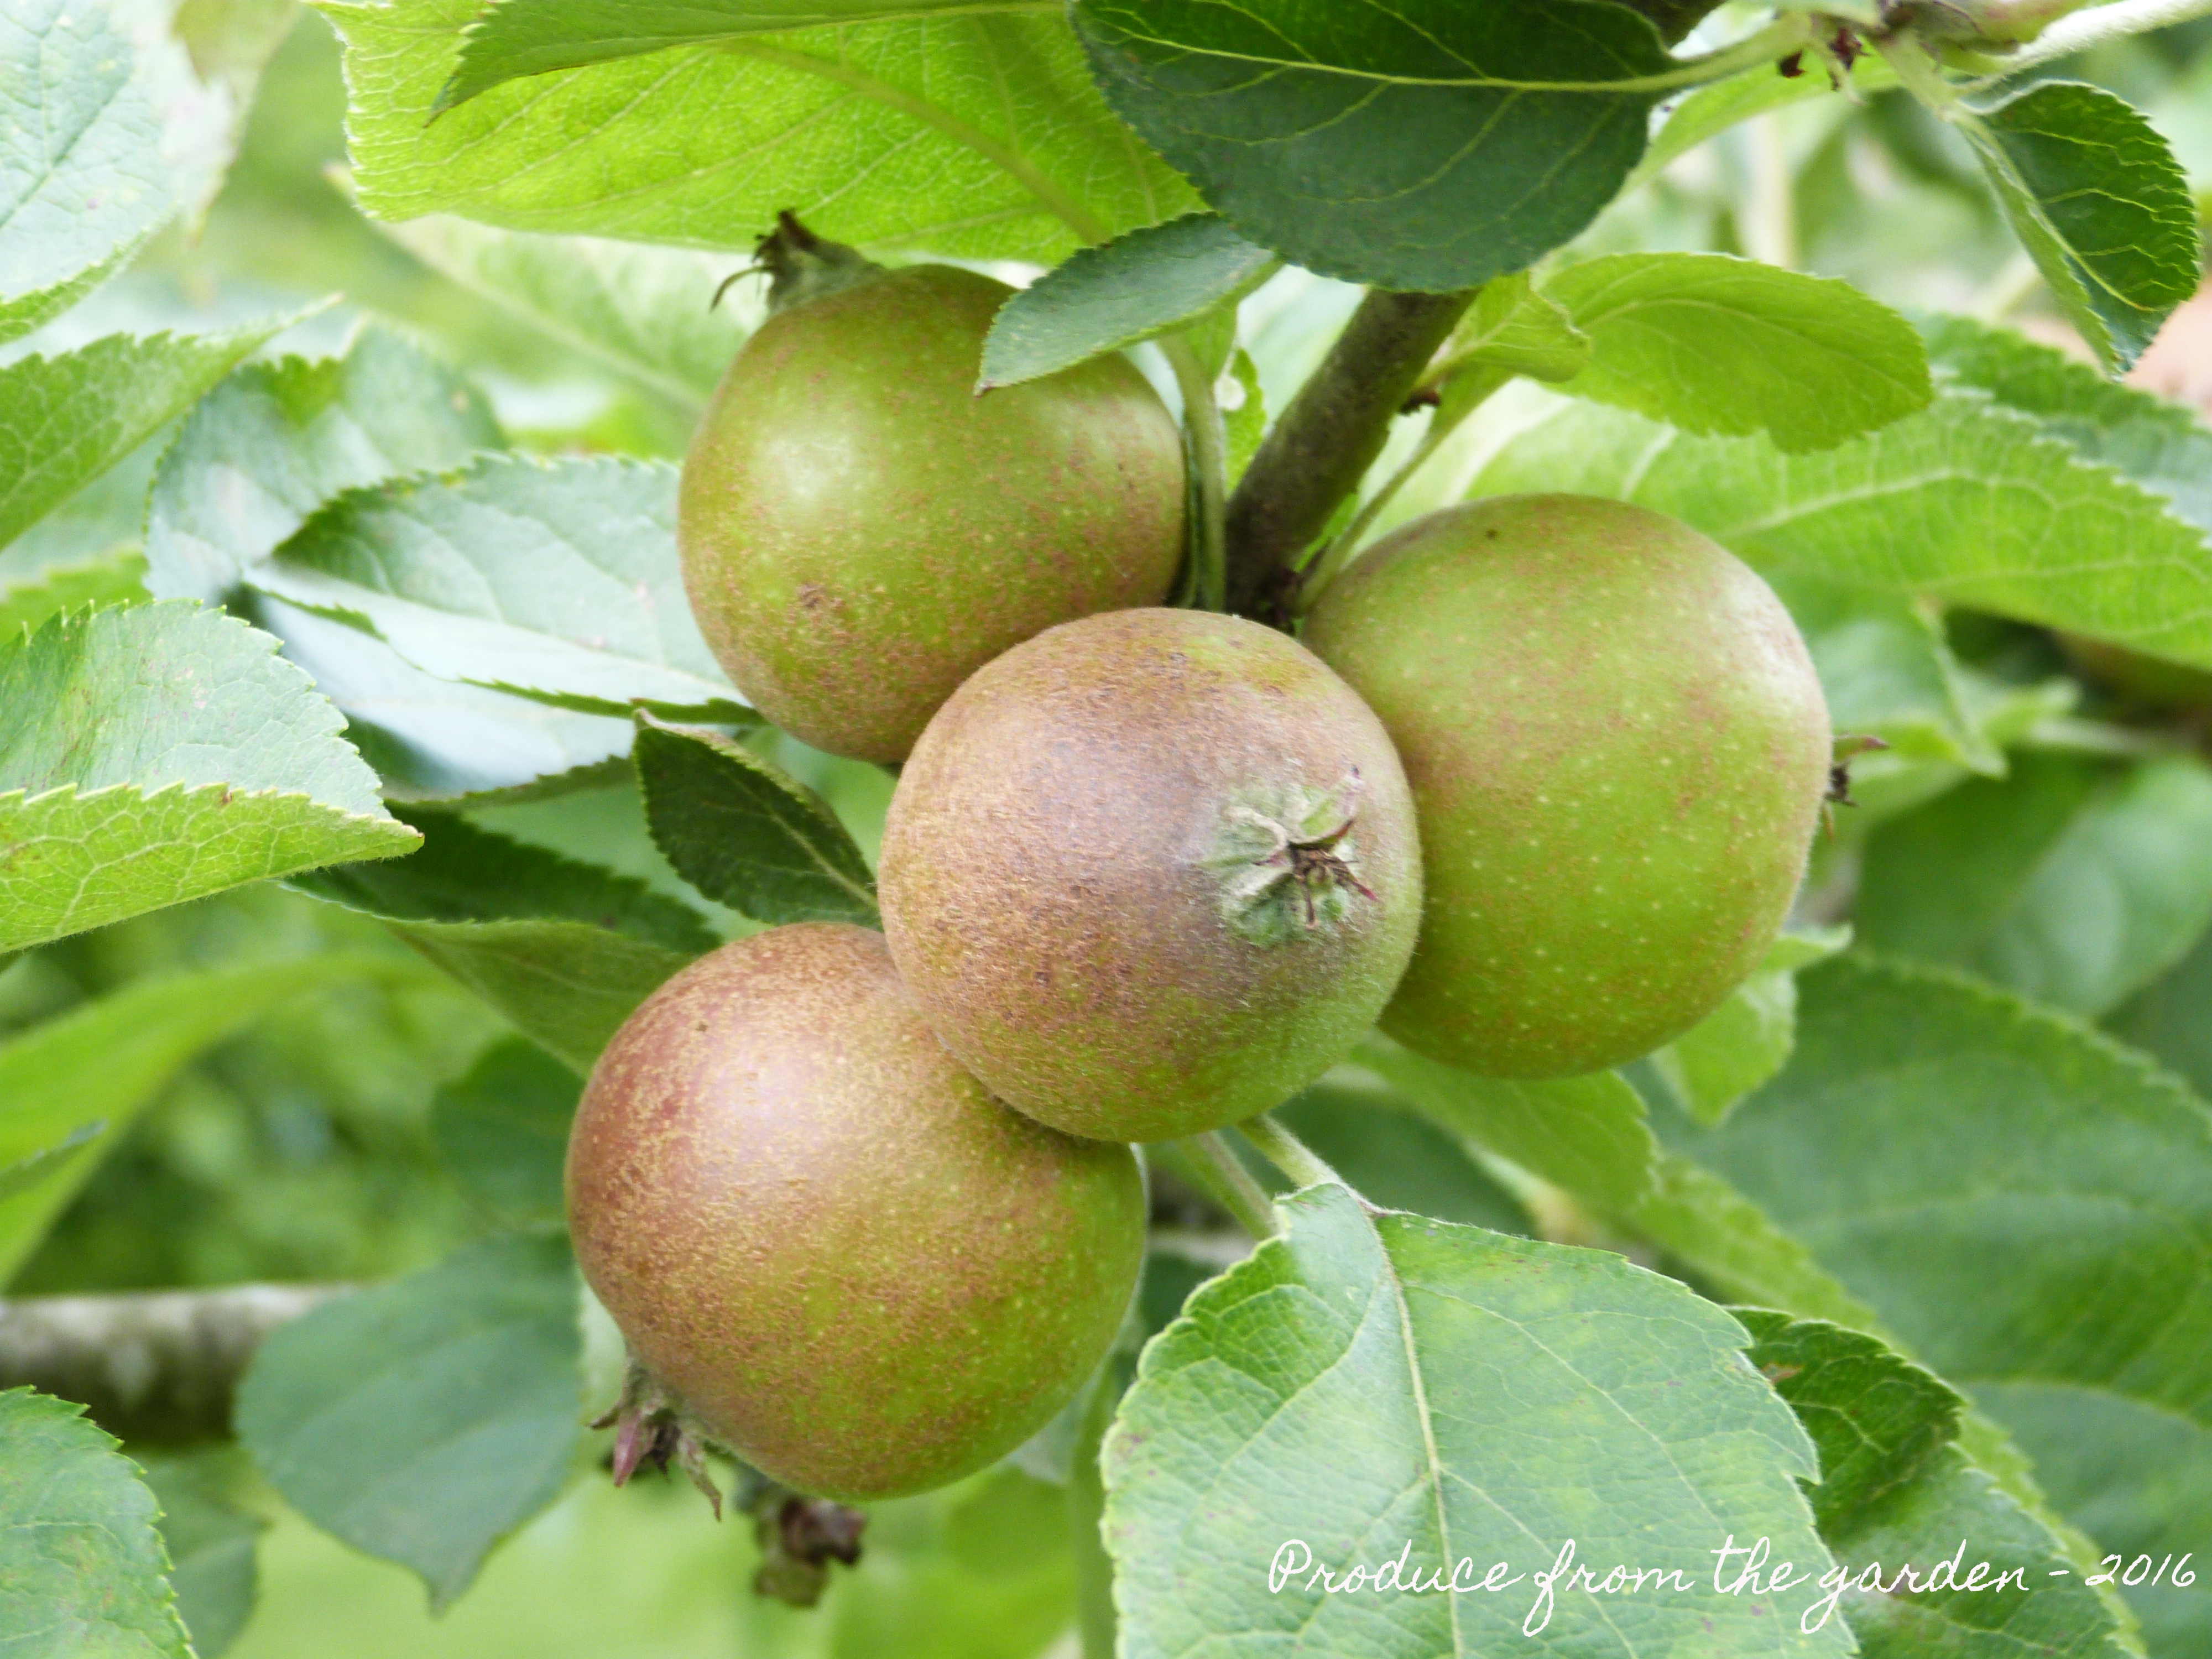
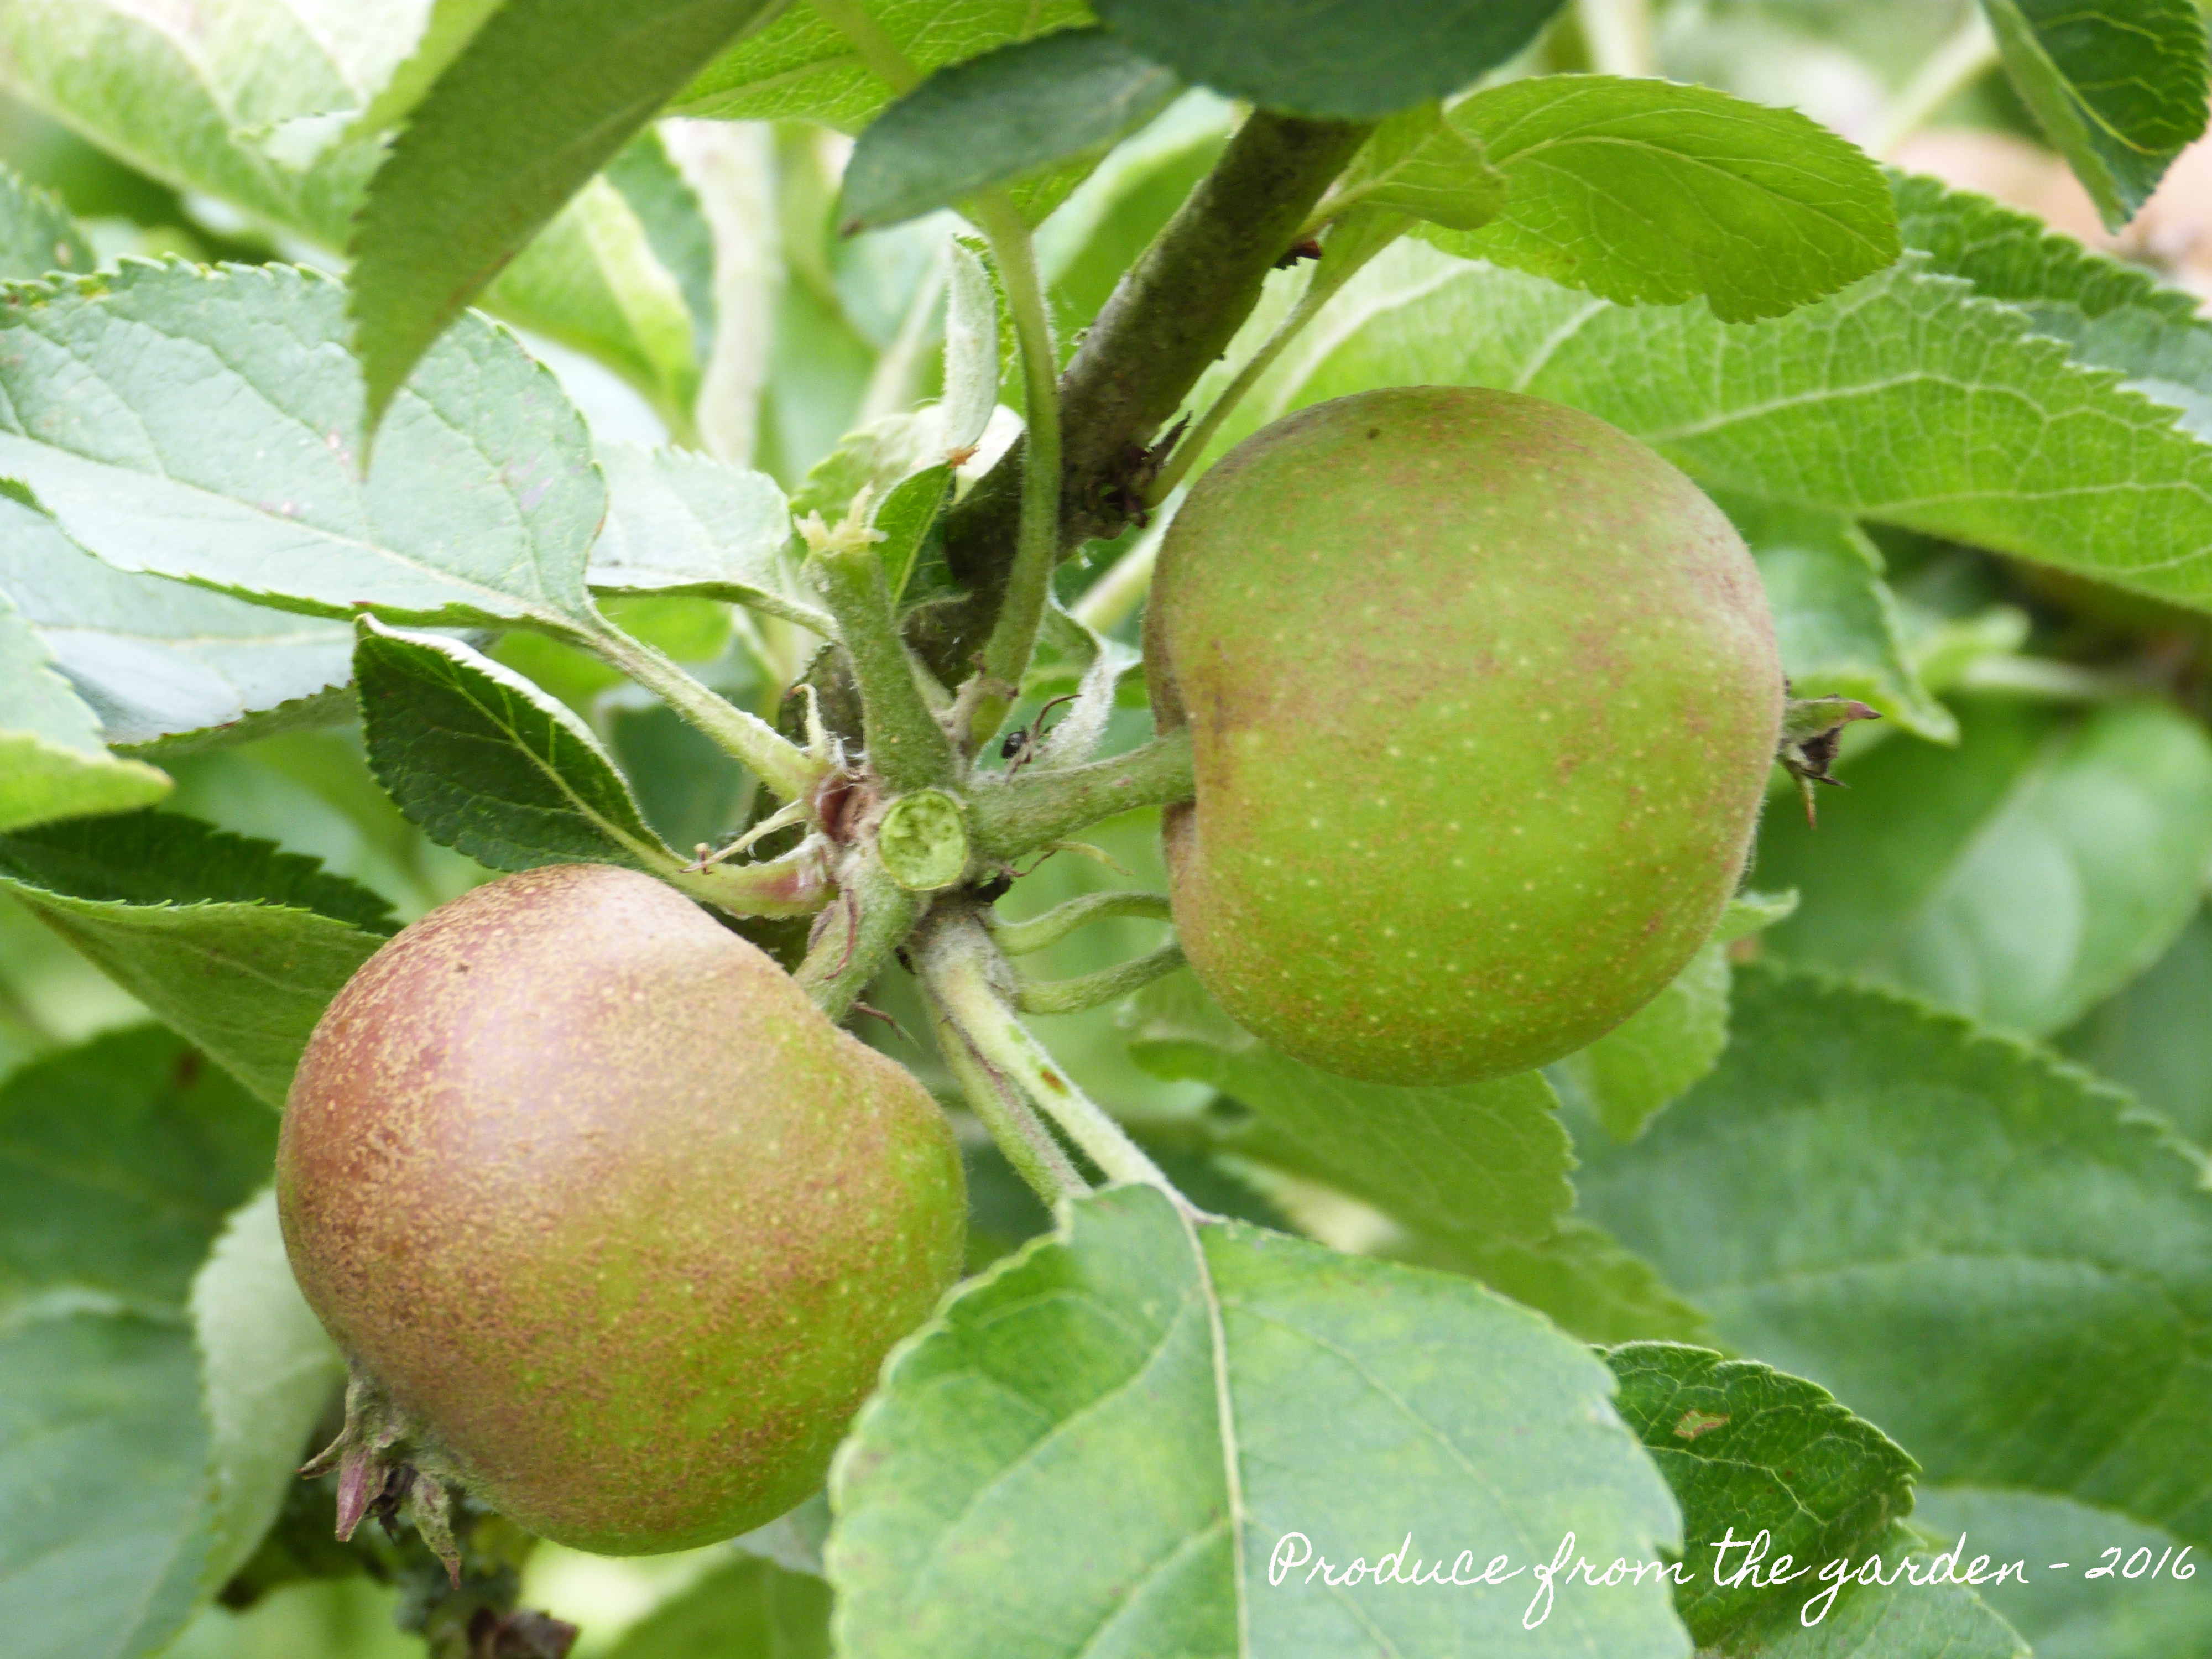
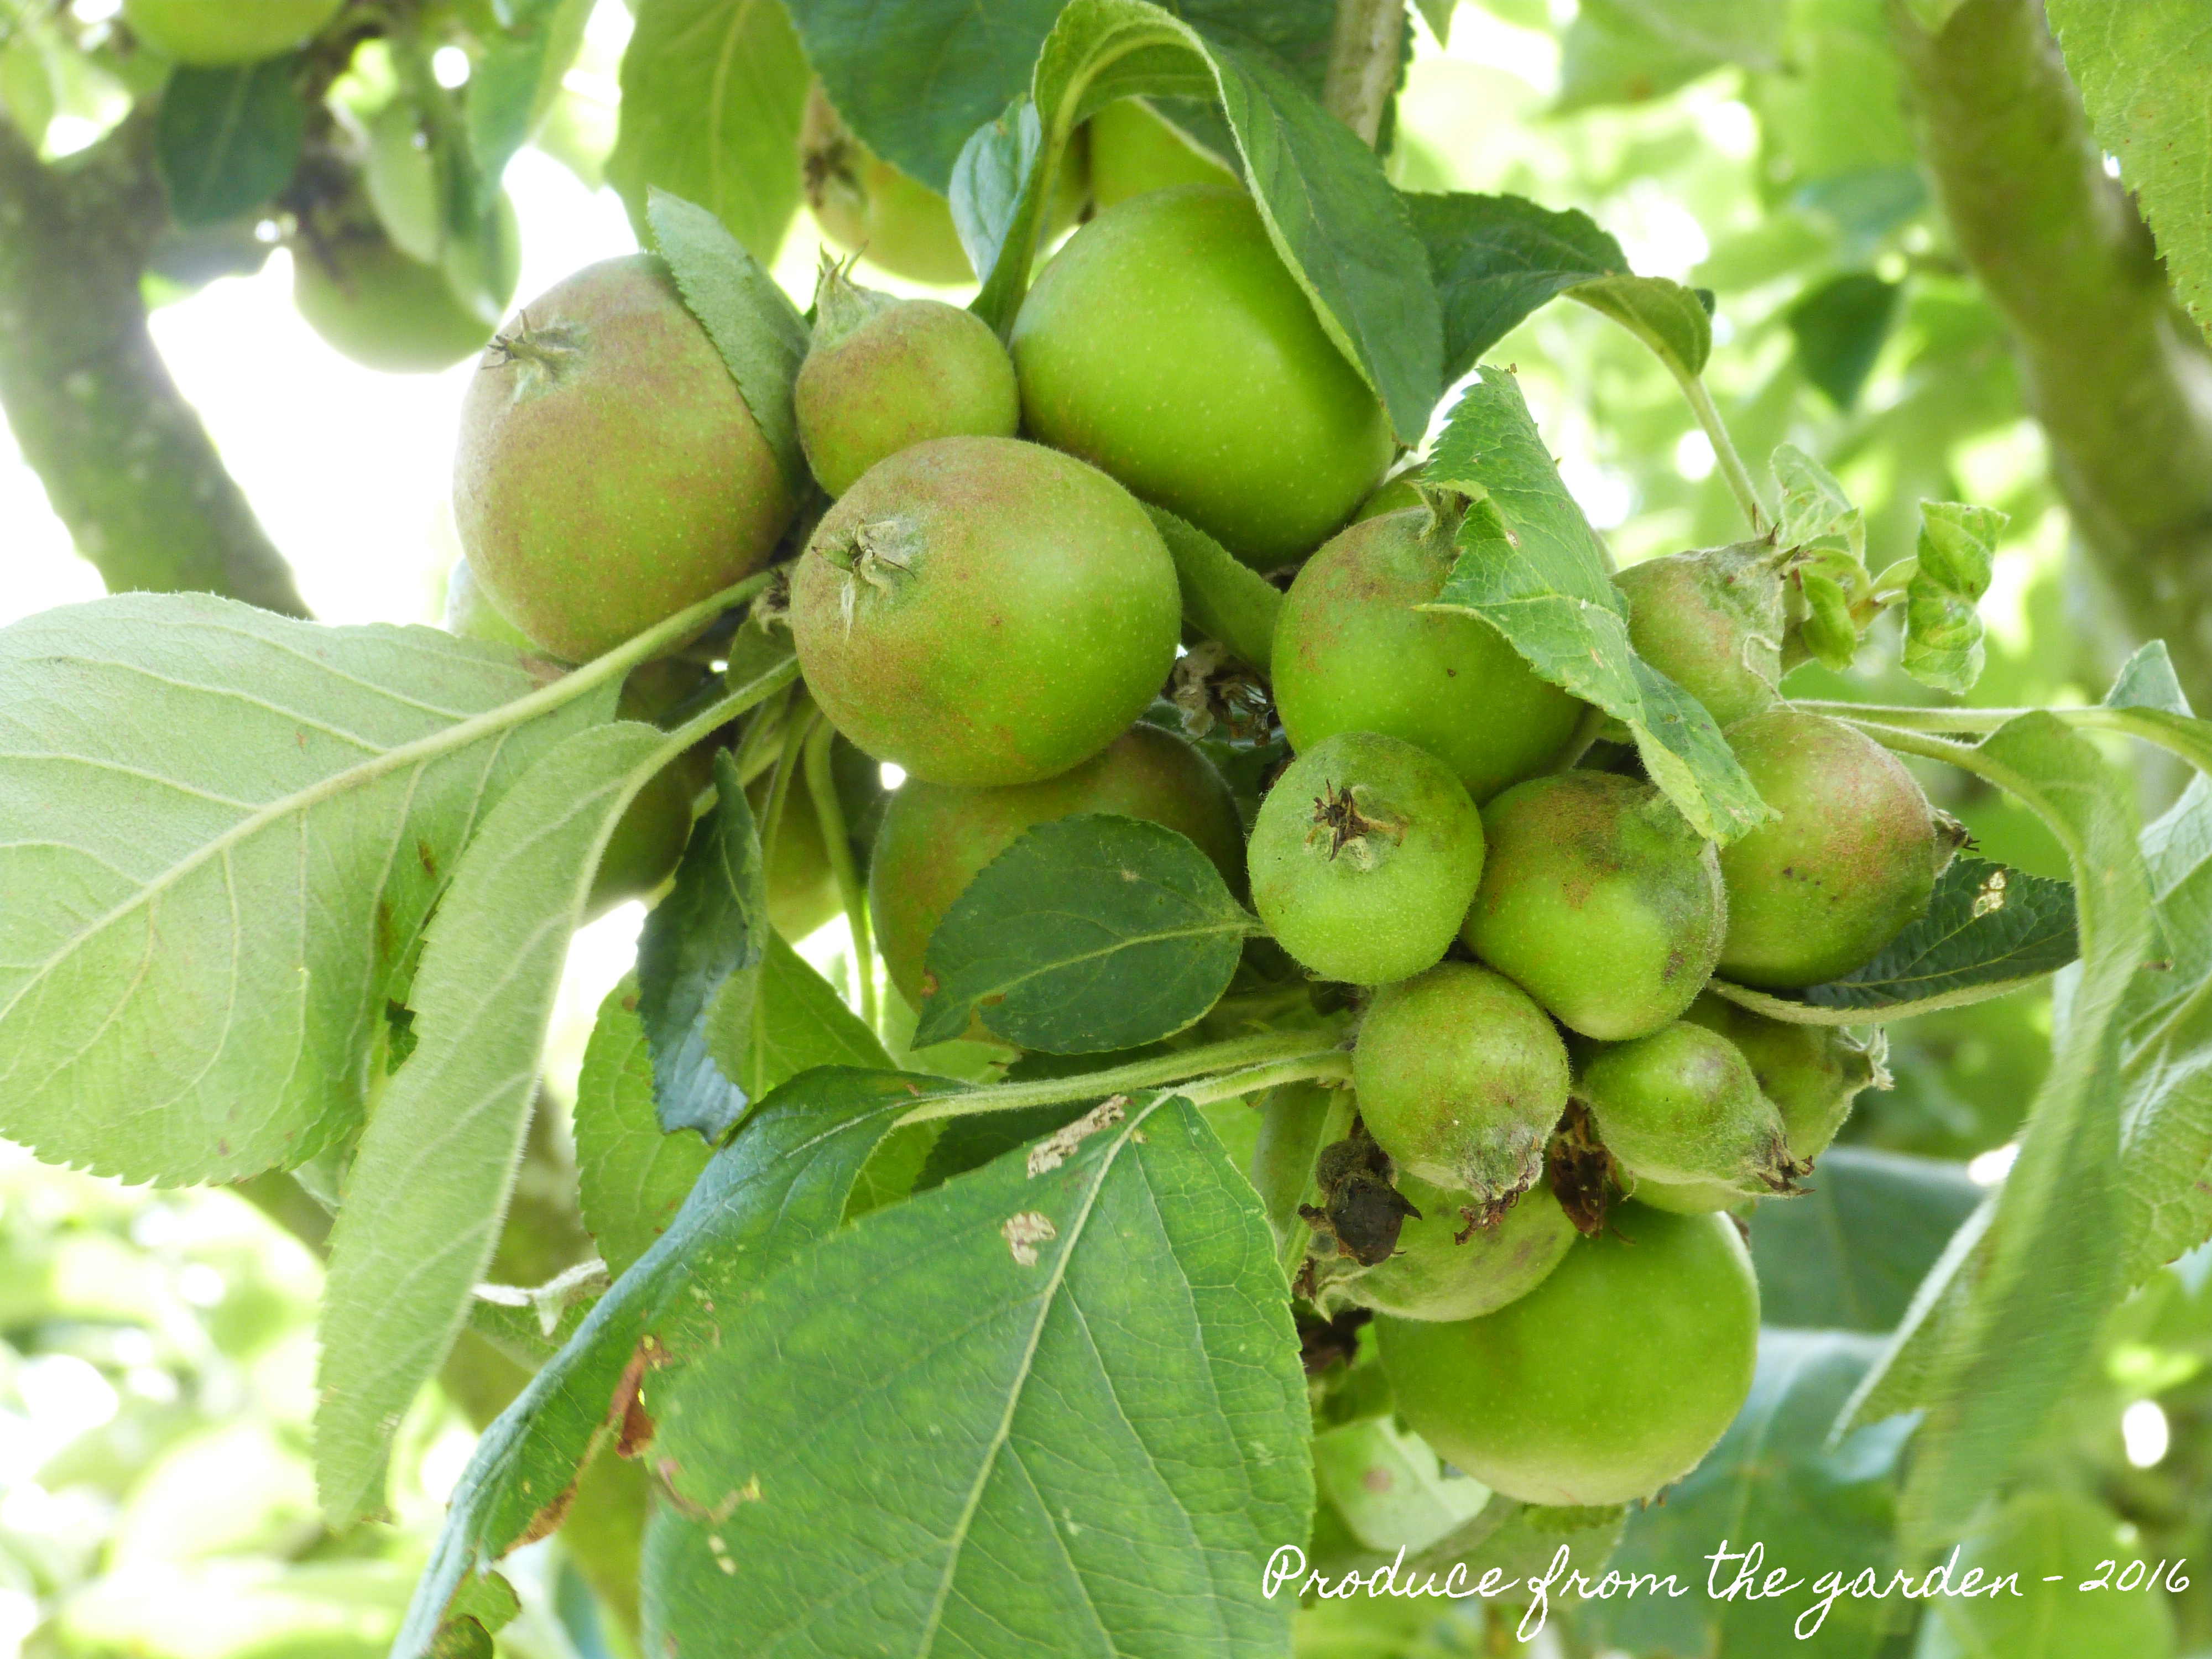
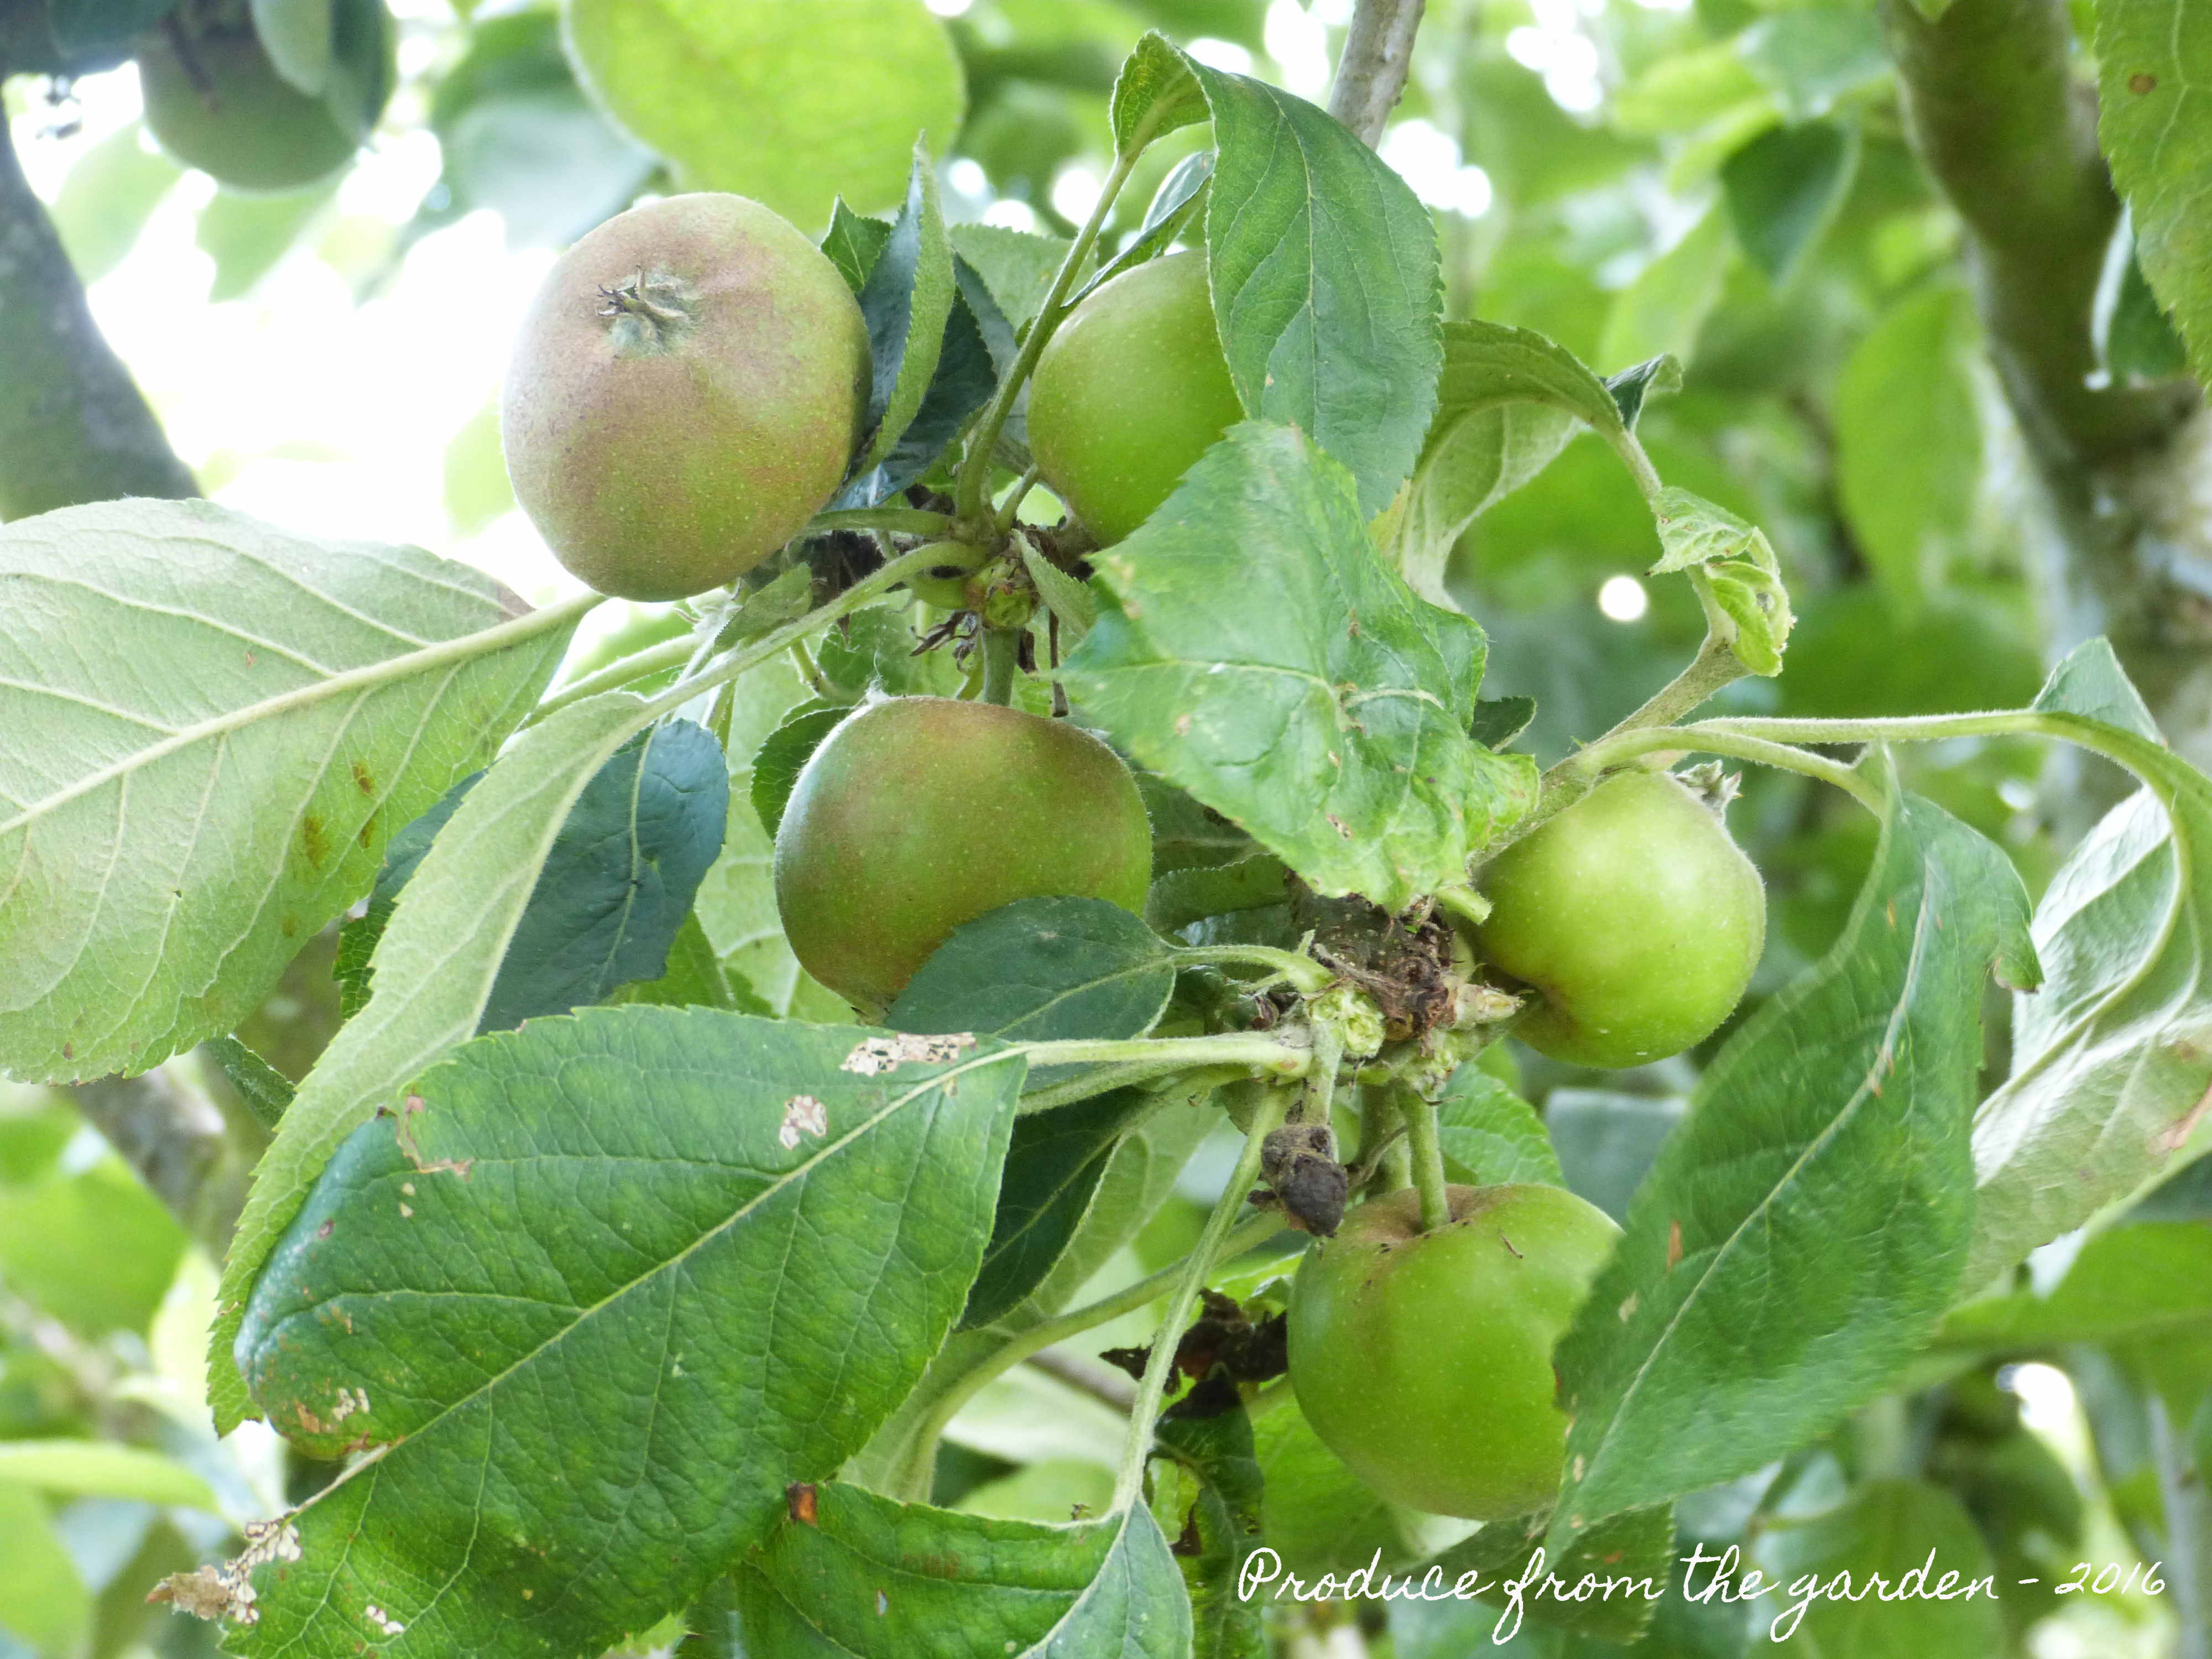
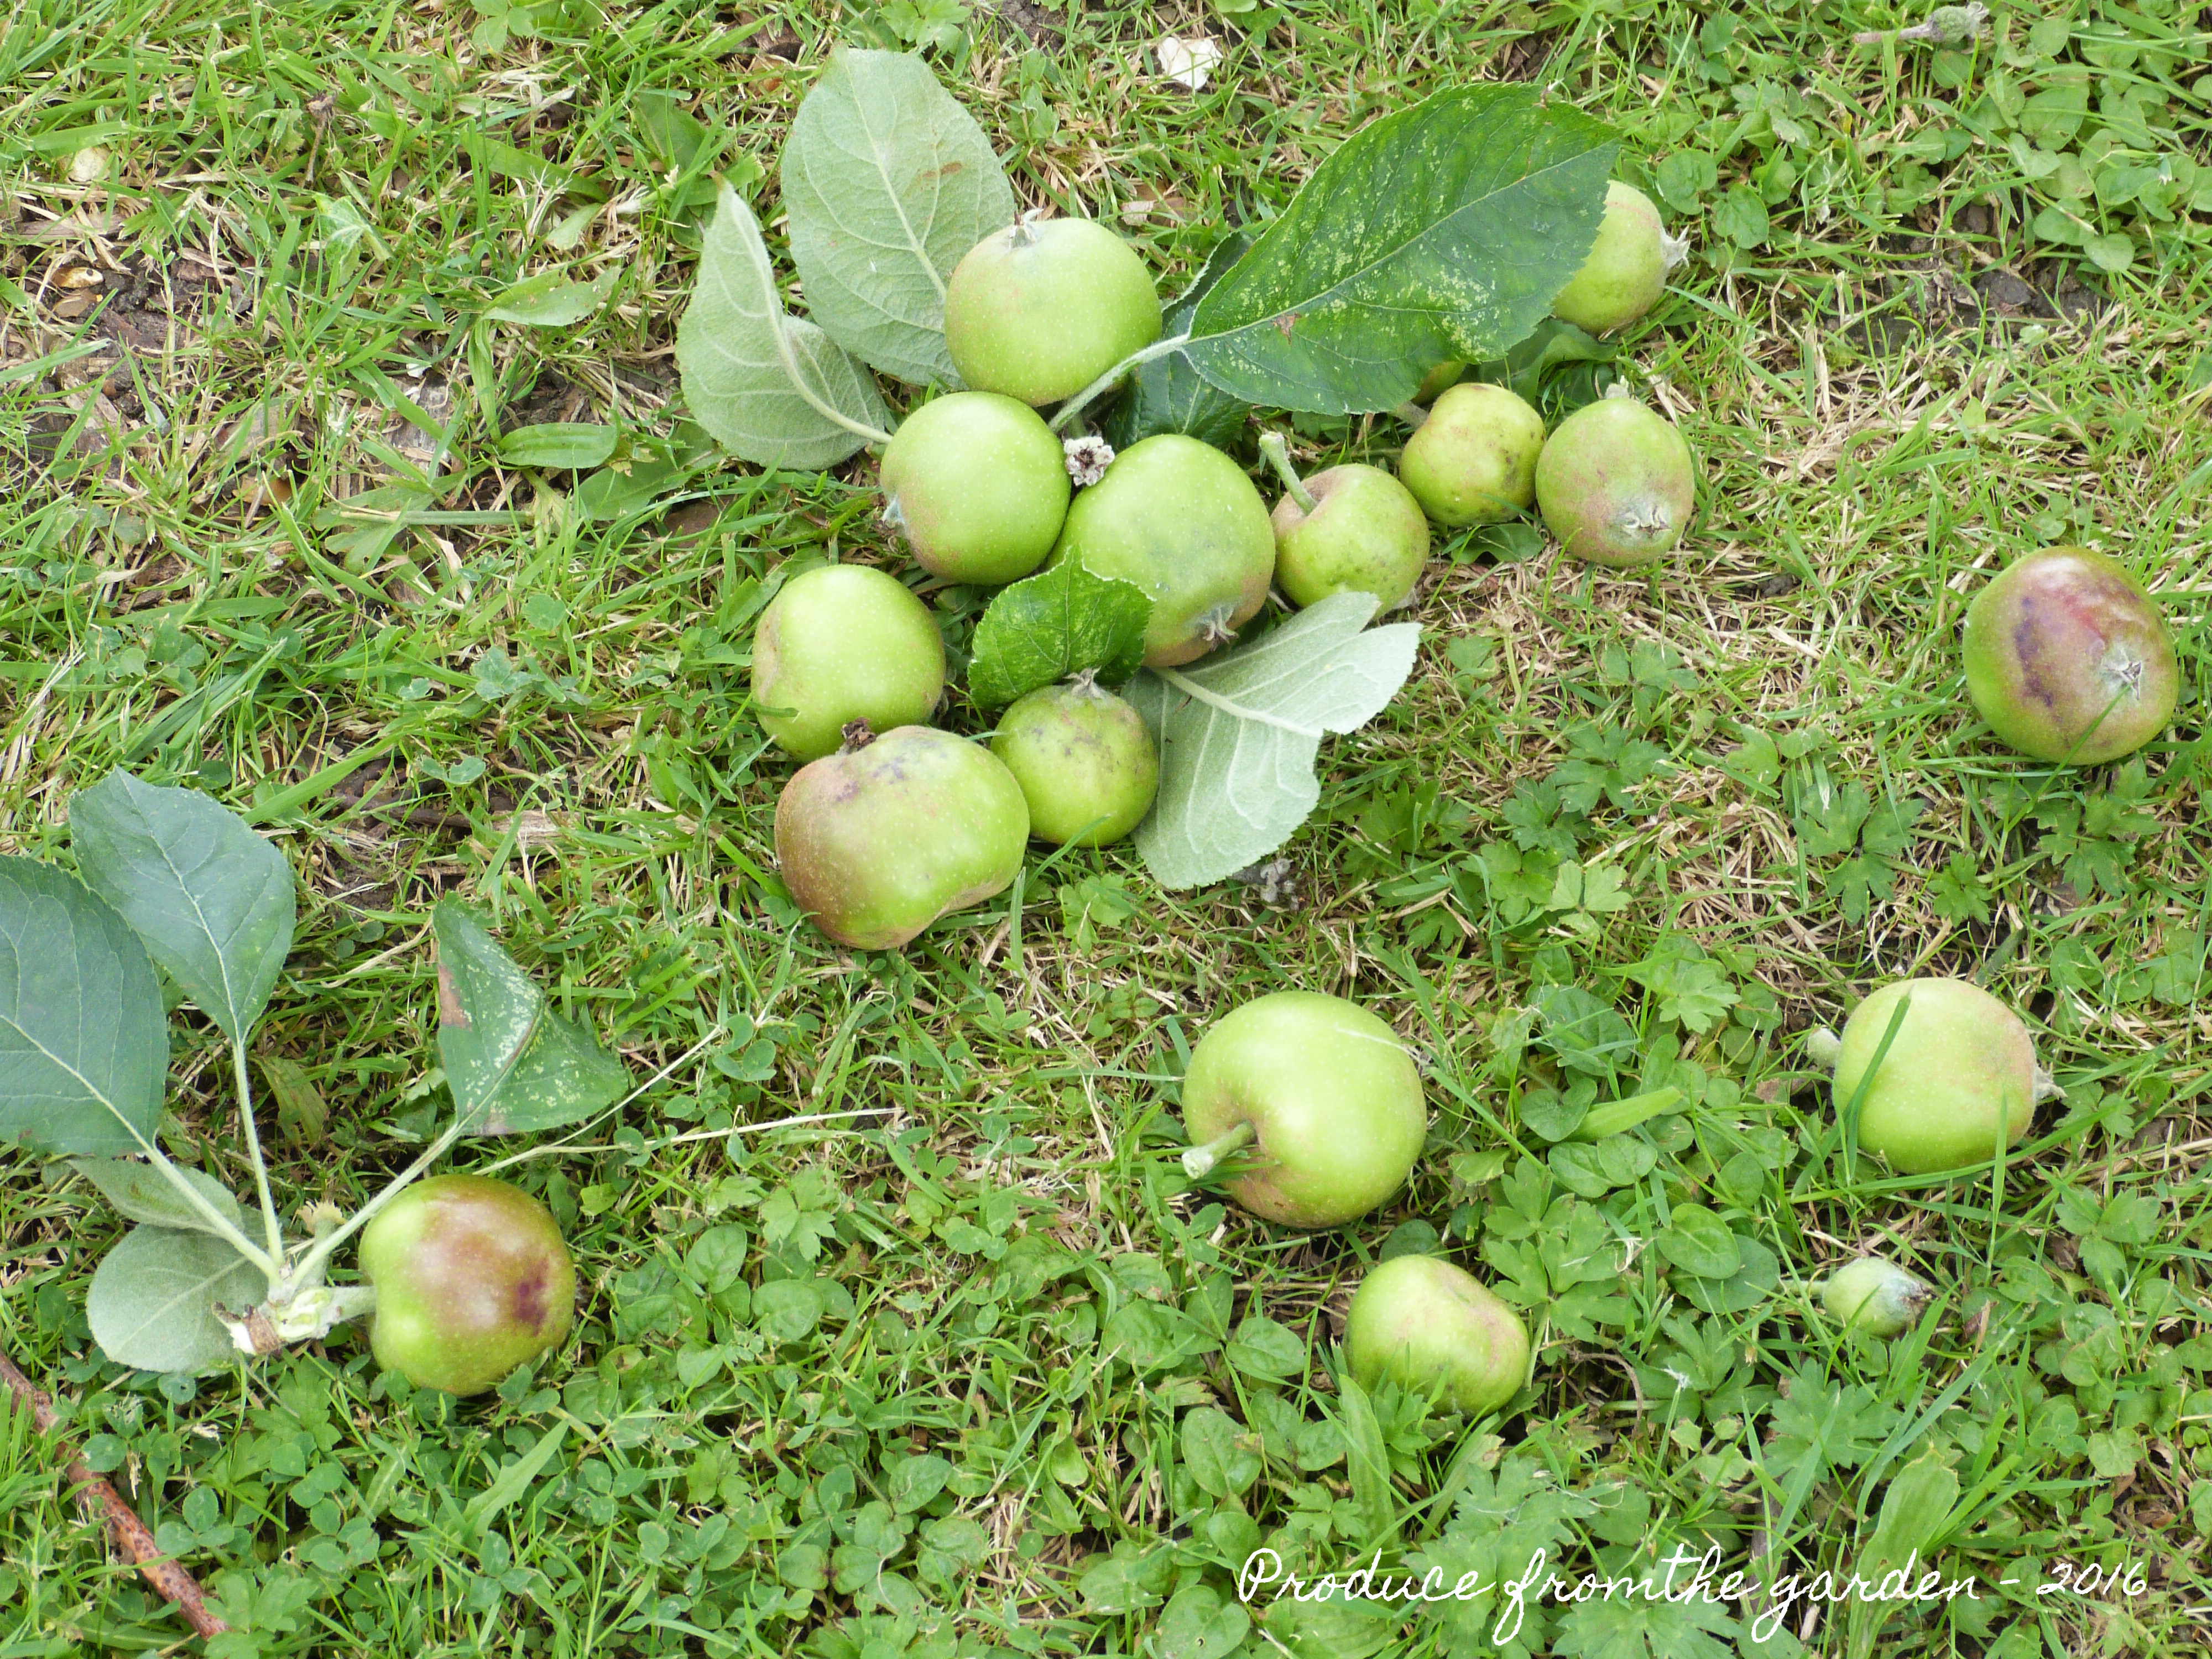
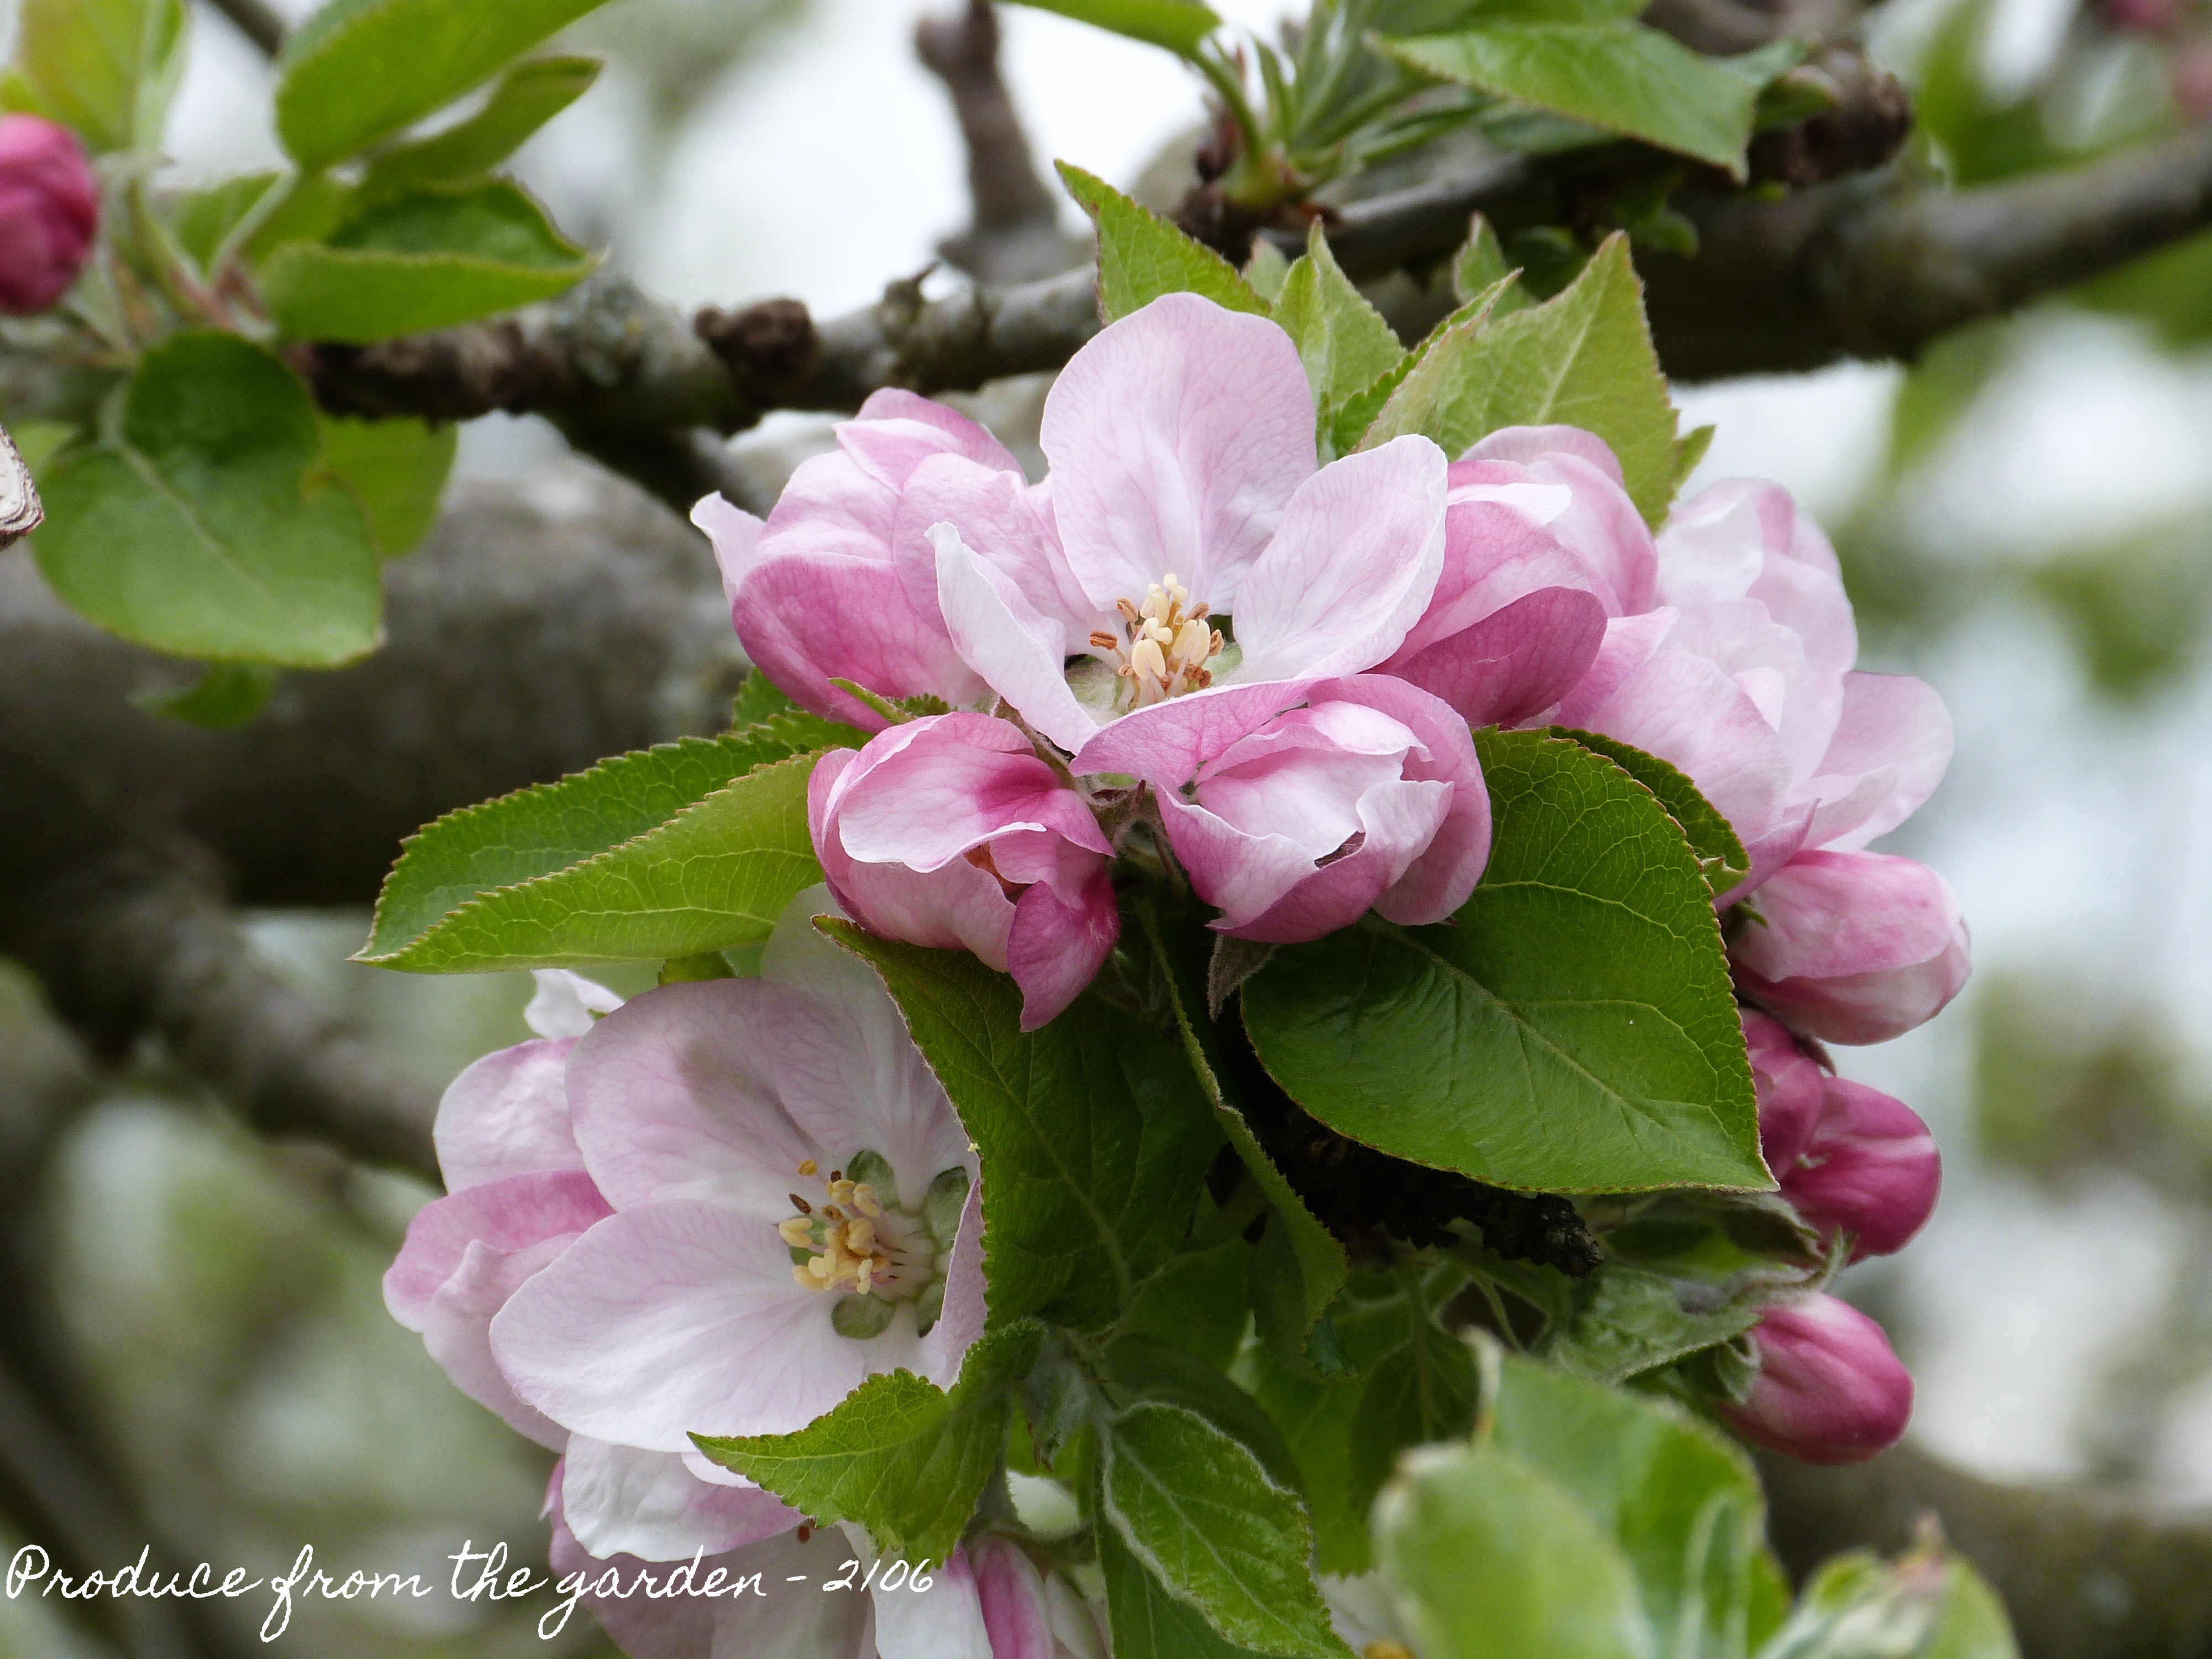
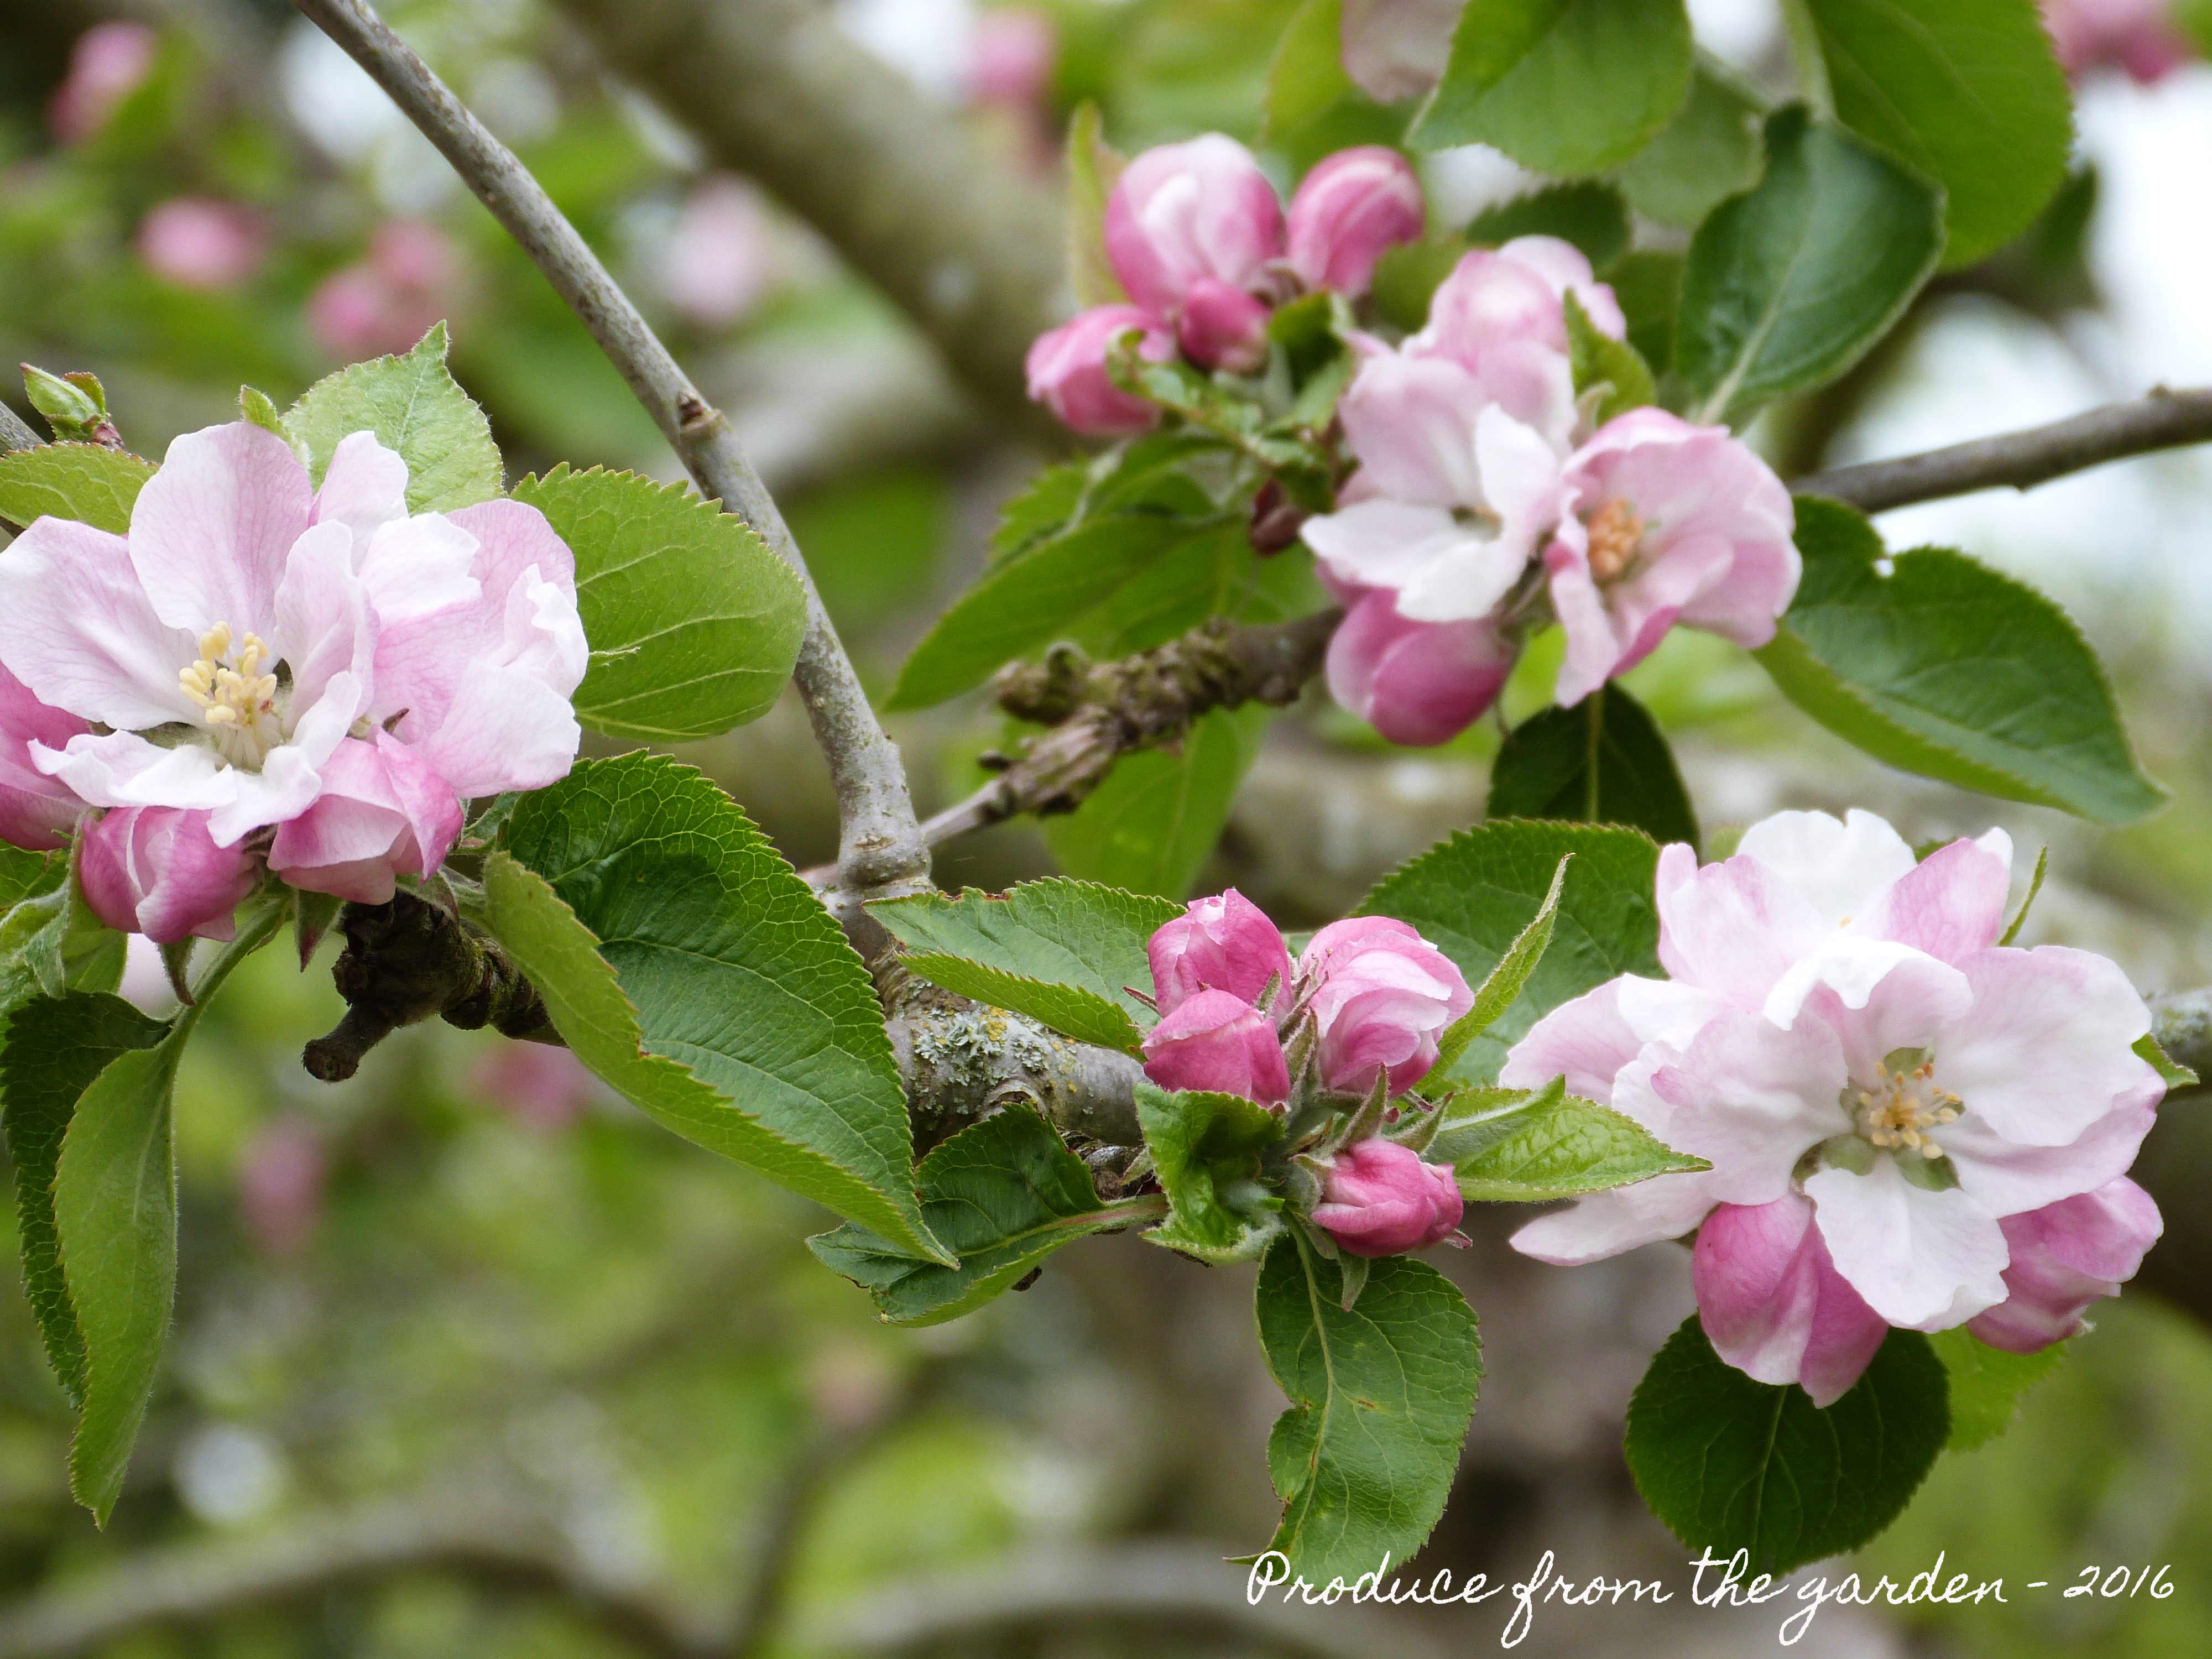
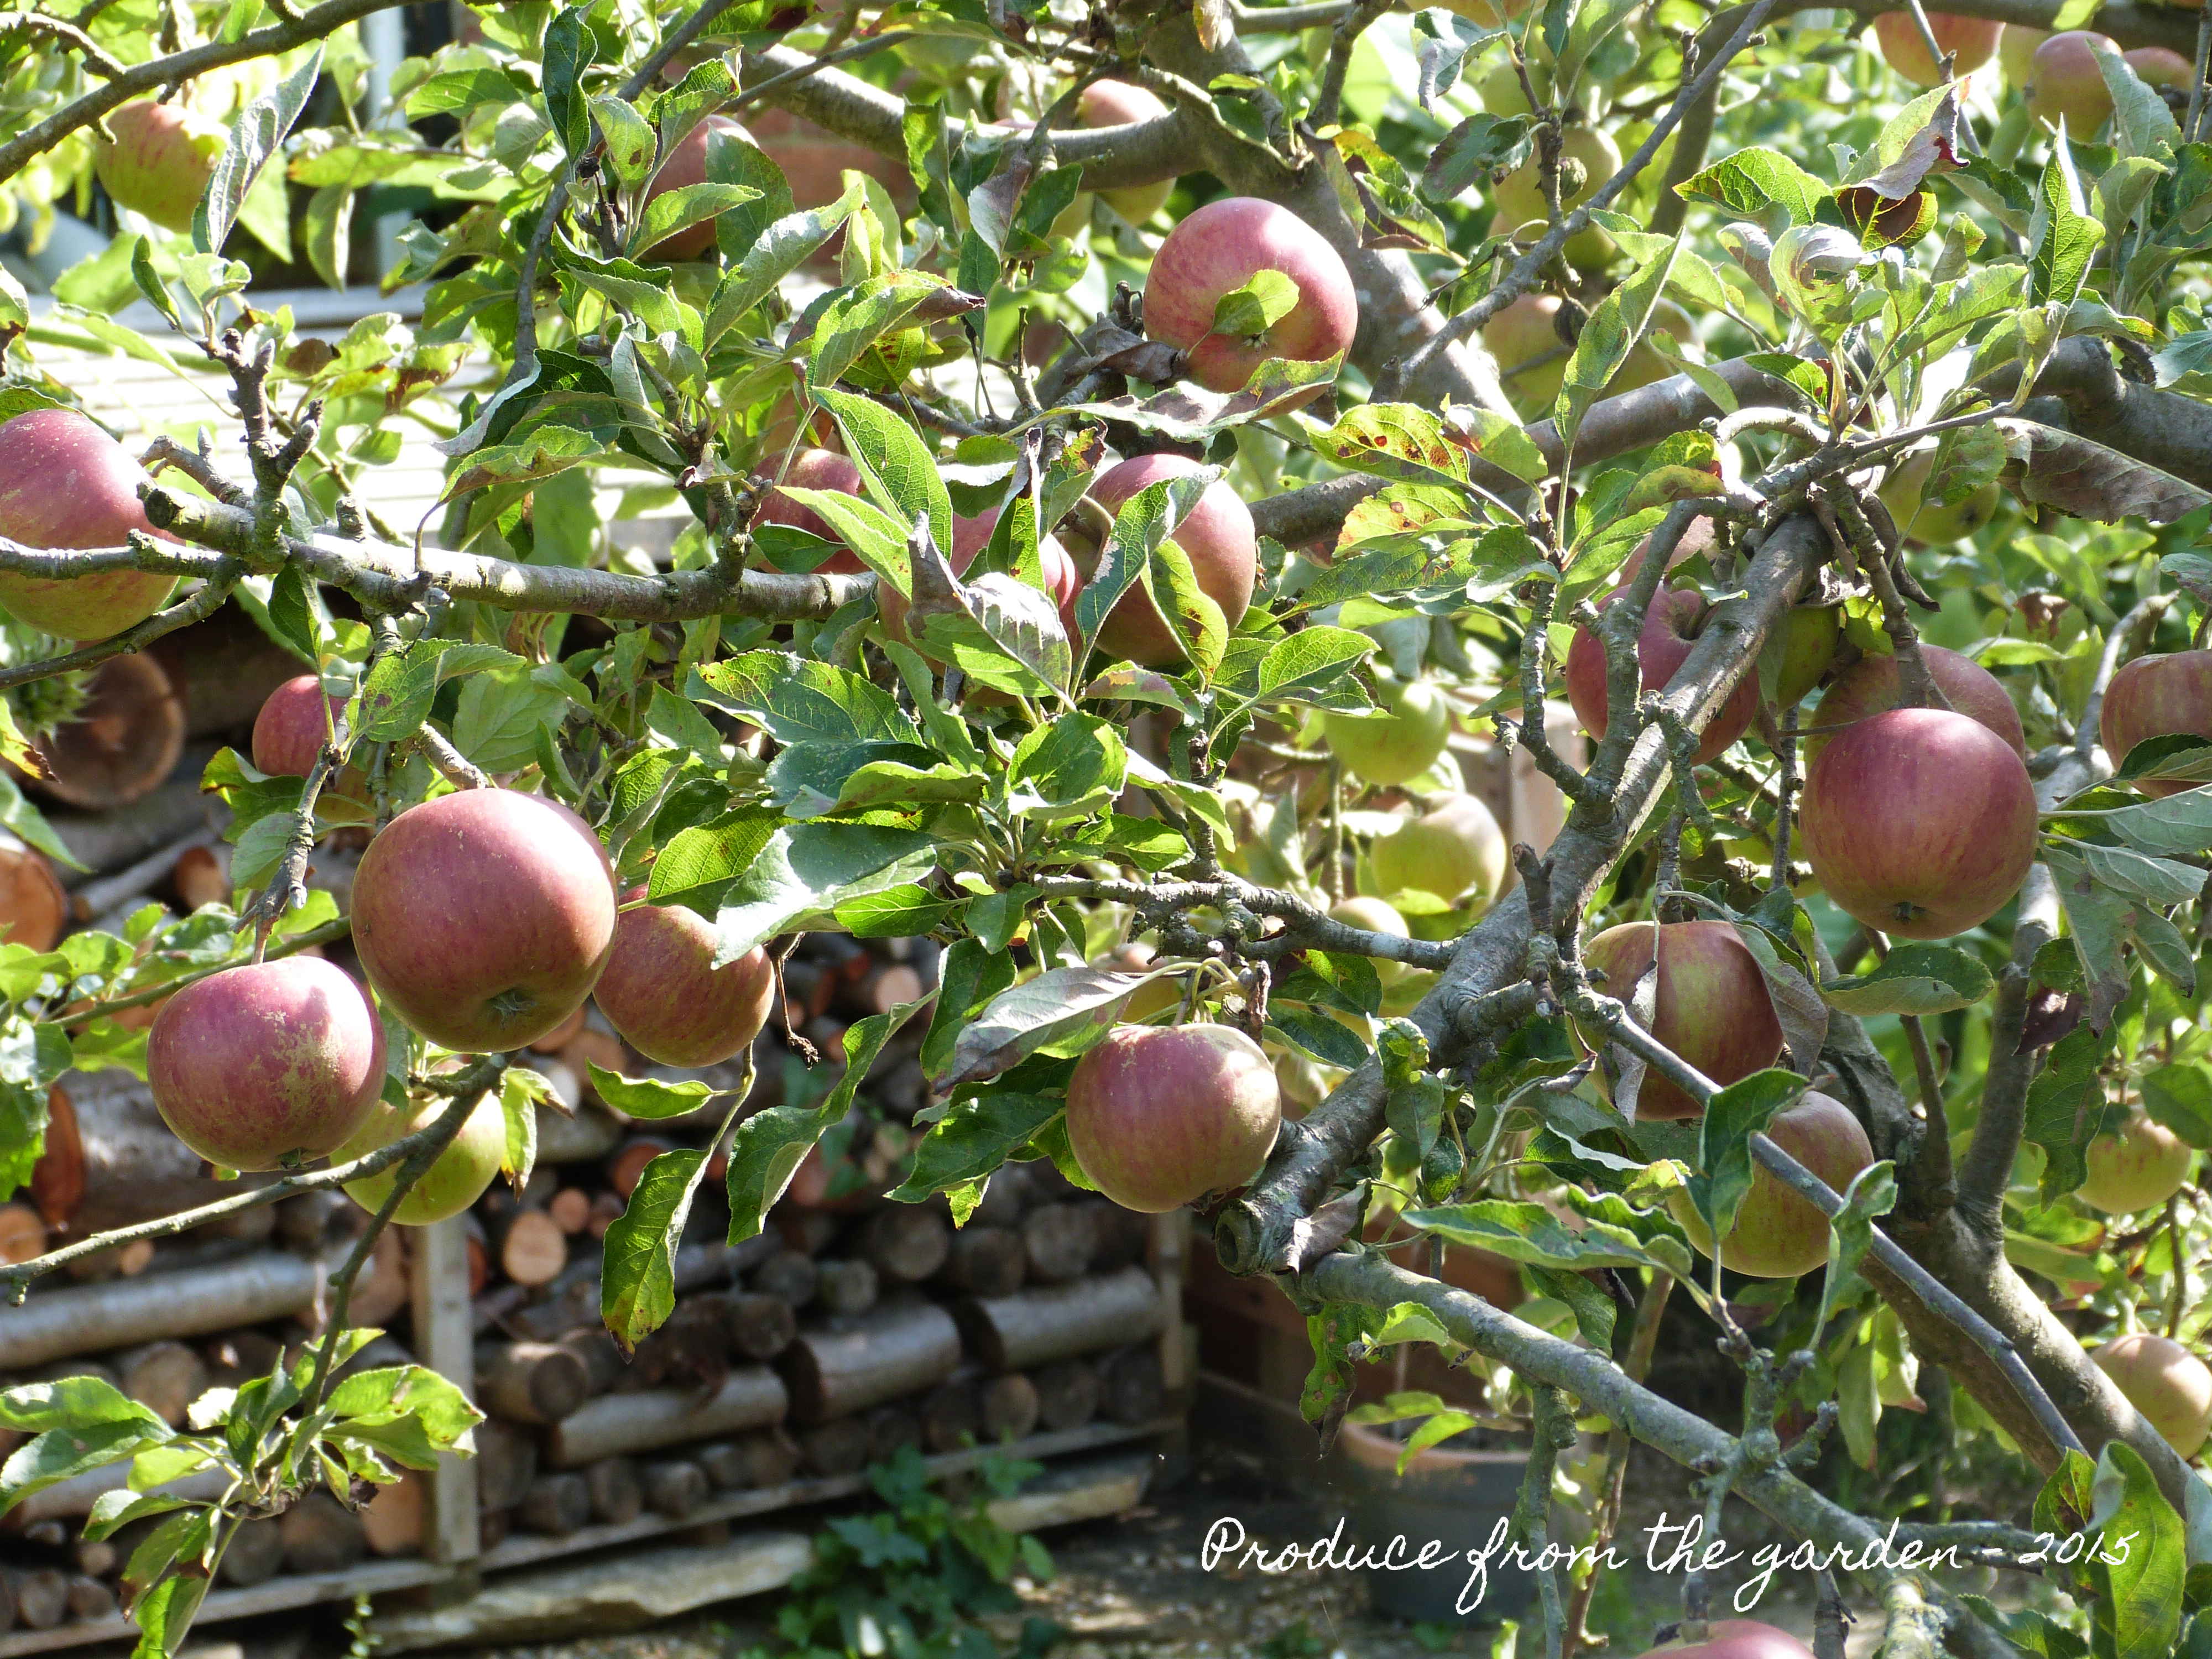
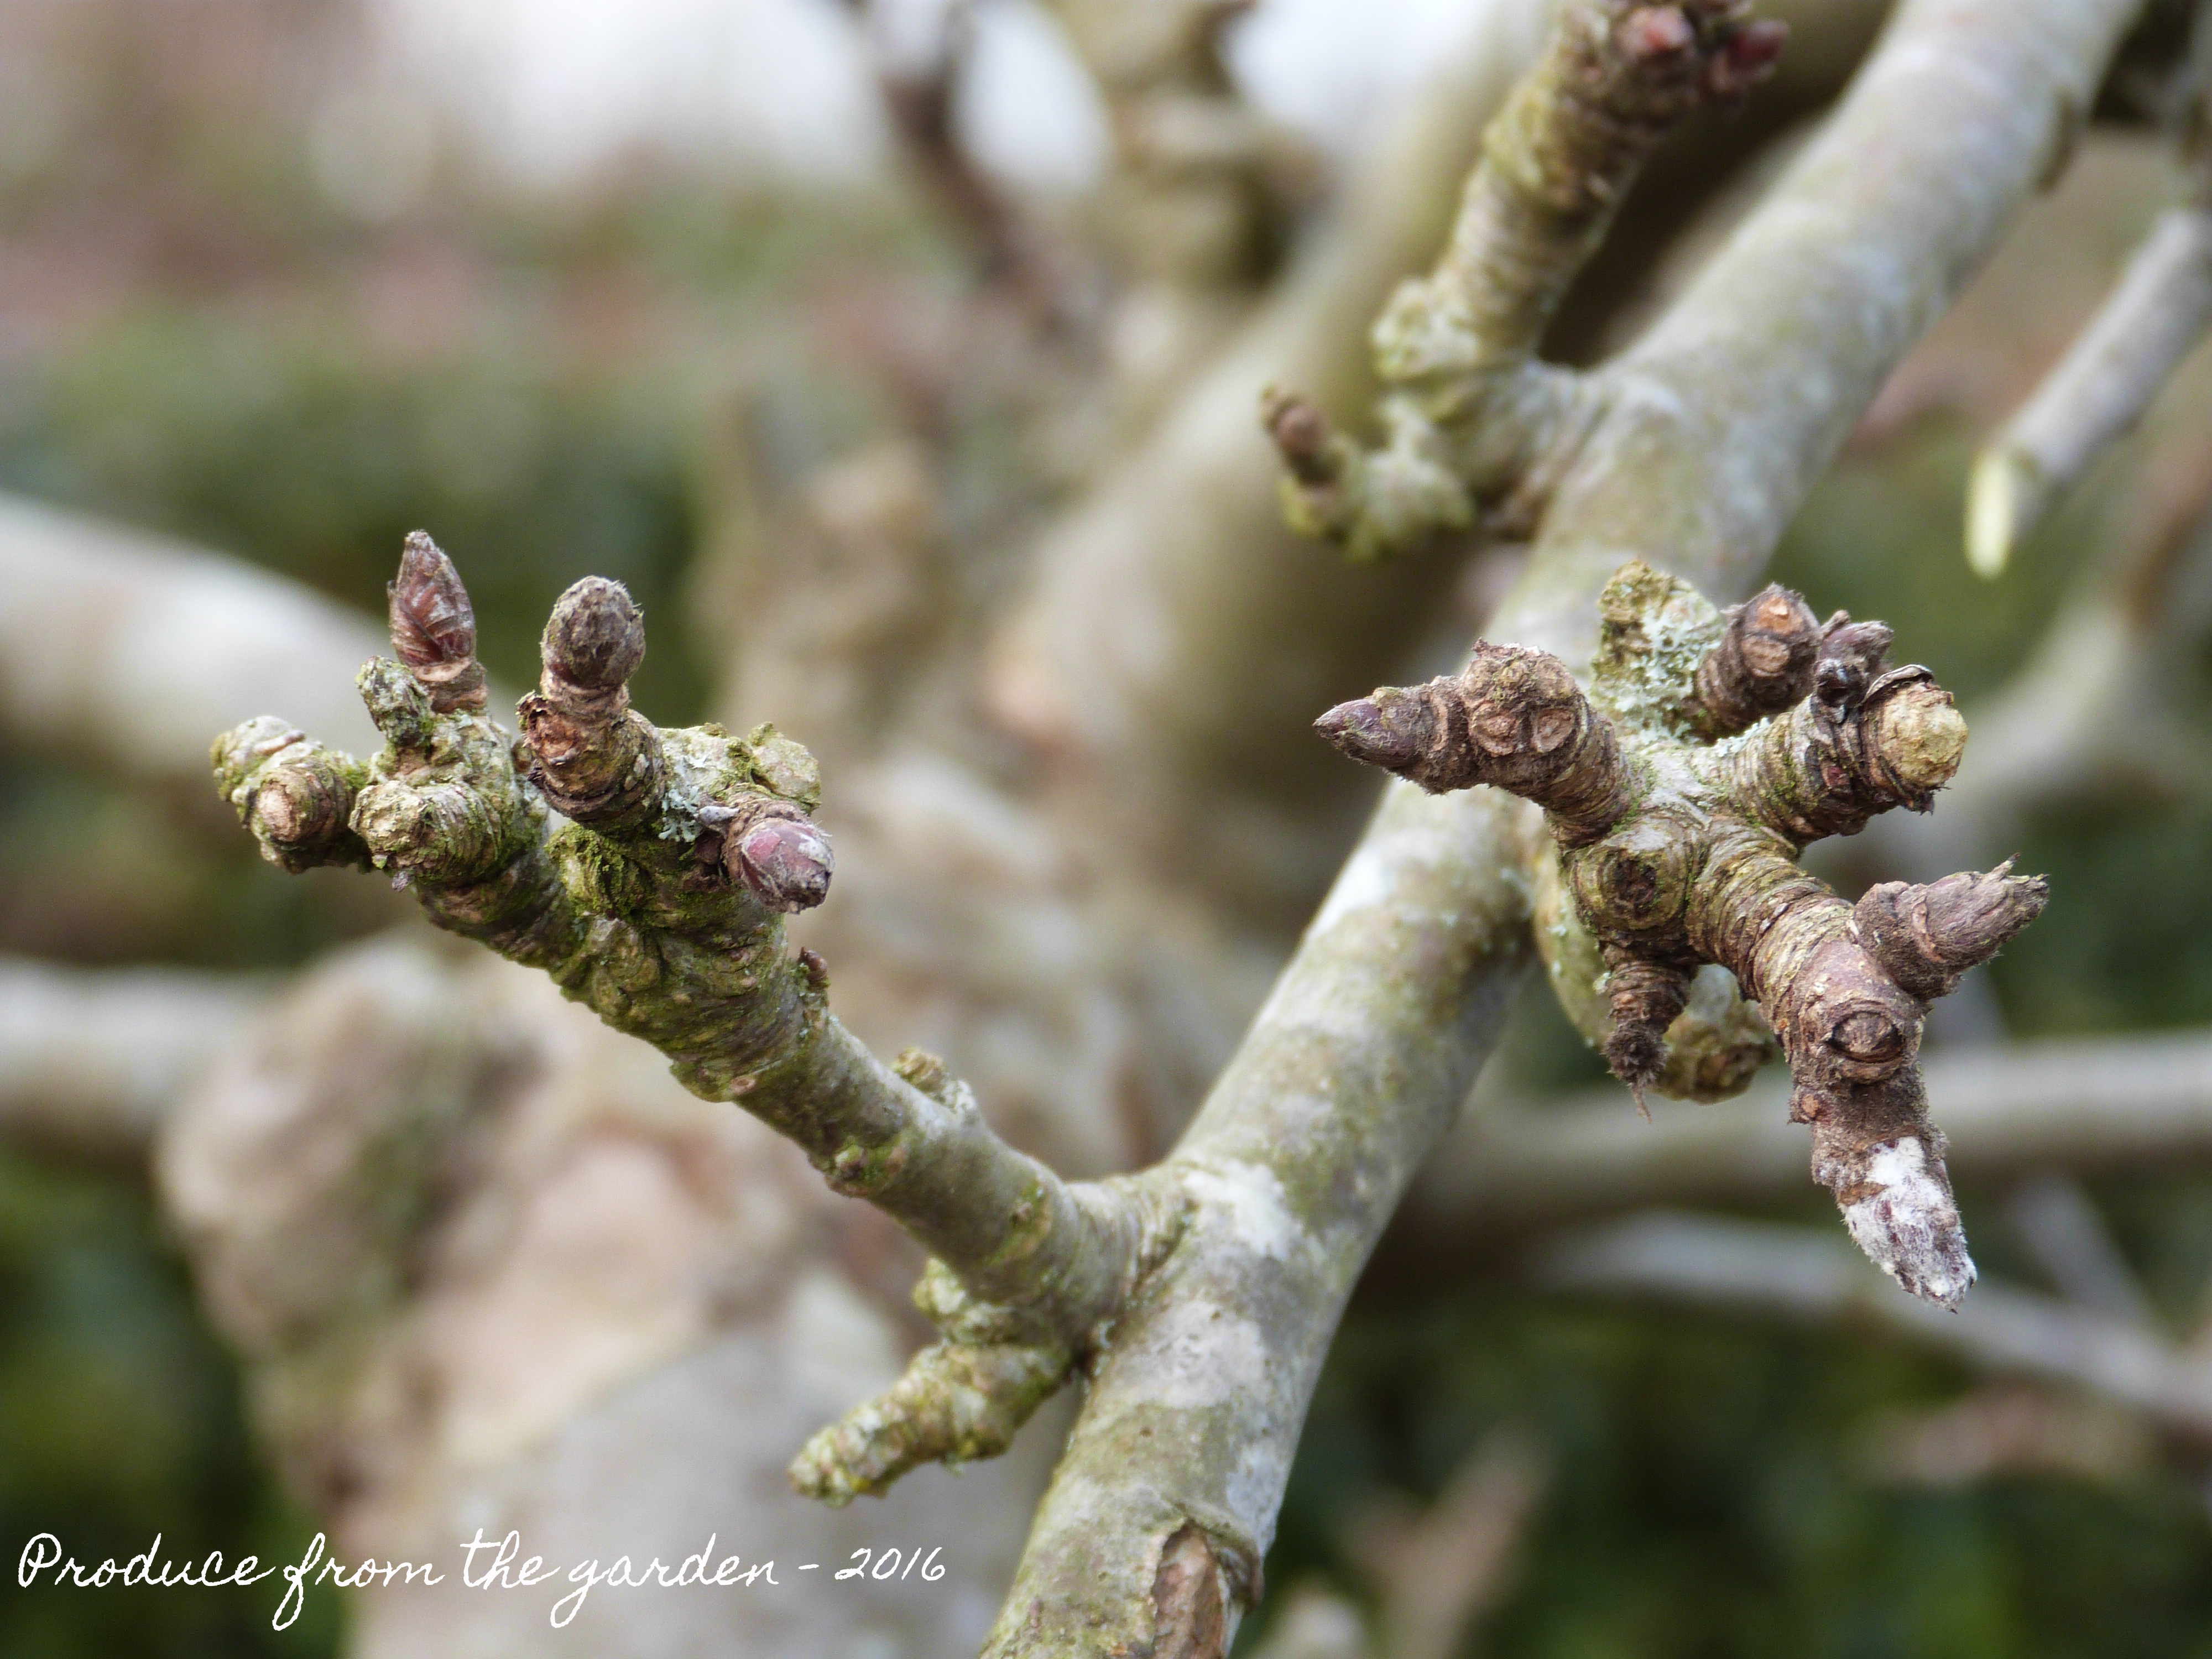
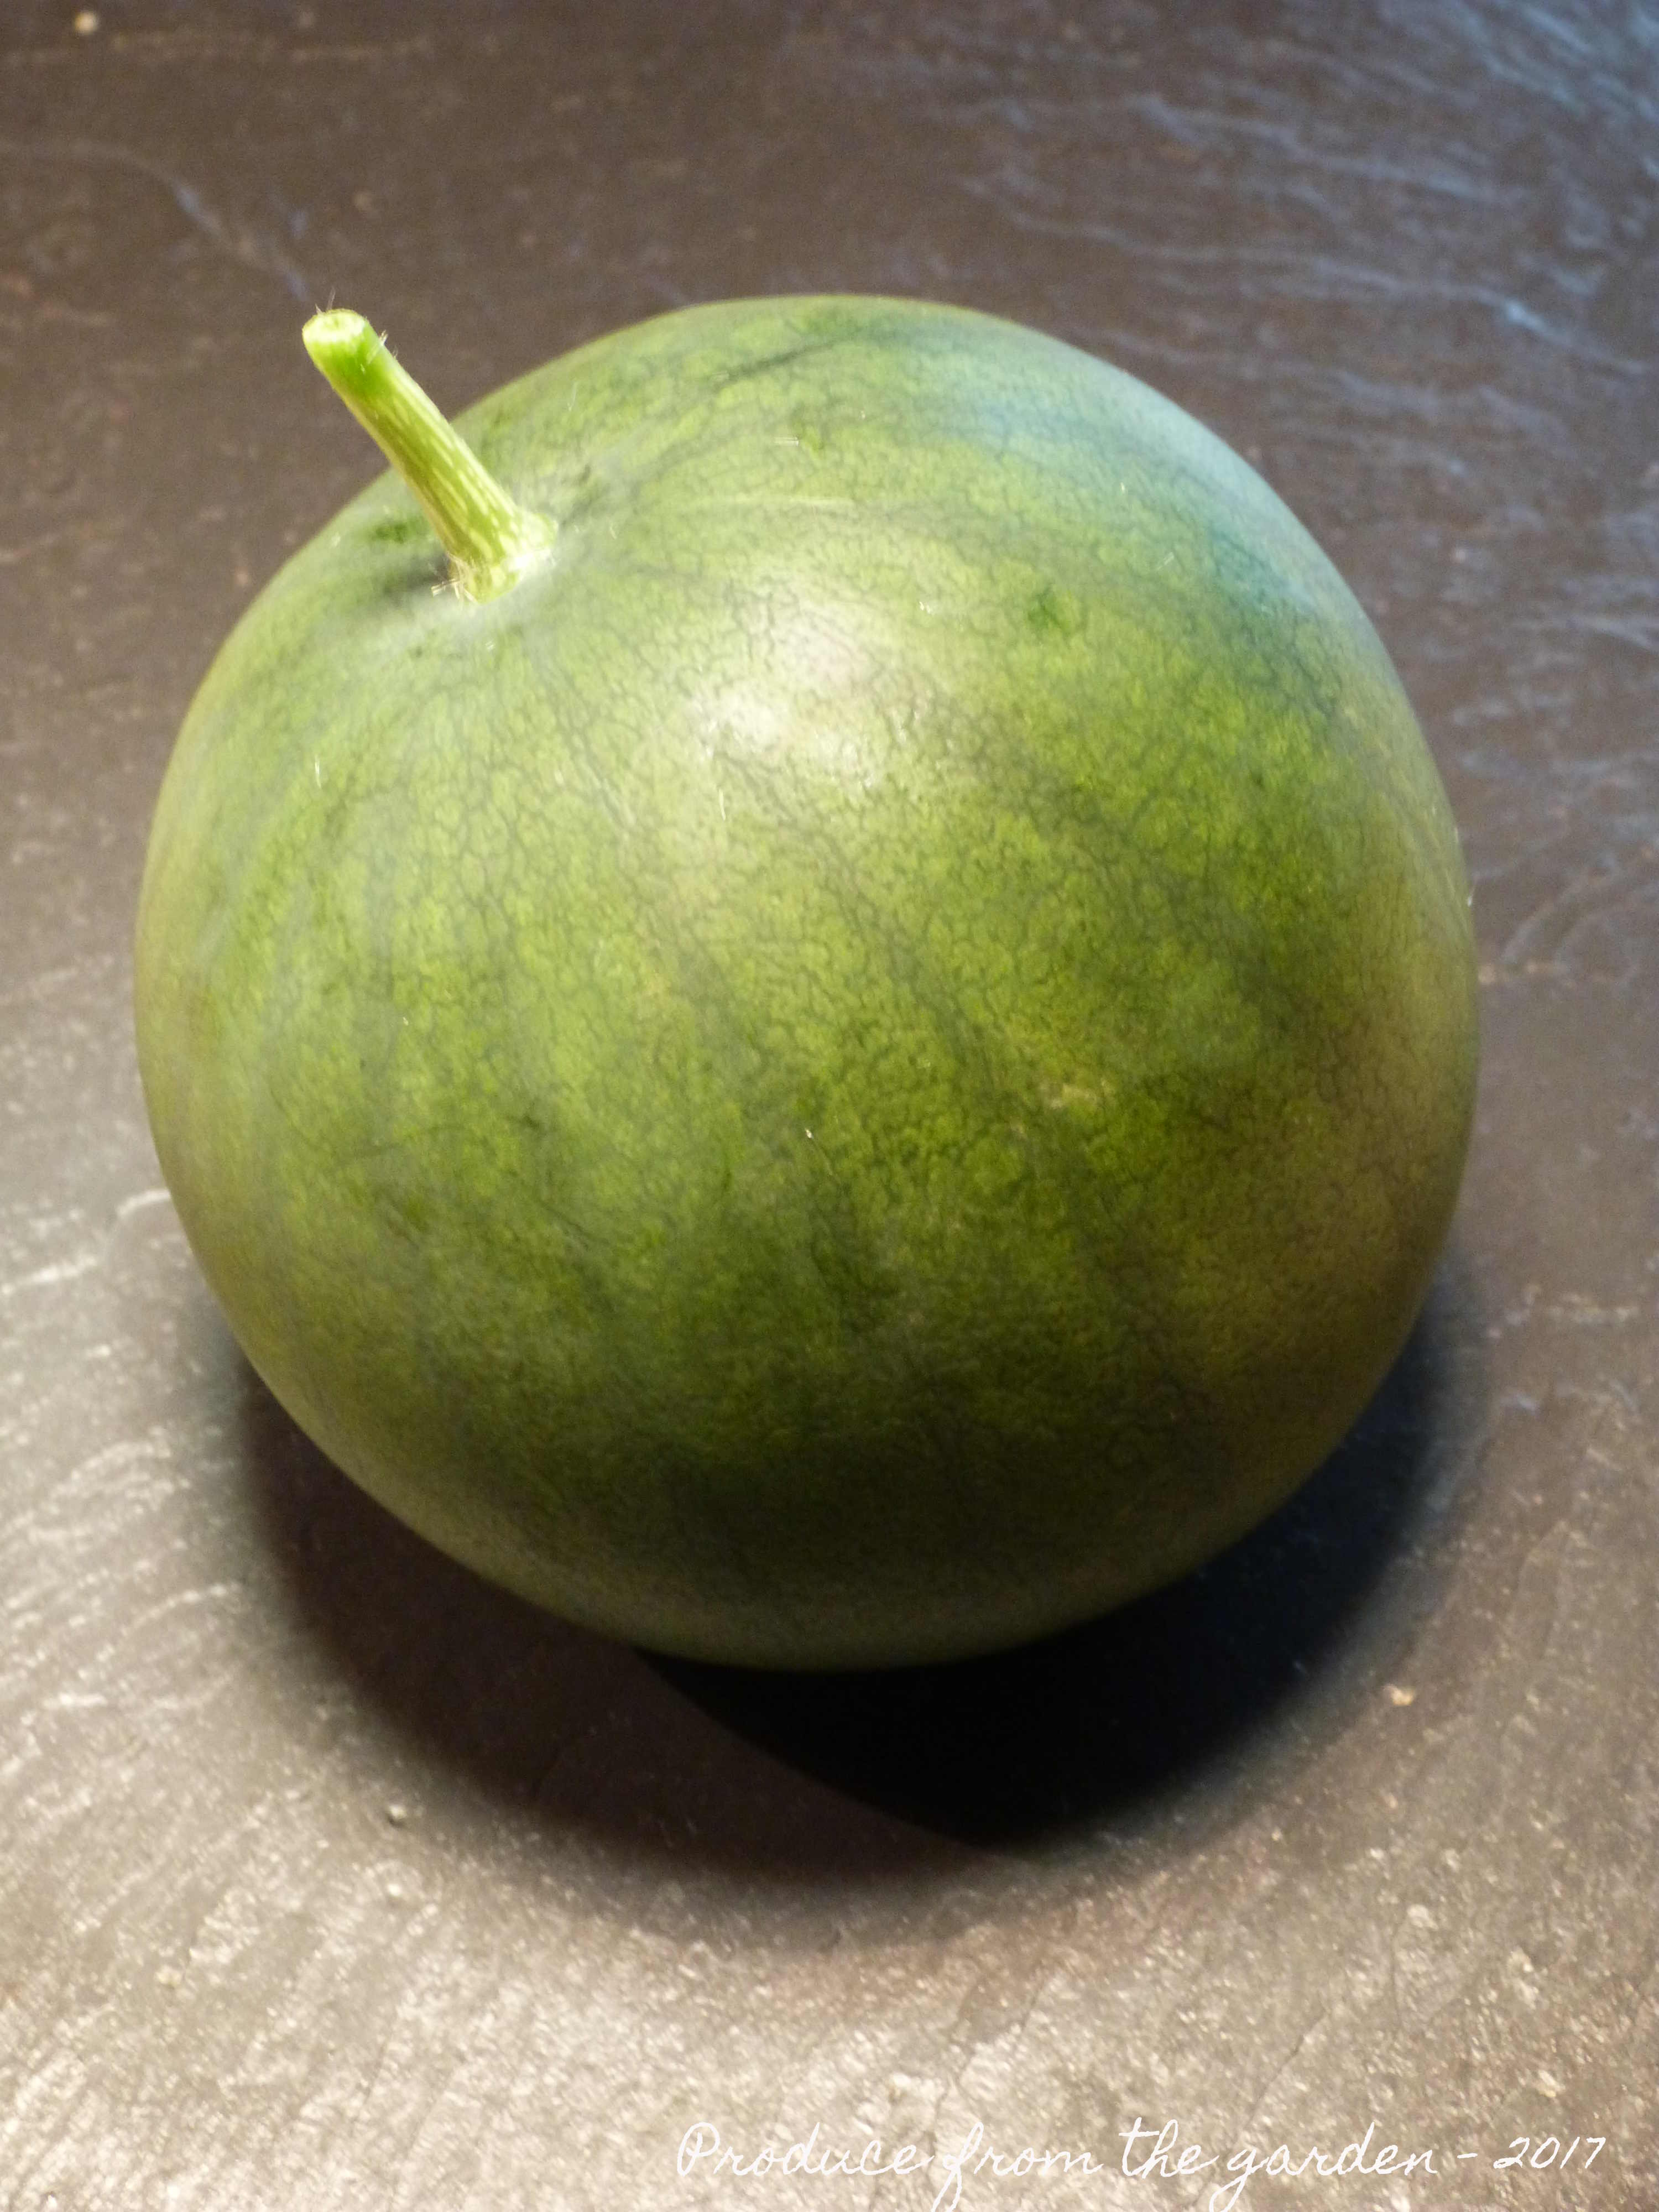
Dessert apple ready for picking

Cooking apple harvest
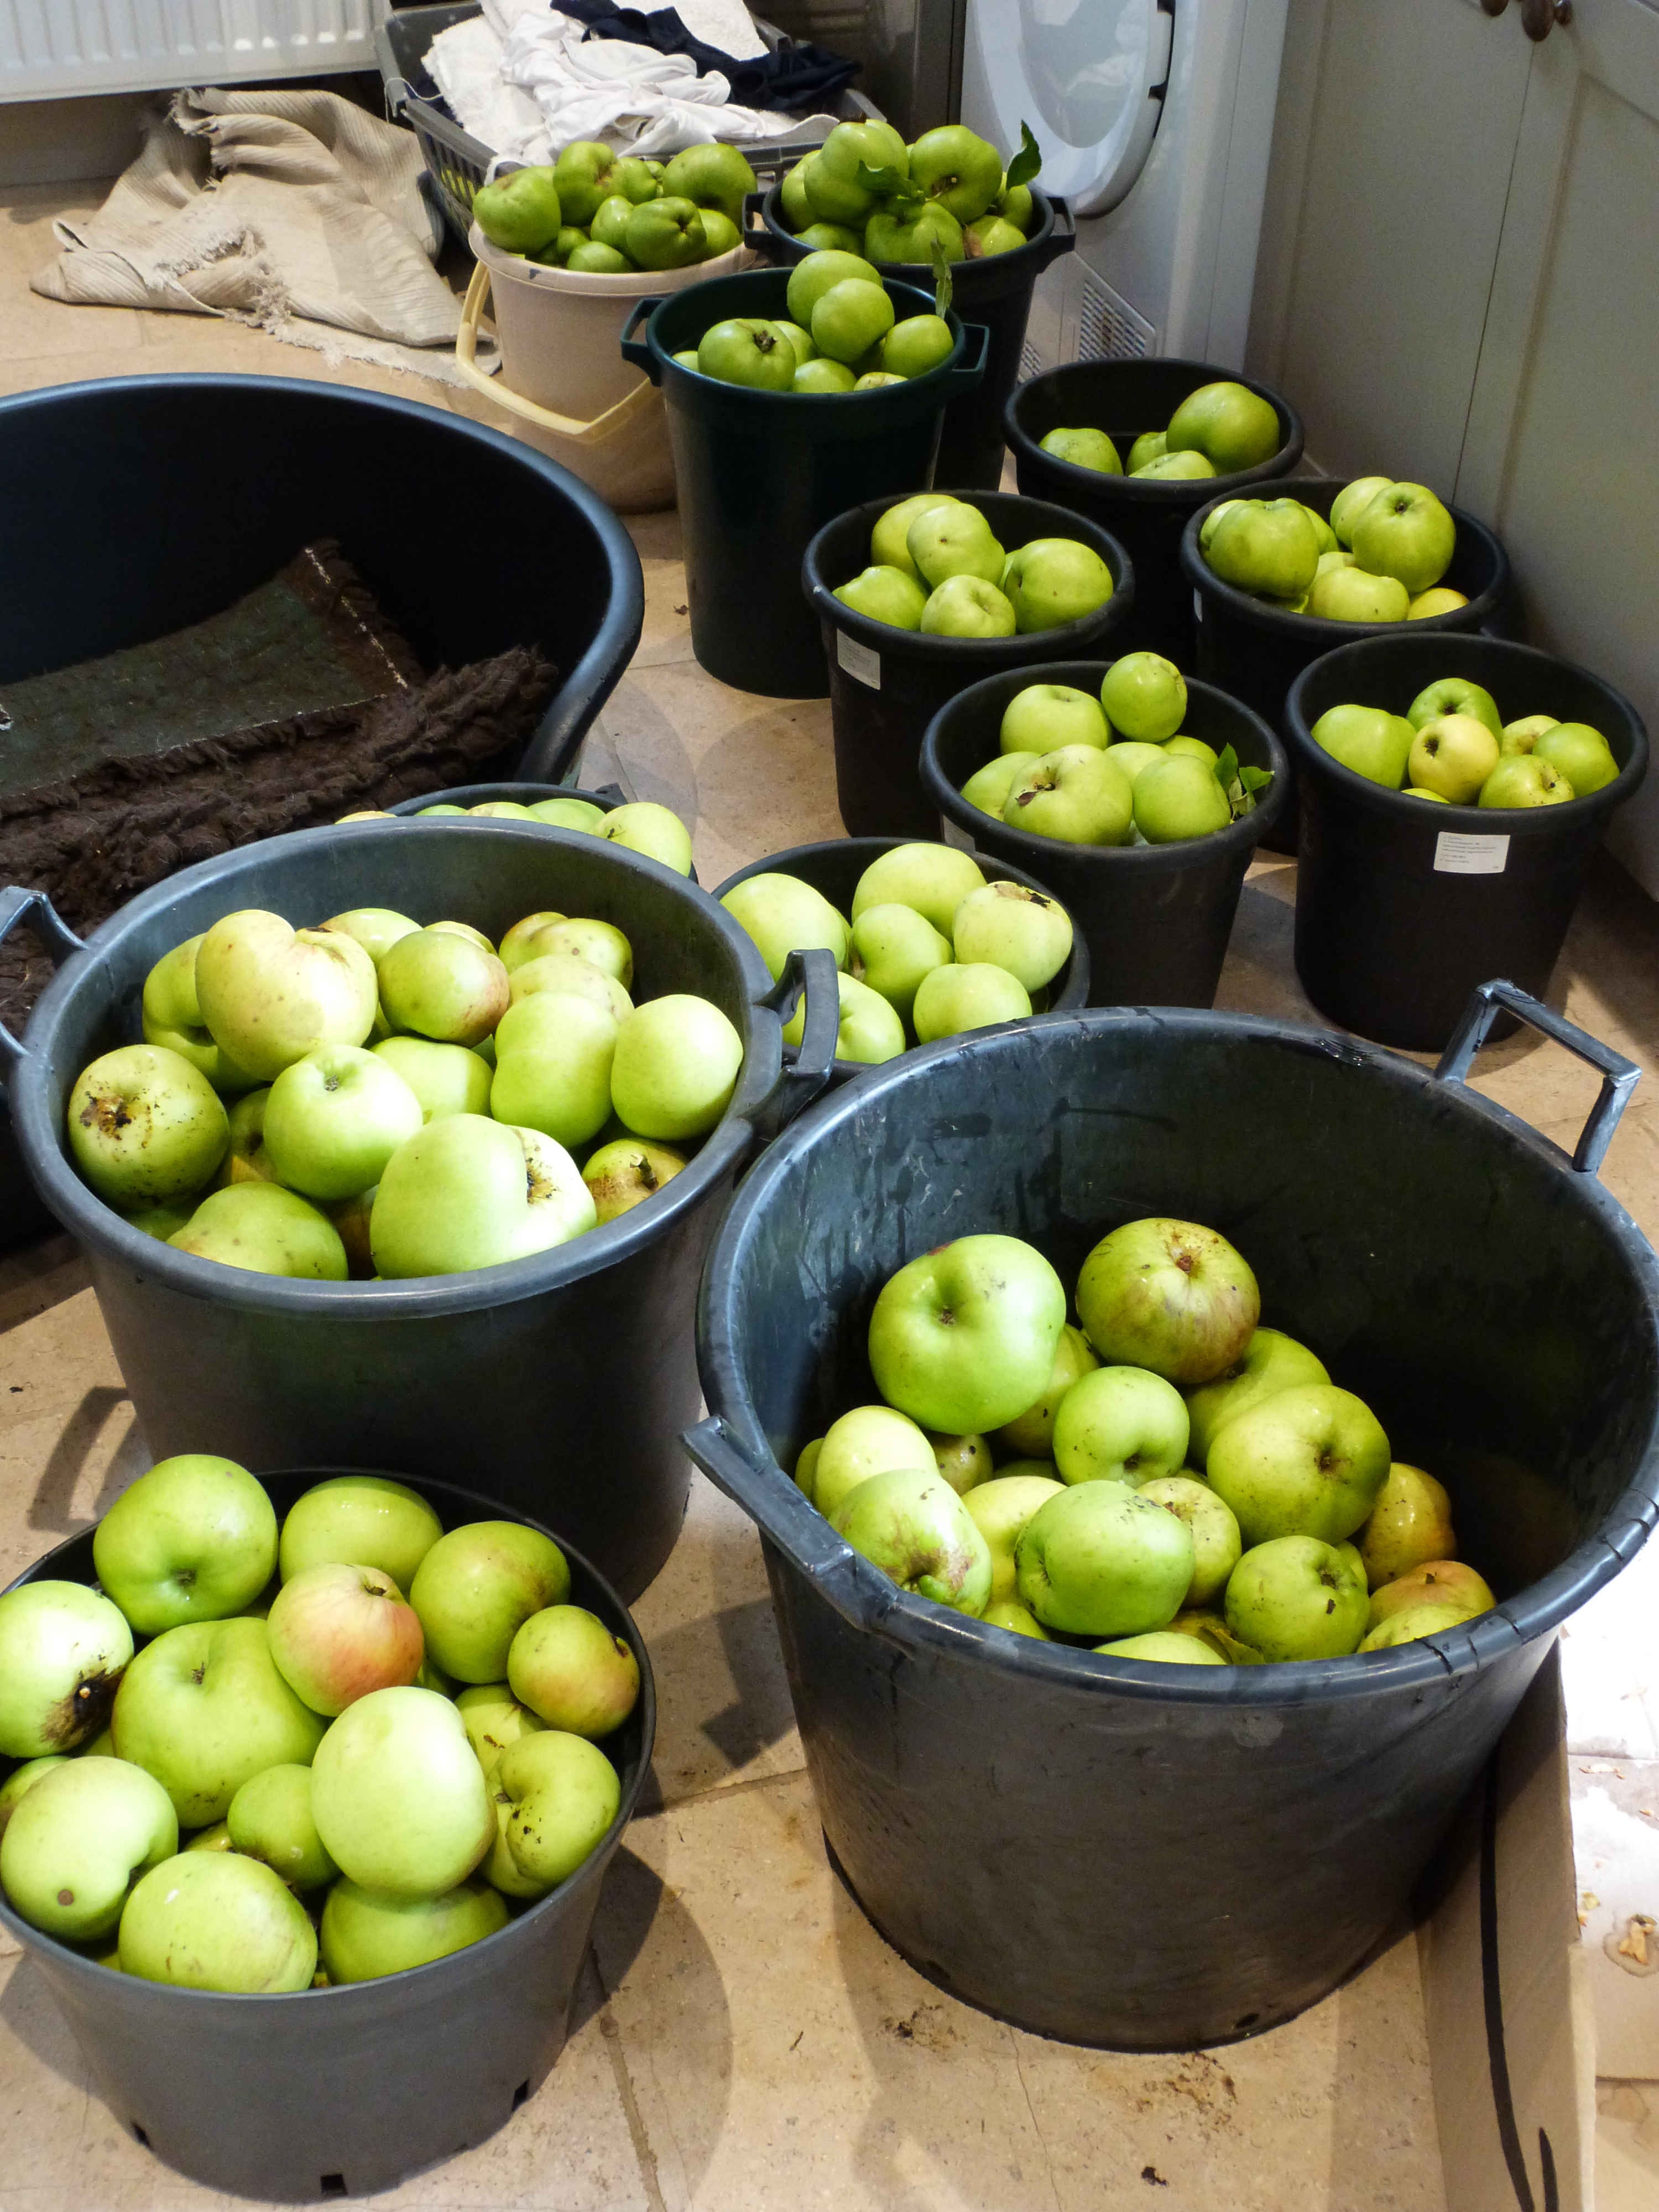
Picked cooking apples, dog beds and clean laundry in our boot room yesterday! 

Crushing the applesThe apple crusher. Apples were cut in half and put in the top where they were the were grated ready for juicing.

Pressing the apples
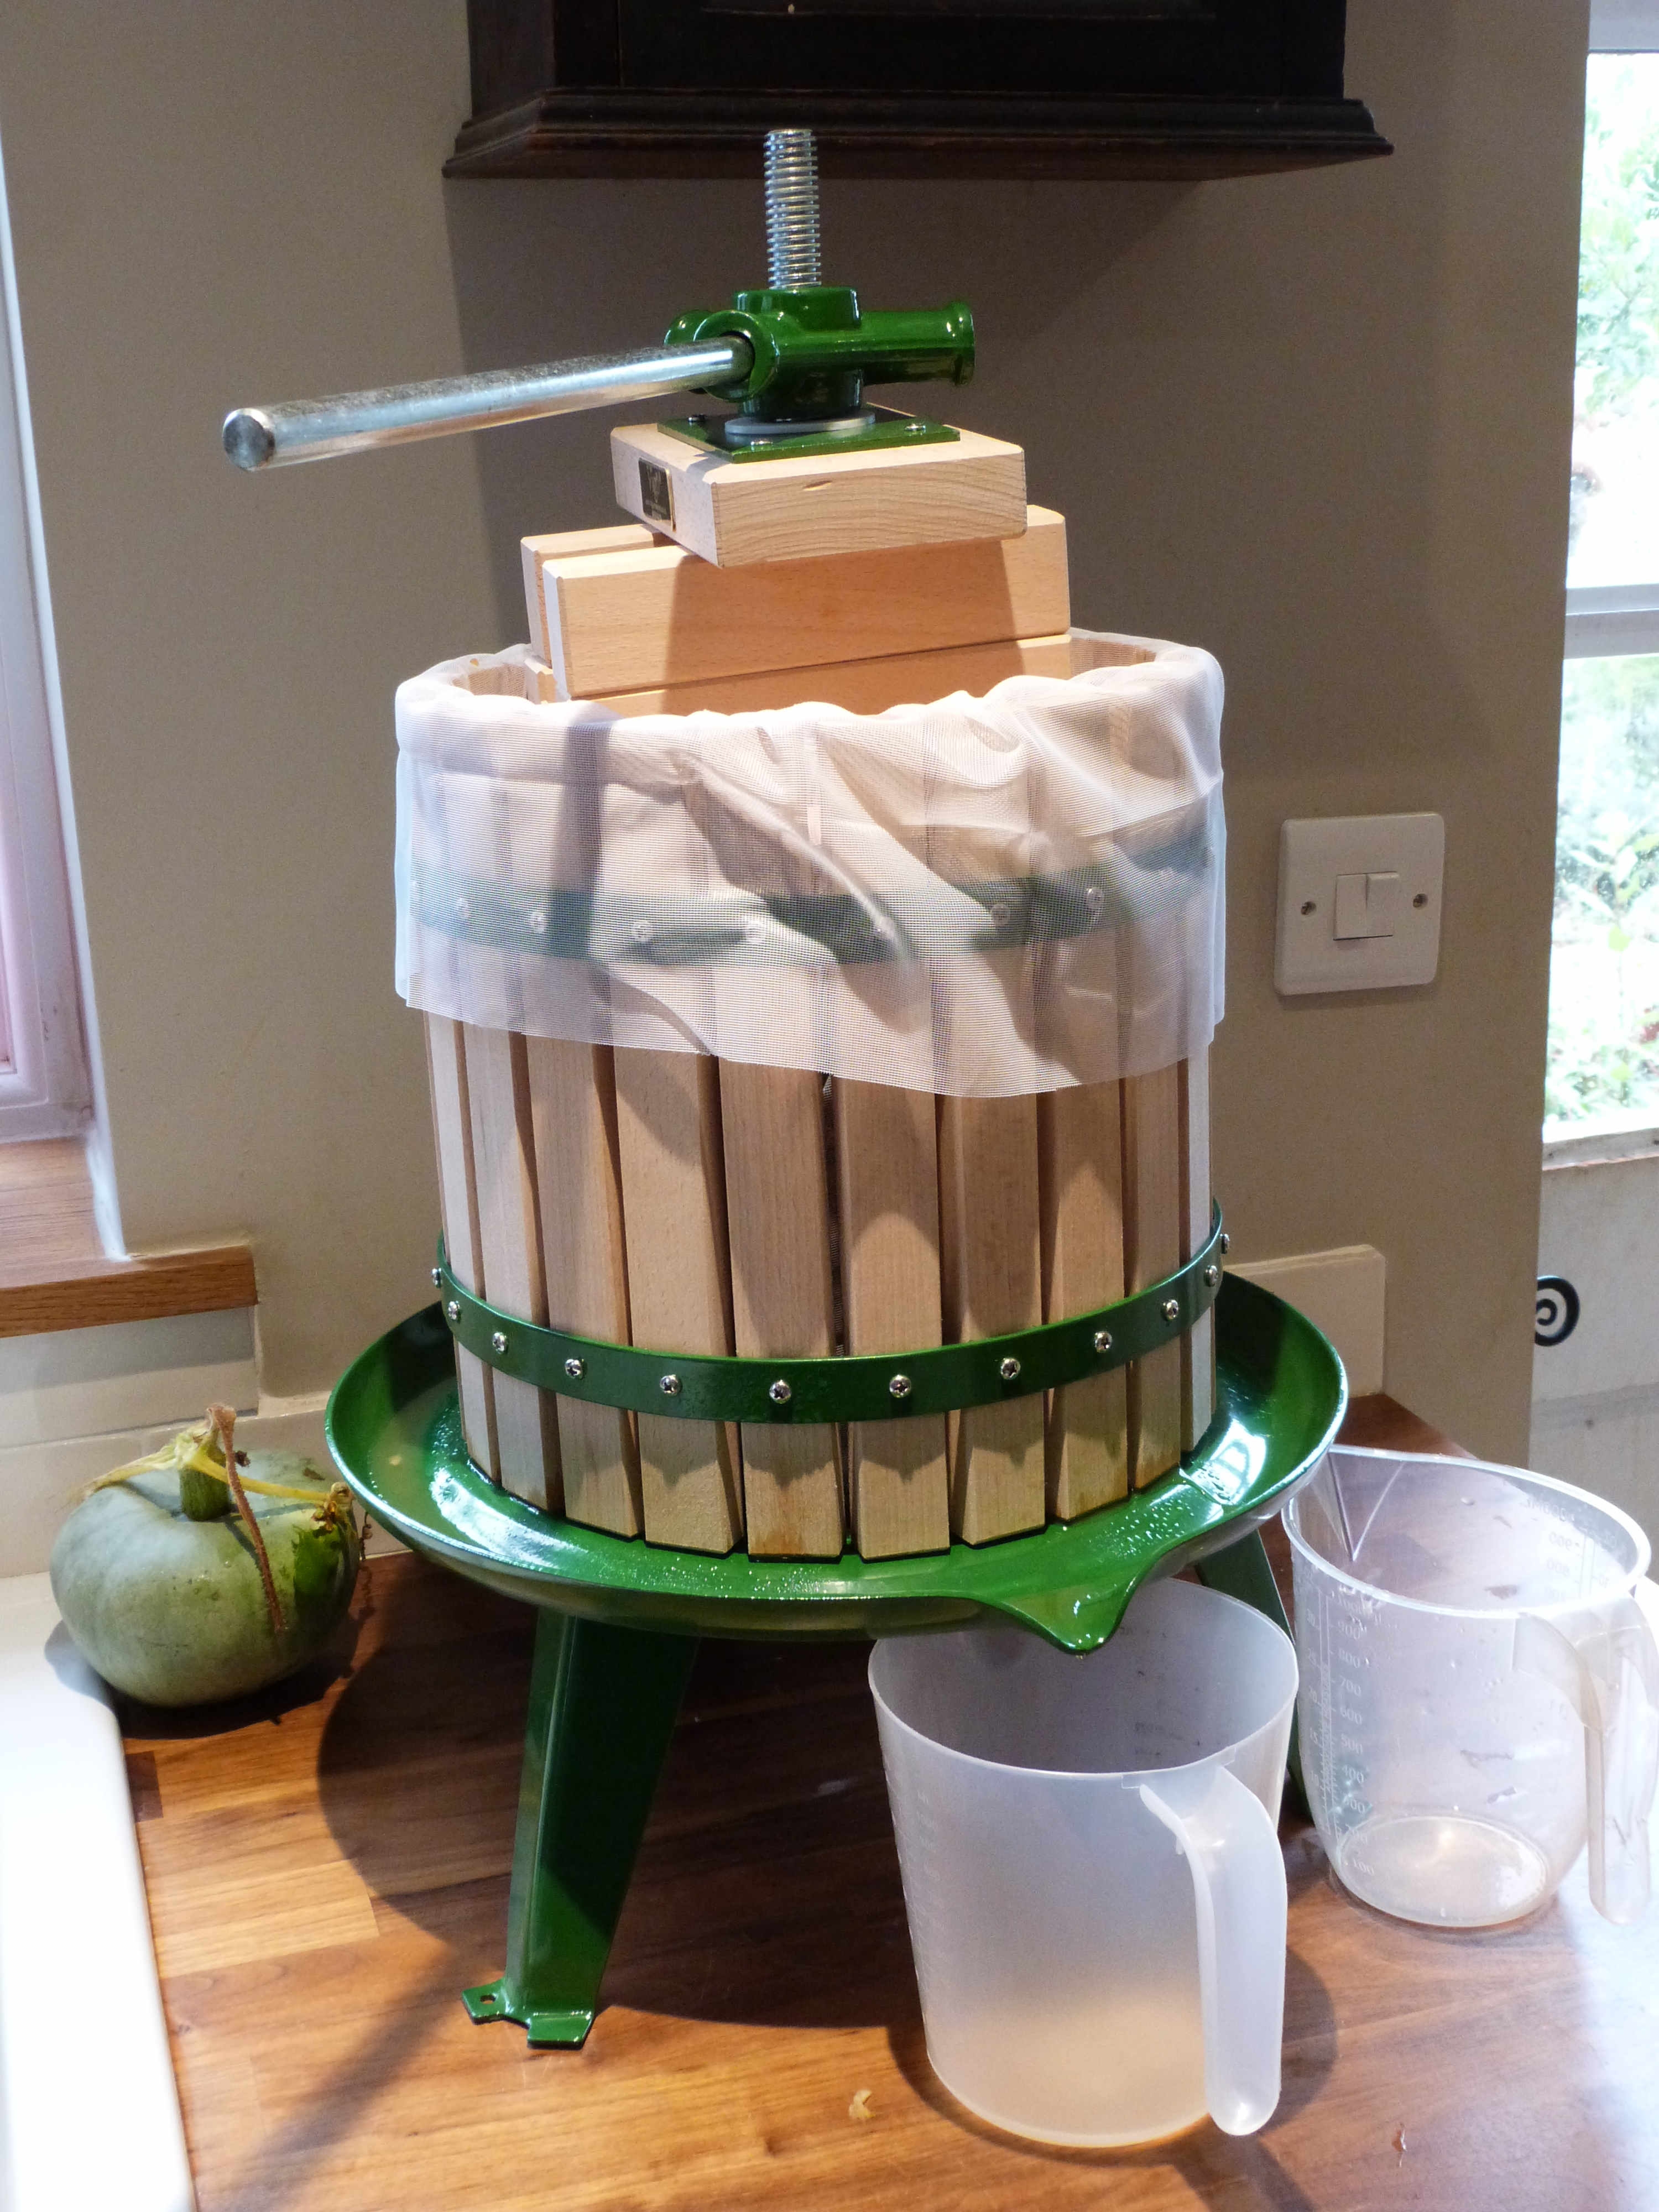
The crushed apples were then put into the nylon bag in the apple press, the wood chocks inserted and the press screwed down…

The apple juice flowing
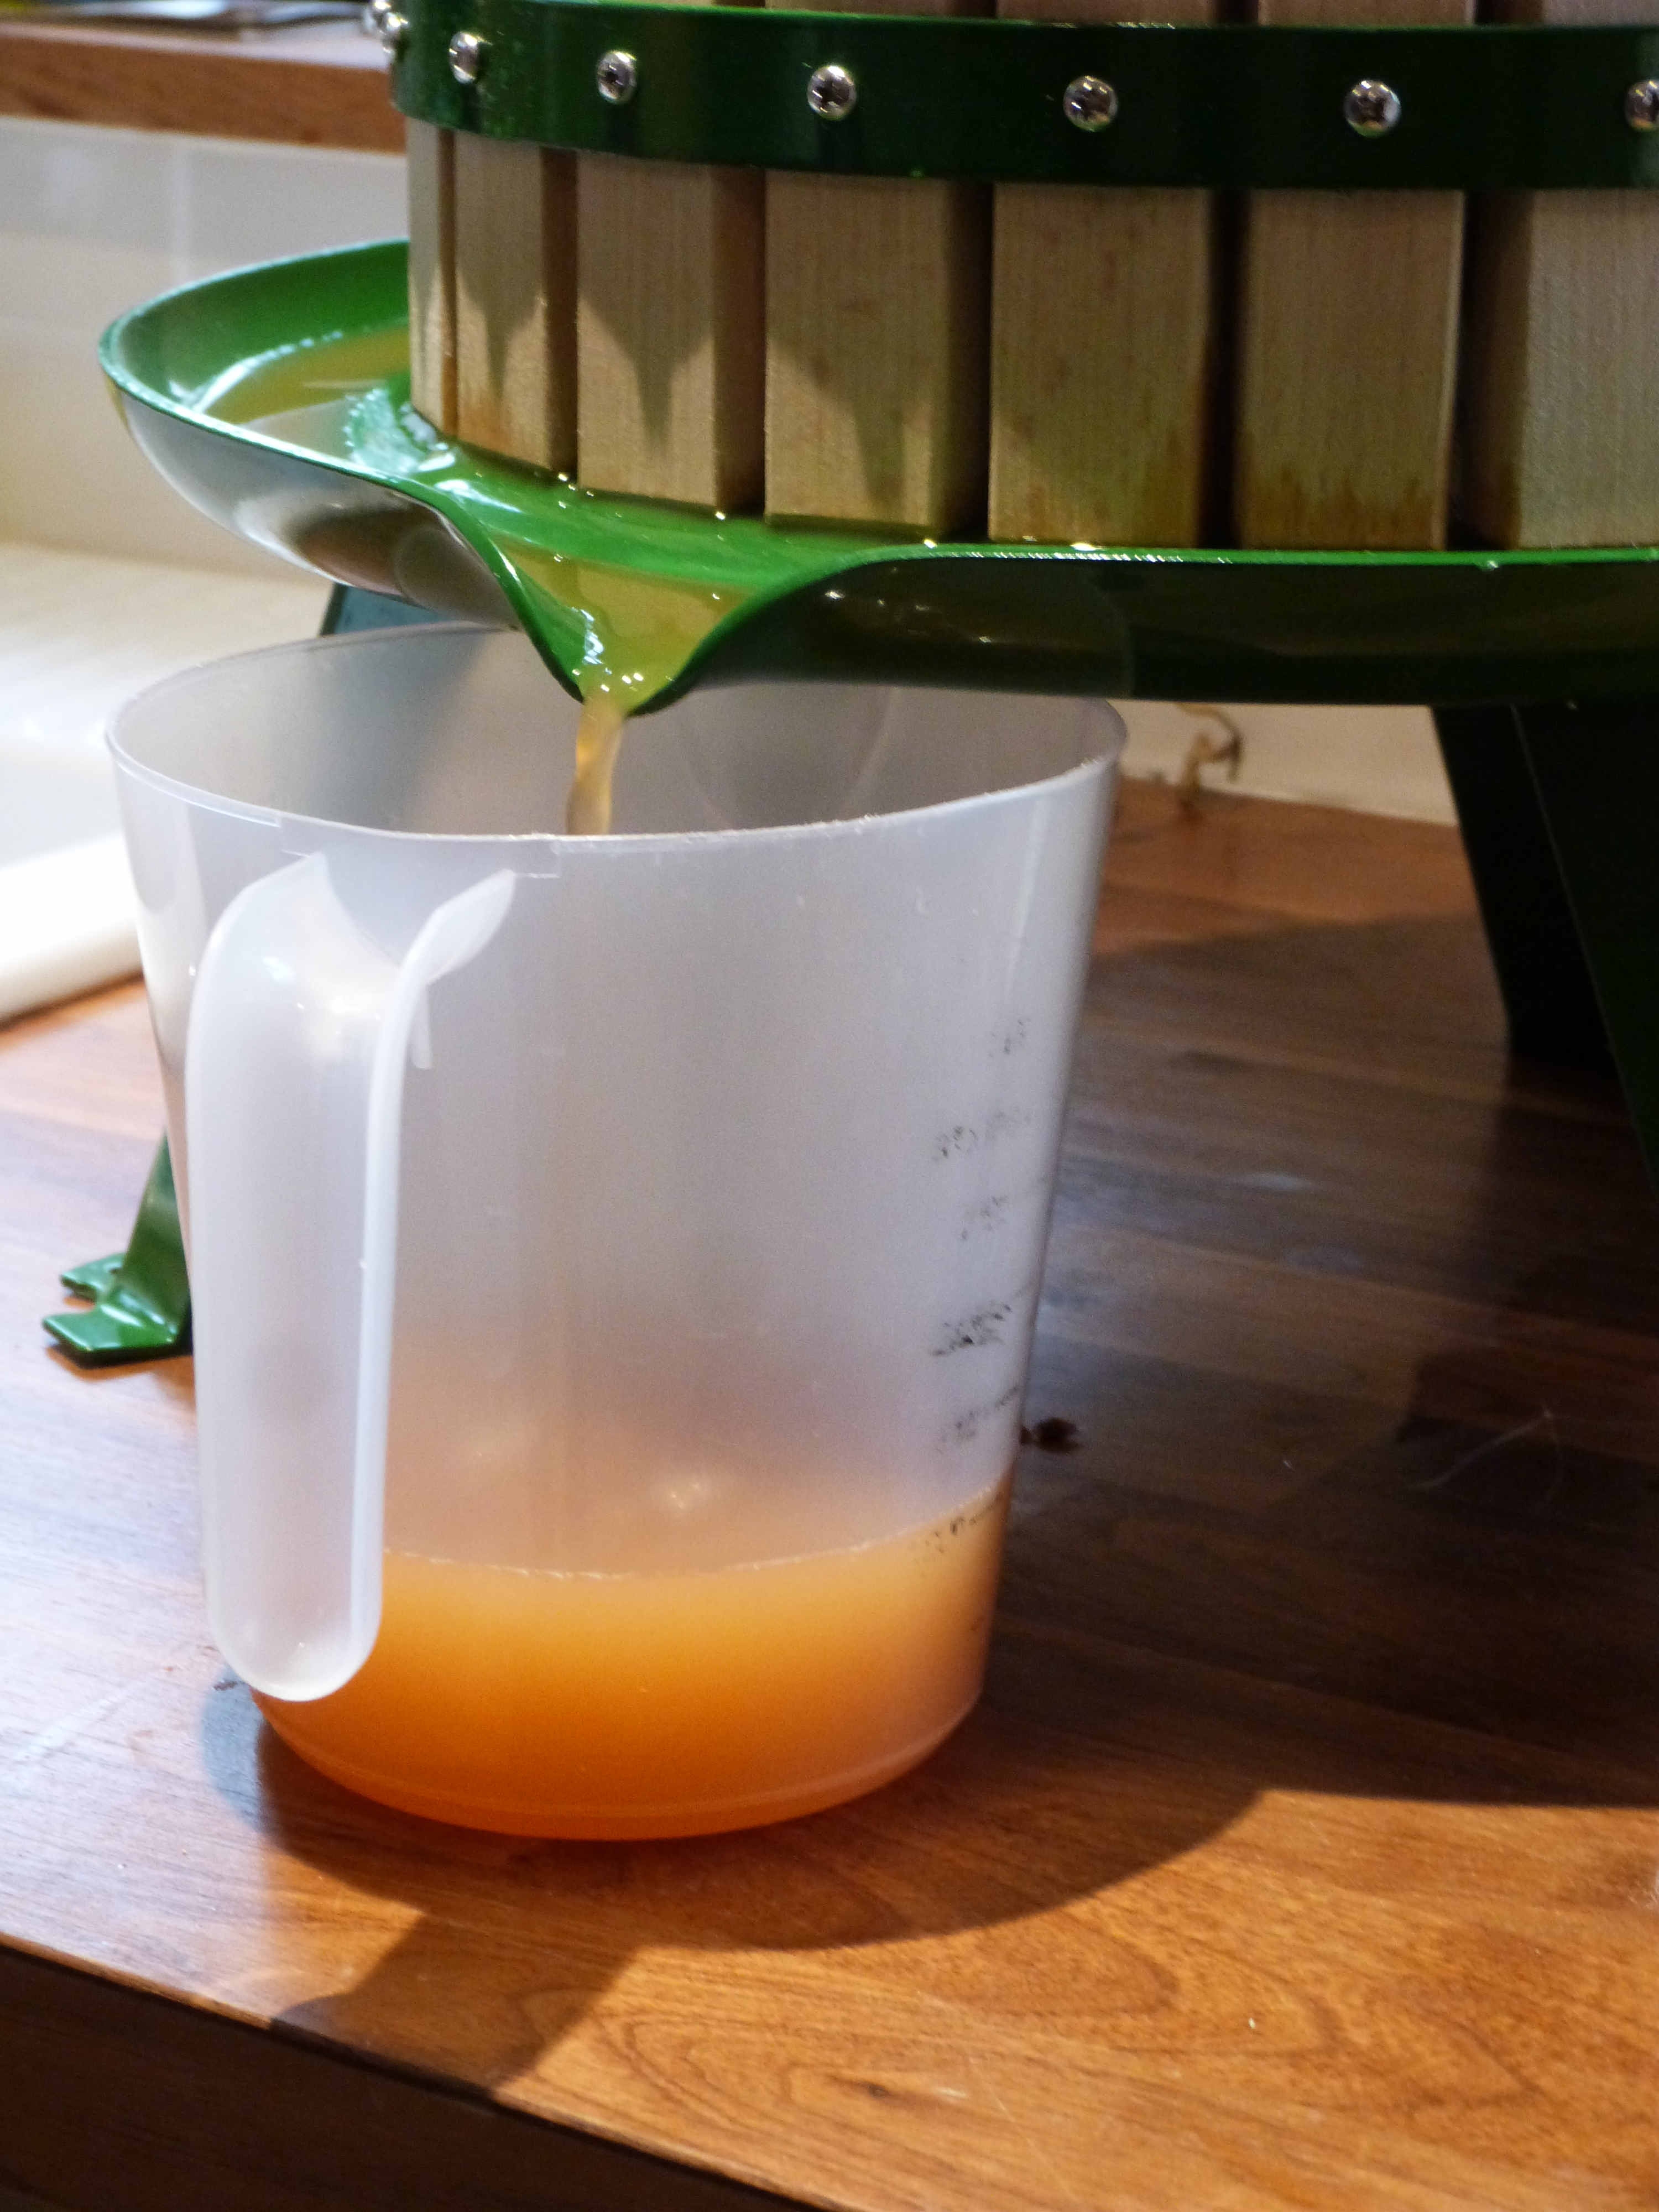
…and the juice flowed

Once juiced it will keep in the fridge for a couple of days. We had 36 litres of the stuff so we decided to pasteurise and bottle the dessert apple juice and some of the bramley apple juice. The rest of the cooking apple juice was to become cider.

How to pasteurise your apple juice

To pasteurise you add 5 grams of ascorbic acid (vitamin C) to 10 litres of juice and then put in glass bottles. The bottles (uncapped) are placed in a large sauce pan of simmering water. A digital thermometer is placed into the bottle and when the juice reaches 75 degrees C remove the bottles and place the caps on tightly. This method should ensure the juice has a two year shelf life.

Pasteurising the apple juice
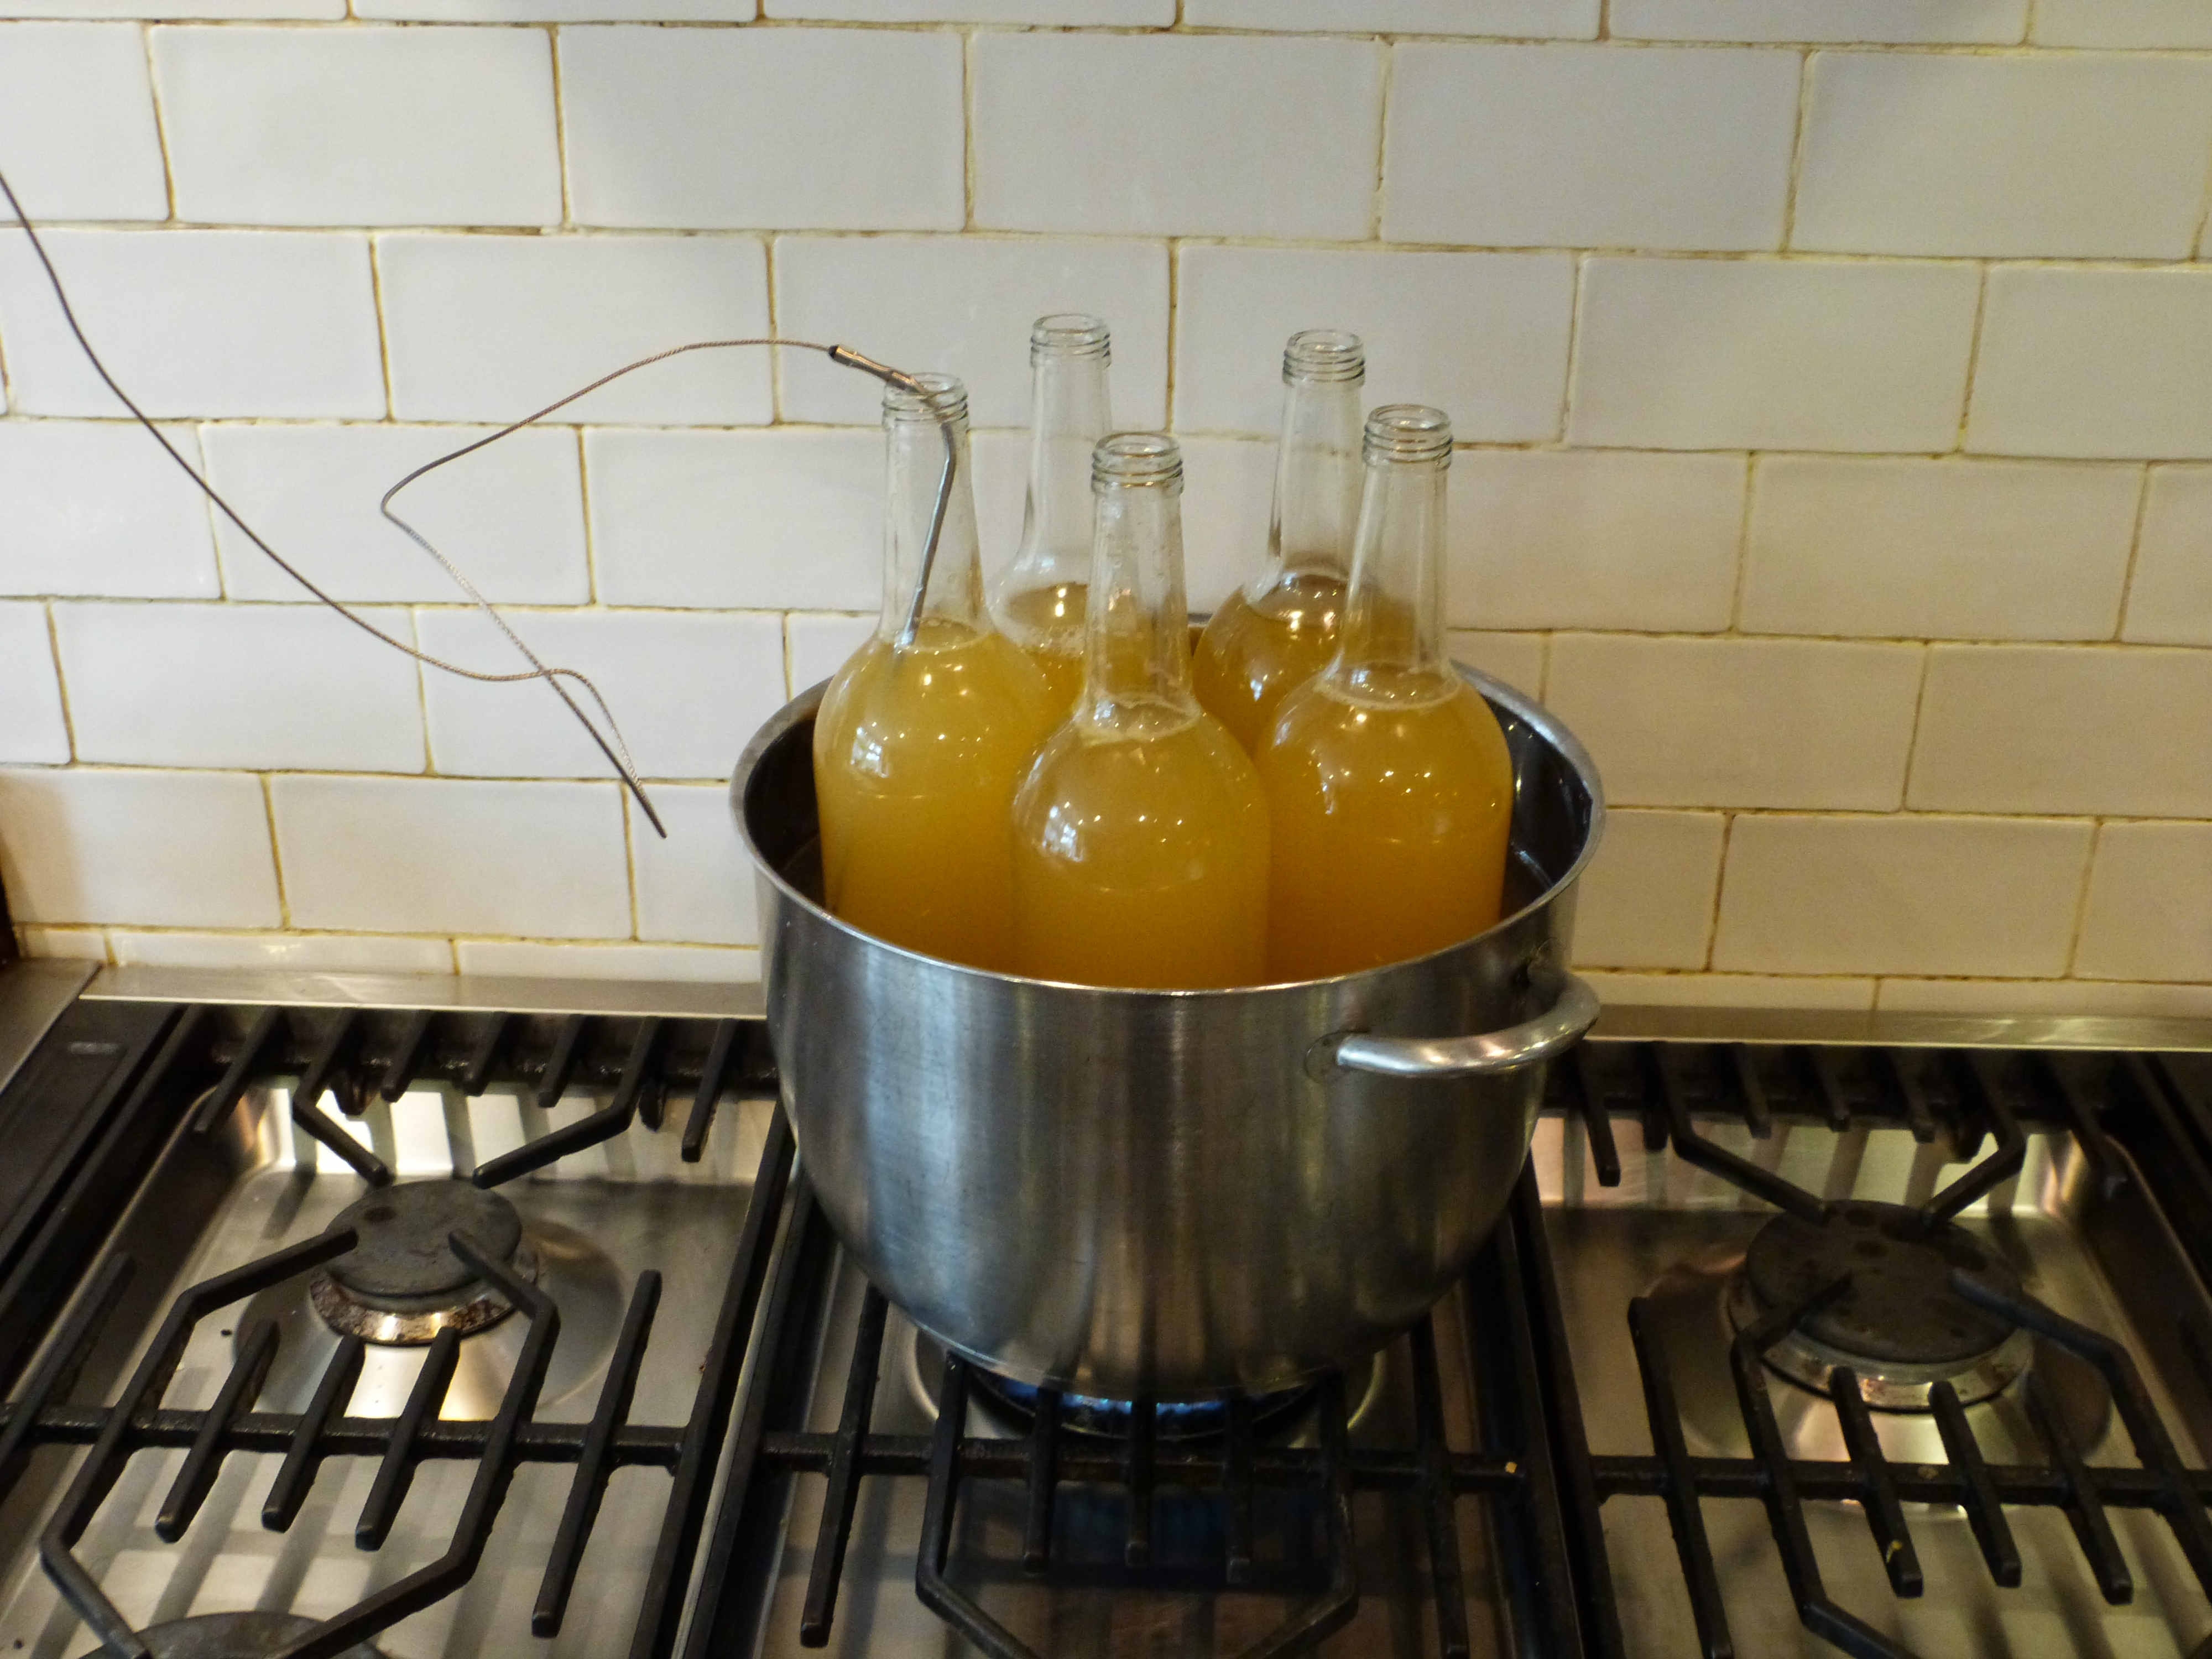
Pasteurising the juice, the wire coming out of the bottle joins the digital thermometer

Dessert apple juice
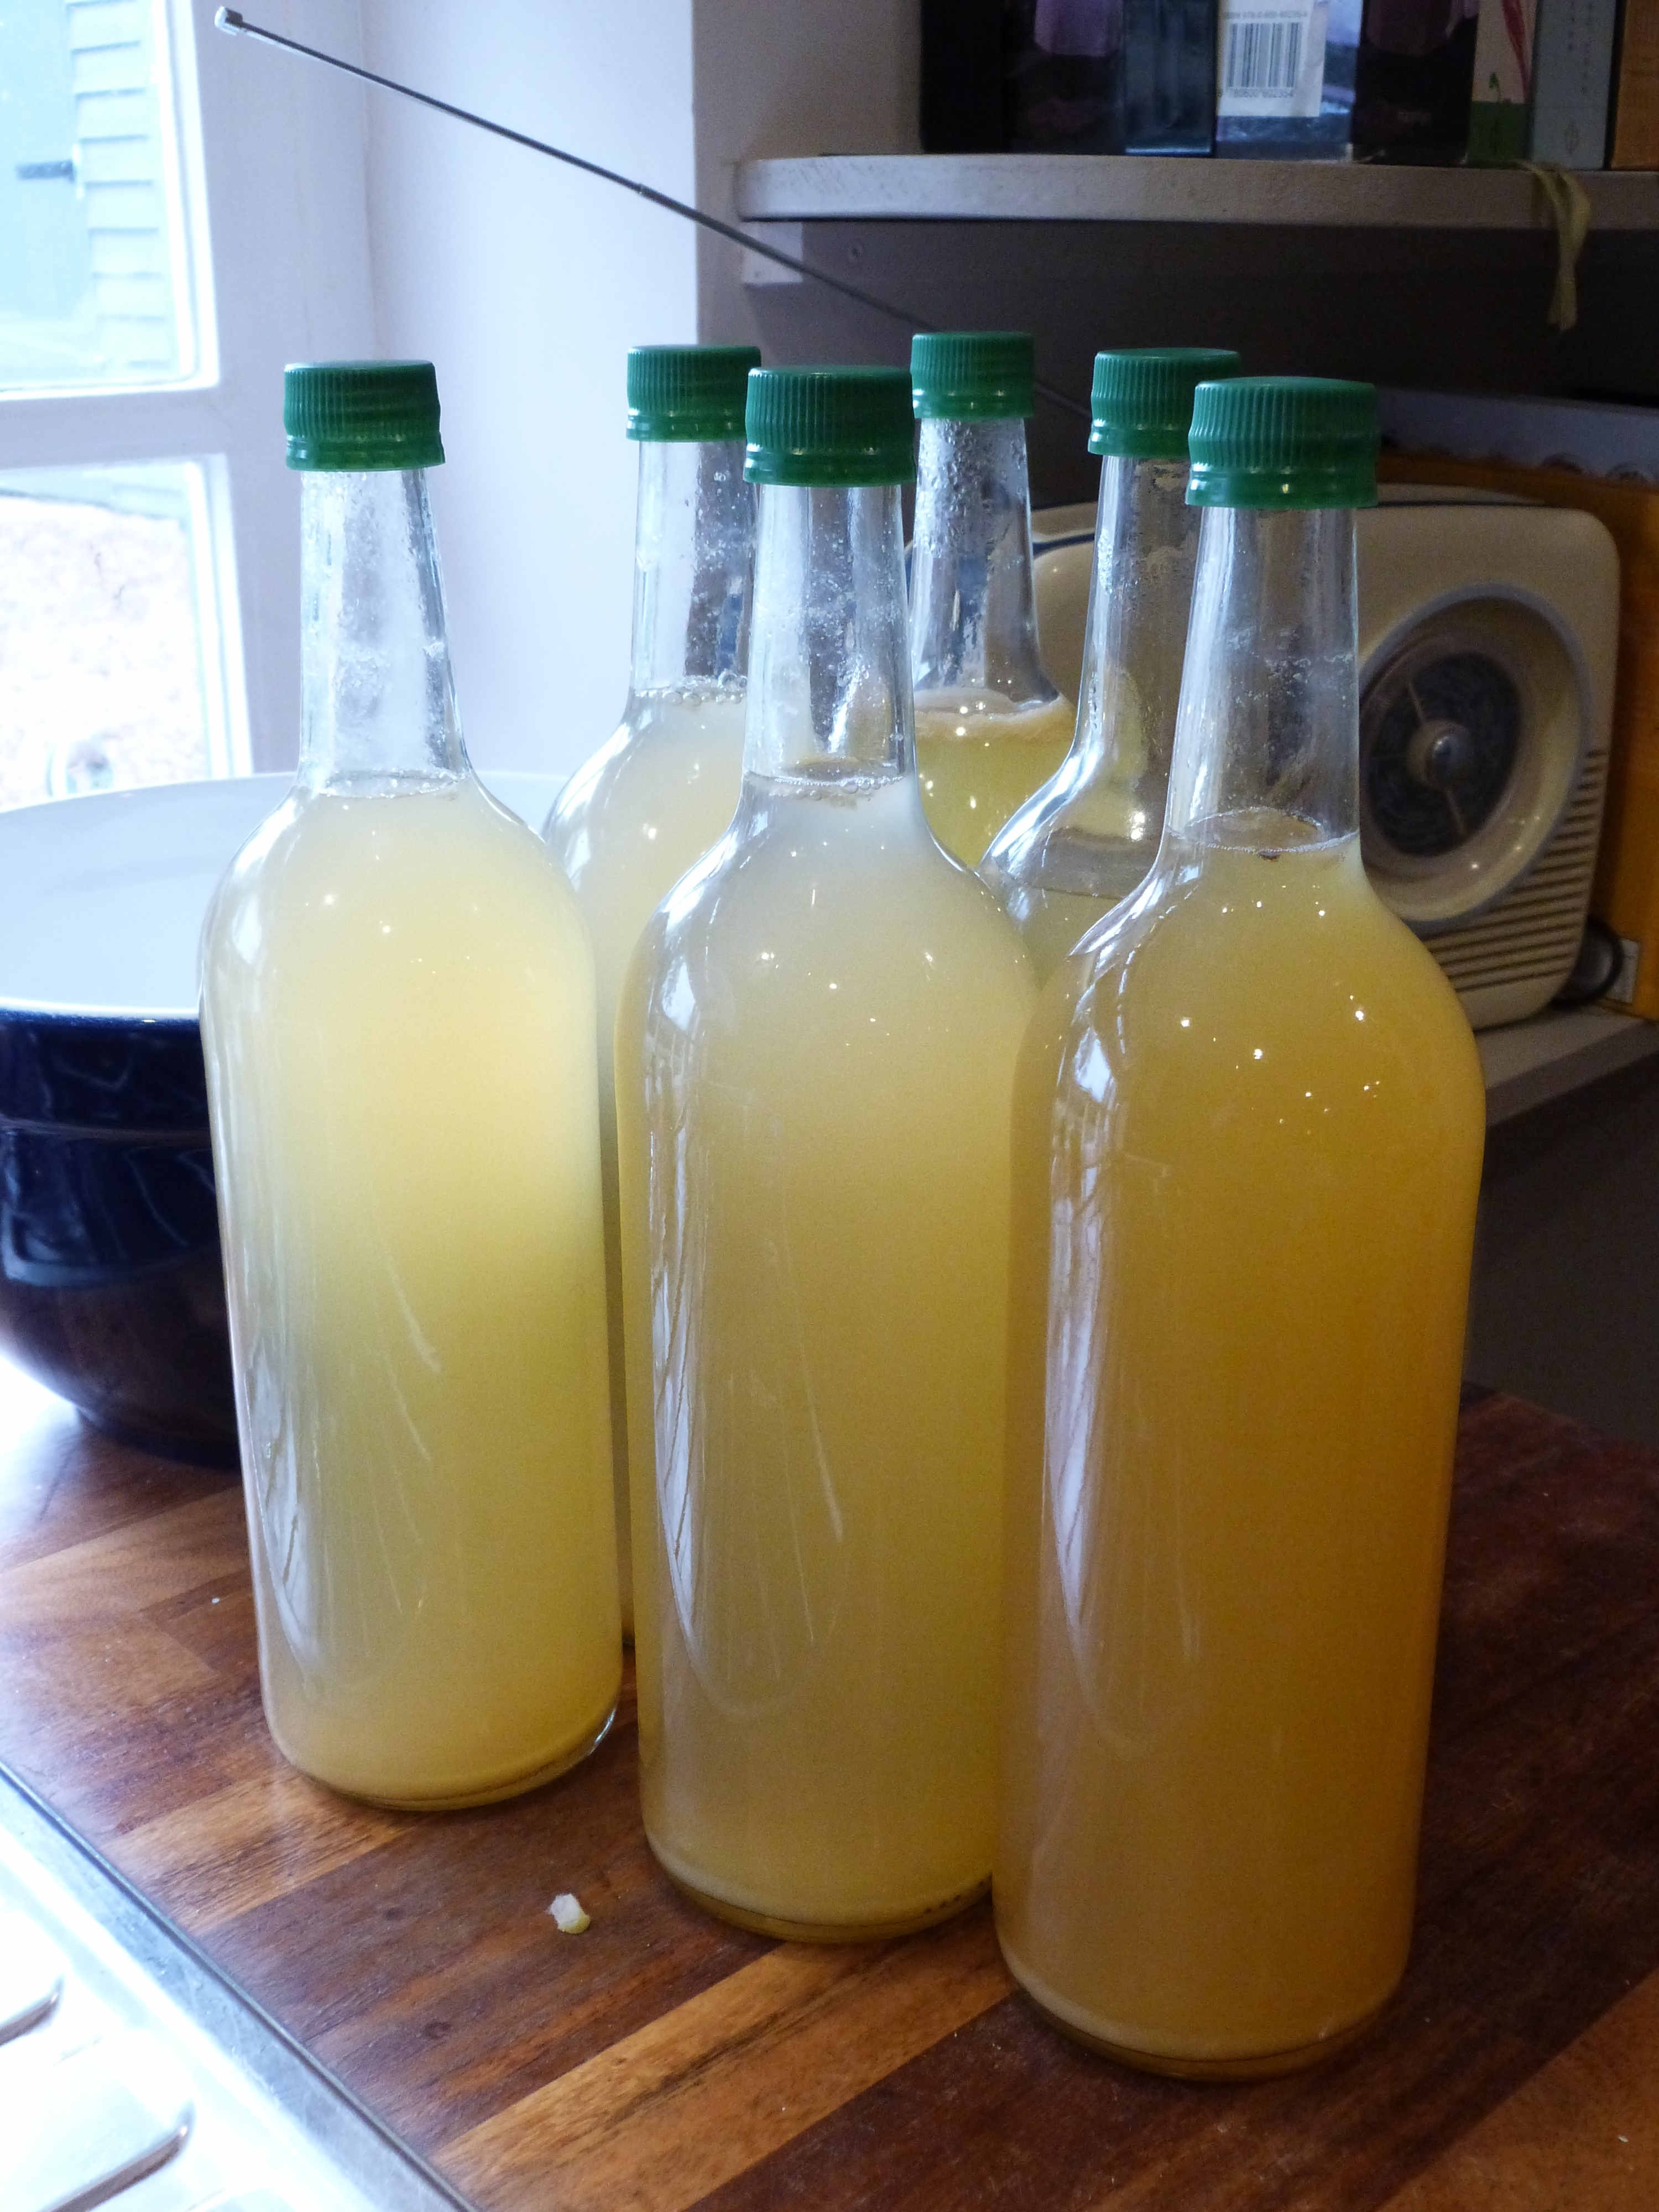
The dessert apple juice bottled 

How we made our cider

The majority of our cooking apple juice was placed in a fermenter for cider. A packet of cider yeast was added and this will be left for a couple of weeks until fermentation is finished, my husband tests for this with a hydrometer. The juice is then transferred to another container where campden tablets are added to sterilize. The cider is then transferred to bottles and will be ready for drinking in 6 months.

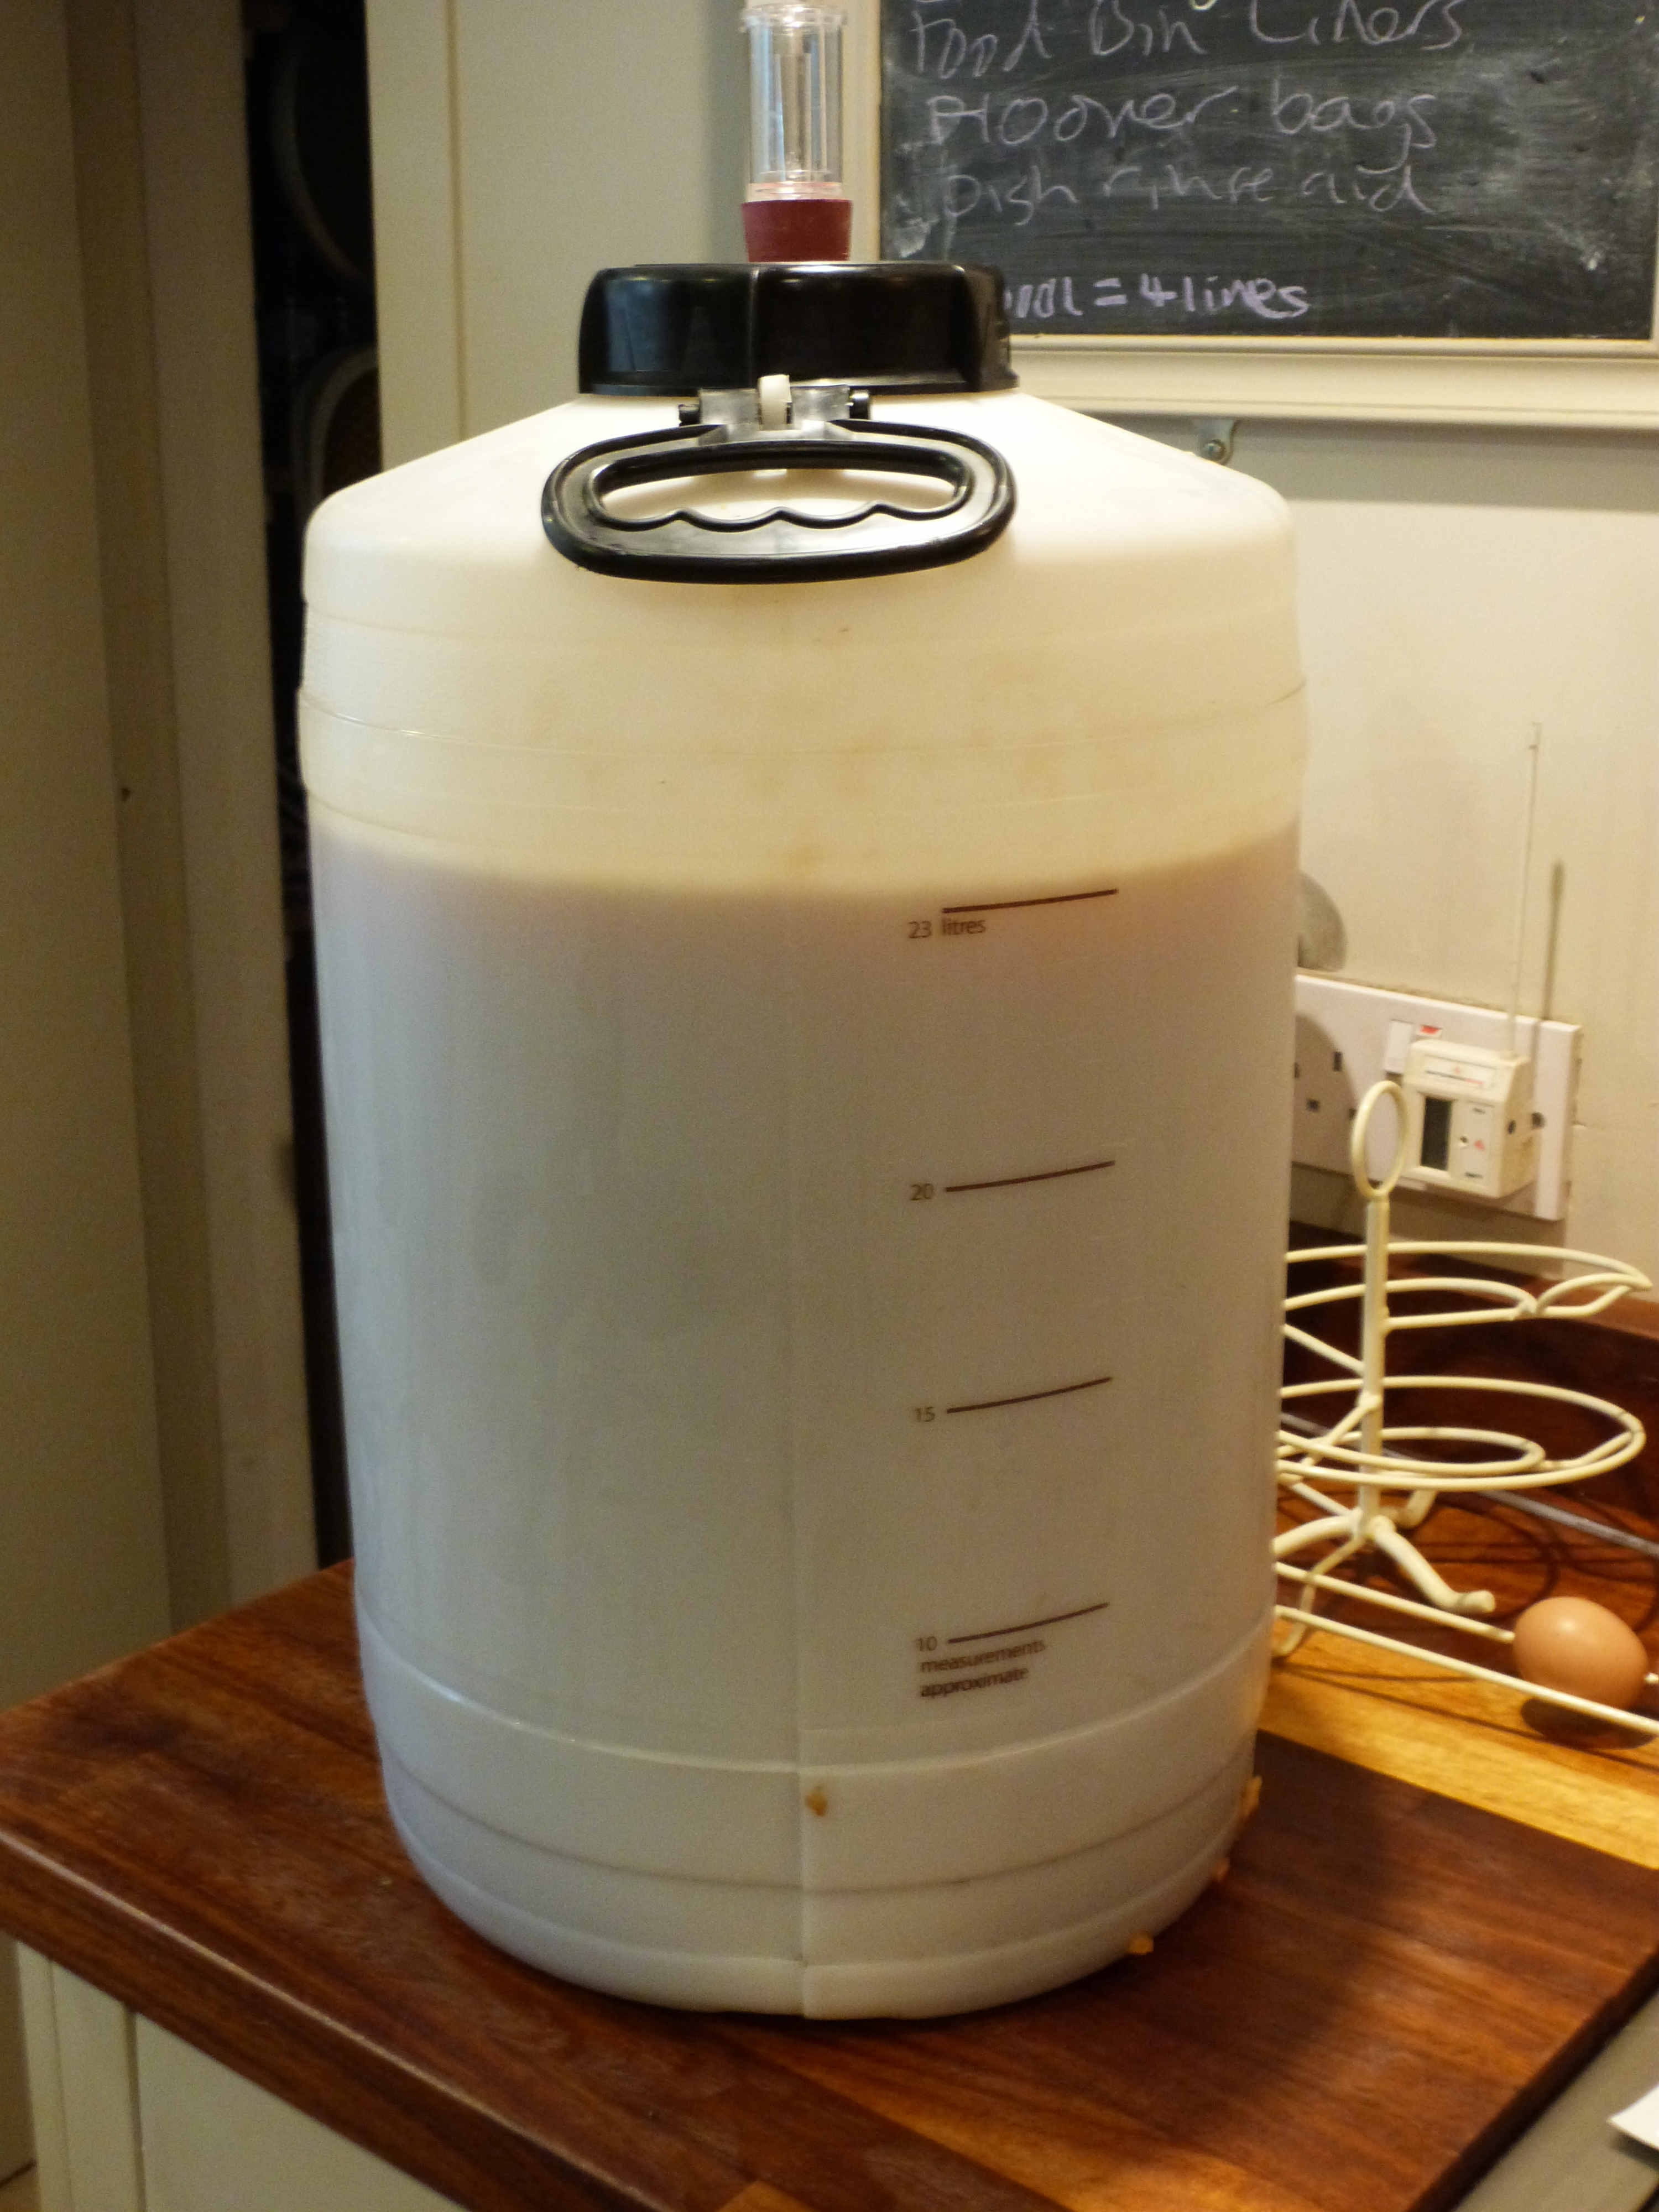
The apple juice in the fermentor, destined for cider

All in all a very productive day, the boys loved crushing the apples, the husband has a ridiculous amount of cider to look forward to next spring and I have fewer apples to pick up and compost this year and that warm satisfying feeling that I’m making the most of what my garden has to offer.

Our first melon

My first melon

My first melon. I’ve not grown melons before, it’s never really occurred to me, until I was rifling through Lidl’s fabulous spring selection of seeds which cost pence. I end up buying far too many packets and often plants I’ve never considered growing previously. I always feel it’s a wasted opportunity for 50p, leaving them in the shop. This year’s experiment was this melon, Lidl’s diligent efforts at keep costs down mean I’ve no idea of the variety, just the picture on the front of the packet. We’ve therefore named them mini watermelons. Perfect for my family who love watermelons (2 out of the 3 boys won’t eat any other variety), but if I buy the normal sized watermelon, they never get finished, and get left, tasting of vinegar in the fridge, destined for the compost heap. So yet again Lidl has come top with its wonderfully cheap seed.

Picking Plums

I have just started picking our first plums. They’re a lovely high summer treat, but do sadly attract wasps who love to bury themselves into the intoxicating fruit. My great fear is that one of my bare footed boys will tread on a fallen plum containing dizzy wasps and be stung. I diligently try to pick all the ripe plums before they fall, preventing a painful incident. I find this an easier task than trying to get my boys to wear shoes in summer!  You can tell when a plum is ripe it’s a slightly darker purple than the other fruit on the tree and when you gently pull, the plum comes away from the stalk with ease.

We have far more plums than we can eat so they’re being snapped up on my ‘Produce from the garden’ honesty stall.


Picking plums

Plums
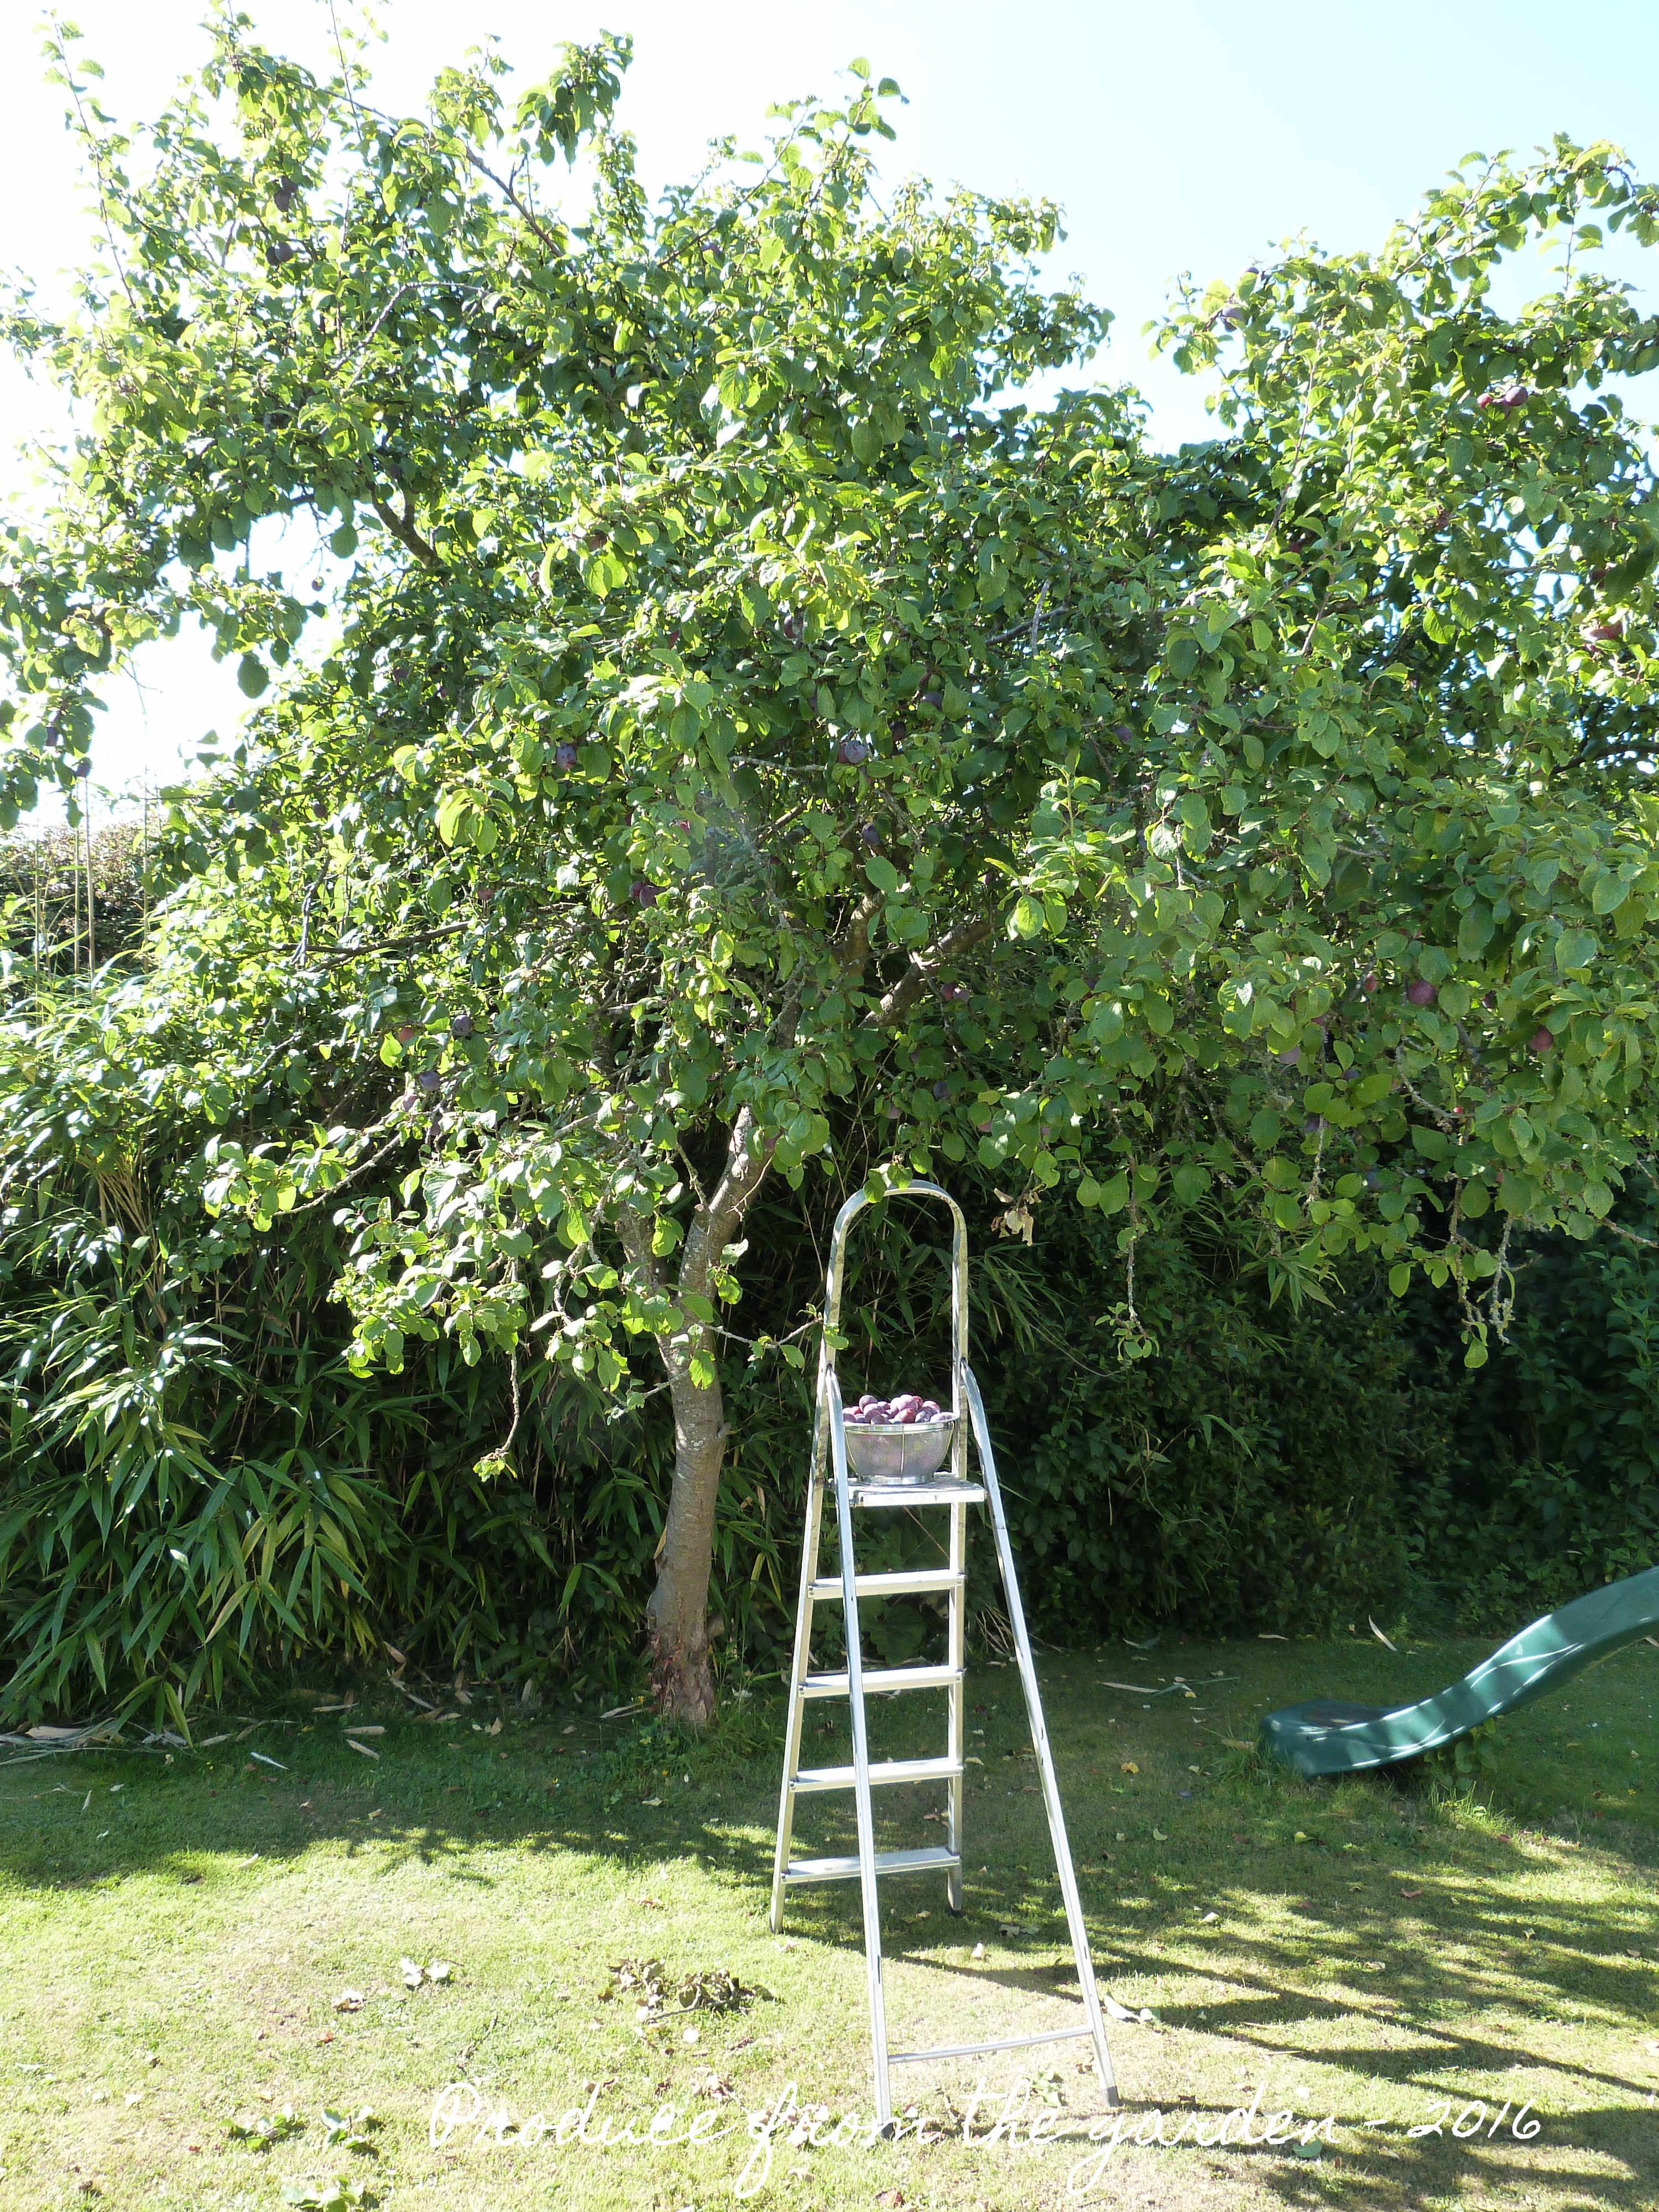
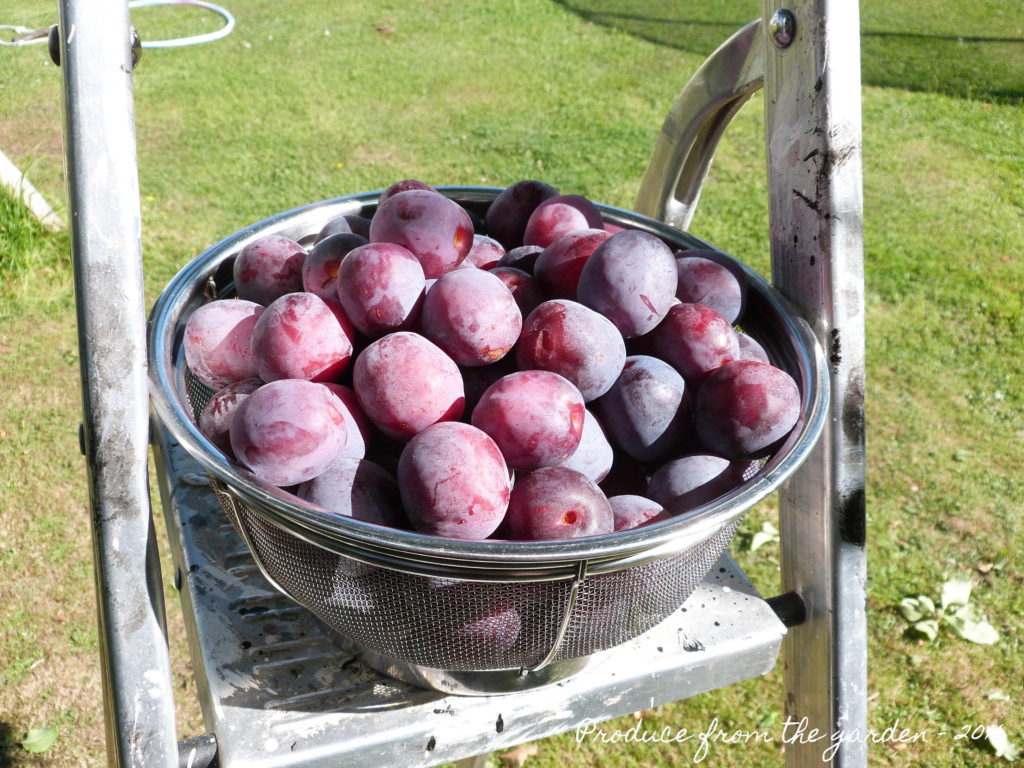
This afternoons plum harvest

Thinning apples

I consider turning compost heaps, picking up hedge cuttings and thinning baby apples to be boring, laborious and tedious jobs; they’re essential but I’ll try desperately to avoid them! Thank goodness I don’t have an orchard, but I do have sixteen apple trees, so I’ve made a deal with myself to try and thin fruit on one maybe two (if I’m on a roll) trees a day.

Thinning apples down to two fruits per spur at this time of year has a variety of advantages: space is made for large fruit to develop, you can discard any unhealthy looking apples, and it allows air to circulate reducing the chance of pests and diseases to establish. Just pull by hand the apples you wish to discard from the cluster.

Apples to be thinnedA group of apples ready to be thinned

Apples after thinningThe same apples after thinning

Apples before thinningA very congested group of apples

Apples after thinning The group of apples after thinning

To make the job even less appealing I stupidly dropped the apples to the ground; tomorrow I will come armed with an apple thinning bucket!

Discarded applesDiscarded apples that need collecting up for the compost heap; before my boys find them for ammunition!

After completing the removal of apples from the first tree I wandered back up the kitchen garden, and was rewarded with my first Gladioli buds of the year.

Gladioli Purple Flora in budGladioli Purple Flora in bud

Save

Blossom Binge

Snow one week, 25°c the next! The lovely warm weather has brought on the fruit tree blossom and it’s looking fabulous. You’ll see by the pictures below I’ve been on a blossom binge in the garden, there is one little surprise at the end! Most trees now have their leaves all a different shade of fresh vibrant green which is to be savoured, next month it will sadly fade to a darker uniform ‘tree green’.

Bramley apple blossomMy favourite, Bramley Apple blossom, I love the delicate pink     

Bramley Apple blosson 2A bit more Bramely Apple blossom

Conference Pear BlossomConference Pear blossom

Conference Pear Blossom 2Conference Pear blossom, it’s like confetti when it falls

Crabapple blossomCrabapple blossom, the pink blossom is offset perfectly against its burgundy leaves

Japanese Quince BlossomJapanese Quince blossom, the petals look like wax

EuphorbiaOkay, it’s not blossom! But Euphorbias do give an amazing zing at this time of year.

Grass SnakeA grass snake, basking between the artichokes and peas. They are becoming less common so we feel lucky to have one visit on a sunny day.

May bank holiday, tulips and rhubarb

It’s May bank holiday weekend, so far the weather’s held out. 1920’s jazz is drifting around our house and garden from the husbands newly acquired gramophone, the boys have pitched the tent and are planning to sleep in the garden tonight (they’ll of course be back in their beds by 8.30pm). The tulips are blooming and I’ve picked our first crop of rhubarb this year. I have one Rhubarb forcer and we all look forward to the early delicacy of tender and delicious forced Rhubarb. I love the baby pink colour of the stems, with three boys there is very little pink in my life so it is to be savoured!

Rhubarb forcerThe rhubarb forcer

Forced Rhubarb from under the forcerForced rhubarb from under the pot

Forced RhubarbMy rhubarb crop for pudding – yum!

Tulips in the cutting borderTulips from the cut flower border, looking stunning and filling the house with colour

Time to prune apple trees

Somehow I’ve managed to put my back out, I’ve not suffered with back pain before. I’m not comforted by friends who tell me that once hit it reoccurs and that gardening is one of the worst activities for those who suffer. So digging is out and standing up pruning is in! I would never claim to be an expert apple tree pruner; I’m more a trial and error, common sense tidier. I don’t worry too much about technique and I seem to manage the desired result, tidy trees with beautiful blossom in spring and delicious fruit come late summer/ autumn.

Pruned apple treesSome of my apple trees after pruning, I’ve just got to collect up the debris now!

I think there are just a few things to keep in mind when pruning apple trees.

Why do we bother to prune:

  • To keep the apple tree a manageable shape and size so you can reach the fruit. Most apple trees these days are grafted onto dwarf rootstock (M9 or M27) resulting in trees that are 1.5m to 2m tall. Old large trees tend to be on far more vigorous rootstock which is much harder to maintain.
  • Increase apple productivity.

Apples on the treeLast years bumper crop of apples

  • To reduce disease. Apple trees have a tendency to be sickly specimens, they’re commonly susceptible to canker, scab, brown rot and honey fungus. Living in the heart of Kent’s apple orchards, I’ve noticed that all farmers spray their trees, ensuring a healthy crop for market, even the local organic apple farmer’s spray with potions certified by the soil association. In a domestic garden spraying is not really an option many of us would consider. The best way to deal with disease is firstly, accept you’ll have some, and secondly pruning, it increases air circulation around the tree blowing unhealthy spores away, it will also make the tree stronger, healthier and in turn more resistant to the disease.

How to prune:

  • Prune when the tree is dormant (no leaves on it Nov/Dec – March), unless you have espalier trees.
  • Make clean cuts at an angle so the rain can run off and not settle encouraging rot. To achieve this you will need a simple selection of sharp tools, secateurs for year old wood, loppers for branches the thickness of your finger and a pruning saw for the larger branches. Using the right tools will help you to get clean cuts; messy cuts are breeding grounds for disease.

A clean angled apple branch cutA clean angle cut, prventing rain from settleing and disease moving in.

Old apple pruning scarAn old horizontal pruning scar, now a little pool of winter water rottting into the trunk, I fear this lovely old trees day’s are numbered!

Tools for pruningUseful tools for pruning, sharp secateurs, pruning saw and loppers

  • Magazines and books on the subject will all tell you a simple easy rule to remember, the three D’s, cut out Dead, Diseased and Damaged wood. Also cut out branches that cross, they will rub together and become damaged, then diseased and finally dead!

Dead appple wood amonst health whipsSome dead wood that needs removing

Mummified appleRemove any mummified fruit, as with all diseased wood don’t compost, burn or discard

  • Aim to have horizontal branches spurring off from the main truck (if you squint it should form the shape of a tea cup!) and a flat top to the tree. Every year you will have many vigorous whips that can shot up 75cm seeking the light in a season, these all need to be cut out.

Apple tree before pruningA apple tree before pruning, note all the year old whips that are shooting up to the sky

Apple tree before pruningThe same tree after pruning, it might look brutal but there are lots of fruit buds waiting to blossom in the next few months

  • Become familiar with what a fruiting bud looks like, they are the plump curved buds, new wood or growth buds are far smaller and more pointed. Once you’ve worked out what the fruit buds look like you can make sure you don’t chop them all off in your pruning quest.

Apple tree fruit bearing budsPlump fruiting buds on one of the apple trees

New wood or growth buds on an apple treeNew wood or growth buds

  • If you have a tree that has not been pruned for years, you’ll probably need to cut a lot of wood out to achieve a desired shape, this will result in a poor harvest but you can console yourself with the thought that future pruning will be far quicker and easier and your apple harvests in years to come, healthier and more productive.

So if you’re not a regular pruner, have a go it’s well worth the initial effort, don’t worry if you make mistakes, they’re lessons to be learnt, the worst that can happen is a few less apples this year. A lesson for myself is to prune in December, as I under plant the trees with spring bulbs for cutting, tip toeing with a bad back around daffodils has proved to be tricky!