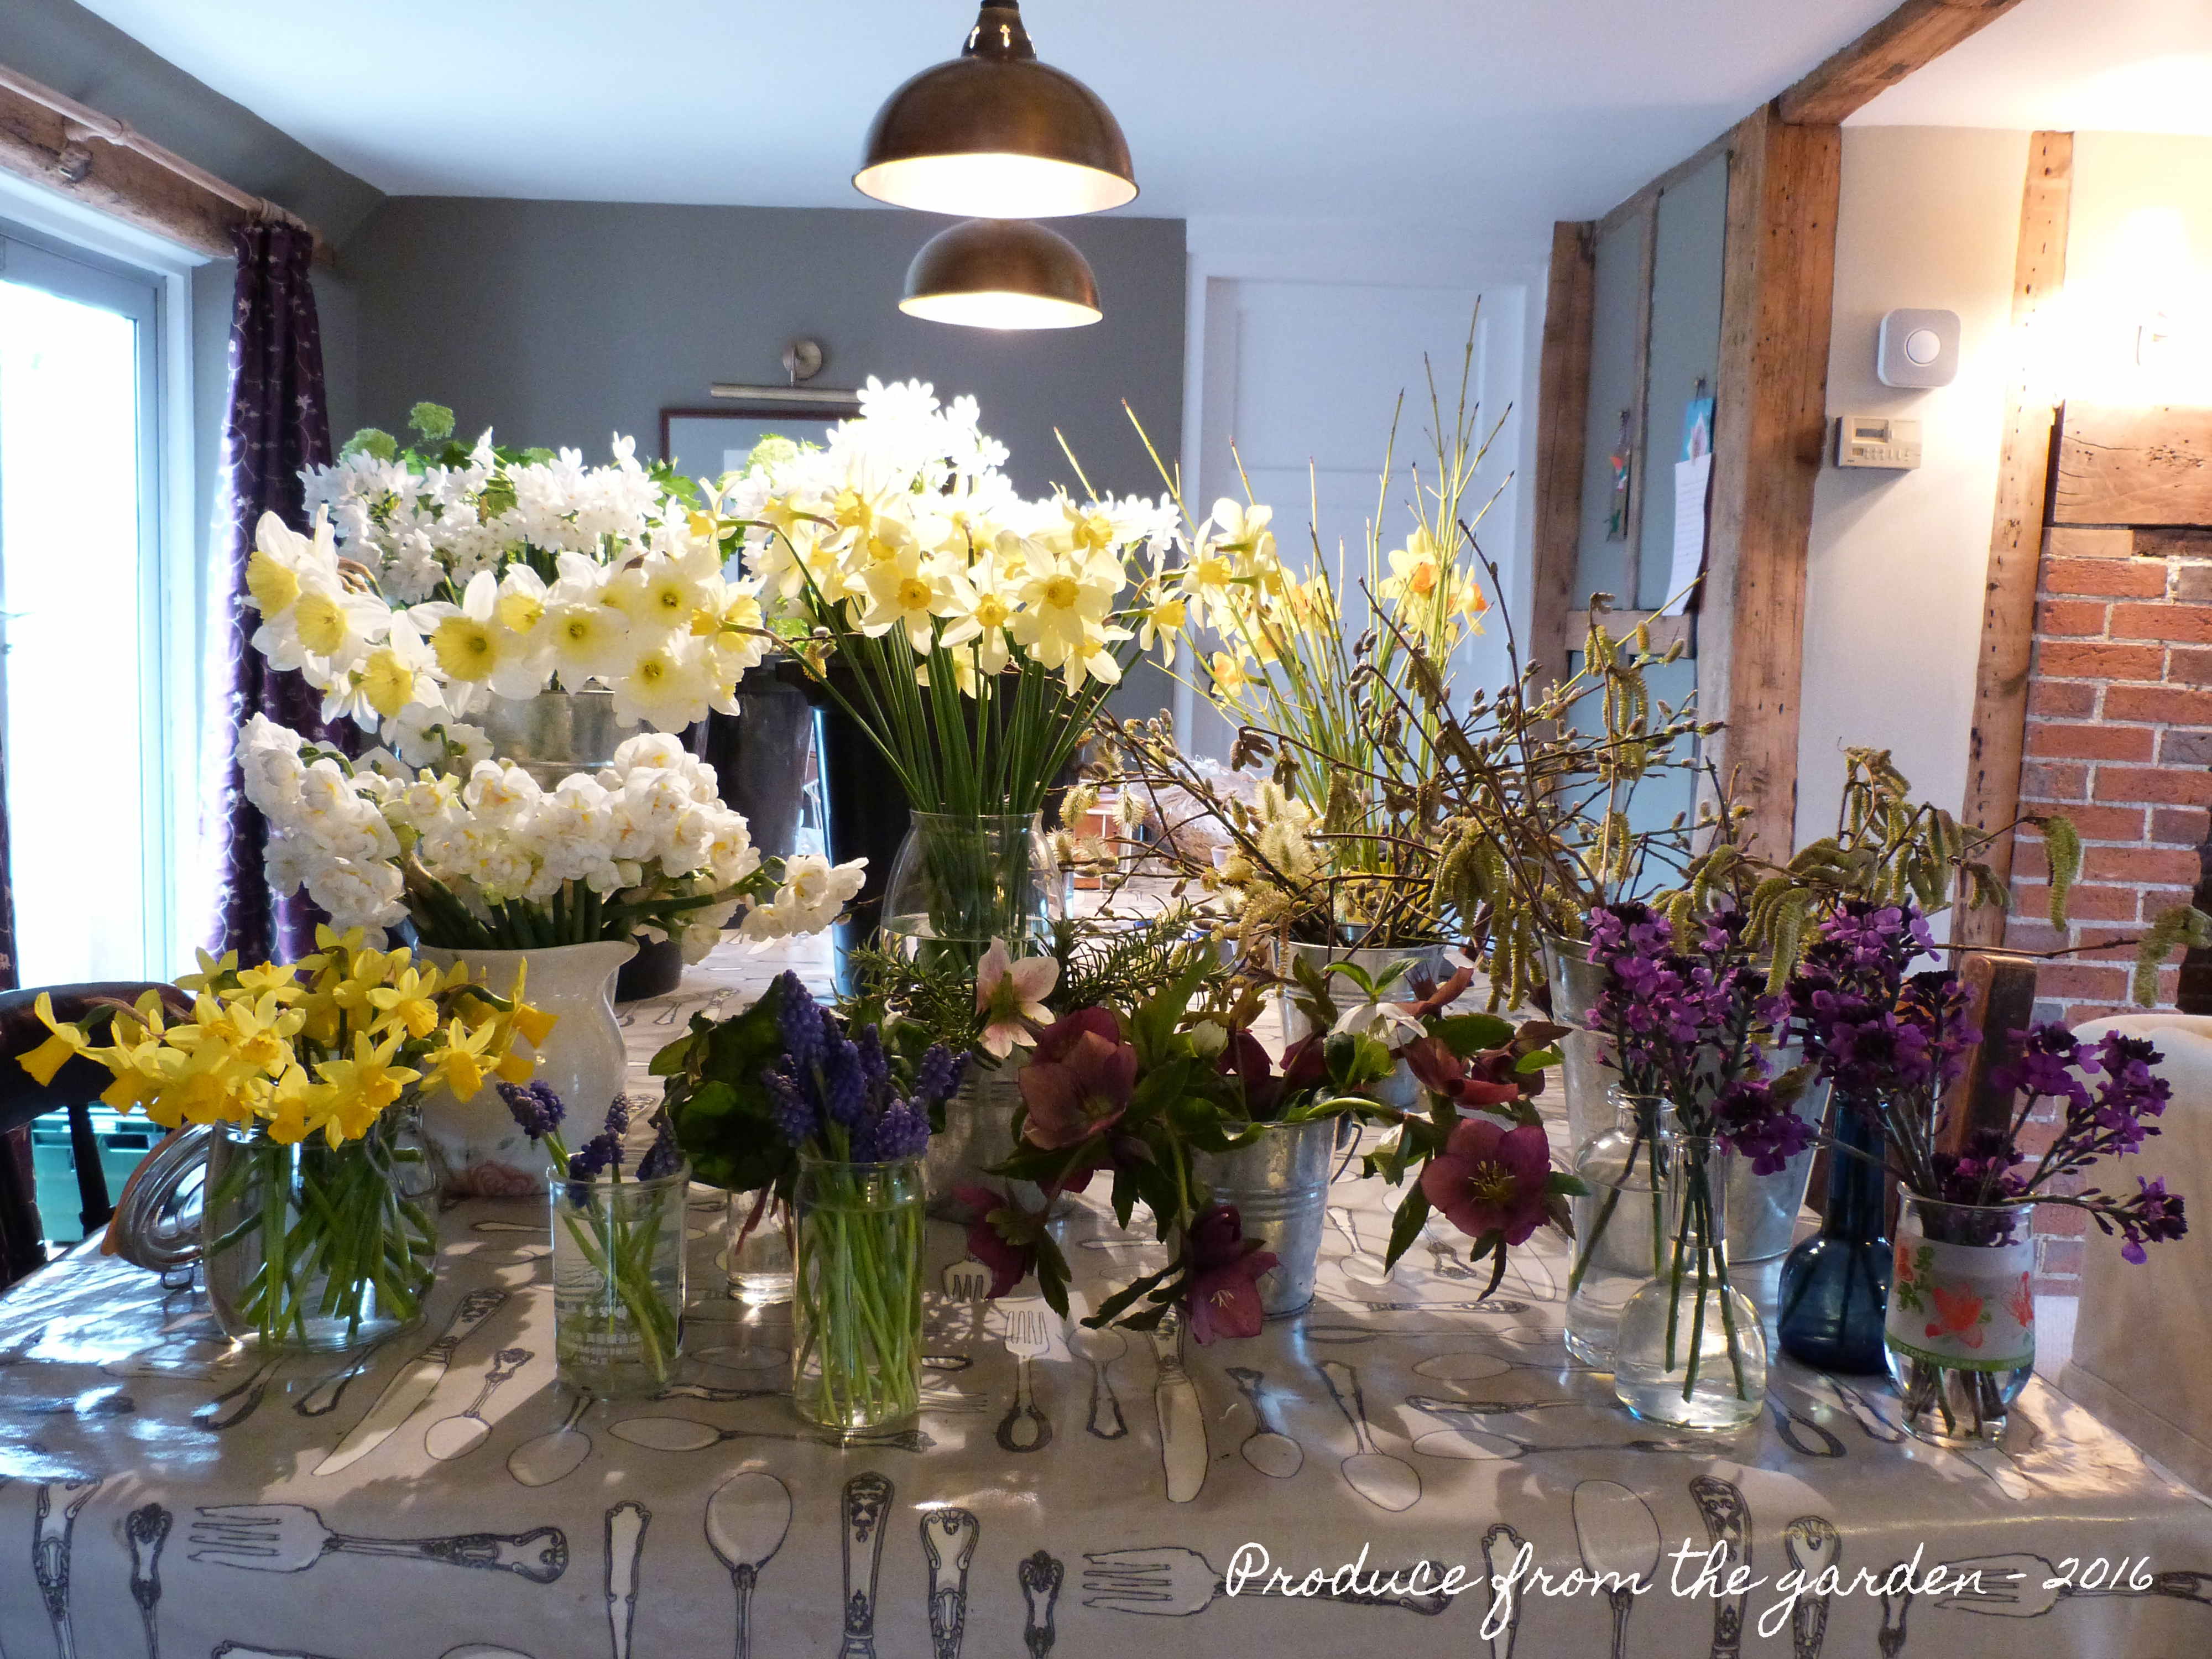
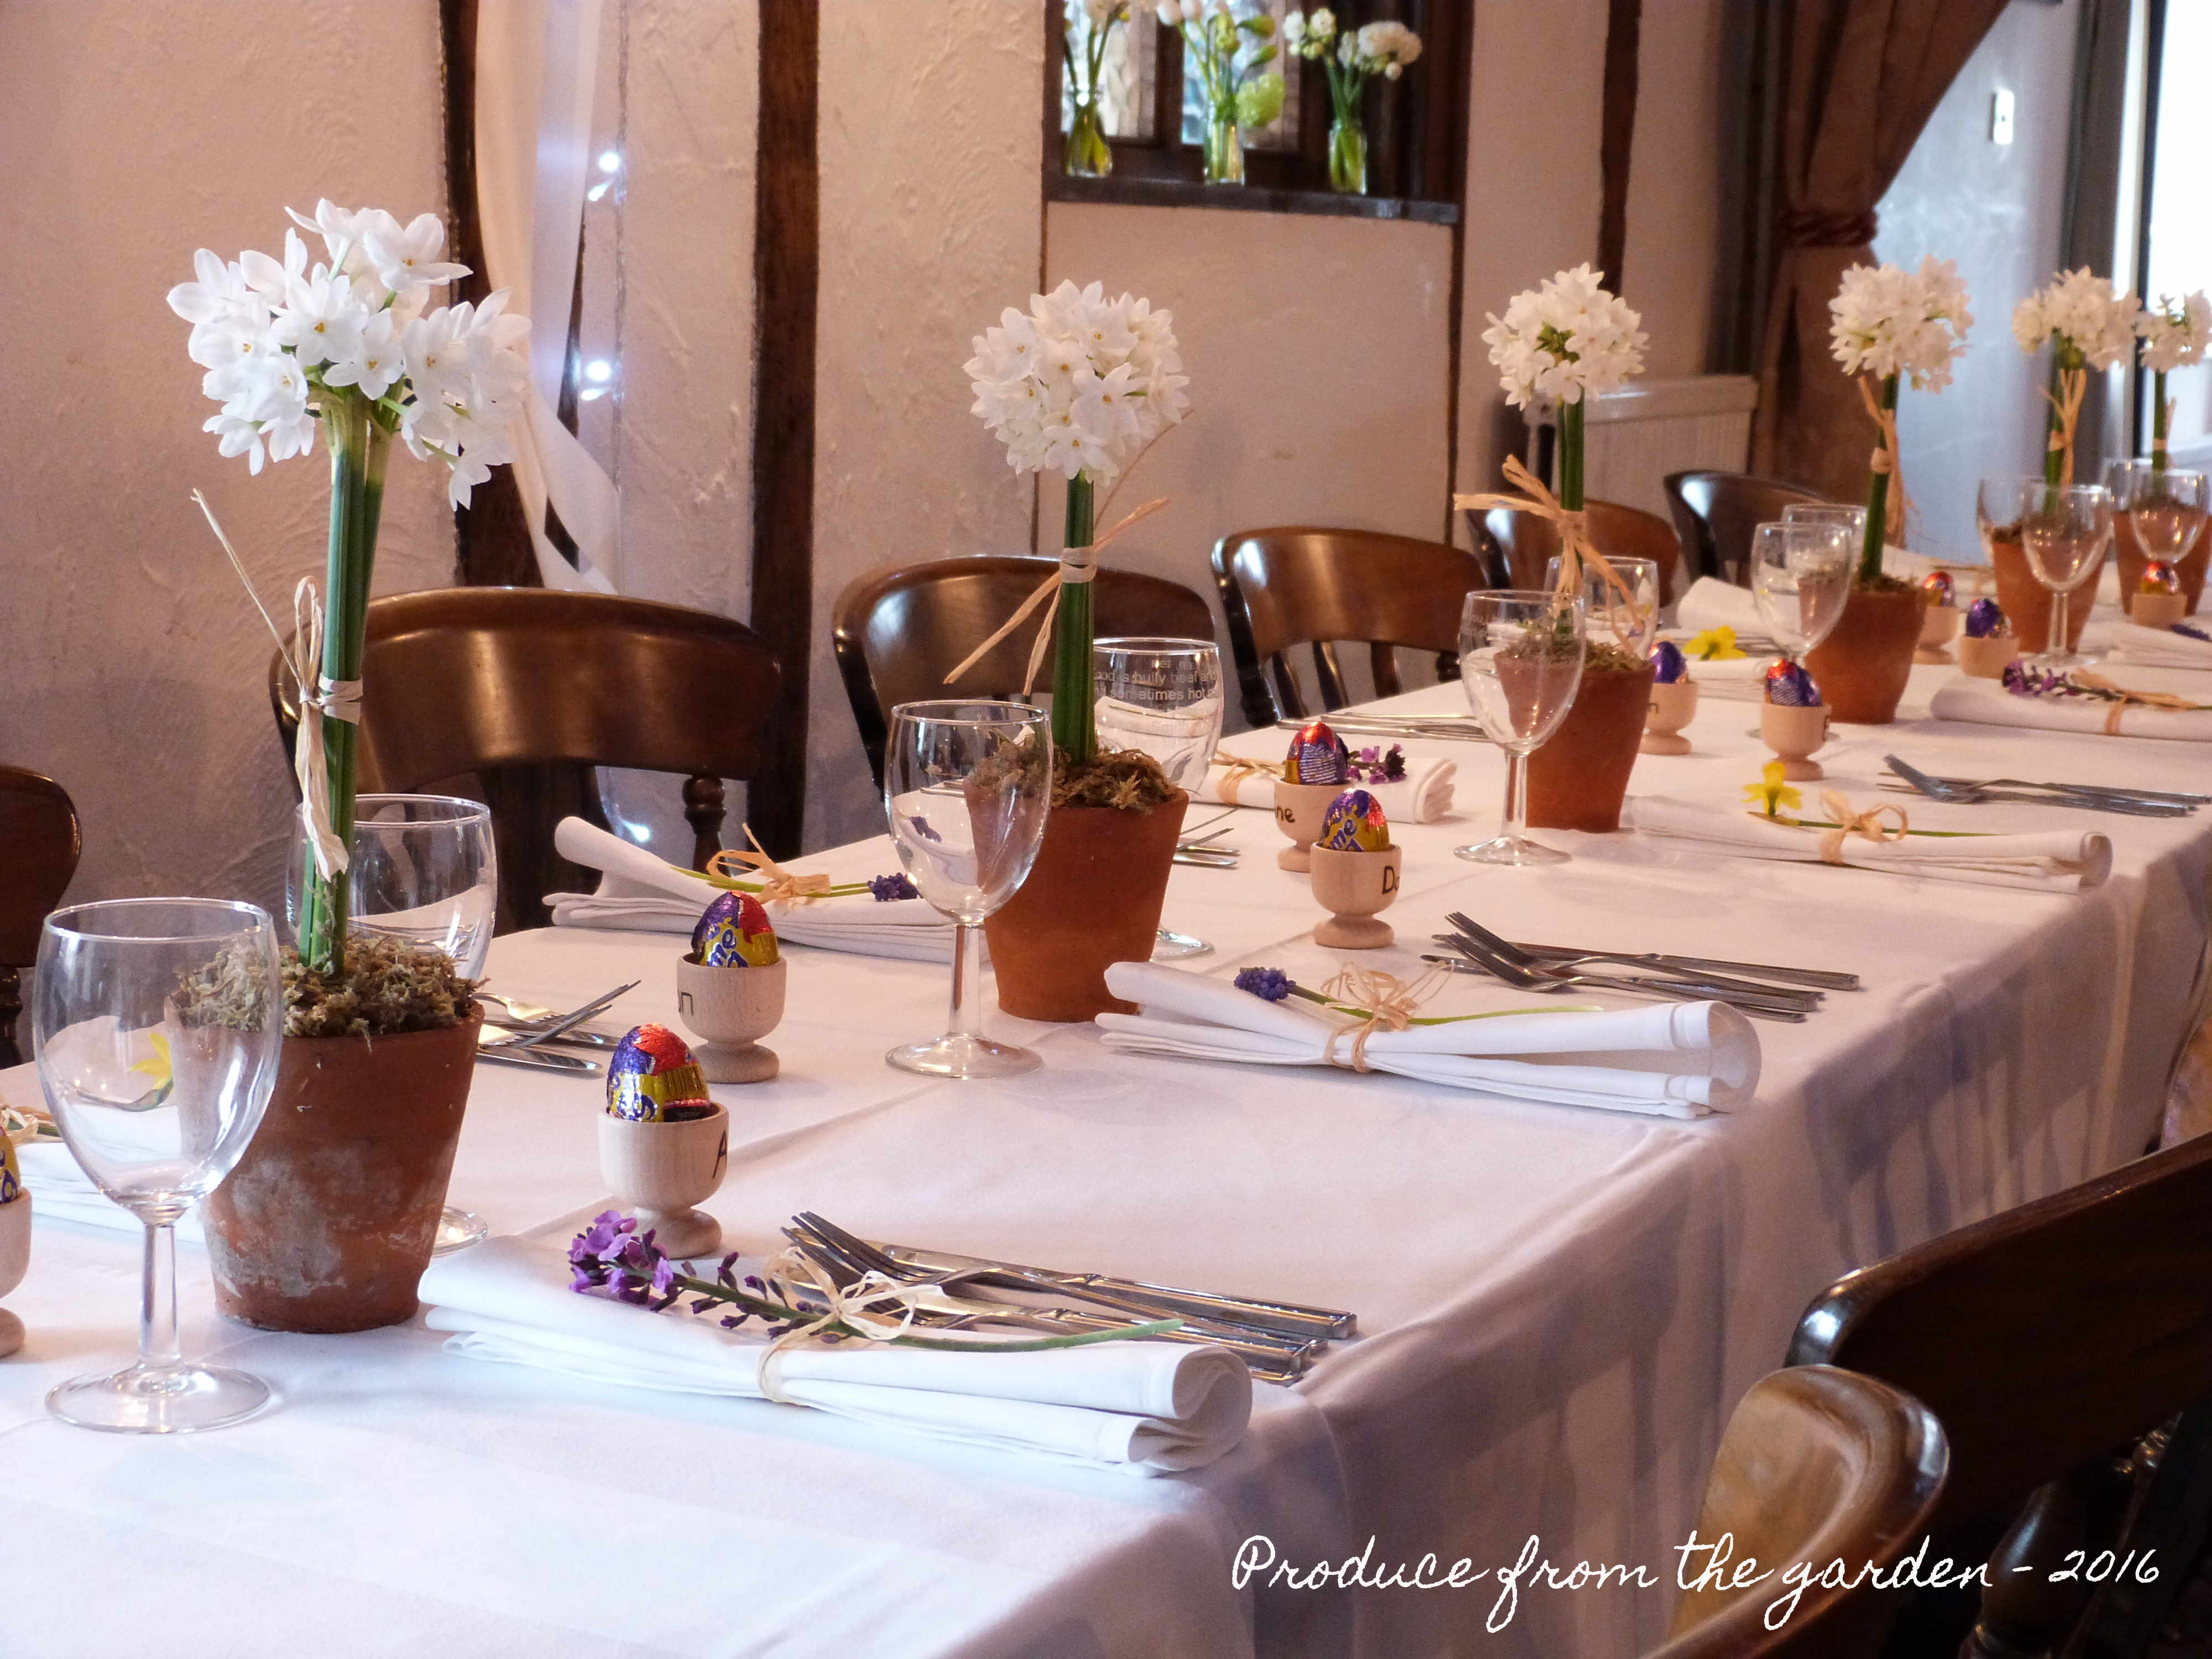
In our home cut flowers are as important as pictures on the wall. They bring a room to life with their colour and scent. Buying from a florist is beyond our budget and more reasonably priced supermarket flowers are generally shipped from Africa, have no scent and are often only available in insipid colours. The solution? We grow our own cut flowers, filling our home with beautiful blooms for most of the year for very little money. Most flowers ideal for cutting are ‘cut and come again’, the more you cut the more they flower!
Let me inspire you to sow a few seeds or plant a tuber so you can cut your own flowers this year.
With the help of my all time ‘Top 3 Cut Flowers’:
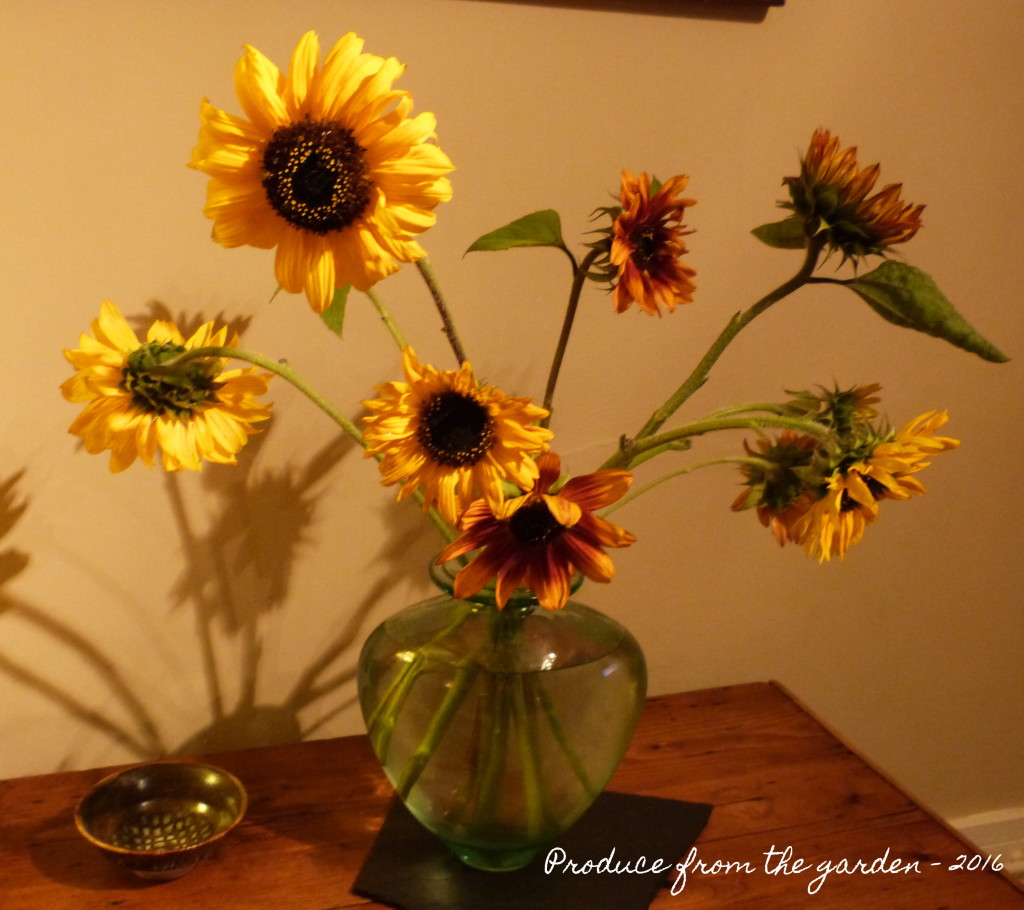
No. 3 Sunflowers

Who can argue with the likes of Monet and Van Gogh immortalizing vases of Sunflowers on canvas. A beautiful bunch of Sunflowers brings the warmth and richness of high summer into our homes. Even on a wet gloomy English Summer day! Easy to grow, they are often the seed of choice for schools. There are lots of Sunflower varieties ideal for cutting. Once the lead stem and flower is cut, it will induce growth, putting out multiple side shoots and flowers.
How to grow
Sow seed March to May in pots, not directly in the ground. They will germinate fine directly sown, but, slugs love baby Sunflower plants! Pop one seed into a medium sized pot, allowing sufficient space for growth. The Sunflower stem needs to establish a strong pencil sized thickness to survive slug attacks. Choose a sunny position and plant out in mid May after the last frosts. Hammer in a tall stake or sturdy cane next to each plant; they will need regular tying in to prevent the stem being damaged on a windy day. Six plants will provide you with armfuls of flowers through summer to the first frosts.
Displaying
Sunflowers look fabulous in a vase on their own or mix with other statuesque flowers. They can also be used as the star performers in a bouquet.
Recommended varieties to grow
Earth Walker, Red Sun, Valentine and Deep Red
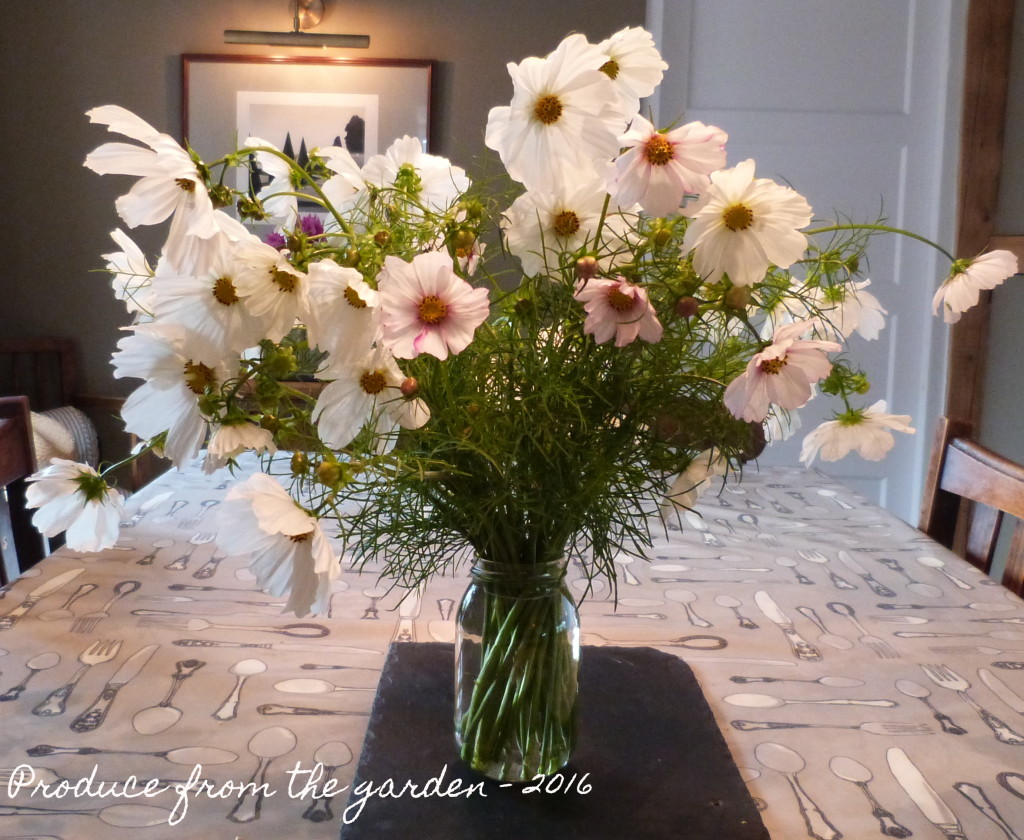
No. 2 Cosmos
A cottage garden essential and the hardest working annual in the garden. A bunch of Cosmos on the kitchen table is the epitome of produce from an English country garden. This delicate looking stunner is a flower straight from a child’s imagination, depicted in their drawings. Easy to grow and available in white or any shade of pink.
 How to grow
Cosmos are half hardy annuals so it’s best to sow them under glass or on a window sill. Sprinkle a few seeds into a pot of seed compost and cover with a thin layer of the same compost. I sow double the number of seeds I need. Most will germinate. It’s all too easy to sow too many ending up wasting seedlings and seed that can be used the following year. Once the seedlings start to get their first set of true leaves pot them on into individual pots where they’ll thrive. Plant out after the first frosts choosing a sunny site. Stake or secure a pea netting framework over them to provide a supporting structure when they’re large plants. Keep well watered through the summer and you’ll be rewarded with bountiful flowers.
Displaying
I love a big bunch of Cosmos on the kitchen table. They also look beautiful in a posy with other cottage garden flowers.
Recommended varieties to grow
Cosmos Purity, Cosmos Bipinnatus ‘Rubenza’, Cosmos Bipinnatus ‘Dazzler’ and Cosmos ‘Double Click Cranberries’
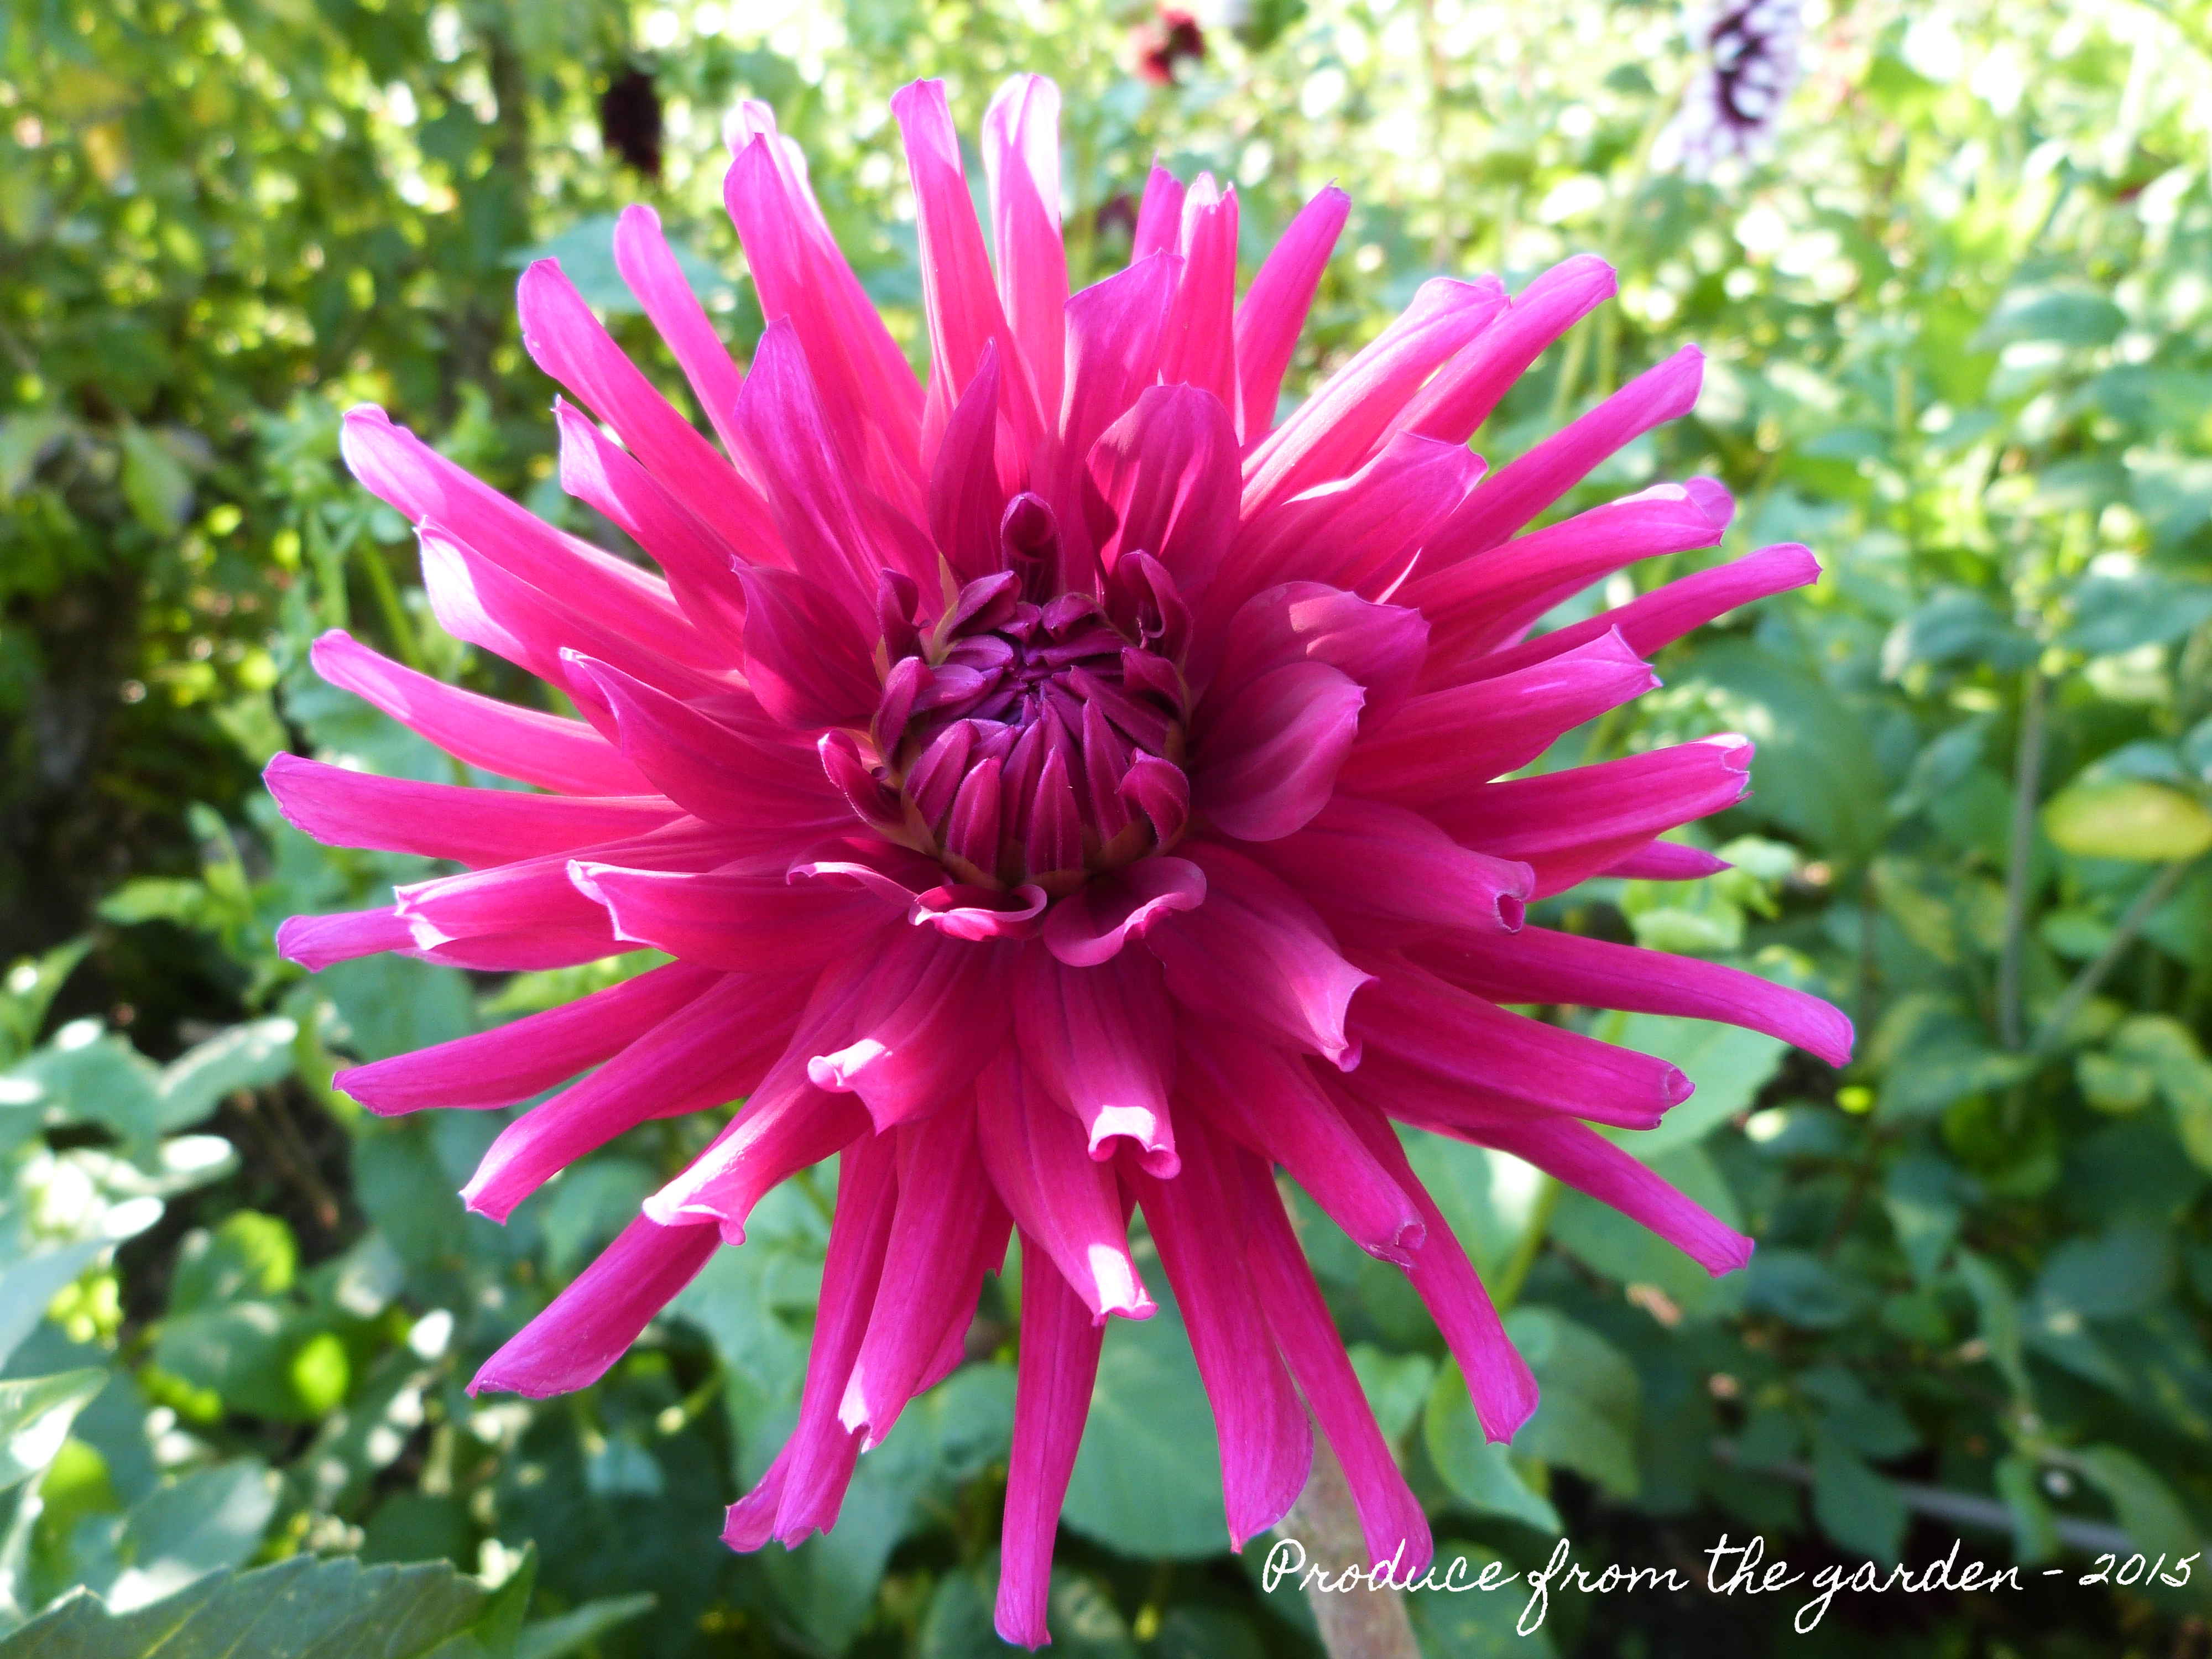
No. 1 Dahlias
I’m a bit potty about Dahlias. Every year I always sneak a few new varieties into my potting shed! These beauties are the stars of the ball. They come in many different shapes, sizes and colours and they all put a great big smile on my face. A single £2.50 tuber will reward you will with masses of flowers from early summer to the first frosts for years. Sadly they’ve acquired a high maintenance reputation which I would like to dispel.
How to grow
Make sure the tubers you buy are firm and not squishy. March to April plant them in a 3 litre plastic pot. After a few weeks they’ll start to shoot. If you get more than 5 or 6 shoots, remove them giving space for the others to develop into a bushy plant (removed shoots make successful cuttings). By mid May after the last frosts you’ll have a strong bushy plant ready to put out. Choose a sunny site for them and build a sturdy frame (I use hazel stakes) around the Dahlia to protect from wind damage. Once they start flowering keep picking. Letting flowers go to seed will halt flower production. After the first frosts cut the Dahlias back and cover with a thick 20 cm mulch (rotted manure, wood chip or anything that will help insulate the tuber over winter). Come Spring reduce the level of mulch and feed. As the soil starts to warm Dahlia shoots will emerge again. This low maintenance Dahlia method has worked for me during the coldest of Kent winters.
Displaying
Stunning as single stems in a small vase or bottle. Group together, or use in a mixed arrangement.
Recommended varieties to grow
All of them!
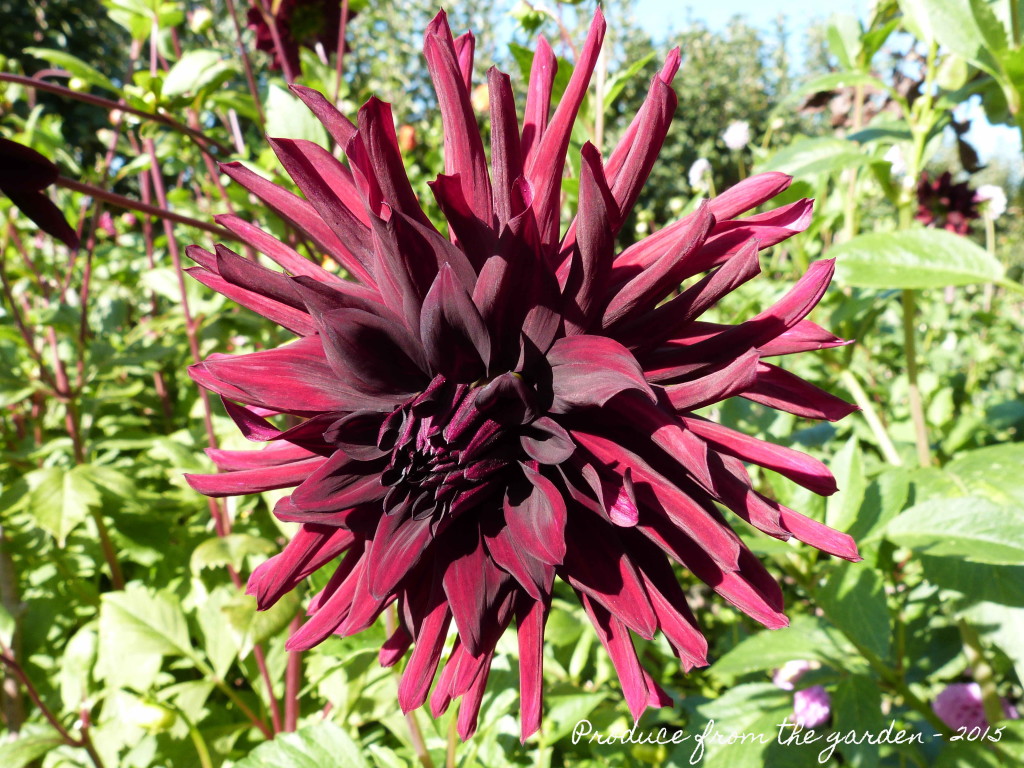 Dahlia Rip City
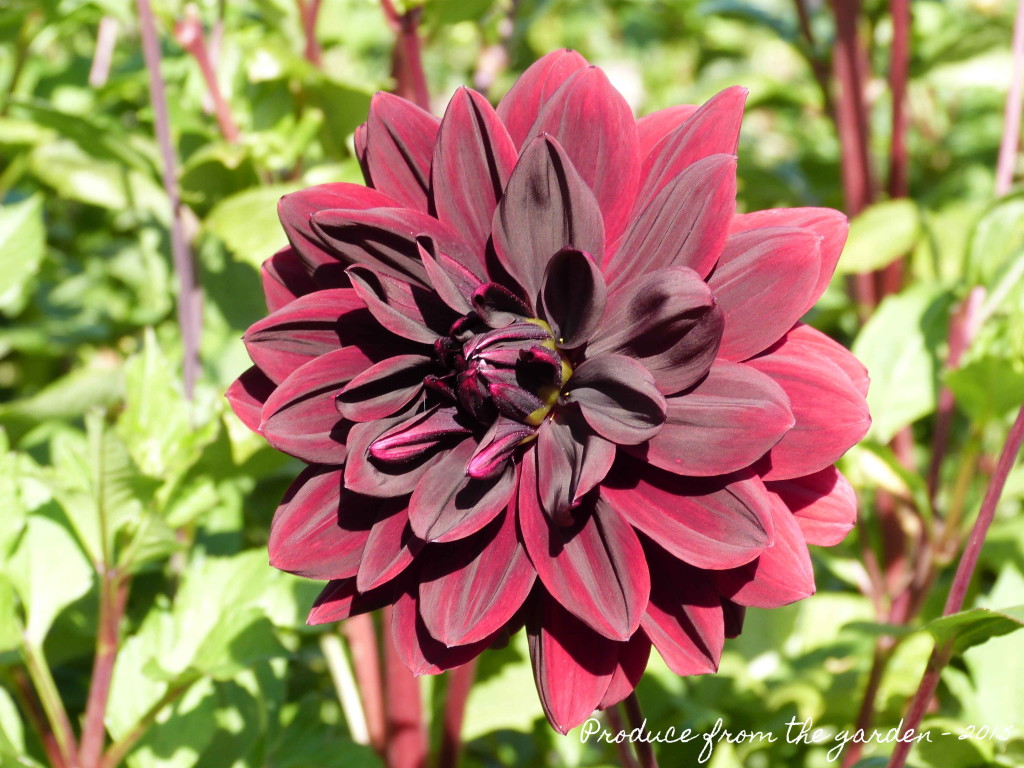 Dahlia Sam Hopkins
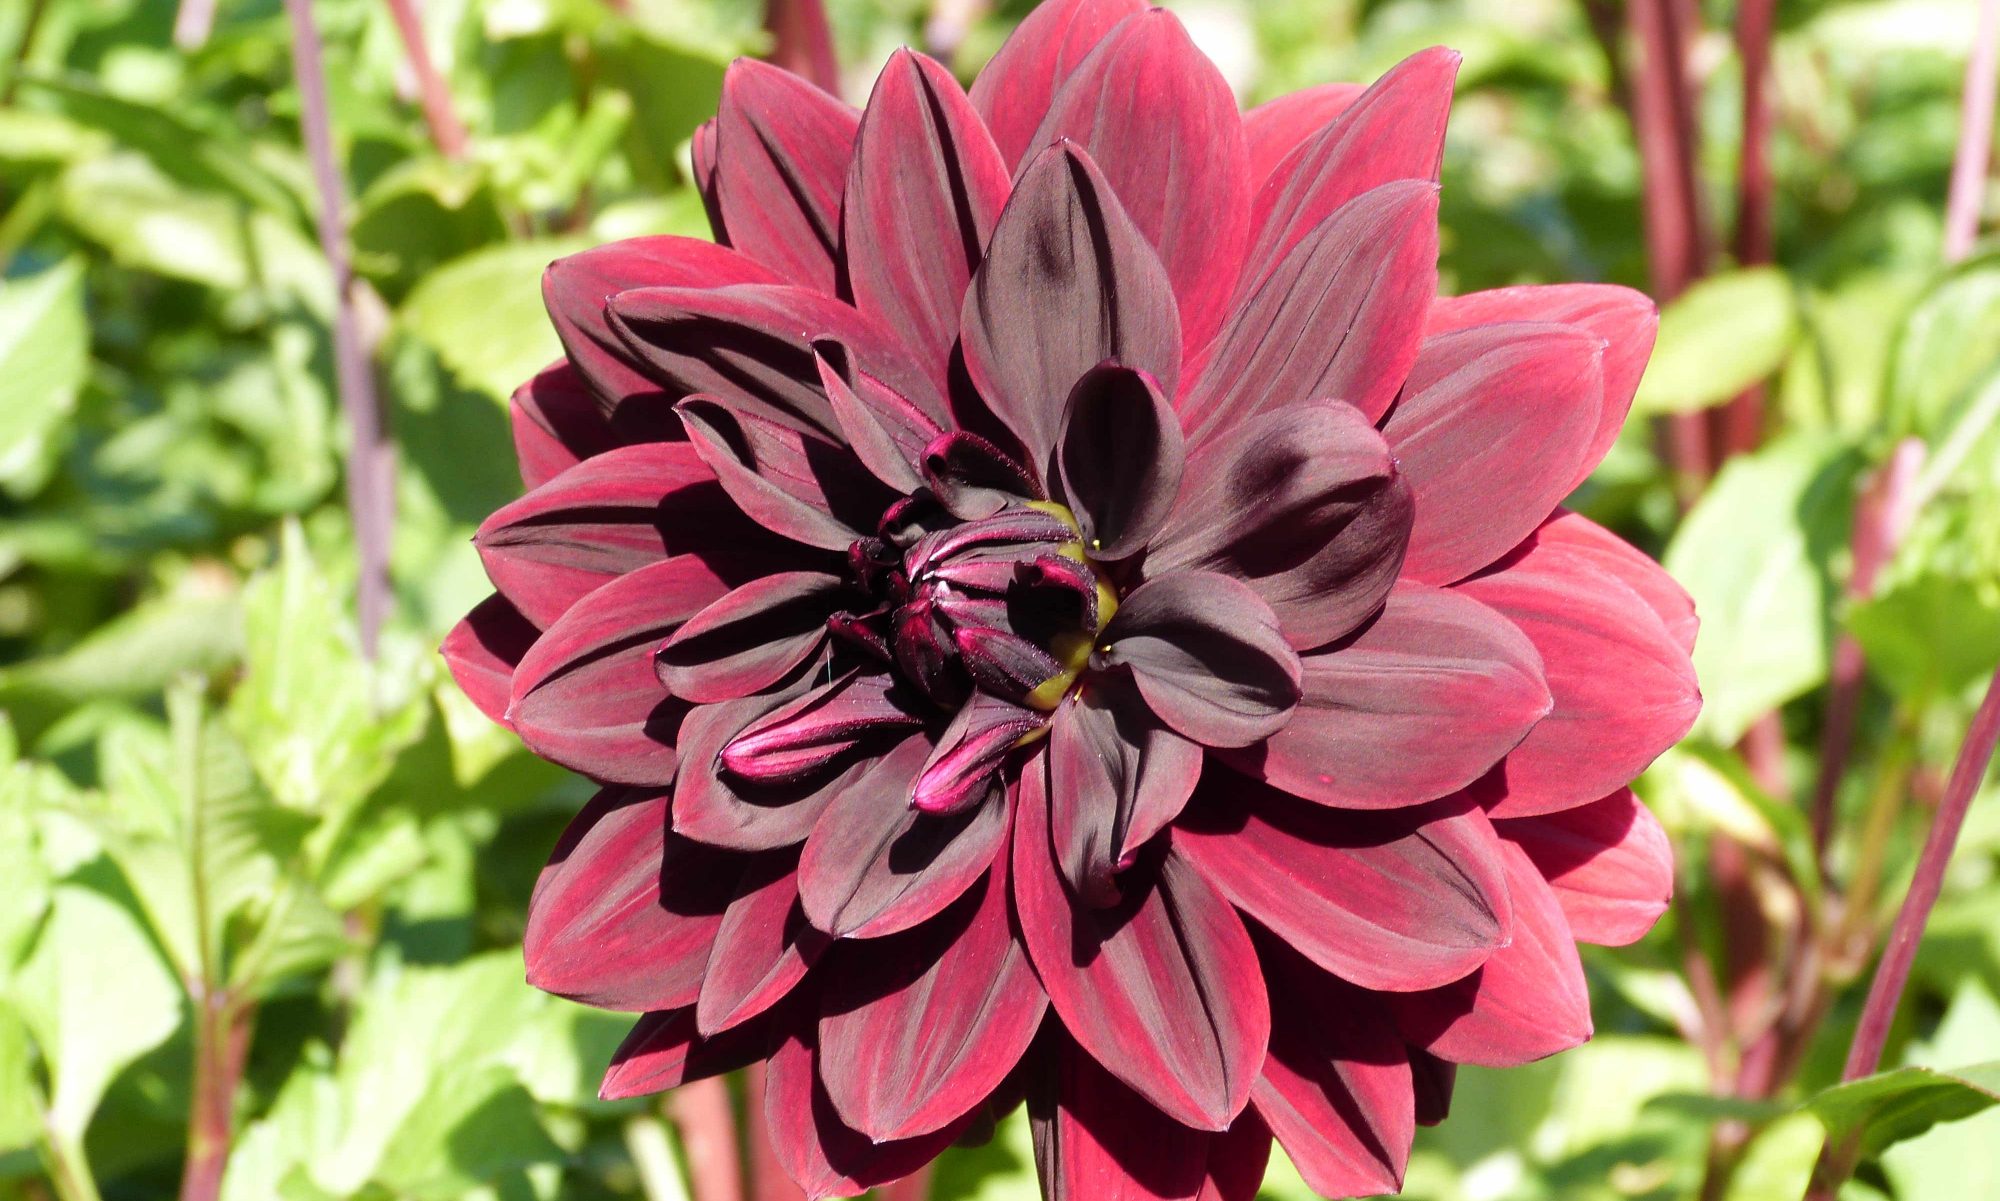
 Dahlia Hillcrest Royal
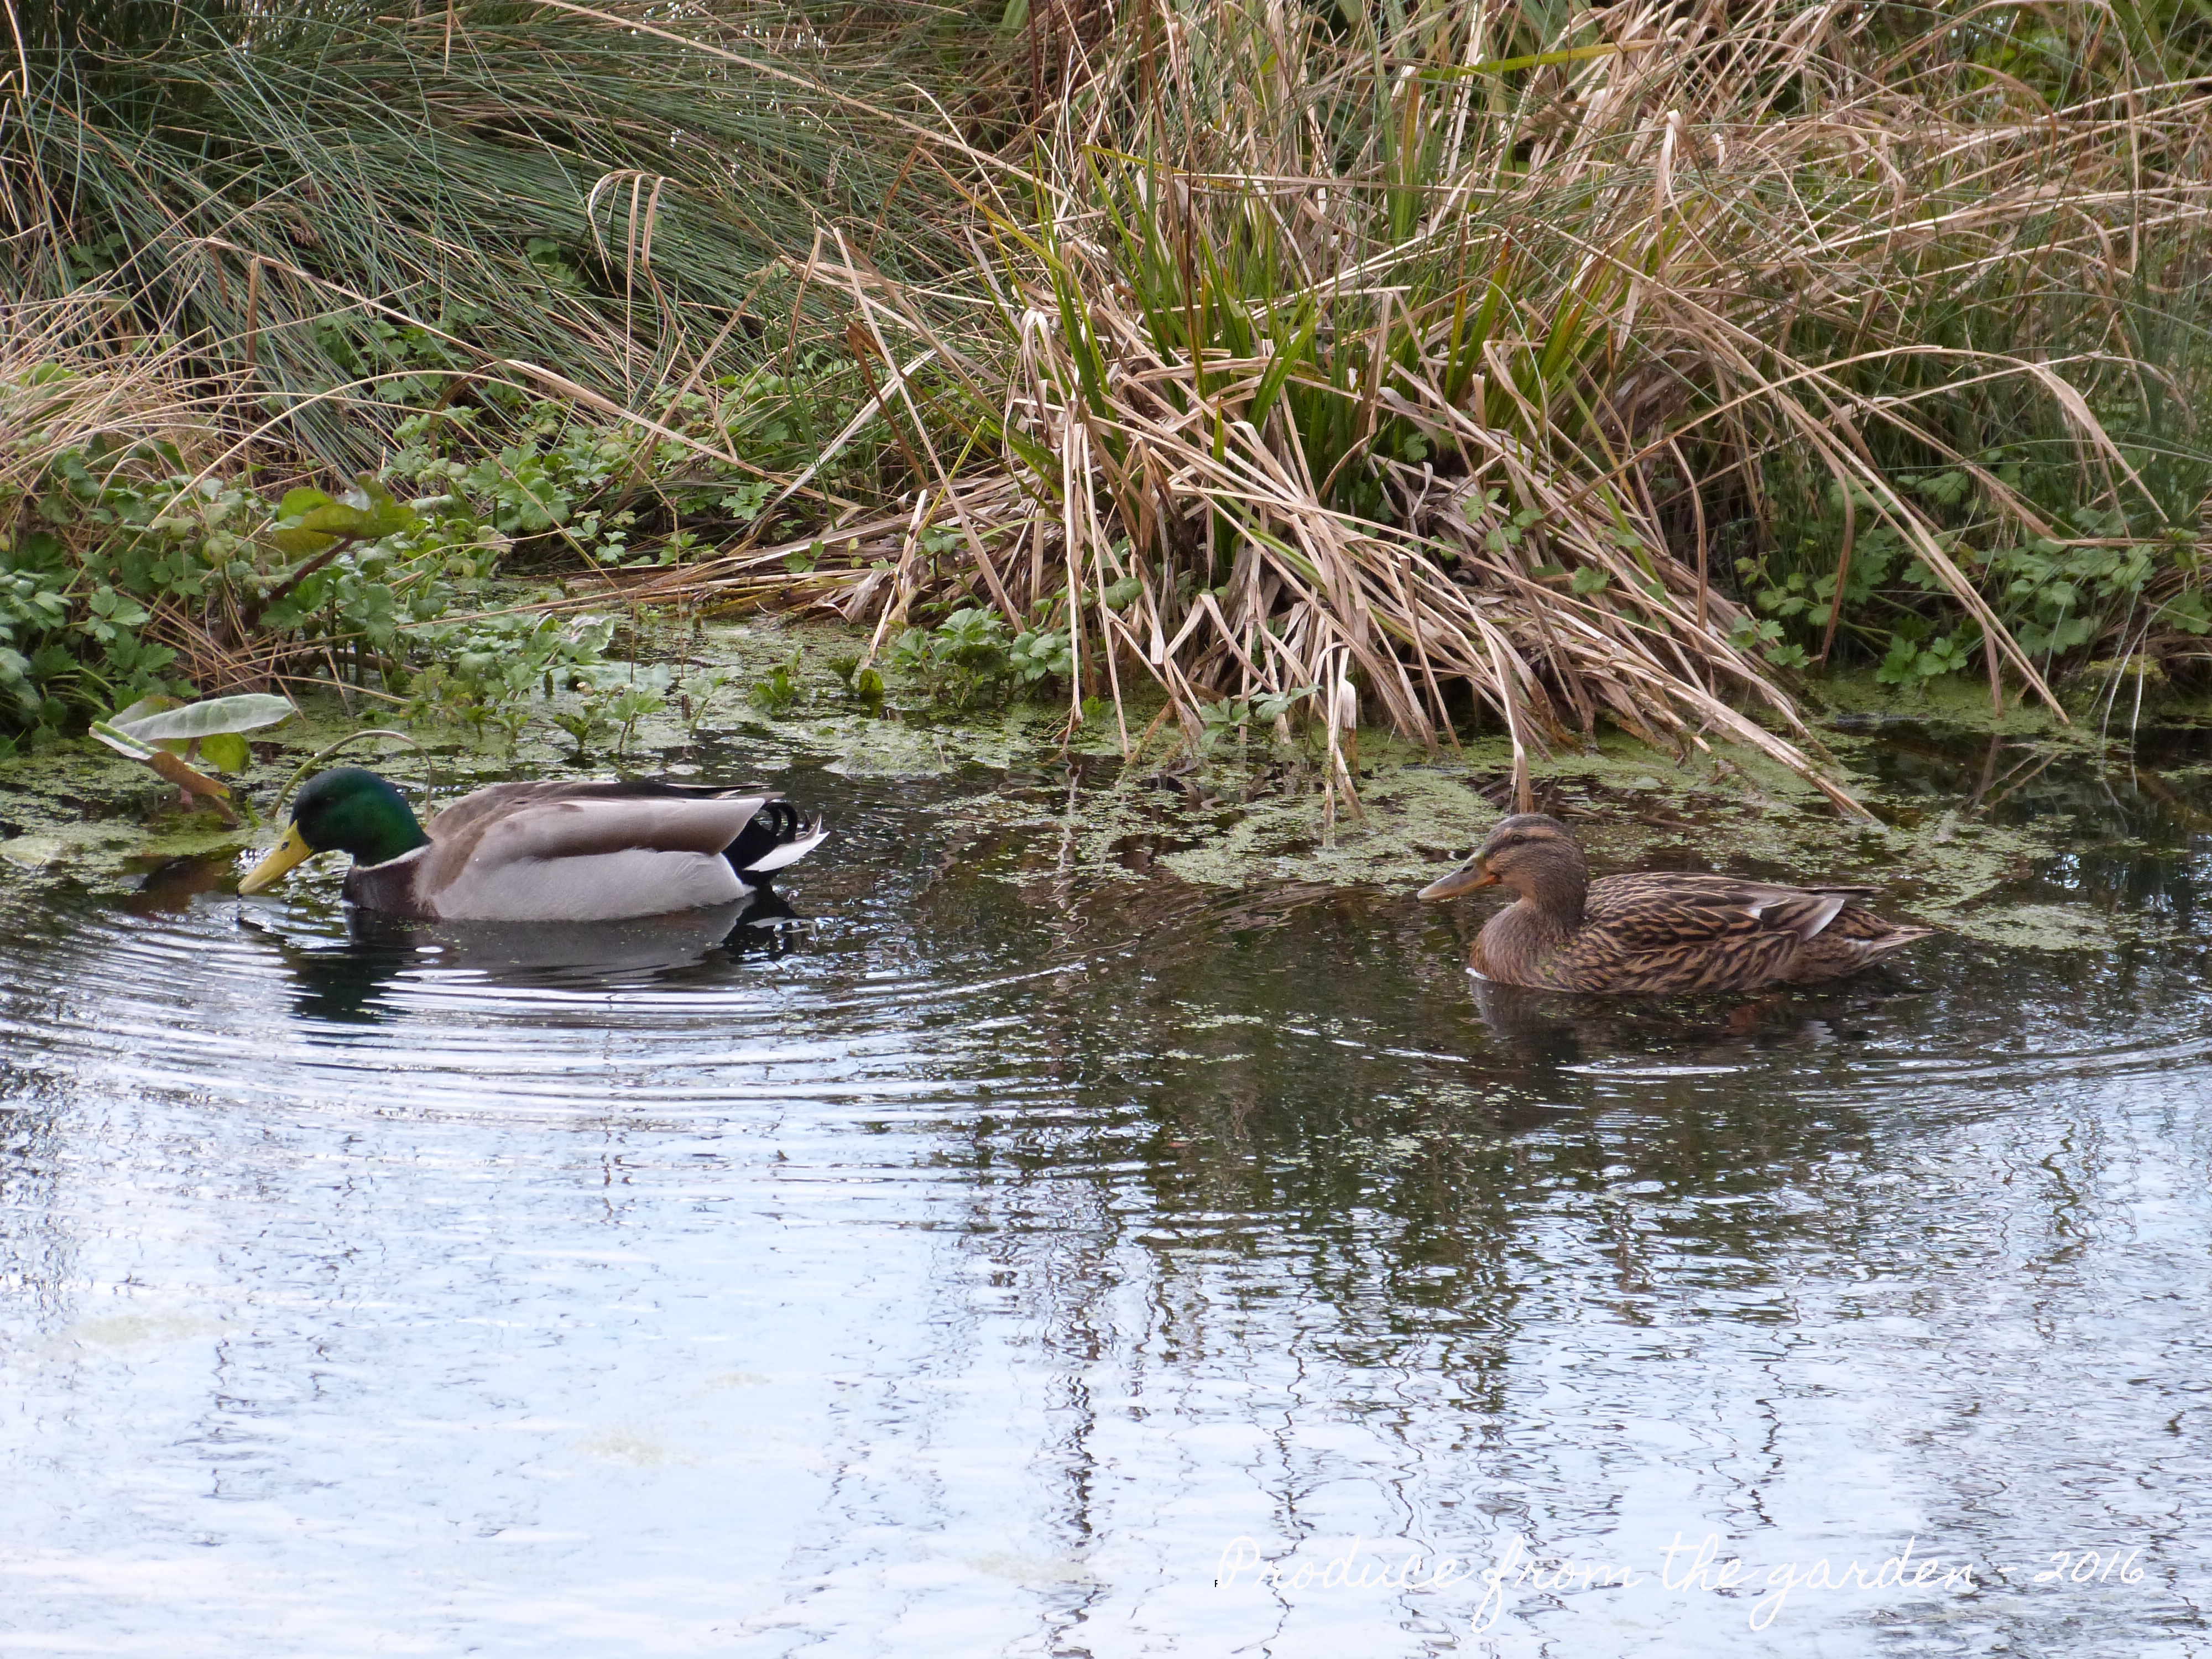
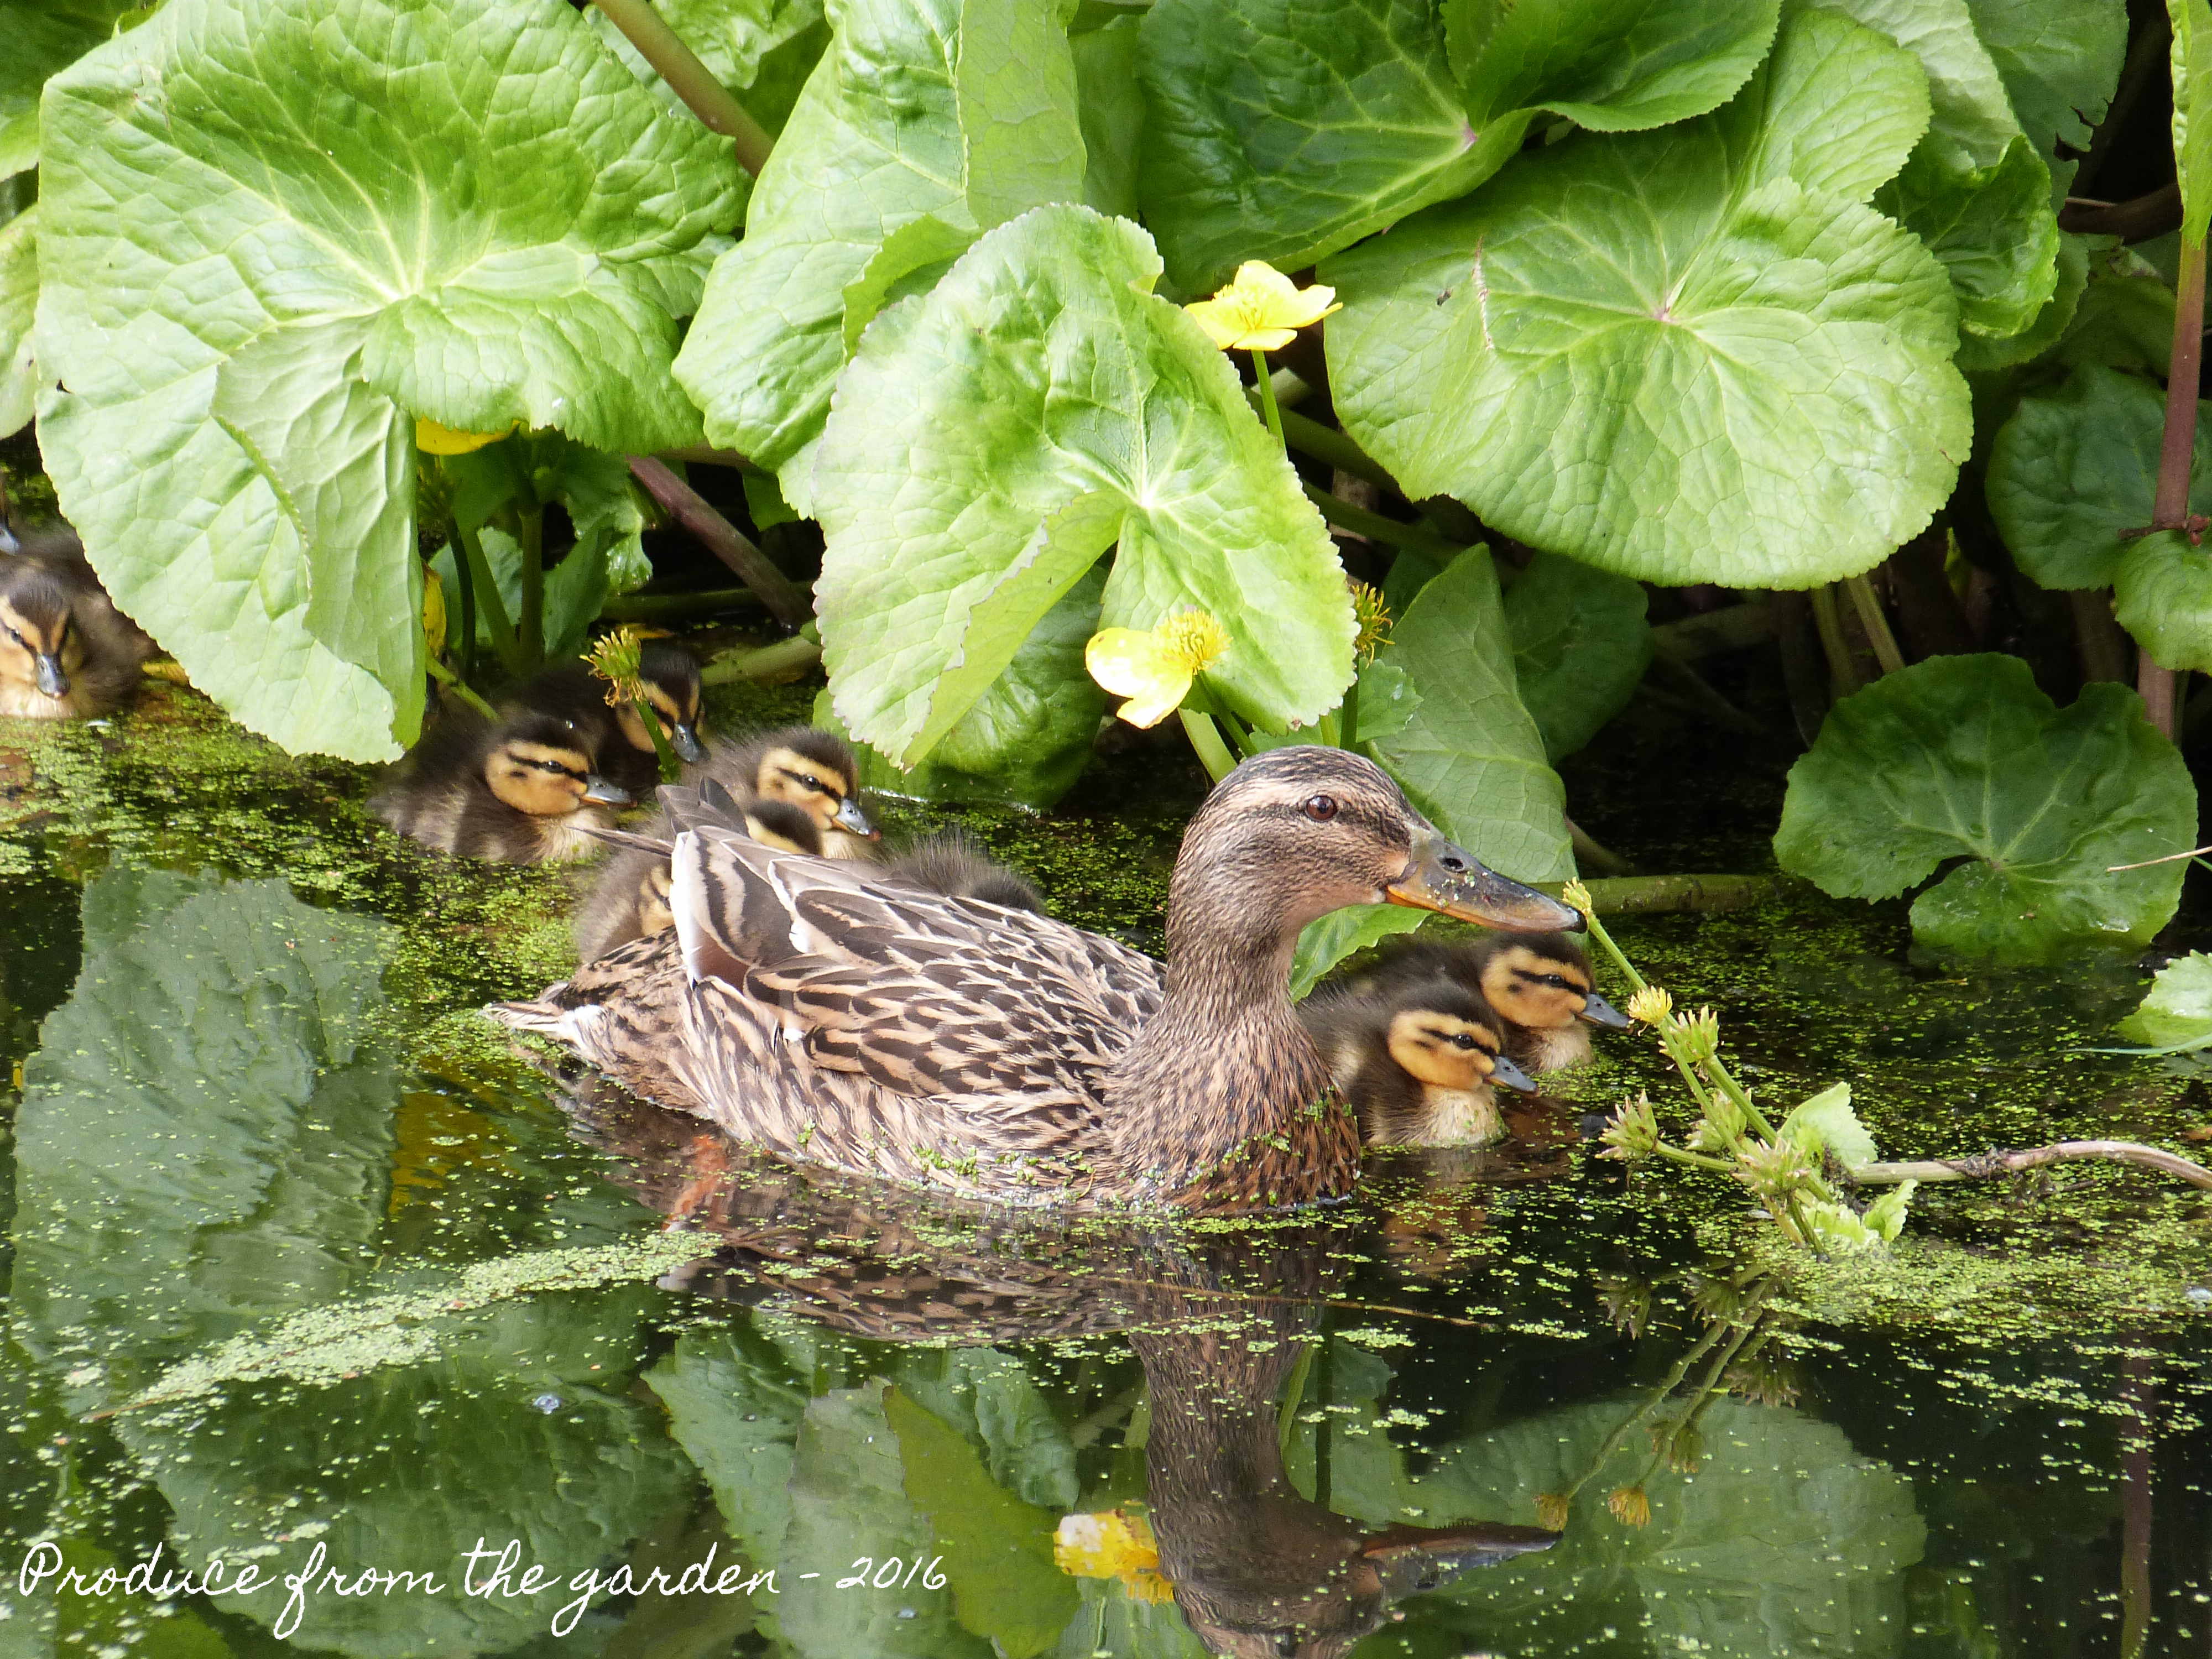 Mrs Duck and her babies hiding in the bank of the pond
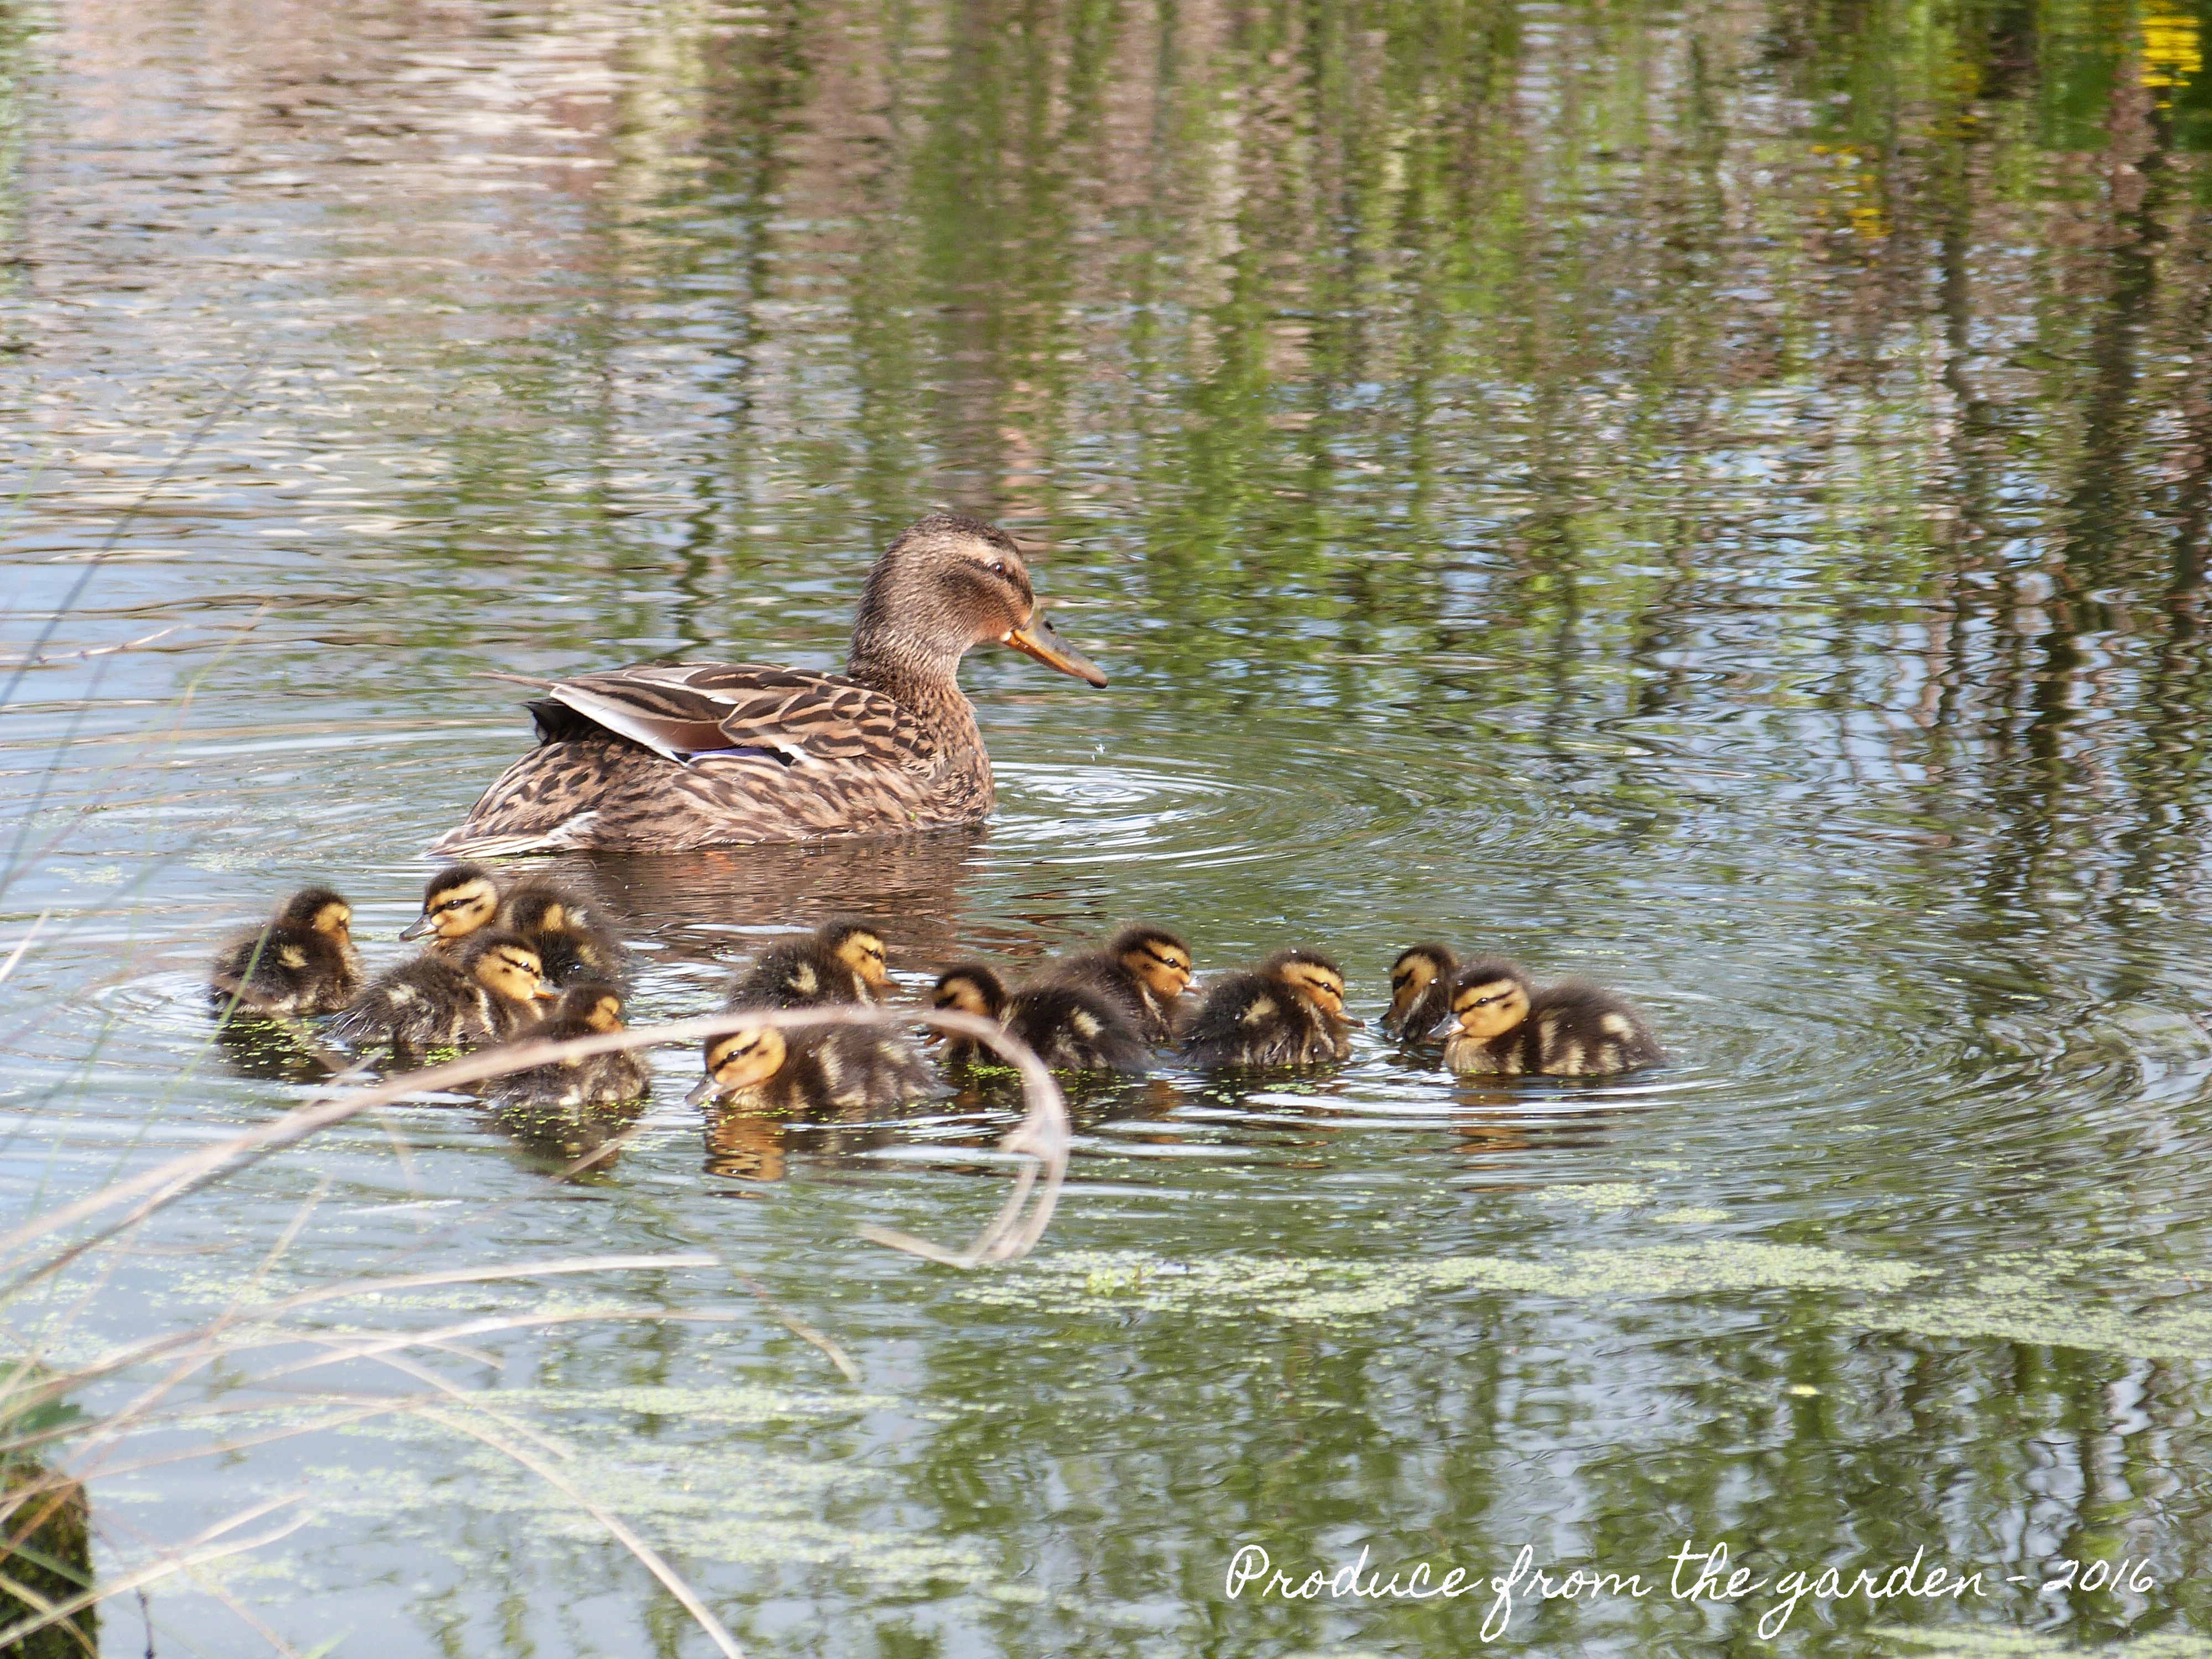 Out for a swim with her twelve babies (one is hiding)