How to make a Christmas garland

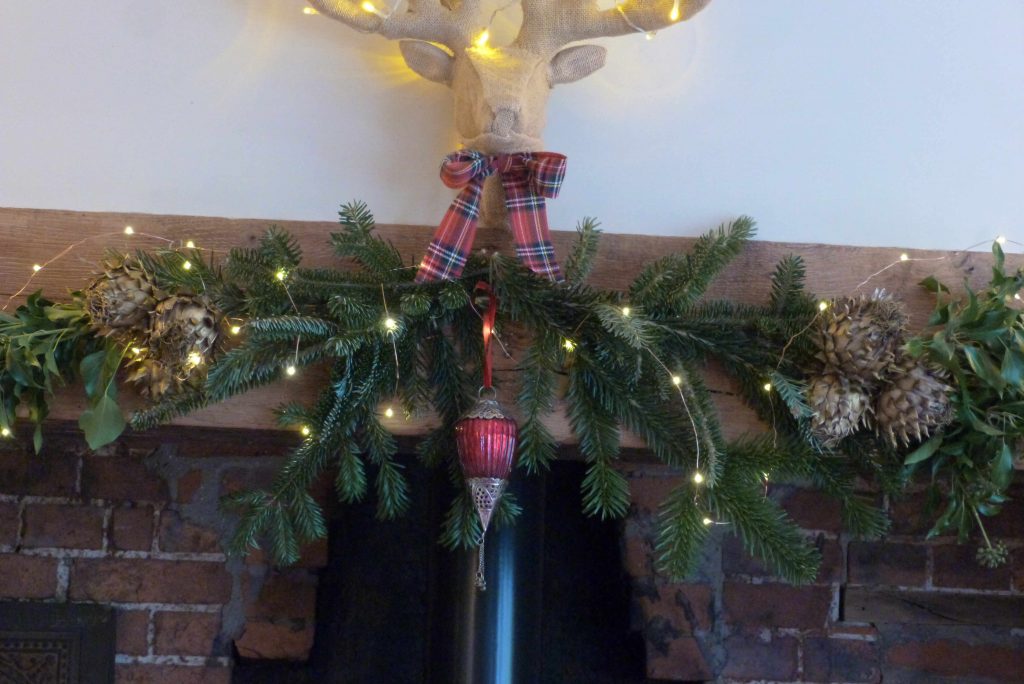
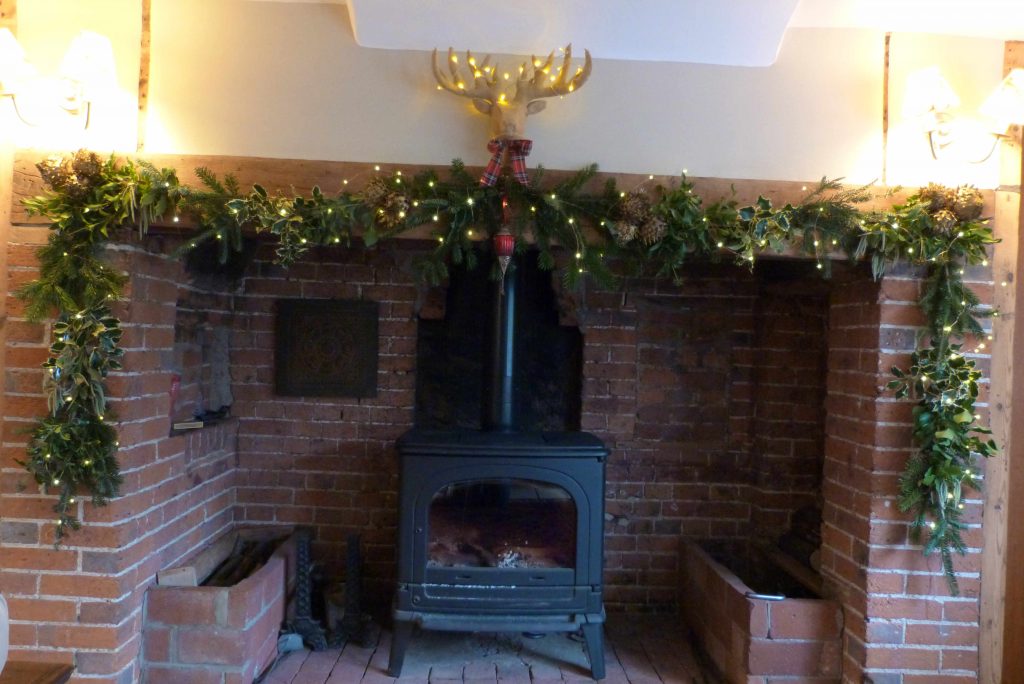
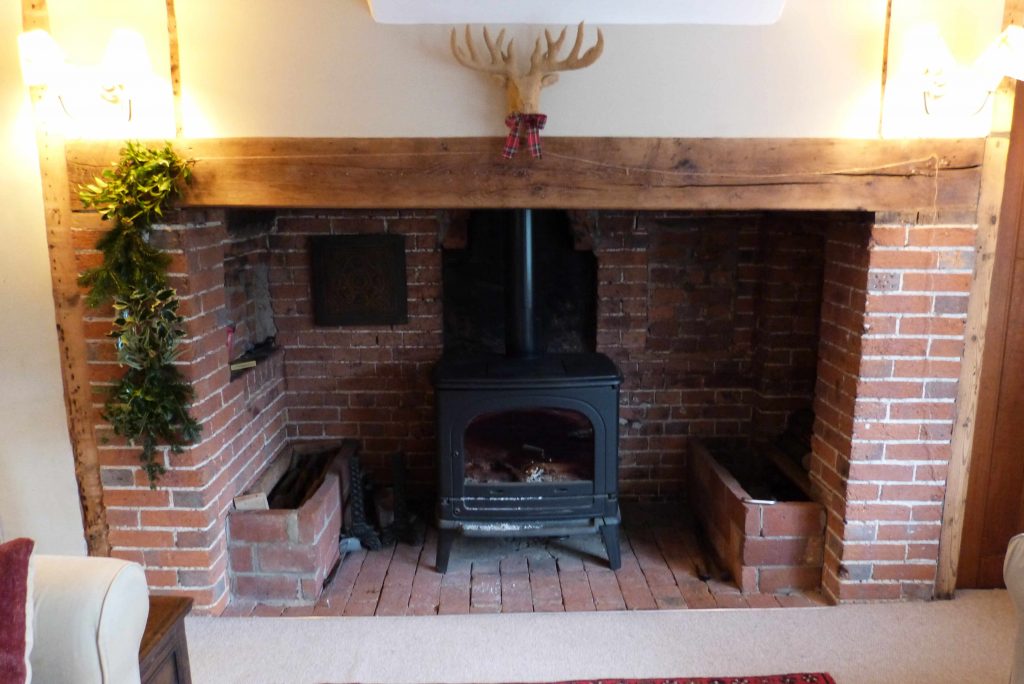
Christmas garlands are a fabulous way to decorate a fireplace or staircase and they’re much easier to make than you’d think. This fireplace garland took me two hours and that included the time spent in the garden picking the foliage.

Equipment needed:

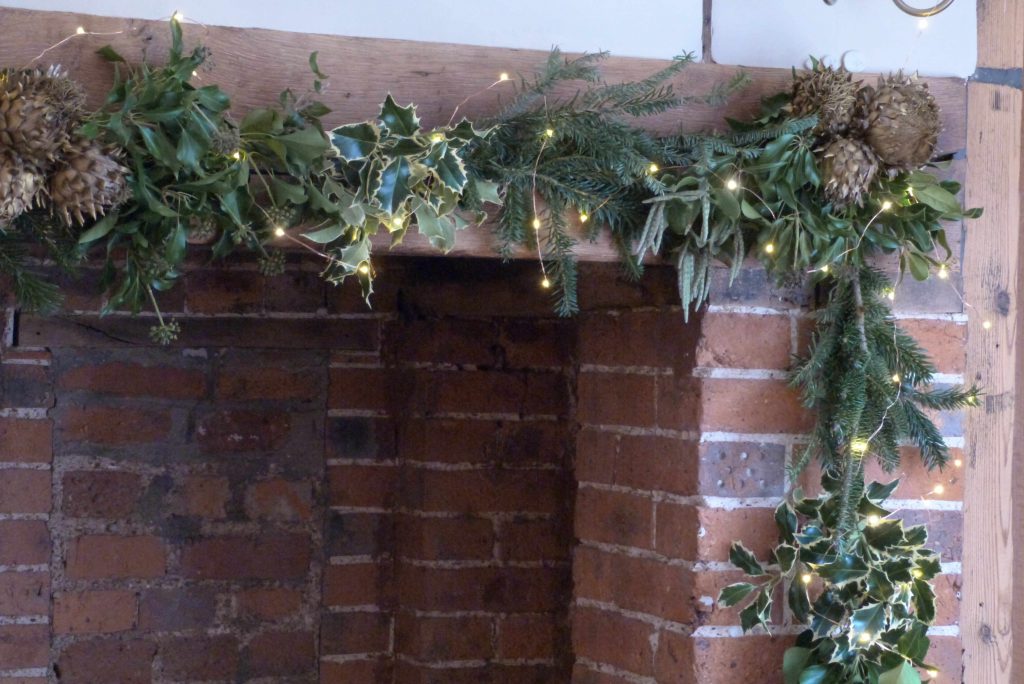
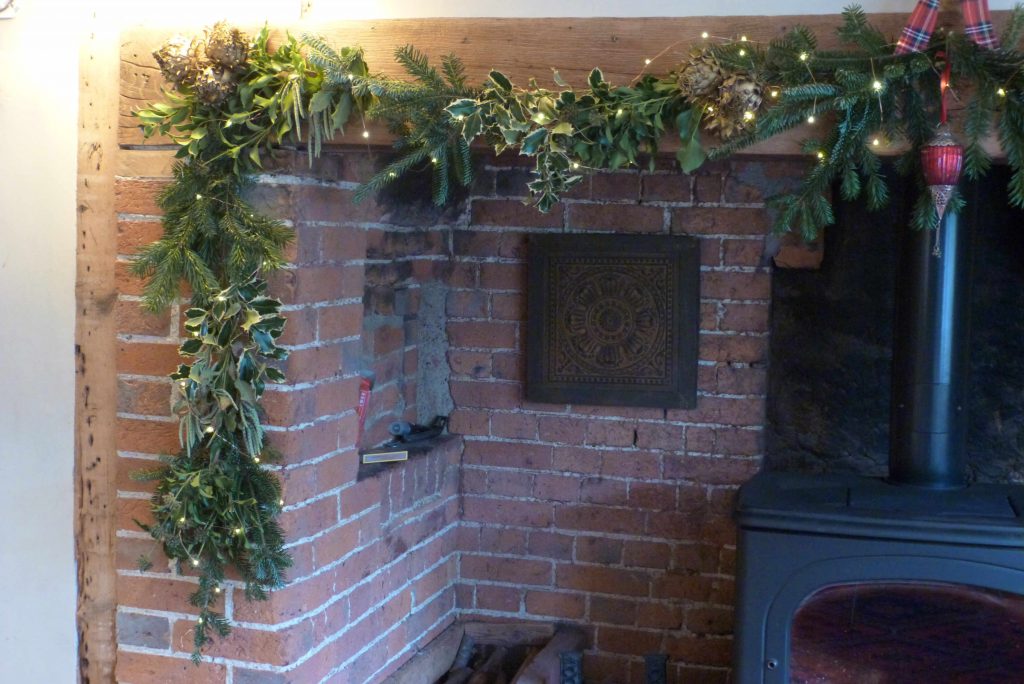
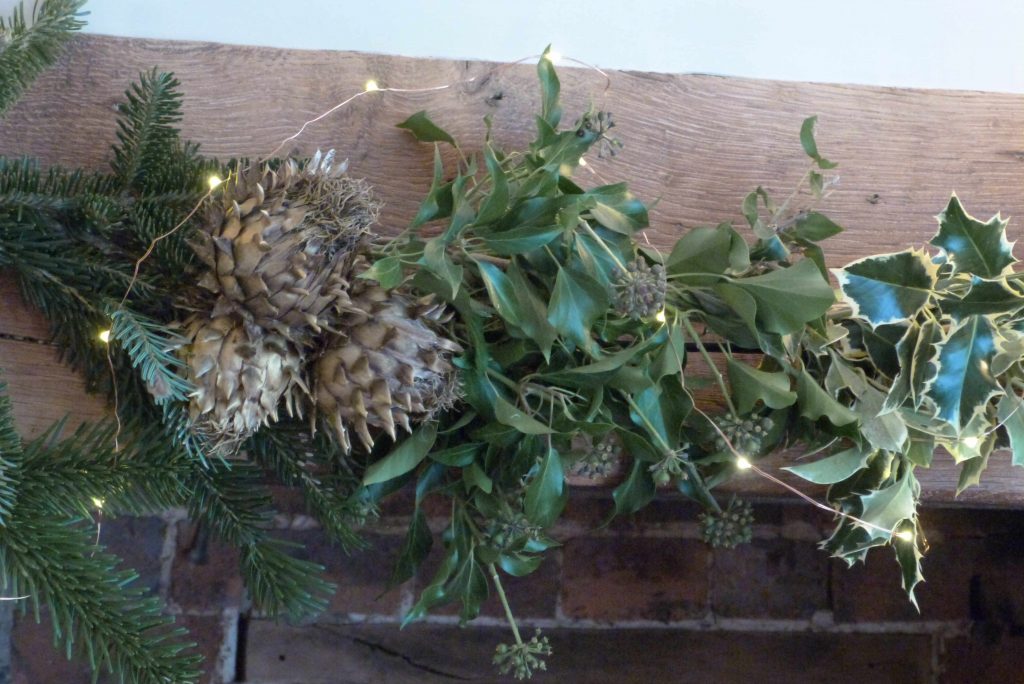
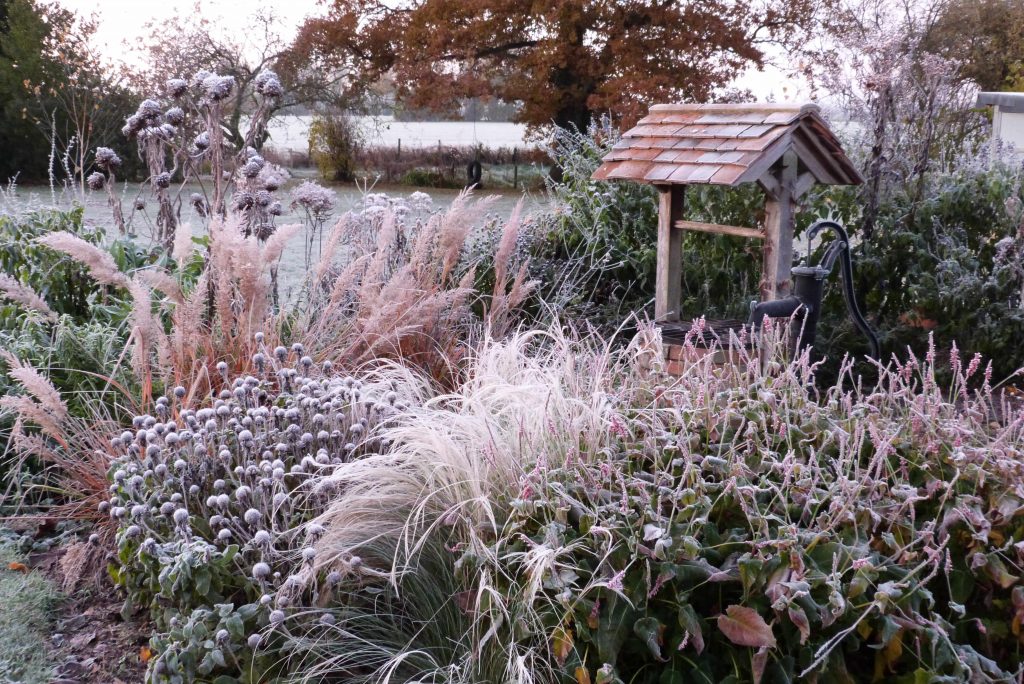
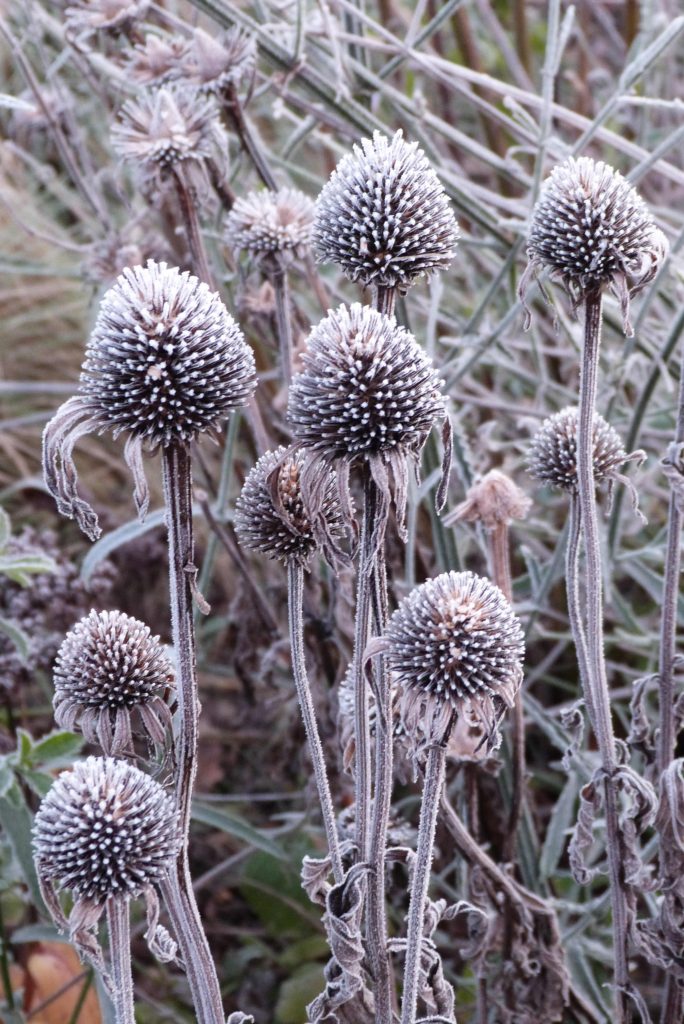
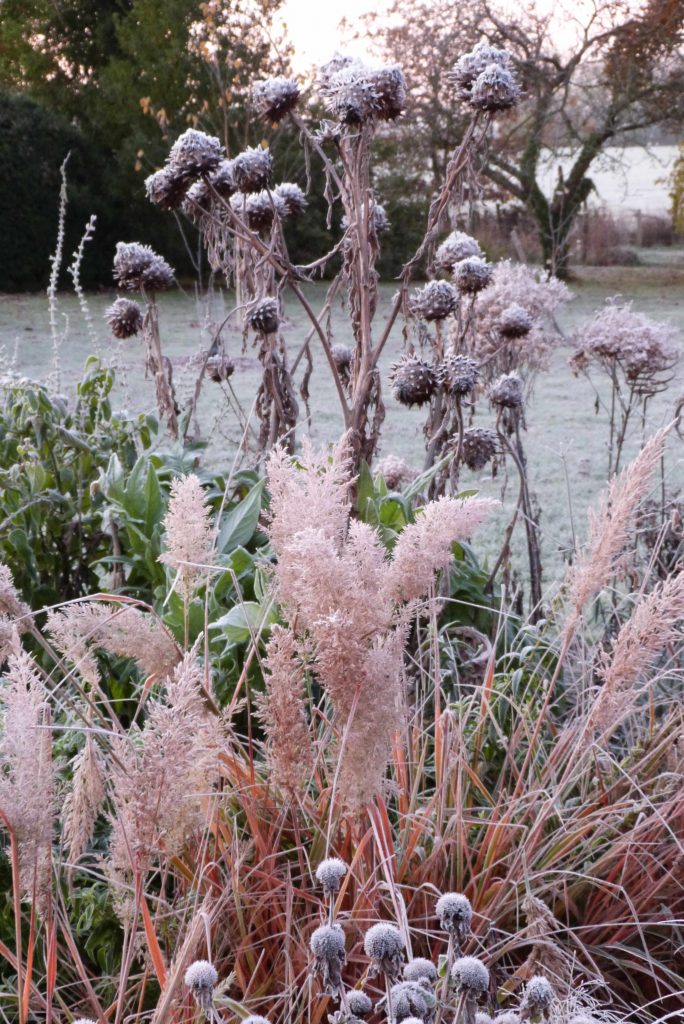
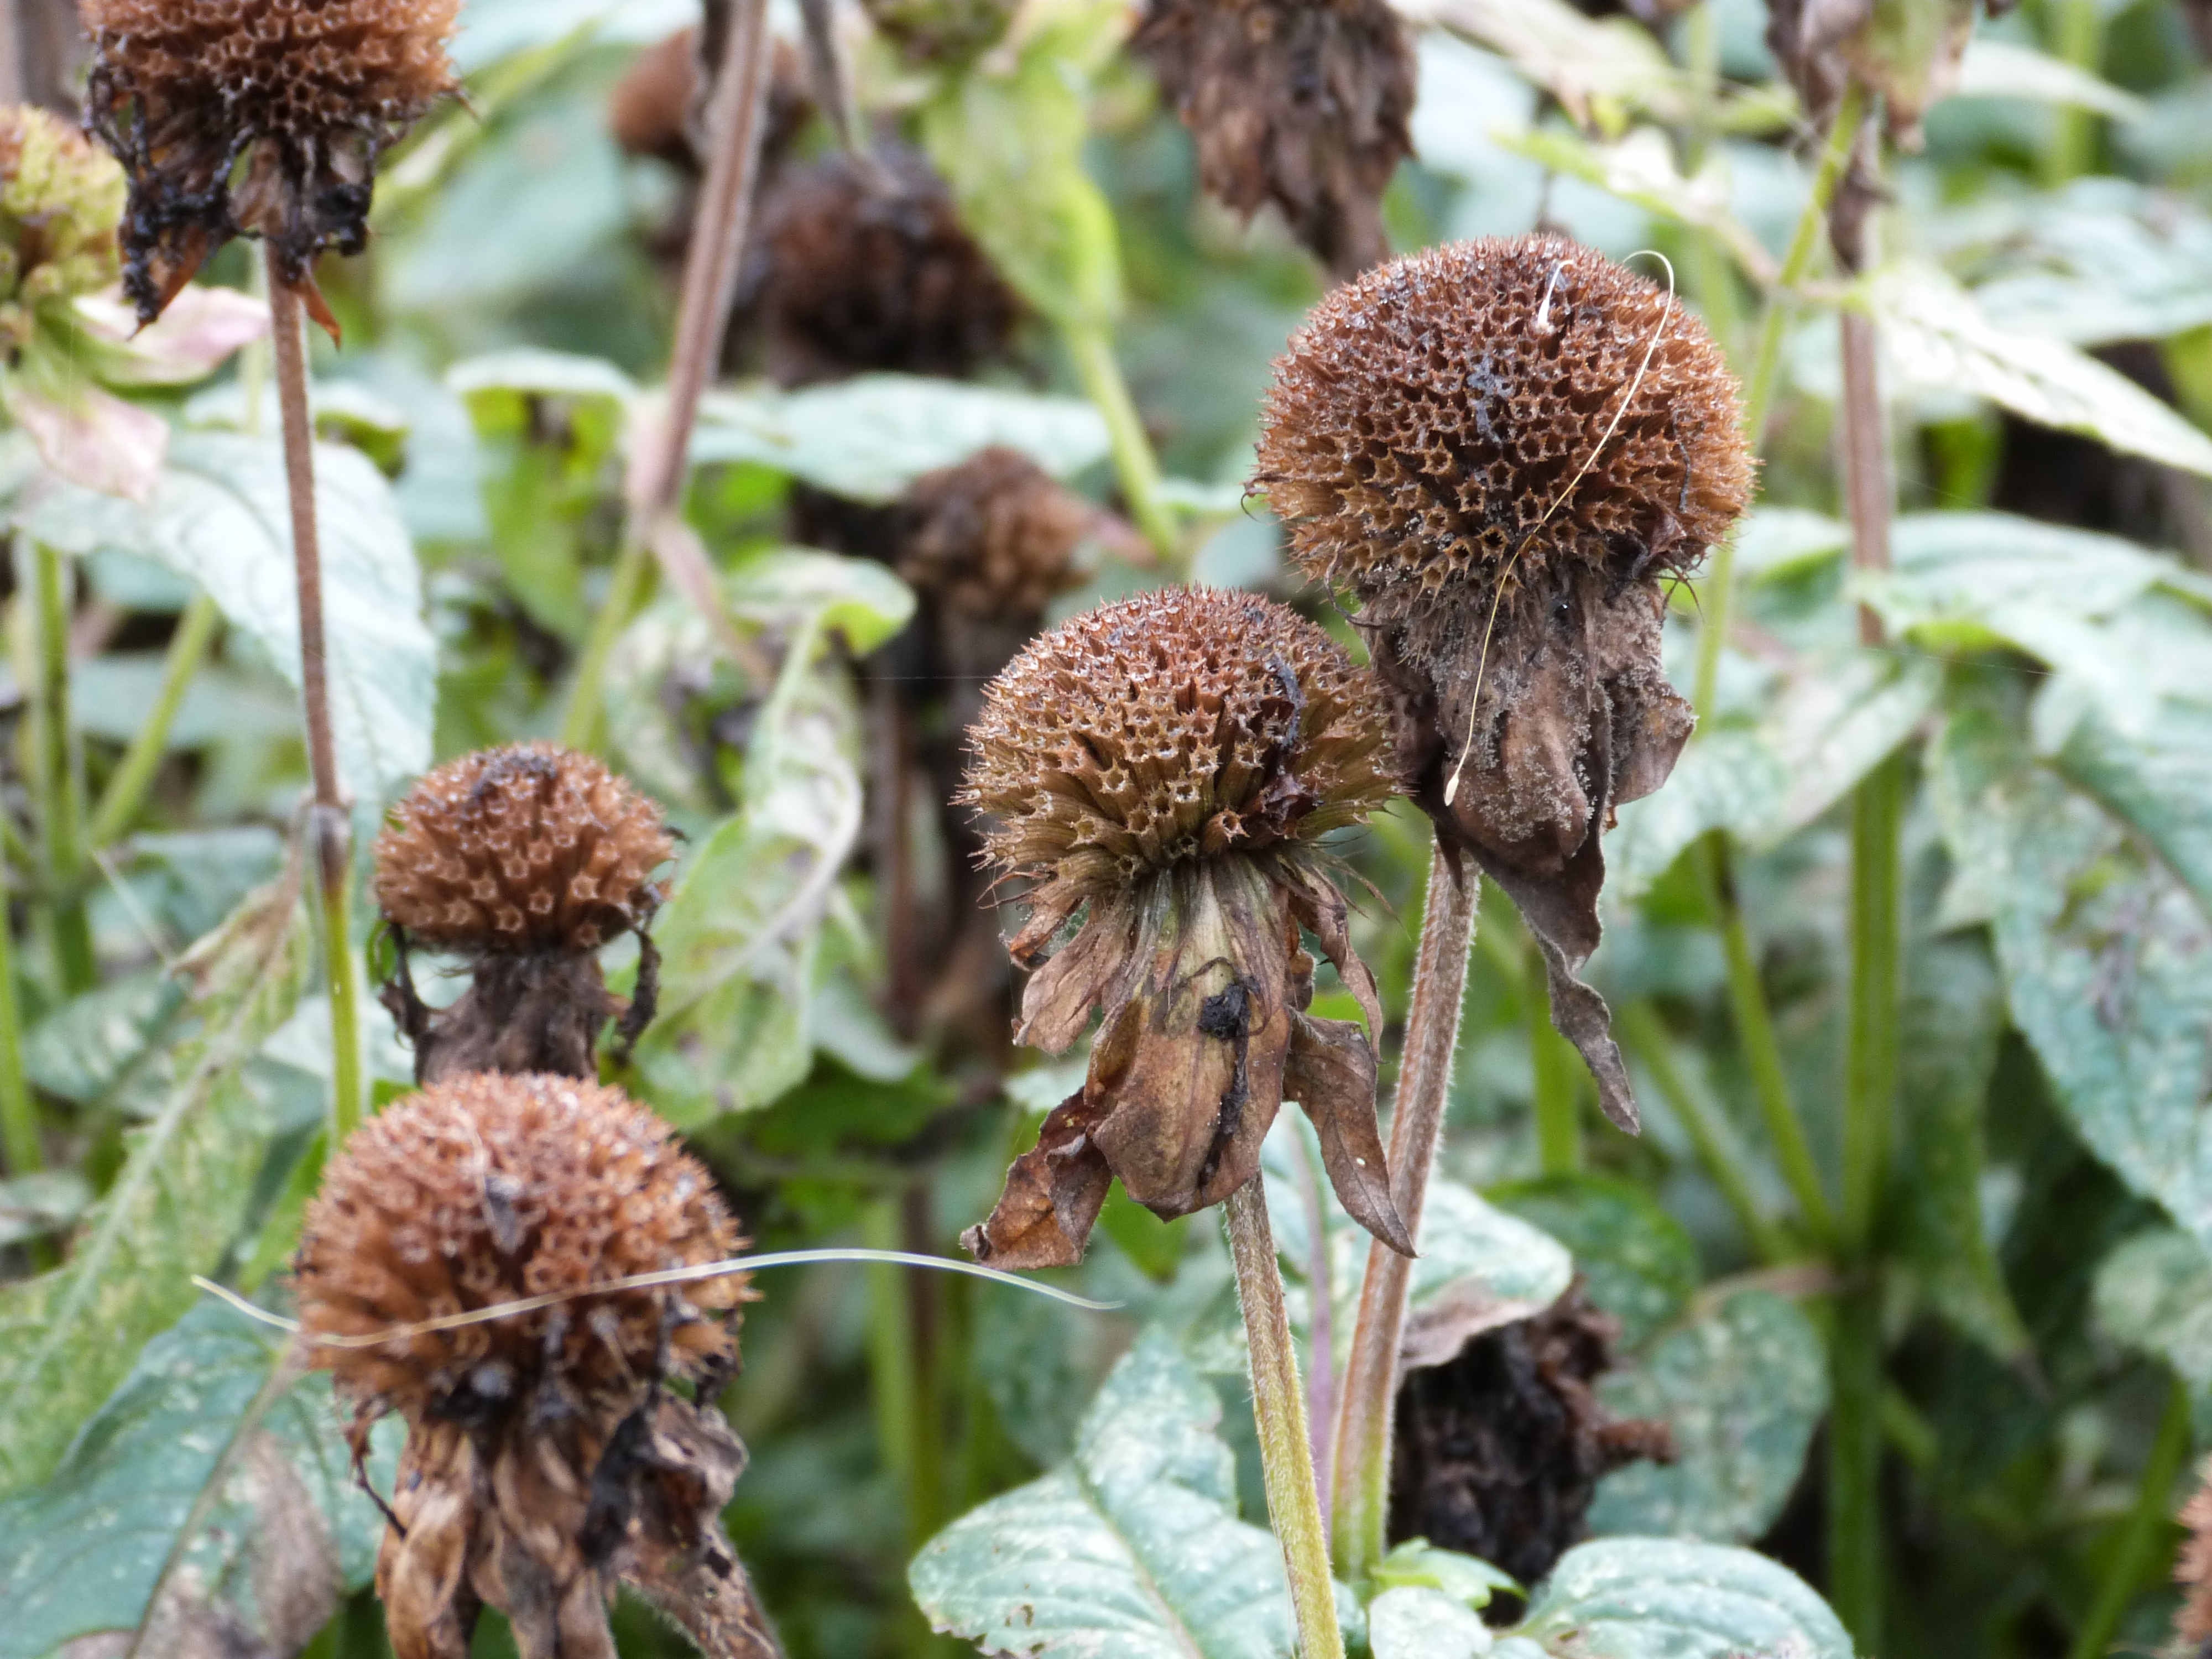
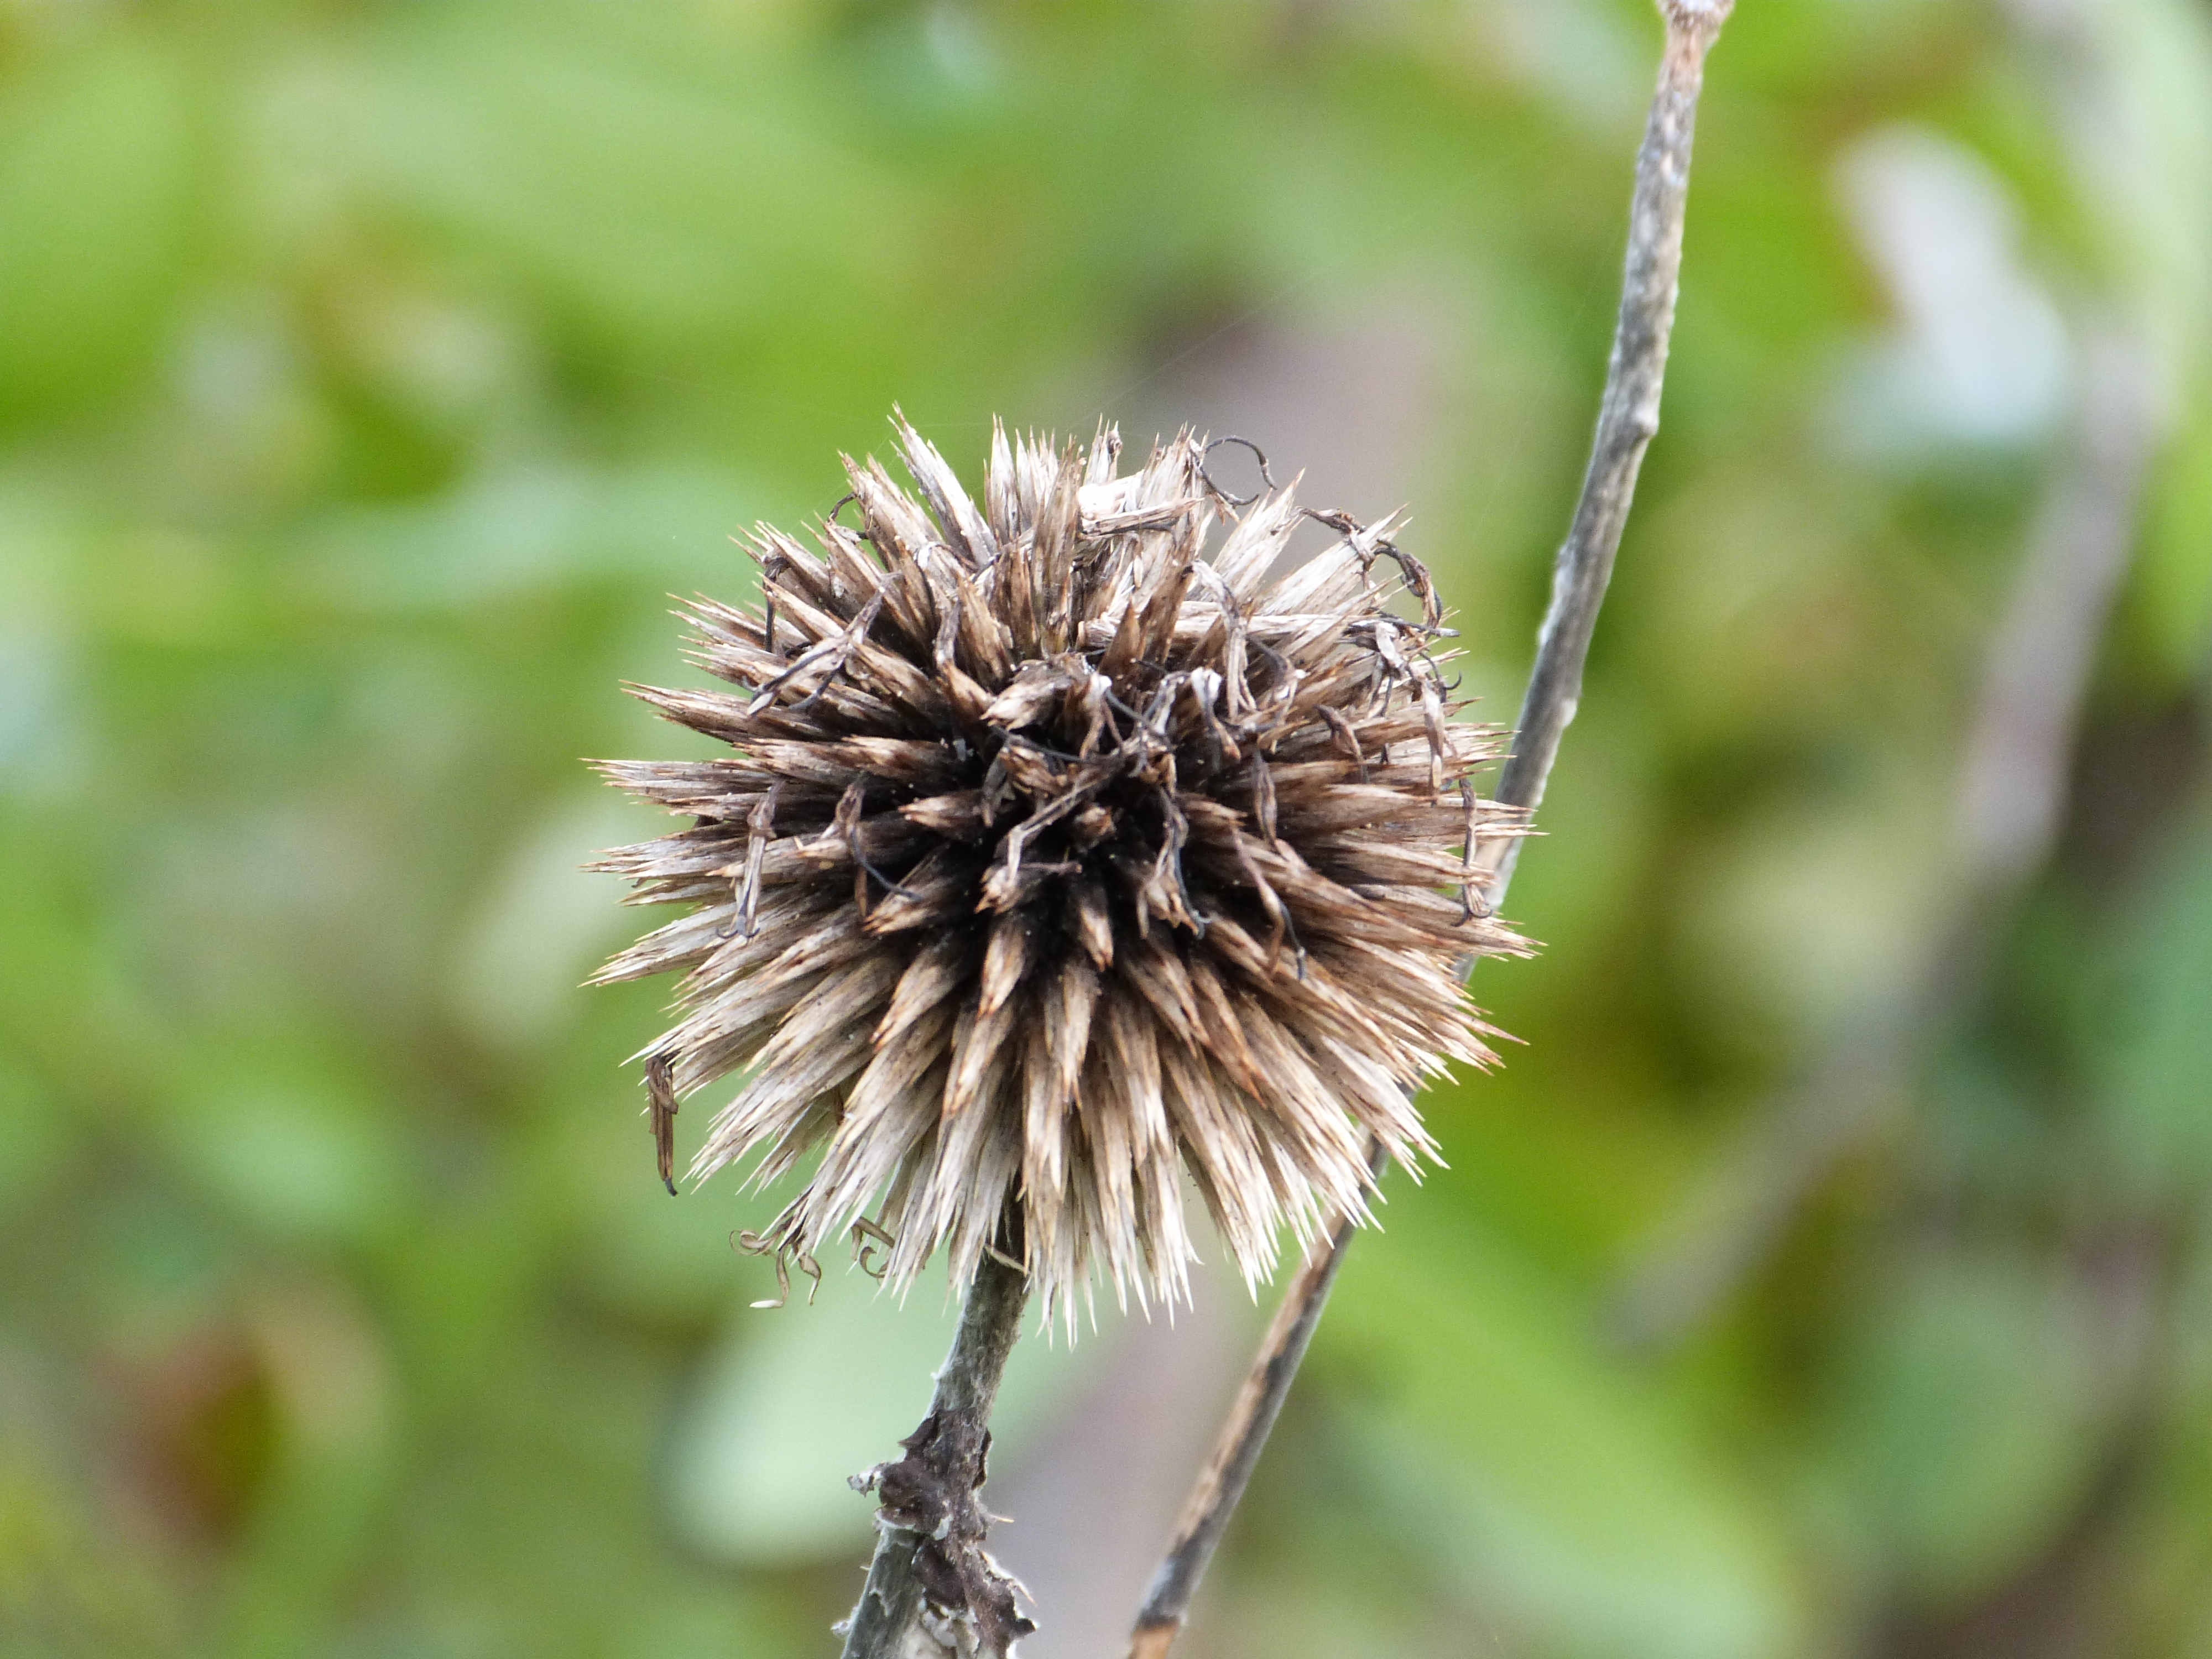
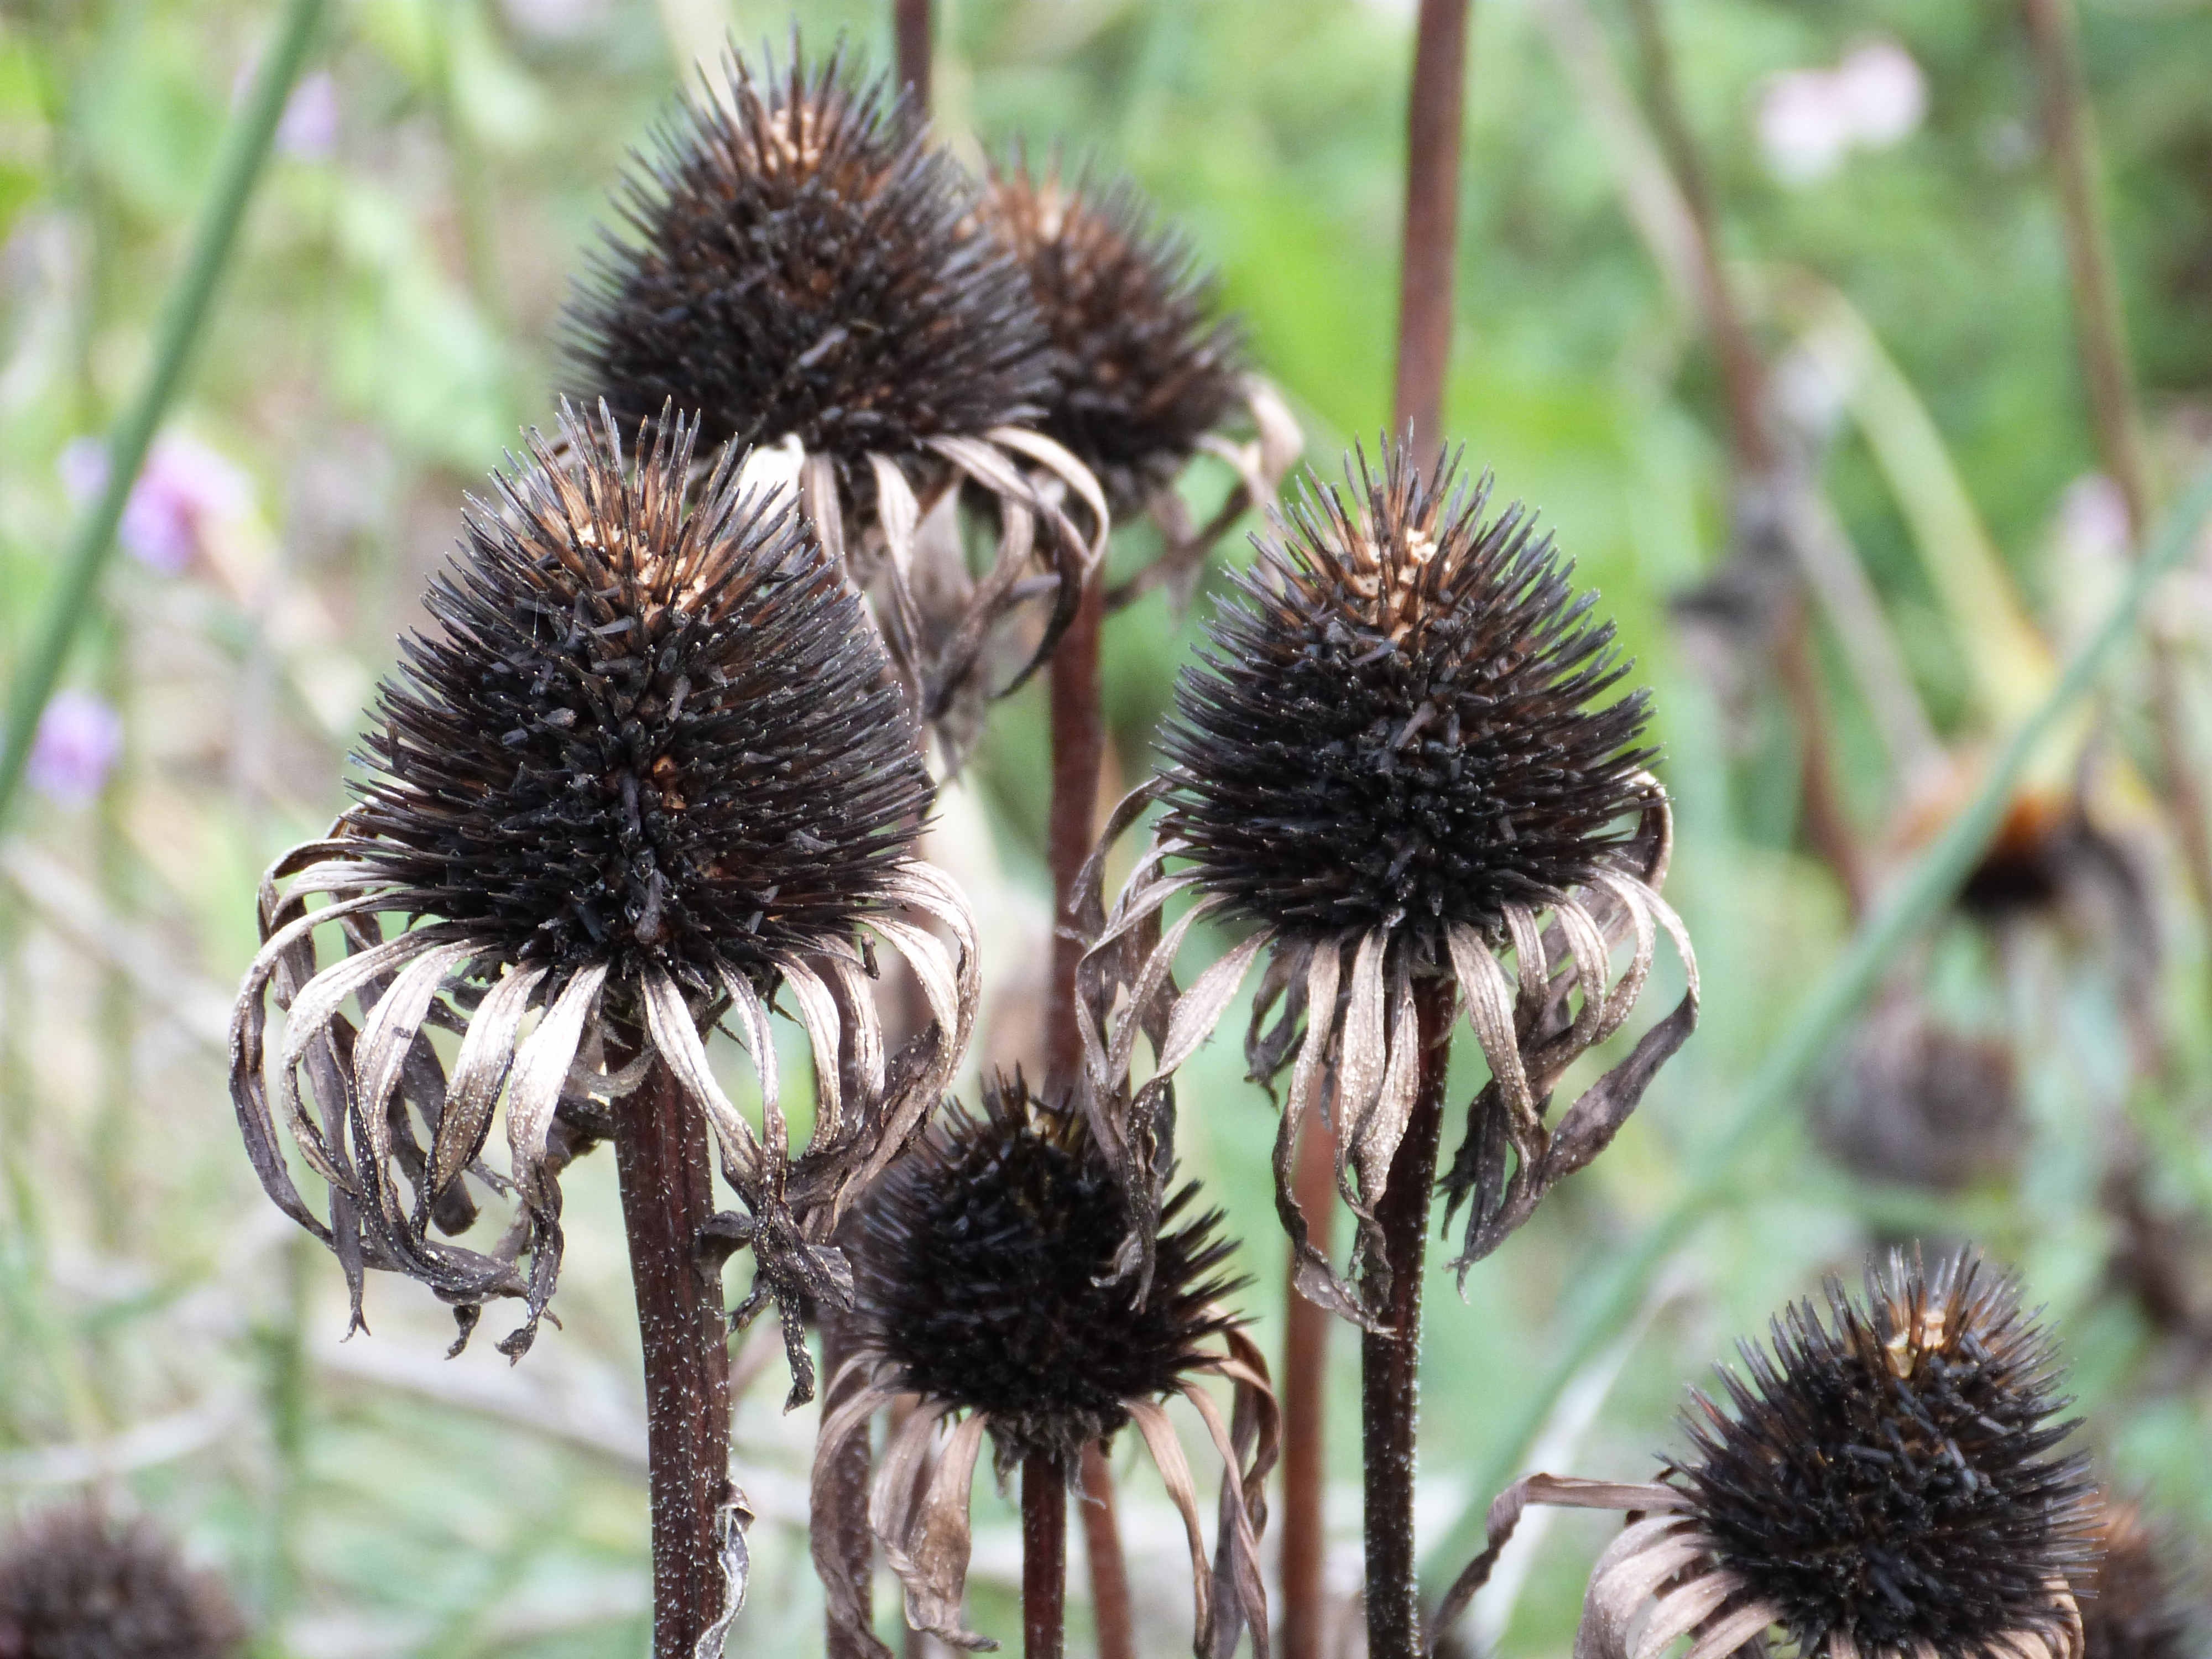
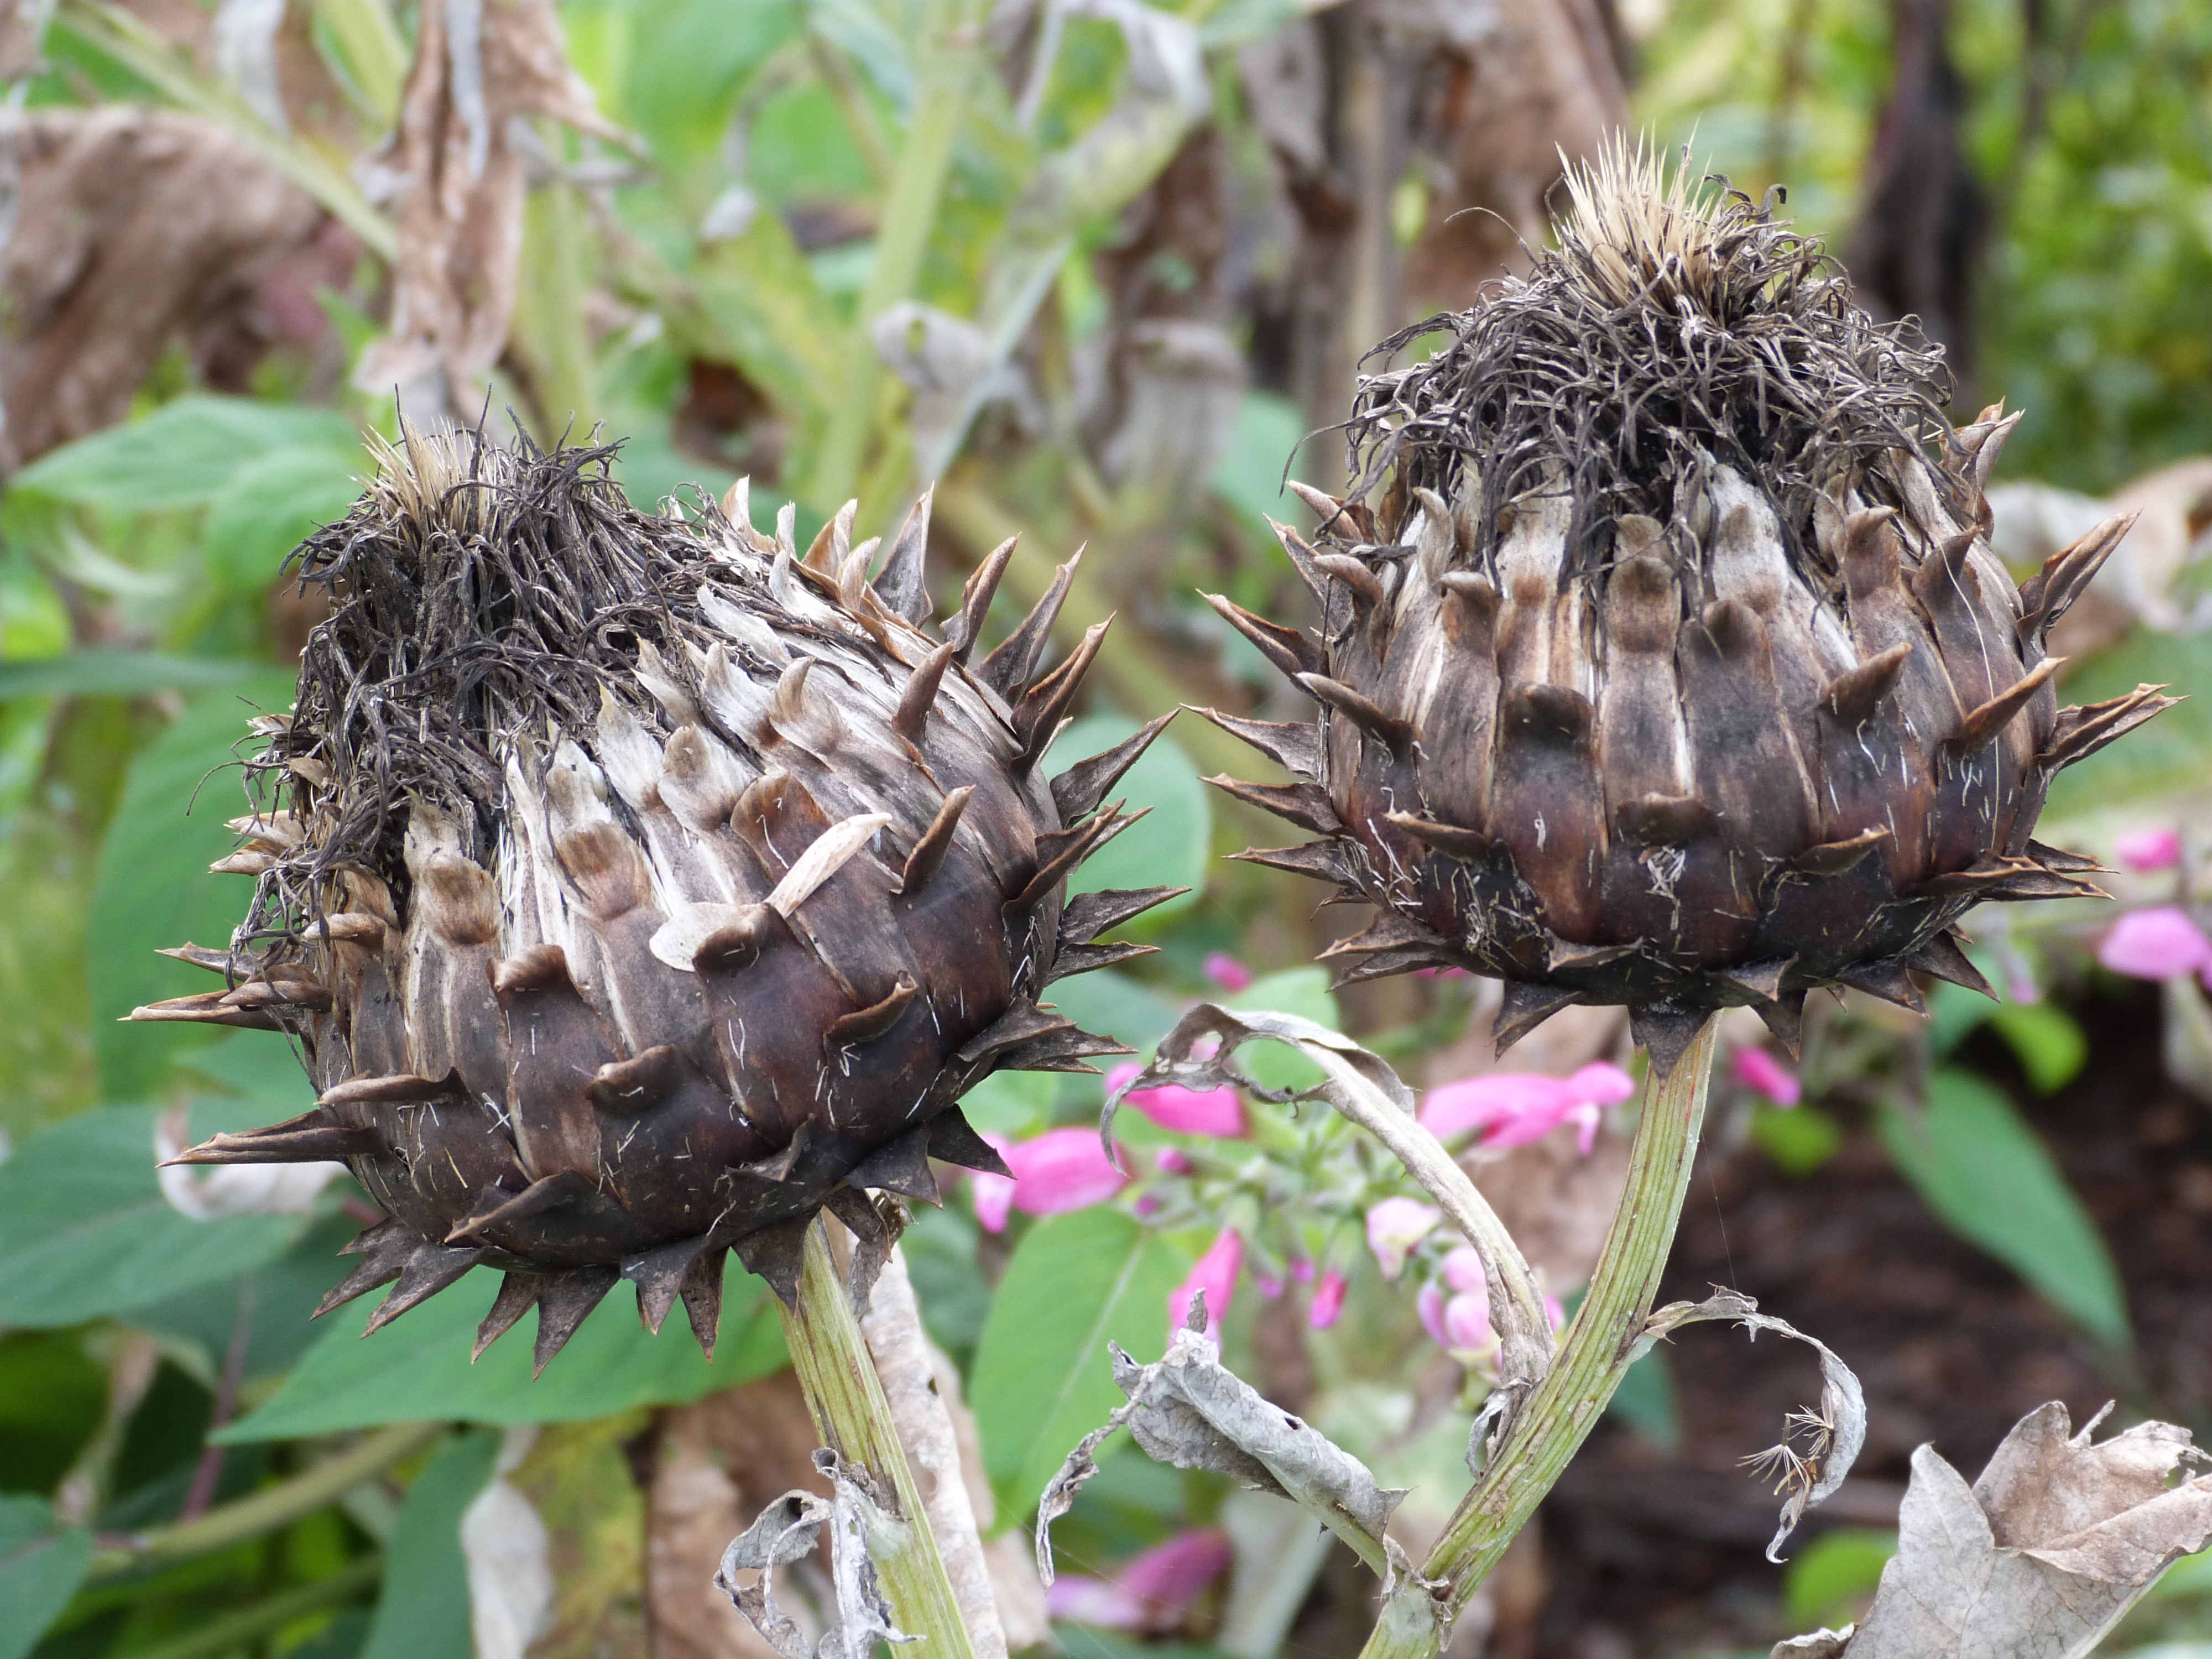
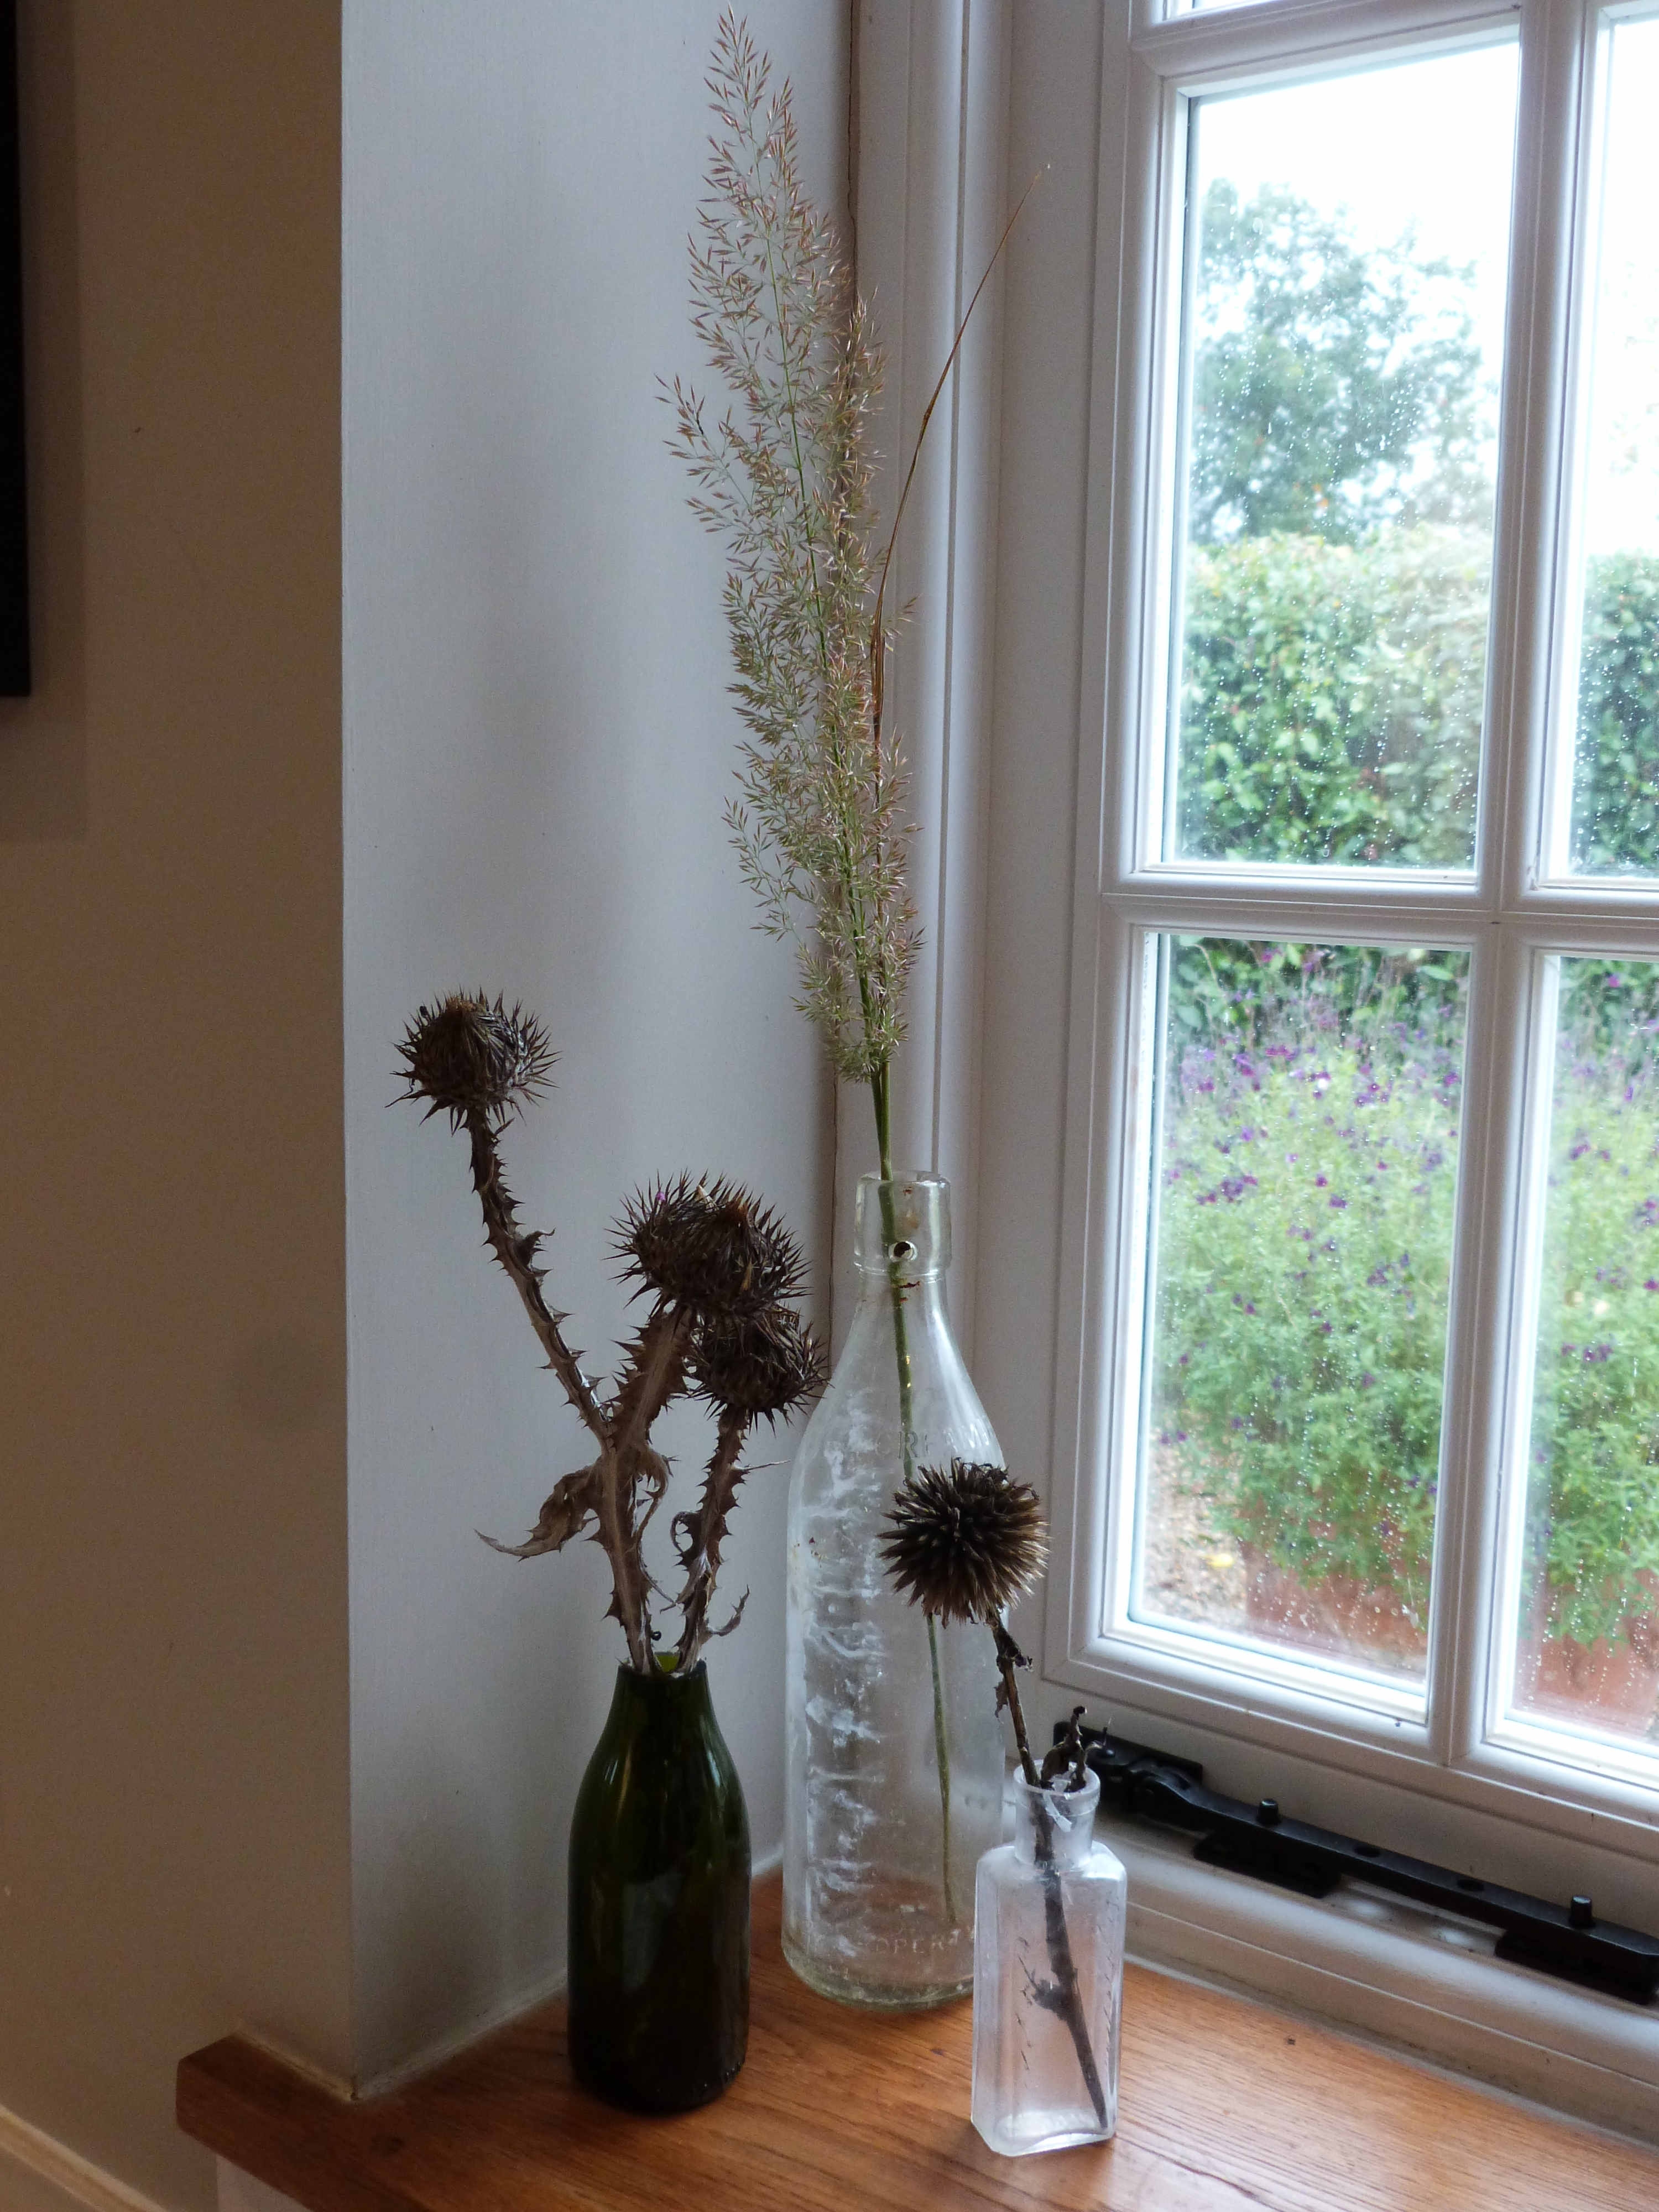
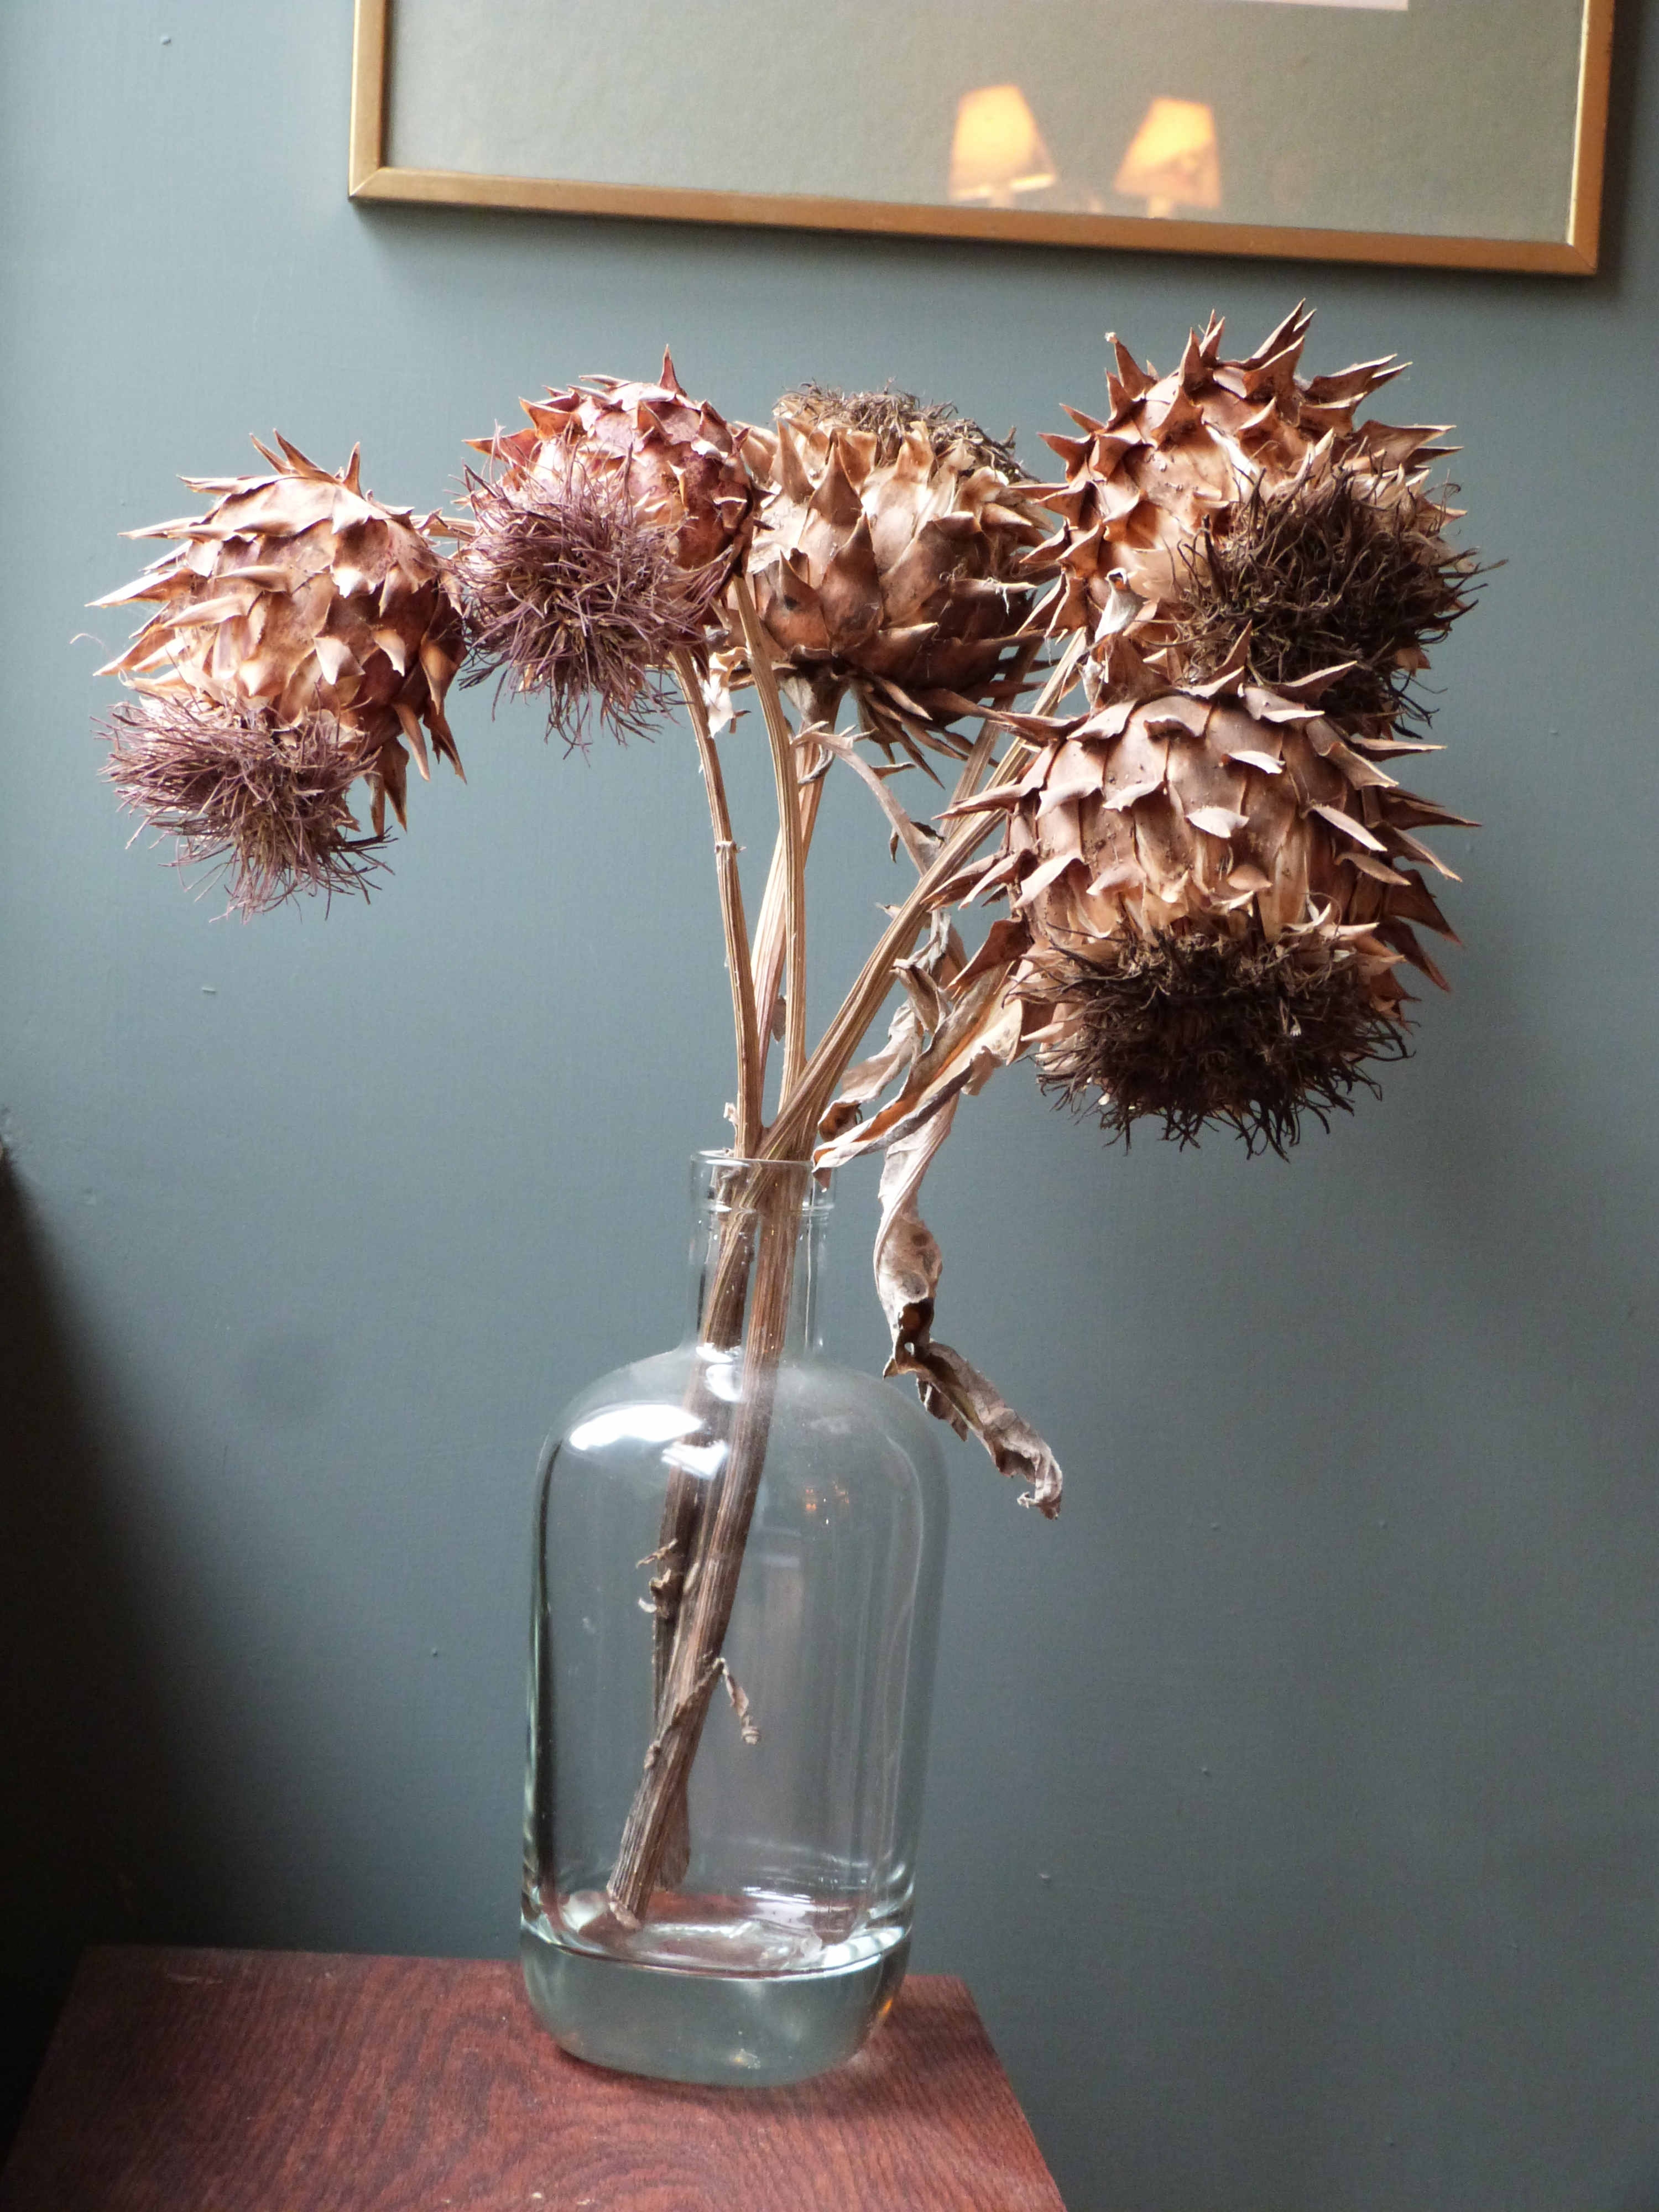
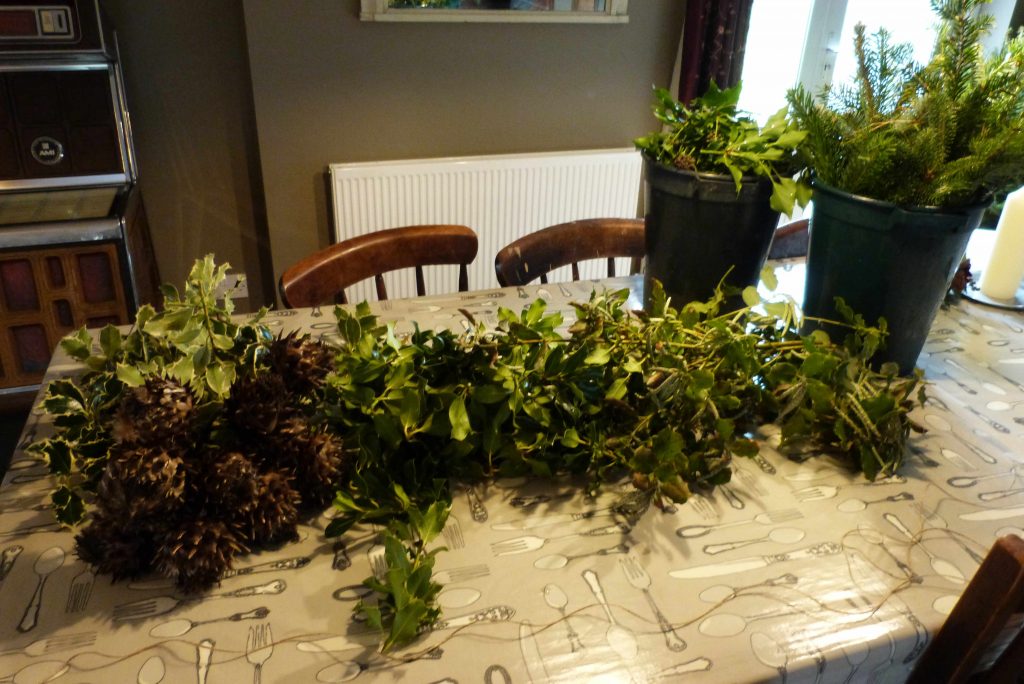
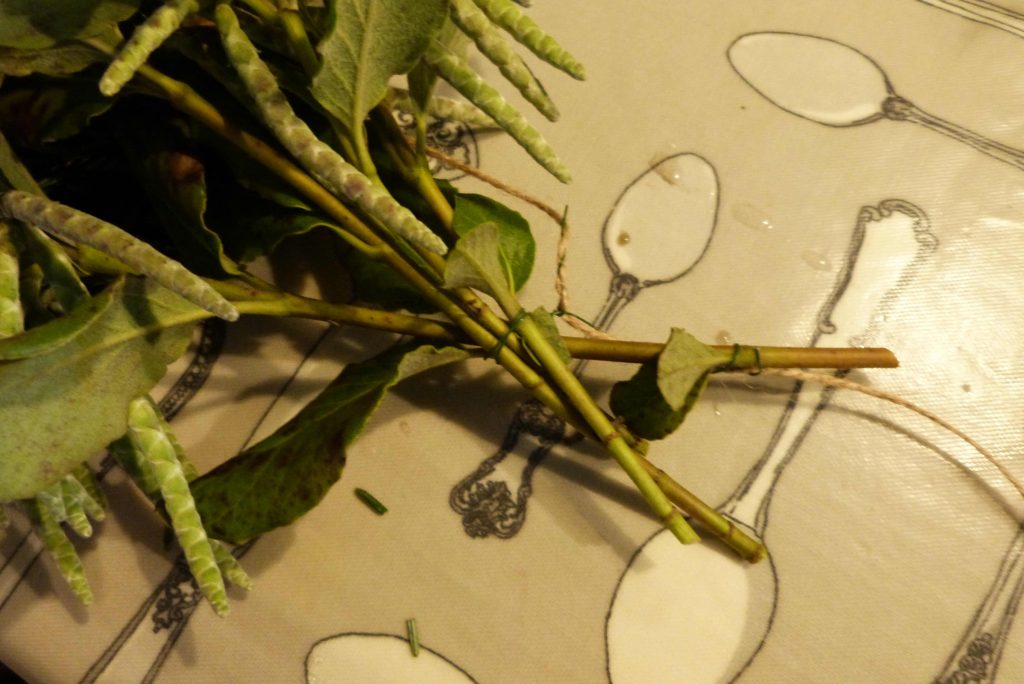
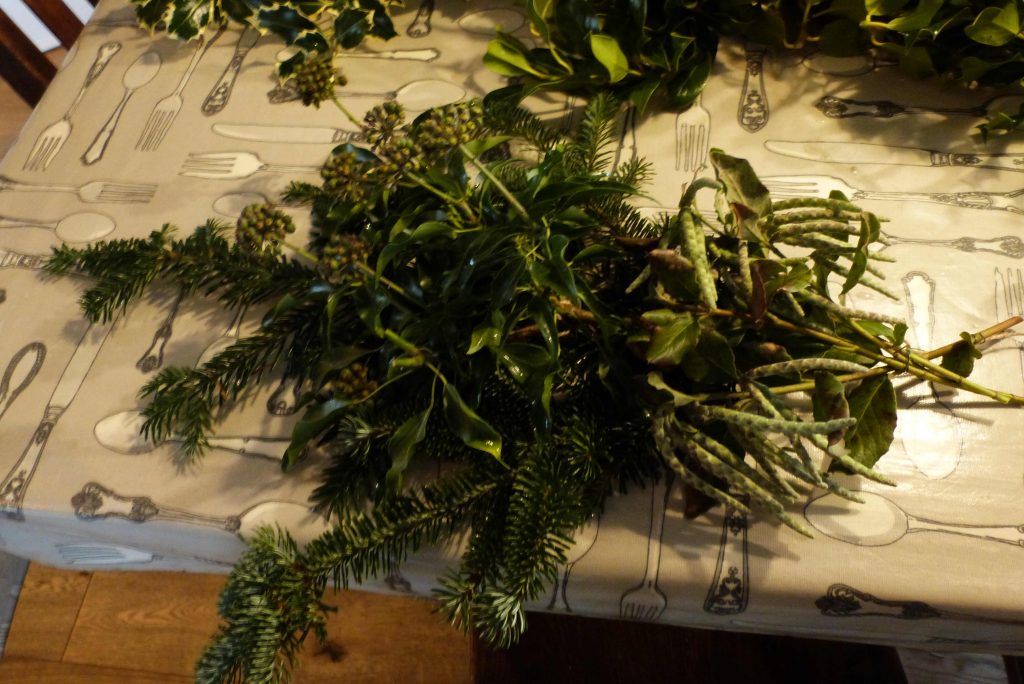
  • Foliage from the garden, evergreen glossy leaves last the longest. I used branches from non-drop Christmas tree, Ivy, holy, garrya and dried cardoon flower heads
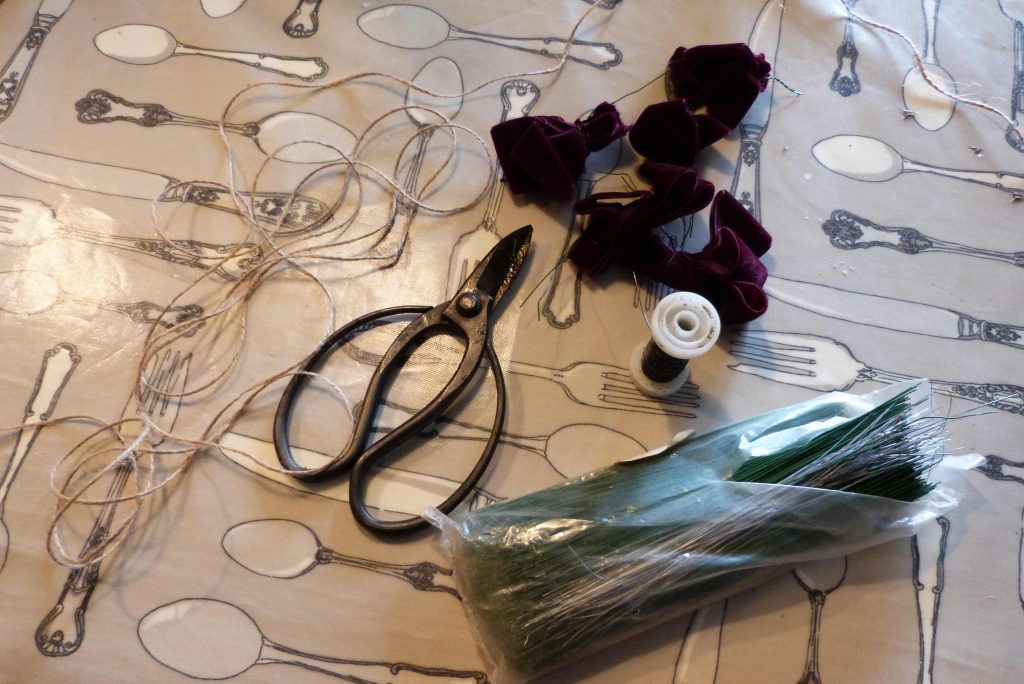
  • florist wire
  • garden twine
  • garden snips or secateurs
  • fairy lights
  • ribbon (optional)
  • gold old Spray paint (optional)
Christmas decorating foliage from the garden
Equipment required

Measure the length of the garden twine to the length of garland you require. Bunch three or so stems of one type of foliage together, tie stems firmly with wire to secure in place. Then wire to the start of the garden twine.

Note the stems wired together and then wired to the twine.

Take the next wired bunch of foliage and wire it to the twine so that it just covers the stems and wires of the previous bunch, and repeat.

Once I had a length for the first section of my garland I decided to secure the twine into place, with nails in the top two corners and in the centre. If you decide to continue working on a table and it’s for a fireplace make sure you’ve marked the middle point on the twine as once you get to the centre the foliage needs to be tied in the opposite direction.

Attaching the garden twine to the nails on the fireplace

Continue to tie in the bunches of foliage with the garland in situ.

tieing foliage to a garland
The first half of the garland. Please note the cardoon heads have only just been spray painted gold so still wet and needing the protection of paper!

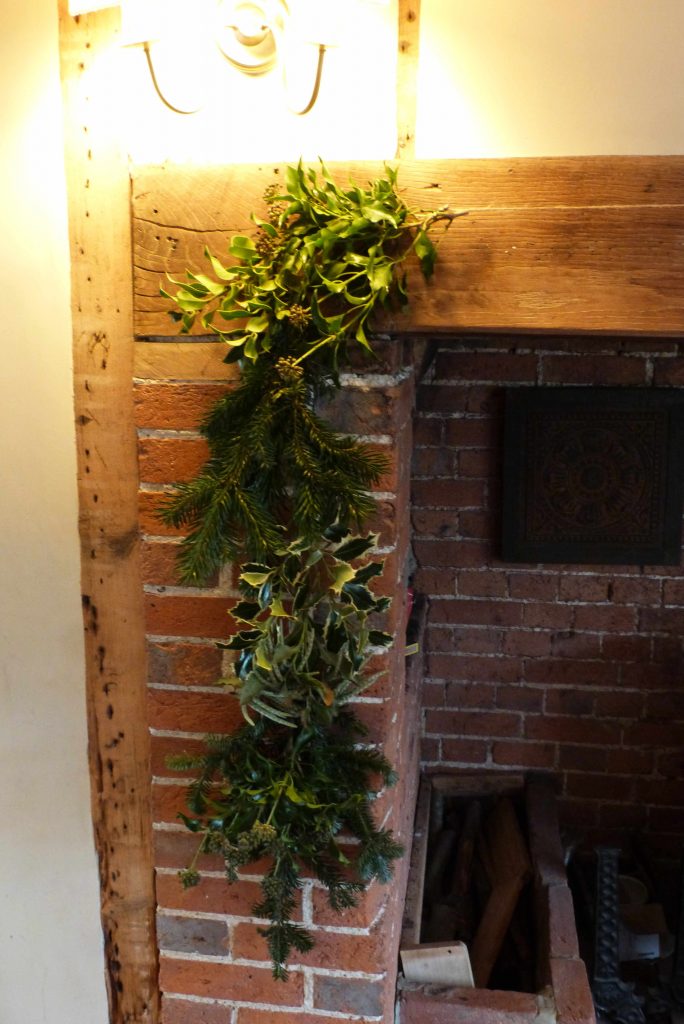
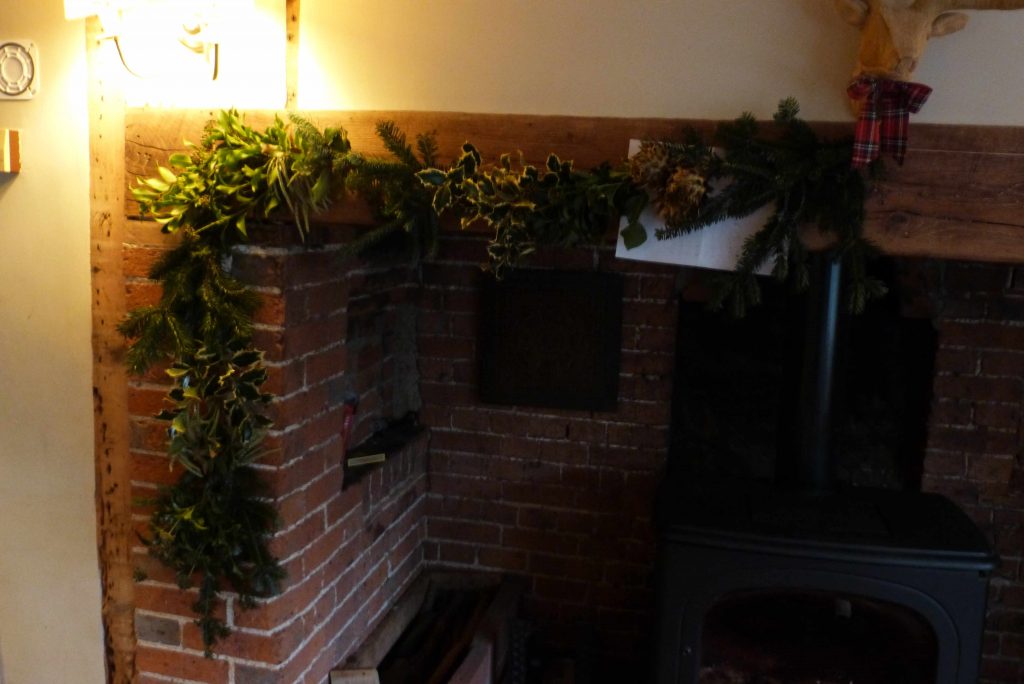
In the centre I chose a single stem of christmas tree to splay across and then directioned another single stem of christmas tree to mirror on the other side. I continued the garland attaching foliage in the same order as the first side, to mirror and keep the garland balanced. Once the main garland was completed I added extra gold sprayed cardoon heads, a central Christmas bauble, battery powered (I have no power point near the fireplace) fairy lights on a bronze coloured wire. You can add extras like ribbon bows if you like.

The finished garland
The centre of the garland

Winter beauty in a vase

Flowers in my home are as important as pictures on the walls. I’ve said this many times, but I really do feel that our home loses some of its soul when its not filled with flowers from the garden.

In October dahlias, zinnias, cosmos and the like are still bringing large displays of colour into our homes, then the sudden shock of frost can leave rooms looking bare and empty, without the vases of blooms we become accustomed to during the year. There’s a great risk that the winter months of November, January and February can look stark and cold with that empty feeling similar to when Christmas decorations come down, the warmth and fun of the festive season over, replaced with cold, damp, monochrome winter days. We need to start planning alternative vase displays for those tricky months winter months.

With the popularity of naturalistic (prairie) planting in our gardens we’ve come to realise the beauty of our garden borders in winter. The great proponent of this and my garden hero, Piet Oudolf values the garden in winter as much as any other season, he believes the winter garden and its magnificent decay is about texture and shape, the seed heads and the skeletons. This has become an important feature of my own garden, I’m also keen to bring it into the home, filling the flower gaps and embracing the detailed structural beauty of the winter garden inside as well as out.

So, I’ve been out in the garden looking for inspiration.

eupatorium seed heads

Echinops seed head

Echinacea seed heads

These are some of my winter arrangements so far:

Homemade apple juice and cider

We’ve fifteen apple trees and one pear tree in our garden, I’ve always felt guilty that we’ve not made the most of the fruit. We don’t buy dessert apples in September and October, a few apple pies are made, but, the majority fall to the ground waiting to be picked up and put on the compost heap. Past attempts to store apples have always attracted mice or rats, resulting again in the whole lot going on the compost heap.

So this year I treated my husband who has a September birthday to an apple press and crusher, with the idea that we’d make lots of juice and cider from our apple harvest. So yesterday we spent a productive day, picking, juicing and bottling our apple crop.

To my amazement the whole family joined in! We had a great day crammed into our boot room (three boys, two dogs, my husband,myself, the dog beds, laundry and apple pressing paraphernalia. No doubt those of a hygienic disposition will stop reading at this stage), everyone taking on a role in the production process, and sticking with it!

Apples on the treeDessert apple ready for picking

Cooking apple harvestPicked cooking apples, dog beds and clean laundry in our boot room yesterday! 

Crushing the applesThe apple crusher. Apples were cut in half and put in the top where they were the were grated ready for juicing.

Pressing the applesThe crushed apples were then put into the nylon bag in the apple press, the wood chocks inserted and the press screwed down…

The apple juice flowing…and the juice flowed

Once juiced it will keep in the fridge for a couple of days. We had 36 litres of the stuff so we decided to pasteurise and bottle the dessert apple juice and some of the bramley apple juice. The rest of the cooking apple juice was to become cider.

How to pasteurise your apple juice

To pasteurise you add 5 grams of ascorbic acid (vitamin C) to 10 litres of juice and then put in glass bottles. The bottles (uncapped) are placed in a large sauce pan of simmering water. A digital thermometer is placed into the bottle and when the juice reaches 75 degrees C remove the bottles and place the caps on tightly. This method should ensure the juice has a two year shelf life.

Pasteurising the apple juicePasteurising the juice, the wire coming out of the bottle joins the digital thermometer

Dessert apple juiceThe dessert apple juice bottled 

How we made our cider

The majority of our cooking apple juice was placed in a fermenter for cider. A packet of cider yeast was added and this will be left for a couple of weeks until fermentation is finished, my husband tests for this with a hydrometer. The juice is then transferred to another container where campden tablets are added to sterilize. The cider is then transferred to bottles and will be ready for drinking in 6 months.

The apple juice in the fermentor, destined for cider

All in all a very productive day, the boys loved crushing the apples, the husband has a ridiculous amount of cider to look forward to next spring and I have fewer apples to pick up and compost this year and that warm satisfying feeling that I’m making the most of what my garden has to offer.

A Produce from the garden up date.

My cutting garden has moved to the side of our house, bricks laid by my own fair hands, but I have to confess the flowers (like me) are behind this year, veg is bit behind too! Life… it’s not all bad news though, I do have lots of new dahlia varieties this year which have moved into my old cutting garden so we have that to look forward to.

I have also been busy with a different ‘produce’ from the garden. I’ve been working with a number of clients with differing needs providing therapy from the garden. Horticultural therapy is an amazing intervention that makes a positive impact to someone’s life, enhancing wellbeing, confidence and engagement. I work one on one with clients in their own gardens, if you know anyone who might be interested and benefit from Horticultural therapy do call me on 07814 550254 or message me. And I promise dahlias will be on that stall in the weeks to come!

P.s. the fence in the picture will be going once the laurel hedge is tall enough and thick enough to keep the dog in!

Holiday flowers

Holiday flowersEven though we’re on our hols I can’t resist flowers on the table. Picked from the roadside, the husband was very good and didn’t complain once when I yelled ‘stop’ whilst wiggling round the country roads.

Our first melon

My first melon

My first melon. I’ve not grown melons before, it’s never really occurred to me, until I was rifling through Lidl’s fabulous spring selection of seeds which cost pence. I end up buying far too many packets and often plants I’ve never considered growing previously. I always feel it’s a wasted opportunity for 50p, leaving them in the shop. This year’s experiment was this melon, Lidl’s diligent efforts at keep costs down mean I’ve no idea of the variety, just the picture on the front of the packet. We’ve therefore named them mini watermelons. Perfect for my family who love watermelons (2 out of the 3 boys won’t eat any other variety), but if I buy the normal sized watermelon, they never get finished, and get left, tasting of vinegar in the fridge, destined for the compost heap. So yet again Lidl has come top with its wonderfully cheap seed.

Painting Grass!

I’ve spent the day painting a garden plan on to the grass. I’m really pleased as it’s given me a temporary impression of what the garden will be like and it’s easy to make changes. The lines are also going to be a very useful guide when work I start to dig. The only fly in the ointment is that this area of garden by the side of our house in currently occupied by my boys. Last summer I gave them a five year notice of eviction, in true unscrupulous landlord style I’ve just wound on the clock a bit! Negotiations with the boys have been fruitful and the swings moving down the garden and the play house is relocating.

So hopefully by next Spring we’ll have a Celtic cross like design, borders edged with bricks and gravel paths. I’ll just have to decide what to plant, a dedicated dahlia garden?

Celtic cross garden design

Sweet William, the must have cut flower for late Spring

Sweet William bridge the cut flower gap between daffodils and all the wonderful cut and come again summer annual flowers. I grow Sweet William ‘Auricula Eyed Mixed’, A range of pinks in every shade and white, some even with stripes. This year they’re growing amongst self sown Nigella, the combination is perfect. They have competed for space, providing me with lovely straight long stems, perfect for cutting. They’re also self supporting each other, no need for netting which I forgot to put in place earlier in the year!

Nigella and sweet williamThe wonderful froth of Nigella and Sweet William

Nigella and Sweet William in the cutting gardenNigella and Sweet William in buckets

Some close ups:

Light blue nigella

White Nigella

Dark pink sweet william

Pink stripped sweet william

Pink Sweet William

White sweet william

Save