A Produce from the garden up date.

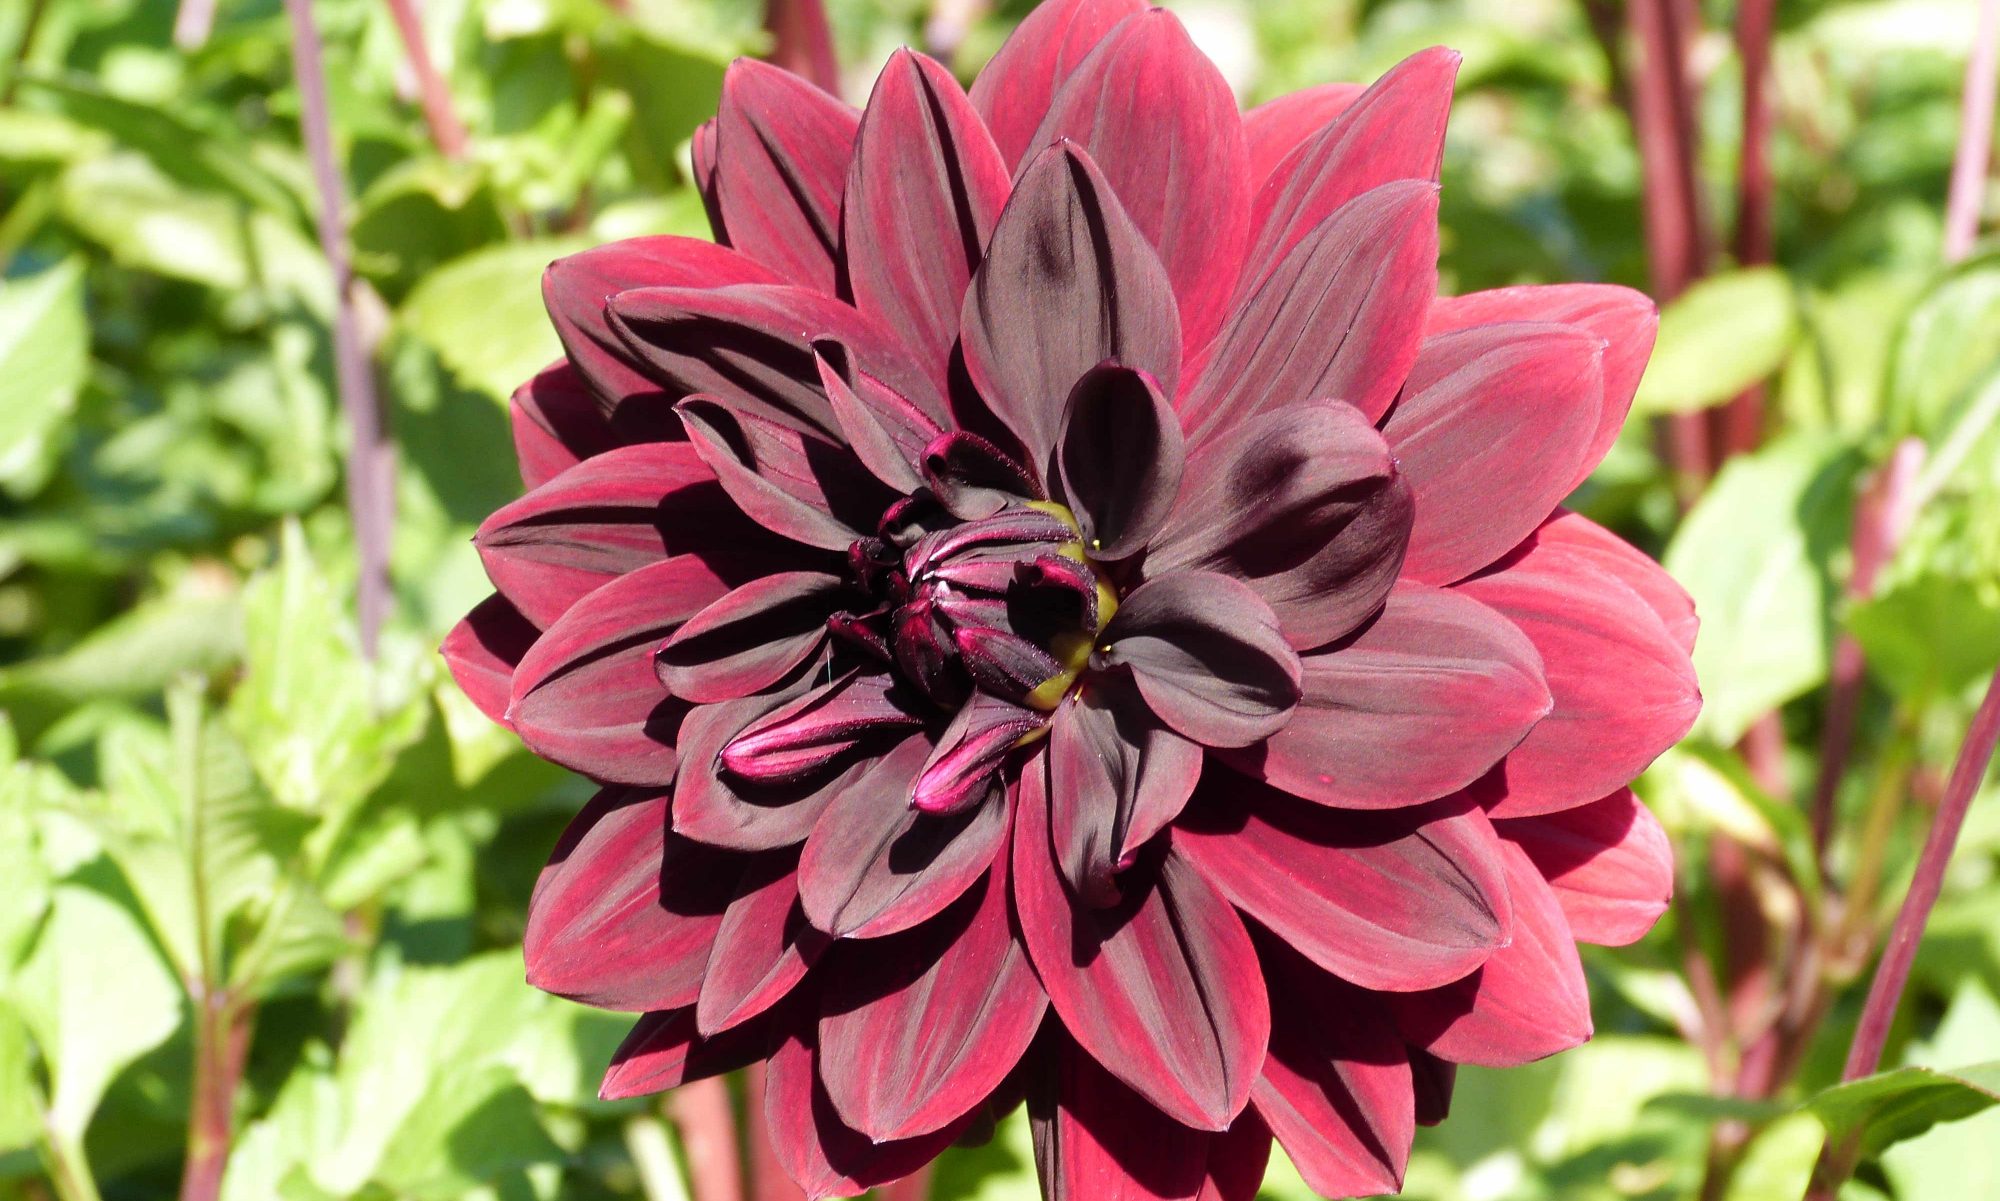
My cutting garden has moved to the side of our house, bricks laid by my own fair hands, but I have to confess the flowers (like me) are behind this year, veg is bit behind too! Life… it’s not all bad news though, I do have lots of new dahlia varieties this year which have moved into my old cutting garden so we have that to look forward to.

I have also been busy with a different ‘produce’ from the garden. I’ve been working with a number of clients with differing needs providing therapy from the garden. Horticultural therapy is an amazing intervention that makes a positive impact to someone’s life, enhancing wellbeing, confidence and engagement. I work one on one with clients in their own gardens, if you know anyone who might be interested and benefit from Horticultural therapy do call me on 07814 550254 or message me. And I promise dahlias will be on that stall in the weeks to come!

P.s. the fence in the picture will be going once the laurel hedge is tall enough and thick enough to keep the dog in!

How to build a cutting garden for less than £100.

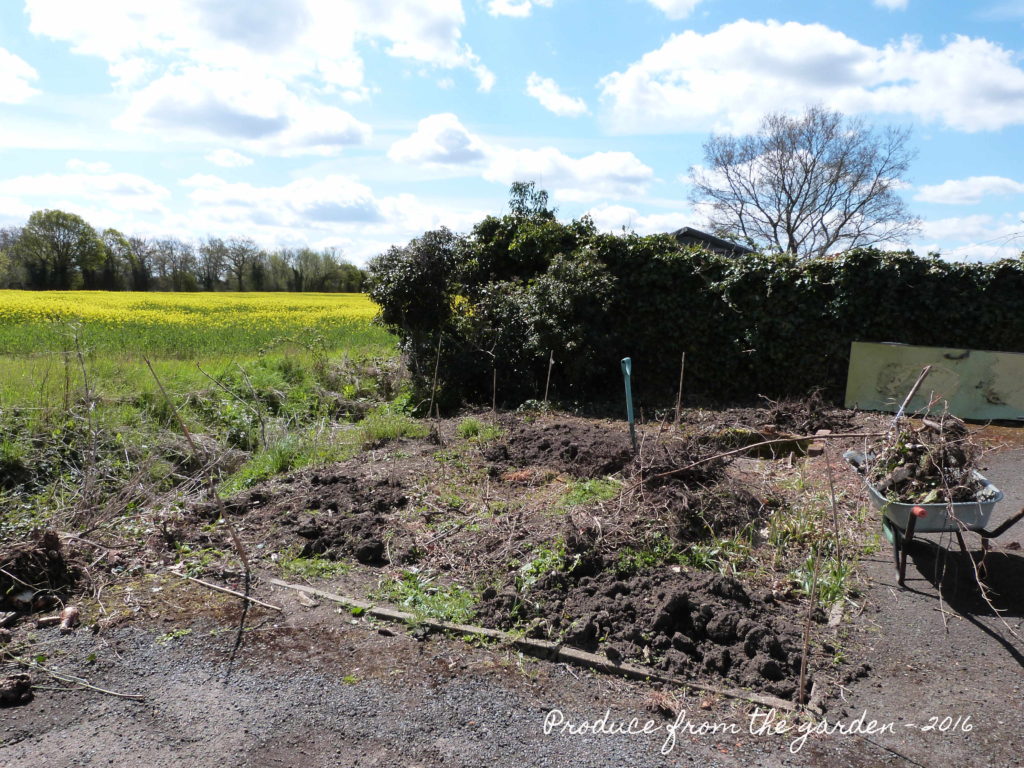
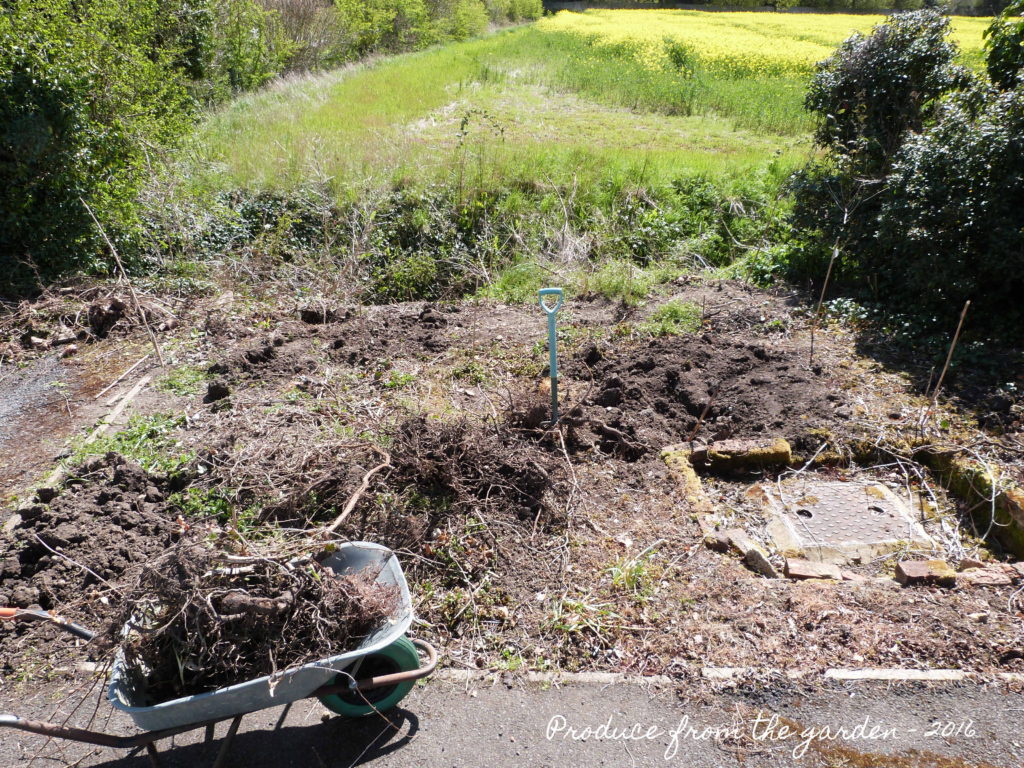
My second and final (thank goodness) Spring project is complete. The first was landscaping, tidying and grass seeding our main lawn. The second has been creating a cutting garden in an area which contains our septic tanks (oh the joys of living in the middle of no-where). I can only describe this section of front garden as wasteland, and I must confess I have been hanging my head in shame at the thought of friends and neighbours seeing it and thinking ‘…and she calls her self a garden blogger!’.

Cutting garden before shot

Cutting garden before shot 2The shameful before shots!

I started the cutting garden by marking out the shape of the raised beds with canes which can be seen in the picture above. I then measured and ordered the wood.

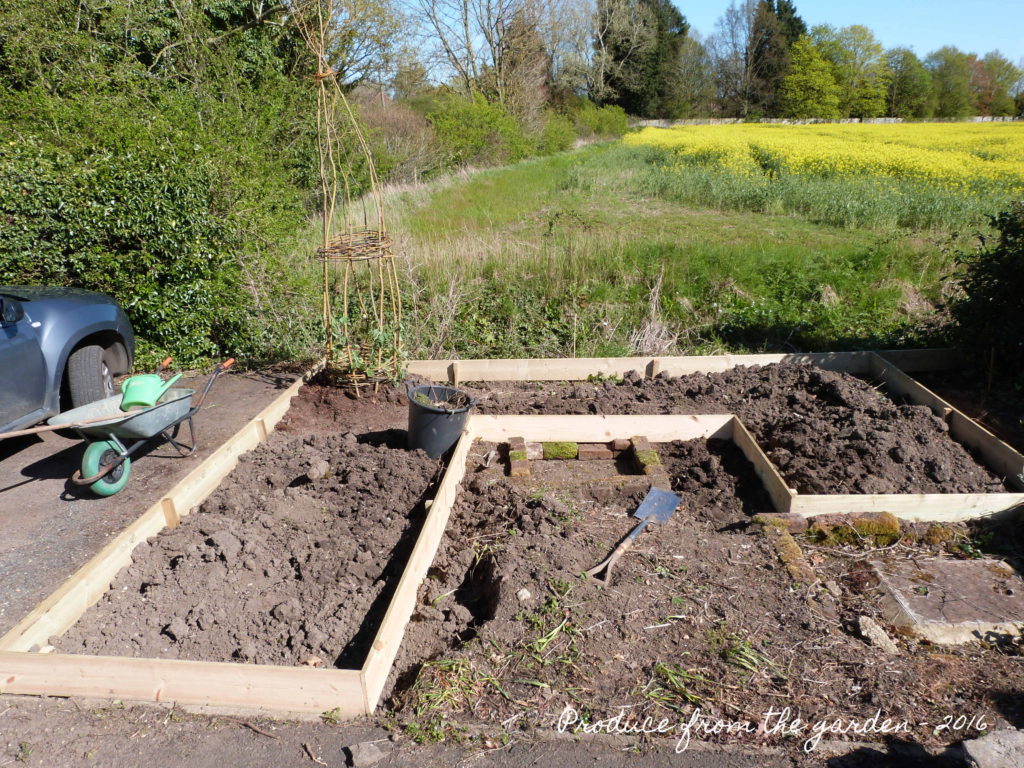
Once I had cleared the area of roots I then levelled the raised bed section and built the wooded frame. For details on how to make a raised bed do take a look at the video I made last year.

The raised bed frameHalf way there! The completed raised bed frame.

I then dug out the surrounding area and used the excess soil combined with garden compost to fill the raised beds. Finally I put down weed block and covered with pea single.

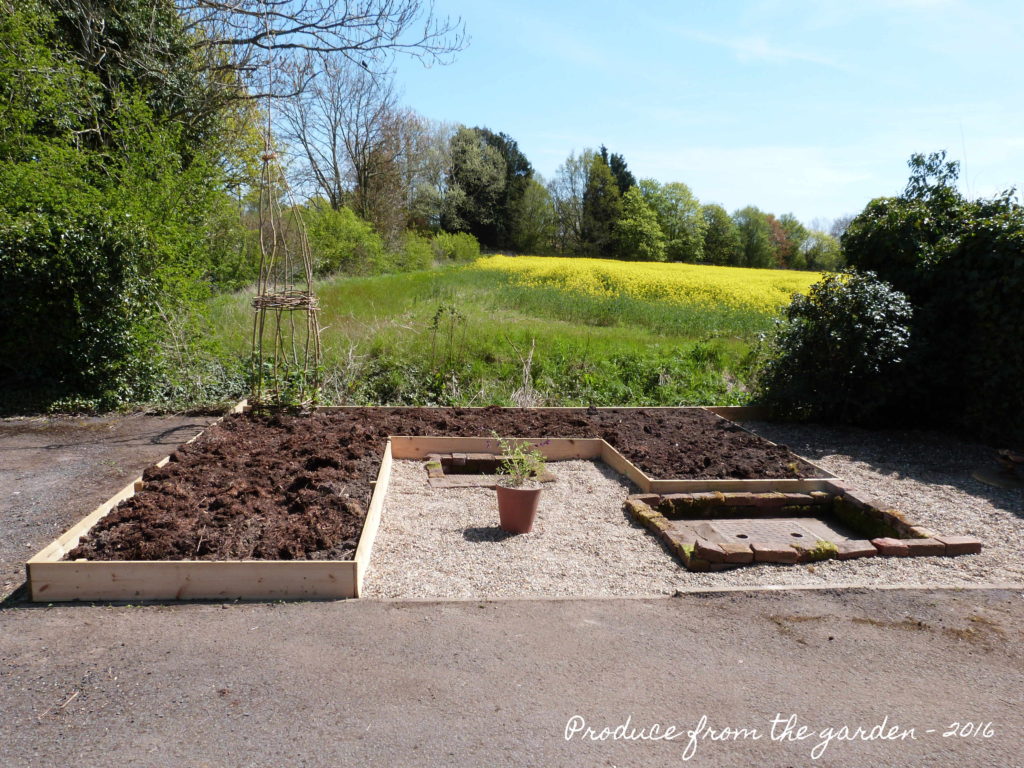
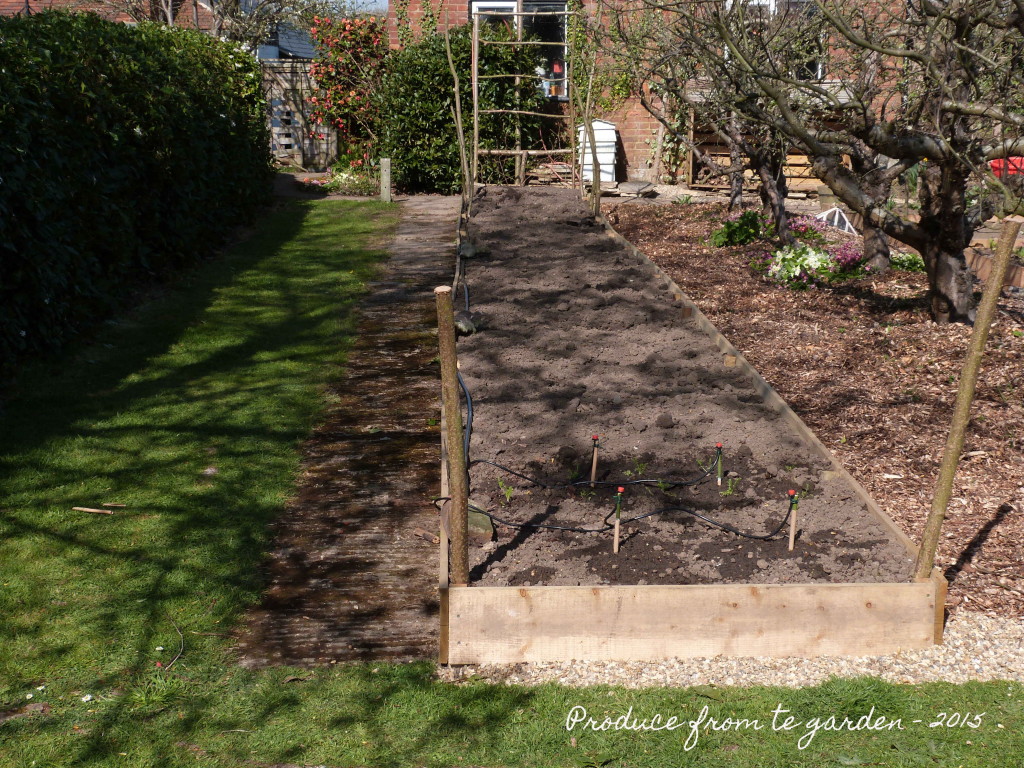
The cutting garden before plantingThe after shot!

Cutting garden before planting 2Ready for planting

Wood used came to £40 and a meter square sack of pea shingle £45. The obelisk I made from our coppiced willow is in pride of place, sweet peas sown in autumn are happily beginning to clamber up it.  I can’t wait to fill the rest of the raised bed with dahlias and annuals. With the lovely warm weather we’re enjoying it’s tempting to plant up this weekend, my gut feeling says we’ve seen the last of the frosts in Kent.

After planting I will hammer in hazel stakes and hang pea netting to them. This will give support to the annuals encouraging lovely long straight stems for cutting. The lurid green netting looks dreadful to start with but the annuals soon grow through it covering the green plastic.

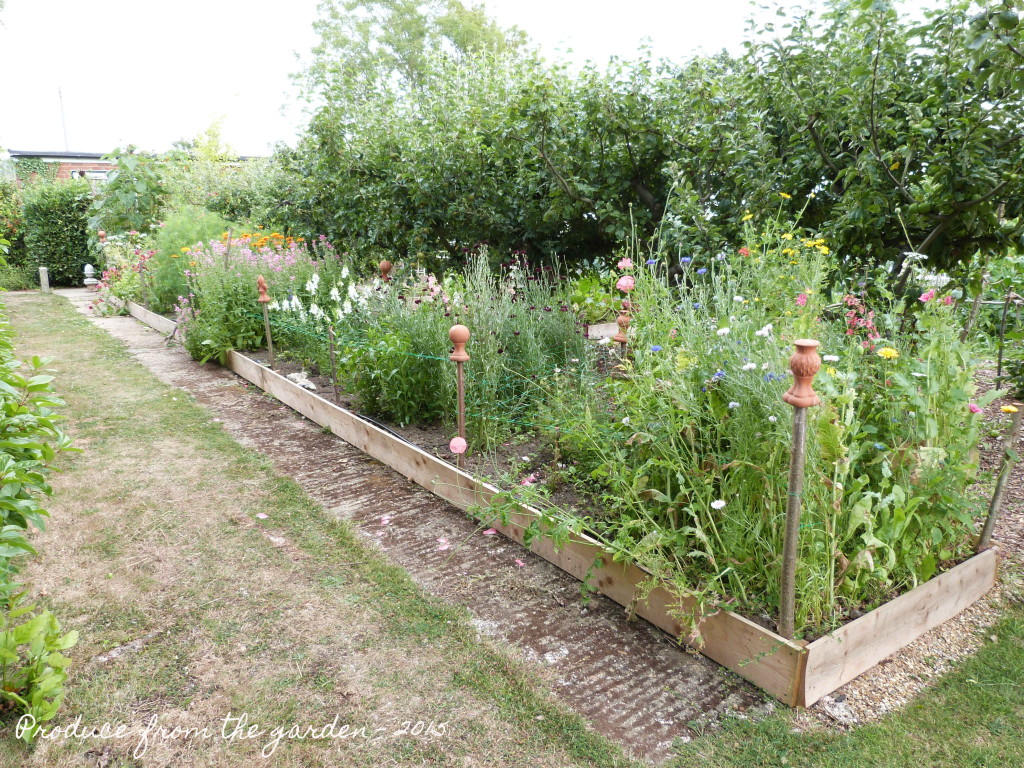
The cutting border in July

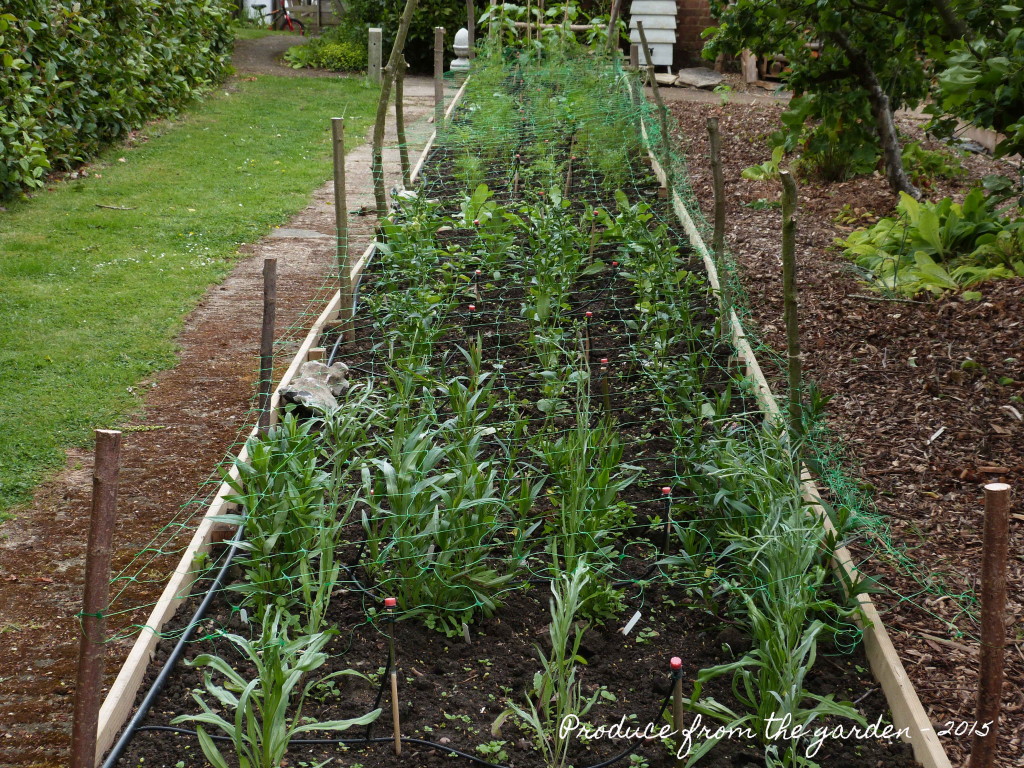
What a difference two months make. Below are pictures of the cutting border just after it was planted in May and one now in July. I’ve a constant supply of flowers, for the house, as gifts and for my little honesty stall. The cutting border

The cutting border in May

Cutting border in JulyThe cutting border in July

Most of plants in the border have been a great success, the sunflowers, calendula, cosmos, centaurea cyans ‘black ball’, clary, antirrhinums and bells of Ireland have stood out. They are the mainstays of my flower arrangements, producing constant beautiful blooms on lovely long stems, perfect for cutting. To prevent the plants going over each flower must be picked or deadheaded preventing them from going to seed and giving up for the season. The other key to the borders success has been the watering system, now hidden under the lush foliage. We’ve had a very dry spring and summer in Kent, our lawn (football/cricket pitch) is yellow, dust clouds rise as herds of kids run over it! My ornamental borders which I don’t water are looking limp and barren. Without a watering system the cutting border would have been a disaster, carefully positioning sprinklers to water under each plant has ensured every drop is put to good use. I turn the water on for an economical 3 minutes each evening and it has worked a treat.

It’s not all been ‘rosy’ in the cutting border; we’ve had a few disasters. Zinnia ‘envy’ (lovely acid green flowers) are festering two inches from the ground, I don’t know where I’ve gone wrong, they will not be appearing again next year! Both varieties of nigella look stunted and sparse, I have been cutting from them but they’ve not taken off this year. I usually have great success with nigella, so they will be making an appearance next year. I suspect they have been too cosseted as they are one of the few plants that thrive in hot arid conditions.Honesty stall

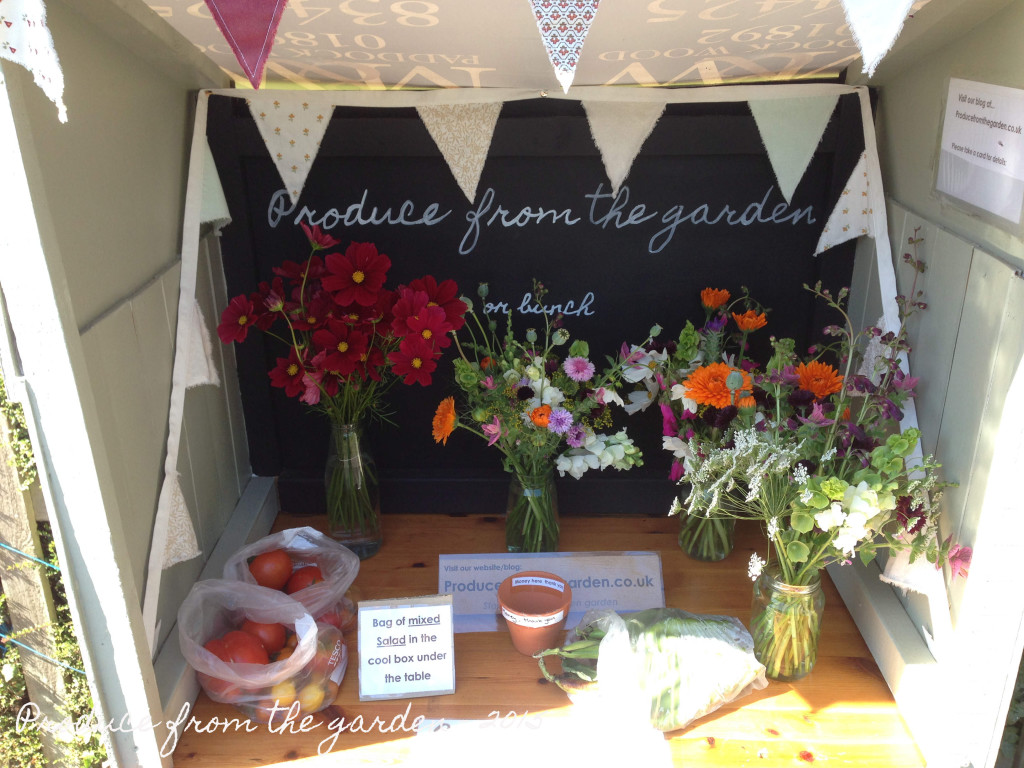
The honesty stall outside our house

Netting the cut flower border

If you’re a well organised gardener you will have netted your cutting garden soon after planting out your annuals. If you’re like me, juggling many balls in the air at once, it will of been on your important to do list buried under a pile of paper on your desk and then put to the back of your mind.

Netting plants for cut flowers is essential to encourage the flower stems to grow straight and long, perfect specimens for cutting. It also protects the plants from wind damage. I use the wide green plastic pea netting often used for beans and peas to climb up. It’s run across the border supported by my home grown hazel stakes. I adjust the level of the netting depending upon the height of the plant. I was organised enough to have this in mind when planting out, so planted the tallest plants at one end of the border and worked down to the shortest at the opposite end. Now I must confess that plastic green netting is not really my style, and you might be put off using it, it’s not initially a great look. But, I promise in a month when the cutting border is in full production the netting will be completely hidden by the plants that have grown through it.

Early yesterday morning when checking the local BBC weather forecast I noticed a weather warning for unusually high winds that afternoon, night and following day. This warning did not register with me until this morning when the wind was blasting up the garden with force, ripping leaves from trees and flattening my annual plants. At this point I remembered the need to net the cutting border. After hammering in the hazel stakes at speed, I started to unravel the pea netting I’d bought a few weeks ago. Well, this resulted in what could have been a ridiculous sketch in a comedy show. The netting tangled together whilst being blown from me weaving itself into complex knot that rivalled my children’s attempts at knitting. As I stood there trying to unravel the mess, being battered by the wind rushing with force off the fields, I managed with bad temper and ill humour to secure a few centimetres at a time. Some hours later the task was complete and well worth it as it stabled my cosmos, dill and antirrhinum all of which had suffered snapped limbs. I will try and prioritise this important task next year!

Netting the cutting borderThe cut flower border, finally netted and protected

Planting up the cutting garden

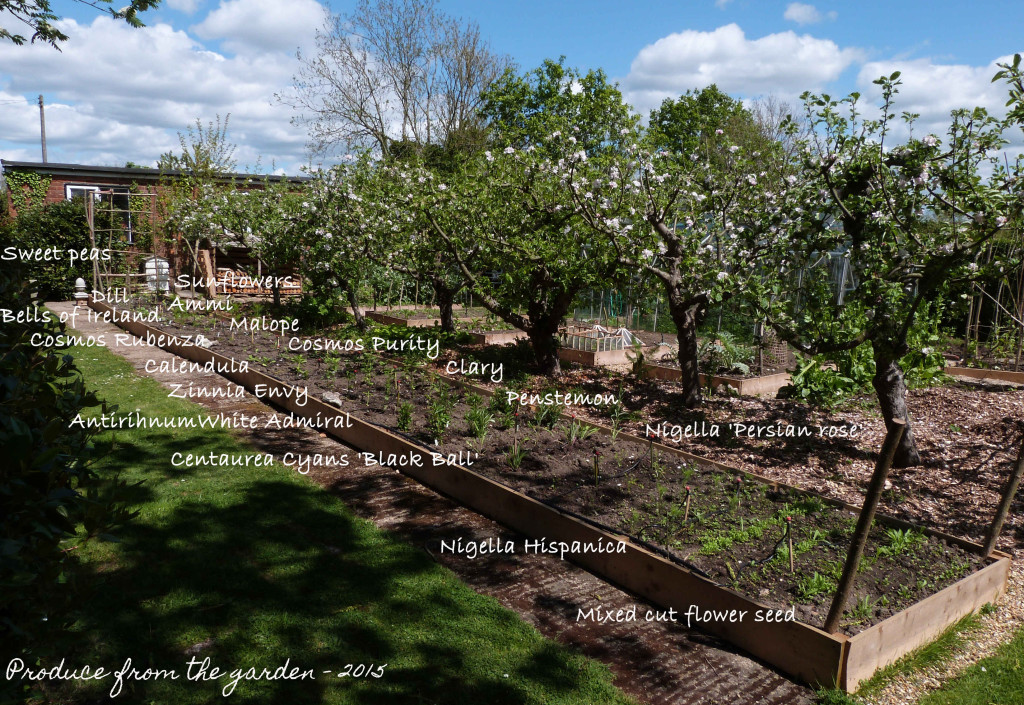
When I was building and then filling the cut flower border with top soil and compost, 14 metres felt like a very long and unnecessary way. Now that I’ve emptied the conservatory of plants I’ve decided it’s really not that long at all, a few more metres would have been great. I’ve been amazingly disciplined, keeping the number of plants I’ve put in the border to a minimum. Surplus plants have made their way to the children’s garden at school. With this restraint, I have just managed to fit all the cut flower varieties sown from seed in. I can’t wait to start filling the house with the flowers from this border.

The cutting borderThe ciutting border, detailing the varieties I’ve just planted

On my initial design way back in December /January I’d planned on two 14 metre beds running either side of the path. When it came to building the beds, two felt excessive, in size, cost and my energy required to fill them. I now know that come late winter next year, I’m going to be building that additional bed. There are so many more plants I want to grow for cutting, and all those seductive seed catalogues will start coming through the post at the end of the year, they are just too tempting.

Sweet Peas

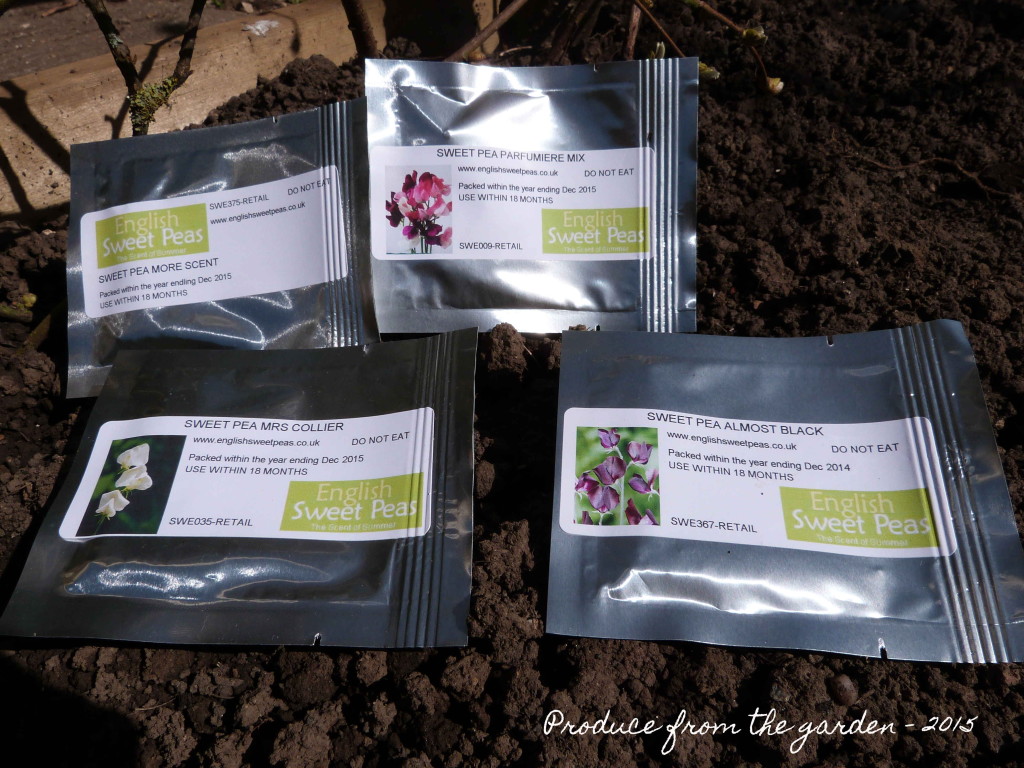
Through the post today arrived my Sweet Pea seeds, beautifully packaged in their silver vacuum sachets.

Sweet Pea SeedsSweet Pea seeds ready for sowing

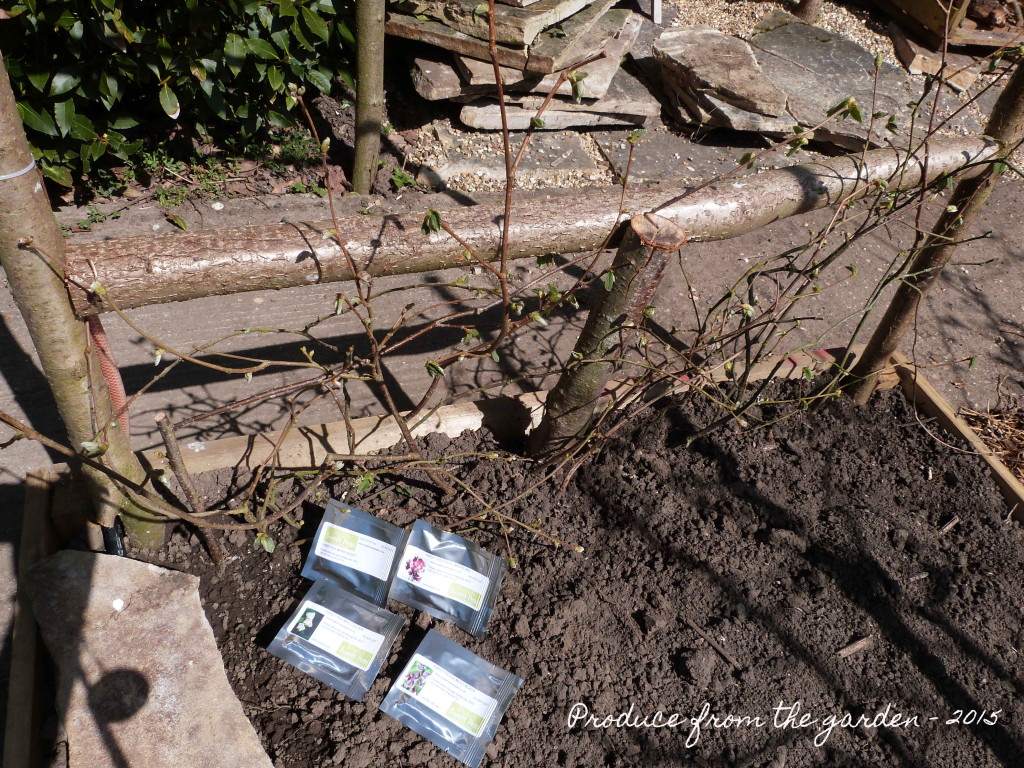
The sweet peas I chose are Mrs Collier, a lovely creamy white; Almost Black, as it suggests a very dark purple; Parfumiere Mix and More Scent another creamy white. I have selected varieties good for cutting, hopefully they’ll have long stems, a good vase life and a scent that will drift throughout the house come summer. I usually sow sweet peas a little earlier in the year, in the conservatory. This year I was a bit late ordering the seed and have decided to sow directly into the cutting garden border. I have built a frame with our home grown hazel stakes at the end of the border for the sweet peas to clamber up. At the bottom I’ve popped in pea sticks (the ends of the coppiced hazel) to help them on their way up.

Cutting Garden BorderThe finished cutting garden border, at the far end is the sweet pea climbing frame

Pea Sticks for Sweet PeasPea Sticks at the bottom of the sweet pea frame, to help them on their way

I used a dibber to make holes about 3 cm deep and 10 cm apart and popped in two seeds to each hole. If both seeds germinate I will discard the weaker plant to give the stronger one the best possible chance. Sowing directly may mean the sweet peas take a few extra weeks to bloom over those sown indoors, but, the plants should be healthy and vigorous as they hate their roots being disturbed when planting on.

Constructing the cutting garden raised bed

On a cold, windy and damp Easter Saturday morning (not even my hardy youngest child lasted long outside), I constructed the raised cutting border frame. It was a quick and trouble free process, I think I’ve got the hang of making raised beds now, about time, it is my sixth this year! Whilst hammering stakes into the ground and fixing the planks of wood, I felt quite festive as the bleats of the new lambs carried on the wind from a few fields away. Filling the bed would have to wait a day, my children and I had a Simnel cake to make.
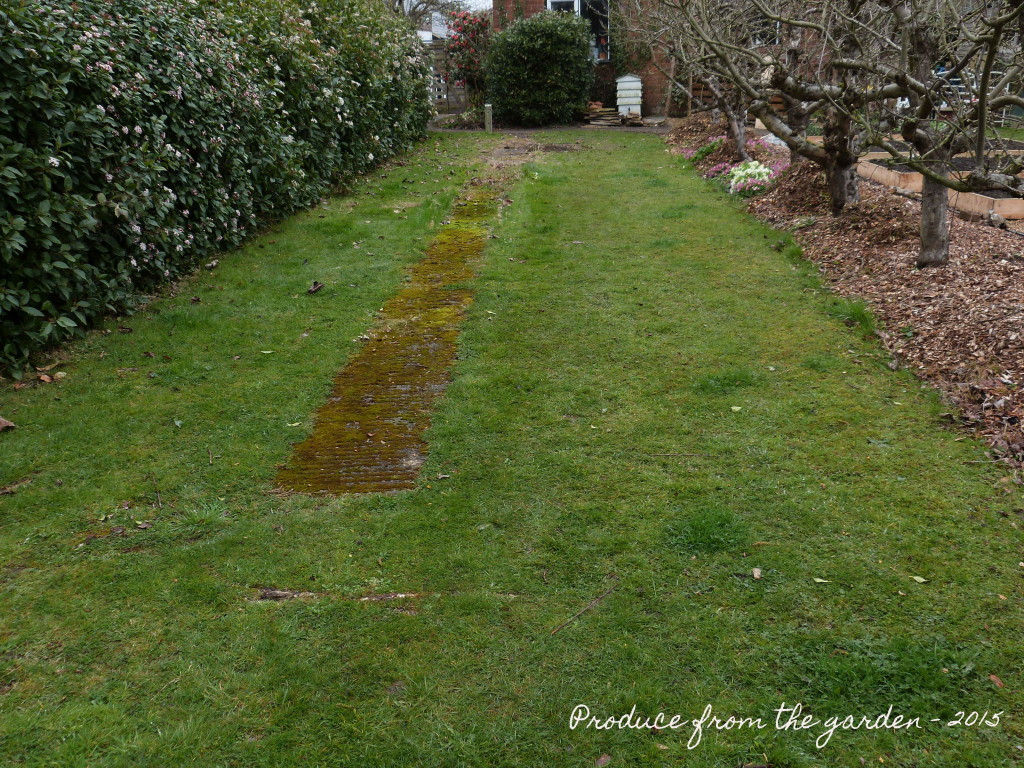
Cutting garden border before shotThe Before shot

After our Easter lunch and Egg hunt, where I distressingly found mole hills, I settled into an afternoon of filling the new raised bed frame. 14 metres is a very long way. 14m x 1.2m is the size of my new cutting garden border. Sitting in my study surrounded by seed packets and planting plans, 14 metres was a fabulous idea. When it came to transporting soil and garden compost , 14 metres became a very long way. However, it was a beautiful sunny afternoon and all three of the kids turned up to help with their various garden accoutrements. I filled the bottom of the border with top soil left over from digging out the original veg patch, I then dusted this layer with fish blood and bone and quickly covered it with a layer of garden compost. Rolo my faithful hound loves fish blood and bone and if left alone will attempt to hoover it all up, resulting in a muddy mouth and in turn a muddy carpet indoors! In the coming days I will then sprinkle further fish, blood and bone (the more fertiliser my flowers get the better) over the compost and finish off with a layer of top soil.
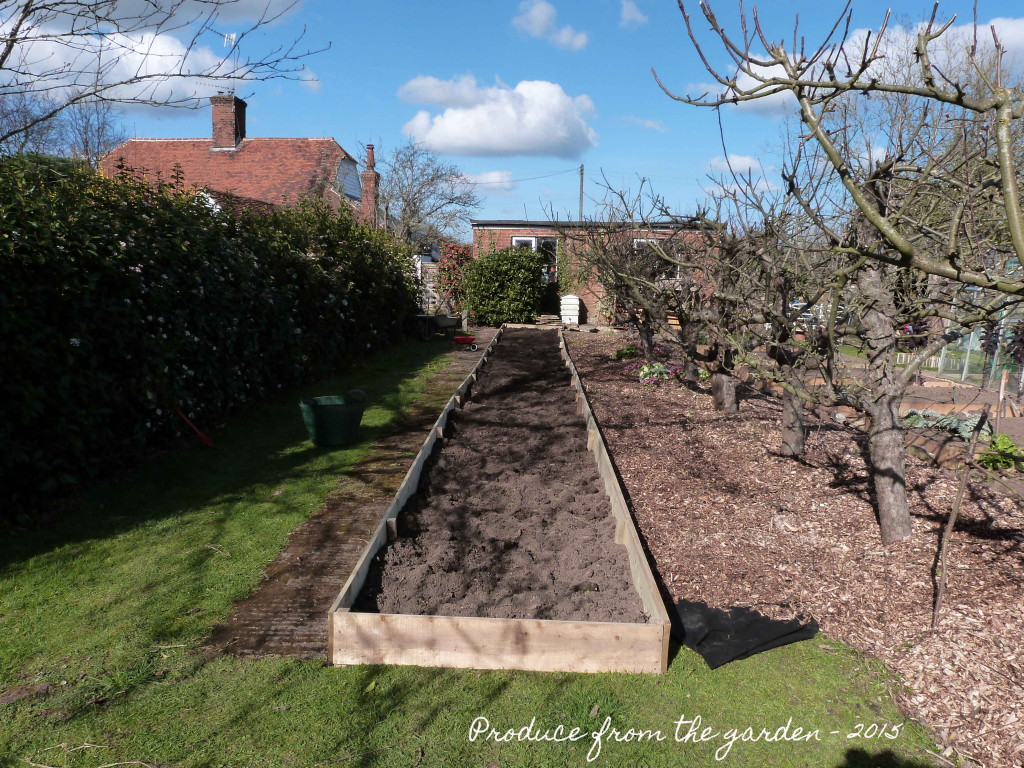
The cutting garden border in progessThe border with the first layer of soil
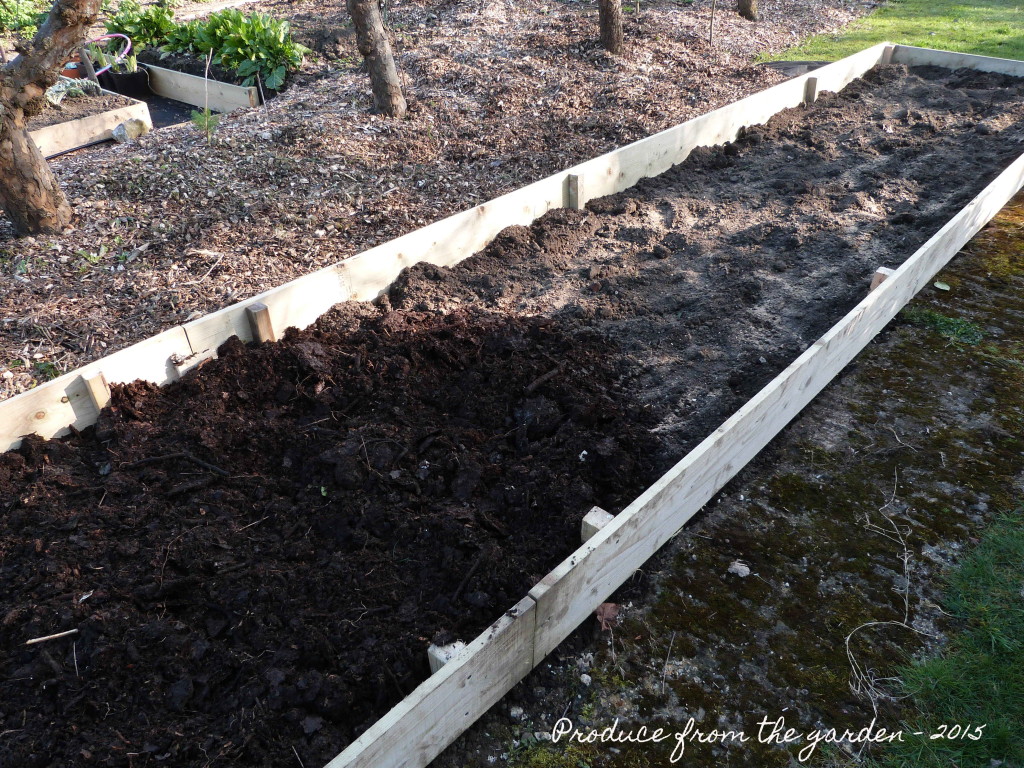
cutting garden border, layers of top soil and compostTop soil dusted with fish, blood and bone and the middle layer of garden compost

I have a theory behind this garden compost sandwich, in time the layers will mix together giving further enriched consistency to the soil, without the need to dig. I was keen to not mix in the garden compost on the top layer as it is quite course, I’m lucky to have well conditioned top soil which is the perfect structure for direct sowing hardy annual seeds. I’ll post completed pictures in the coming week.