My summer project was to renovate an old summer house inherited from our homes previous owners. This tatty eyesore has been used as a dumping ground for my boy’s garden toys. With money earned from our garden produce honesty stall, I set about renovating and painting to create a summer haven. The result has been a complete revelation, a luxurious garden retreat that I use to relax, unwind and work in. I’m now convinced that everyone could benefit from such a sanctuary in their garden.
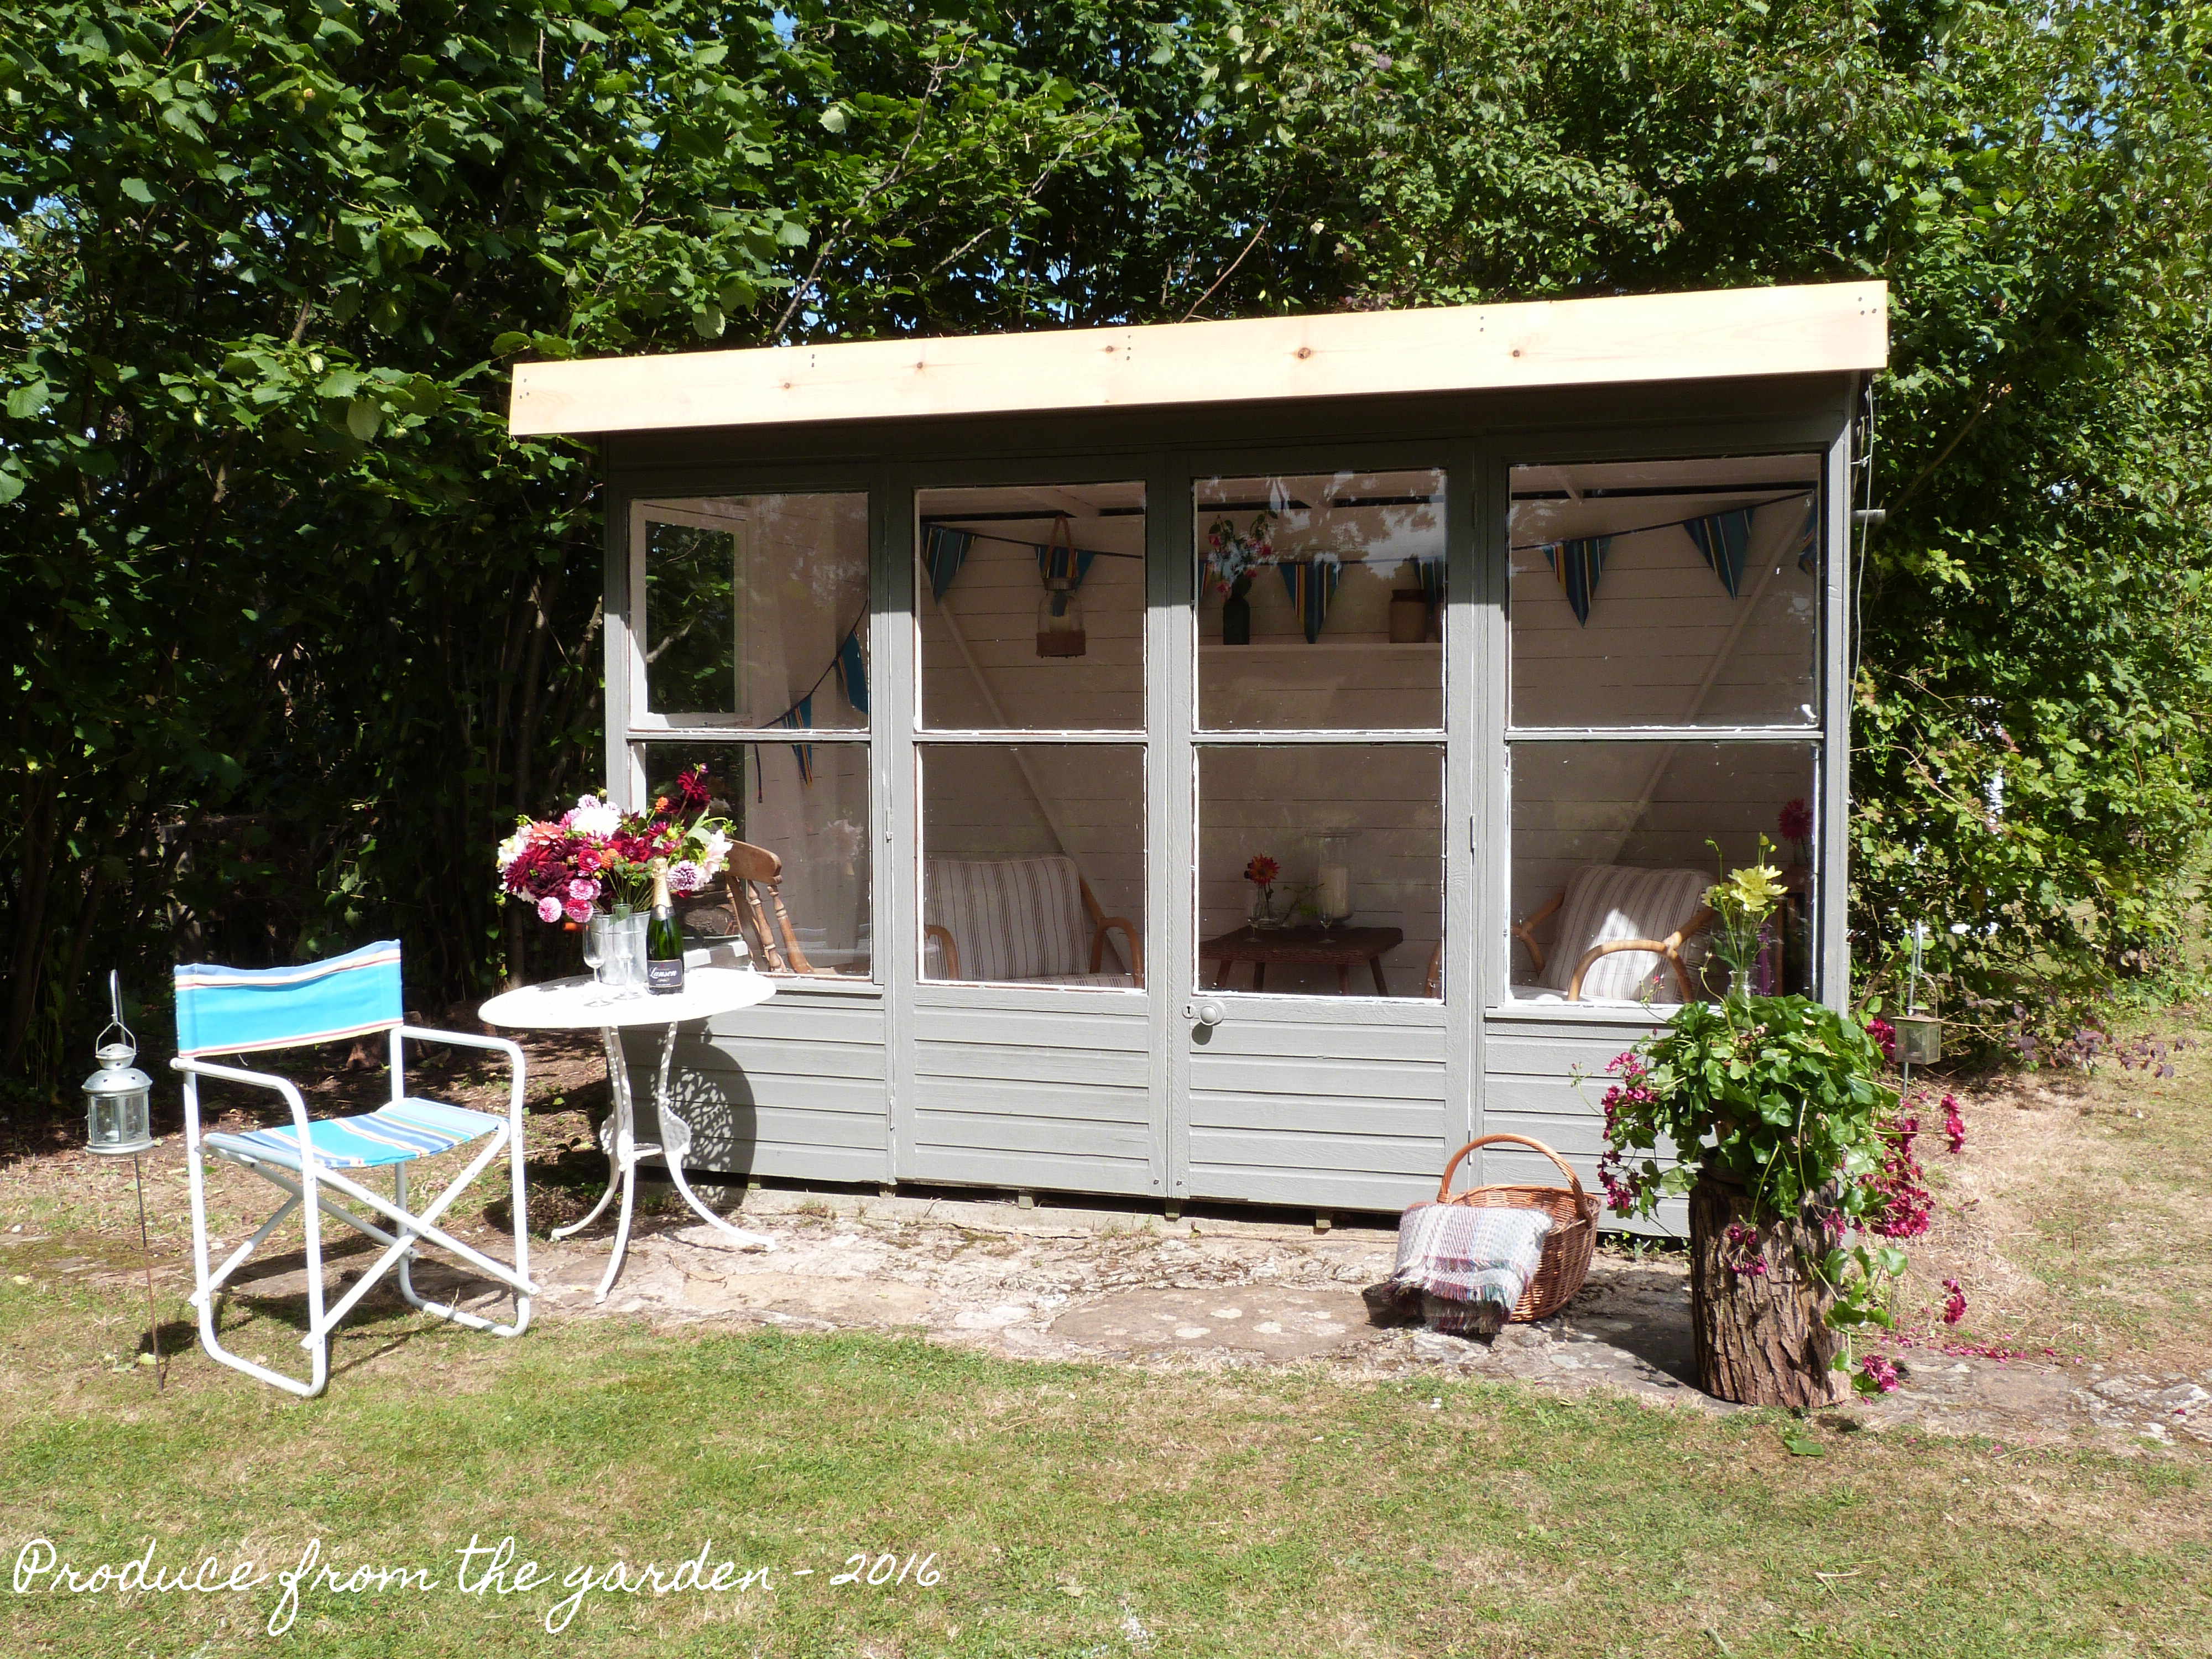
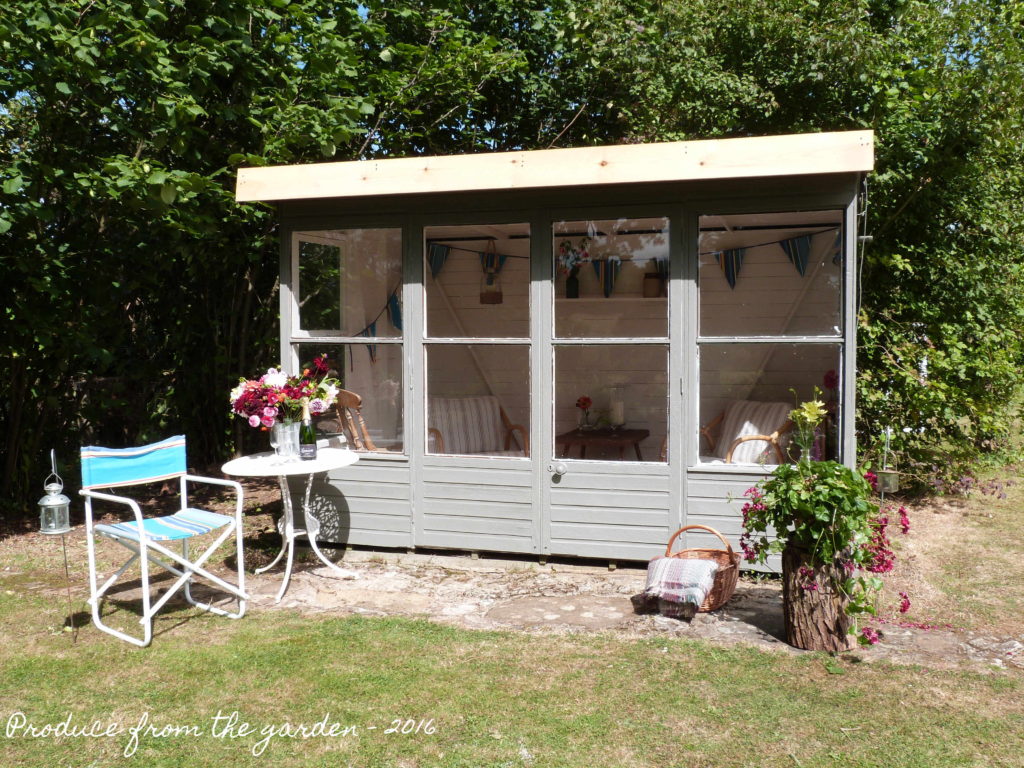 The finished Summer House
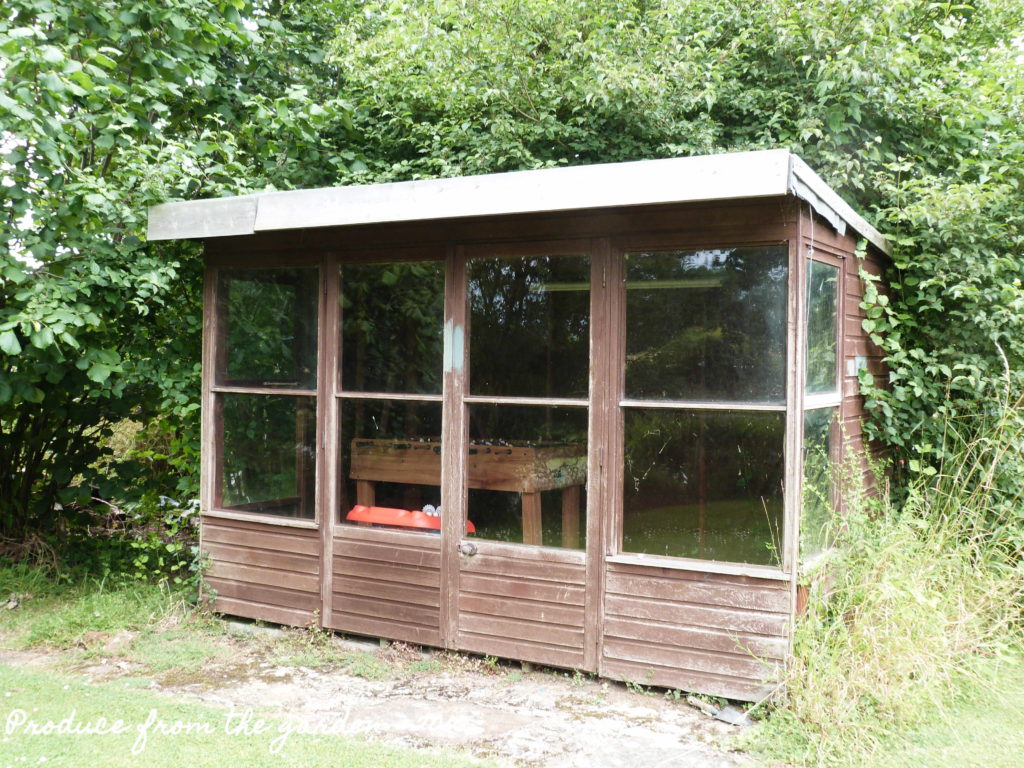 The shocking ‘before’ shot!
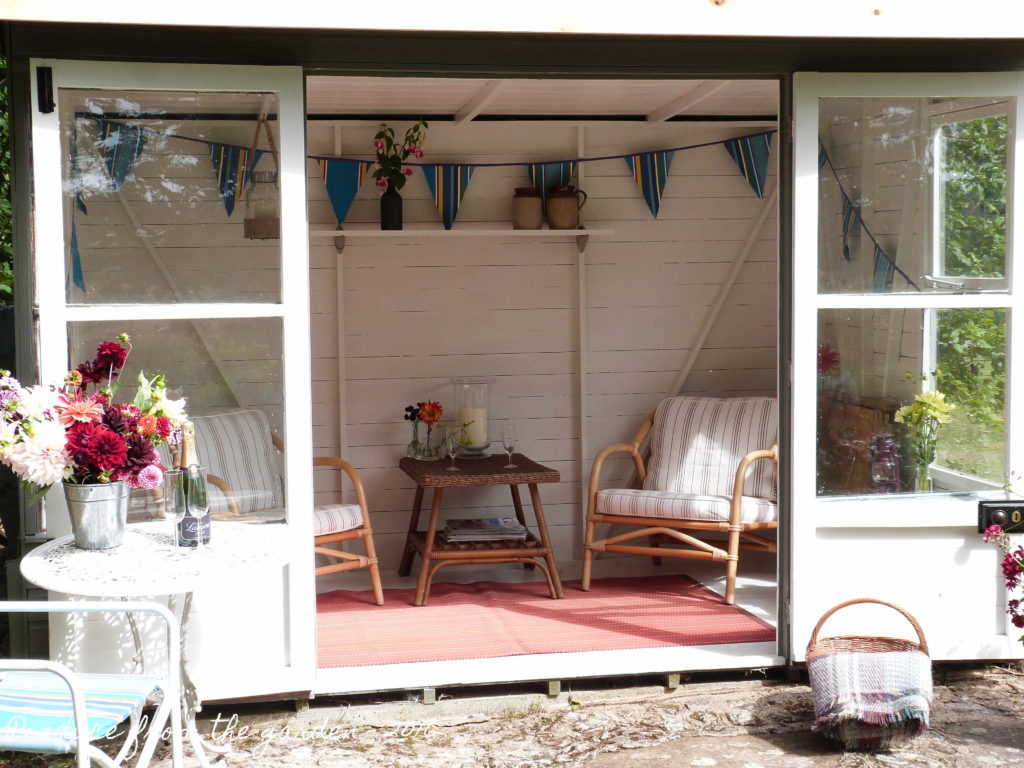
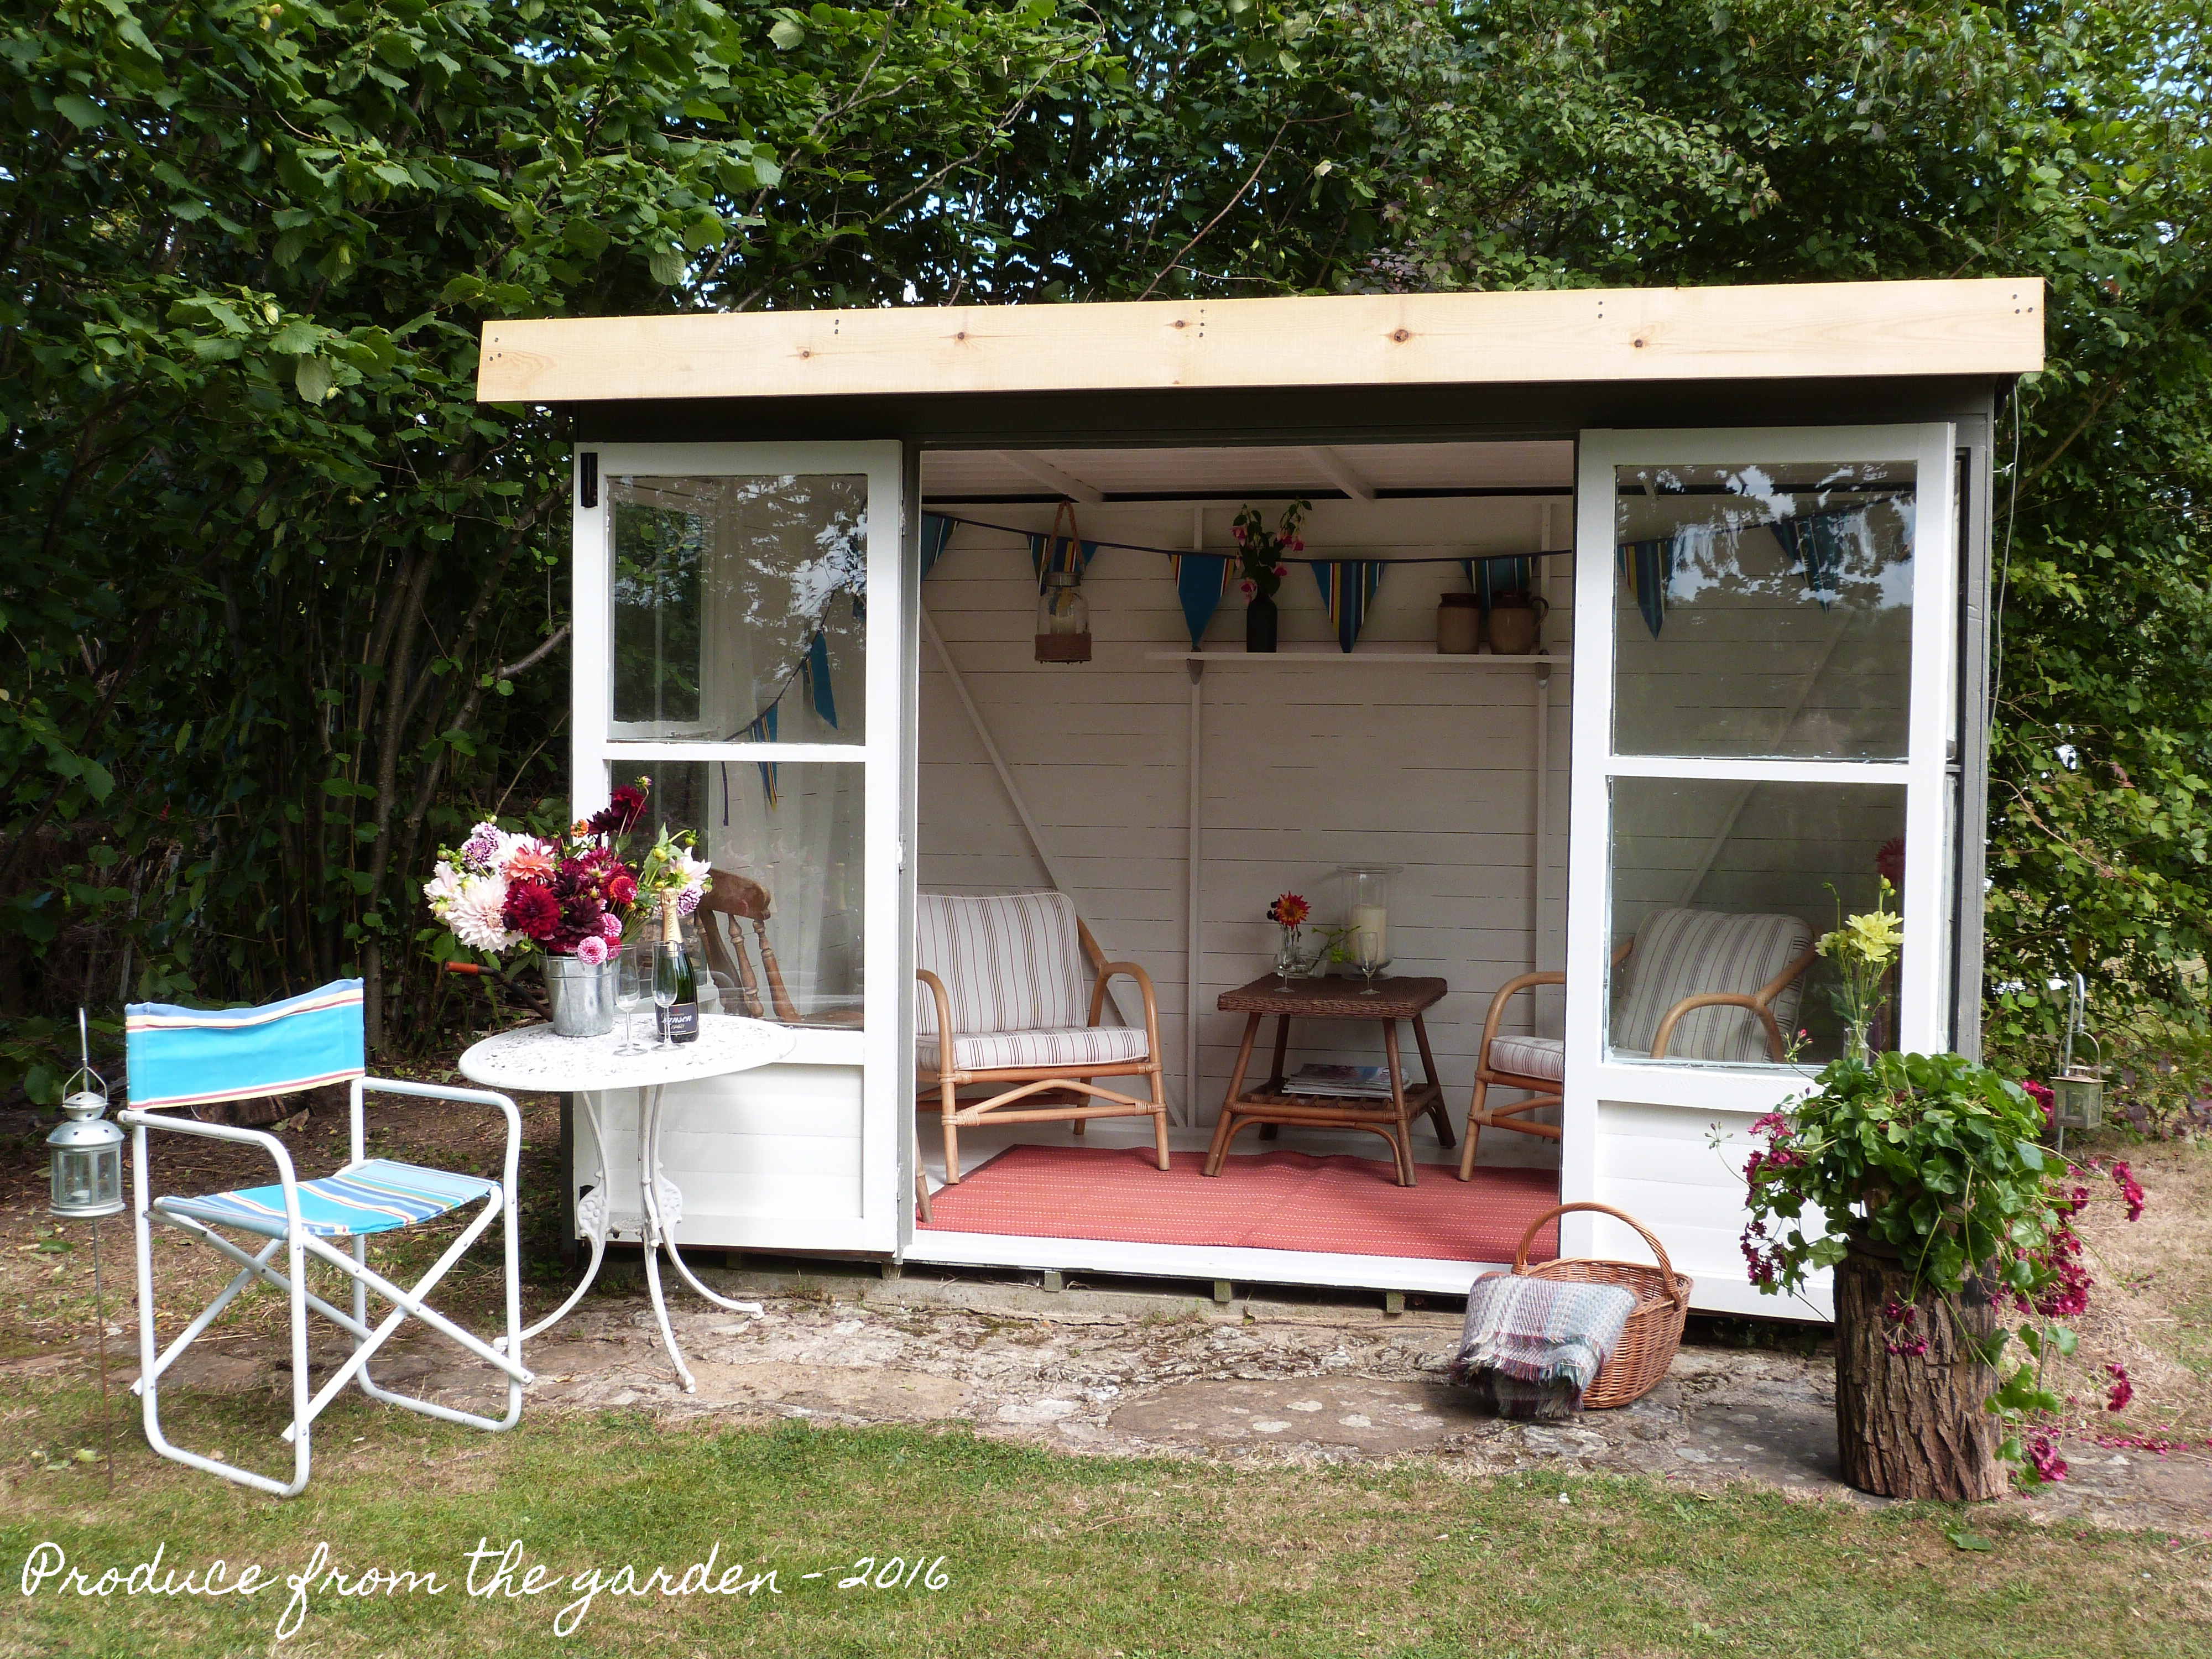
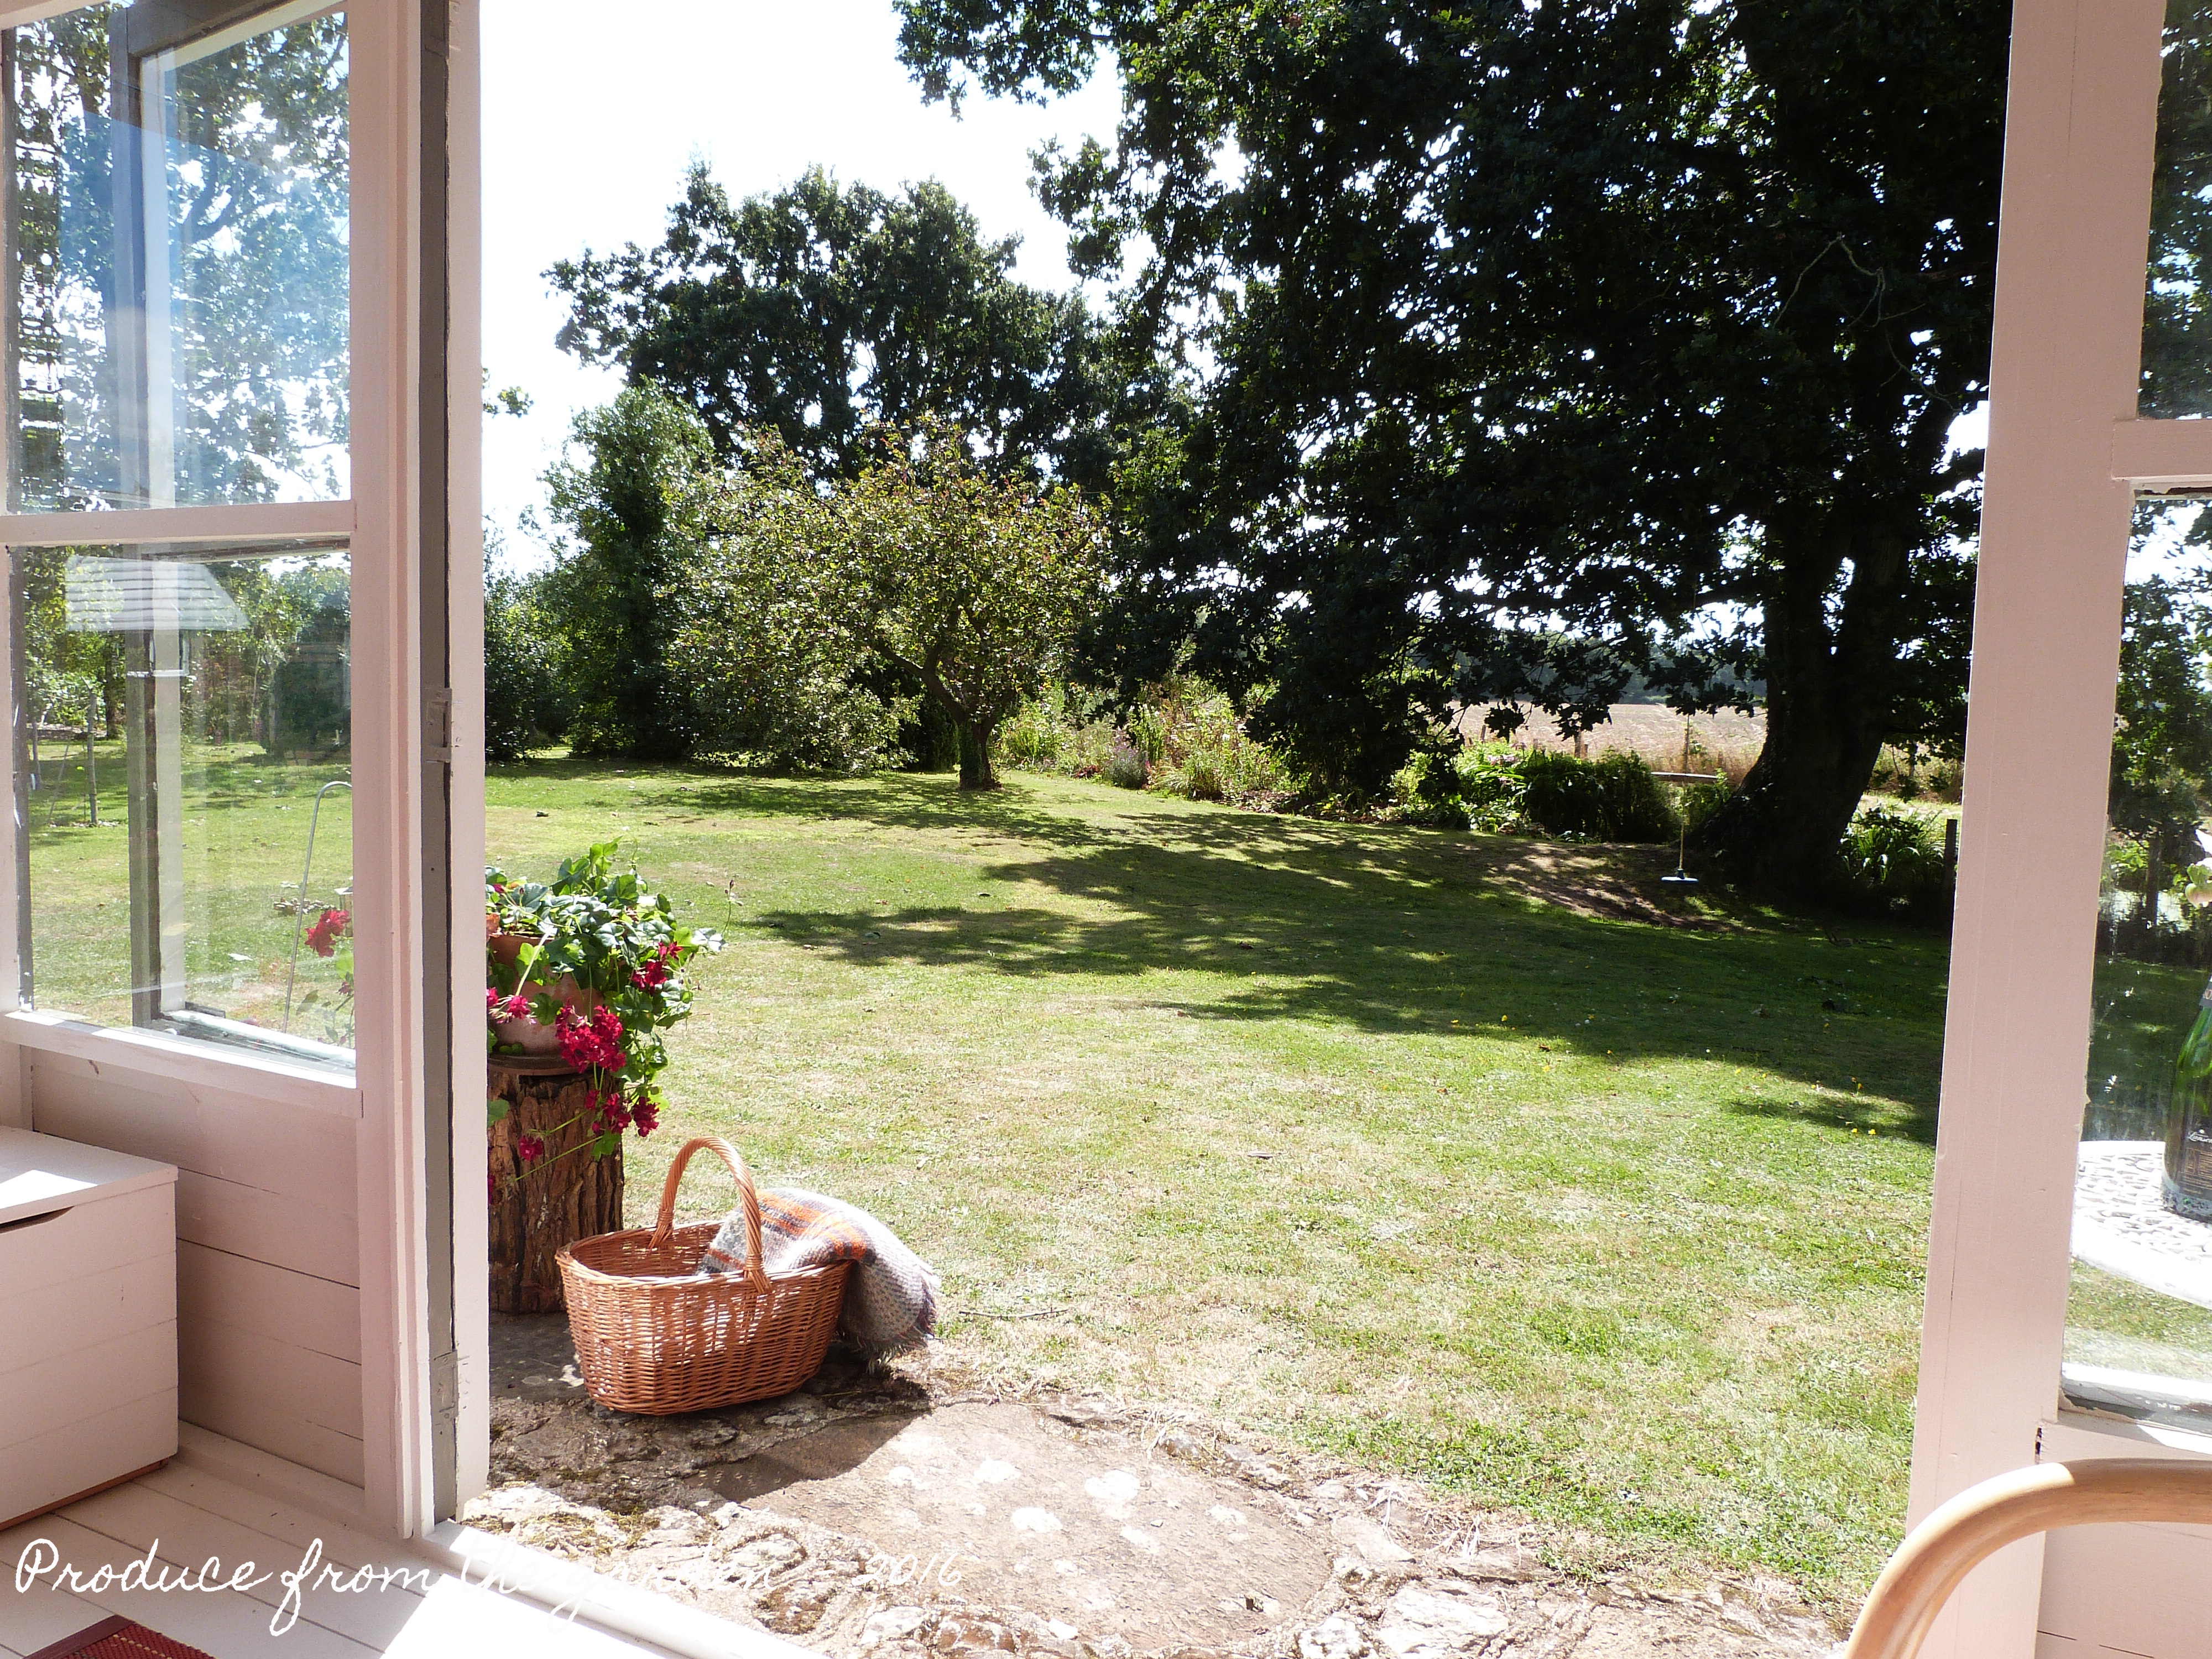
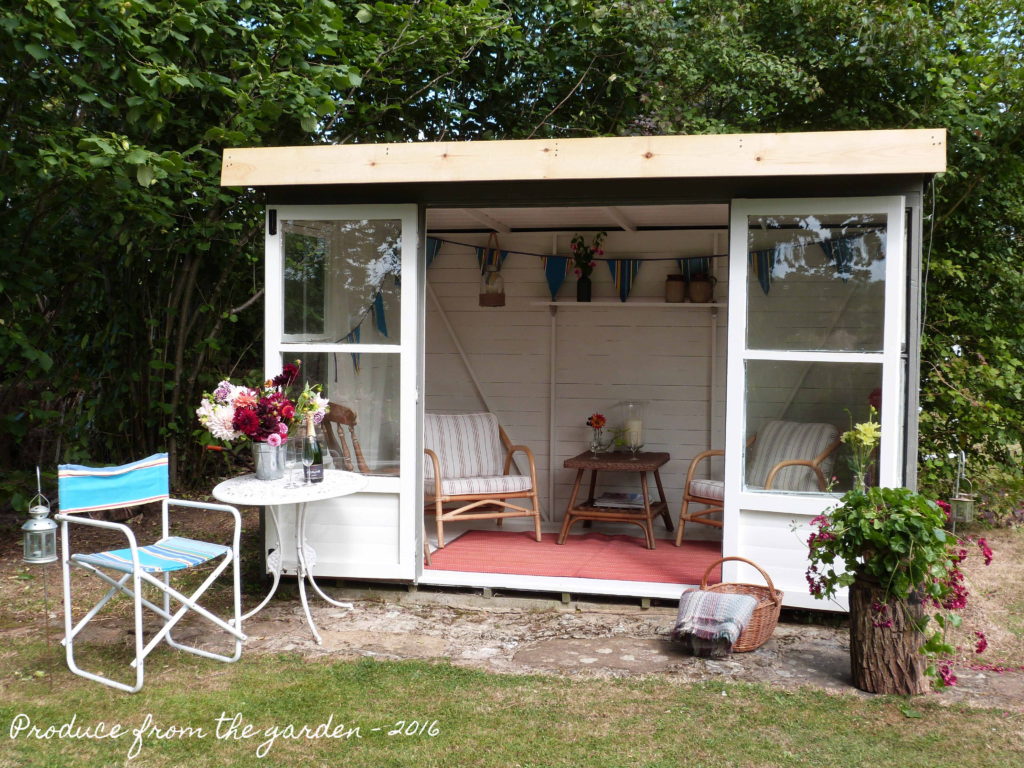 The Summer House with the doors wide open
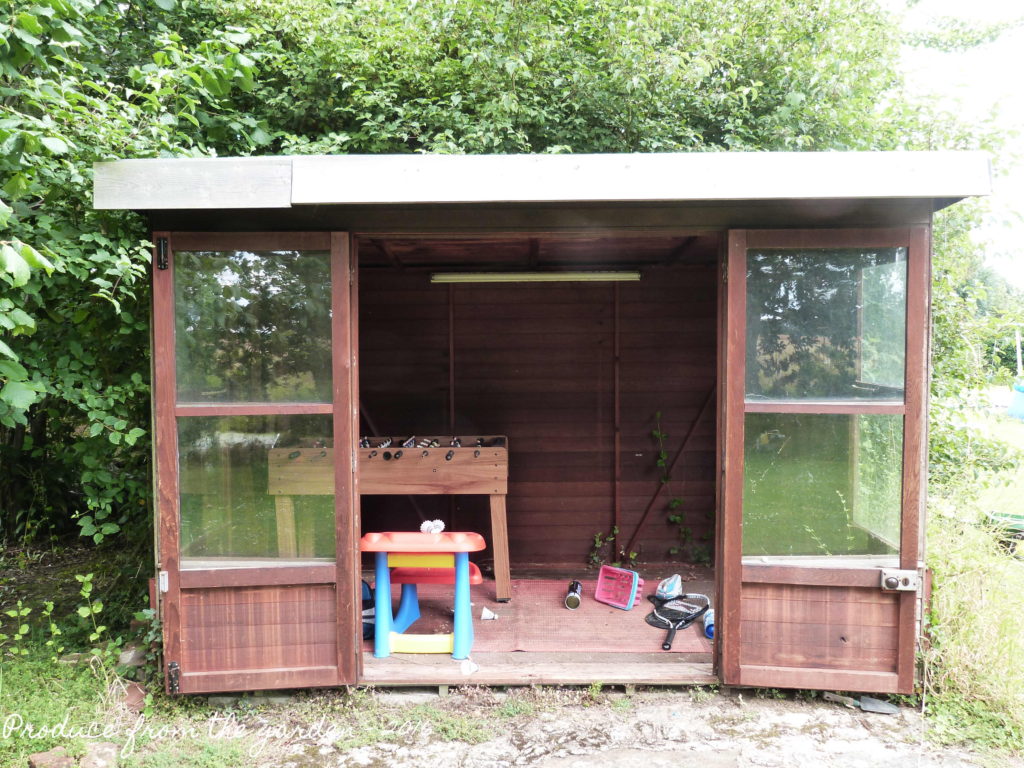 The ‘before’ shot with the doors open
The renovation
First of all I cleared out all the toys, invading creepers, spider’s webs and general natural mess that seems to accumulate when a shed like structure is abandoned and left to its own devices. I found some rotten and woodworm infested wood, I treated the woodworm holes with woodworm killer and luckily the rot was not too bad, I cleared the crumbly fragments away and soaked the area with wood hardener, this magic liquid soaks into the affected area and hardens the wood as it dries. I then painted the Summer House inside and out with an undercoat that was recommended by the paint shop. It was very important to use the right undercoat as the Summer House had not been painted previously, if we’d put our paint on straight away it would have been a waste soaking into the hungry dry wood, also the original wood preservative and resins would have seeped through the paint discolouring it.
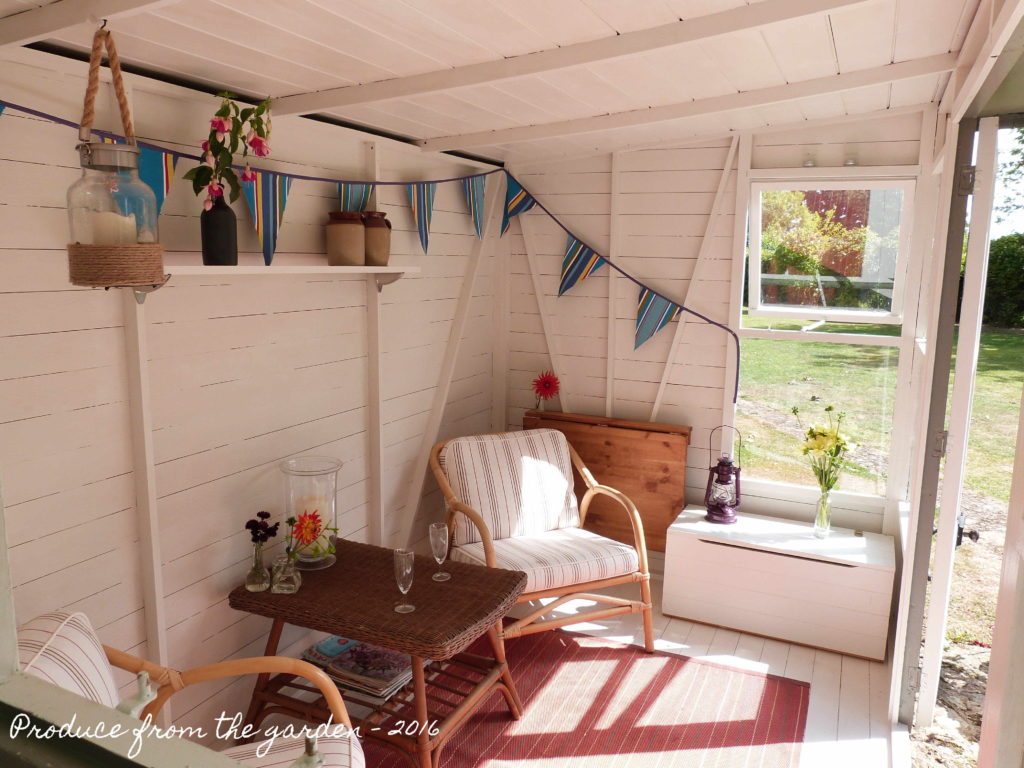
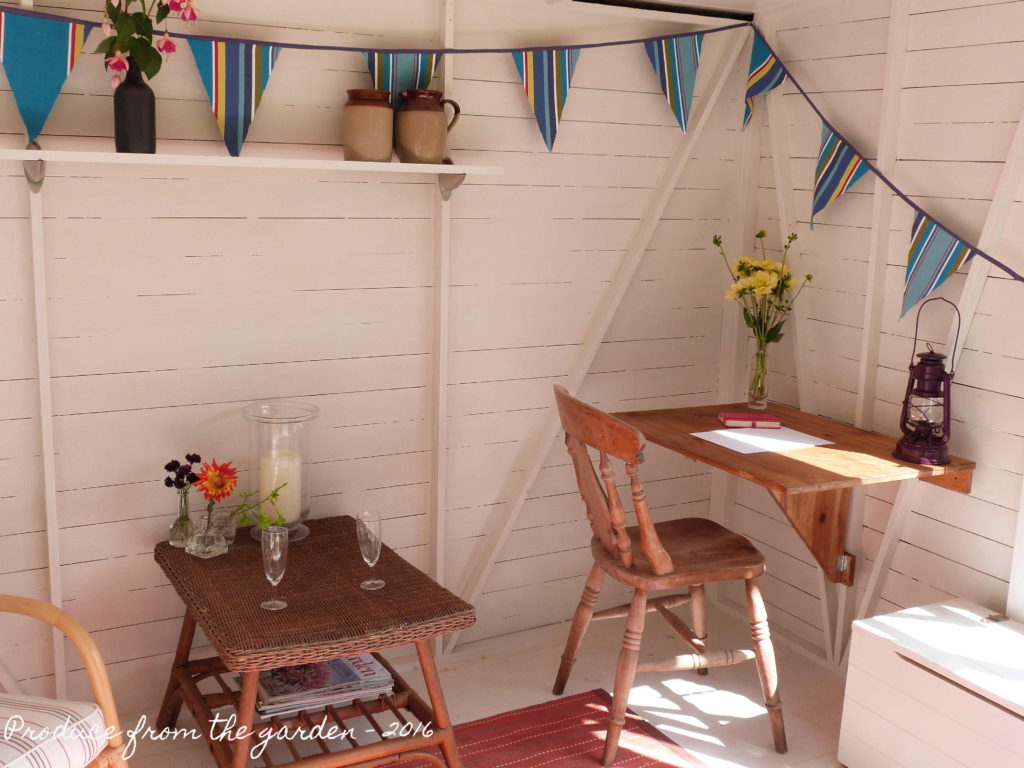
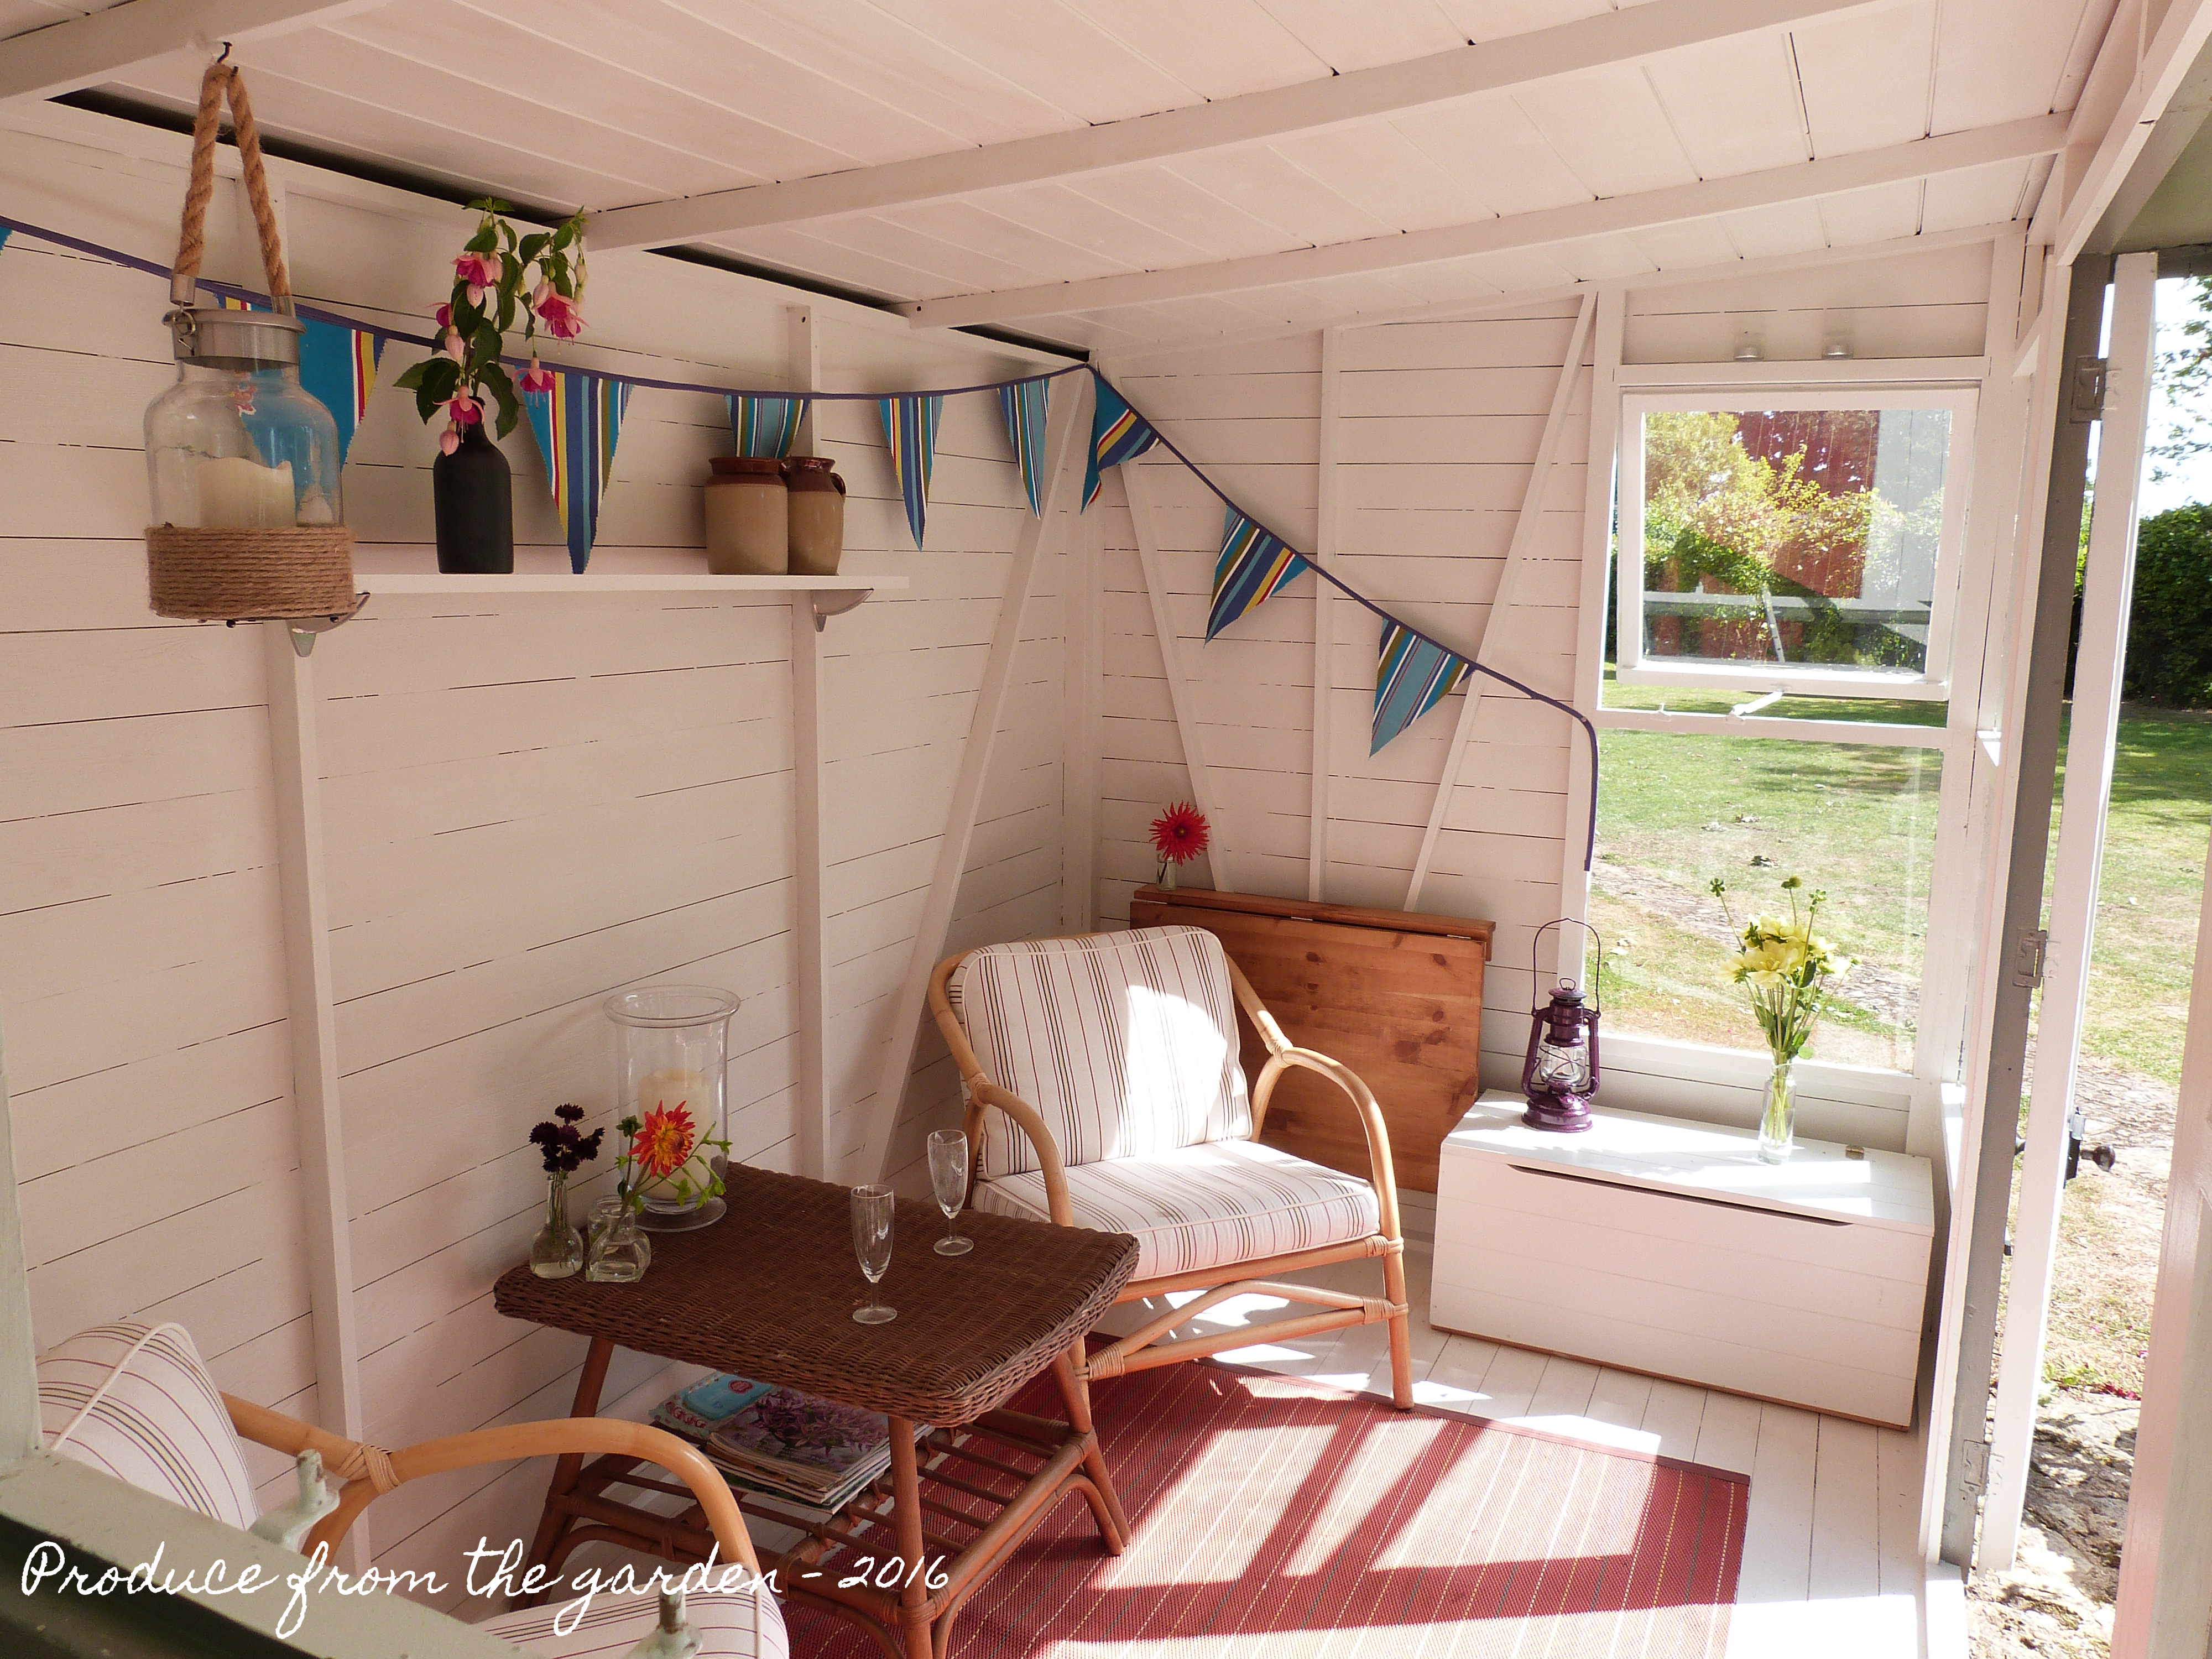
 Looking into the Summer House
When planning my summer house renovation I tried a few tester pots of dedicated shed paint but quickly decided against this option, I didn’t like the colours available and didn’t feel it provided a good quality painted wood finish, it looked like a stain or wash. I ended up selecting ‘Grey Moss’ by Little Greene Paint Co. in an oil based eggshell. It’s the same colour as our conservatory which gives continuity throughout the garden. I selected a light ‘Dove Grey’ in a water based eggshell for the interior.
Designing the interior on no budget!
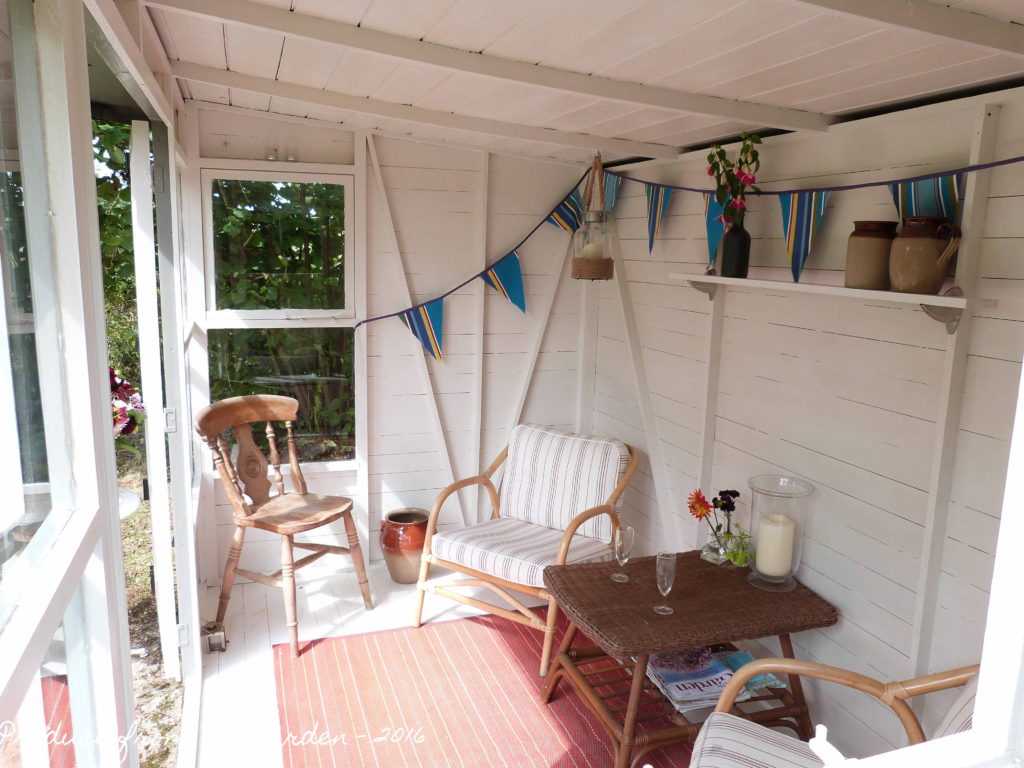
The interior of the summer house required some thought as I only really had enough money for paint. A few years ago we were given two bamboo armchairs from my husband’s Grandfather’s conservatory; sadly we never really had space for them in our conservatory as its prime role as potting shed and greenhouse seems to take up all available space! They were the perfect start, to the interior design of the summer house. We found a matching bamboo and rattan table at the local auction house for £7.
 Inside the Summer House
 The view from my armchair
I had to accept that the children still need to store their tennis rackets, cricket stumps and various balls somewhere. A compromise was required, I decided to paint a discarded wooded chest the same colour as the walls, and issued a new rule; garden toys have to fit into the box or find a new home!
As I sat musing in one of the armchairs, relaxing, whilst the boys cycled passed on their bikes and swung from the oak trees rope swing, my mind drifted, imagining myself writing and working in this peaceful environment. I needed a desk that would fit into a tight space, yet not encroach on my new tranquil haven. Eureka (it happens rarely in our household)! A folding table from IKEA, purchased for the galley kitchen table in our then London flat, never used, in its original wrapping and stored for 15 years in our various garages. It was the perfect summer house desk, with just the need of an oak stained wax, to give a little character and dull the stark untreated pine. In seconds I can move an arm chair and have my desk up in place, a dual purpose space in just over 6M².
 My desk
 The Summer House as an office
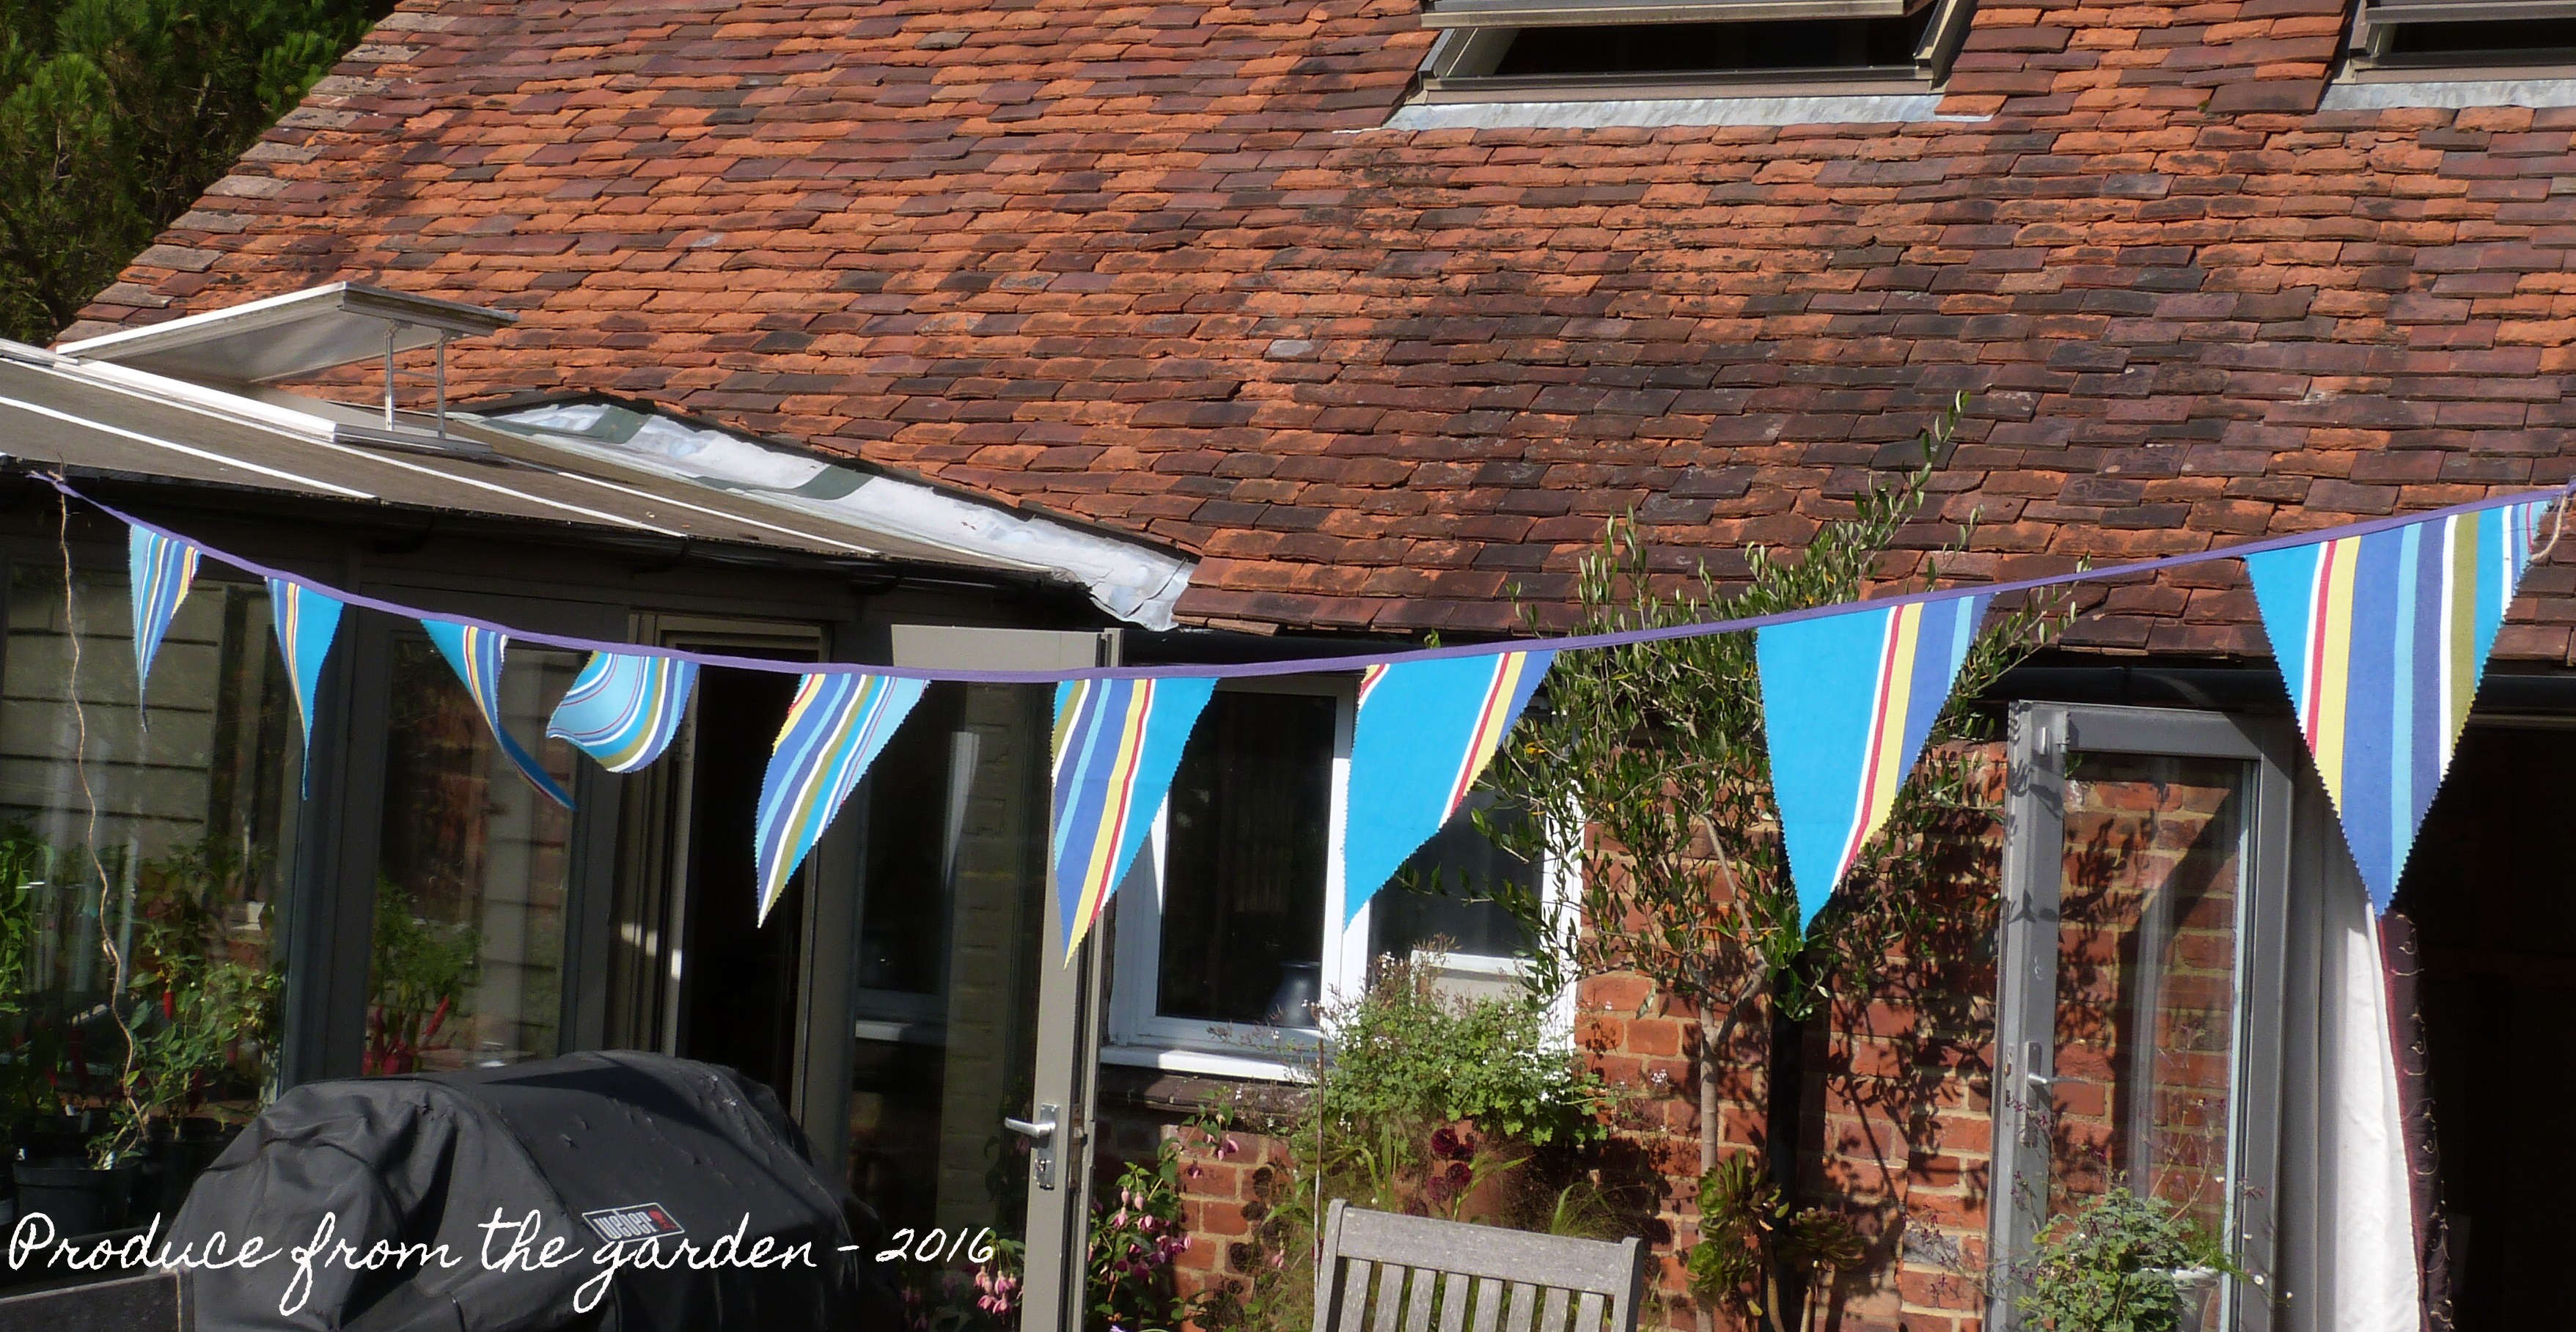
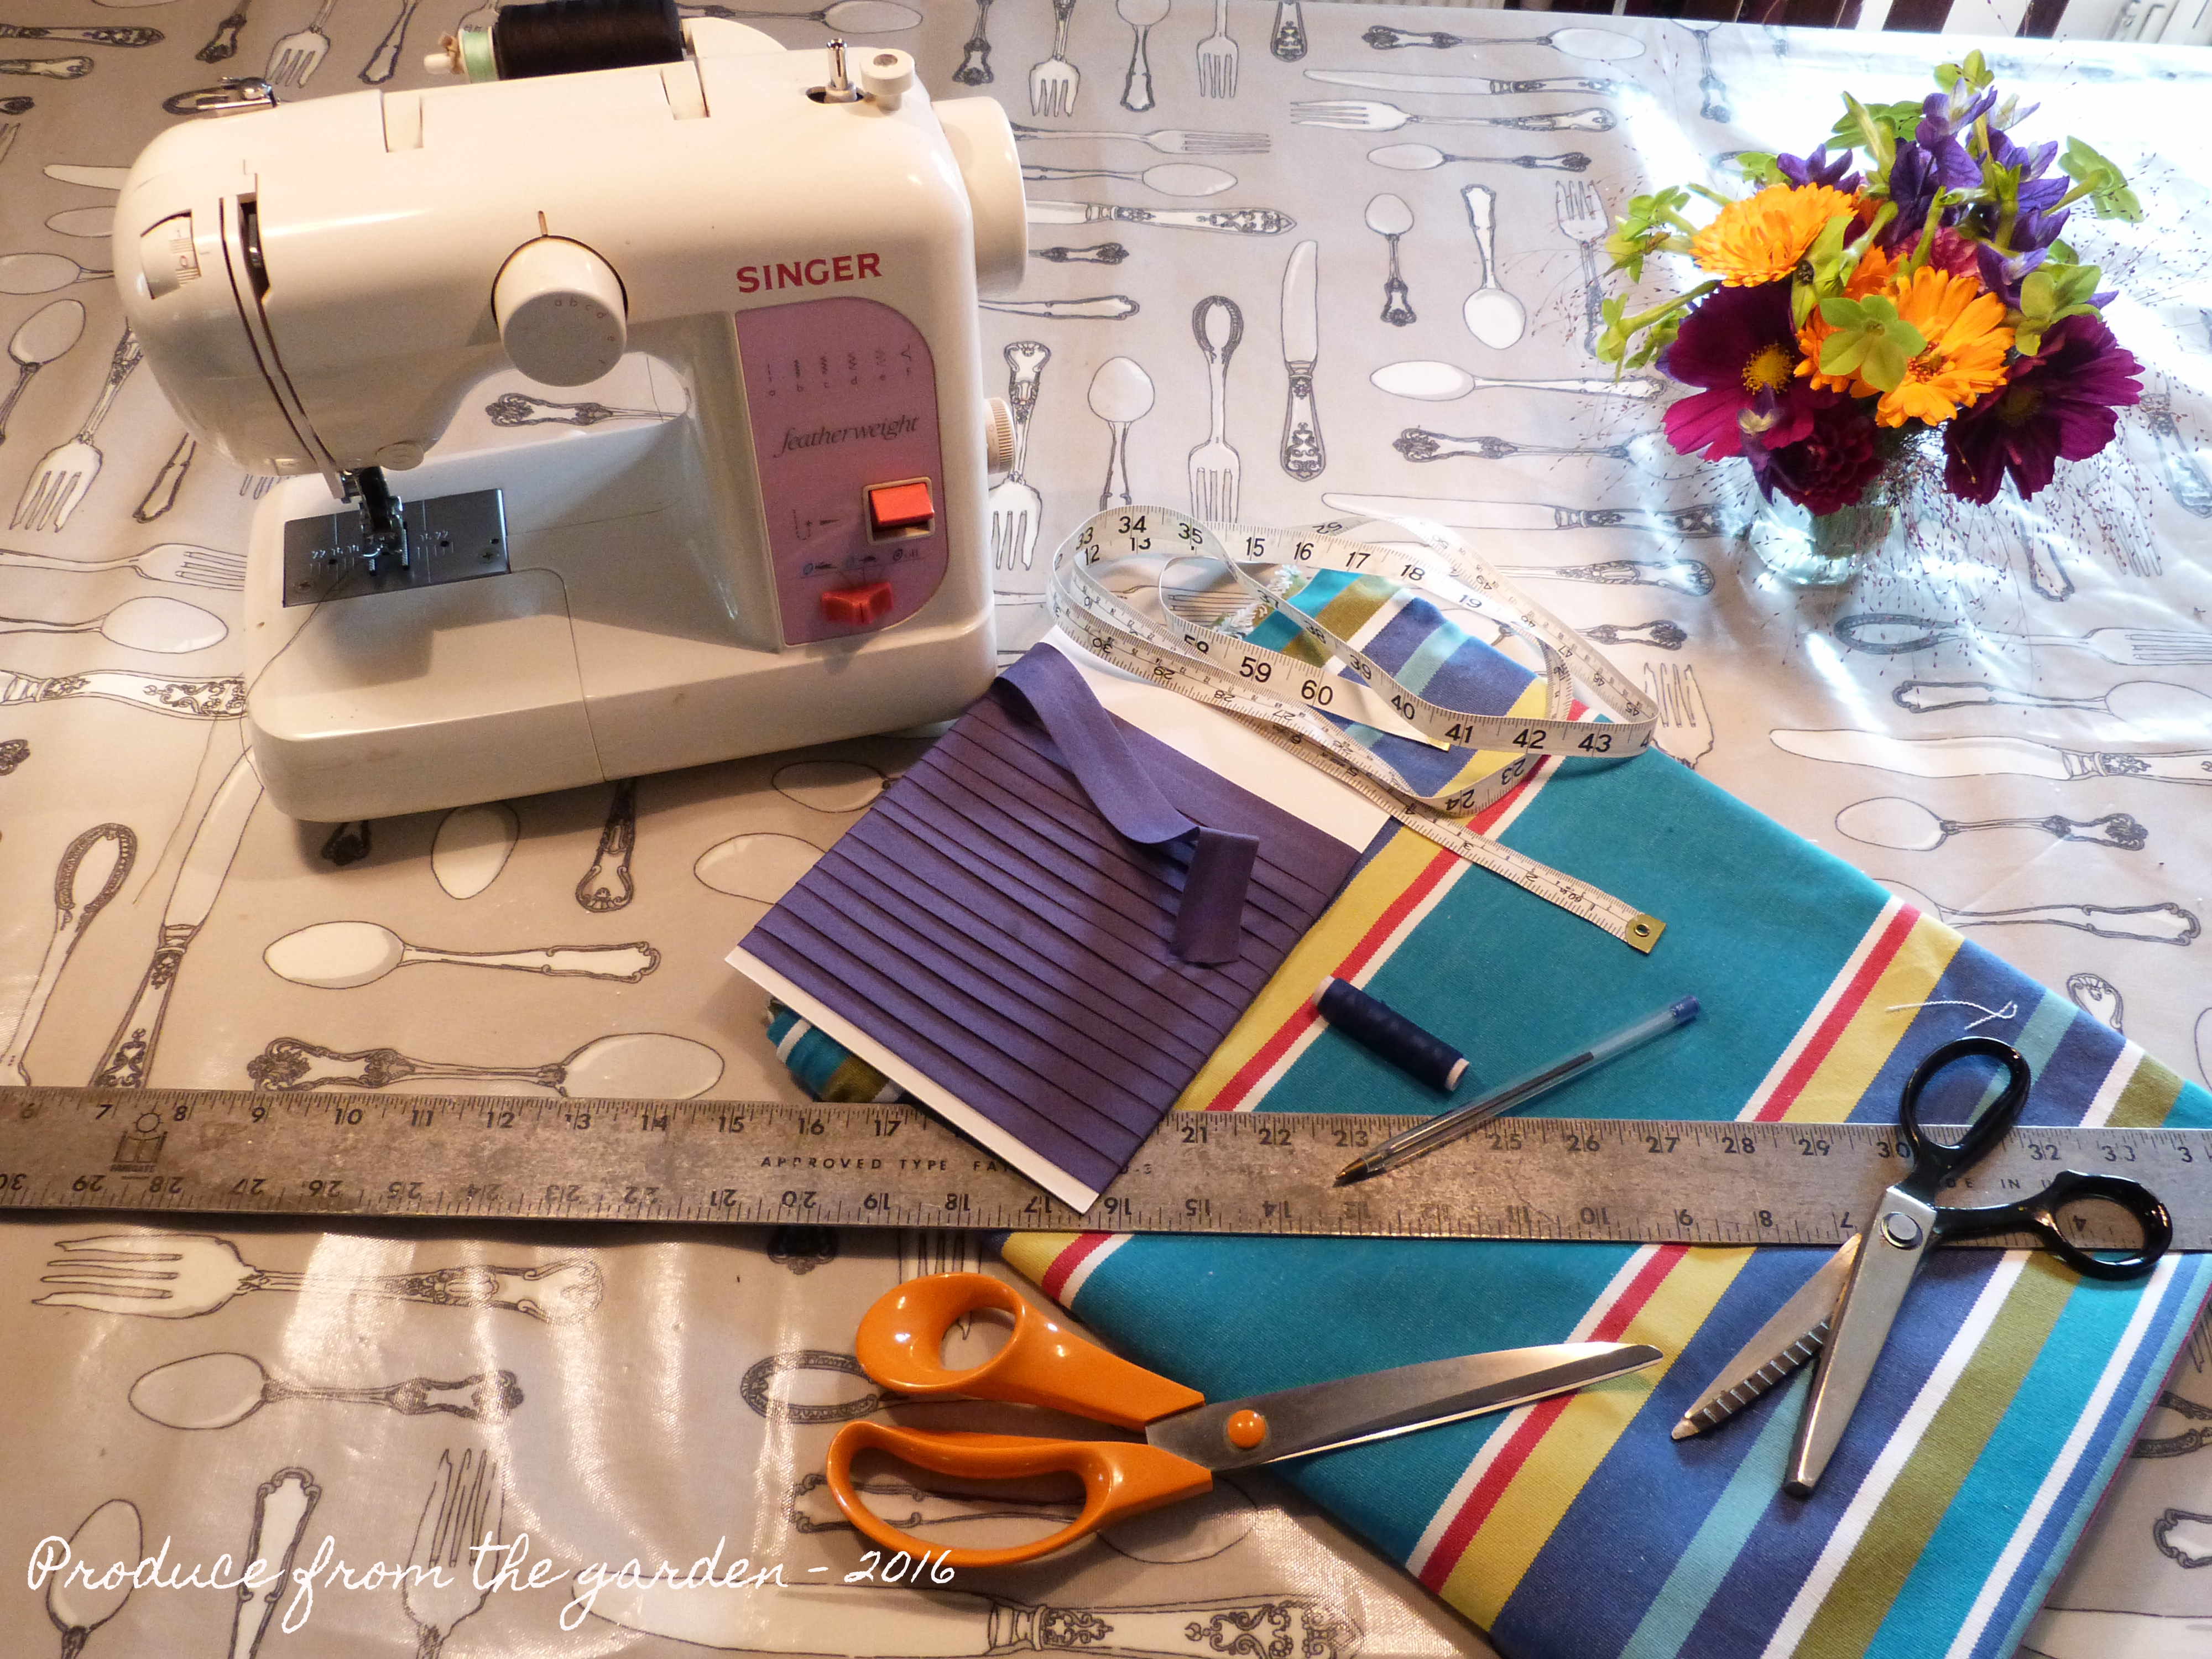
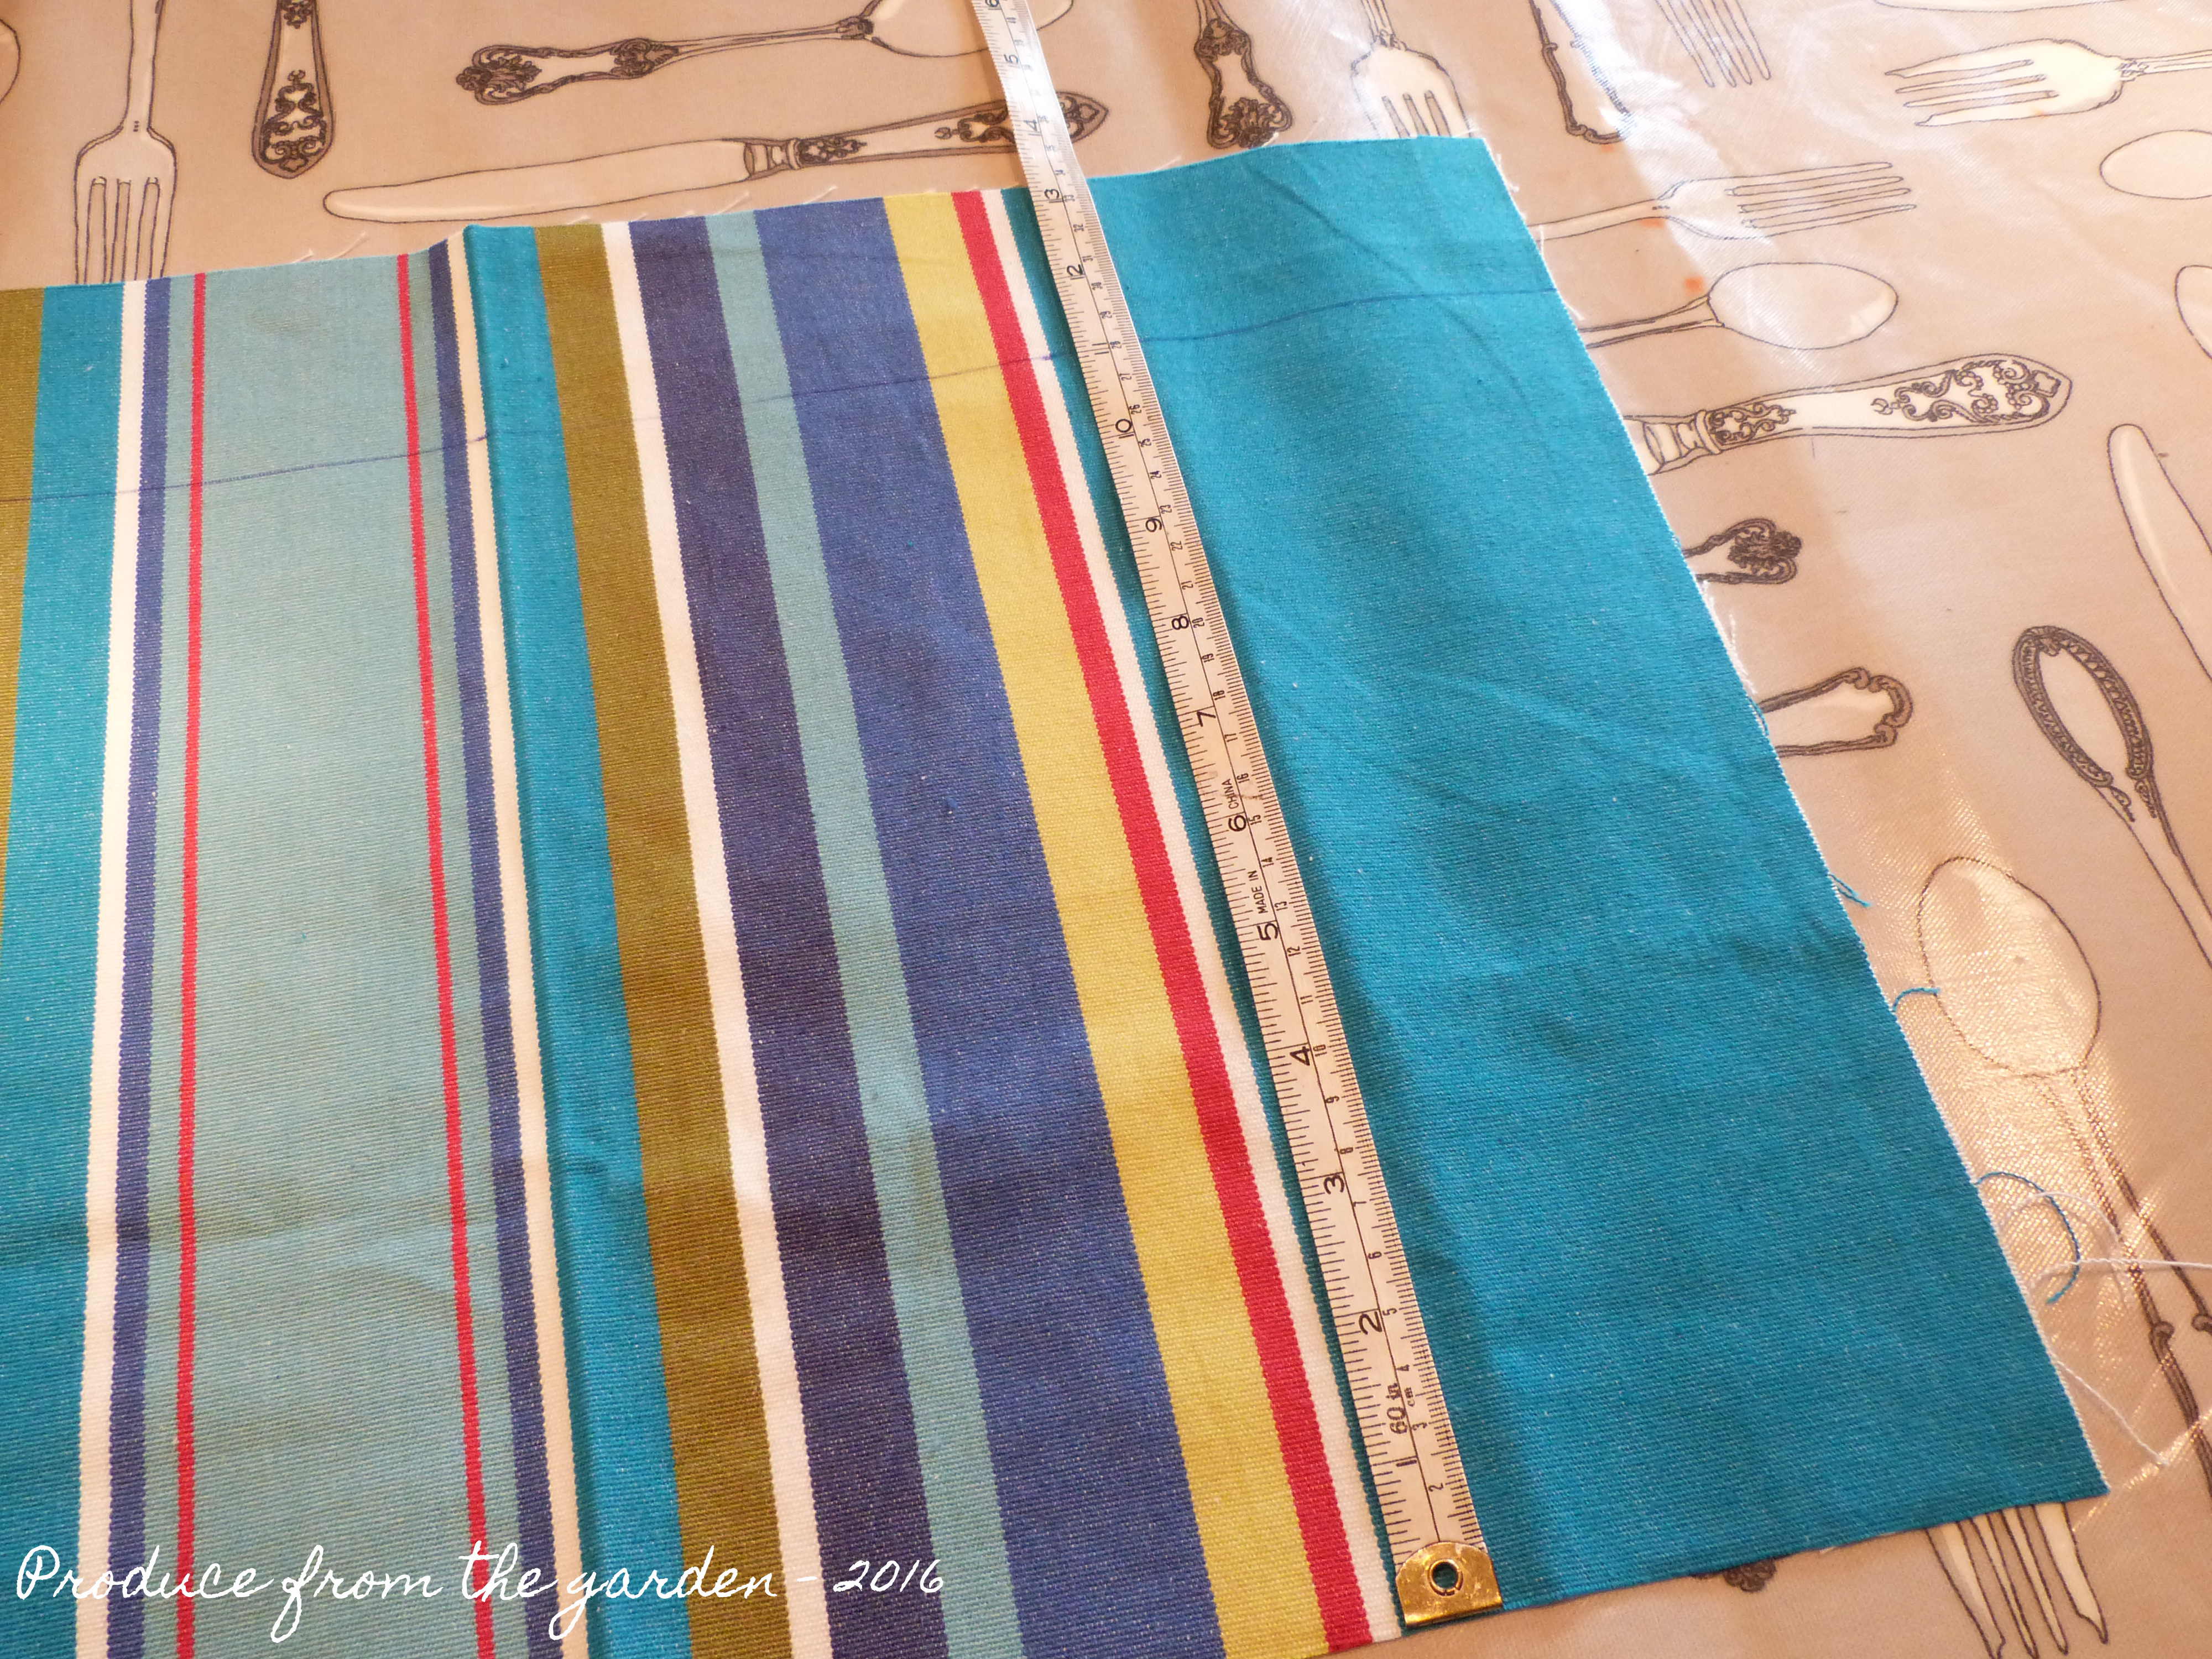
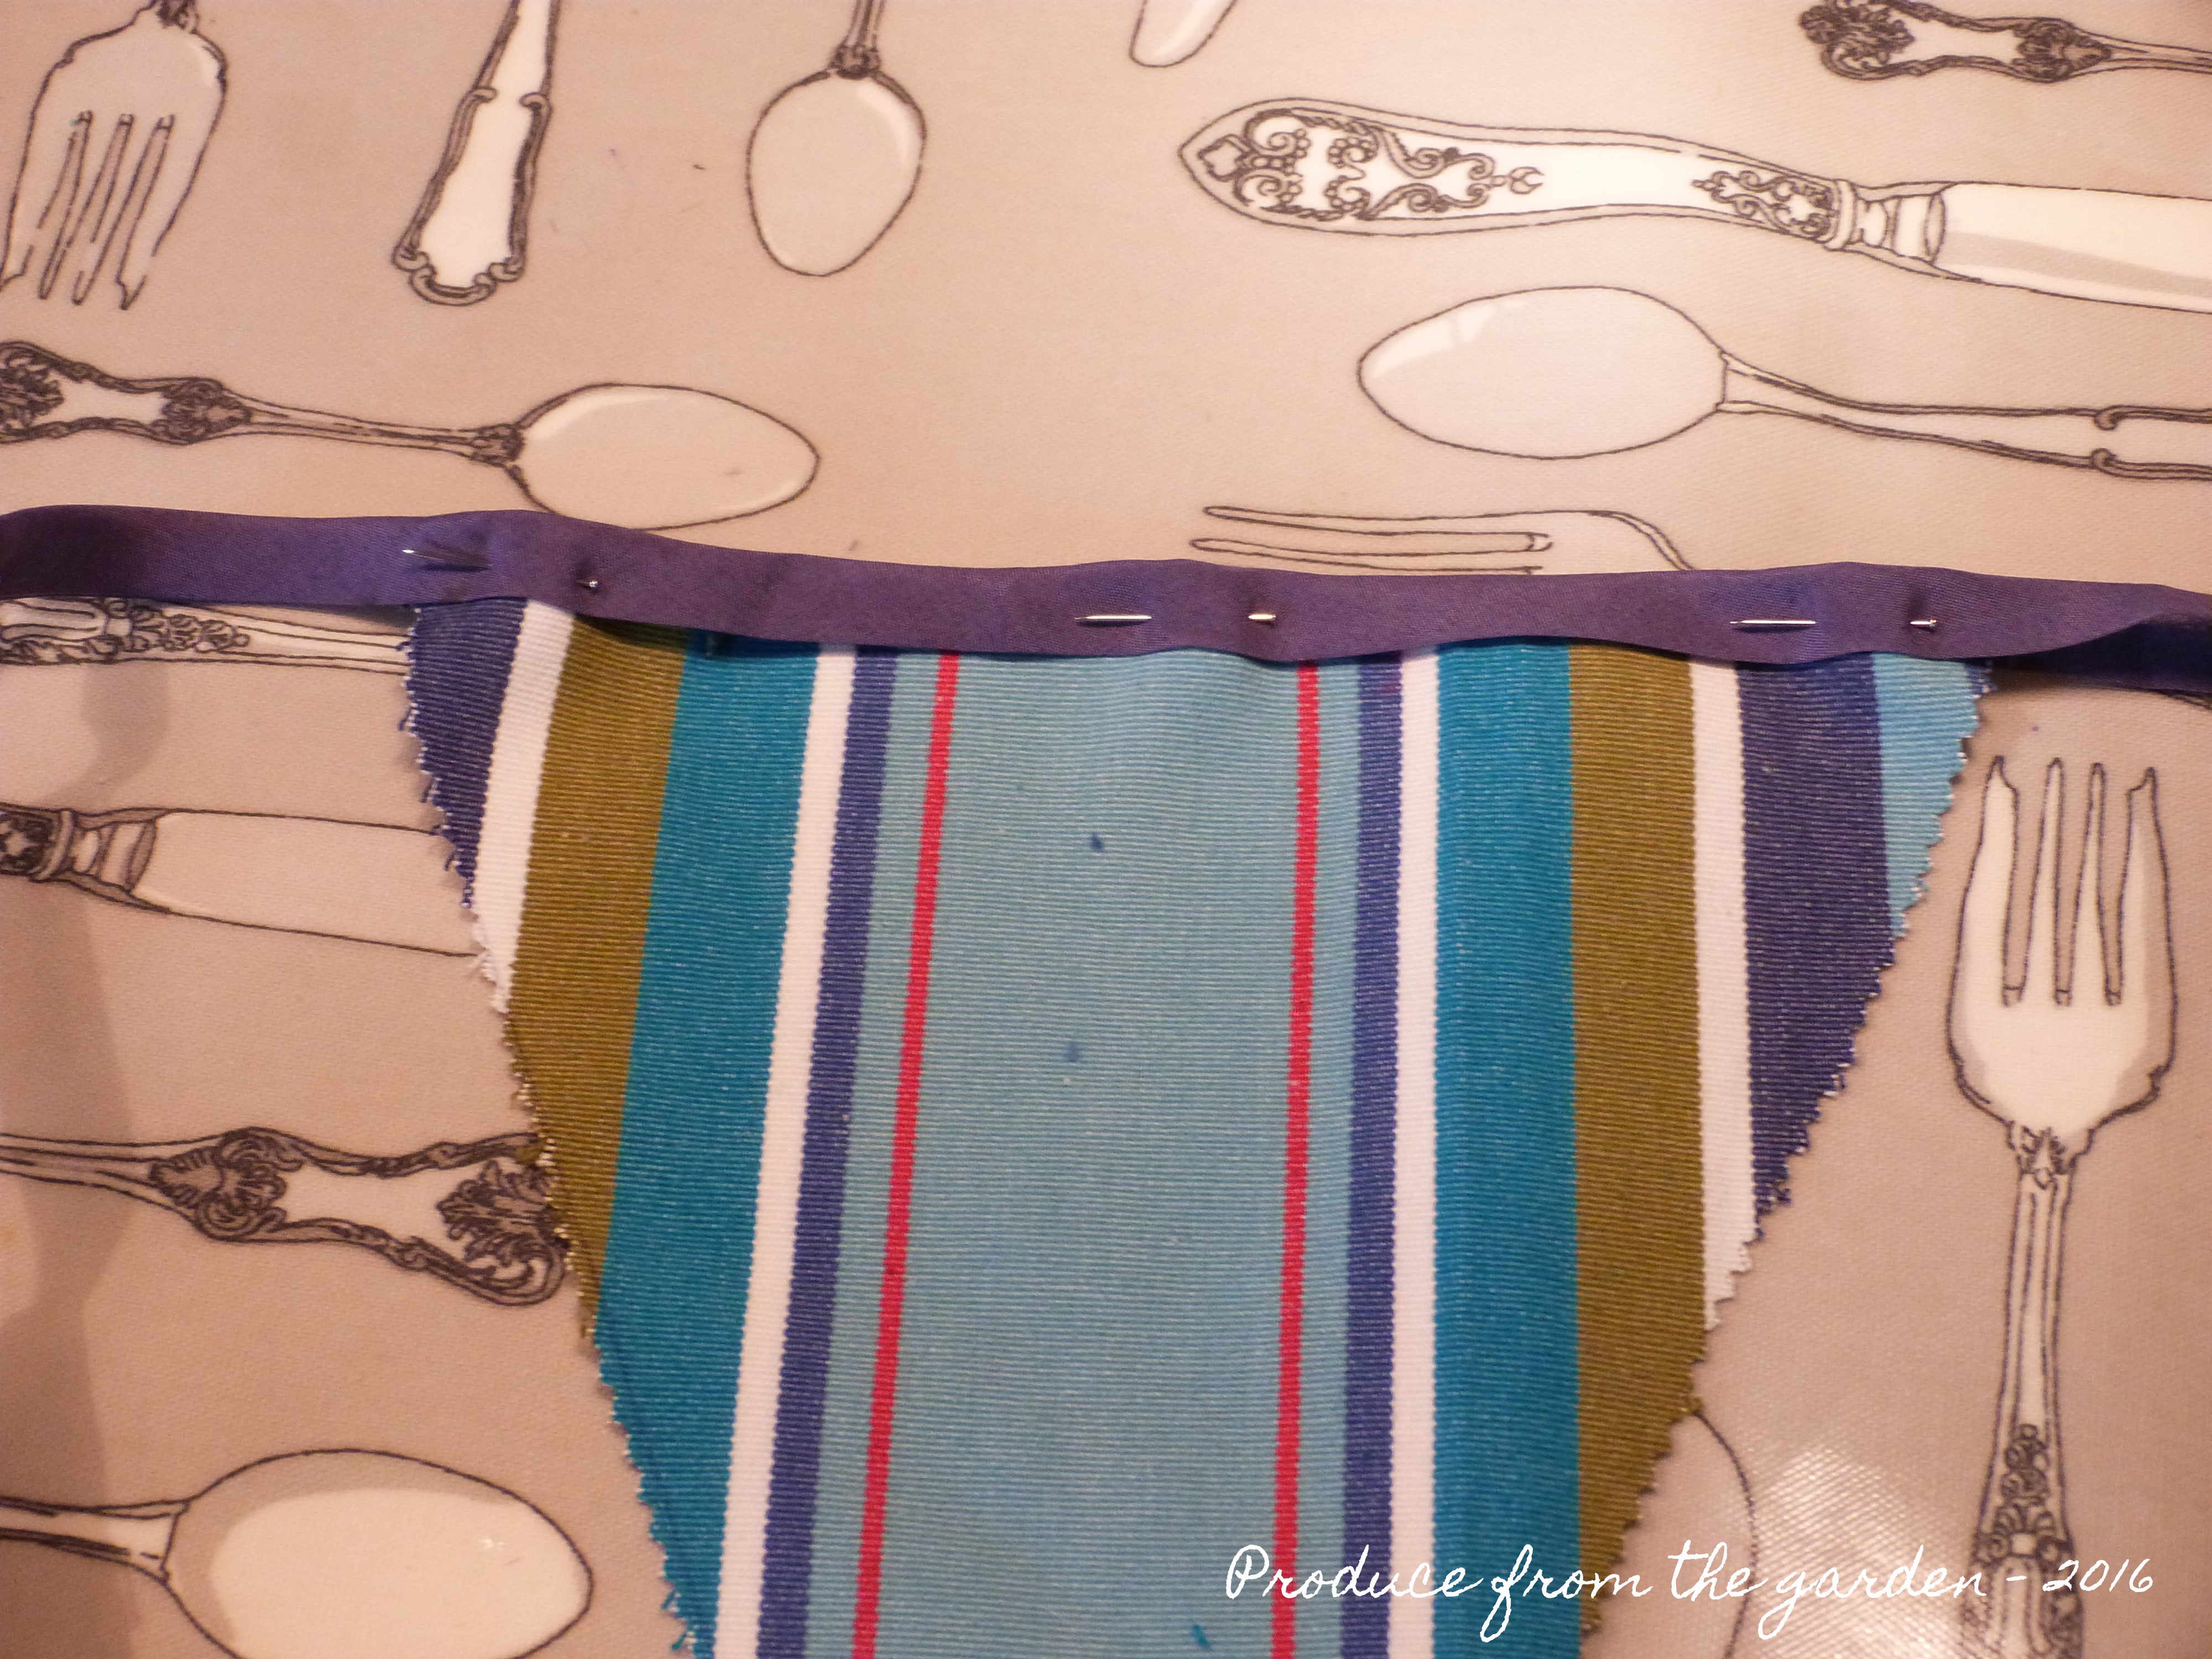
The final decorations include a beautiful hanging lamp given to us by my Aunt and Uncle, homemade easy peasy bunting which I will detail how to make in my next posting and colourful cut flowers from the garden, that take my wonderful new summer house to another dimension.
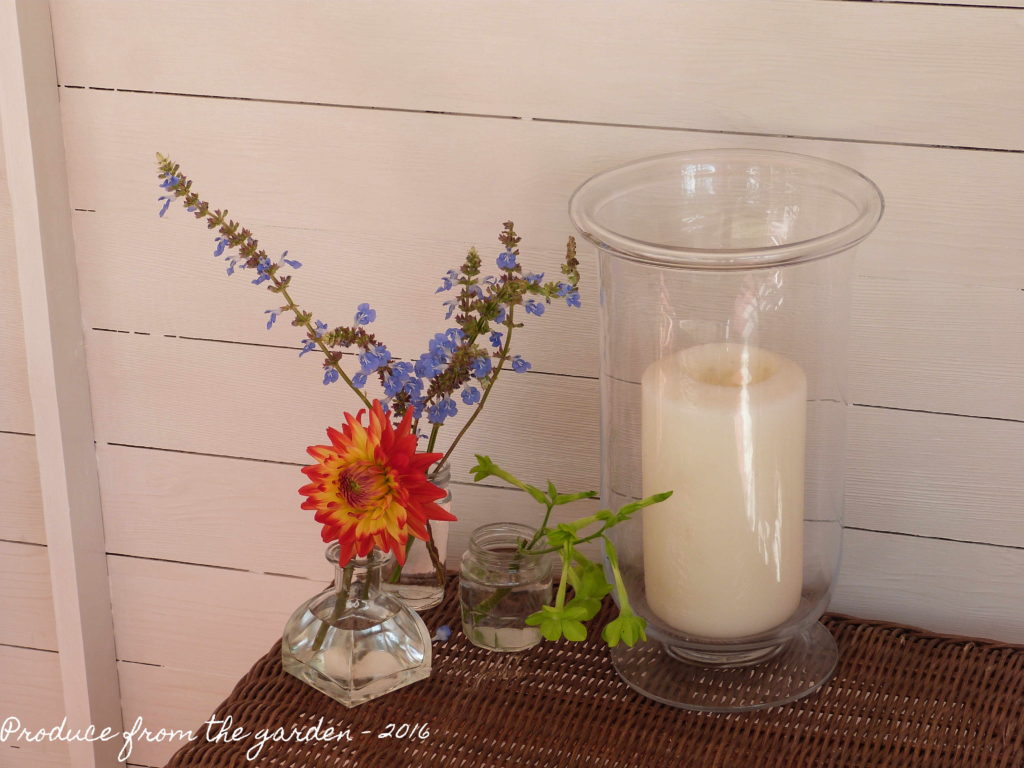 Flowers on the table
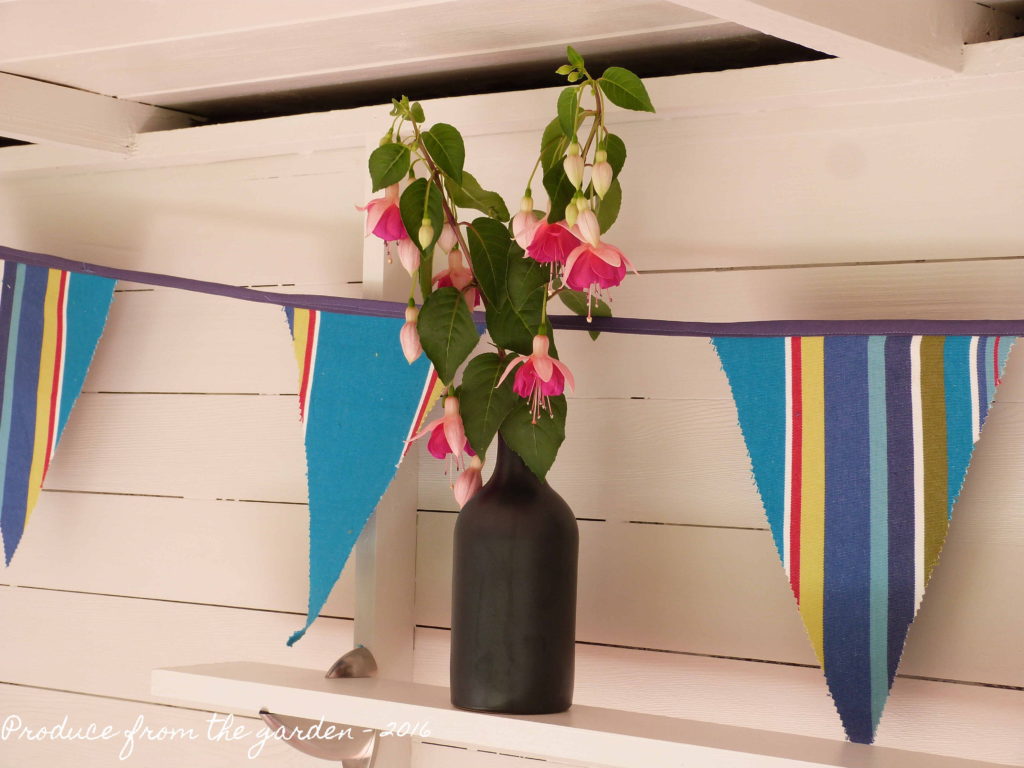 Fuchsias in the Summer House
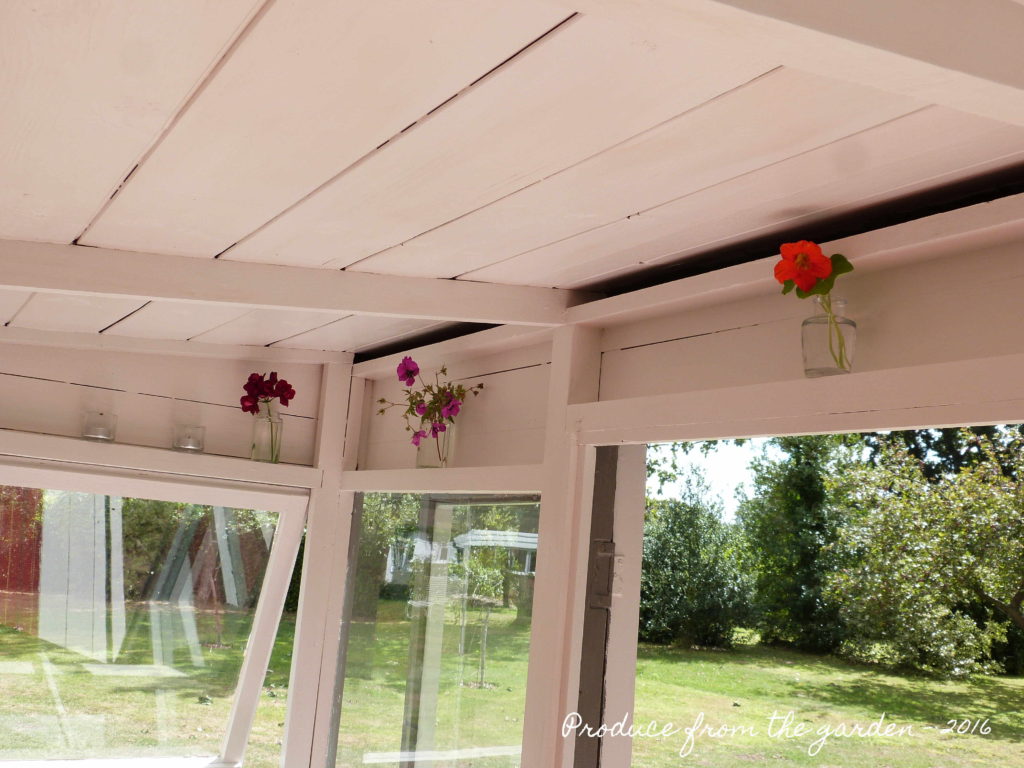
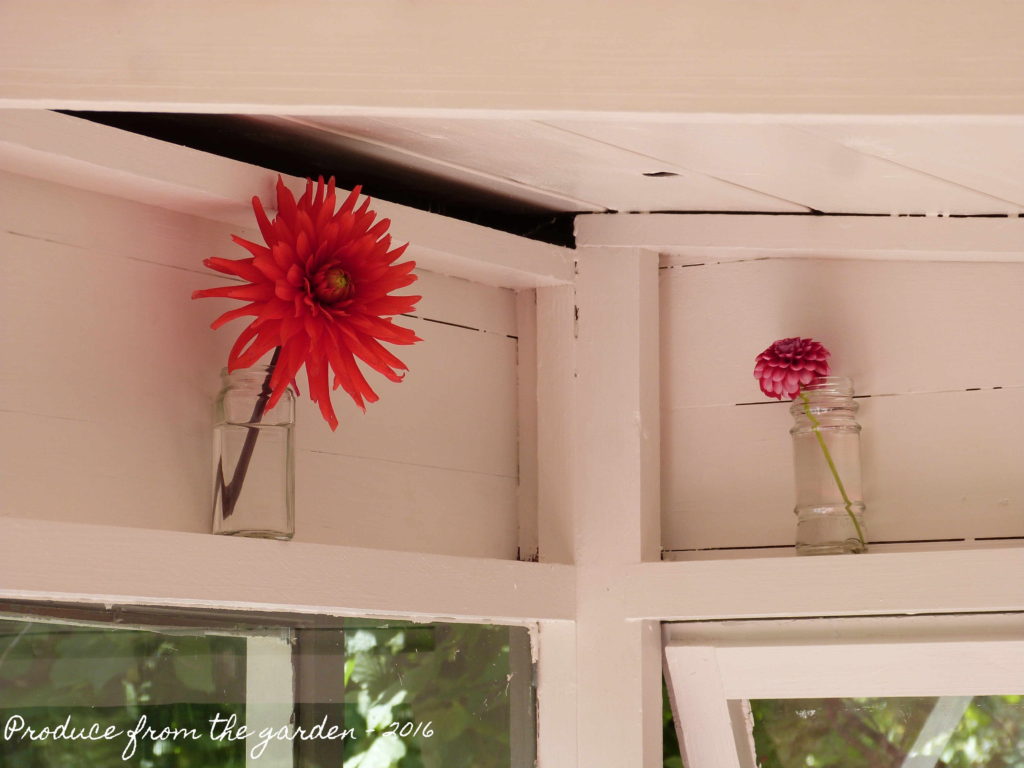 Flowers in the nooks and crannies
 More flowers and t. lights
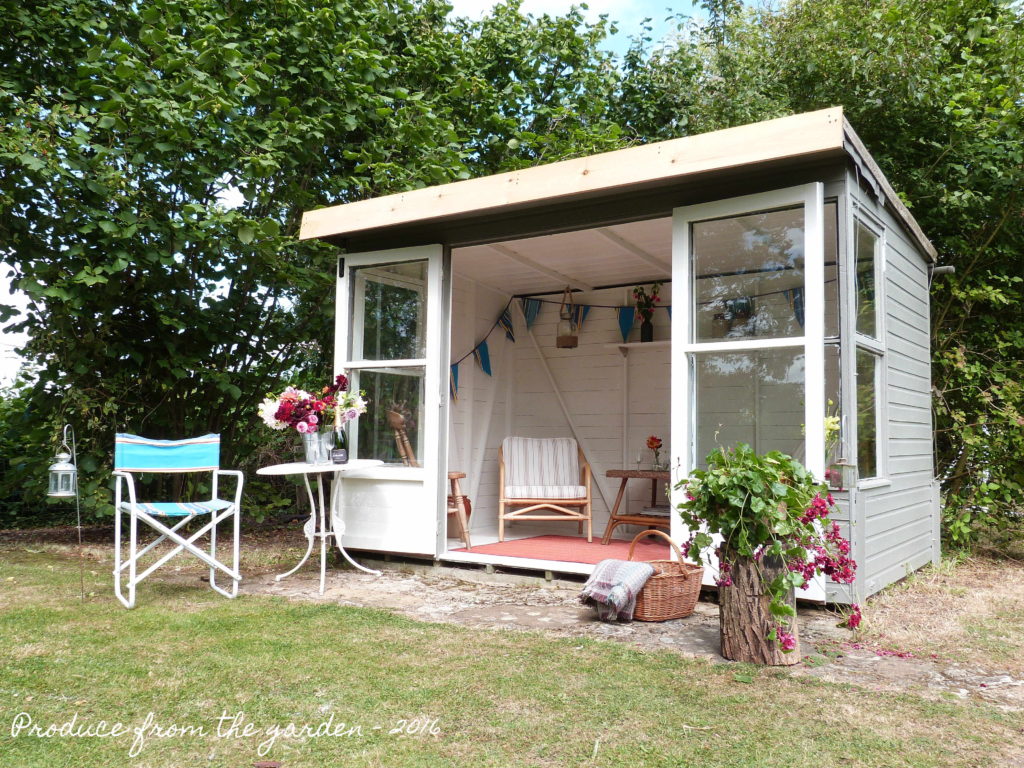
Not only is the renovated Summer House a great place for a cuppa, it’s the perfect spot for a sundowner, cheers!
Save
Save
Save
Save
Save
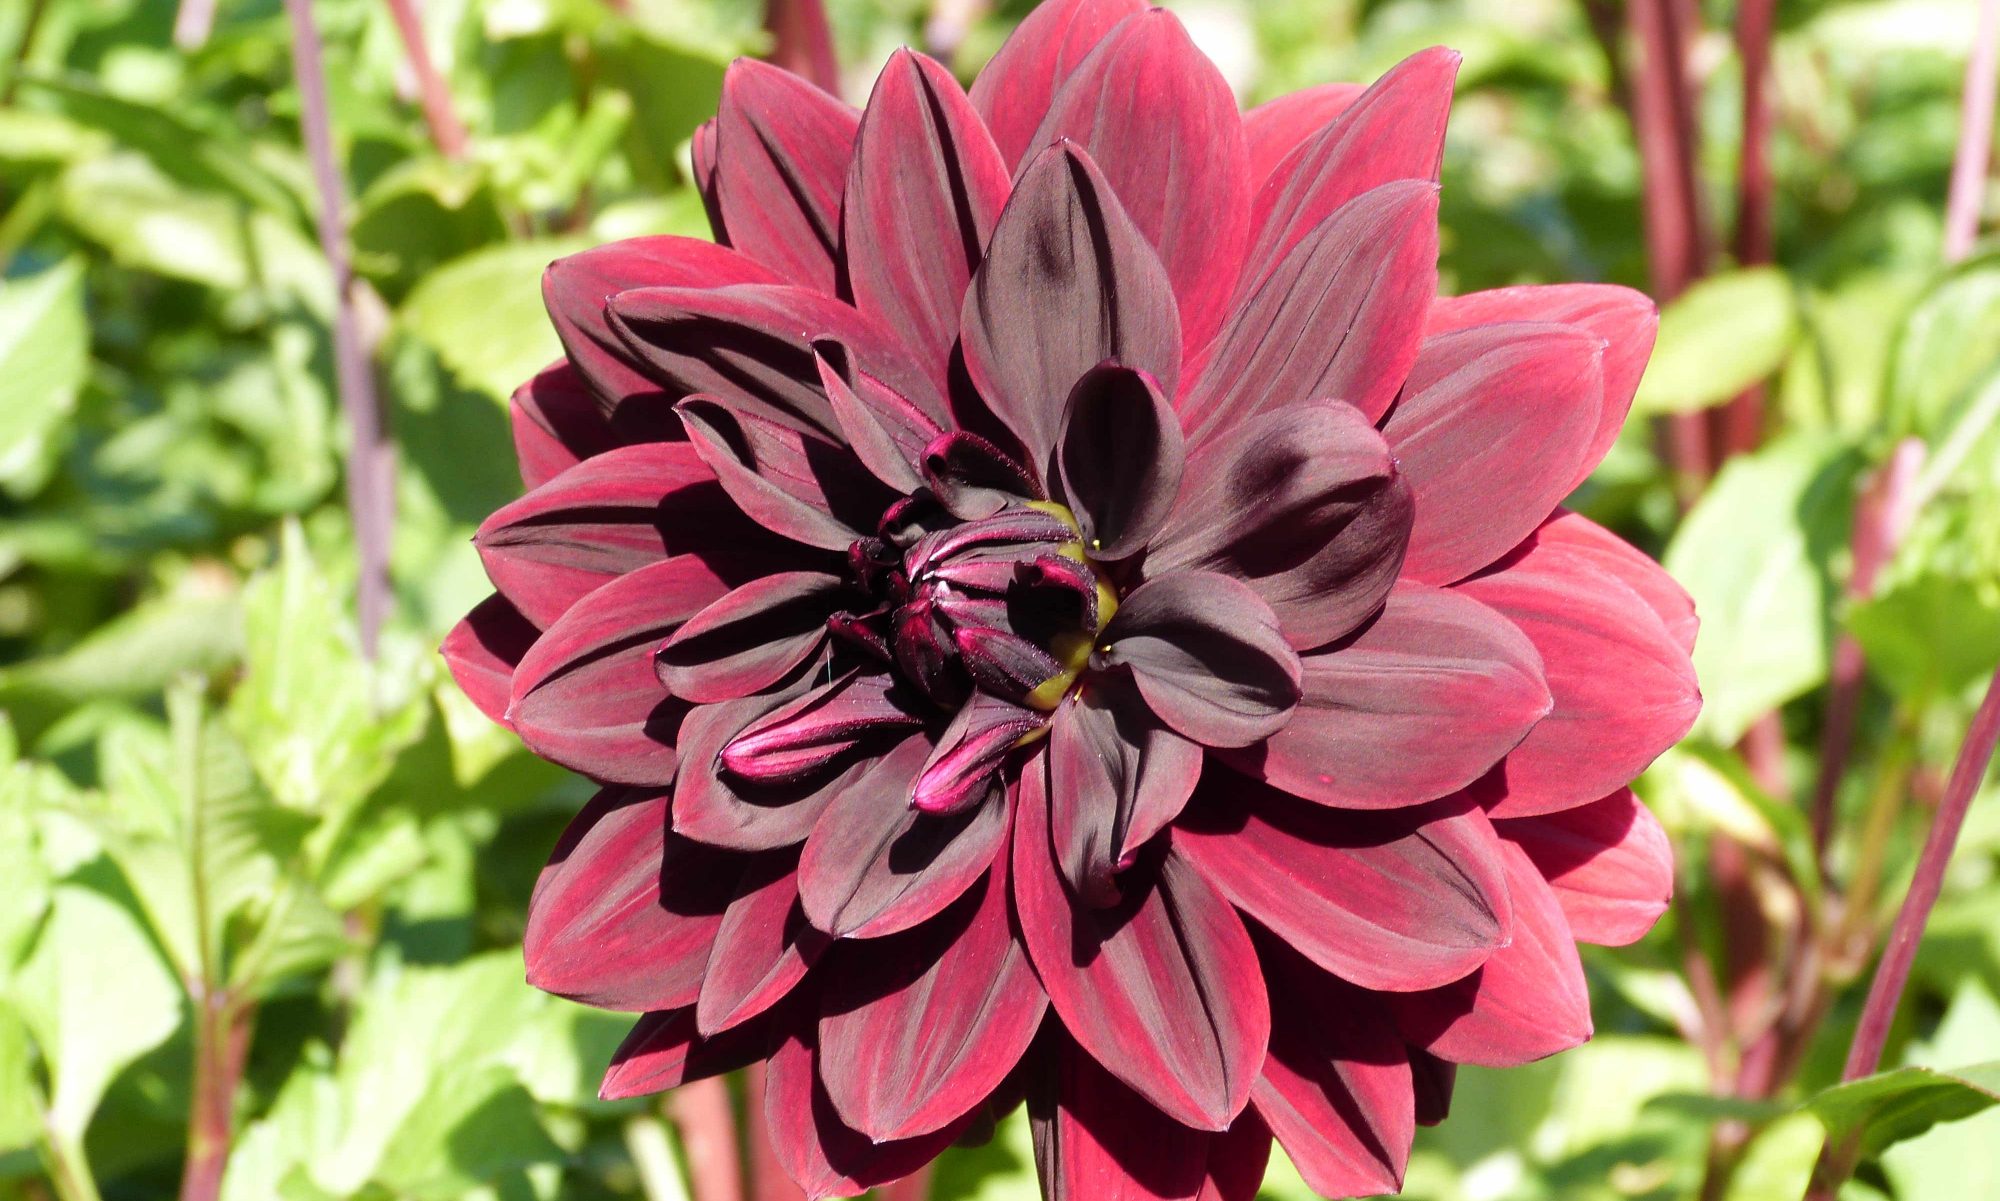
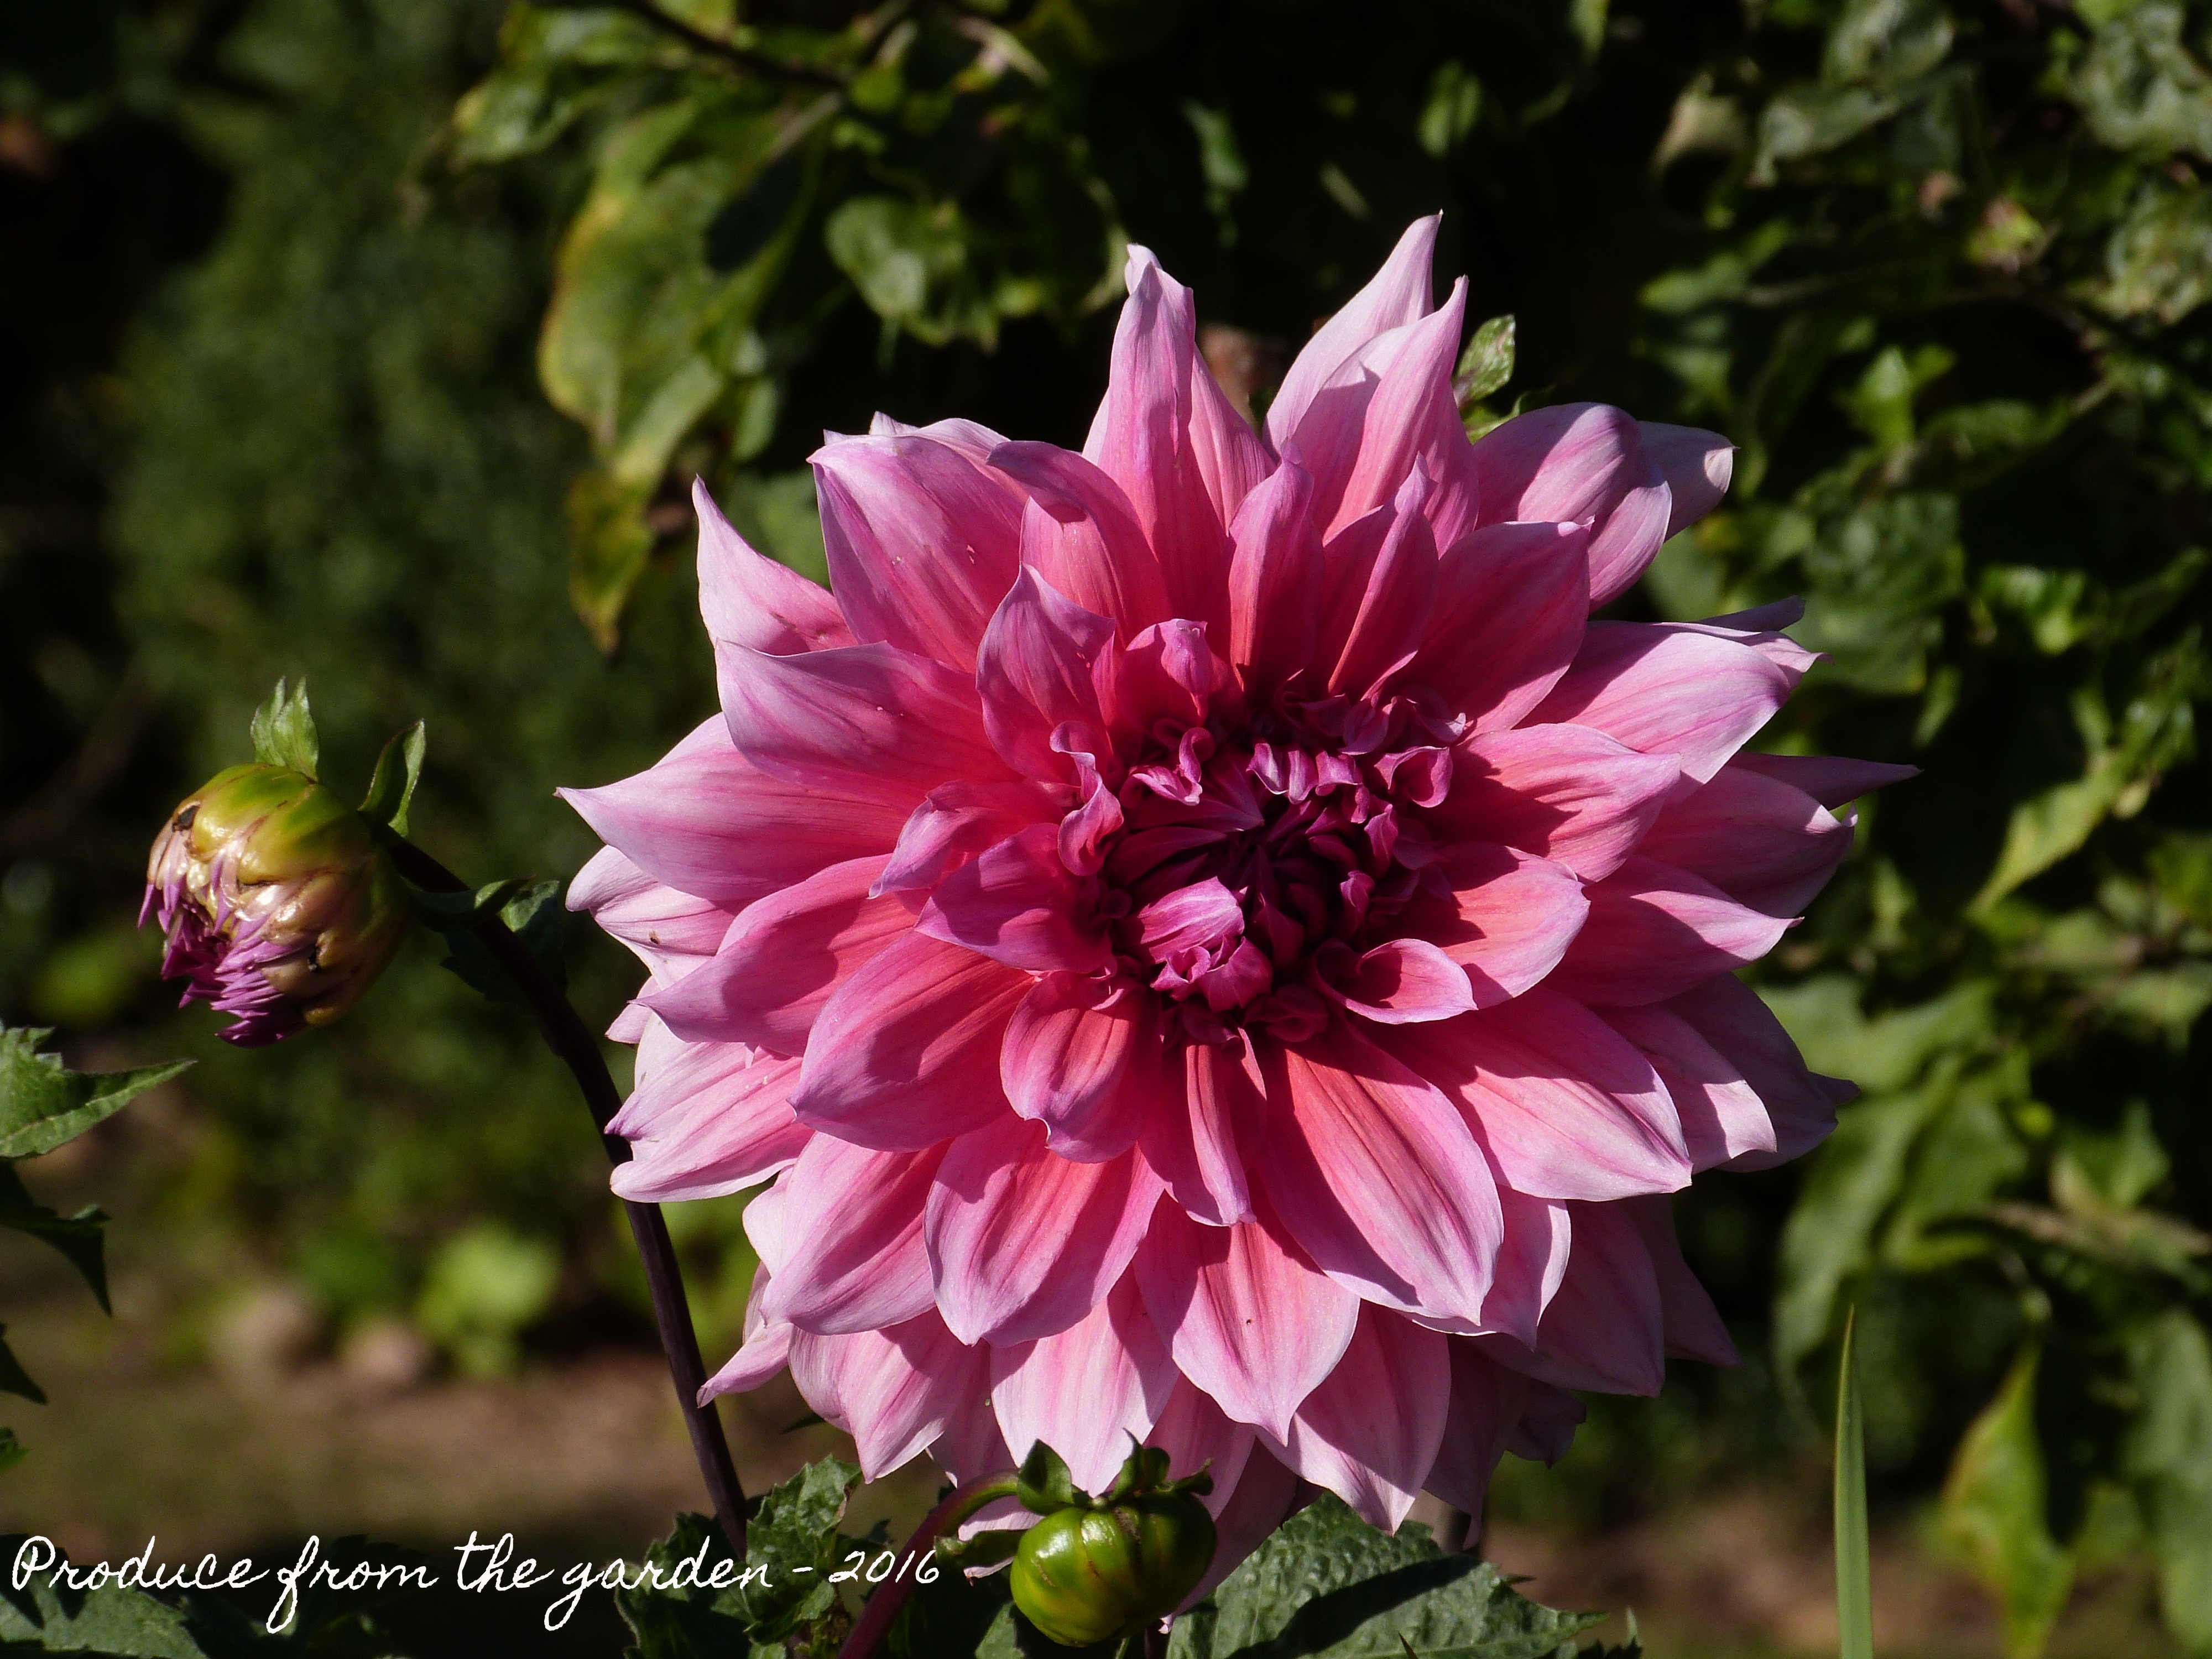
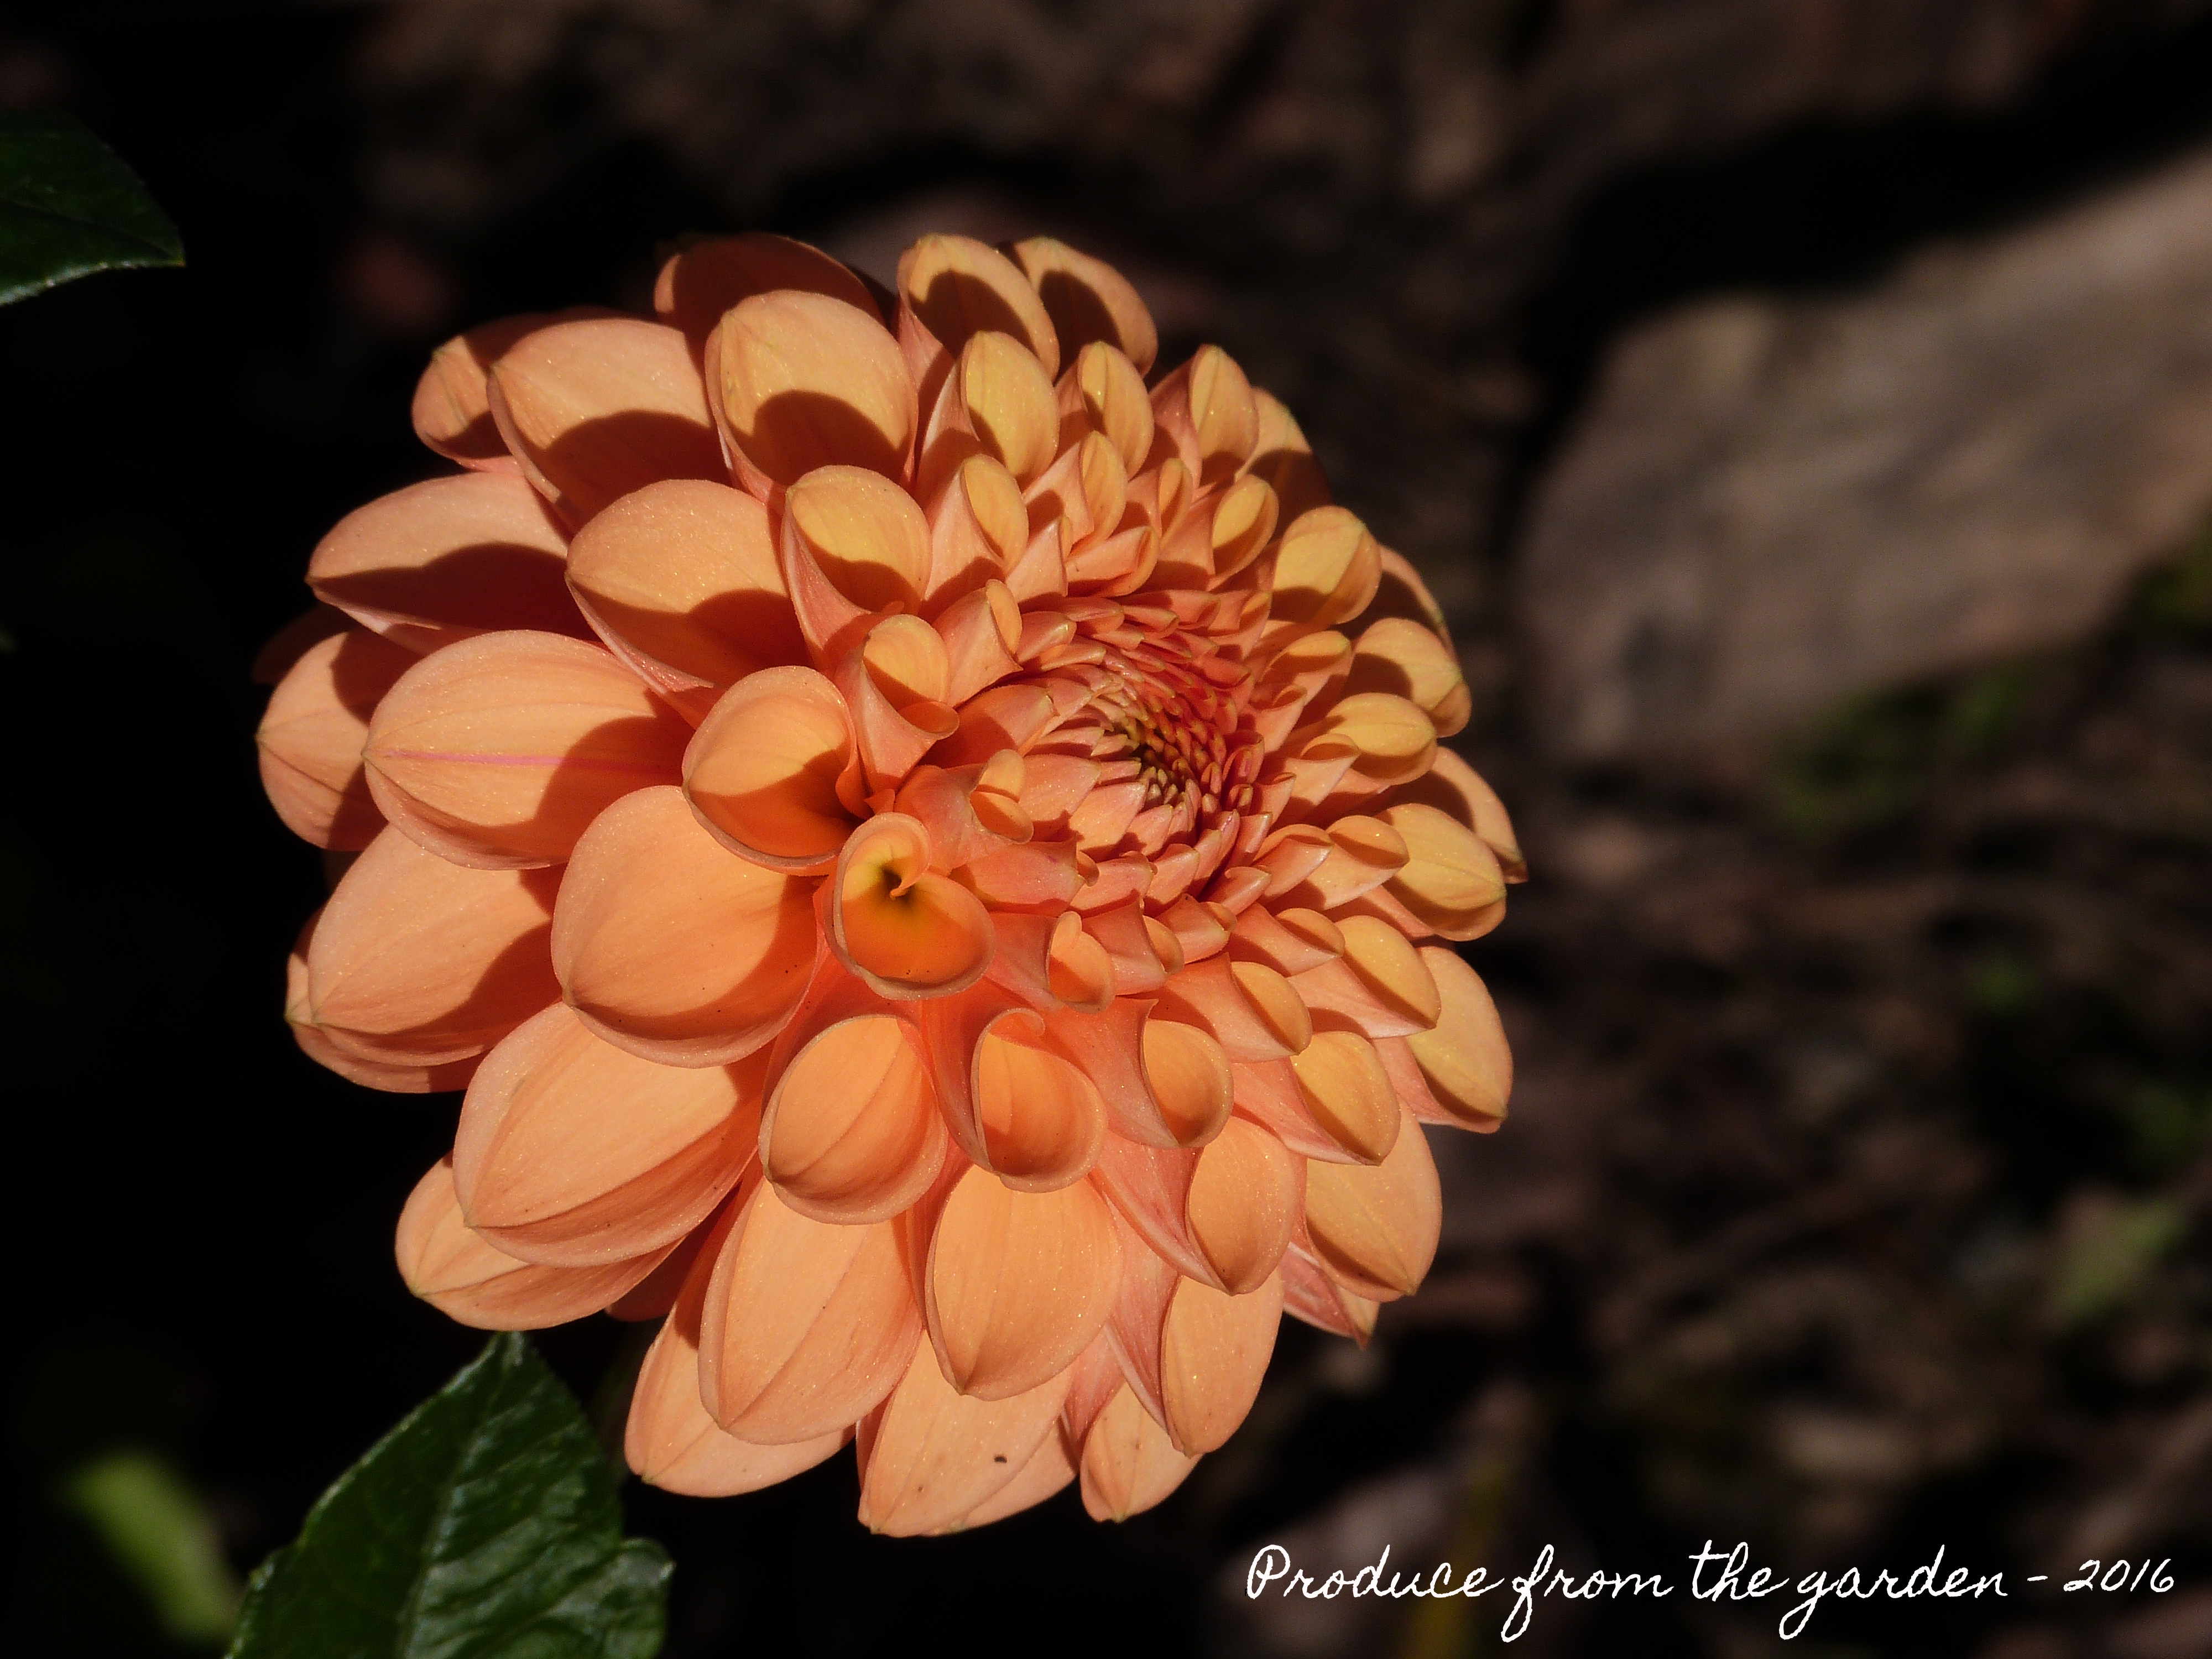
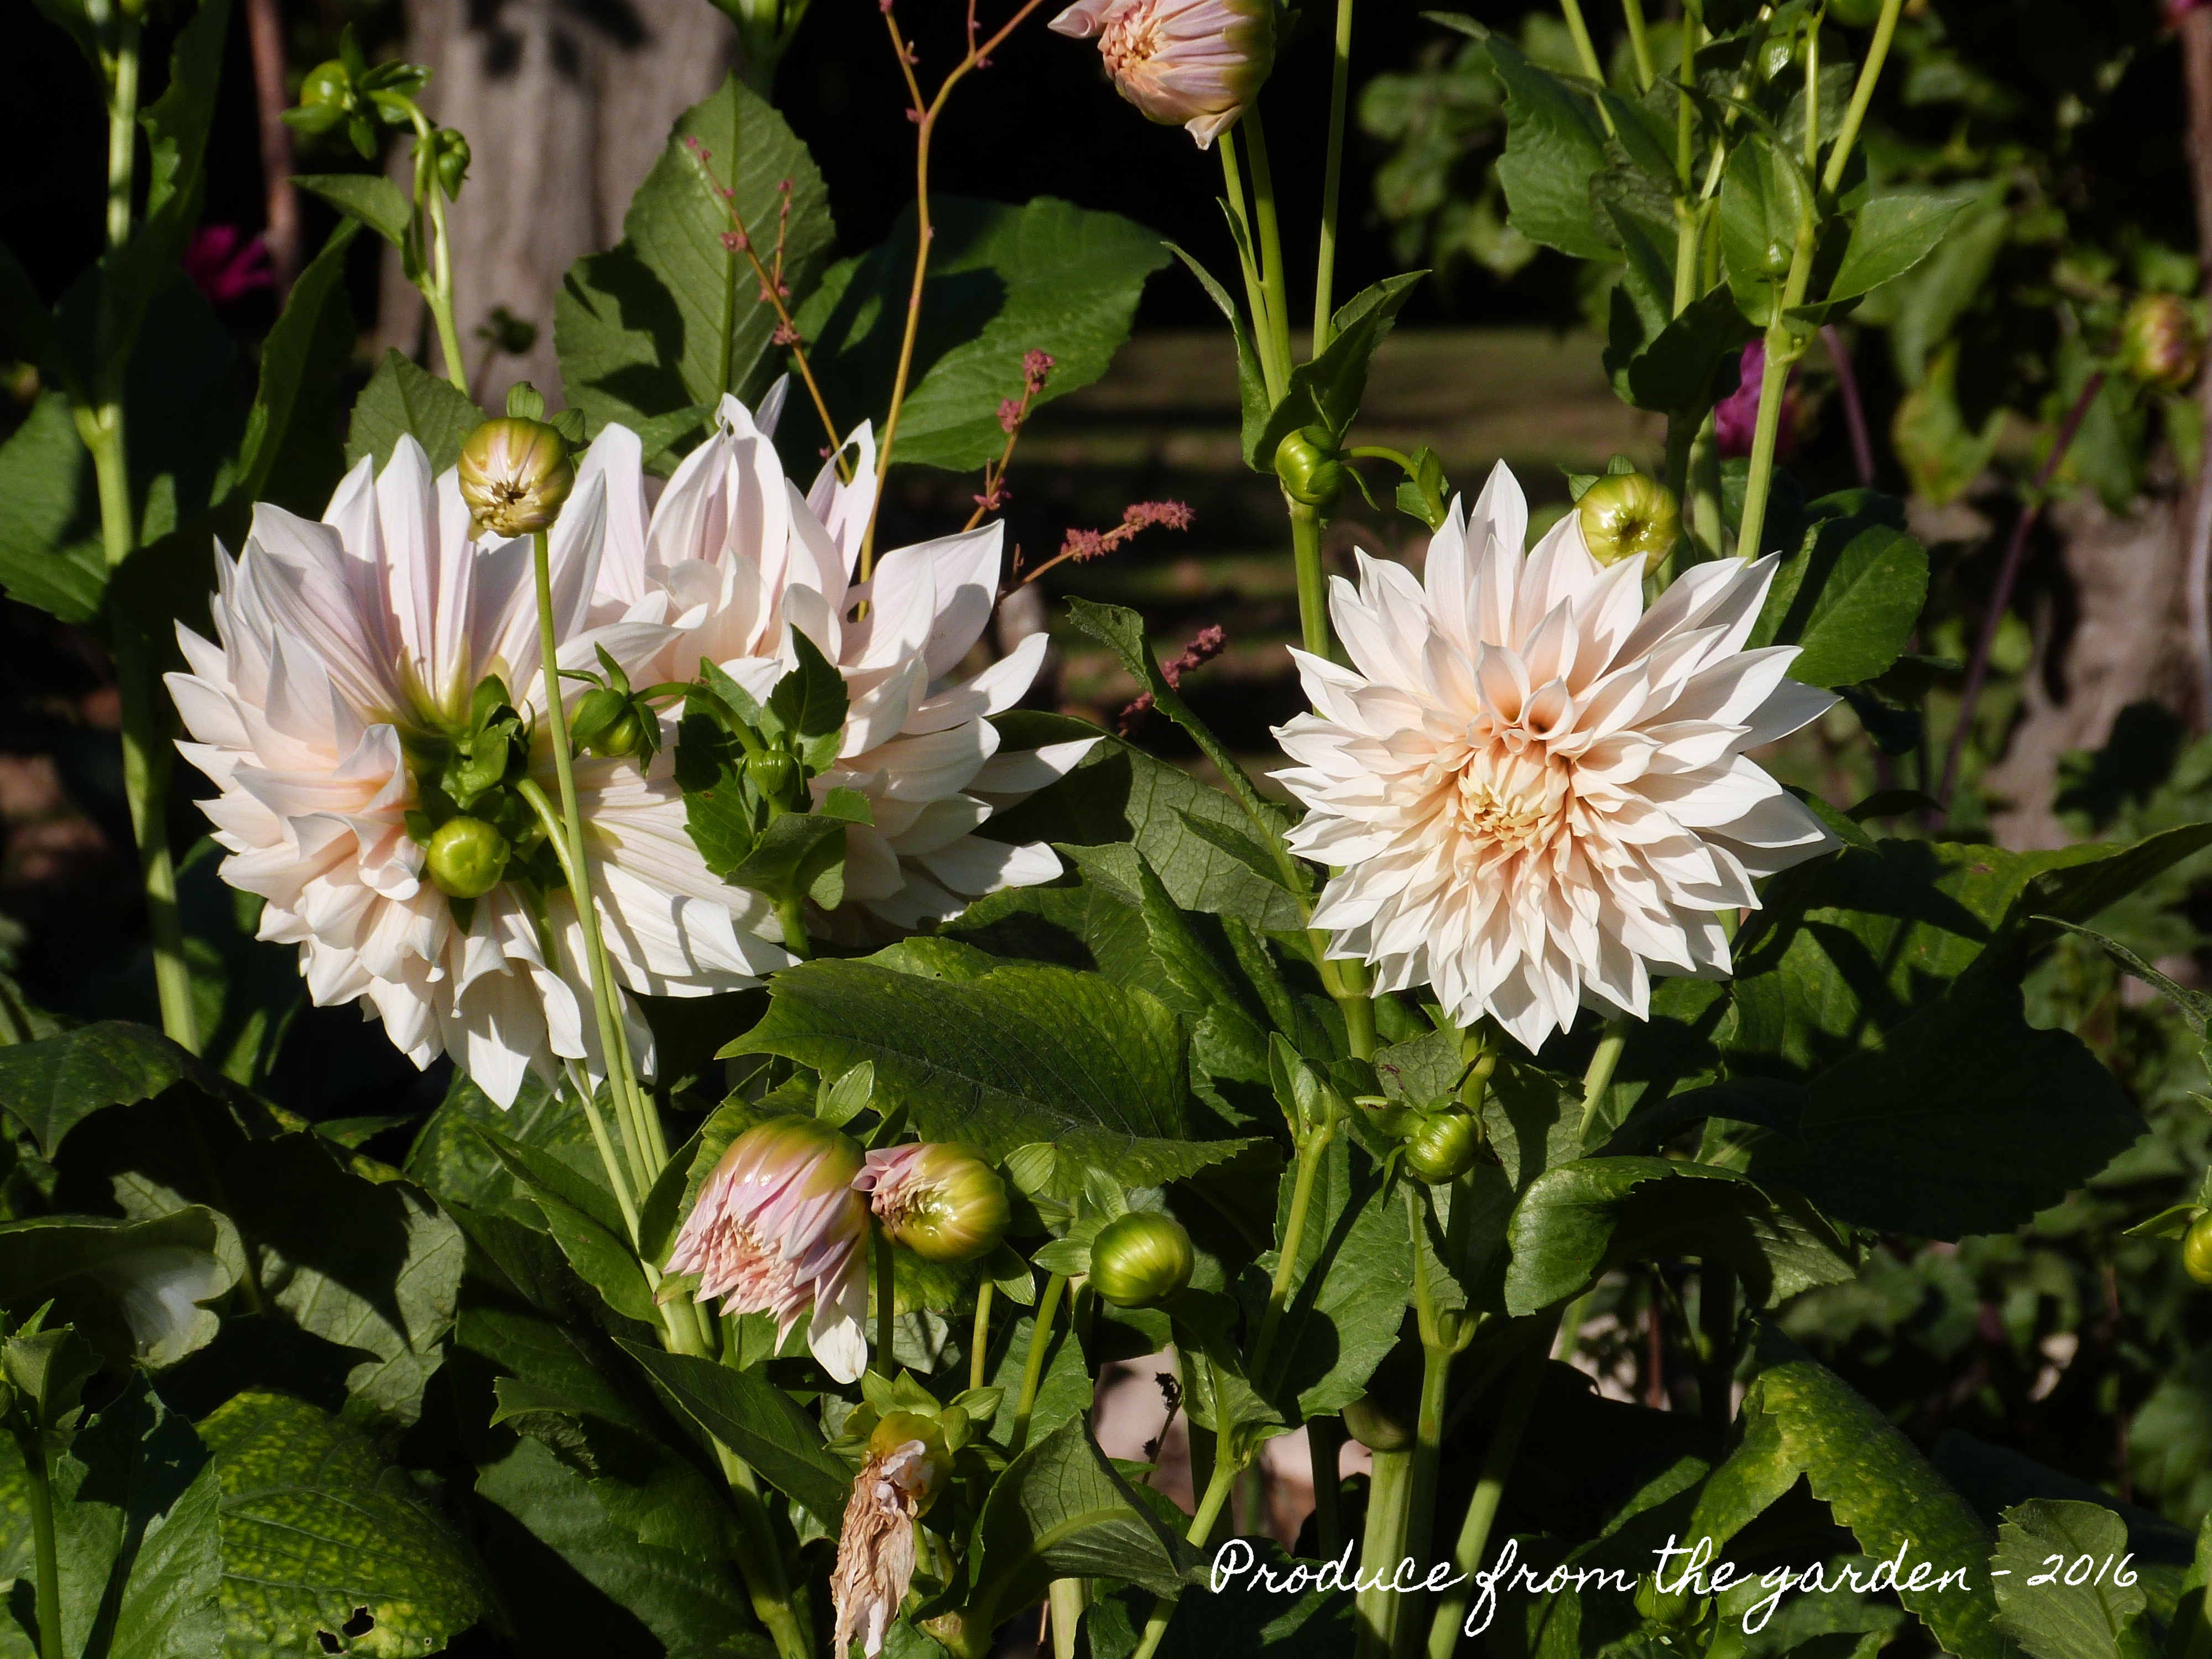
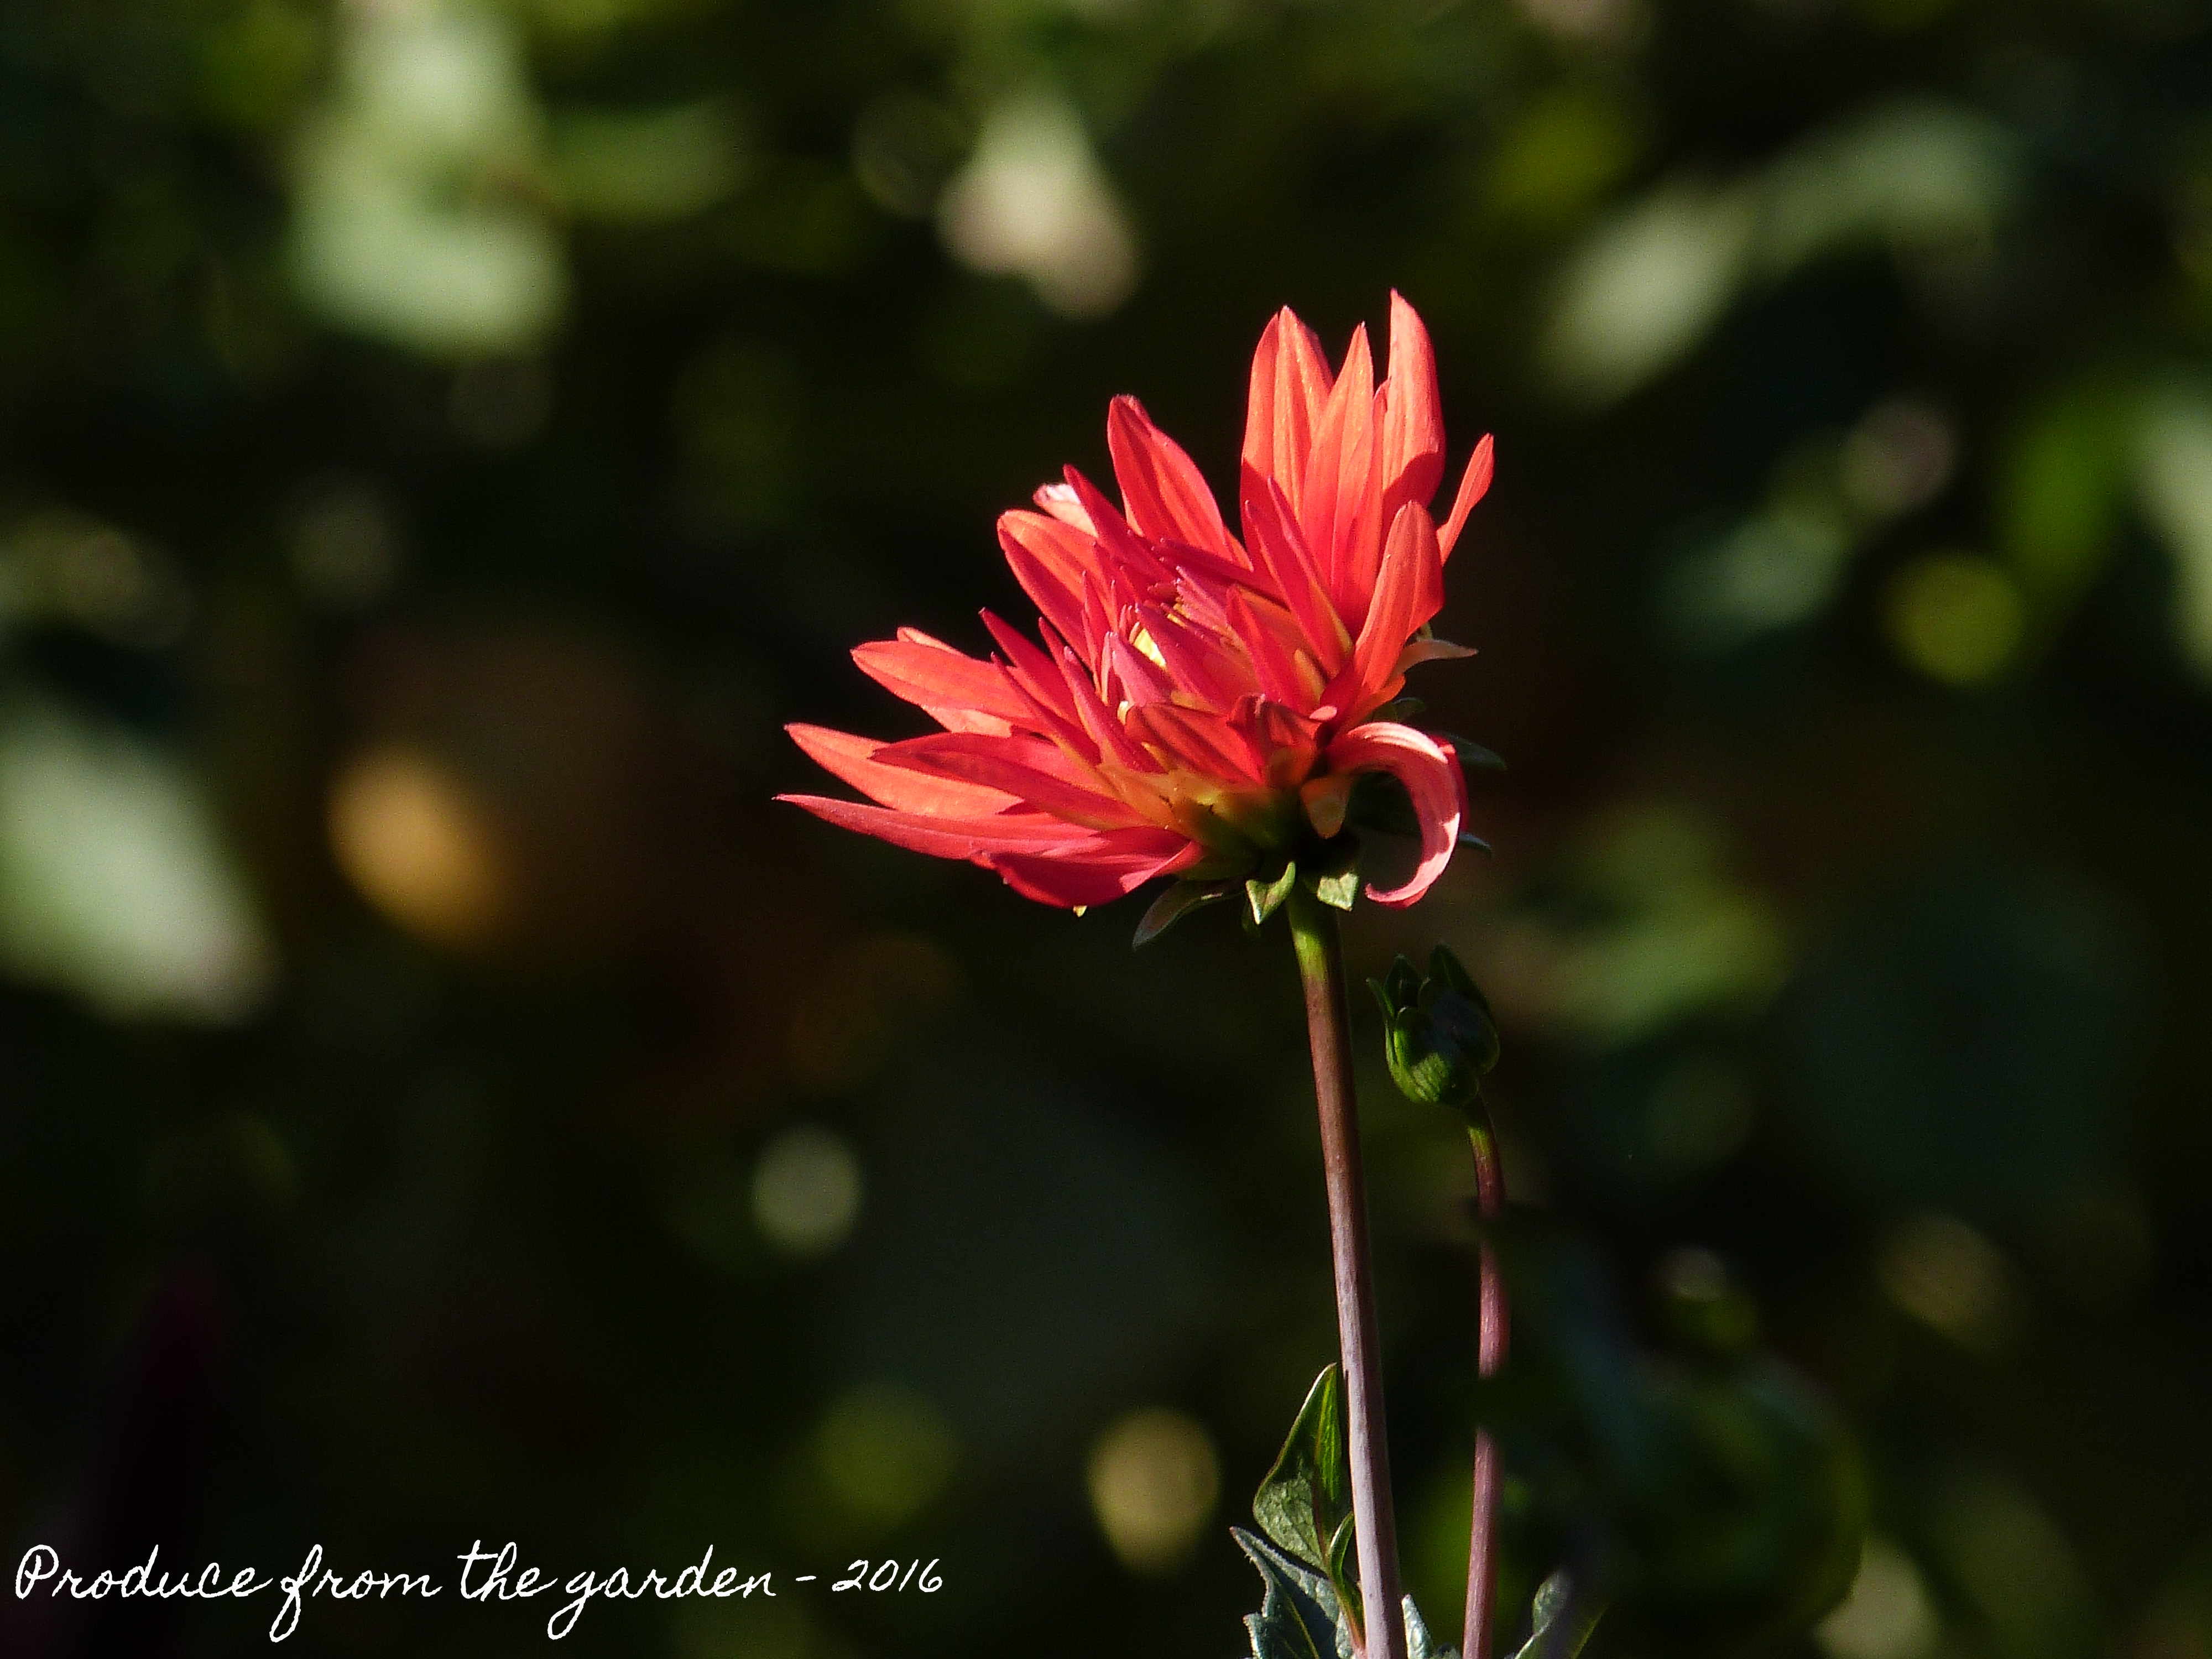
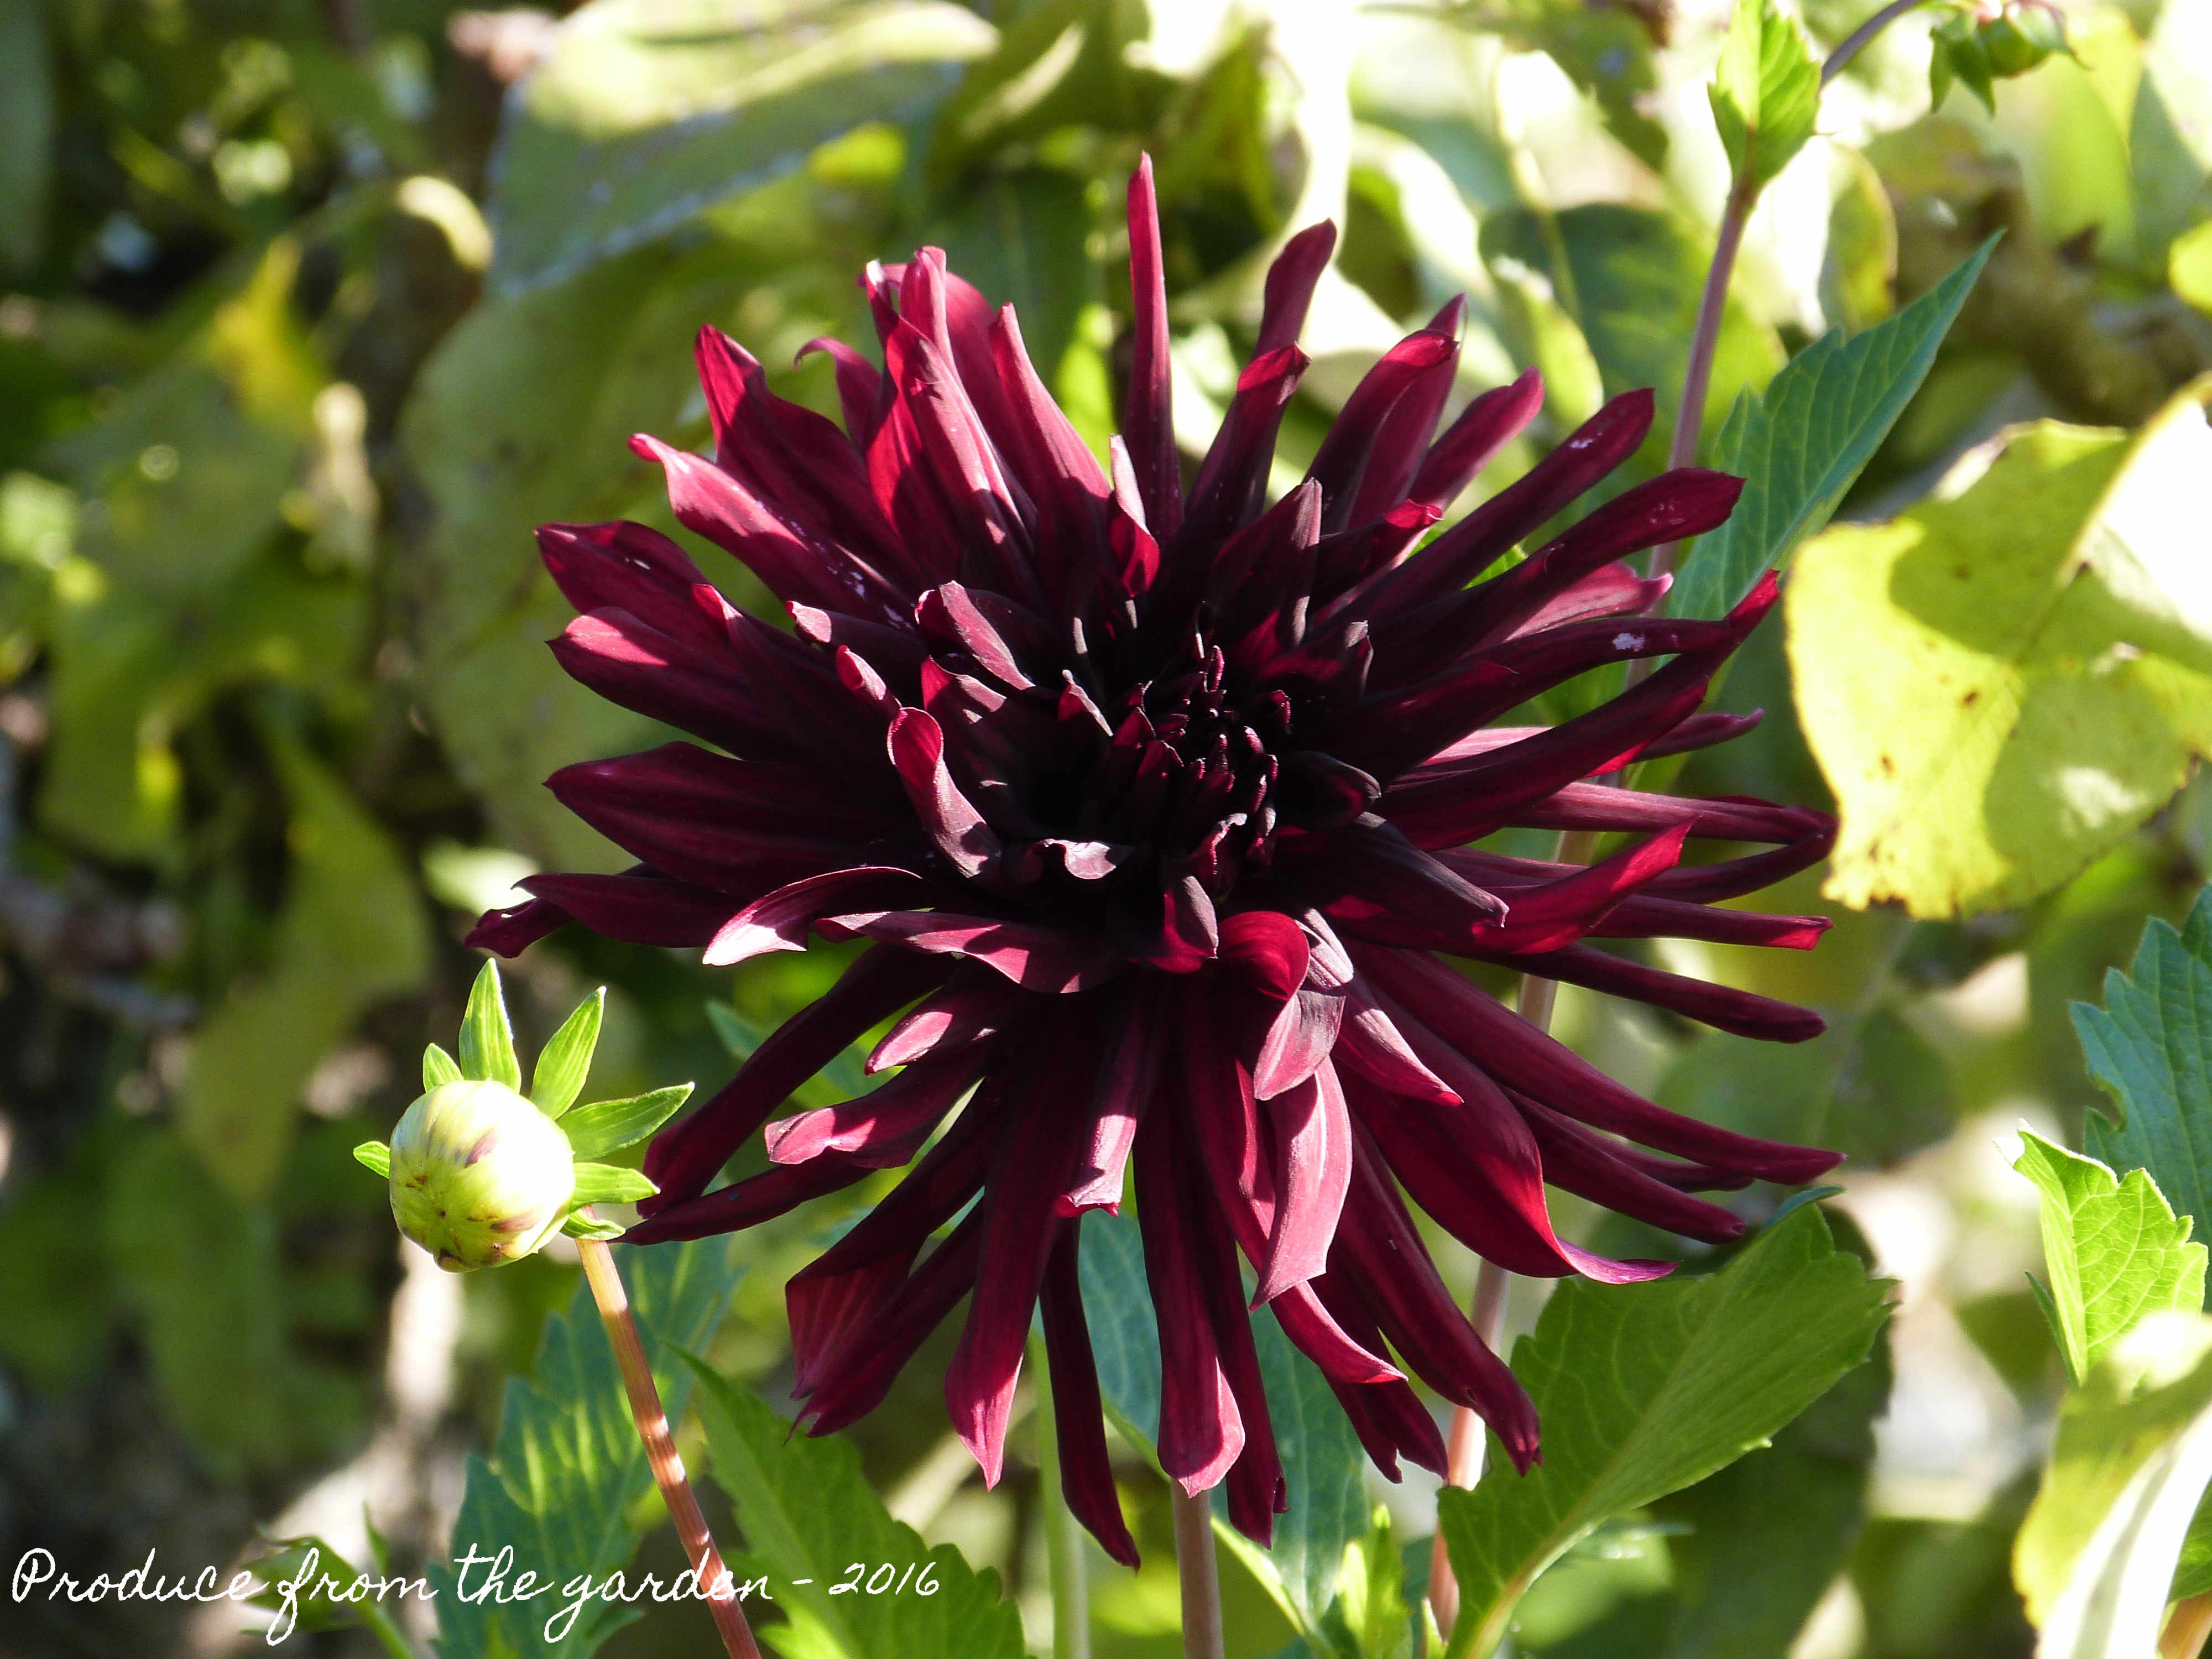
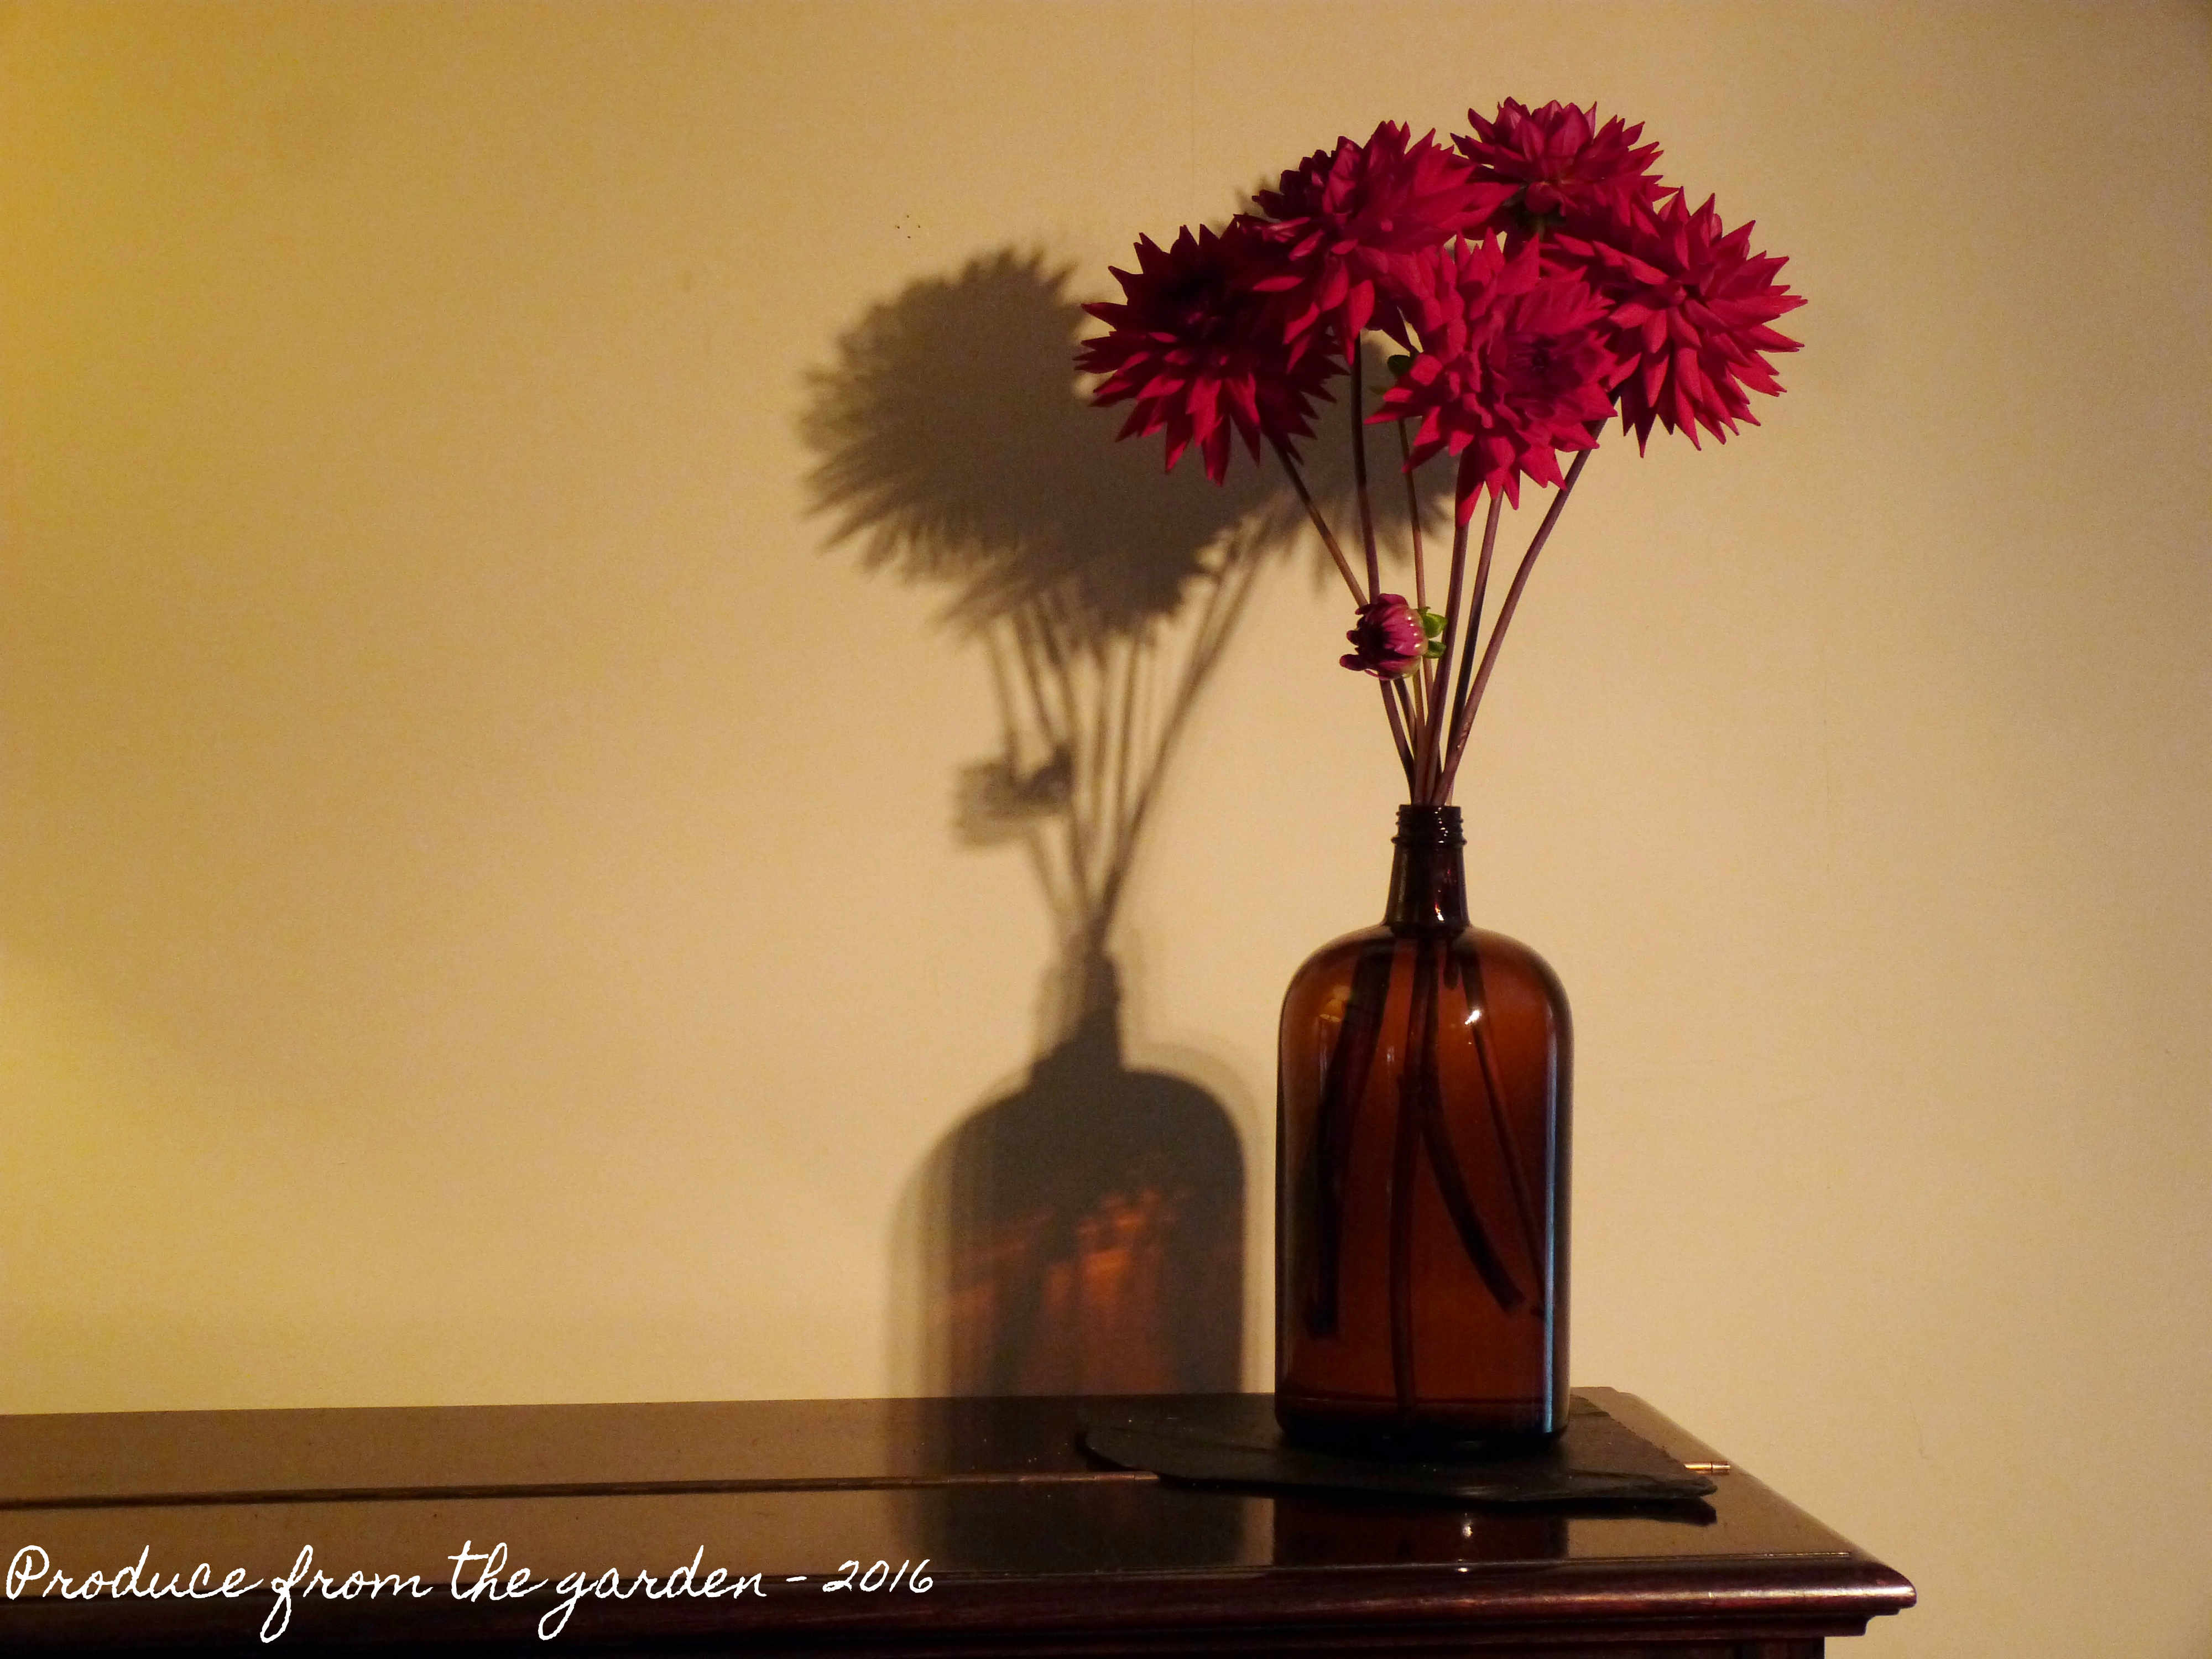 Long stemmed dahlias looking stunning on the piano


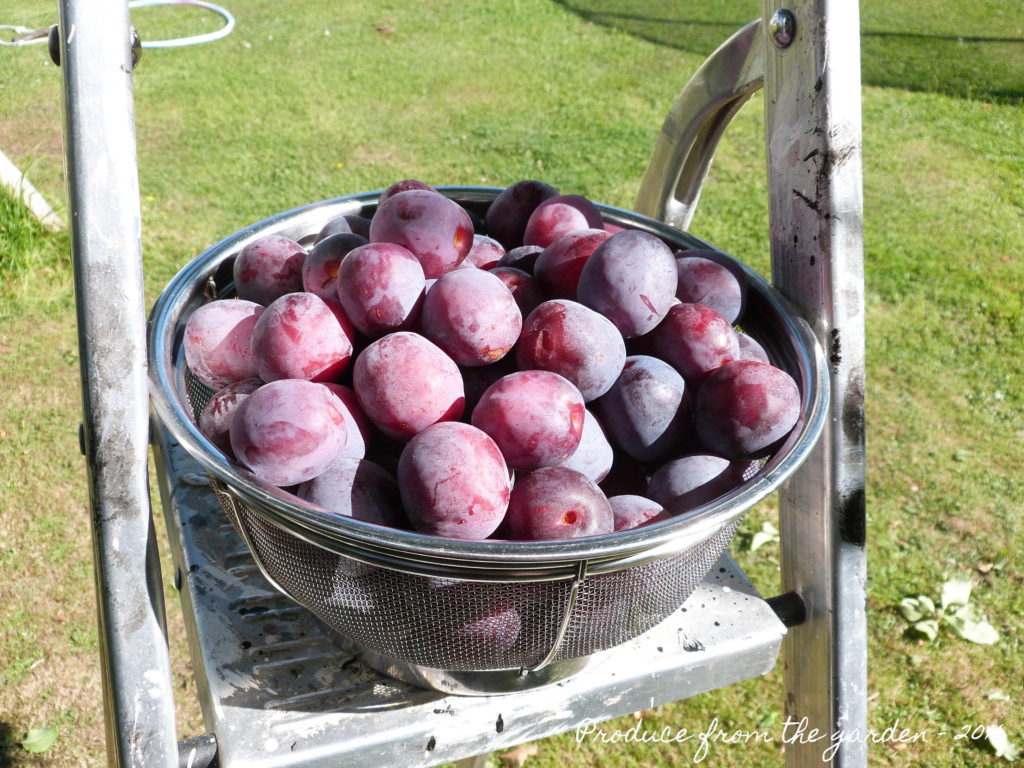 This afternoons plum harvest