Netting the cut flower border

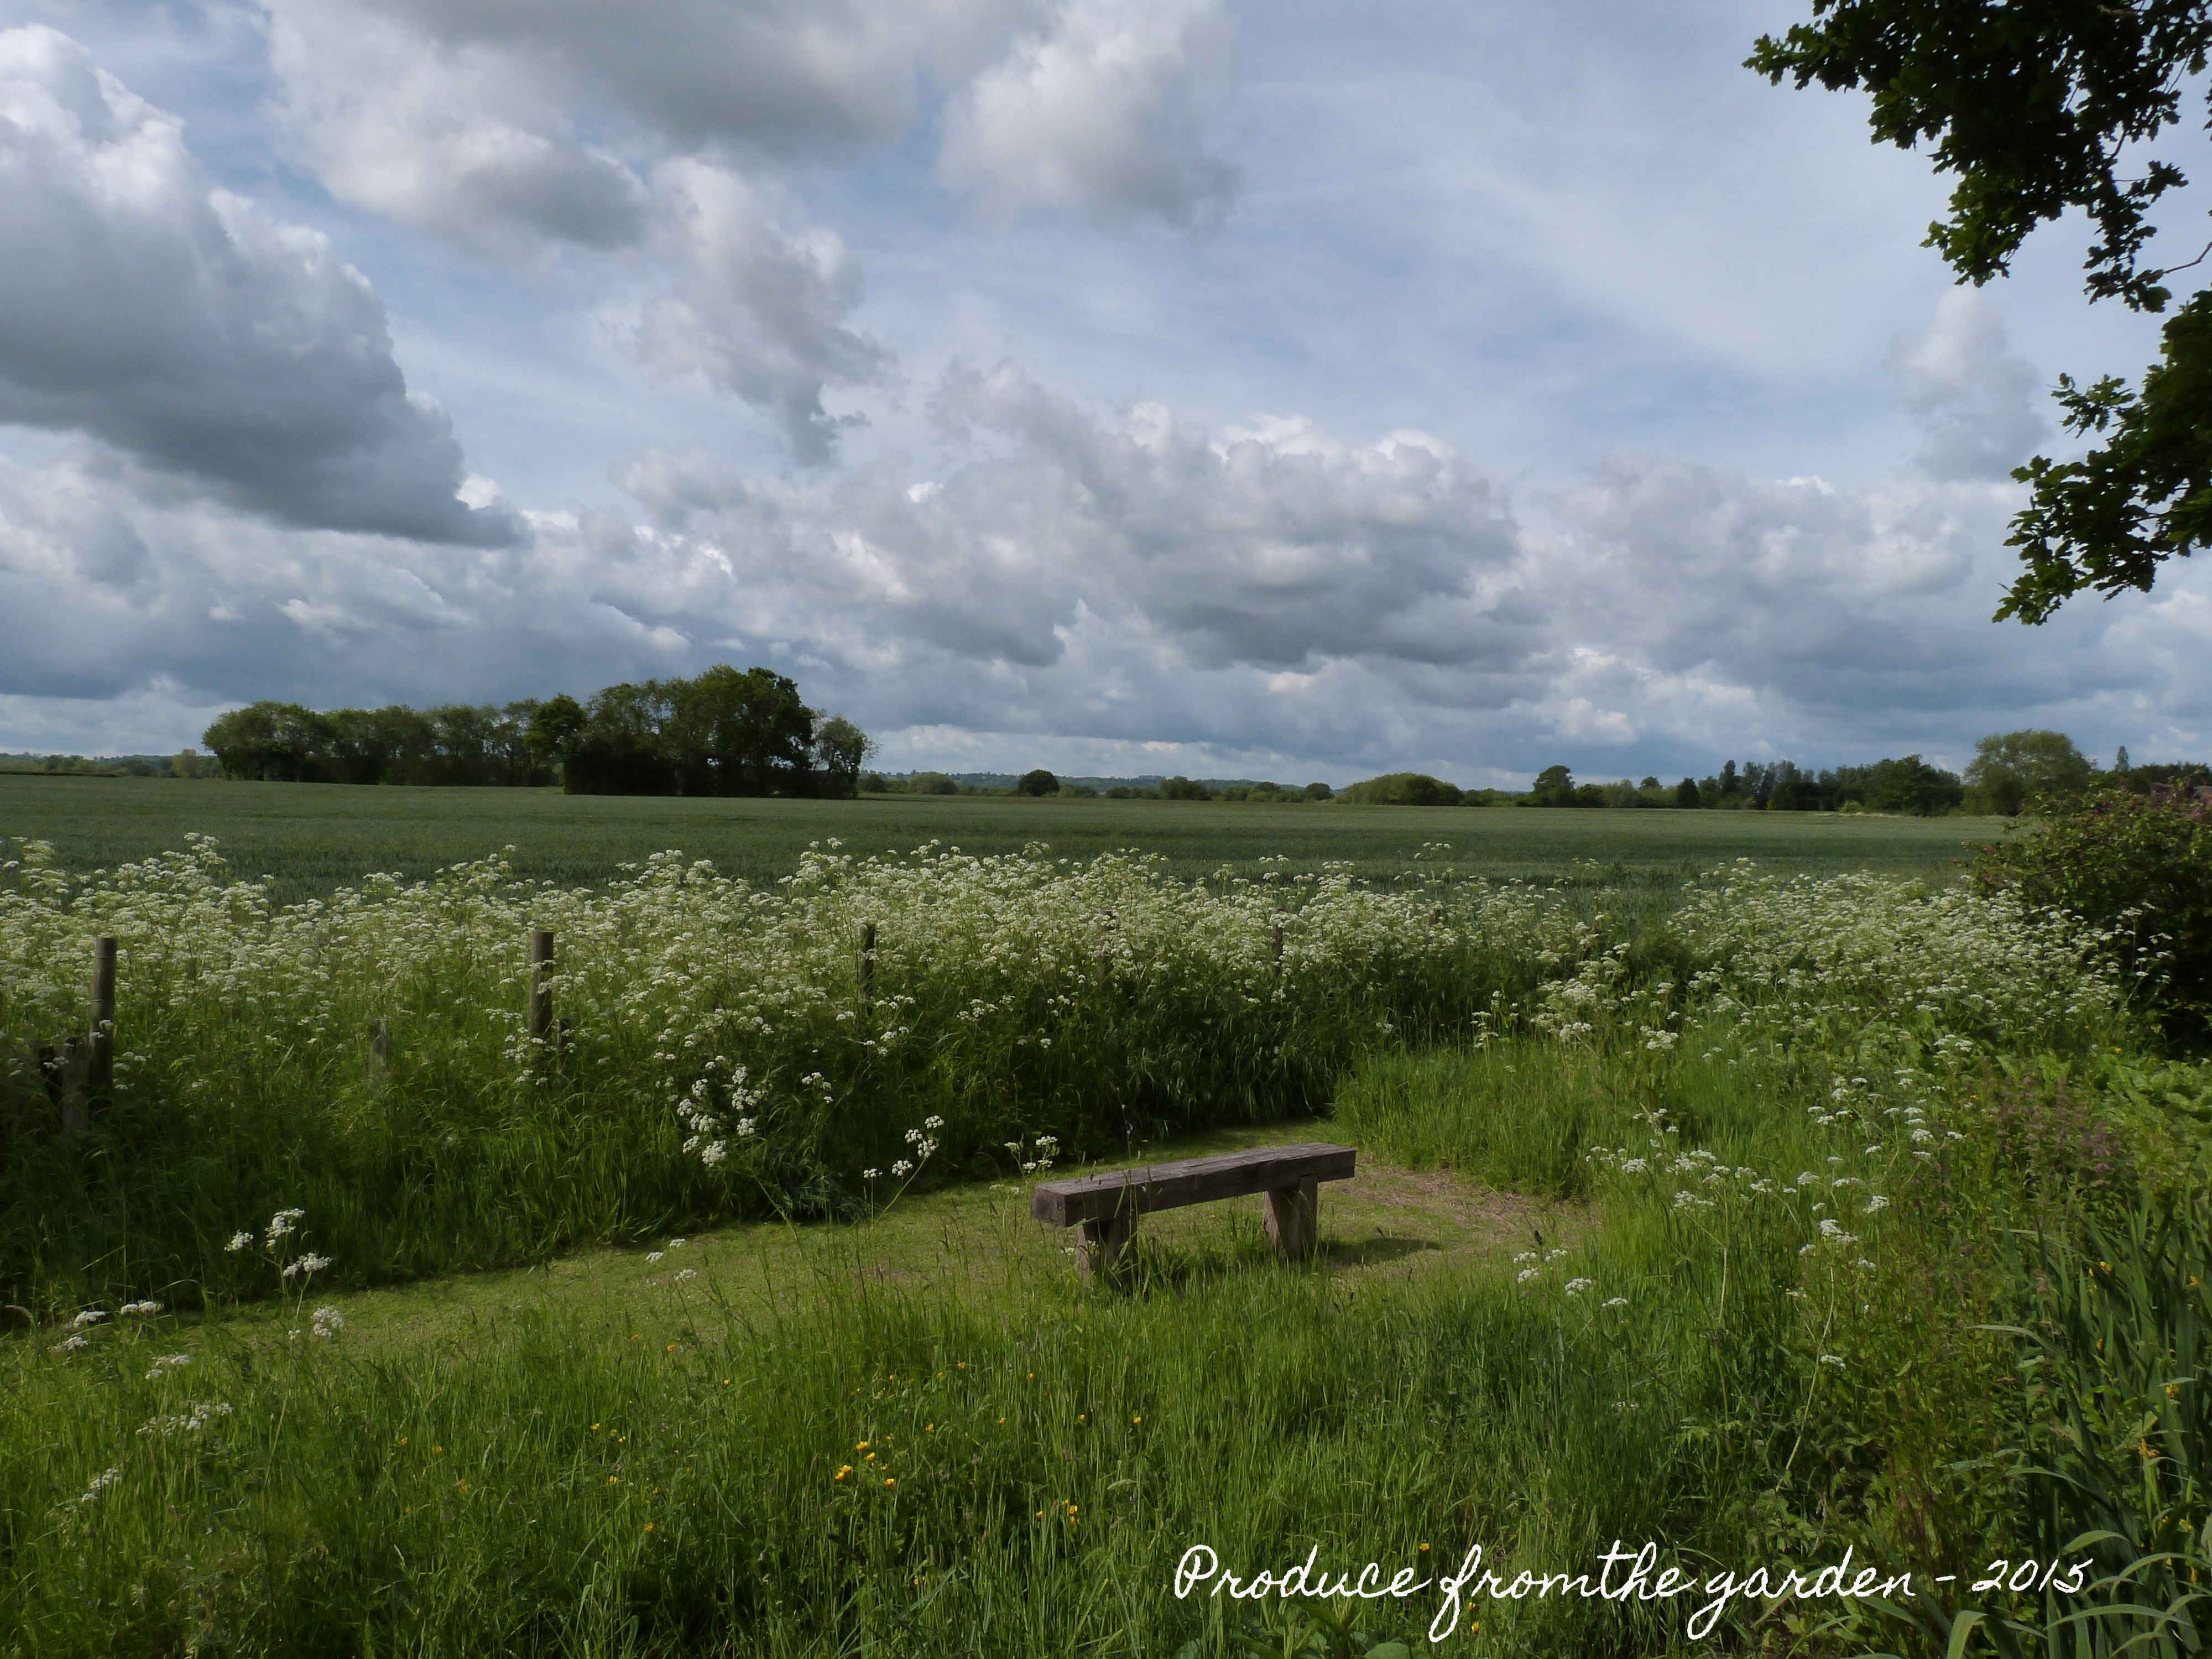
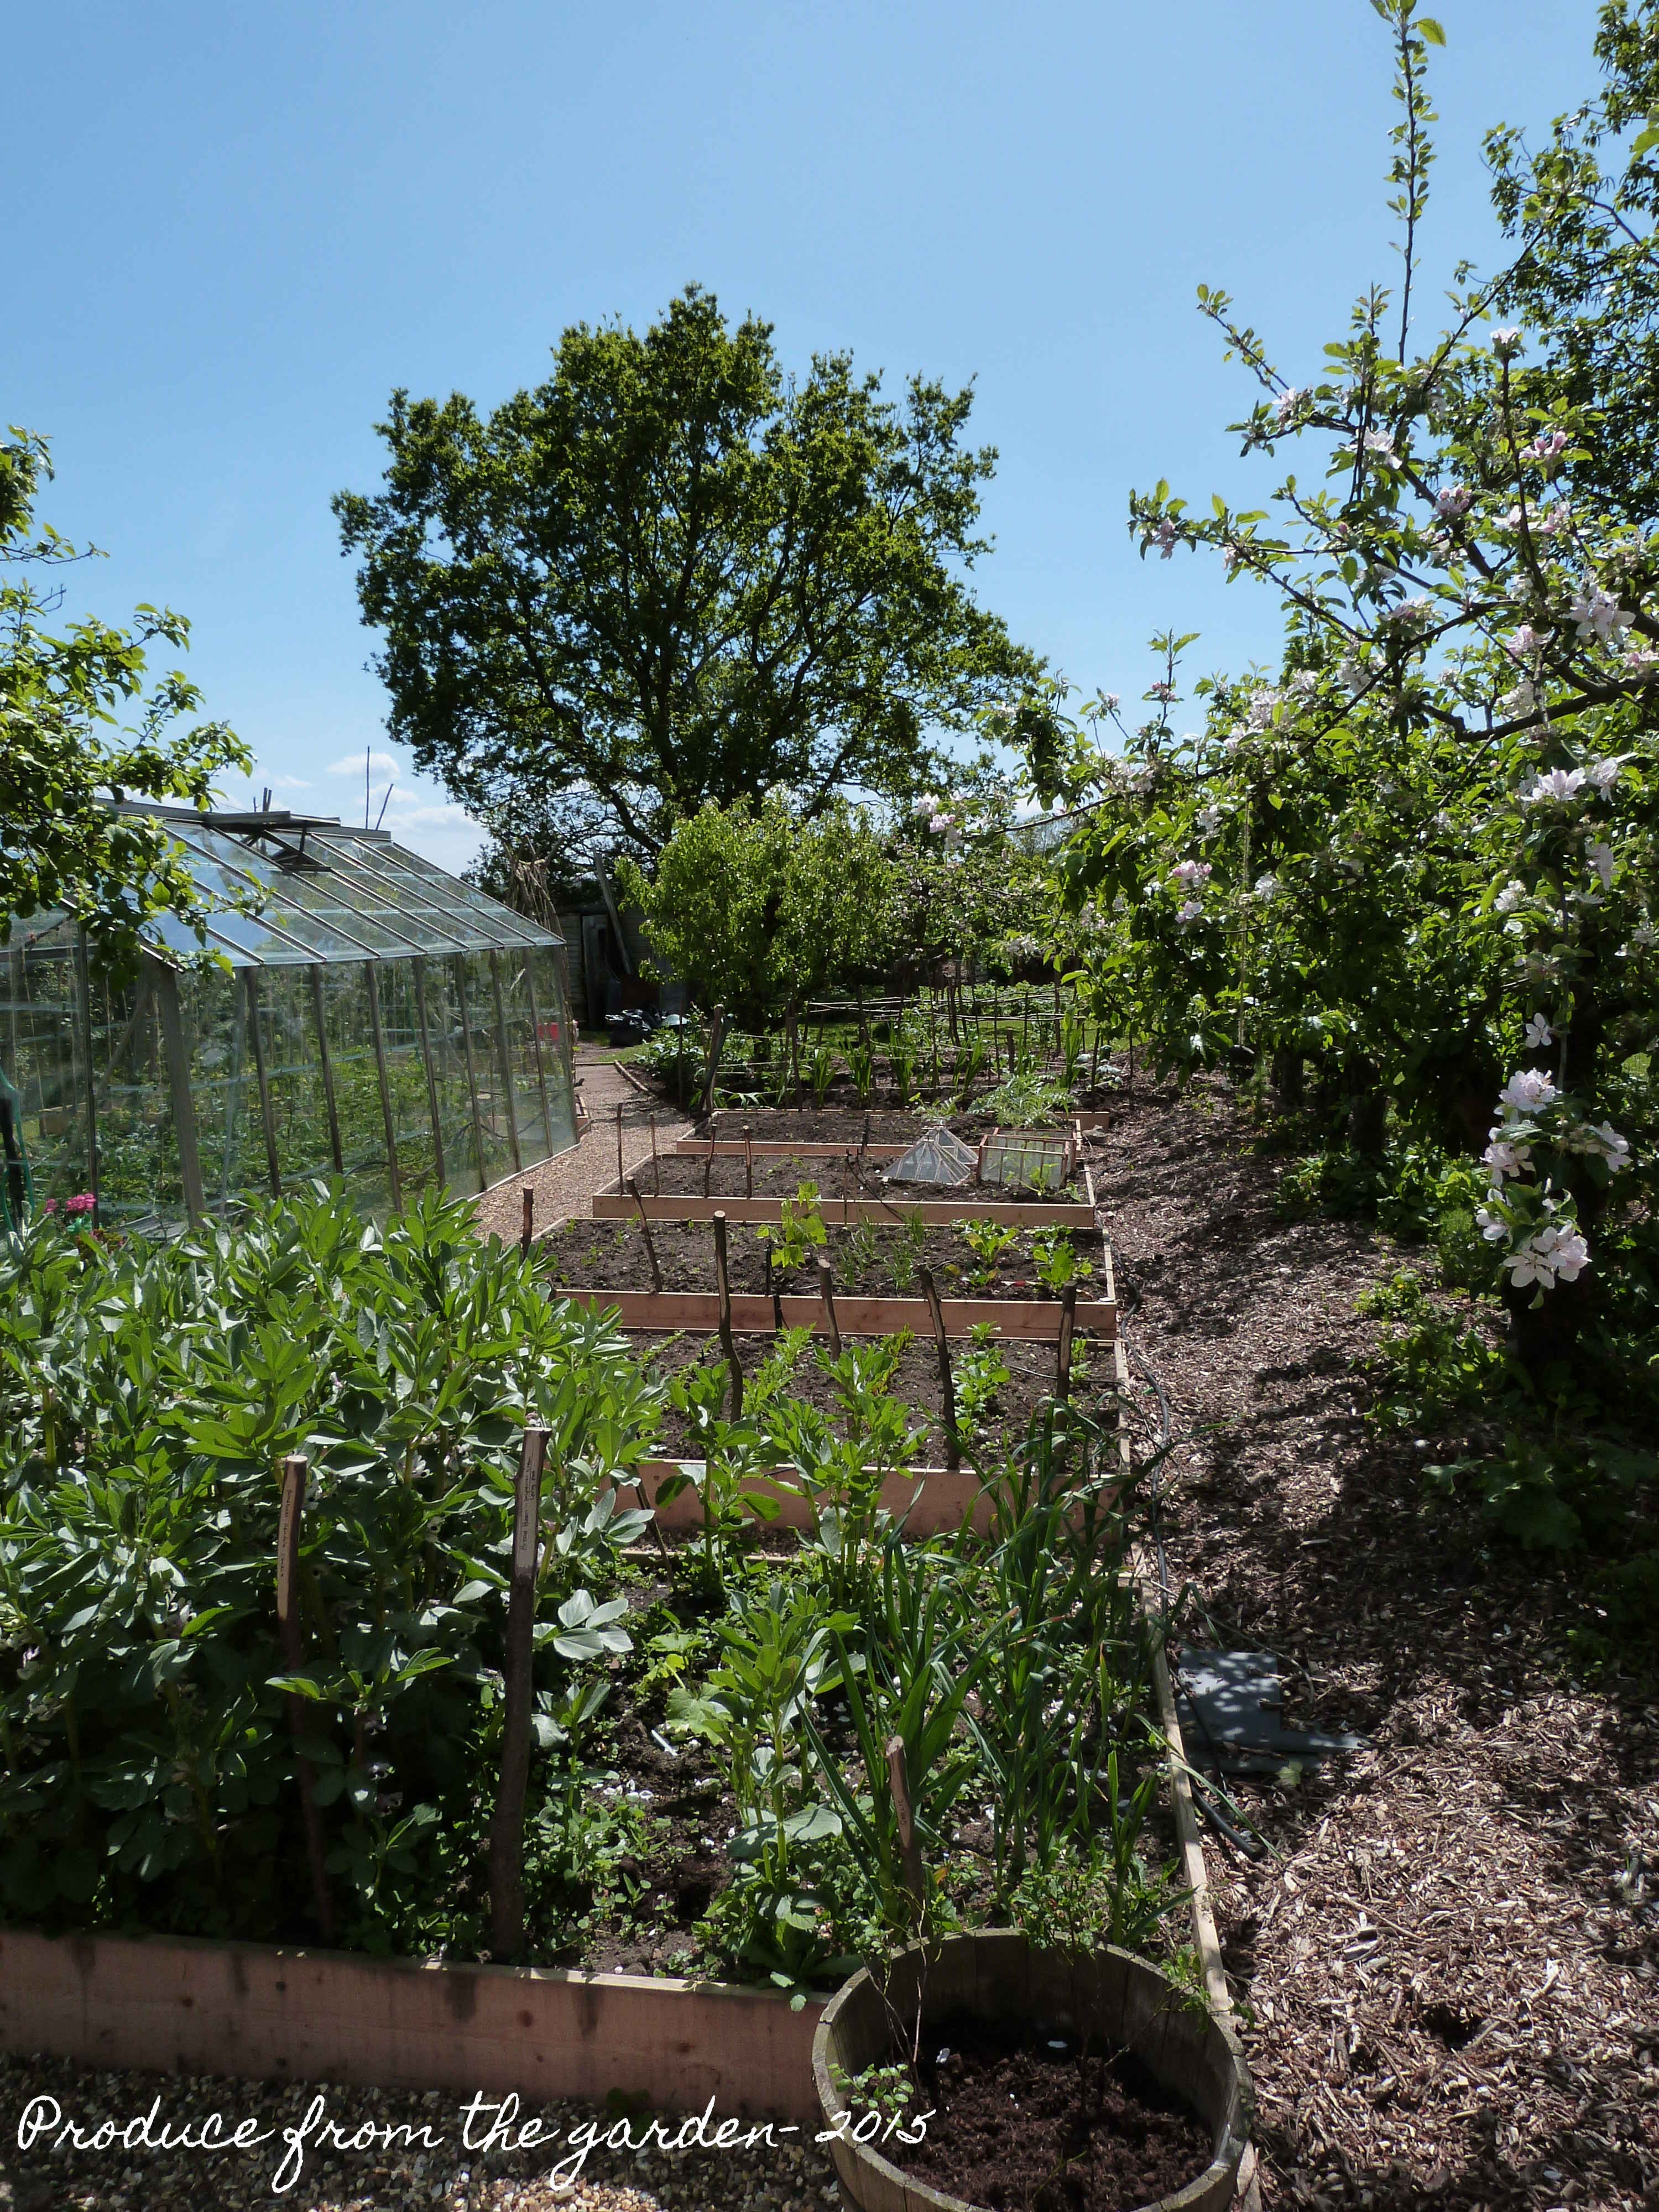
If you’re a well organised gardener you will have netted your cutting garden soon after planting out your annuals. If you’re like me, juggling many balls in the air at once, it will of been on your important to do list buried under a pile of paper on your desk and then put to the back of your mind.

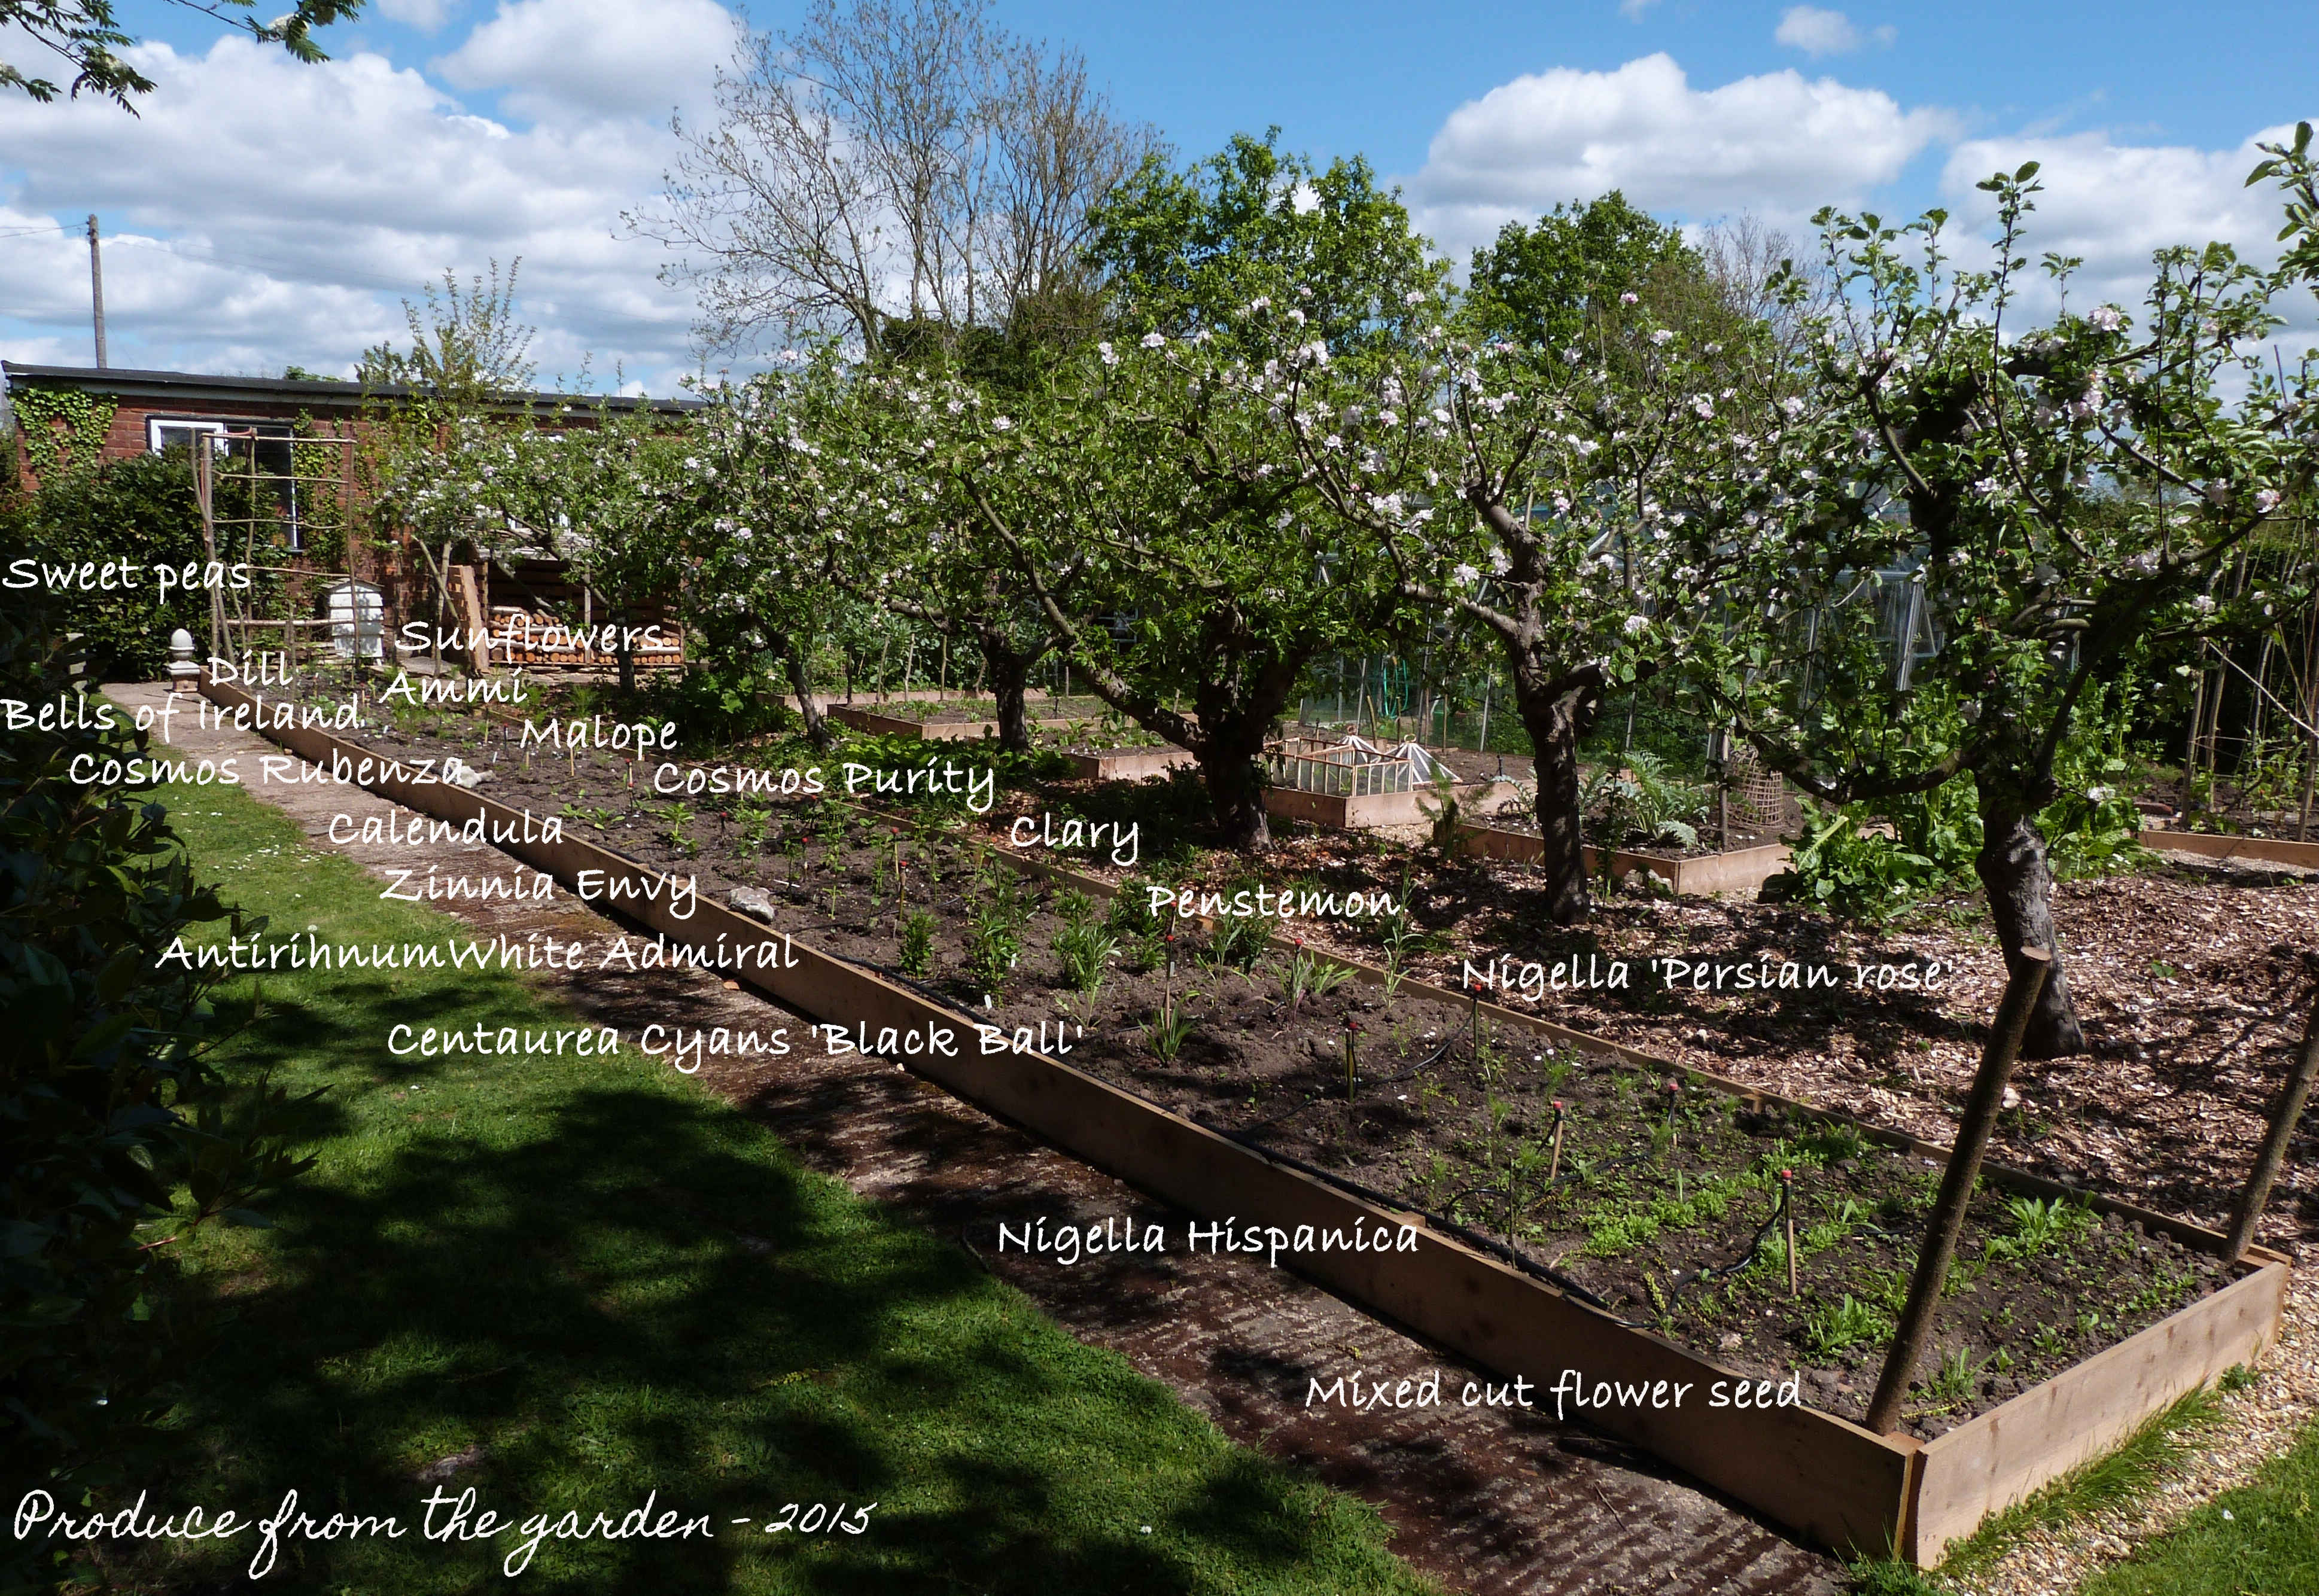
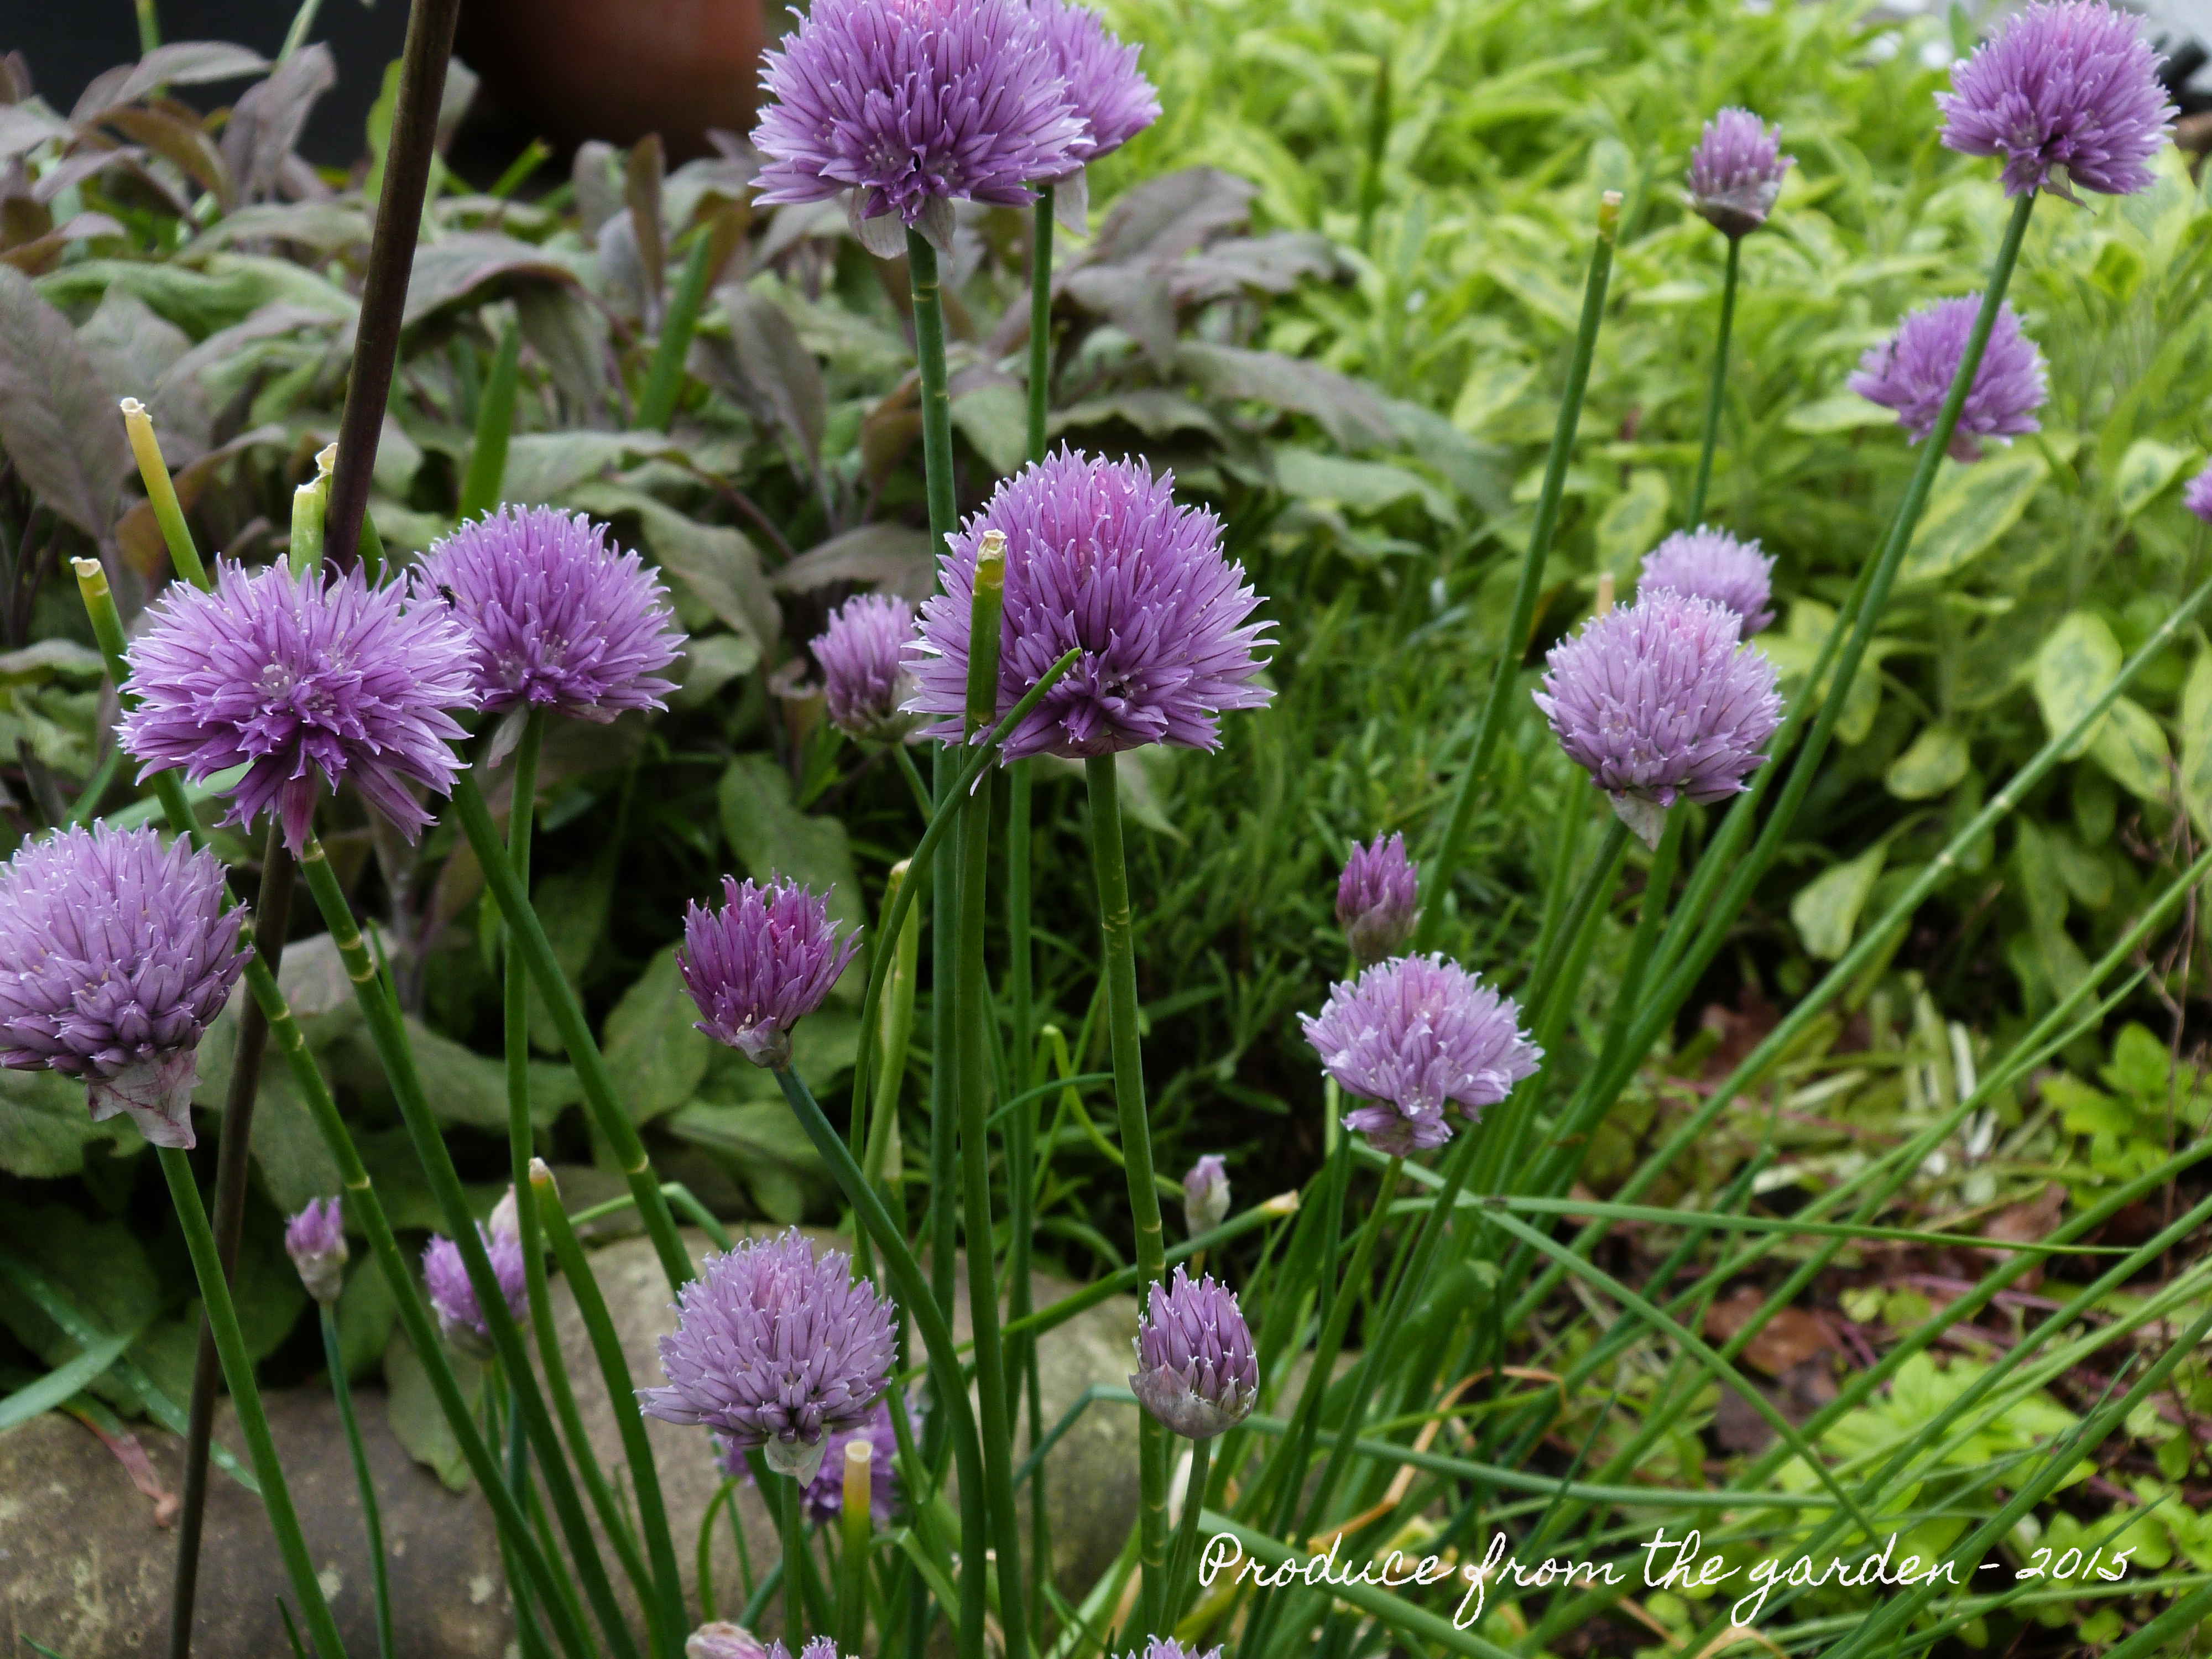
Netting plants for cut flowers is essential to encourage the flower stems to grow straight and long, perfect specimens for cutting. It also protects the plants from wind damage. I use the wide green plastic pea netting often used for beans and peas to climb up. It’s run across the border supported by my home grown hazel stakes. I adjust the level of the netting depending upon the height of the plant. I was organised enough to have this in mind when planting out, so planted the tallest plants at one end of the border and worked down to the shortest at the opposite end. Now I must confess that plastic green netting is not really my style, and you might be put off using it, it’s not initially a great look. But, I promise in a month when the cutting border is in full production the netting will be completely hidden by the plants that have grown through it.

Early yesterday morning when checking the local BBC weather forecast I noticed a weather warning for unusually high winds that afternoon, night and following day. This warning did not register with me until this morning when the wind was blasting up the garden with force, ripping leaves from trees and flattening my annual plants. At this point I remembered the need to net the cutting border. After hammering in the hazel stakes at speed, I started to unravel the pea netting I’d bought a few weeks ago. Well, this resulted in what could have been a ridiculous sketch in a comedy show. The netting tangled together whilst being blown from me weaving itself into complex knot that rivalled my children’s attempts at knitting. As I stood there trying to unravel the mess, being battered by the wind rushing with force off the fields, I managed with bad temper and ill humour to secure a few centimetres at a time. Some hours later the task was complete and well worth it as it stabled my cosmos, dill and antirrhinum all of which had suffered snapped limbs. I will try and prioritise this important task next year!

Netting the cutting border
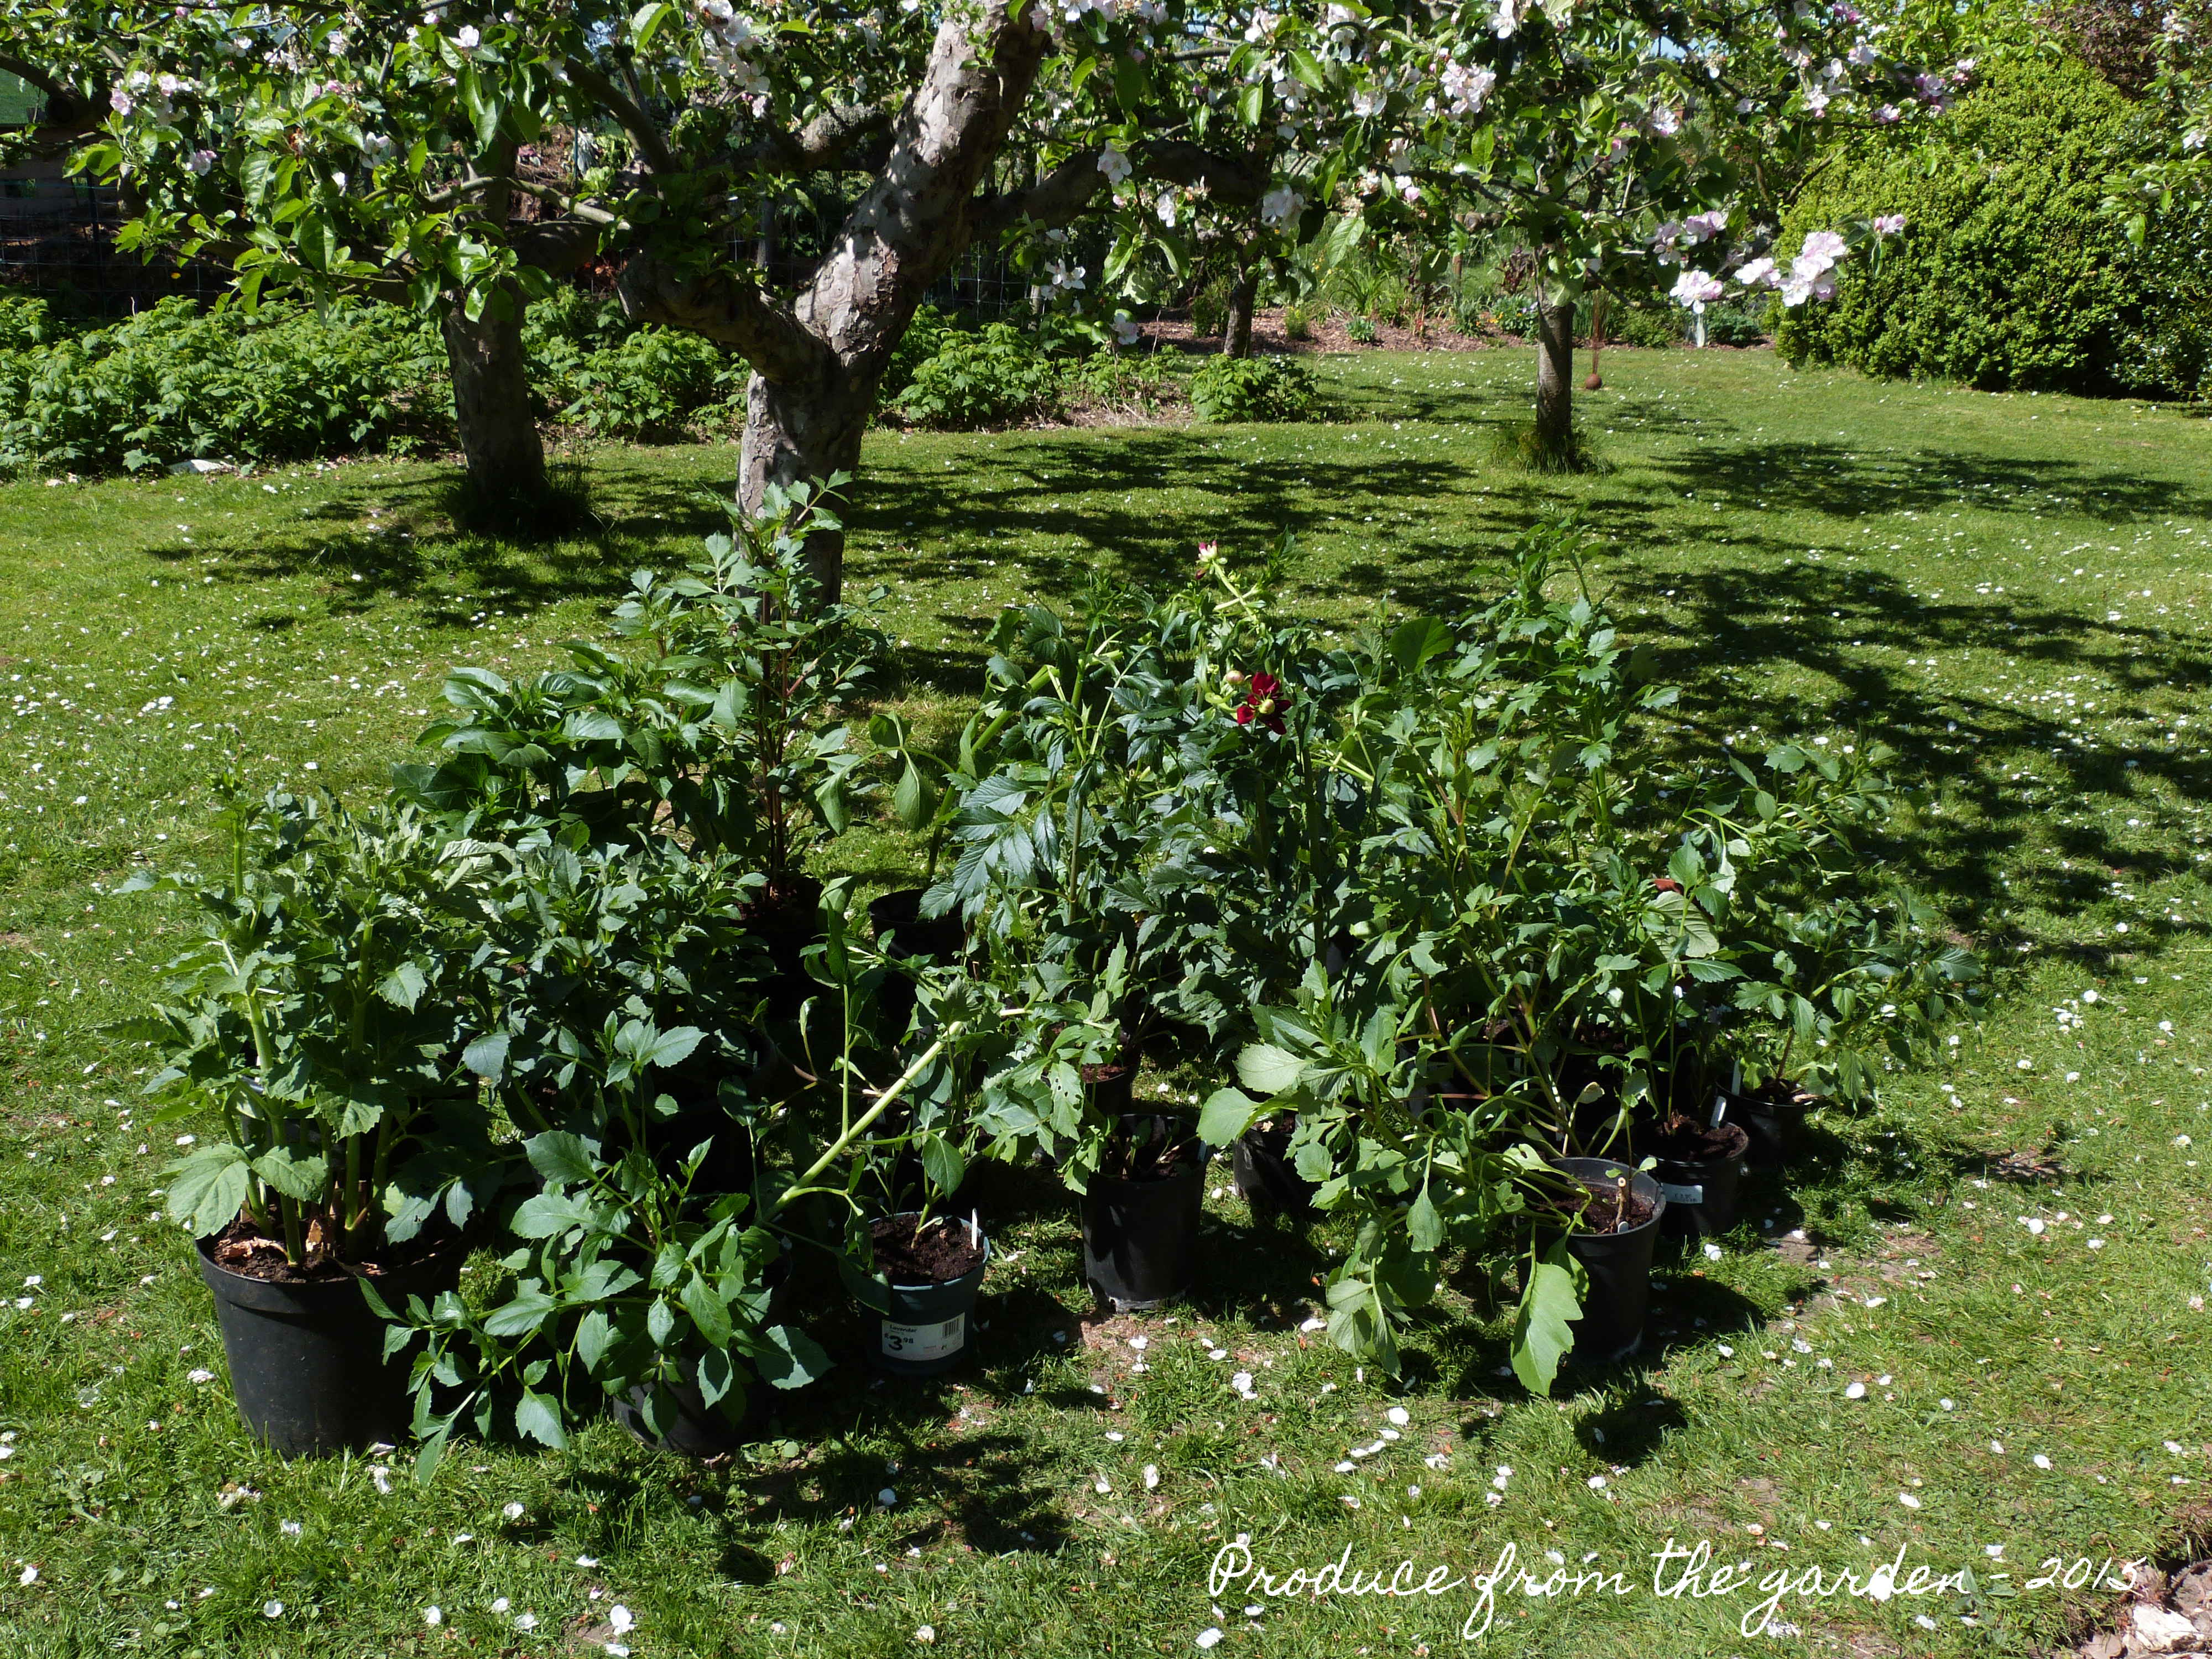
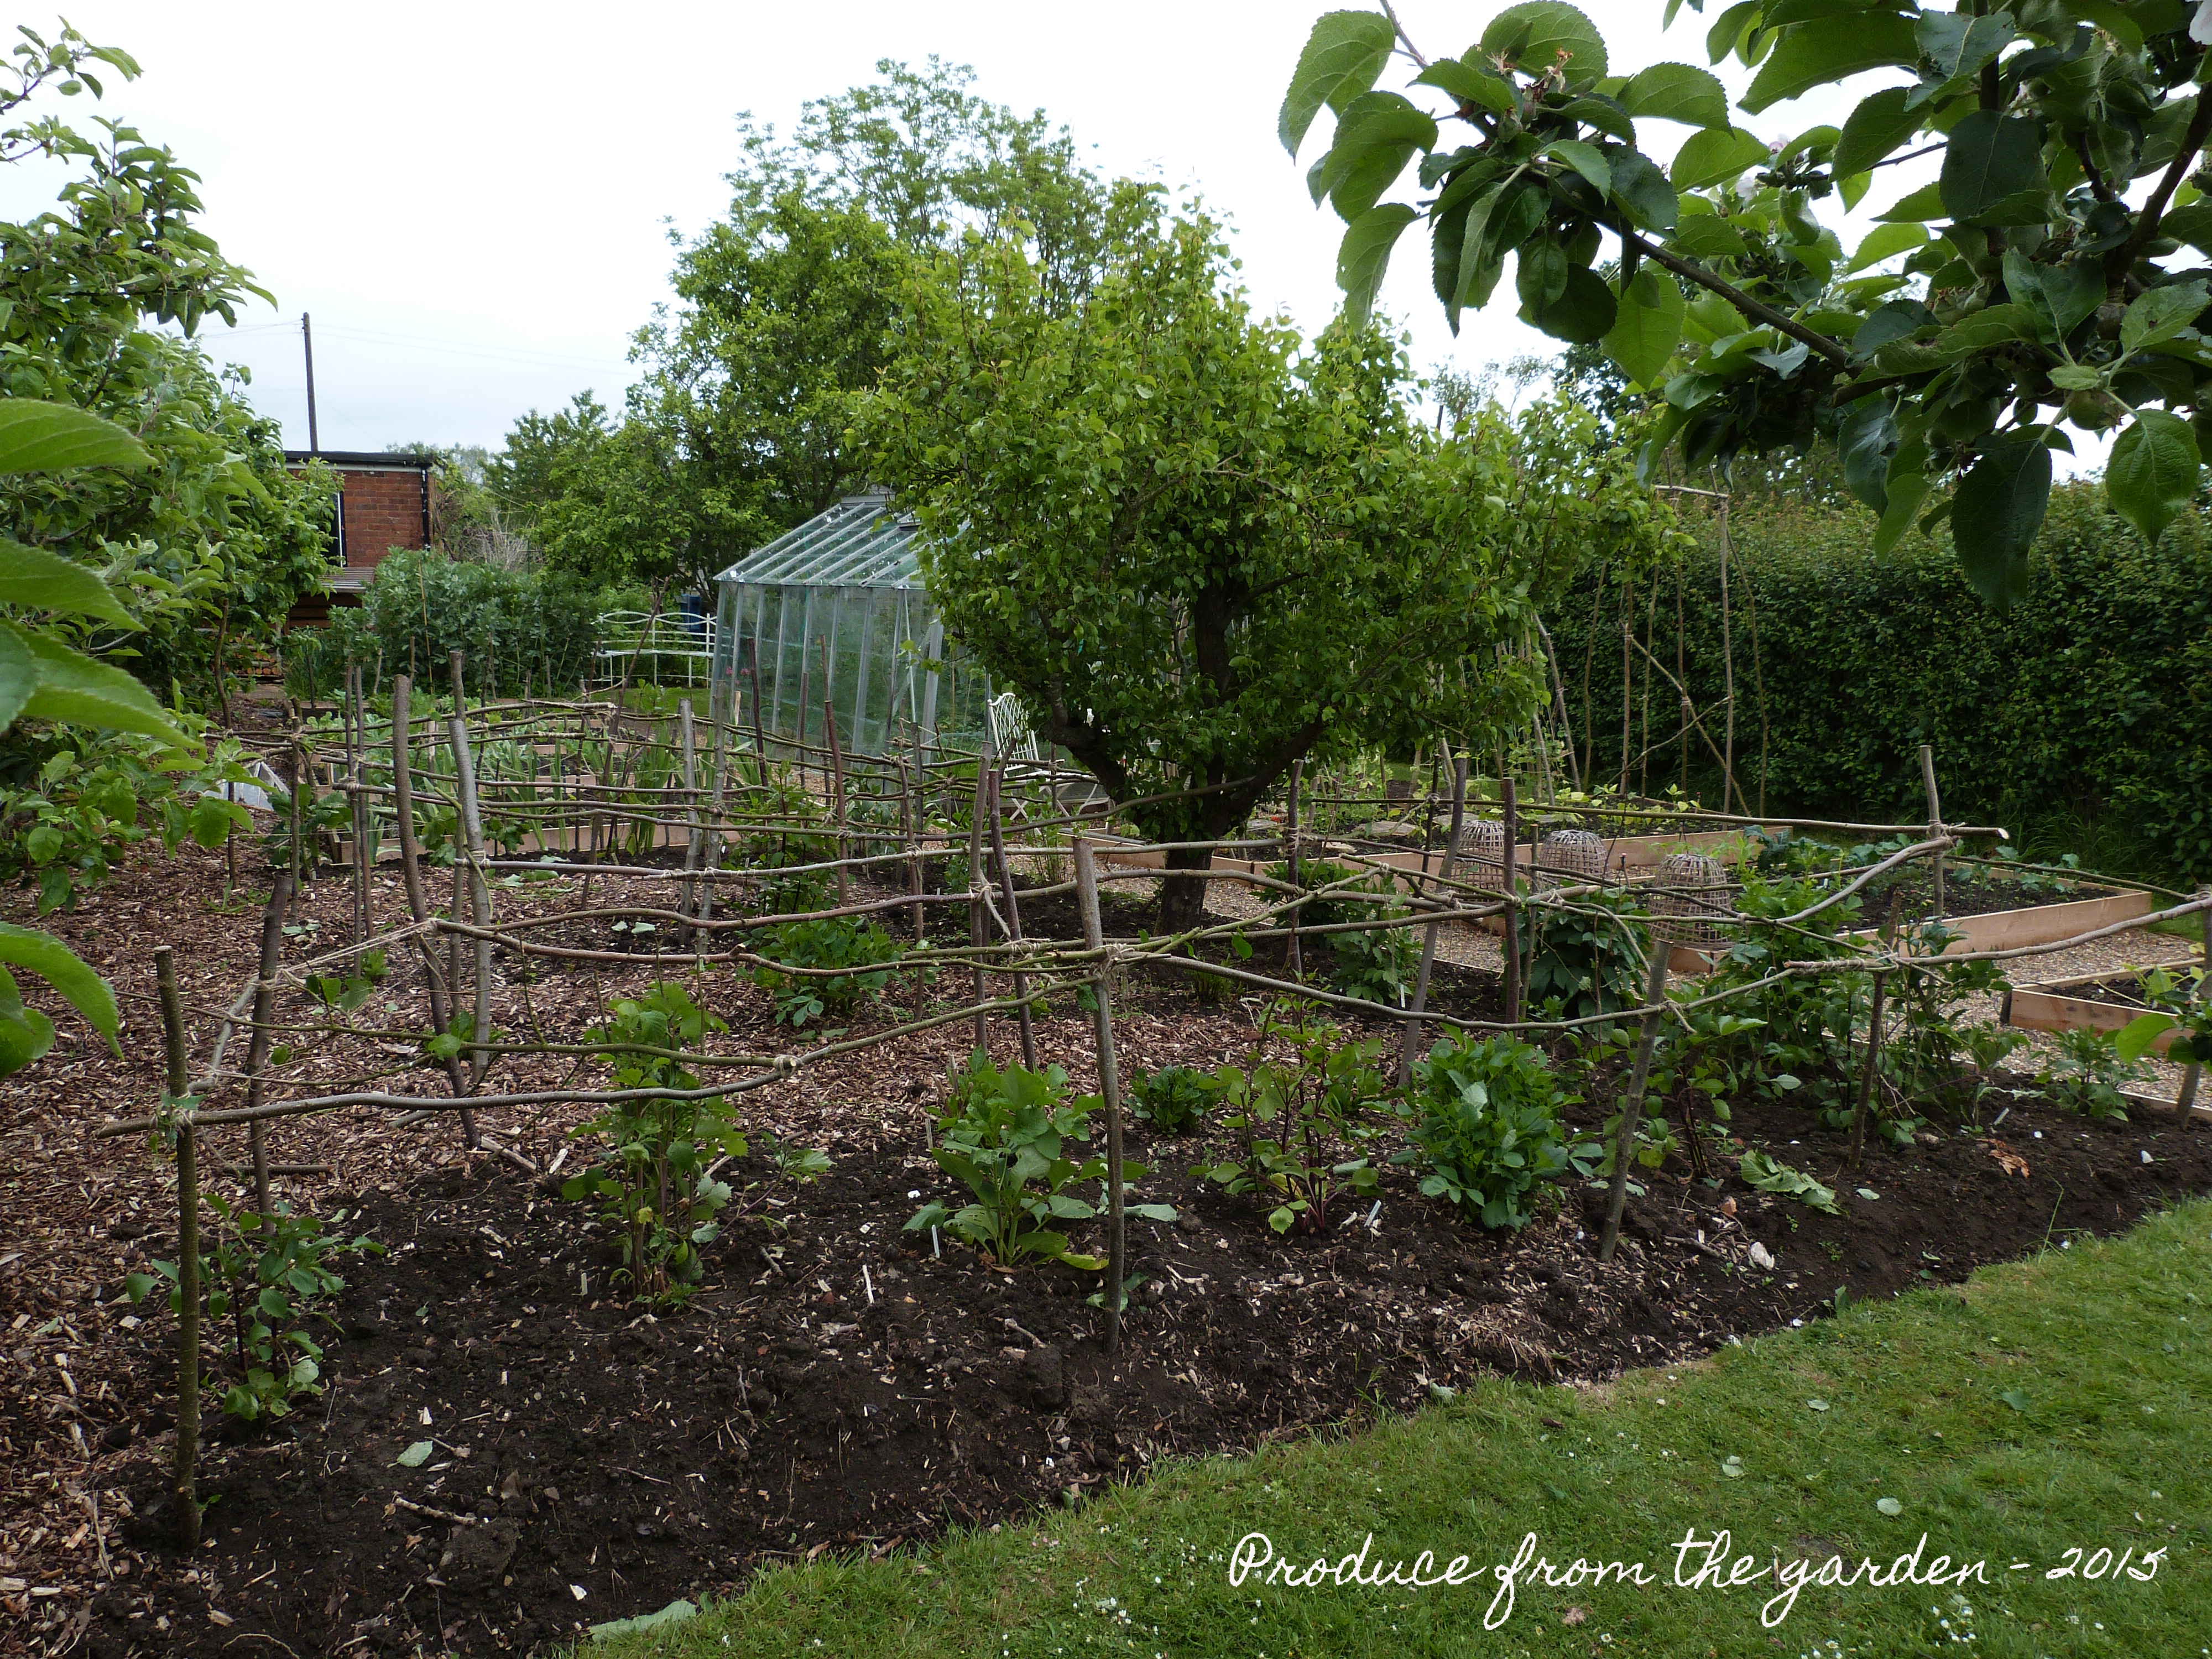
The cut flower border, finally netted and protected
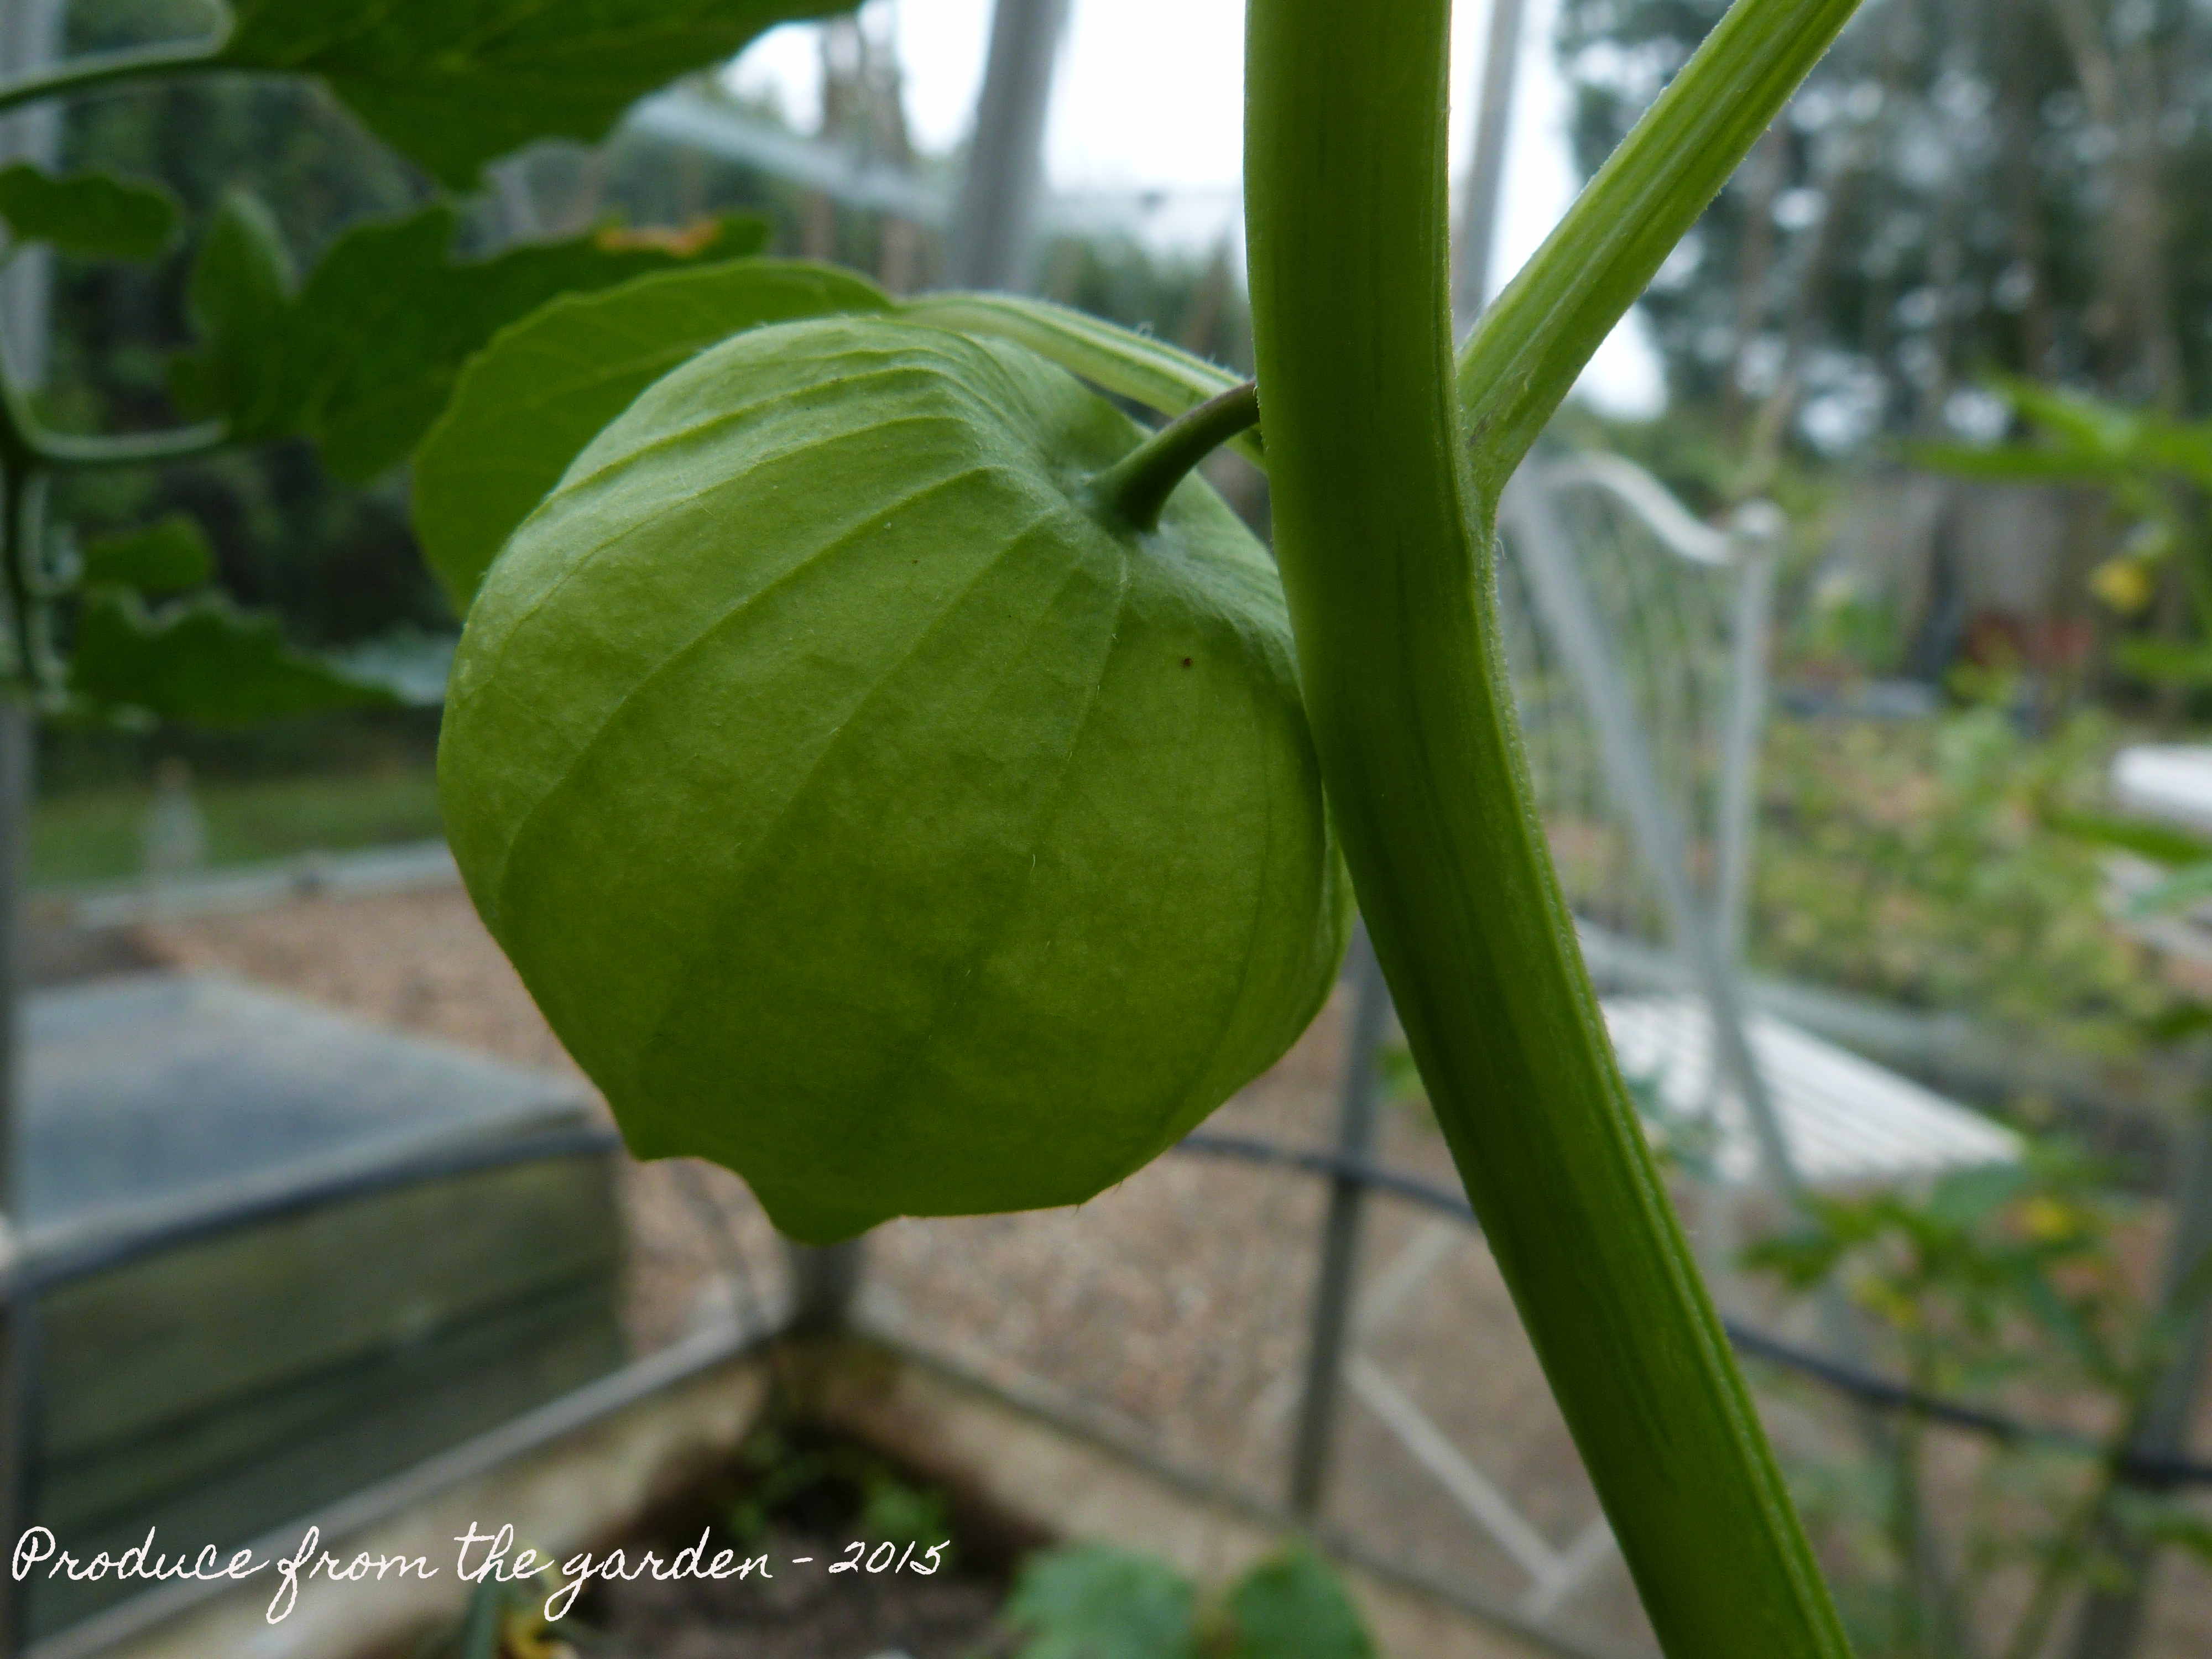
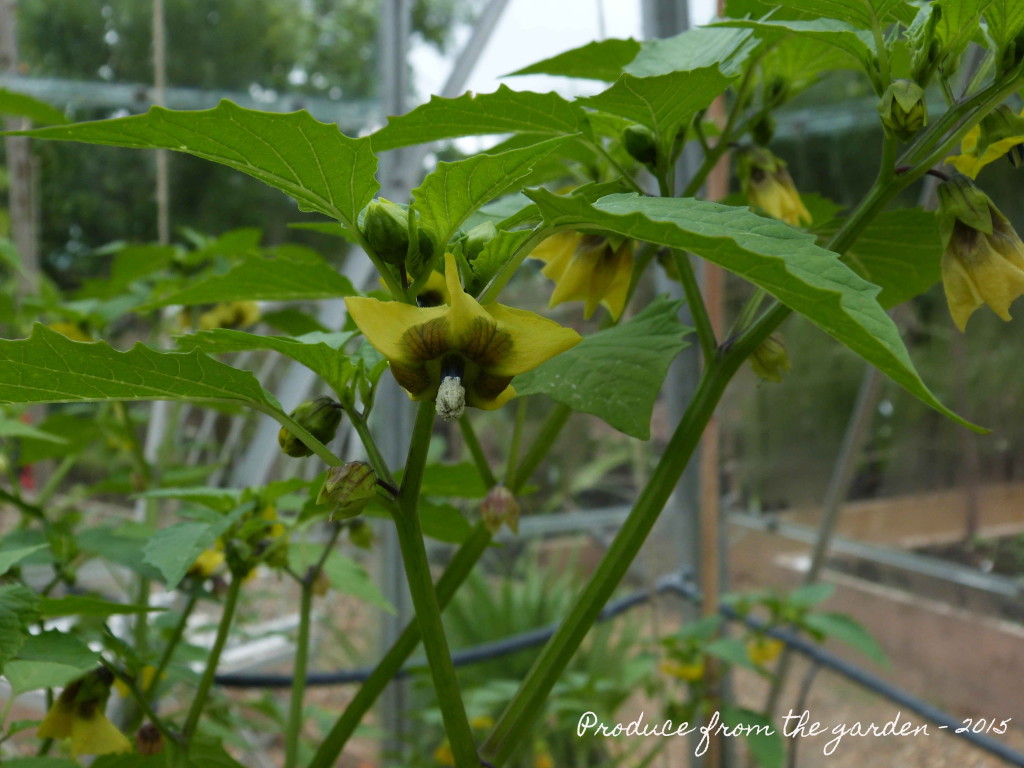
The kitchen garden in May

May is ending on a wet note. I’m not complaining, the weather this month has generally been good, friends have even commented on my gardening suntan. The newly planted dahlias have been looking a bit limp and in need of a good water. The dahlia bed is not linked to a watering system; past experience has proved that dahlias can survive a fairly dry summer. When first planted out they do need regular watering to give them time to establish. So this wet end to the month has come at the right time. I have finished constructing the frames in the dahlia bed. This structure gives the dahlias support as they grow. A strong wind can easily snap dahlia stems at the base restricting dahlia produce for the year.

Dahlia bed with frameThe dahlia bed with the completed frame to support the dahlias

 My herb bed which I planted outside the kitchen door last year is flourishing, the chives and thyme are both in flower and looking stunning. I will cut the chives back hard as the flowers go over, this will produce lots of new fresh growth and stop the flowers setting seed, leaving me with chive weeds everywhere. Once the Thyme has finished flowering I will lightly prune this, stimulating new fresh growth to crop for the kitchen.

Thyme in flowerThyme in flower

Chives in flowerChives in flower

 My Broad bean plants are well over 4 feet high, laden with flowers and at last I have some miniature bean pods developing at the bottom of the plants. Hopefully I’ll only have to wait another couple of weeks to savour this produce from the garden. I have spotted today that black fly have discovered the fresh luscious top shoots of the broad bean plants. It’s now time to cut off the tips, taking away the temptation for the black fly, who if allowed will heavily infest the plant resulting in poor pod formation.

Black fly on broad bean tipsBlack fly on the broad bean tips

 We had our first dish of turnips this month. Once they reach golf ball size they’re ready for the kitchen. I simply steamed the turnips until tender. Cut them into 1cm sized cubes and finished them off in pan with melted butter and a selection of fresh herbs presented to me by my eldest, a handful of marjoram and thyme. They were delicious and got thumbs up from the whole family.

TurnipsTurnips

The greenhouse has thrived this month, we have lots of green tomatoes, a tomatillo forming, mini cucumbers and lots of basil, a companion plant for the tomatoes, the basil helps repel whitefly, mosquitoes, spider mites and aphids, it improves tomato health and flavour.

TomatilloTomatillo ripening

Tomatillo flowersTomatillo flowers

Green tomatoesGreen tomatoes

We’ve started to crop our perpetual spinach; this really is a kitchen garden essential. I only put last years plants on the compost heap last month. There aren’t many vegetables that provide produce 11 months of the year. The shallots which I sowed in modules and planted out without separating individual plants are doing really well; they seem to be spreading out making space for themselves. This is a great time saving tip for growing shallots from seed.

Shallots and SpinachShallots and perpetual spinach


Half term, cucumbers and a cup of tea.

Half term holidays have been a lovely distraction from the kitchen garden and blog, we’ve had a great week meeting up with friends and family. On the whole the weathers been great and the children have enjoyed long lazy days in the garden.

I have managed to install a table and chair in the kitchen garden so I can sit and sip tea. This is proving a little dangerous as every time I sit, I come up with new ideas and plans to compete and guzump those already on the long list. I have to keep telling myself that I only started working on this garden in January, and only so much can be achieved in the first year.

Kitchen garden table and chairsA place to sip tea and ponder!

We’ve started cropping our mini cucumbers. They’re a fine example of why it really is worth ‘growing your own’, they have a delicious sweet moreish flavour, very different to the watery tasting cucumbers from the supermarket. The children devour them, to the extent that I’ve still not taken a photograph of one, so I have a picture of our mini cucumber ‘Cucino’ plant in the greenhouse. Another valuable cut and come again crop. Keep picking or they’ll think they’ve done their job for the year and stop producing fruit.

Mini cucmber Cucino plantMini Cucumber Cucino Plant – a great reason the ‘grow your own’

One last picture, the cow parsley has formed its own beautiful hedge around the bottom of the garden.

Cow Parsley Hedge

Weeds in a bottle

My three year old presented me with some grass he’d picked from the garden this afternoon. As a dutiful Mother I popped it in a vase. We both admired how beautiful the seed heads looked and decided to go back out and gather some more. They are now proudly on display in the kitchen.

Grass in a bottle

This grass is not some magnificent ‘Stipa’, just weeds that have got a bit out of control; every garden should have them, and use them as fabulous produce from the garden! Now what can I do with creeping buttercup, nettles, bindweed, brambles and horsetail?

Planting out the dahlia border

Those who regularly read the blog will know that my number one garden passion is the dahlia. Dahlias produce magnificent flowers in gorgeous vibrant colours, varied shapes and their sizes can range from a delicate 5cm pom pom to a colossal dinner plate sized beauty. Dahlias are the most abundant and lavish cut and come again crop in both the flower and vegetable world. They look stunning as single stems or a bunch. In an arrangement of blooms they are the show stopping star. I love them.

Half of my dahlia collection has been in the ground over winter, topped with a heavy mulch of wood chip to protect the tubers from frosts. The other half were potted up with slightly moist multipurpose compost and stored overwinter in the conservatory. In late winter I started to gently water the pots and shoots from the tubers emerged. These dahlias have flourished many reaching a good two feet, one is even flowering. Once there was little risk of frost they were put out to harden off.

First dahlia of the yearDahlia Con Amore, flowering in May!

I removed the insulating wood mulch from the dahlias left in the ground a few weeks ago. Shoots are now emerging from all of these, even though we had some cold nights reaching -10°c this winter.

Dahlias ready to be planted outThe dahlias over wintered in the conservatory

I’ve weeded, enlarged (a few additional beauties have been acquired) and planted up the dahlia bed. The cleared wood chip used to protect the tubers overwinter has come in useful making paths between the dahlias, giving access for cutting the flowers. I am also experimenting with gladioli this year so have a row of acid green and dark rich purple galds which I’ve sneaked into this border.

Around each dahlia I have built a frame made from my coppiced hazel. They all need good firm support to grow lovely long straight stems for cutting and to protect them from wind that can easily flatten and snap unsupported stems.

The dahlia bedThe dahlia bed with a coppiced hazel framework to give support

Lilac in an old beer bottle

Lilac flower

I’ve just picked these fabulous lilac flowers. Lilac is an essential in the garden at this time of year, their spires of blooms look so majestic and the fresh jasmine like scent drifts through the air. The rest of the year it’s an insignificant dull shrub, but it really is worth it for the flowers in Spring.

Lilac flowers can wilt when cut and placed in a vase. To help prevent this, cut slits into their woody stems at the bottom, this helps the flow of water, keeping the flower fresh.

Planting up the cutting garden

When I was building and then filling the cut flower border with top soil and compost, 14 metres felt like a very long and unnecessary way. Now that I’ve emptied the conservatory of plants I’ve decided it’s really not that long at all, a few more metres would have been great. I’ve been amazingly disciplined, keeping the number of plants I’ve put in the border to a minimum. Surplus plants have made their way to the children’s garden at school. With this restraint, I have just managed to fit all the cut flower varieties sown from seed in. I can’t wait to start filling the house with the flowers from this border.

The cutting borderThe ciutting border, detailing the varieties I’ve just planted

On my initial design way back in December /January I’d planned on two 14 metre beds running either side of the path. When it came to building the beds, two felt excessive, in size, cost and my energy required to fill them. I now know that come late winter next year, I’m going to be building that additional bed. There are so many more plants I want to grow for cutting, and all those seductive seed catalogues will start coming through the post at the end of the year, they are just too tempting.

A sunny day in May

There are many reasons why I garden, but one of the most rewarding is when you’re walking through the garden, you stop, look back, and click, there’s a snap shot in your head of what you’ve created. With luck on this beautiful May day I actually had my camera in hand and caught the moment. I love what this new kitchen garden is slowly becoming, it’s very satisfying.

Veg patch in May

Terracotta Pots and Standard Bays

Yesterday was one of those days that ended up going in a completely different direction to what I’d planned. The plan was not an exciting one, the house was looking neglected and in need of a good tidy and clean, and I’m afraid to say still does! I’d successfully bid at a local auction on a pair of fabulous old and very large terracotta pots, planted with a couple of sickly looking six foot standard Bay trees. At the time I was envisaging these pots planted with tulips followed by luscious summer bedding, acid green and silver foliage with dahlias the star performers. As is my way, the practicalities of getting them home we’re not a necessary consideration, we’d just remove and bin the Bays, then pop the pots in the back of the car.

So yesterday morning after school drop off, I went to collect my new treasured acquisitions. I realised that to remove the existing Bays I’d need some equipment so sensibly took a spade, trowel, fork, saw and the husband. Reality quickly hit, these Bays were not going to easily lift from the pots, an hour later, after a lot of hard graft the bays had been extracted, I can honestly say that I’ve never lifted anything as heavy in my life. The pots (getting on for the second heaviest thing I’d lifted in my life) were hauled into the car and taken home. A return journey was then made, after all the effort we’d gone to I’d formed an attachment with these belligerent sickly trees and am determined to resurrect them into a stunning garden feature. By 8pm I’d successfully finished the morning’s simple job, the standard bays planted into nursery pots where they’ll get some TLC and the beautiful terracotta pots ready in waiting for planting that will compliment their splendour.

Large terracotta potsMy fabulous new pots

Sickly BayThe Sickly bay, planted up in a nursery pot.